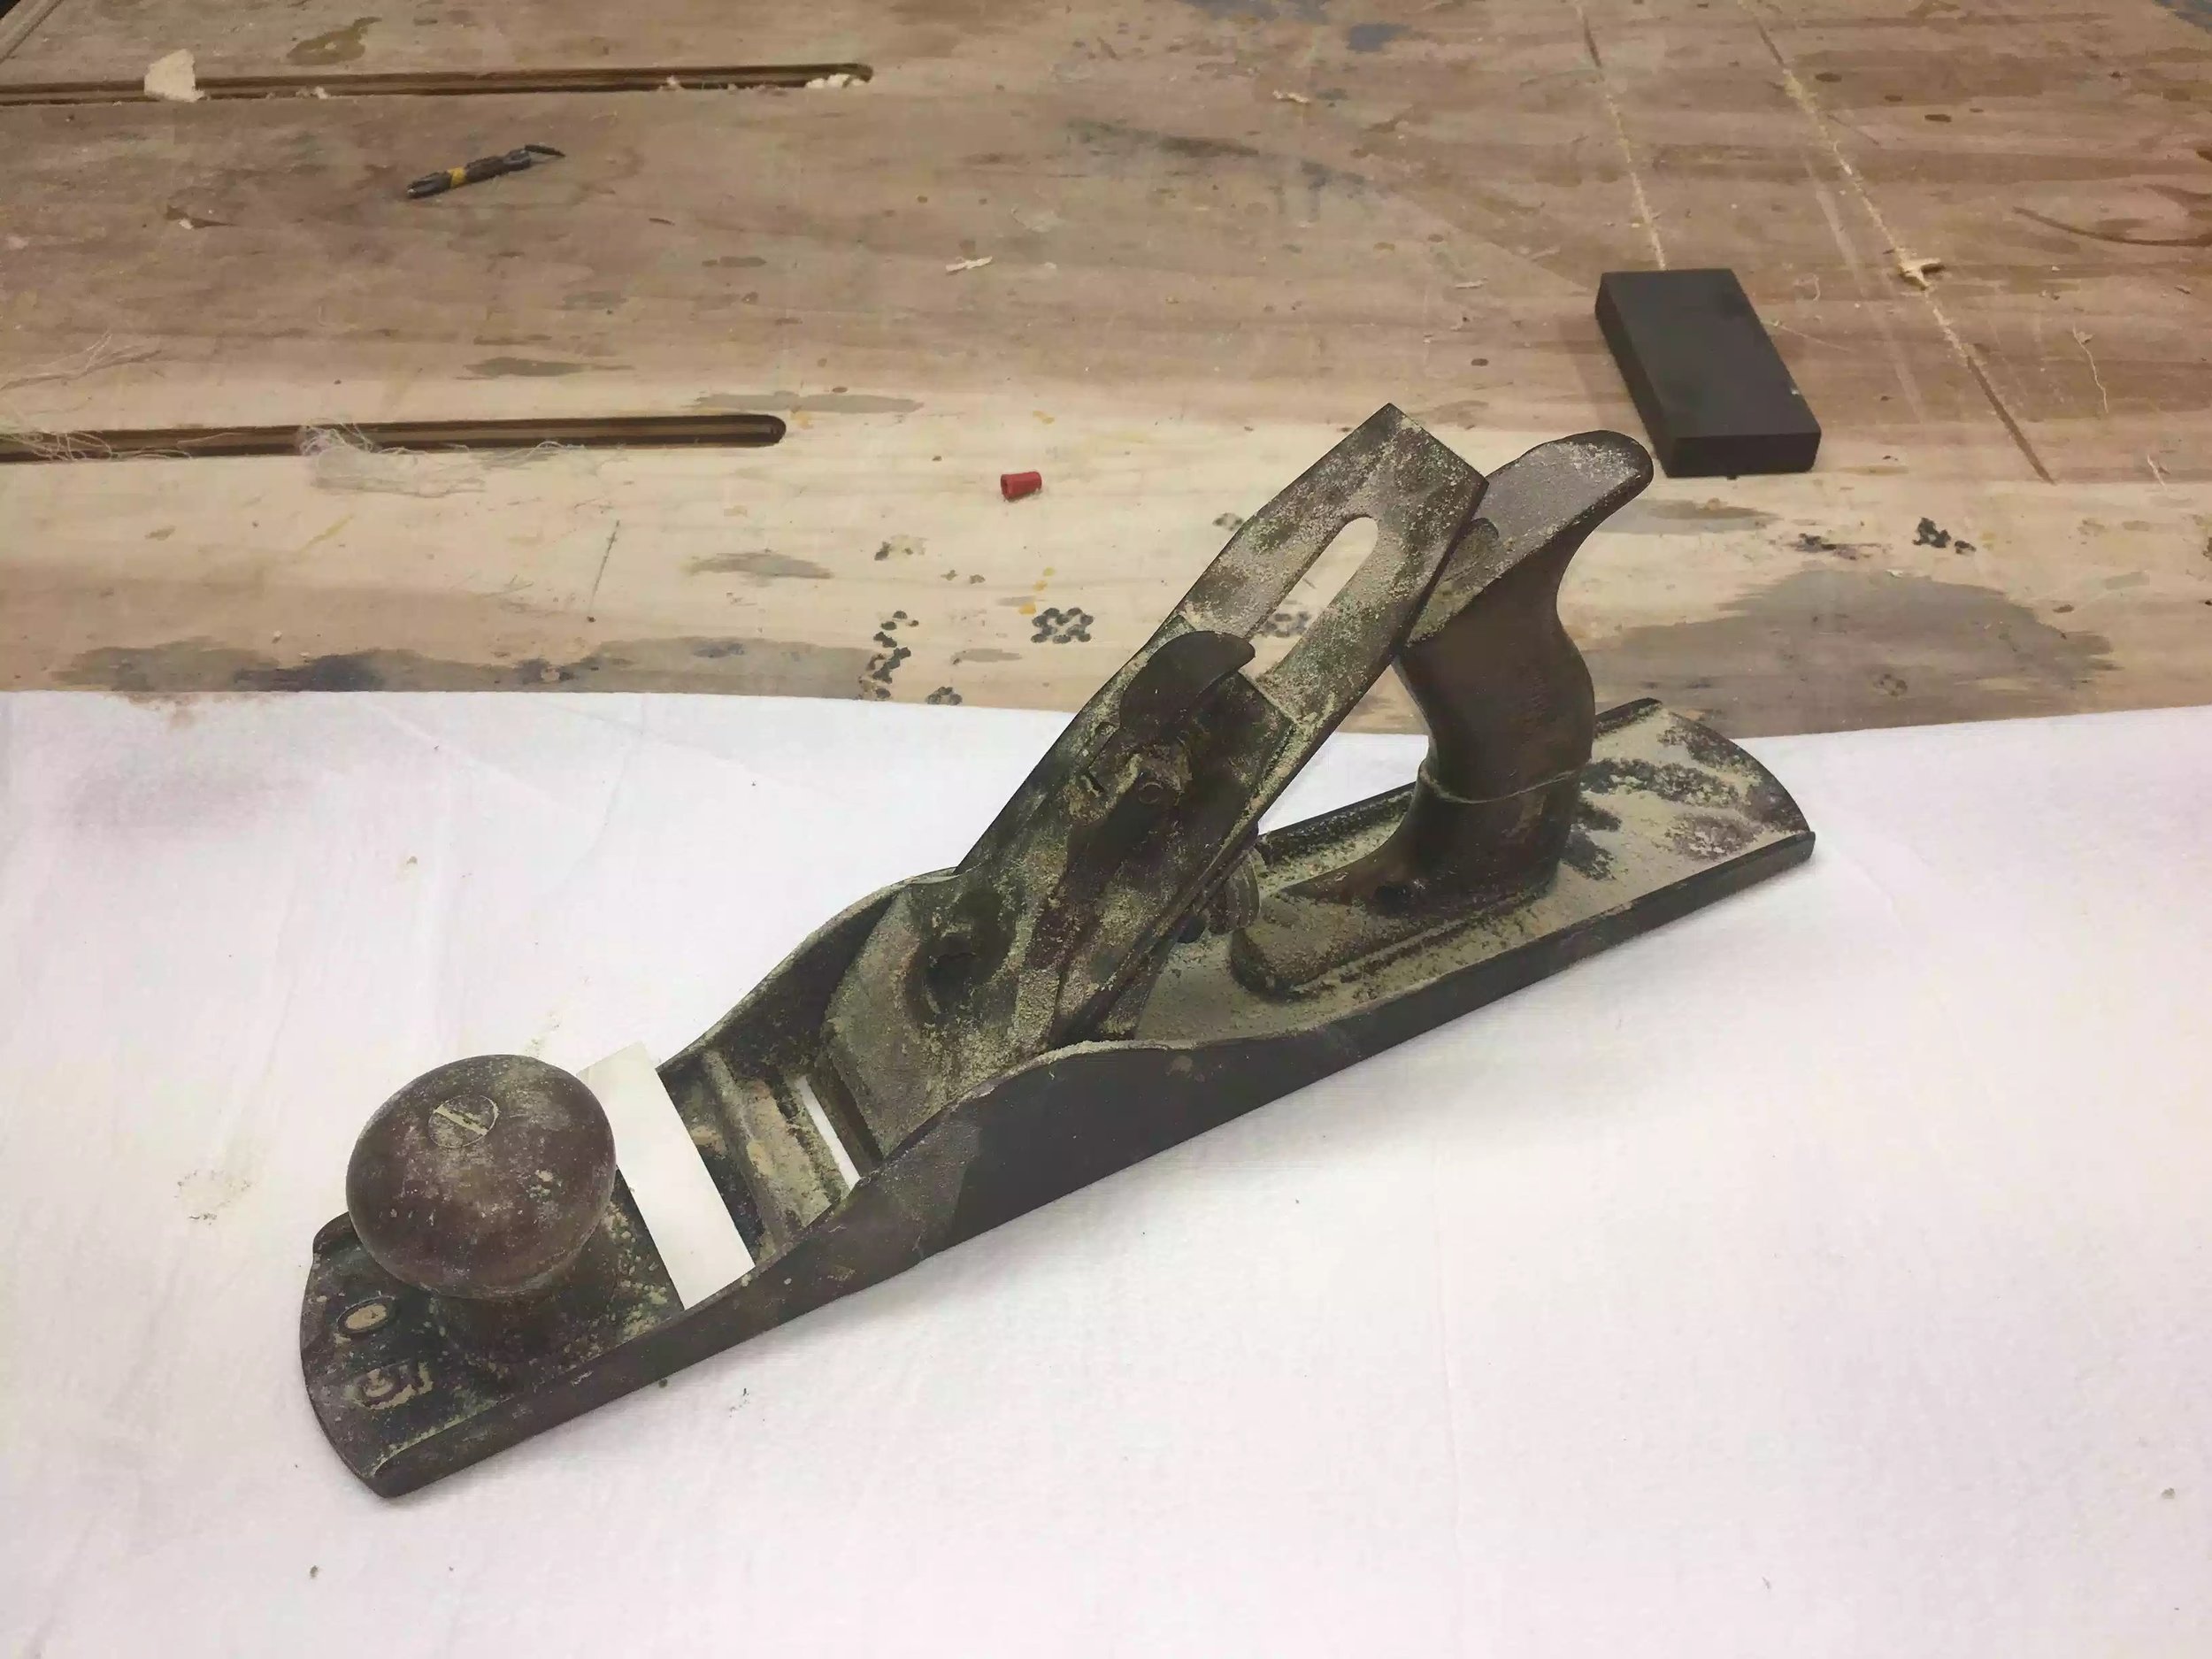
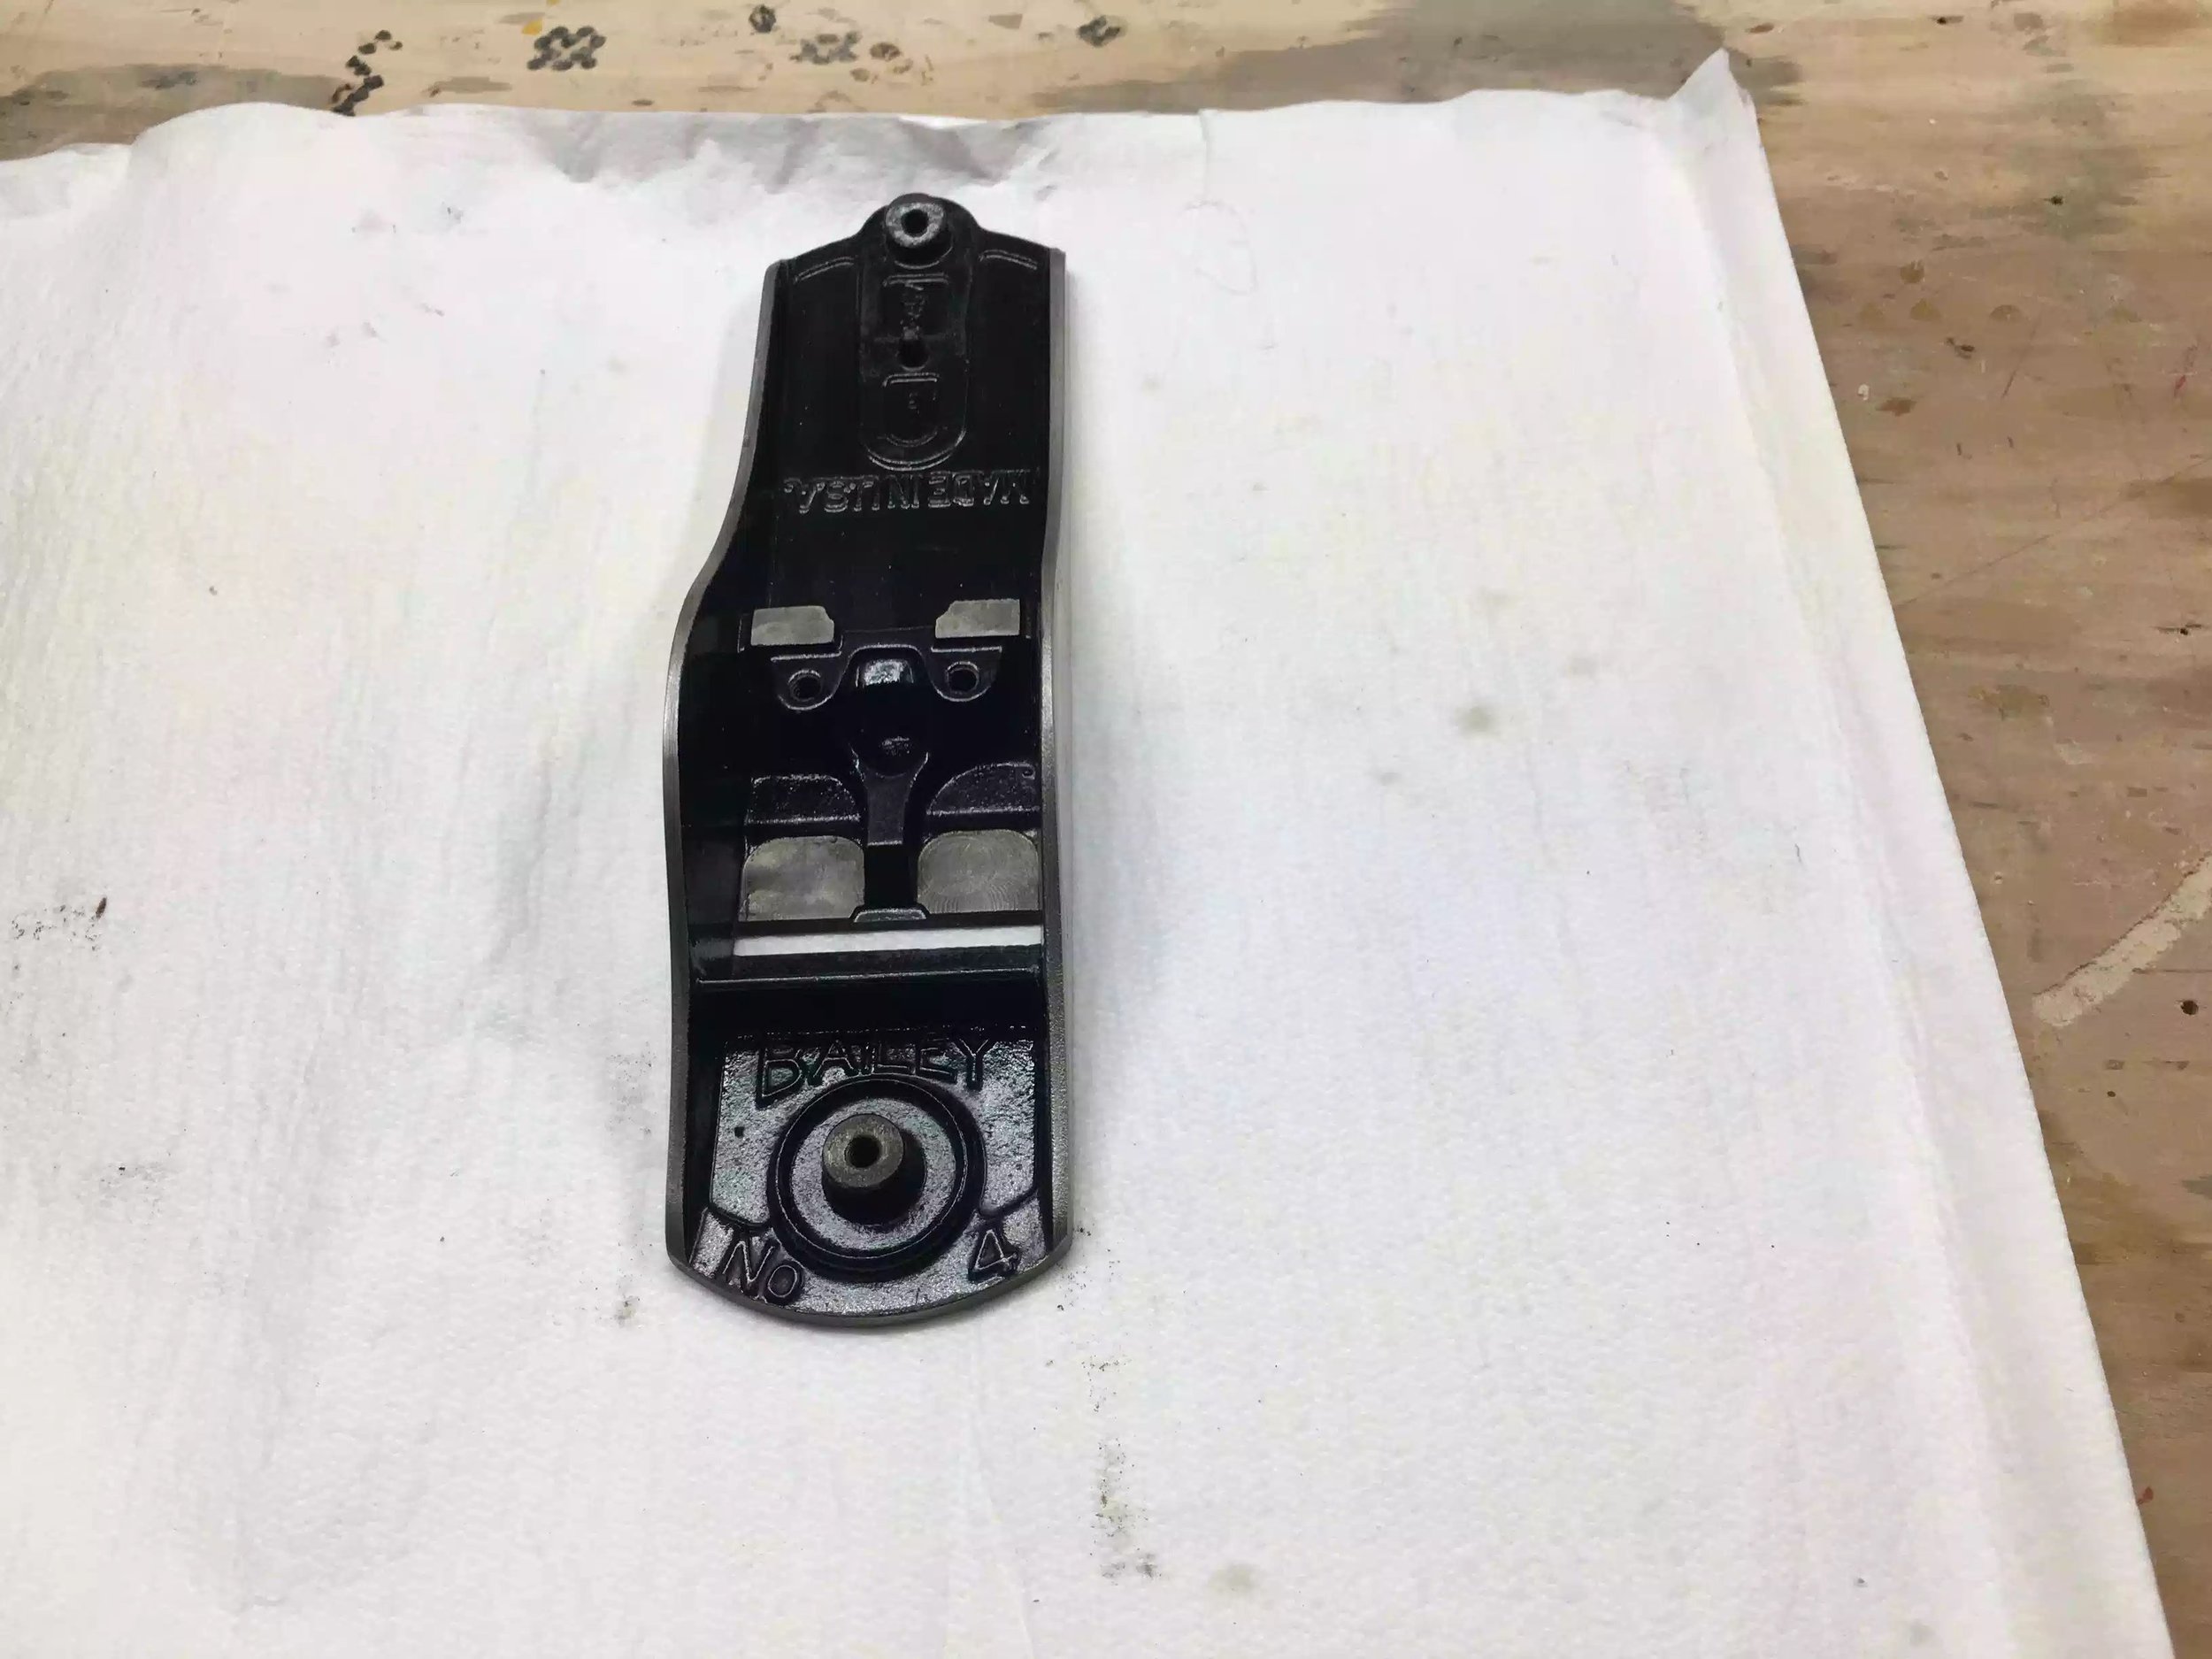
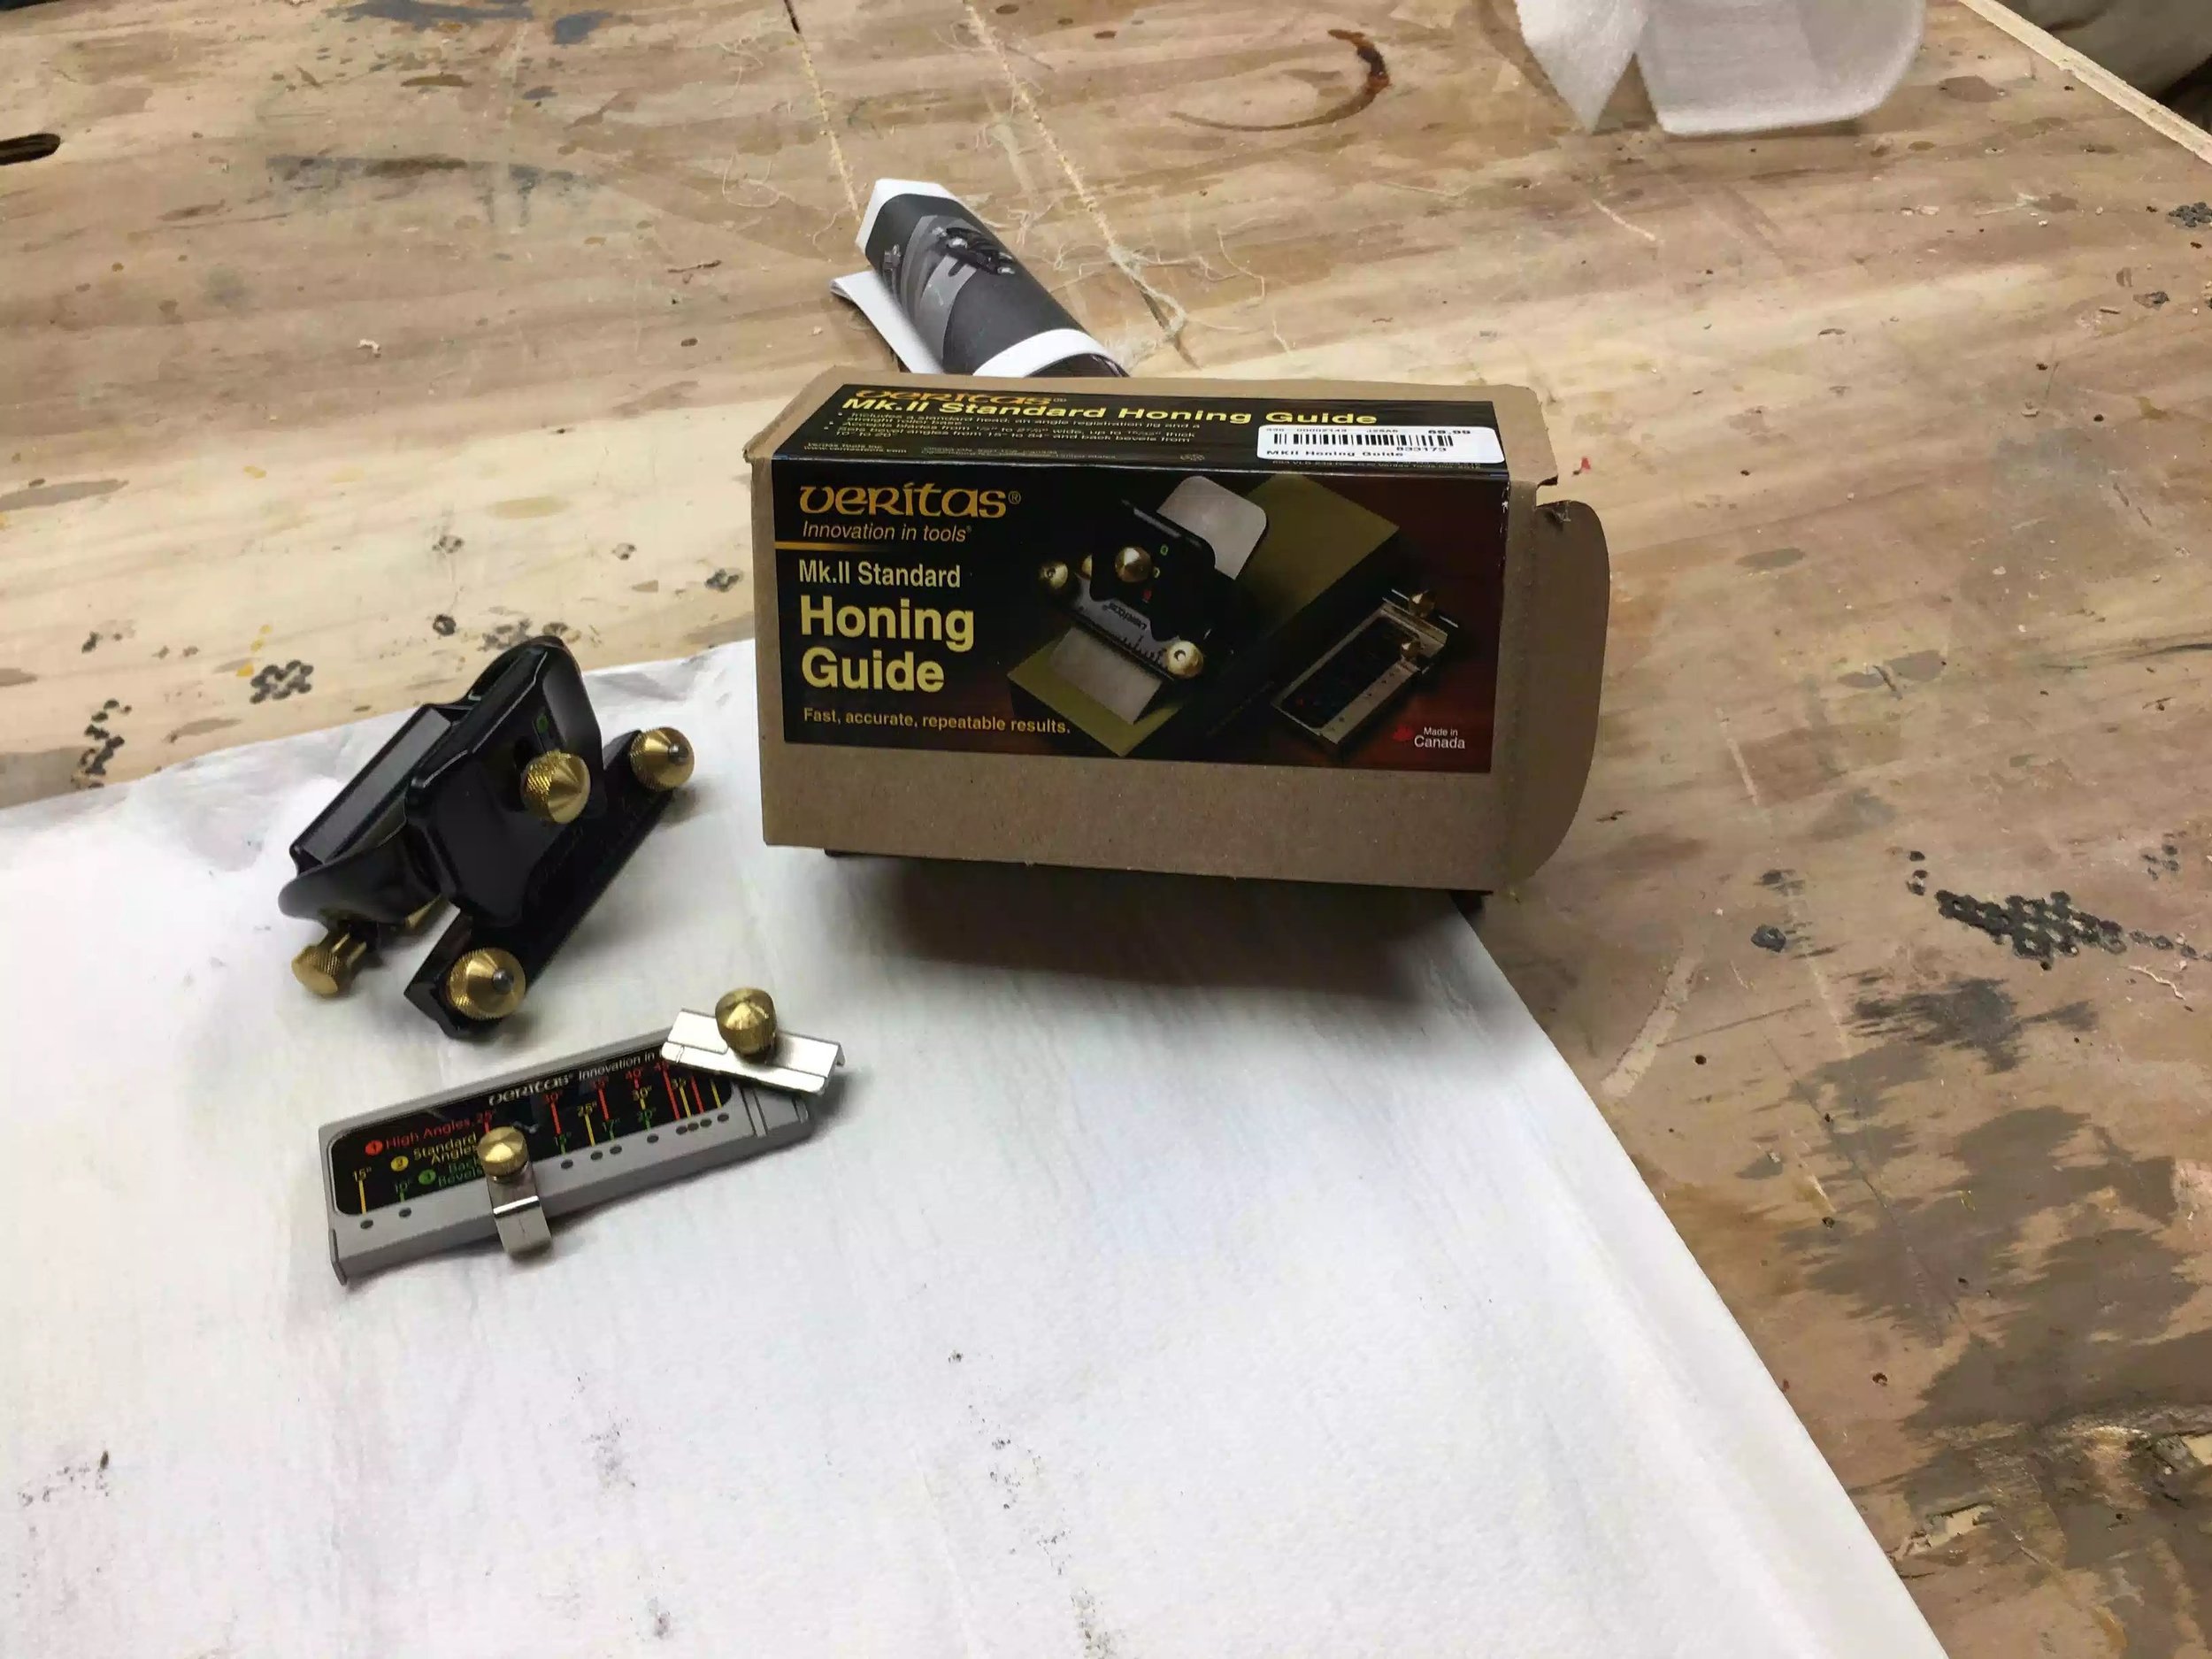
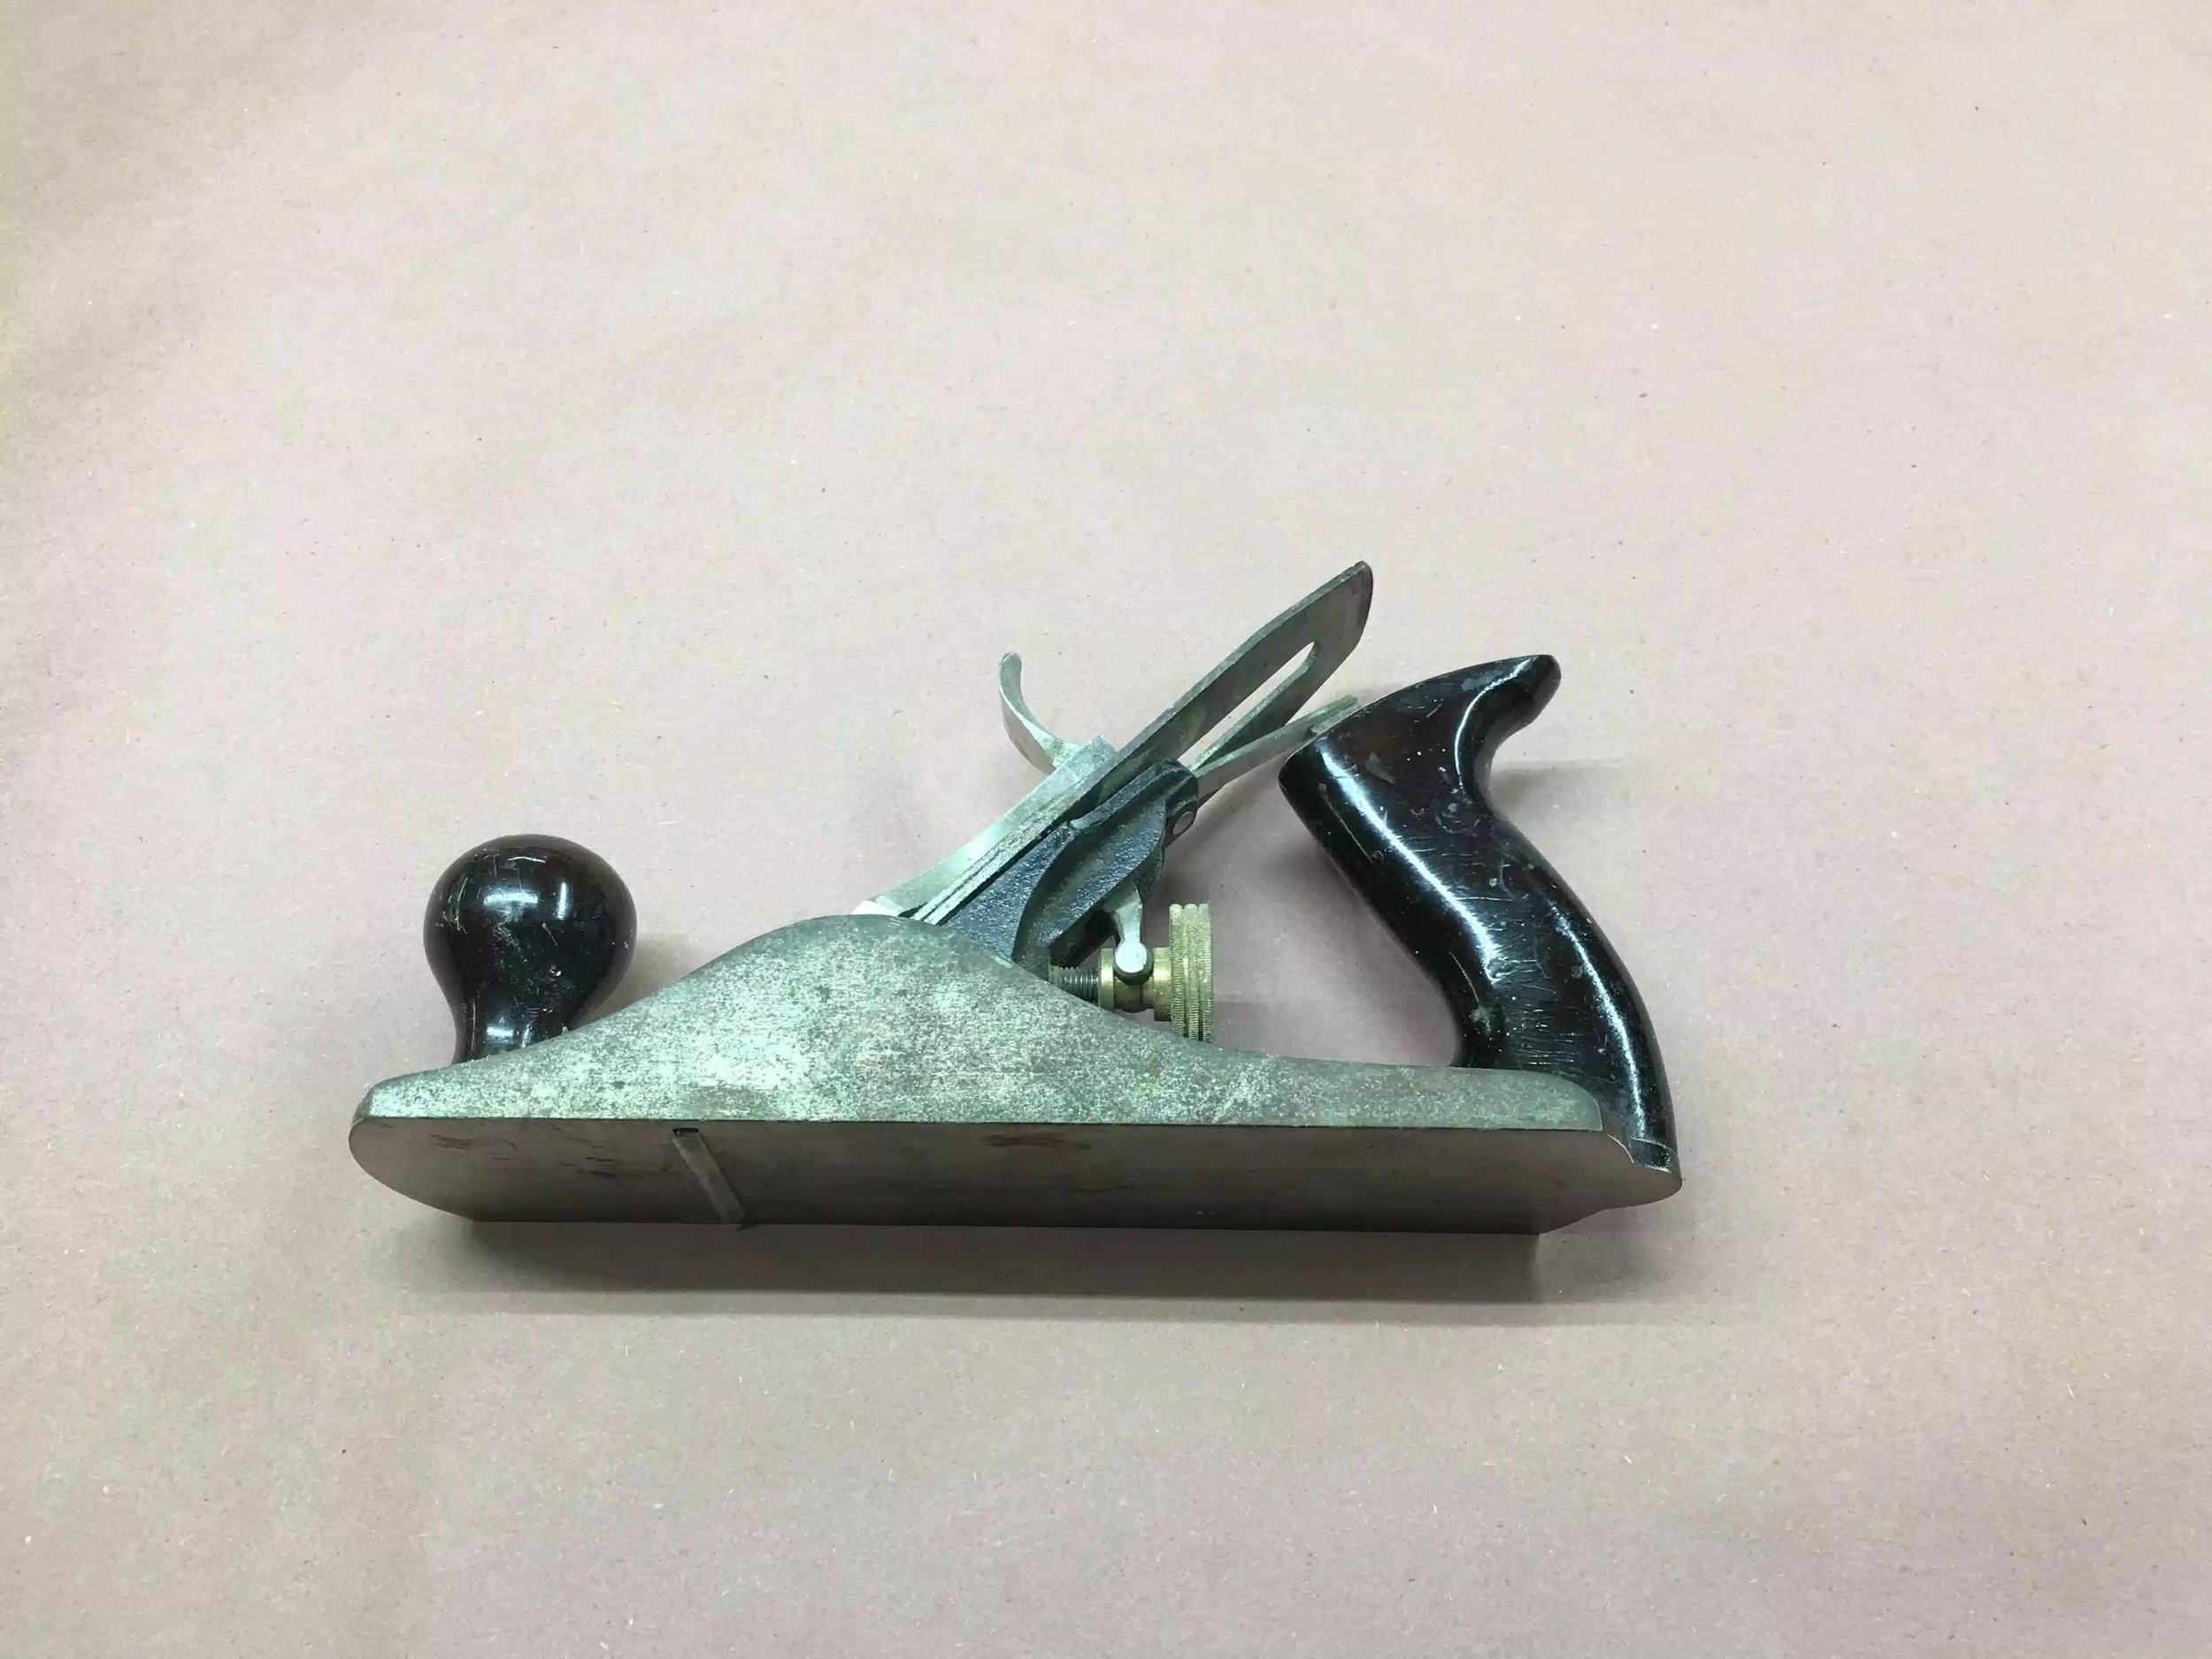
Ever since I was working on the hand plane restoration projects I didnt really have a good set-up for sharpening my tools, and I recently spent a lot of money on certain tools to help me sharpen properly such as the Veritas MKII honing jig and I also purchased 2 DMT Diamond grit sharpening stones (Course and fine) I need to buy 1 or 2 more stones in the future but these will do for now., and I finally bought a strop kit that I need to make its basically a piece of honing leather and compound to use on polishing my sharpened tools. Anyway I needed a way to store all of these tools and went about designing one on Sketchup.
CONCEPT & DESIGN & RESEARCH
After doing some research online I came across countless projects that were used for sharpening stations, some were very elaborate and some were simple.
I wanted a sharpening station that had the following features:
Small & Portable
A good comfortable working height
Storage for the stones and accessories.
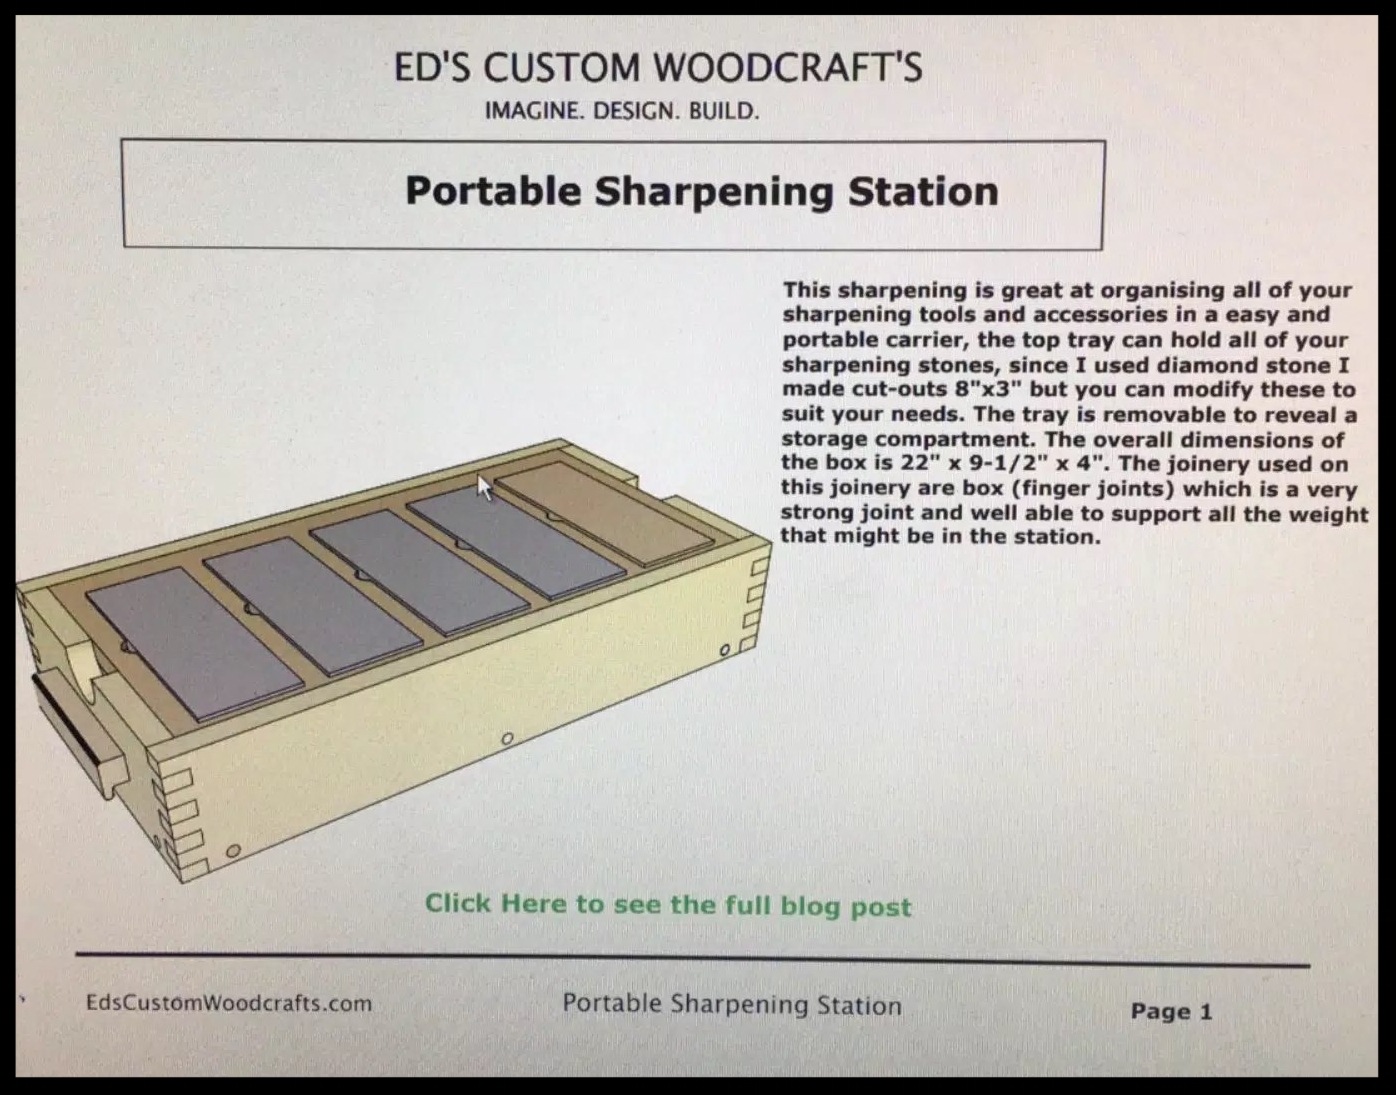
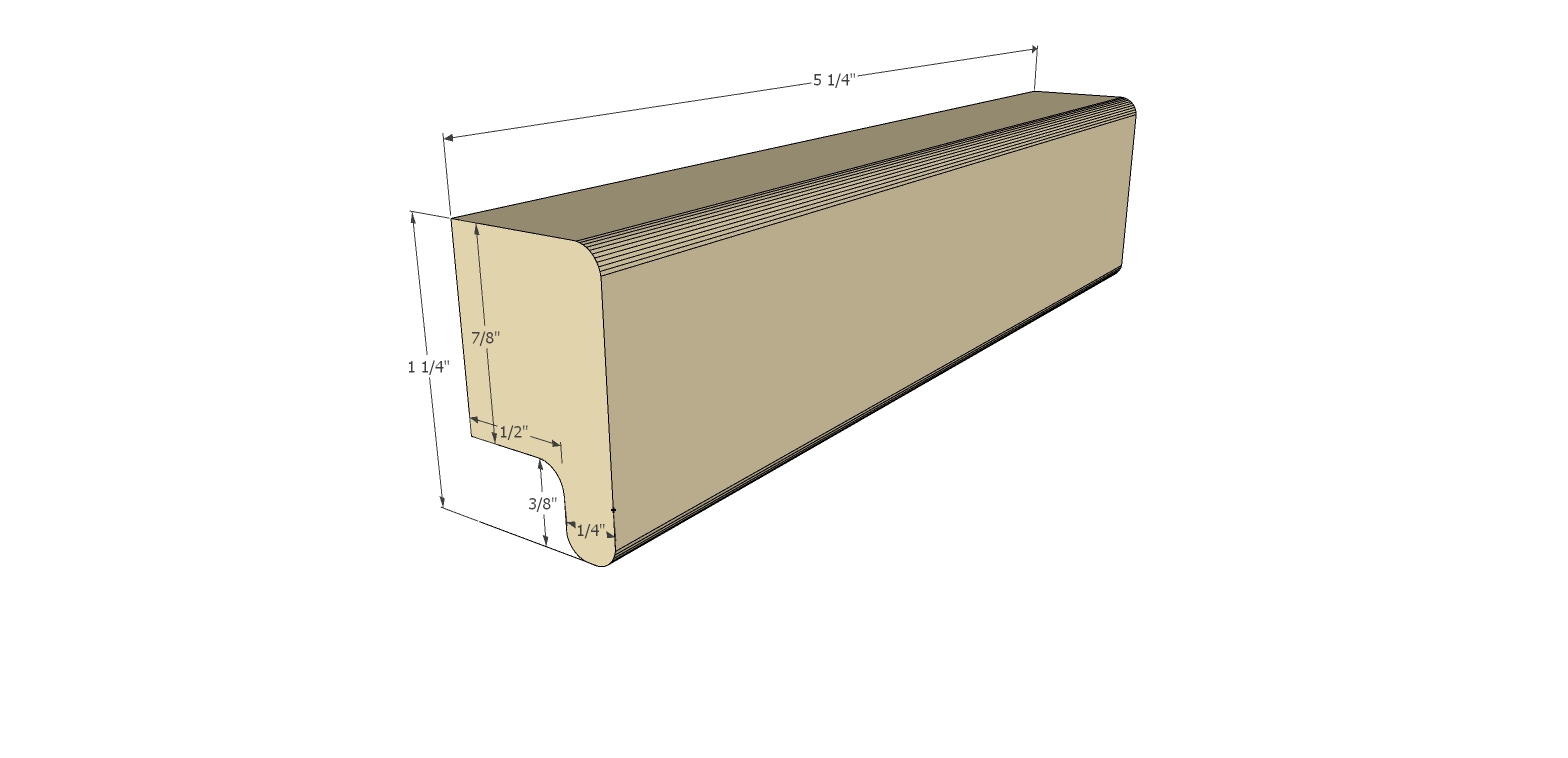
Here is my Sketchup design for the box. The top of the box is a removable tray that houses the sharpening stones and beneath the tray is a storage compartment for all the stones and accessories. I used finger joints to join the box frame together.
While researching online I found a YouTube video where Johnny Brook @ Crafted Workshop made a sharpening station, this is where I got the idea of a Tray with imlayed inserts to hold the bench stones, he also used a CNC machine to mill out all the patterns to use to hold the sharpening stones, I do not own a CNC machine so I have to come up with my own idea on how to remove this material, I’ll probably use a plunge router freehand or make a template to guide the router. I have included his video below.
I also came across another YouTube video from Steve Ramsey @ Woodwroking for Mere Mortals, his video shows you how to make a Finger (Box) joint jig for the tablesaw and I figured that I would use this joint to make a box. I have included his video below on how he made the jig and its also the jig I made for this project. Its not fancy in anyway but its quick to make.
So with these Youtube videos I had my concept complete and its what I brought to my Sketchup software so try and finalize a 3D model of the station.
BOX (FINGER ) JOINT JIG
So before I even started making the sharpening station I needed to make this jig and figured I would make and test it out and have it ready for that part of the build, I think it took me all of 15 minutes to make the jig, 5 minutes of which was looking for a suitable piece of scrap lumber. I settled on a 1x6x22 piece of plywood I had and I also need 1/2” x 1/2” sqaure dowel that was used a register that I used in the jig. If you want to look at a video of how to make this i have posted it above, where Steve Ramsey made it.

Finished jig, I have it screwed onto the miter fence. You can also see the 1/2” stacked dado blade in the saw, and also see the square dowel used to register the piece as you work on it.

Here you can see it in action.

GETTING STARTED: PARTS
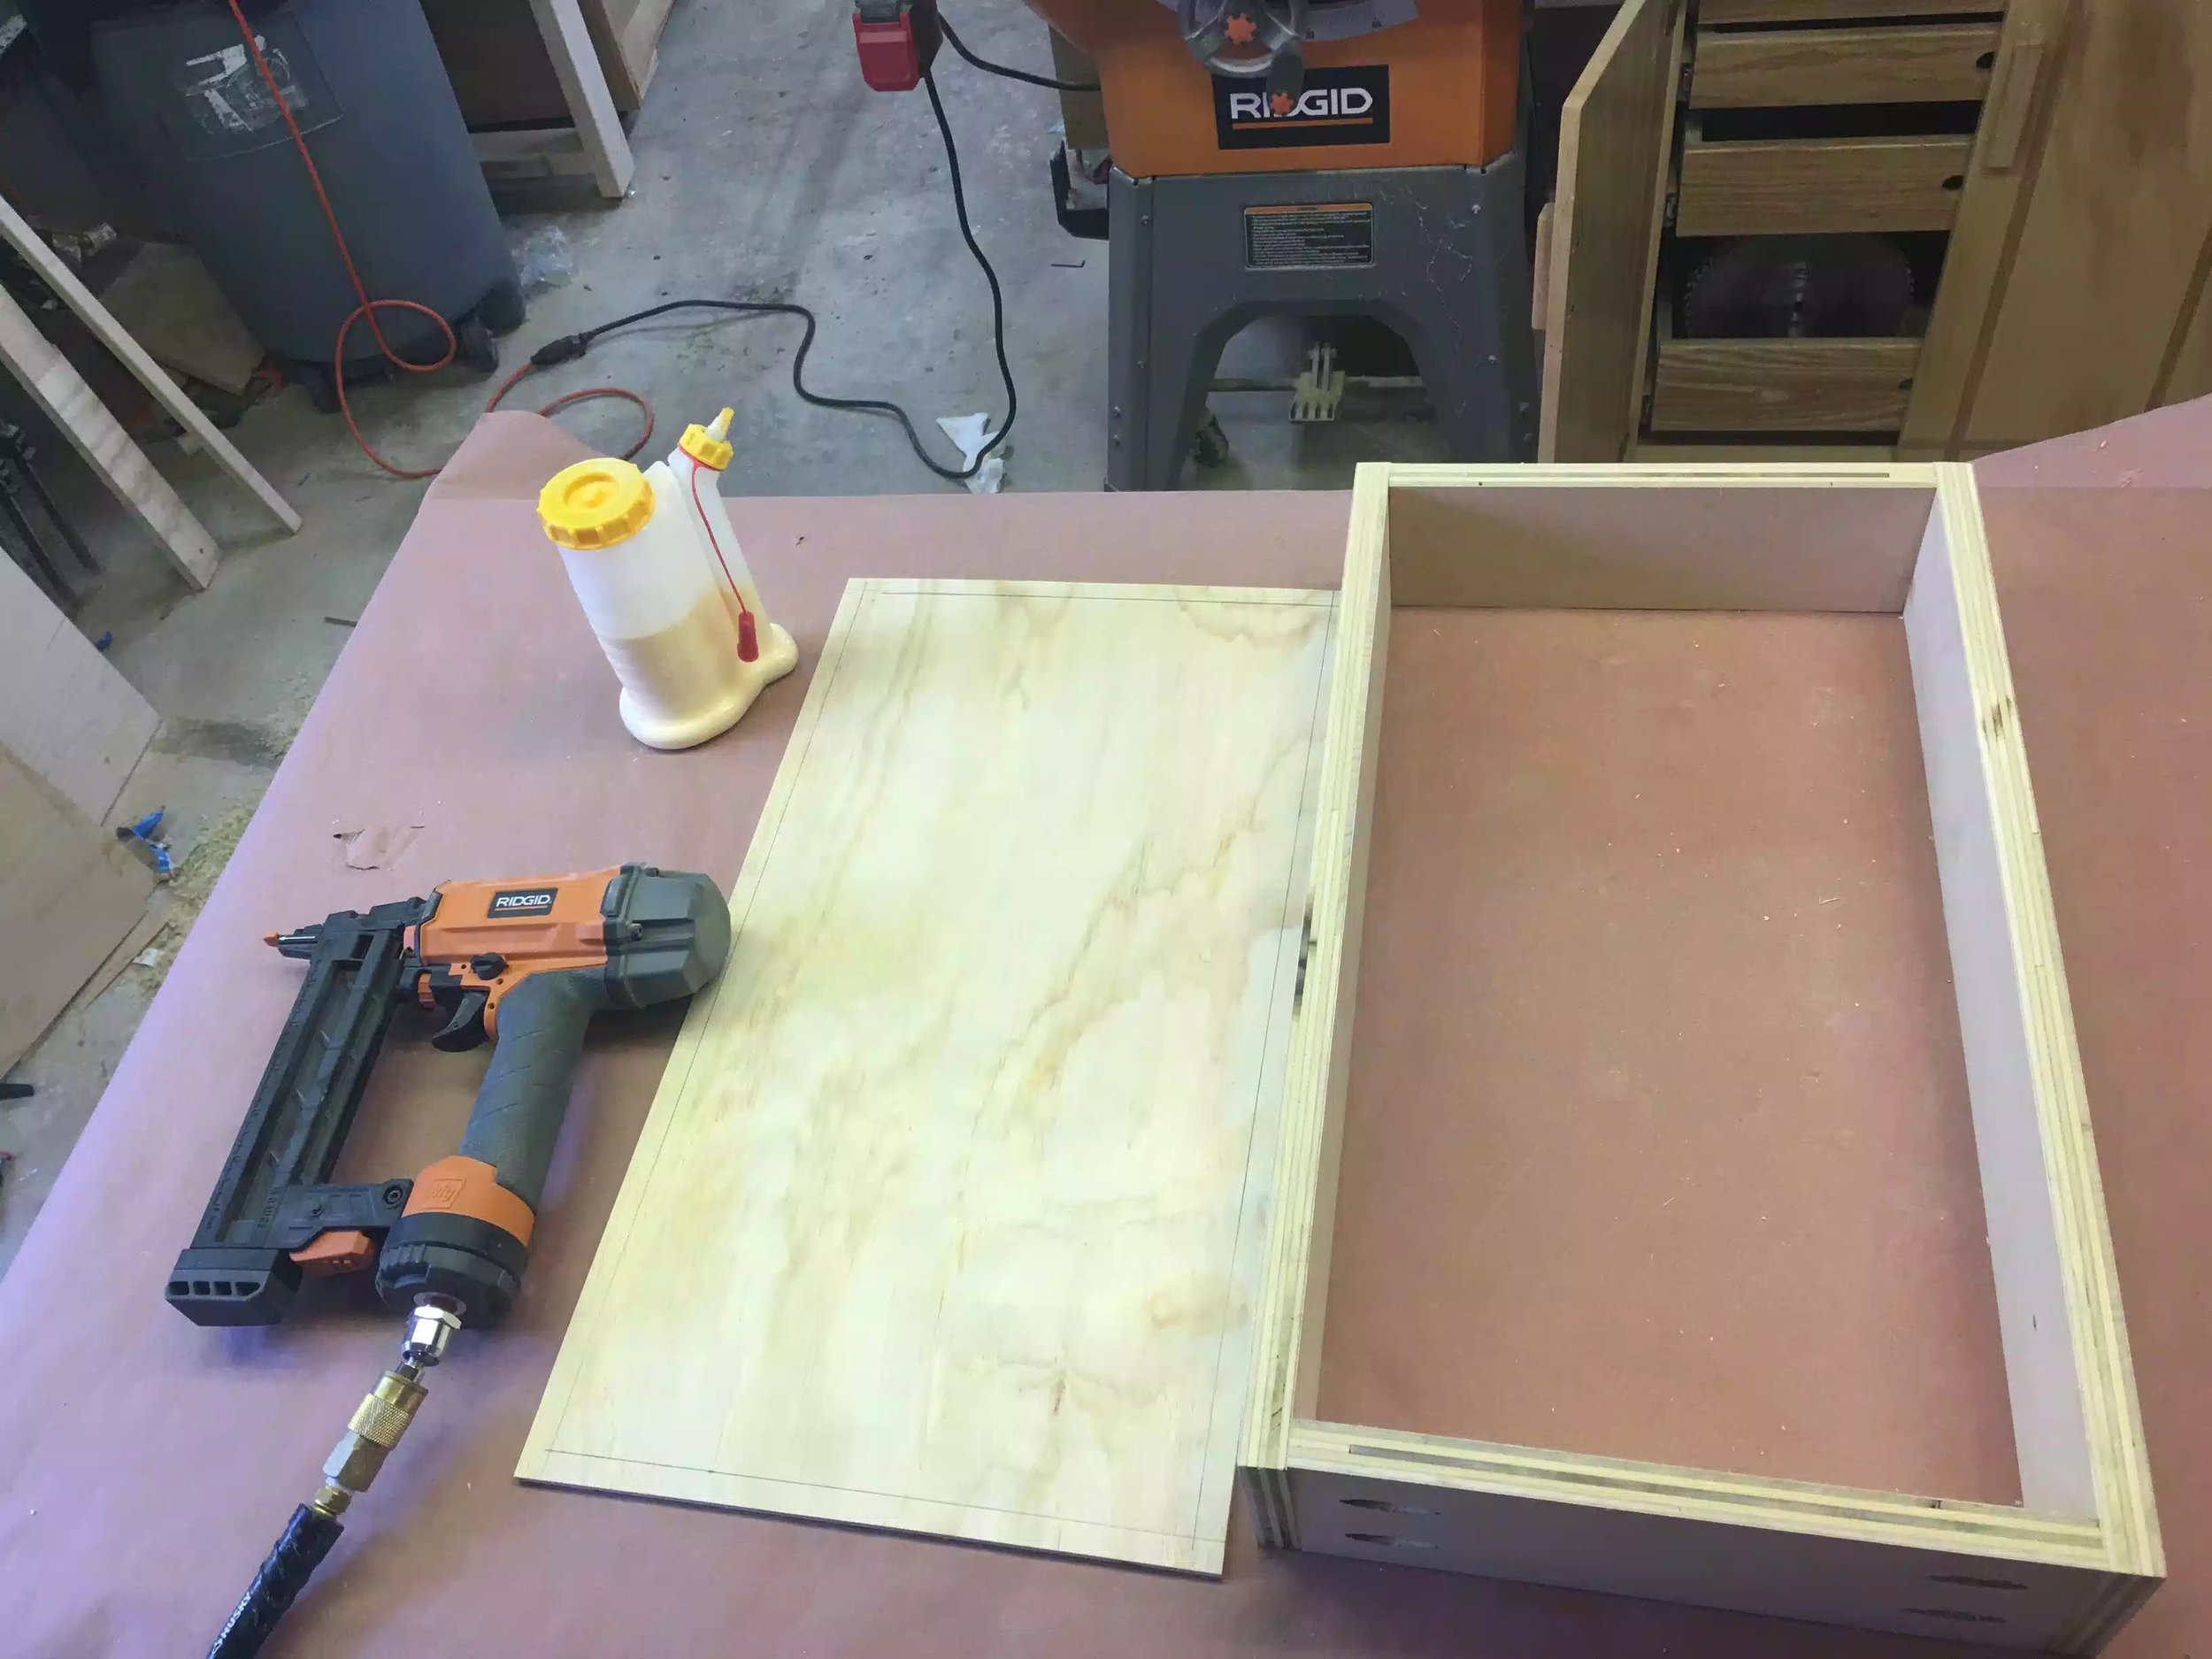
This is where I get started with the station, I used my 1”x6”x6’ piece of poplar to start cutting the box parts, using my cut-list I ripped and crosscut all parts to their final dimensions. There are 4 parts that make up the box as you would think there is 2 sides a front and a back piece.

Here is the poplar length of wood that I used for the box.

Here are the 4 pieces in their correct orientation, I am deciding what faces to have have on the outside of the box, I usually try to wrap the grain around the box but because I was doing box joints , this didn’t matter as much as it normally does, anyway its only a shop project
SOME LAYOUT WORK
Usually when I am working on joinery I always mark out with pencil what I need to do, and to help simplify things when it came to using the jig I marked out all the pieces that needed to be removed, so using my marking gauge and straight edge I made all the marks, and placed an x on everything that was getting removed.

I placed an X on all parts that were to be removed using the box joint jig

Here I am using my marking gauge set to the thickness of the work-piece which is 3/4” this measurement determines the height of the cut.
FINGER JOINT JIG TIME
For step by step instruction on how to use the box joint jig, Steve Ramsey from WWMM has it all laid out on his site, I just mimicked how he did, you get the instructions using this link below

This was my set-up
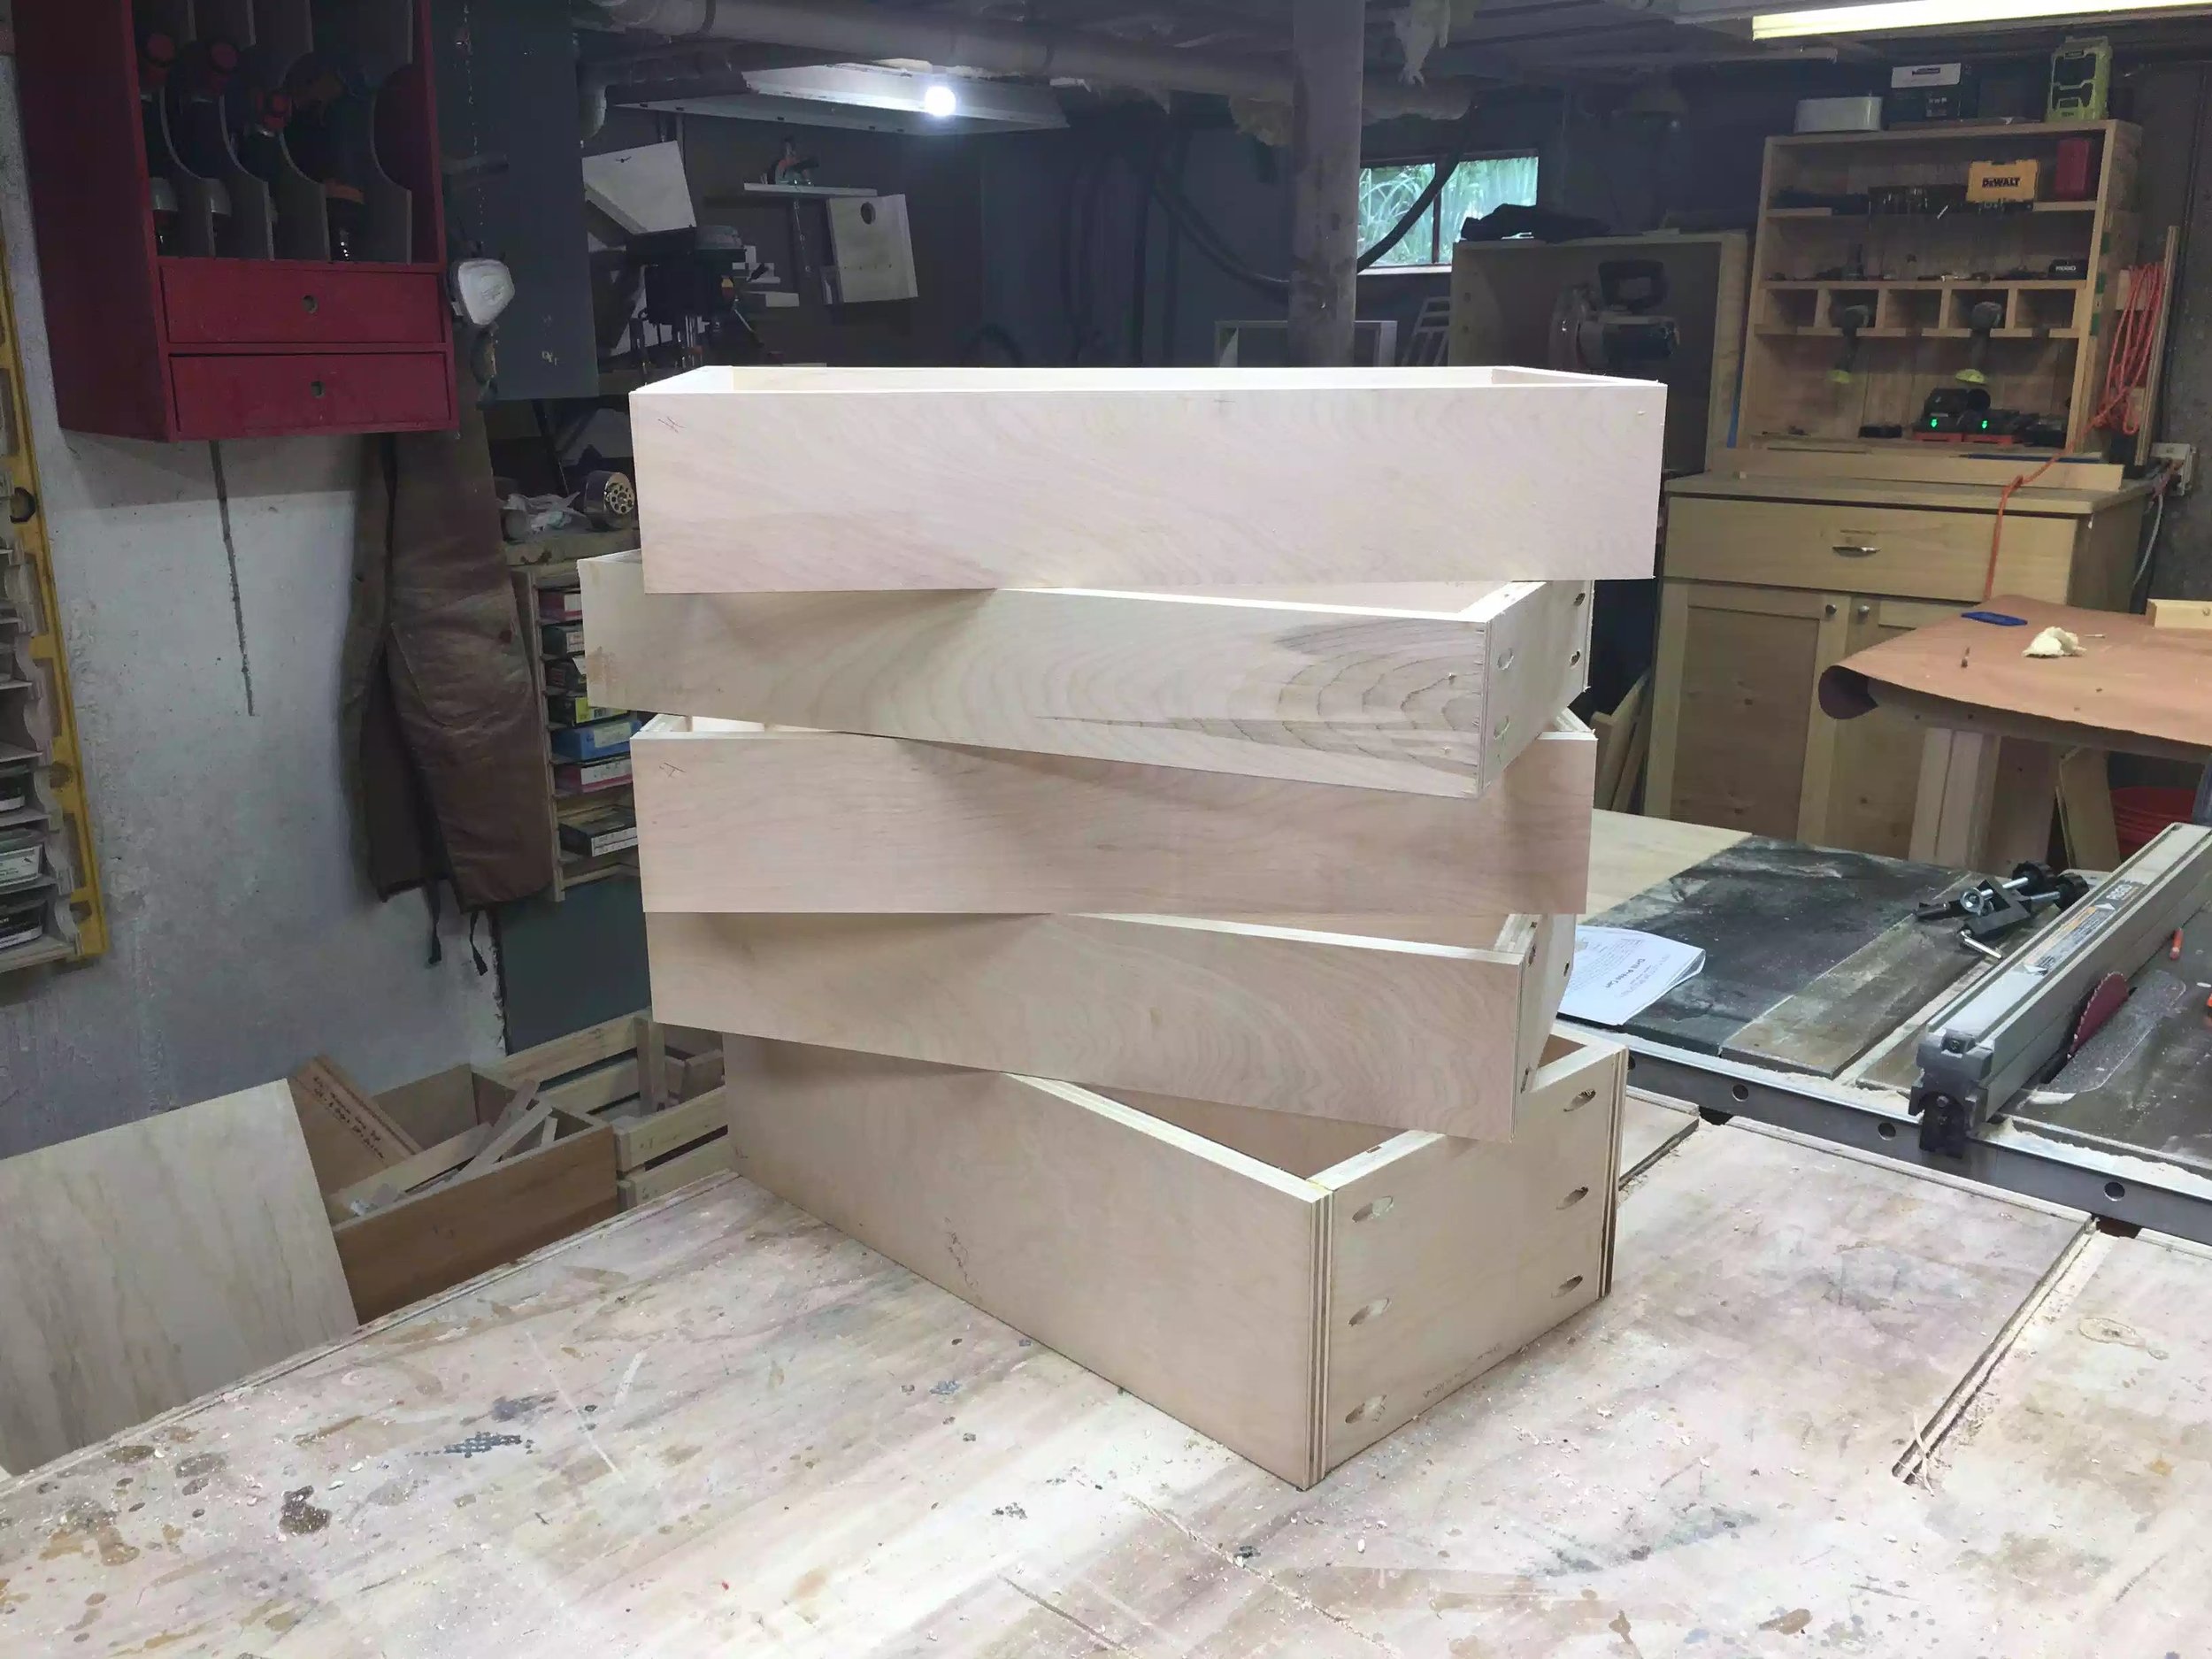
DRY ASSEMBLY
I always do a dry assembly to make sure all the parts fit nicely together and another reason is to rehearse how and where to apply clamping pressure. So now that all the finger joints have been cut its time to see how everything fits together, to be honest there is a little bit of work to clean up the finger joints because of the glue squeeze out but that is later.

Here is me doing a dry assembly no glue yet because there are a few more steps before I glue it up.
THE CLEATS
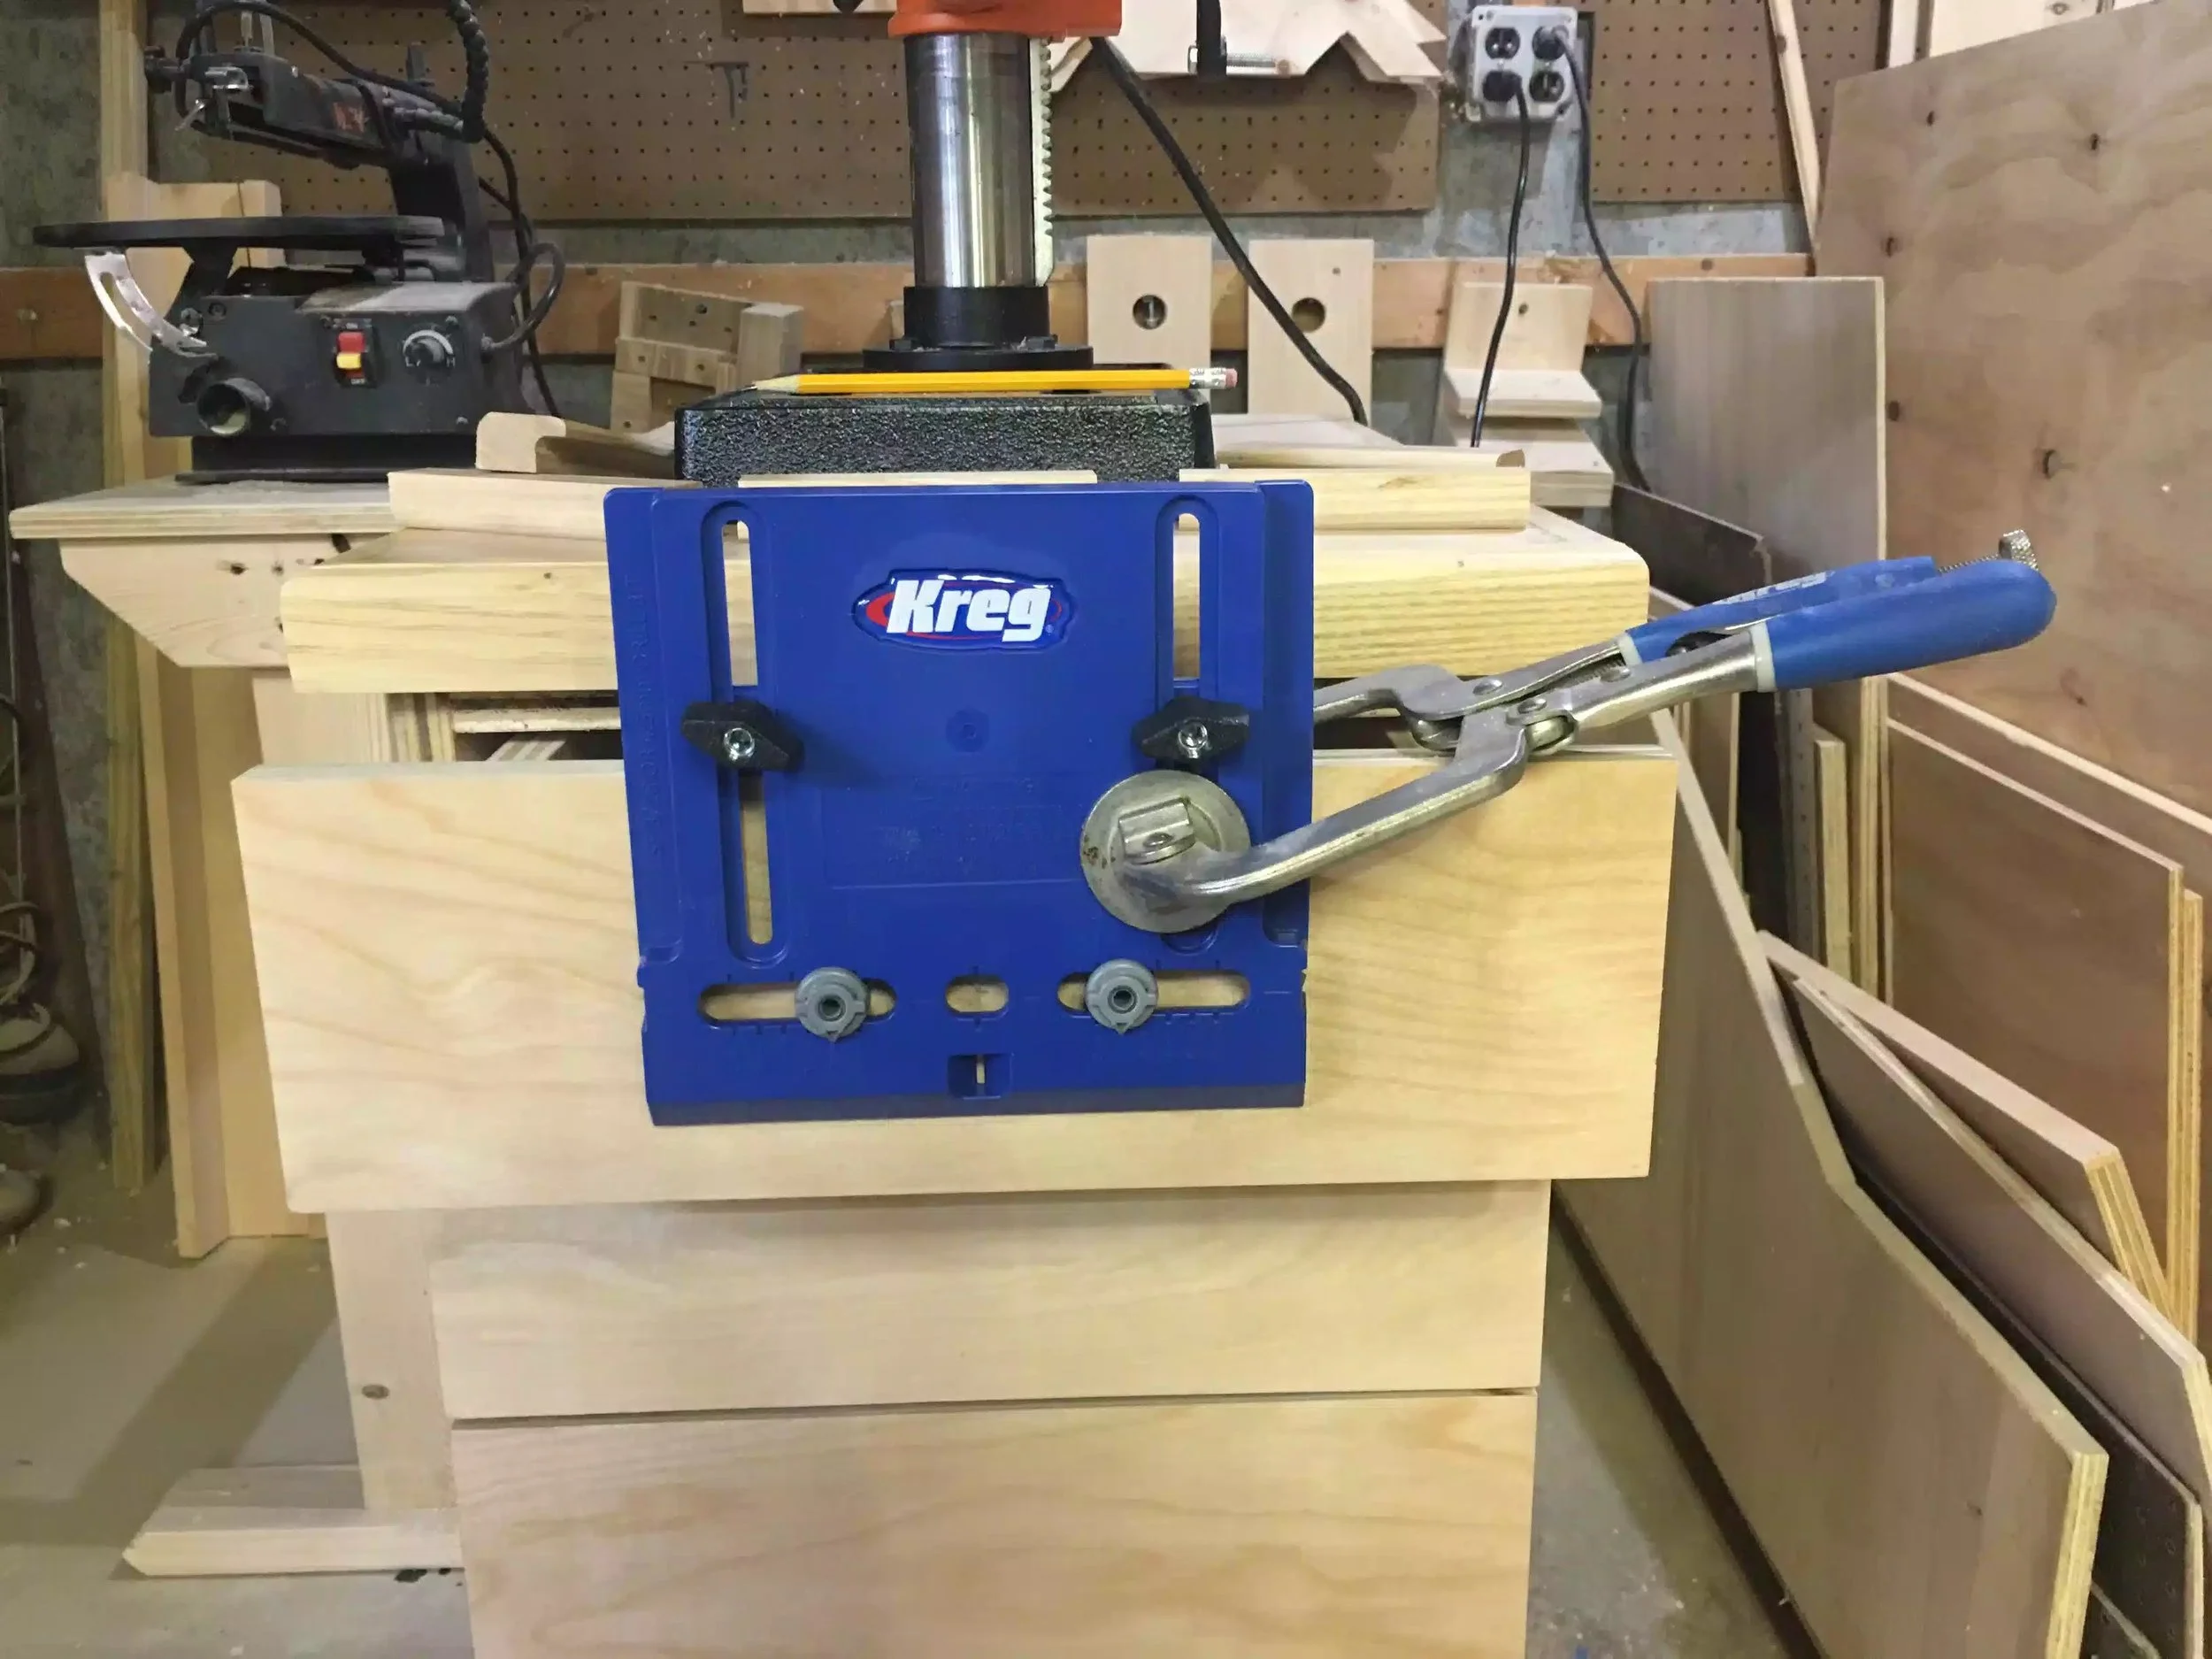
The cleats are what I am using to support the removable tray that will hold the sharpening stones, these cleats are very simple. They are basically 3/4” x 3/4” x length of the front and back pieces, I need to pre-drill them on the drill press and attach them to the front and back pieces. To aid me in this I used a piece of oak to use as a spacer block so as that when I position the tray its flush with the top of the box that way I will not be hindered when atually sharpening.
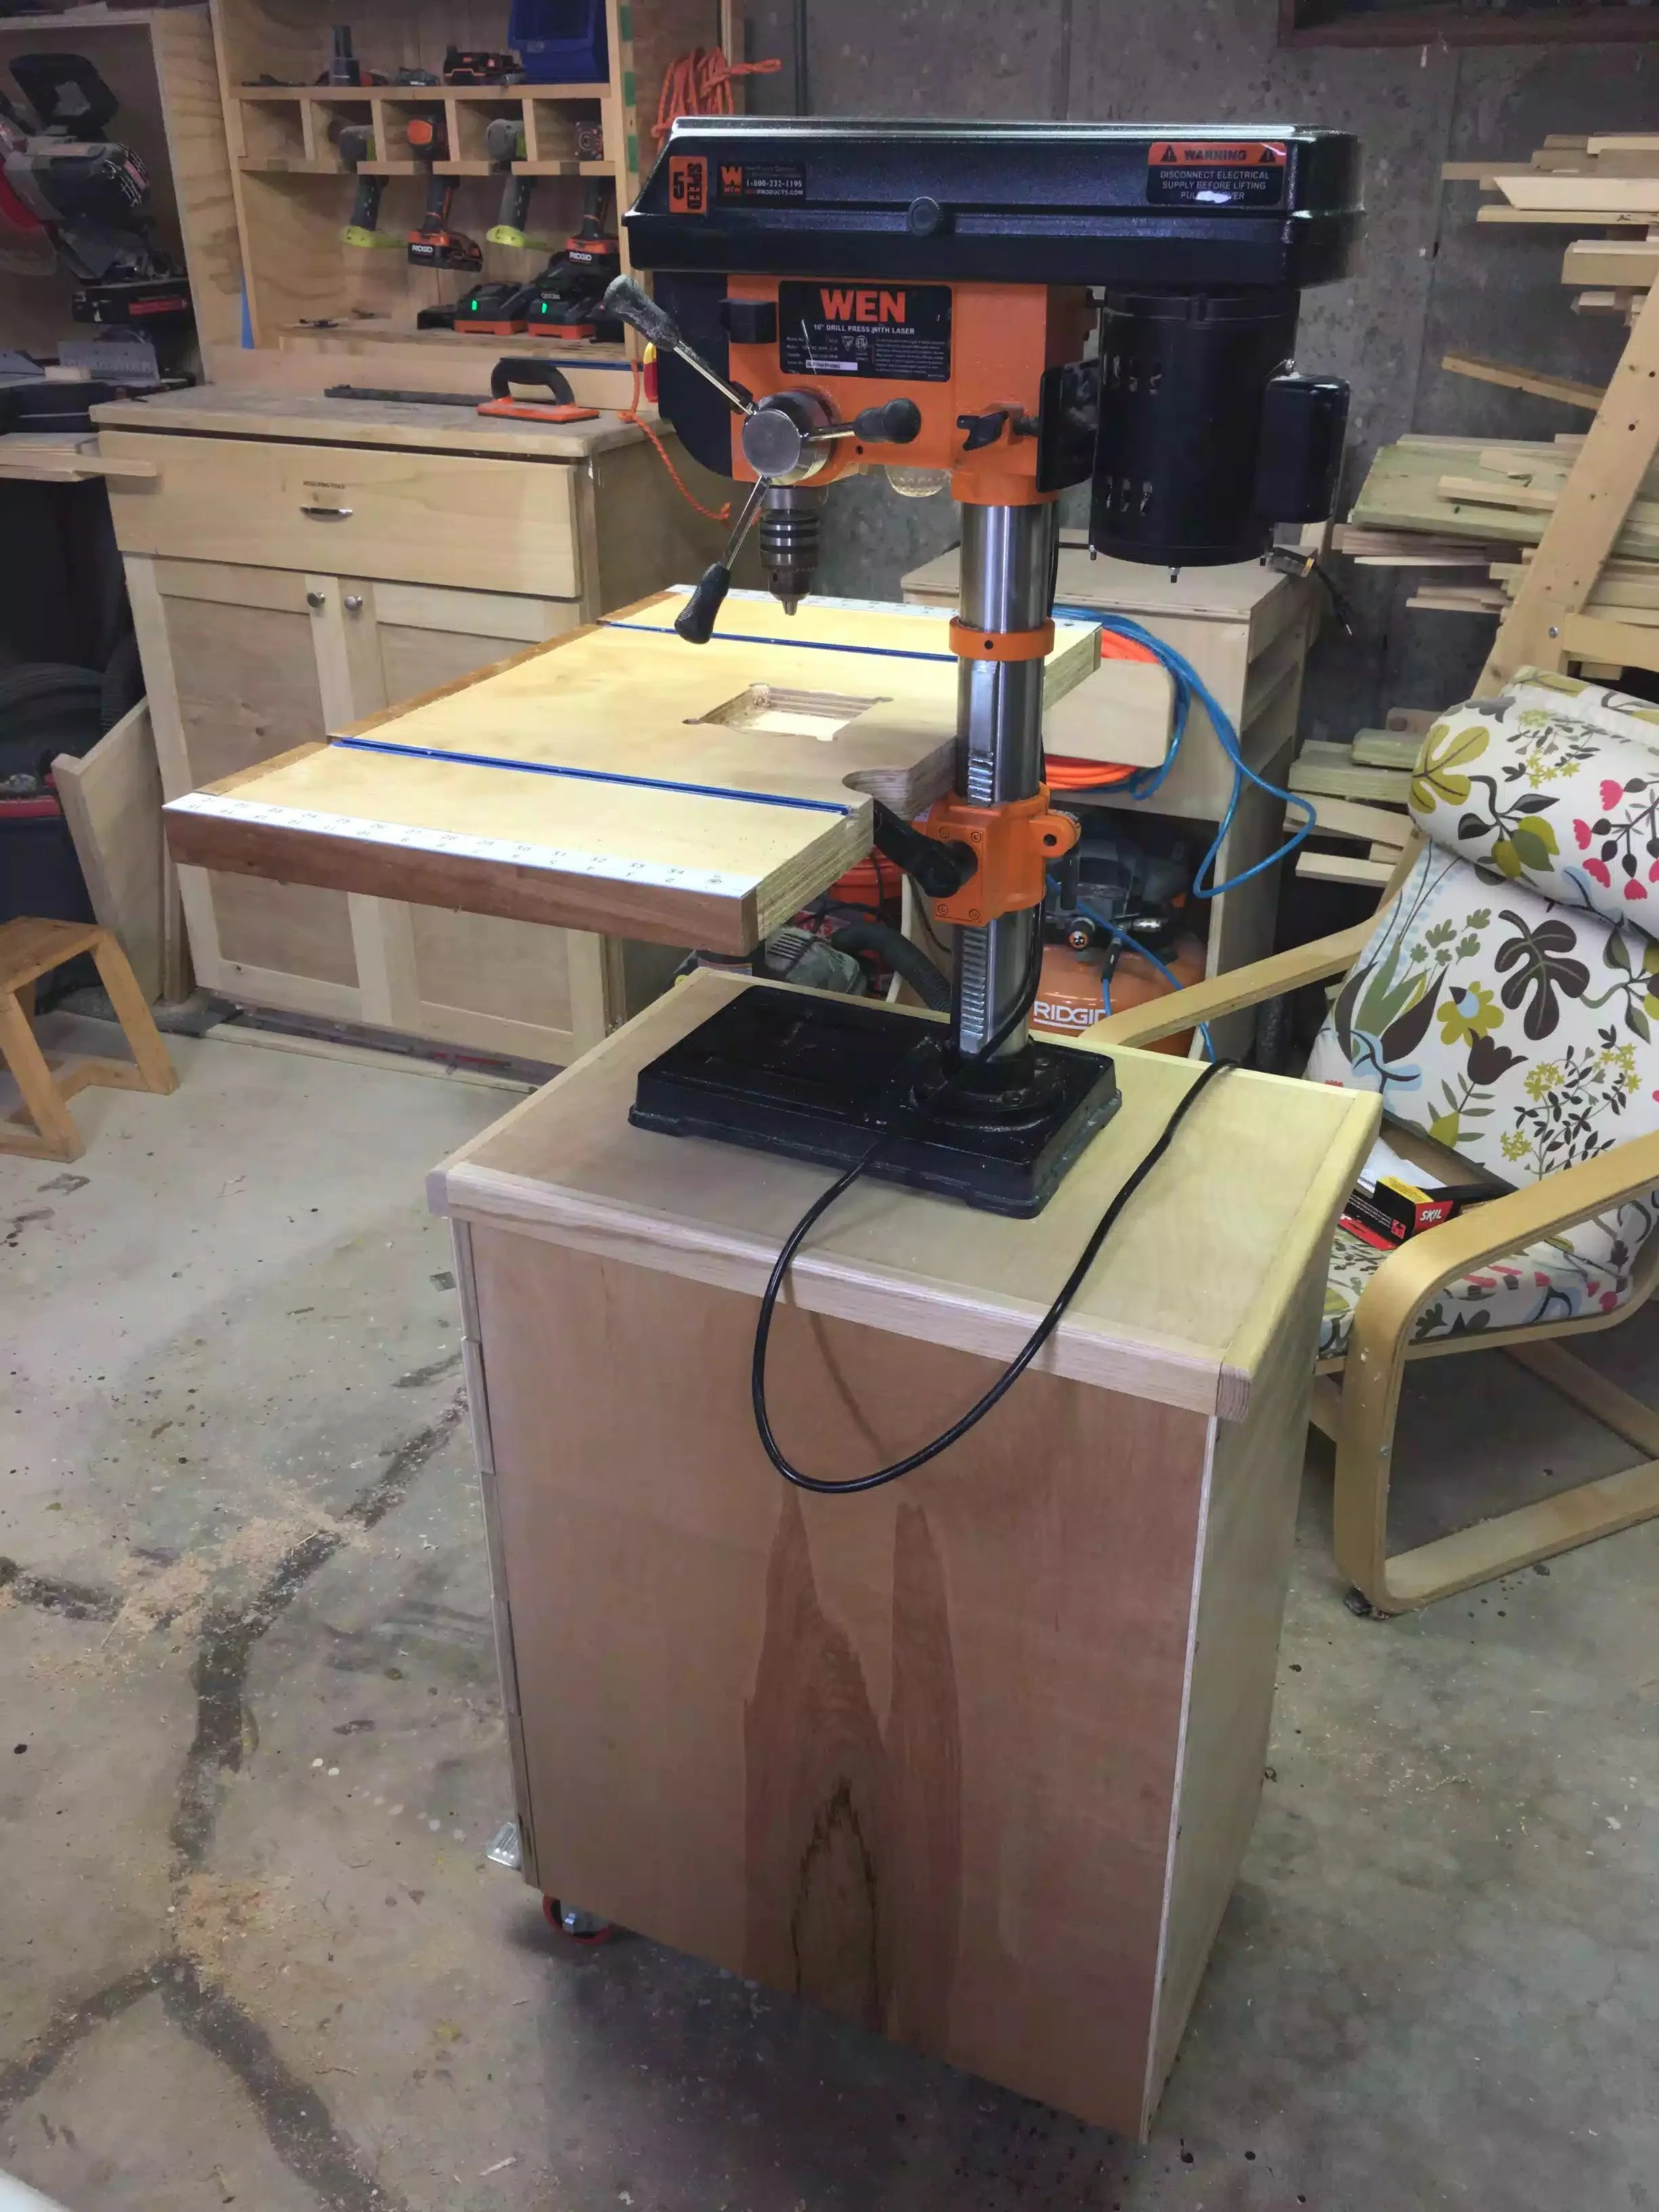
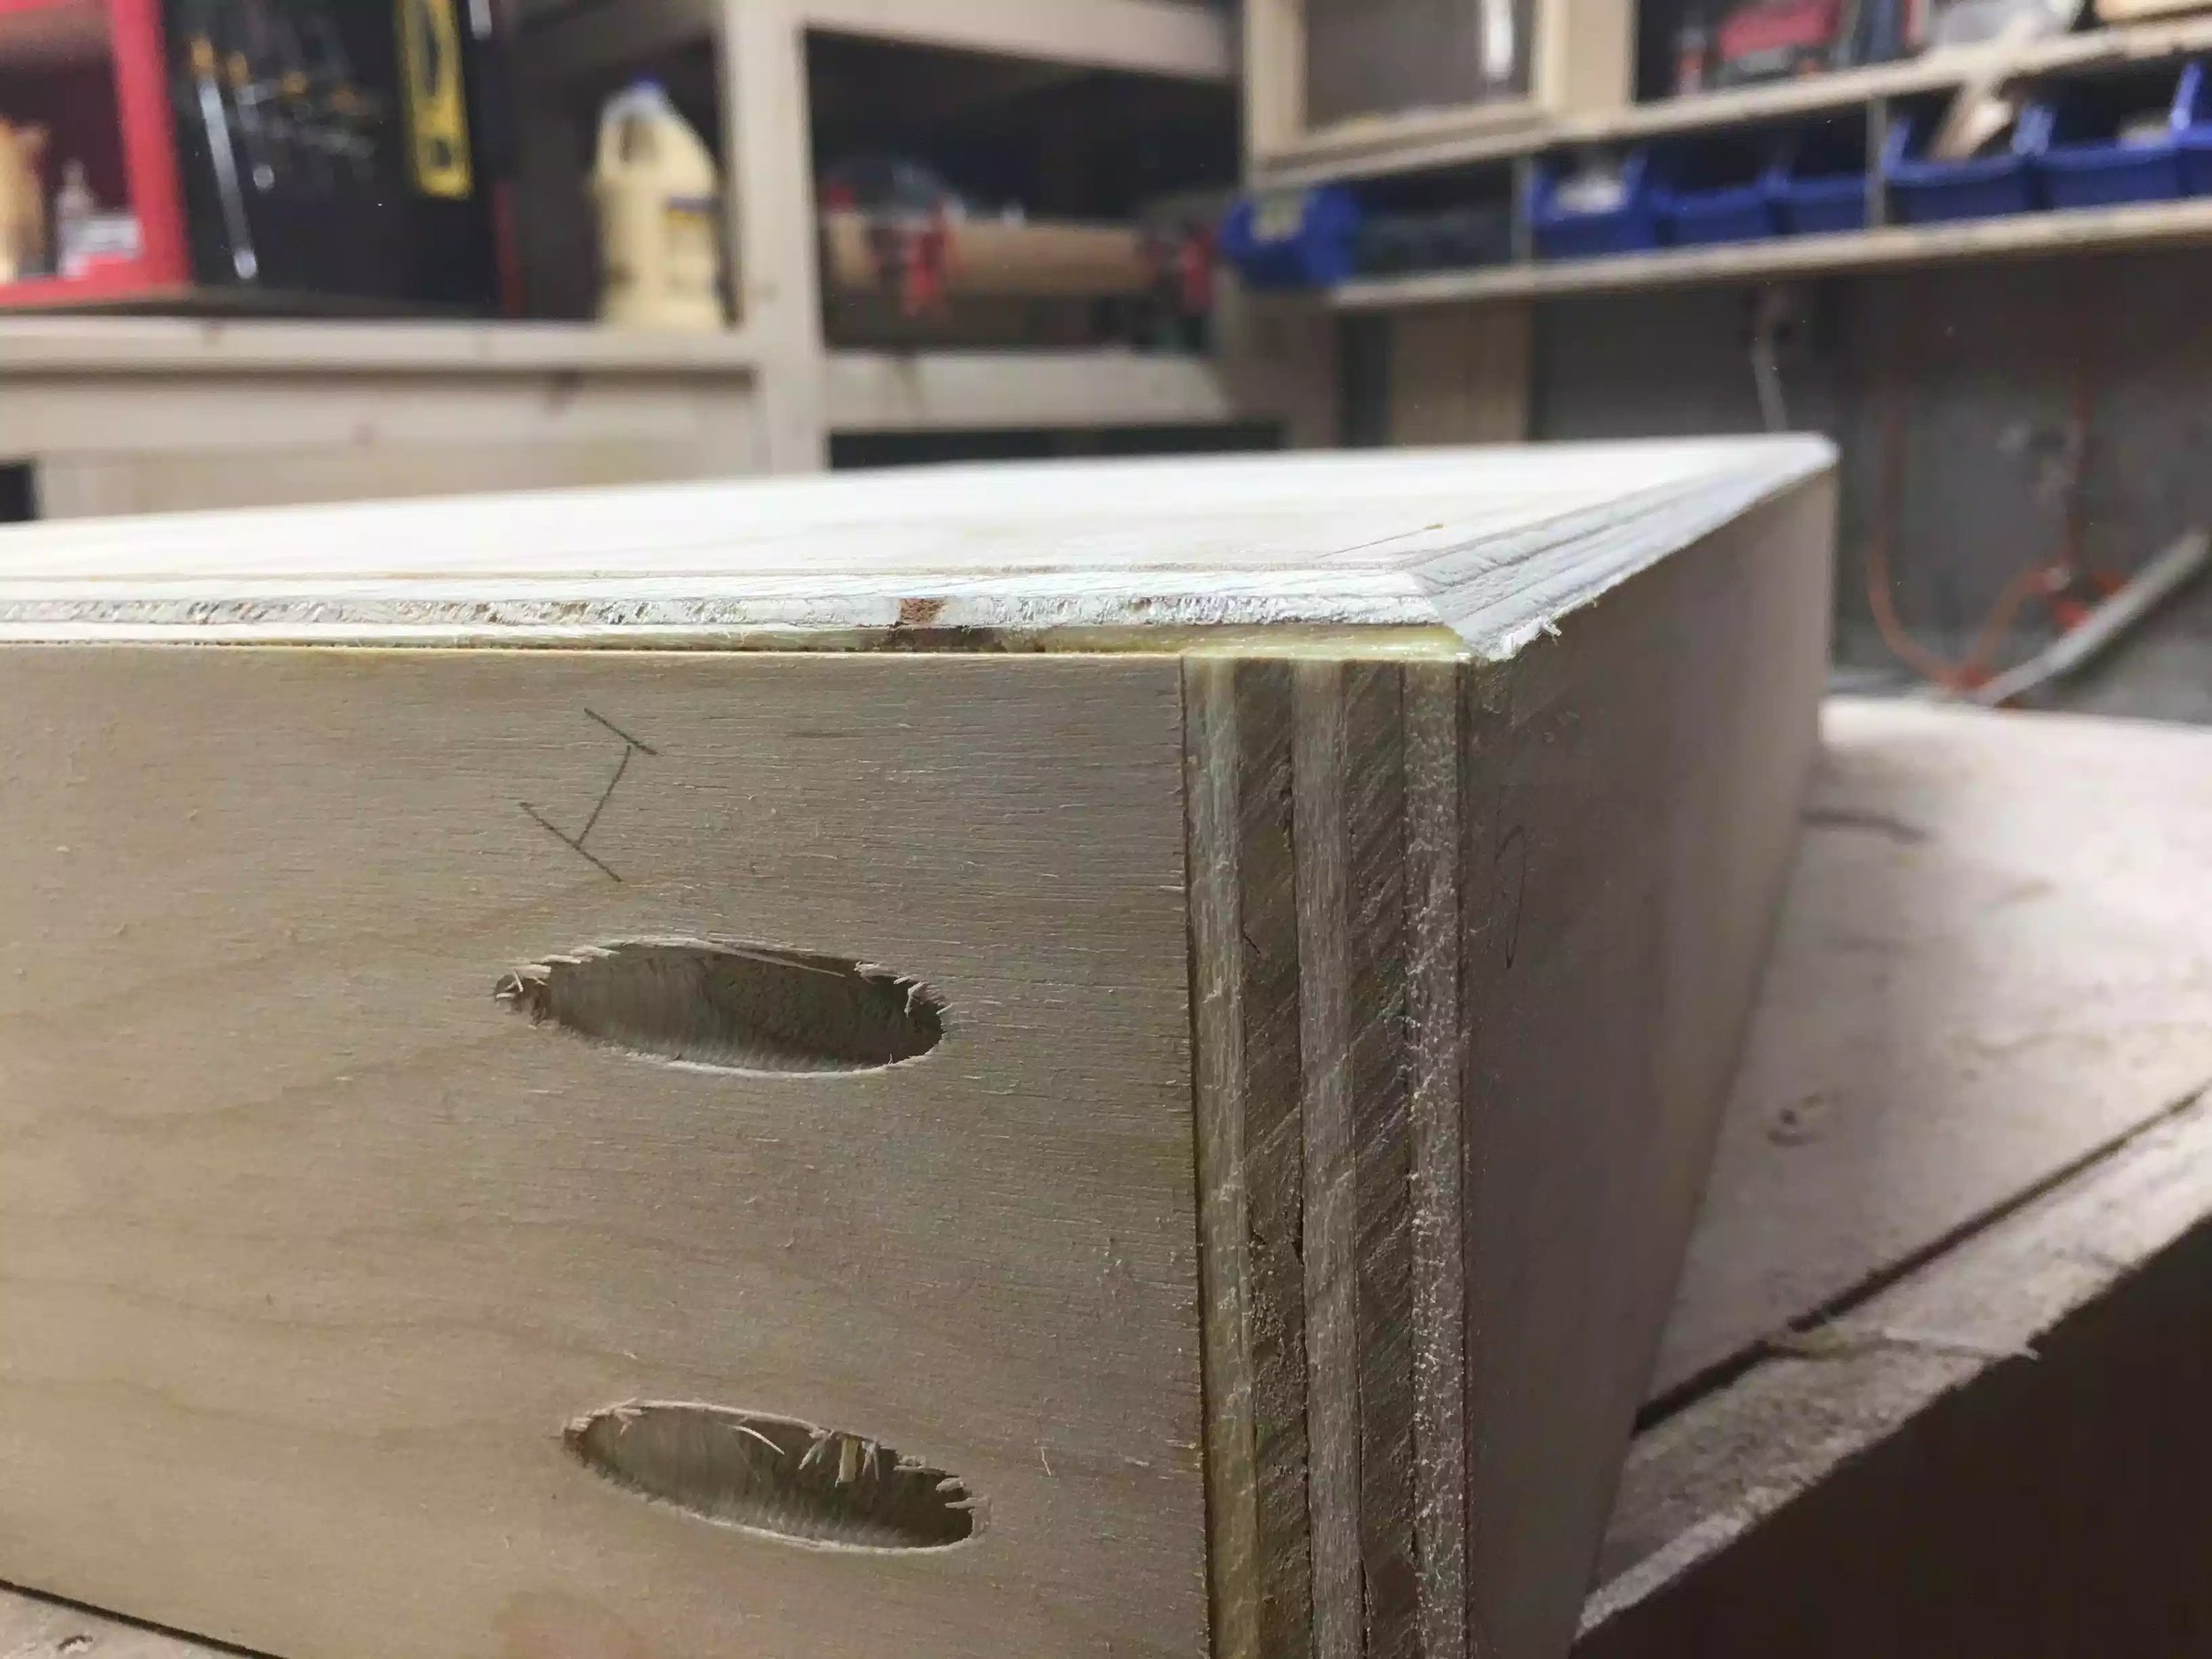
First I went to the drill press and using a forstner bit I drilled 3/8” diameter holes and then came back with a 3/16” drill bit to finish the holes with screw holes that way when I screw the cleats into the box I will not run the risk of splitting the cleats or the box parts. I also need to do this part before the glue up because I would not be able to fit my drill/driver to reach the angle of the screws.
While I was at the drill press I also decided to drill all holes for the project on the box pieces because I will be attaching the base with screws and glue and I will be returning to add wooden plugs to cover the screws. (more about that later)

“Here are the cleats receiving their 3/8” diameter holes for the screws.
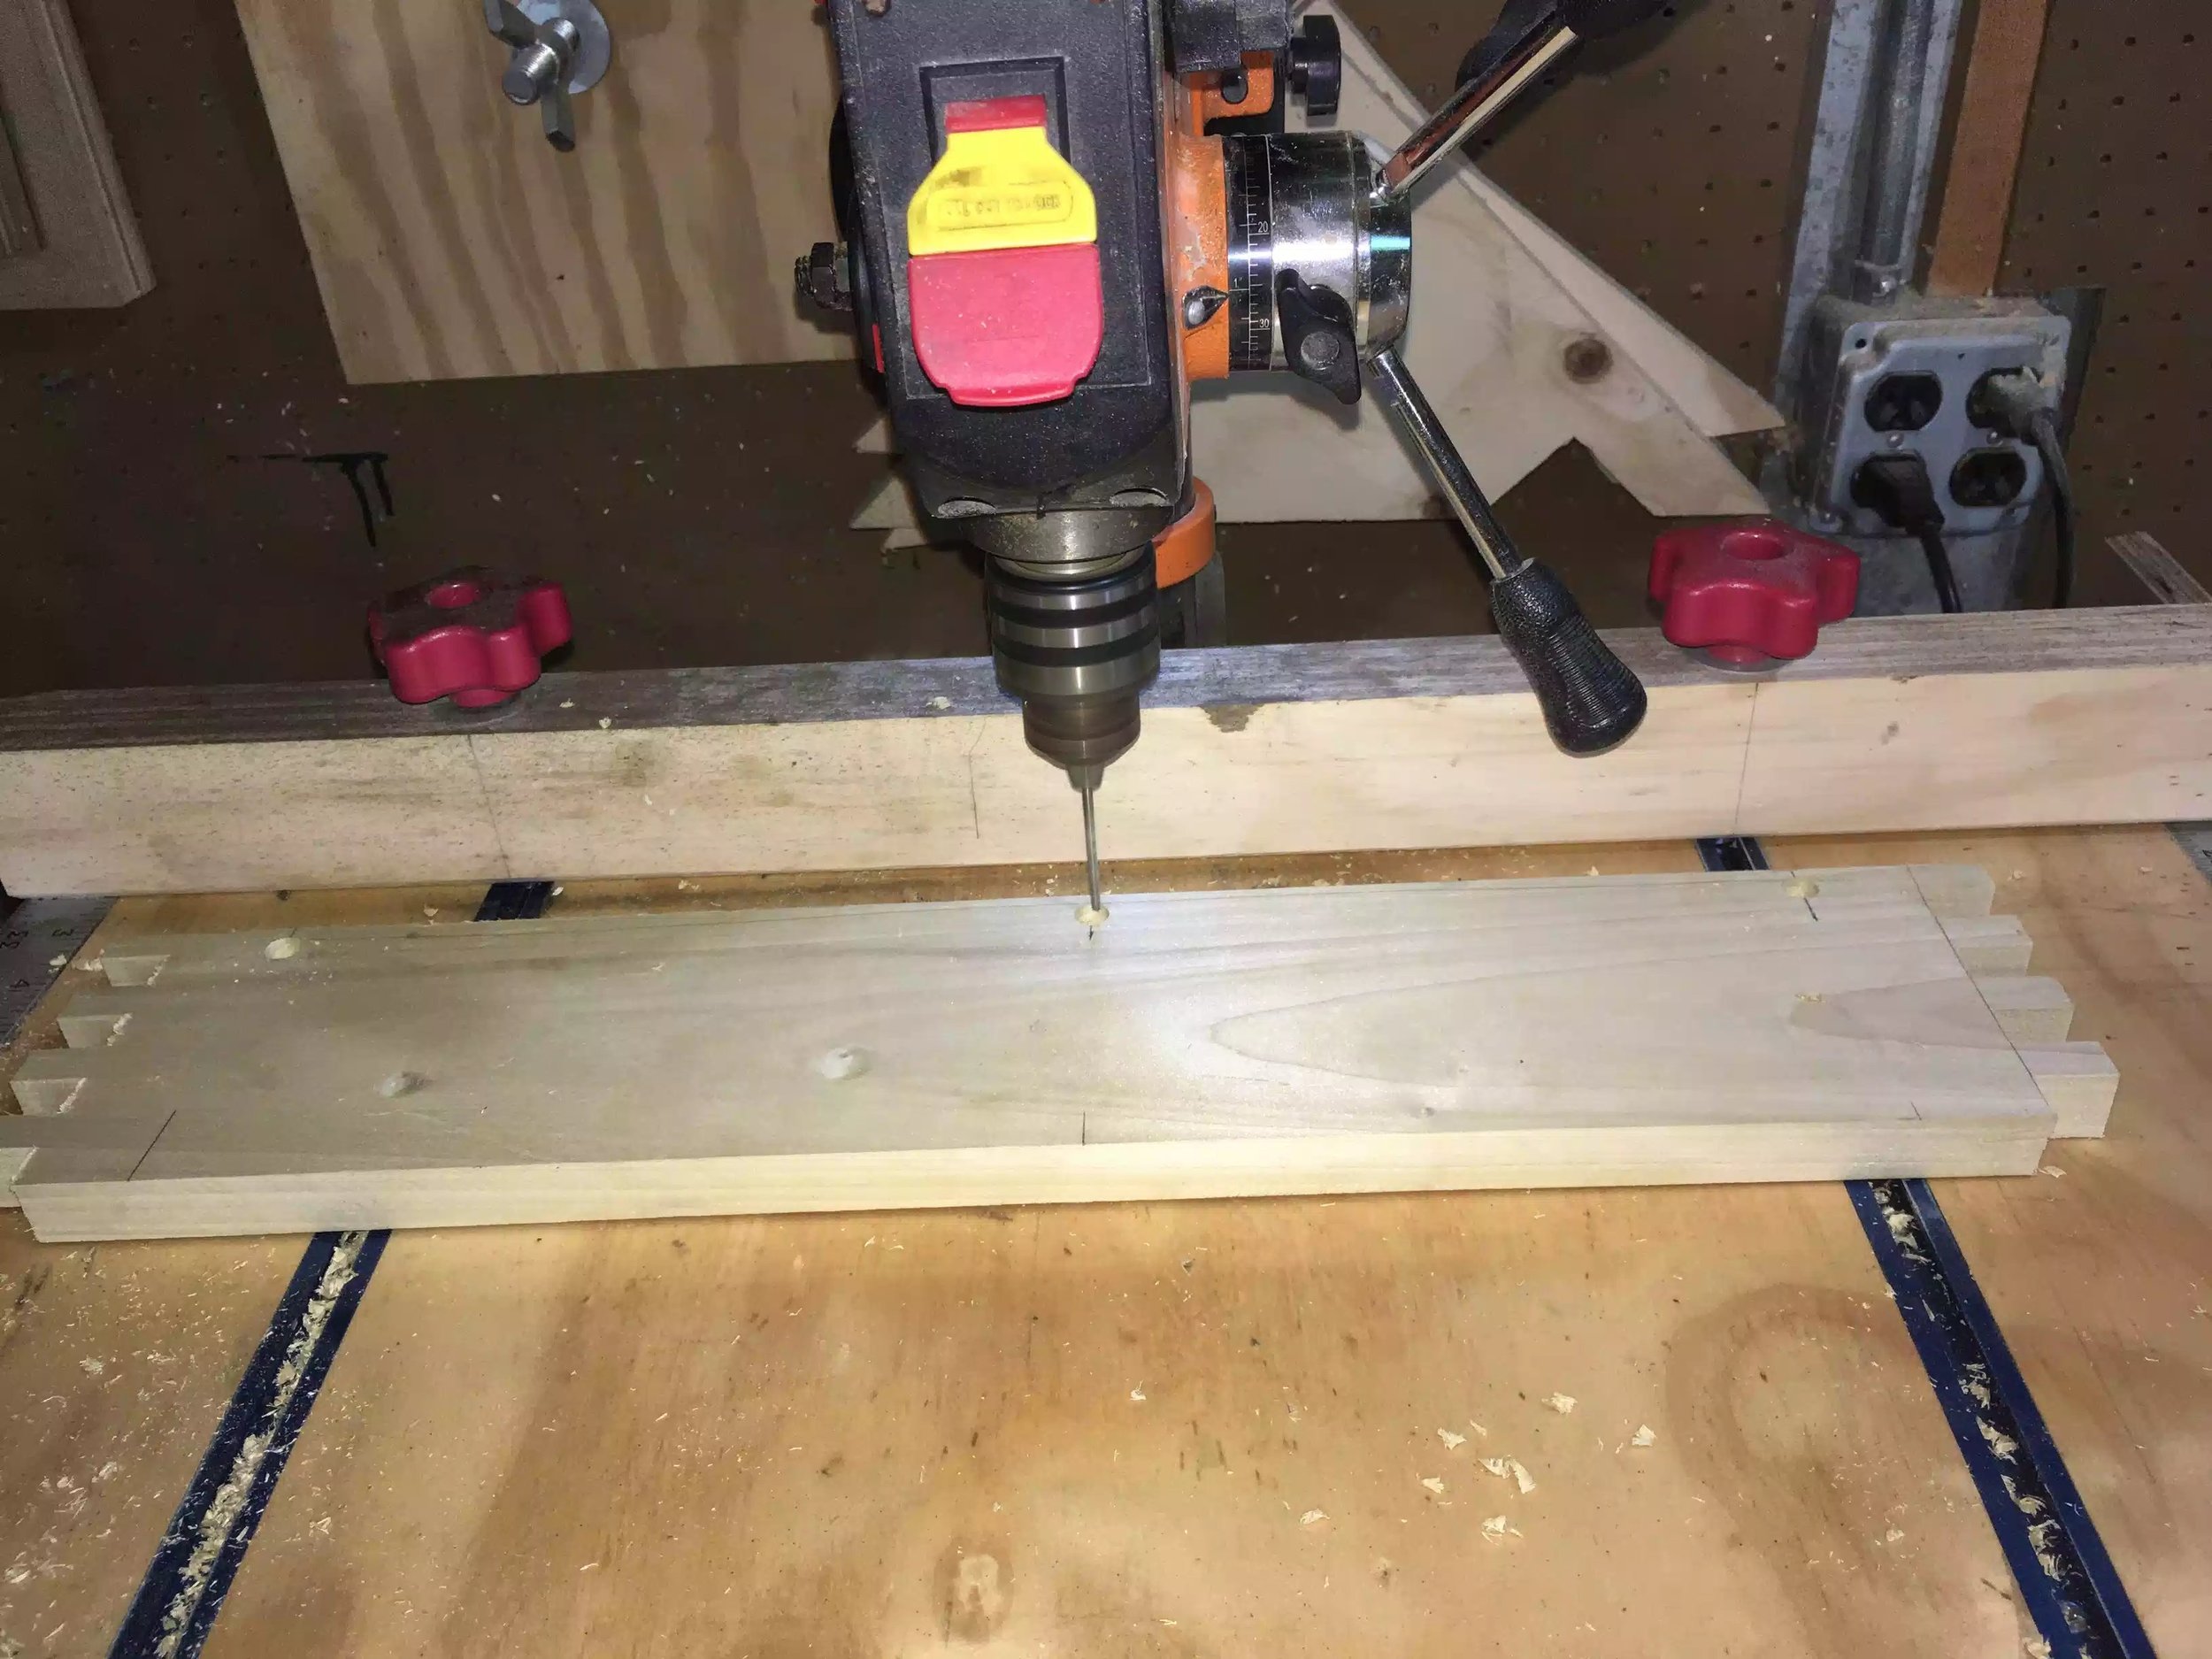
Here I am working on one of the sides, using smaller diameter drill bit to make through holes. Its so much easier doing this now than doing it after the box is assembled.

Here is the step before I actually screw the cleats in place, there is not much room and I thought it better to do this now than later, its always important to layout the steps of assembly that way you wont be pulling your hair out try to figure how to screw the cleats in place after the box is already assembled.
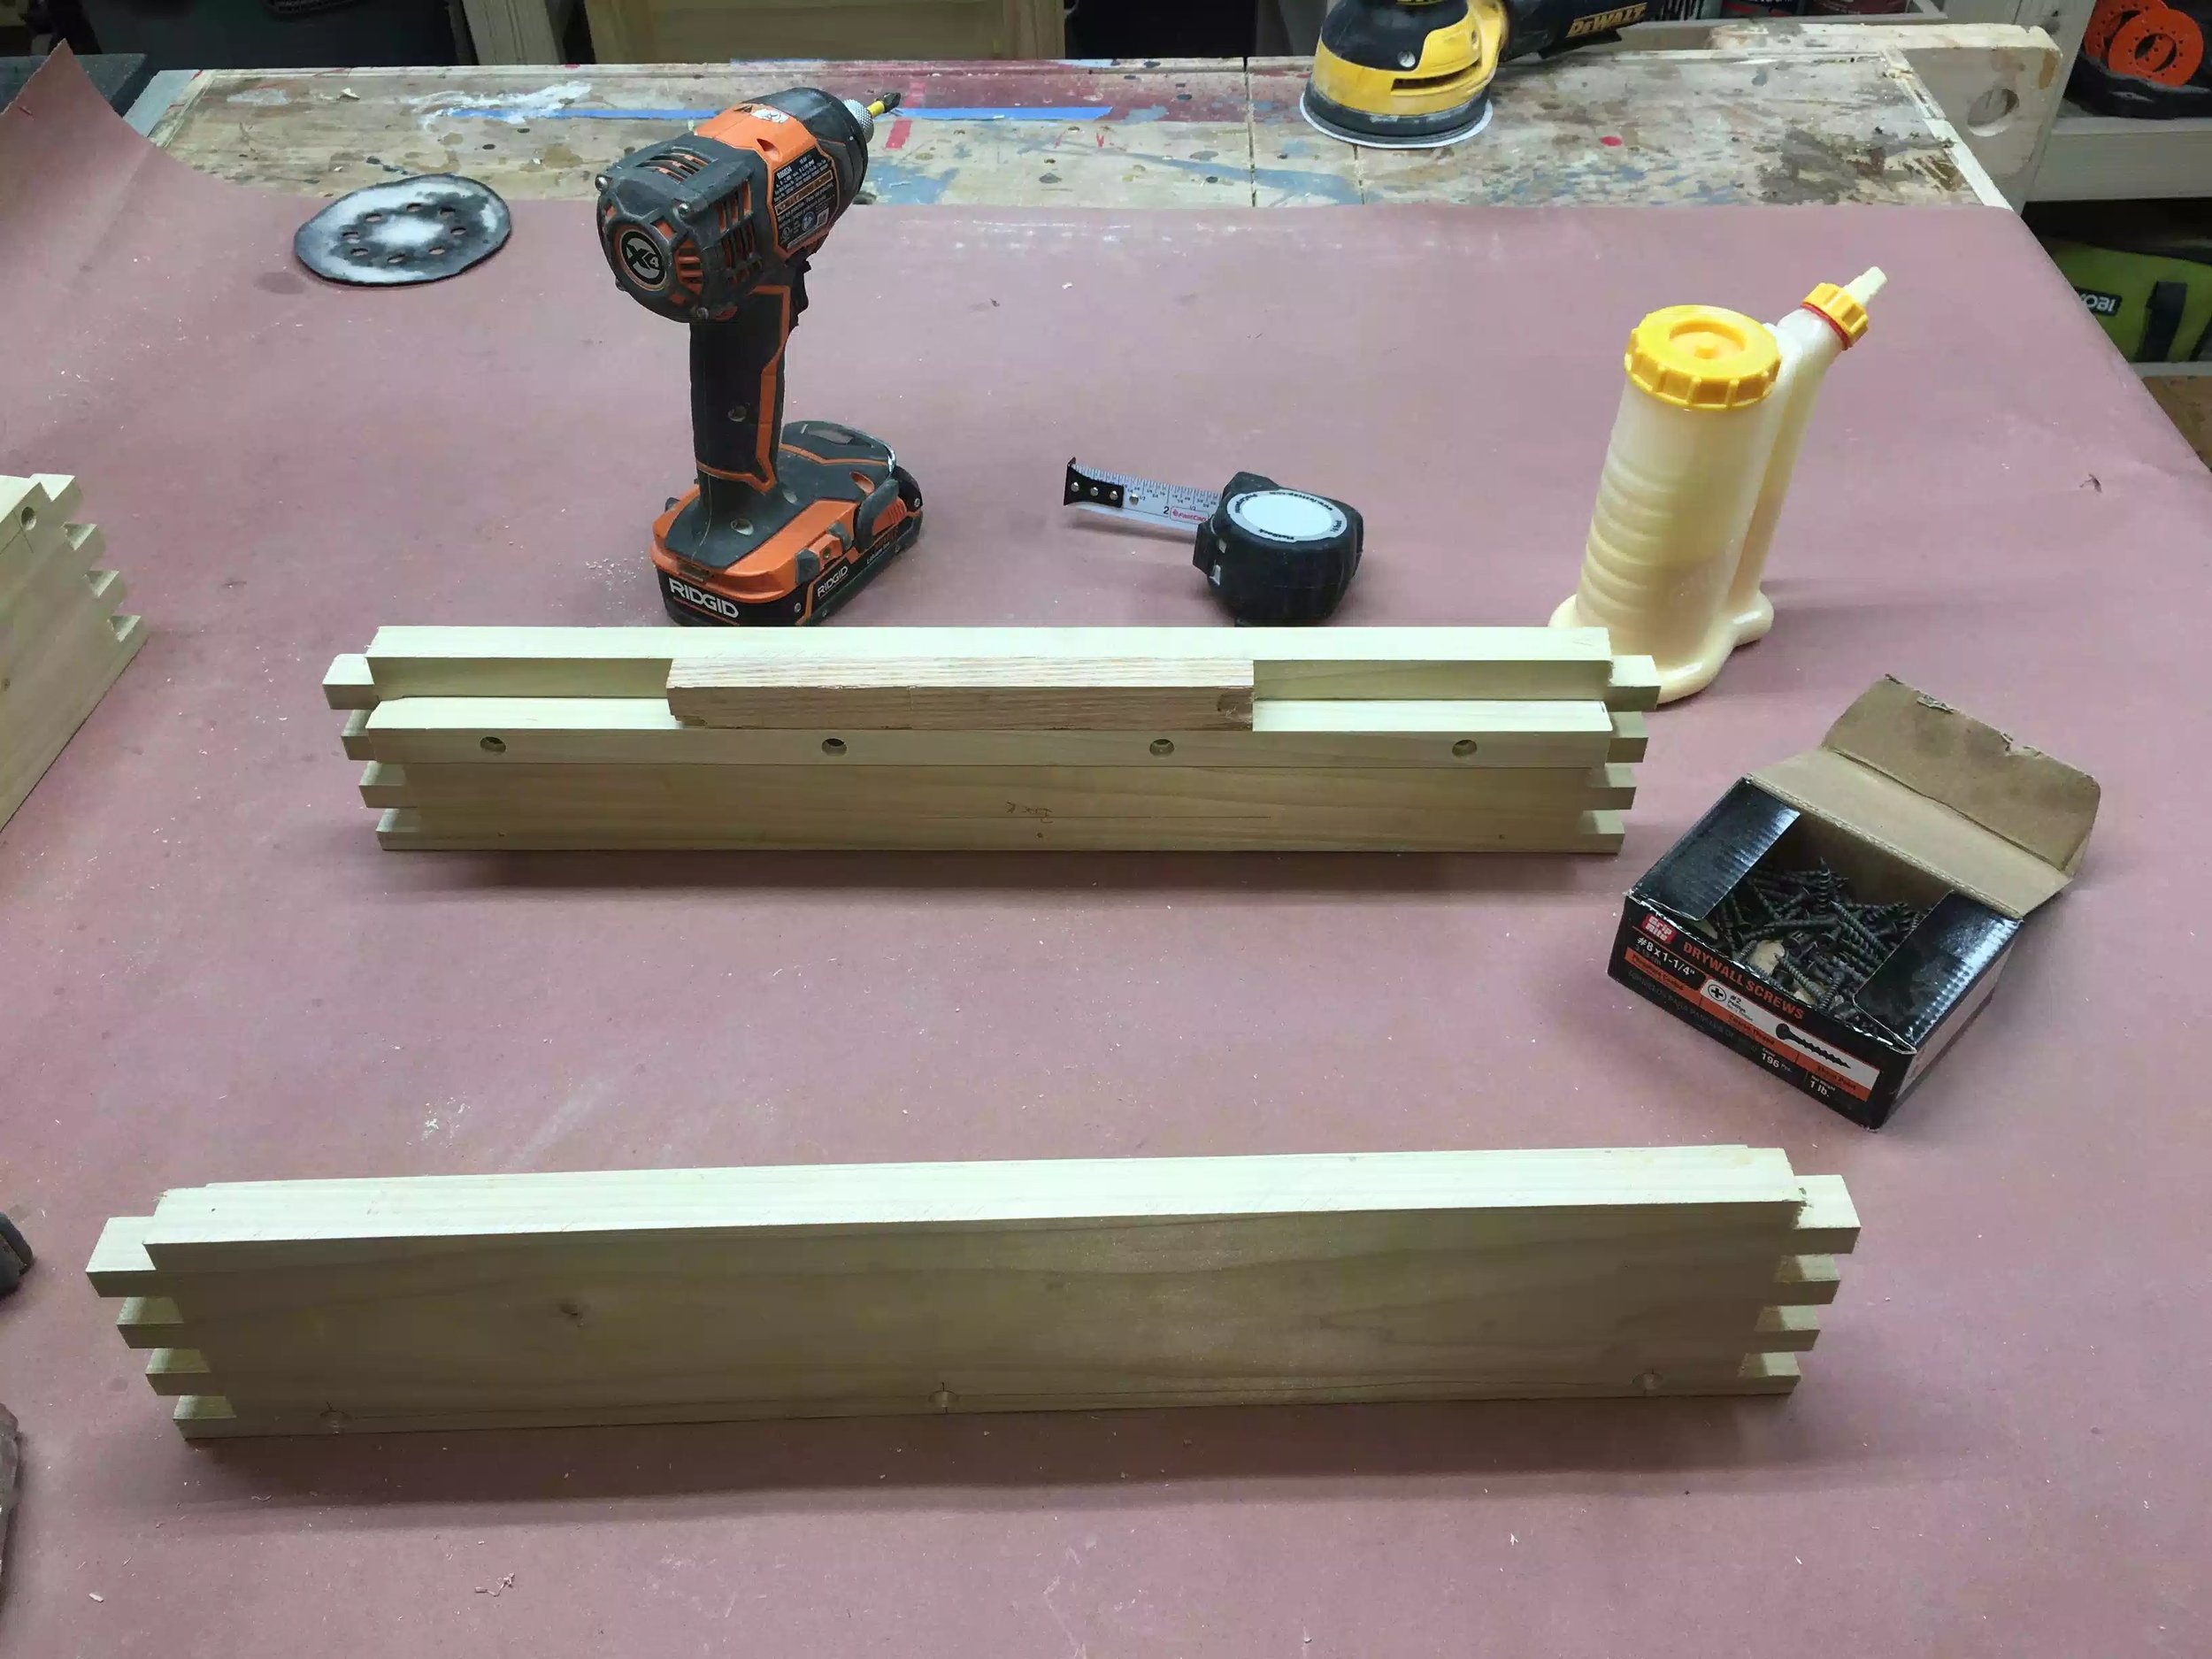
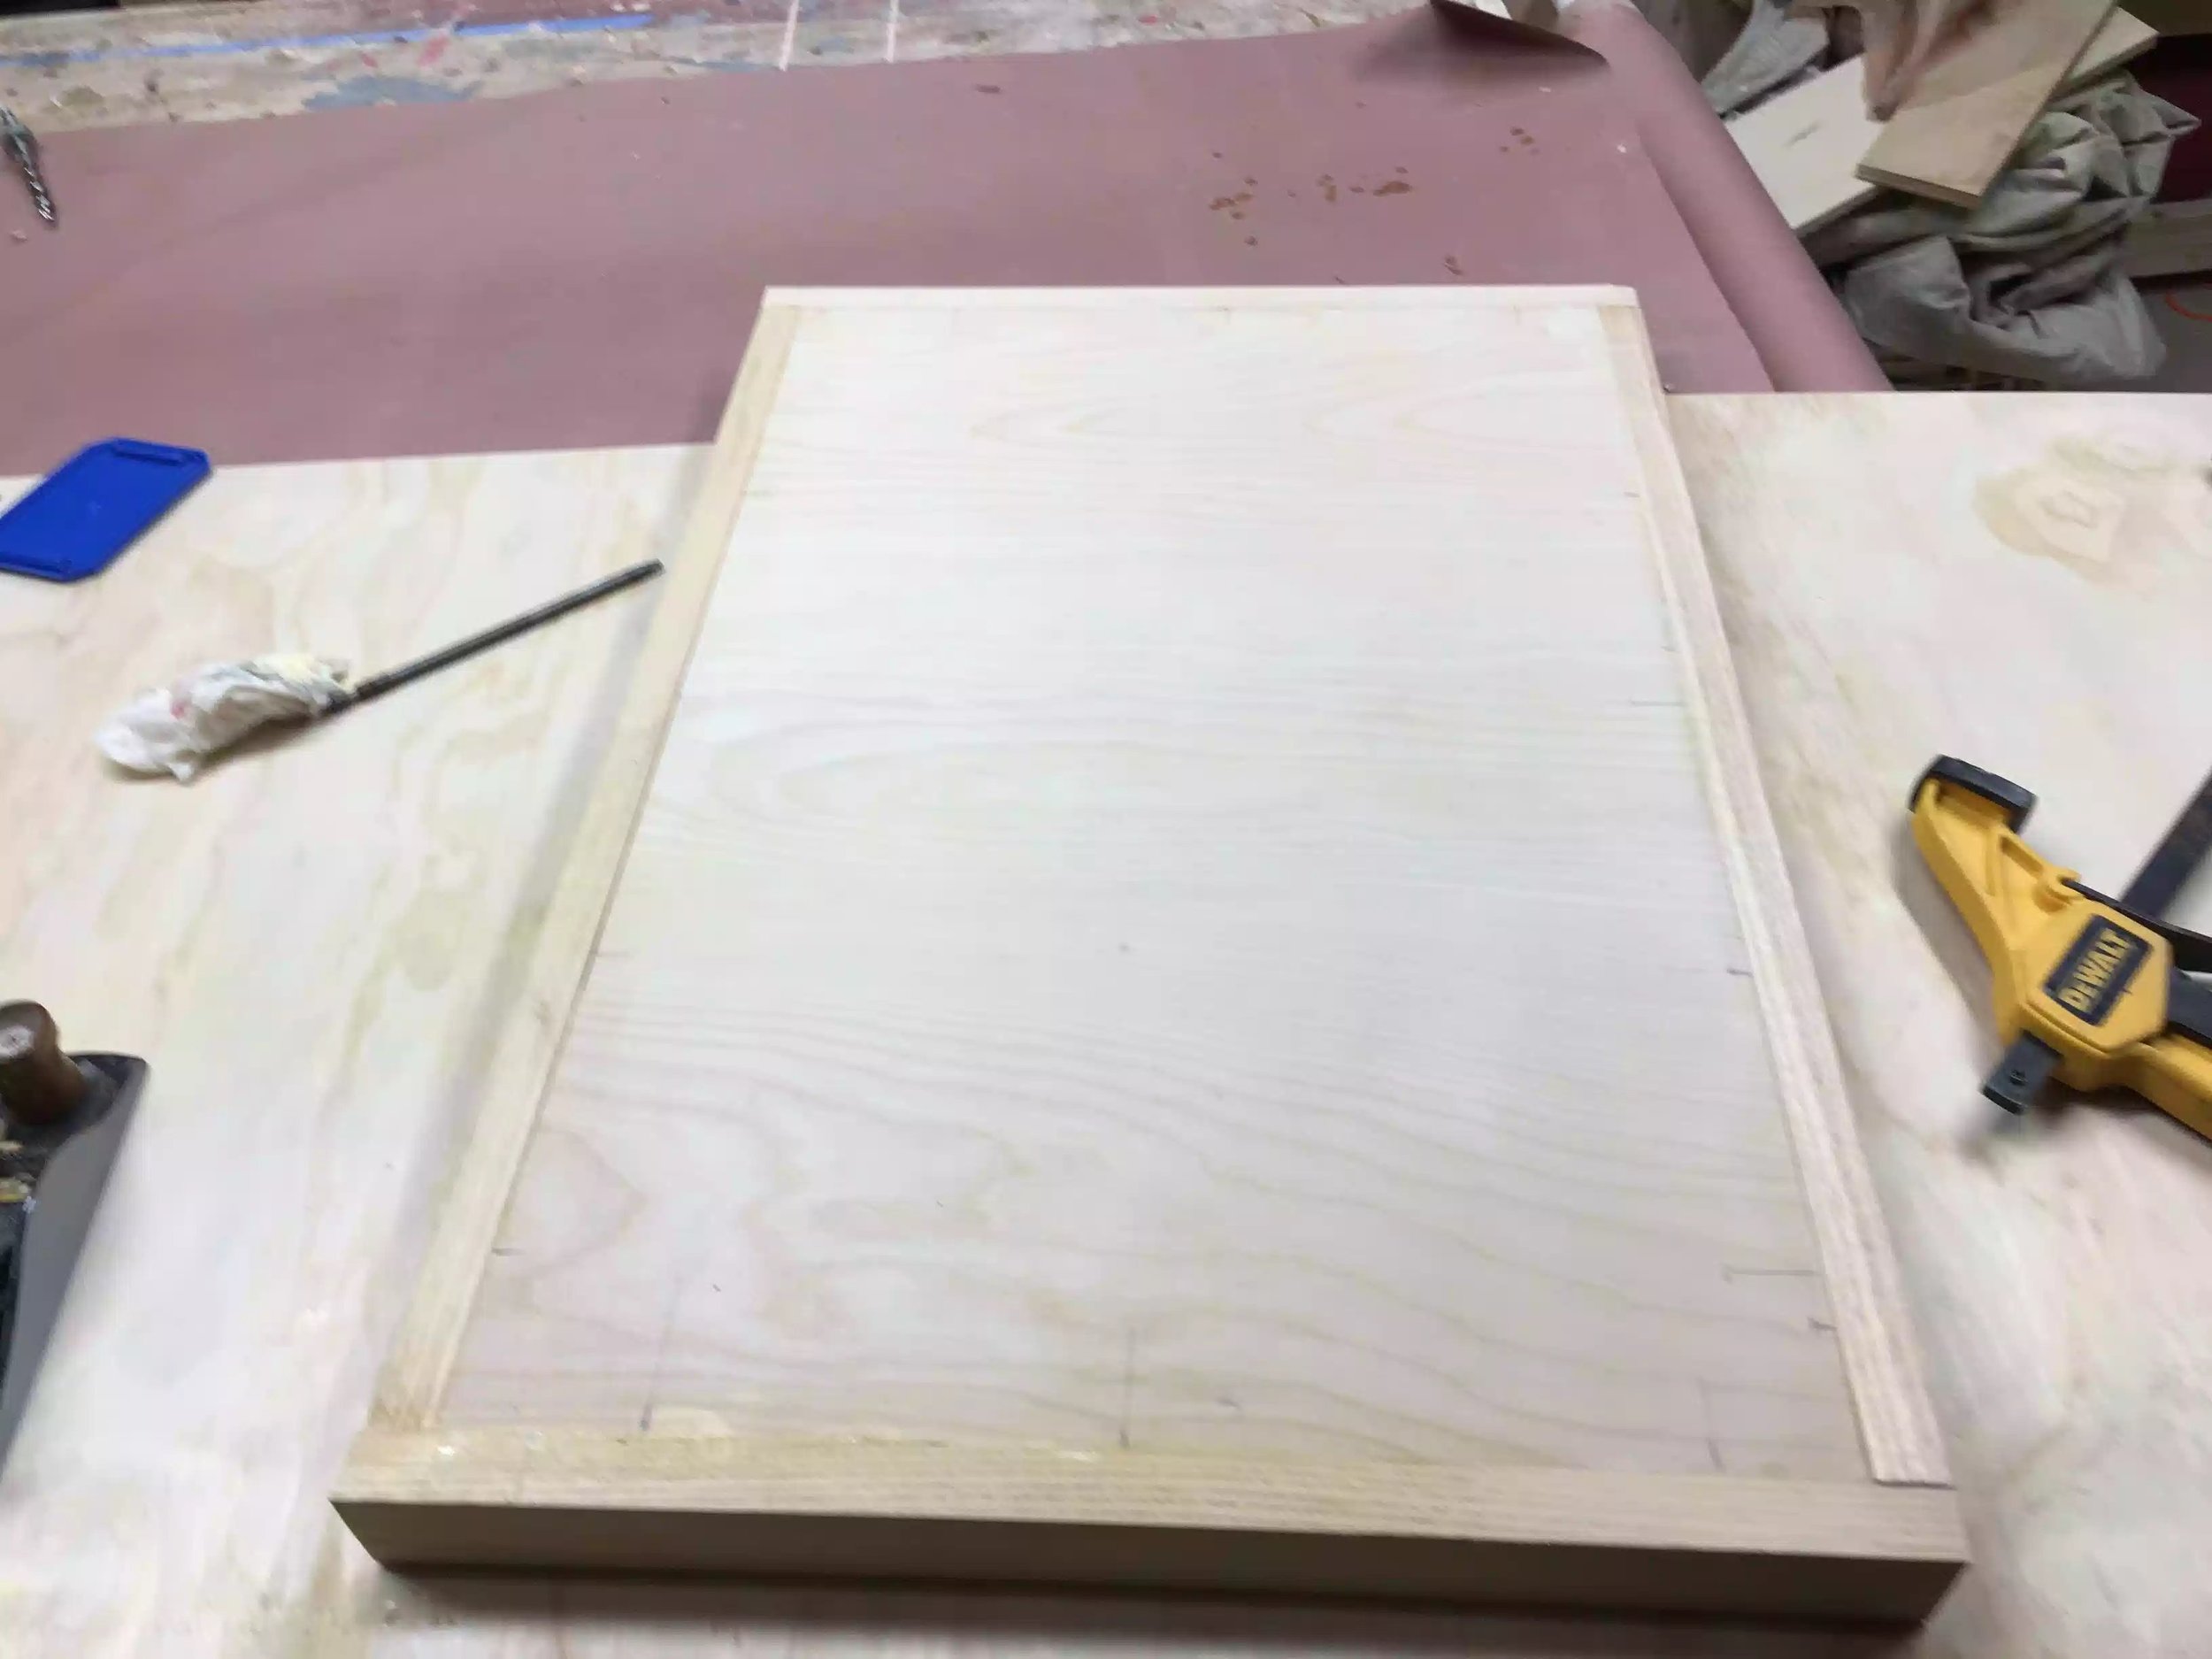
Using a spacer block to determine where to place the cleat so as that the tray is flush to the top and will not interfere with the sharpening of tools when I am actually using it. Everything looks fine so I screwed 4 screws into each cleat, overkill I’m sure but at least I am assured that it will never move.

I used a scrap piece of oak that I had to make sure the top would be flush, I also used a level to make sure. It all looks fine.
THE SIDES
So before I get to working on glueing everything up there is still a few things that need to be done, sometimes its easier to get shaping and milling done before the glue up and in this case I need to add a few features to the sides before I do that.
I wanted to add a finger relief in the sides to aid me when I needed to remove the top tray to get access.
To create the arc that would be convenient to use I used a sanding sleeve from my spindle sander to draw a semi-circle half way down the length of the sides, this center it from the left and right sides, and since I was going to use my spindle sander to finish sand it I thought what better way to get a best curve.
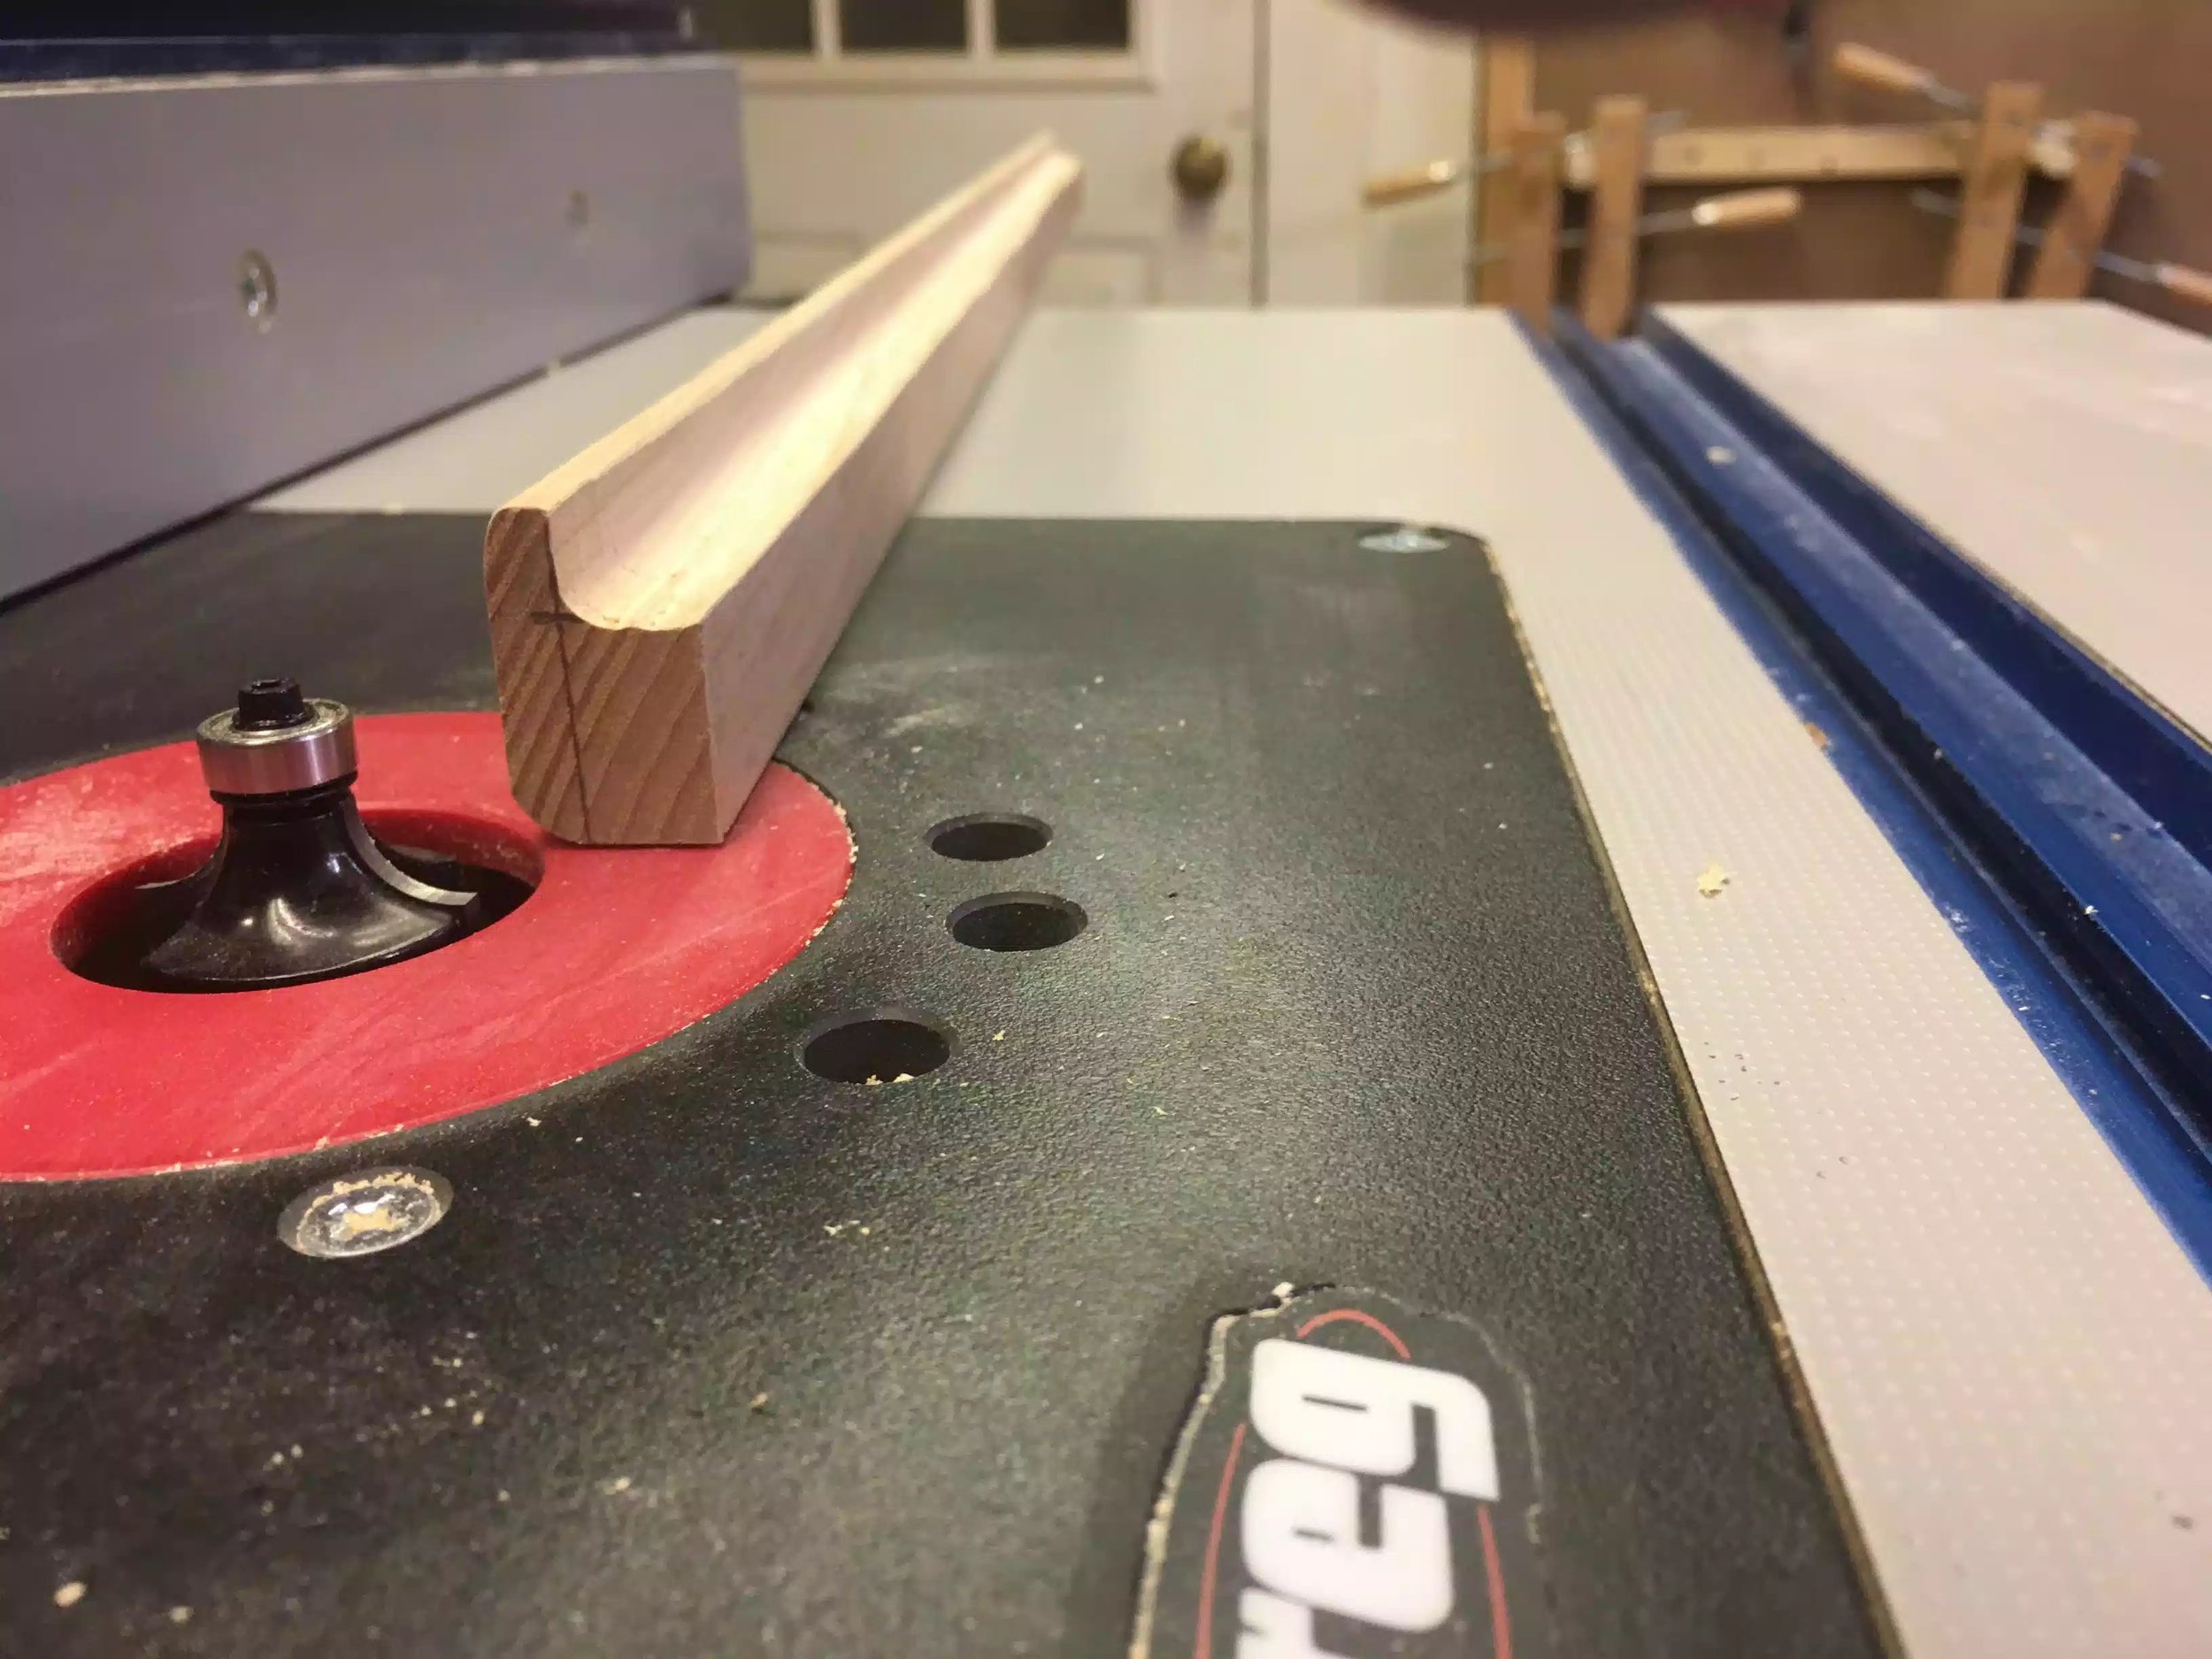
I took the sides to my band-saw and gang cut the semi-circles out together and then smoothed them out on the spindle sander, as an after thought I decided to use my palm router to add a rounder on the cut outs as they were a little catchy and I didn’t want to scratch myself when I placed my fingers in there to remove the tray.

Here you can see the spindle sander sleeve that I used to create the arc. I used double sided tape to stick both sides together for the cutting and sanding parts of this step.

Here is the spindle sander sanding both sides to remove all the milling marks left by the band saw.

I am using my palm router to add a 1/4” round-over to the cut outs and all the splinters were gone, in hind-sight I should of used a backer board to the left & right sides of the cut out because that wood was not supported when the router left the cut I had some tear-out but nothing that cant be fixed with some sanding.

Here is the cutouts after I used the router on them, do you see the tear-out, no biggie it happens from time to time.
BOX GLUE-UP
After all that the box is finally ready to be glued up, as I said before I did a dry rehearsal before actually applying glue so I had an order in my mind as to how to complete this process.
I applied glue to all surfaces of the finger joint except on the faces that would be see on the outside of the box, that is why this joint is very strong, its not as strong as a dovetail joint but it close enough for what I need it for.

I used a total of 8 clamps to glue this up making sure I was in square as I need to add the top tray and base after this has dried, out of square would be a disaster
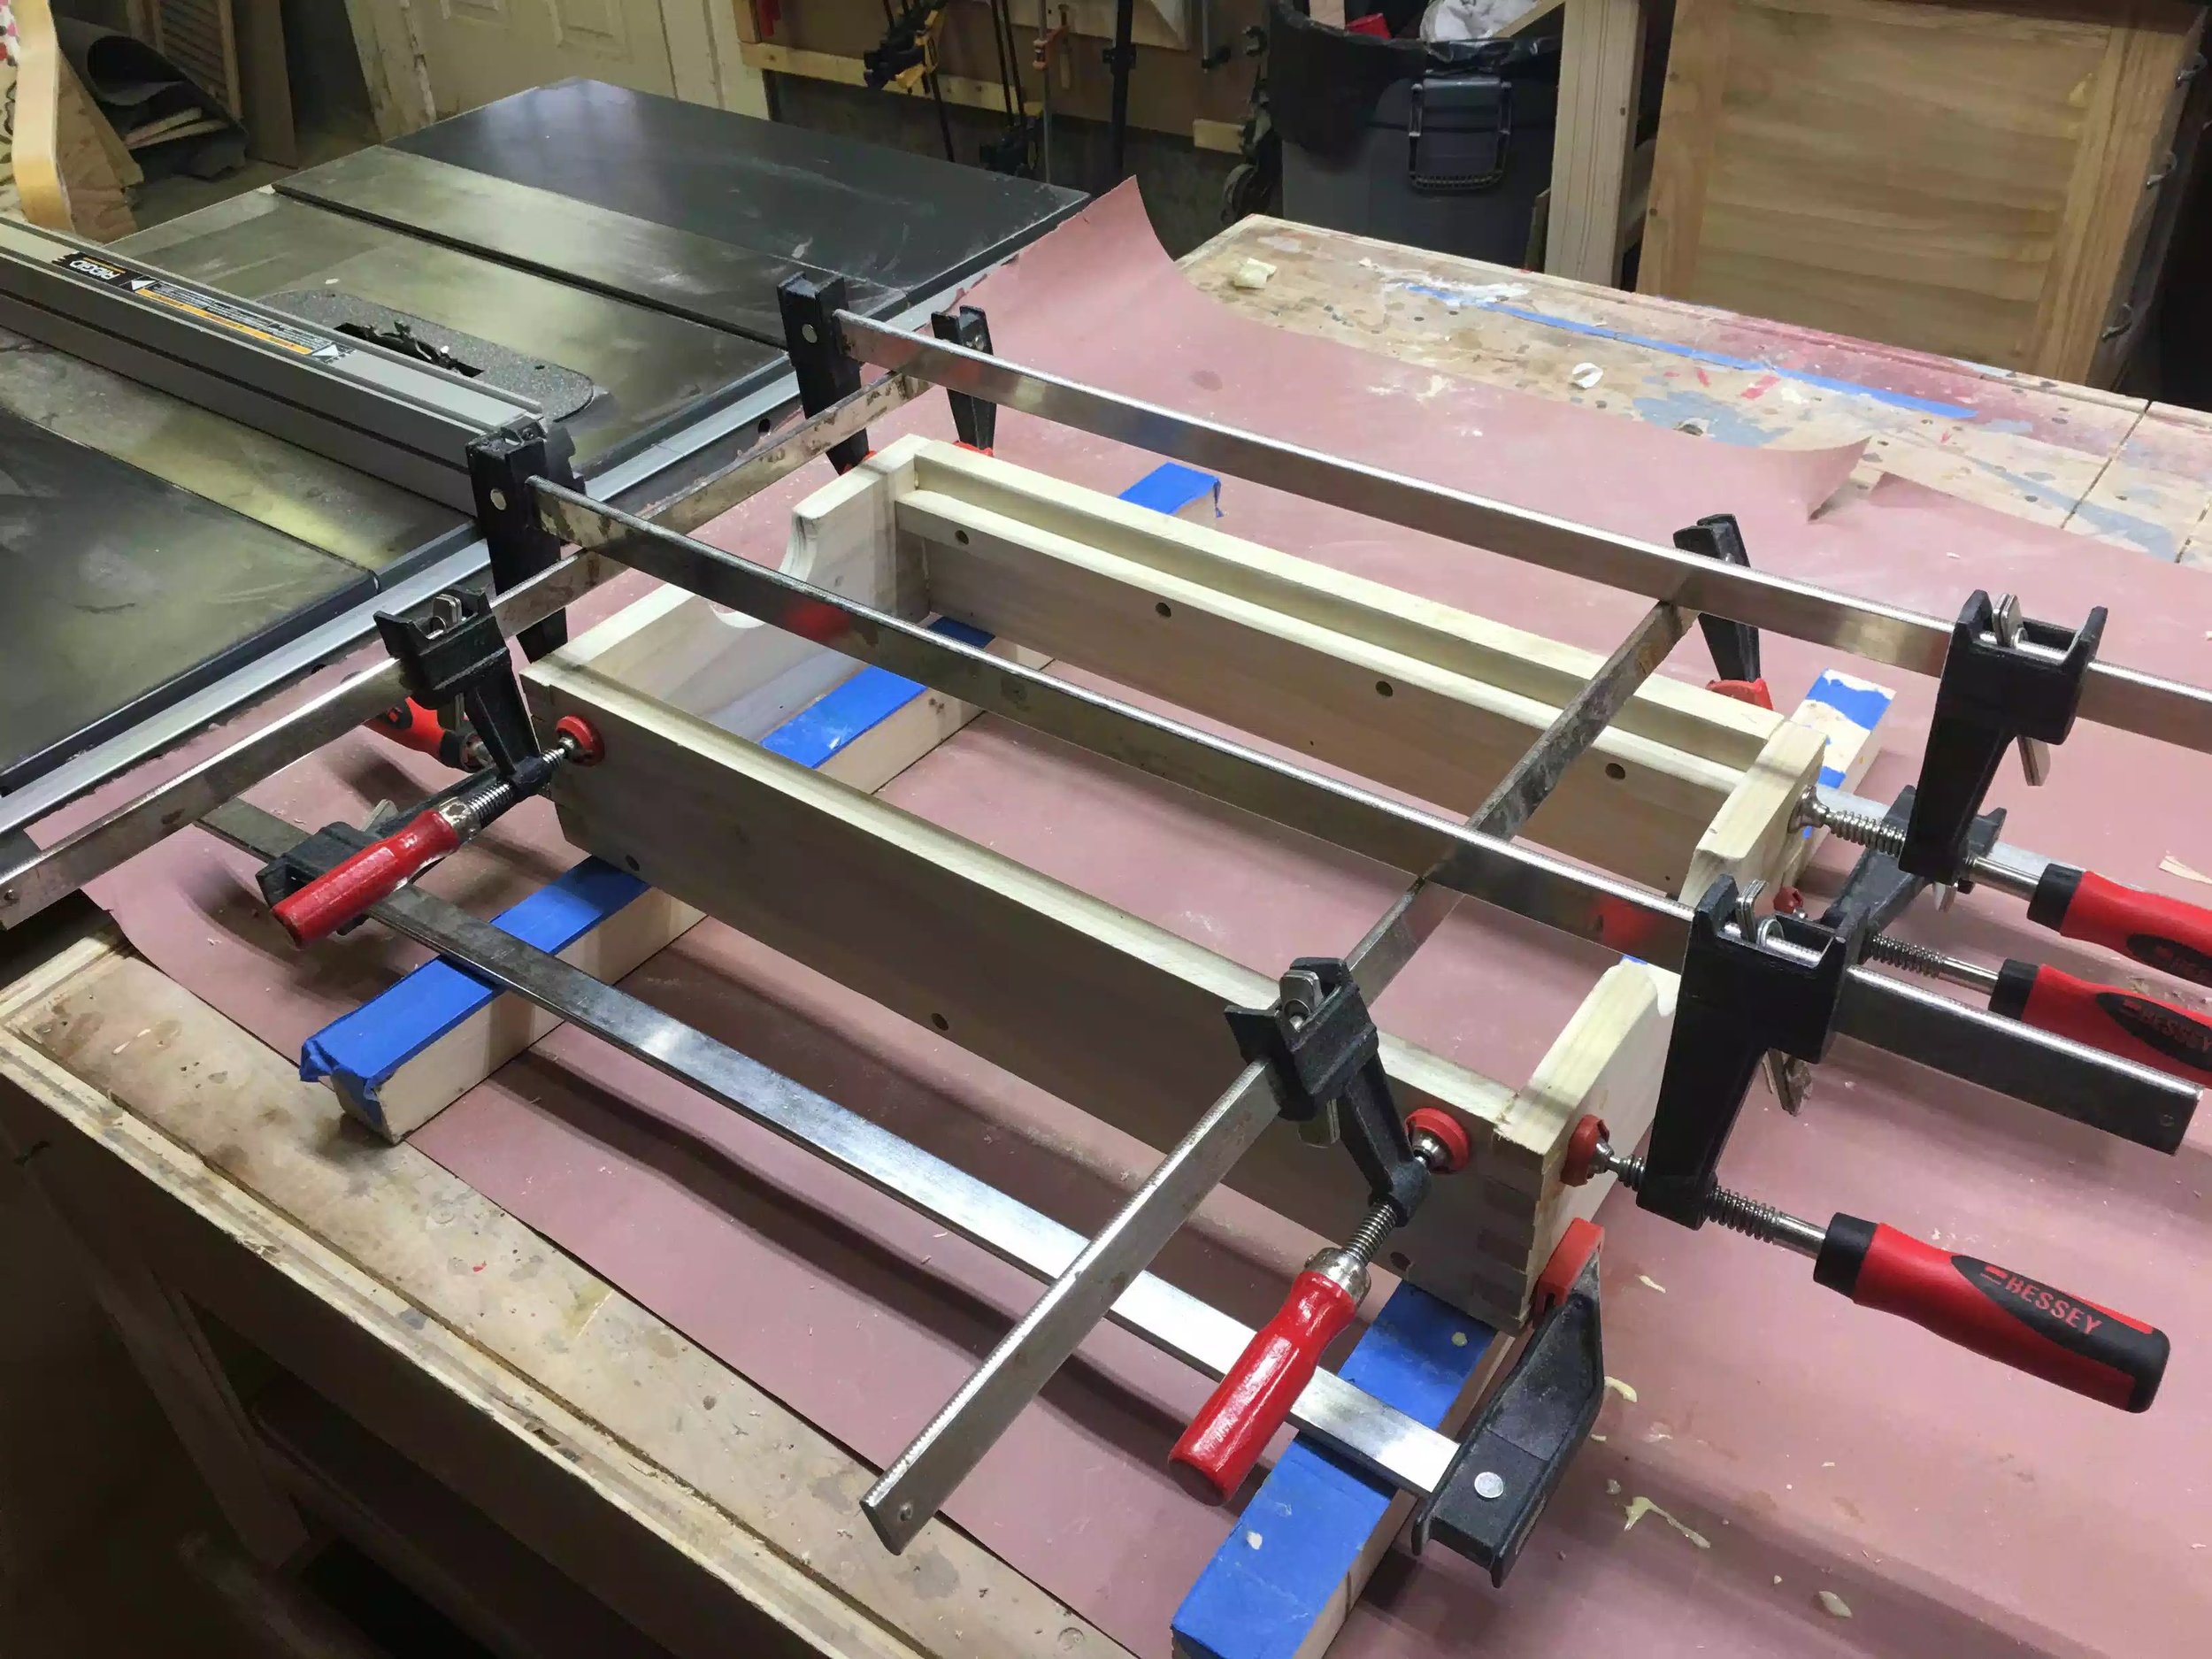
Here is another view of the glue-up

A close up of the box joints, they do look nice but I will have to clean them up after the glue sets.
That is all I had time for today, thanks for reading
NEXT
Cut the base to size.
Cut the top tray to size
Rout all the recesses for the sharpening stones in the tray, wishing I had a CNC machine at this moment in time lol.
Make handles for the sides
Apply a finish.