


So things have been very crazy and I have not gotten down to the shop in a day or so , please remember that if you undertake this project it will not take almost a week to complete, I might only get 1-2 hours at a time in the shop , this project should only take a weekend in the shop to complete.
So Here is what I done today
- Made / Attached the top
- Attached the drawer false fronts
MAKING THE TOP
Making the top is very straight forward thanks to the pocket holes, all it takes is a plywood panel cut to size and some hardwood. Here are the steps I took making the top
- I cut the plywood panel to its final size
- I took the ash hardwood panel I purchased the other day and cut it into 1-1/2" wide strips
- I laid the hardwood pieces around the plywood panel to get length needed, I then used my Japanese pull saw to cut these strips to length
- Next I needed to put the pocket holes in the underside of the plywood
- I clamped all the hardwood pieces around the plywood added glue and screwed the hardwood to the panel.
- I will still need to sand the plywood top and apply the finish to it but that's next.
- Finally I need to attach the supports to the underside of the plywood so as that I can attach the top to the cabinet by screwing up from underneath the stretchers I used when building the cabinet

Here is my bench top bench holding the ash hardwood before using my Japanese pull saw to cut the piece to final length ( Ireally love this bench top bench, I should make plans available to make it)

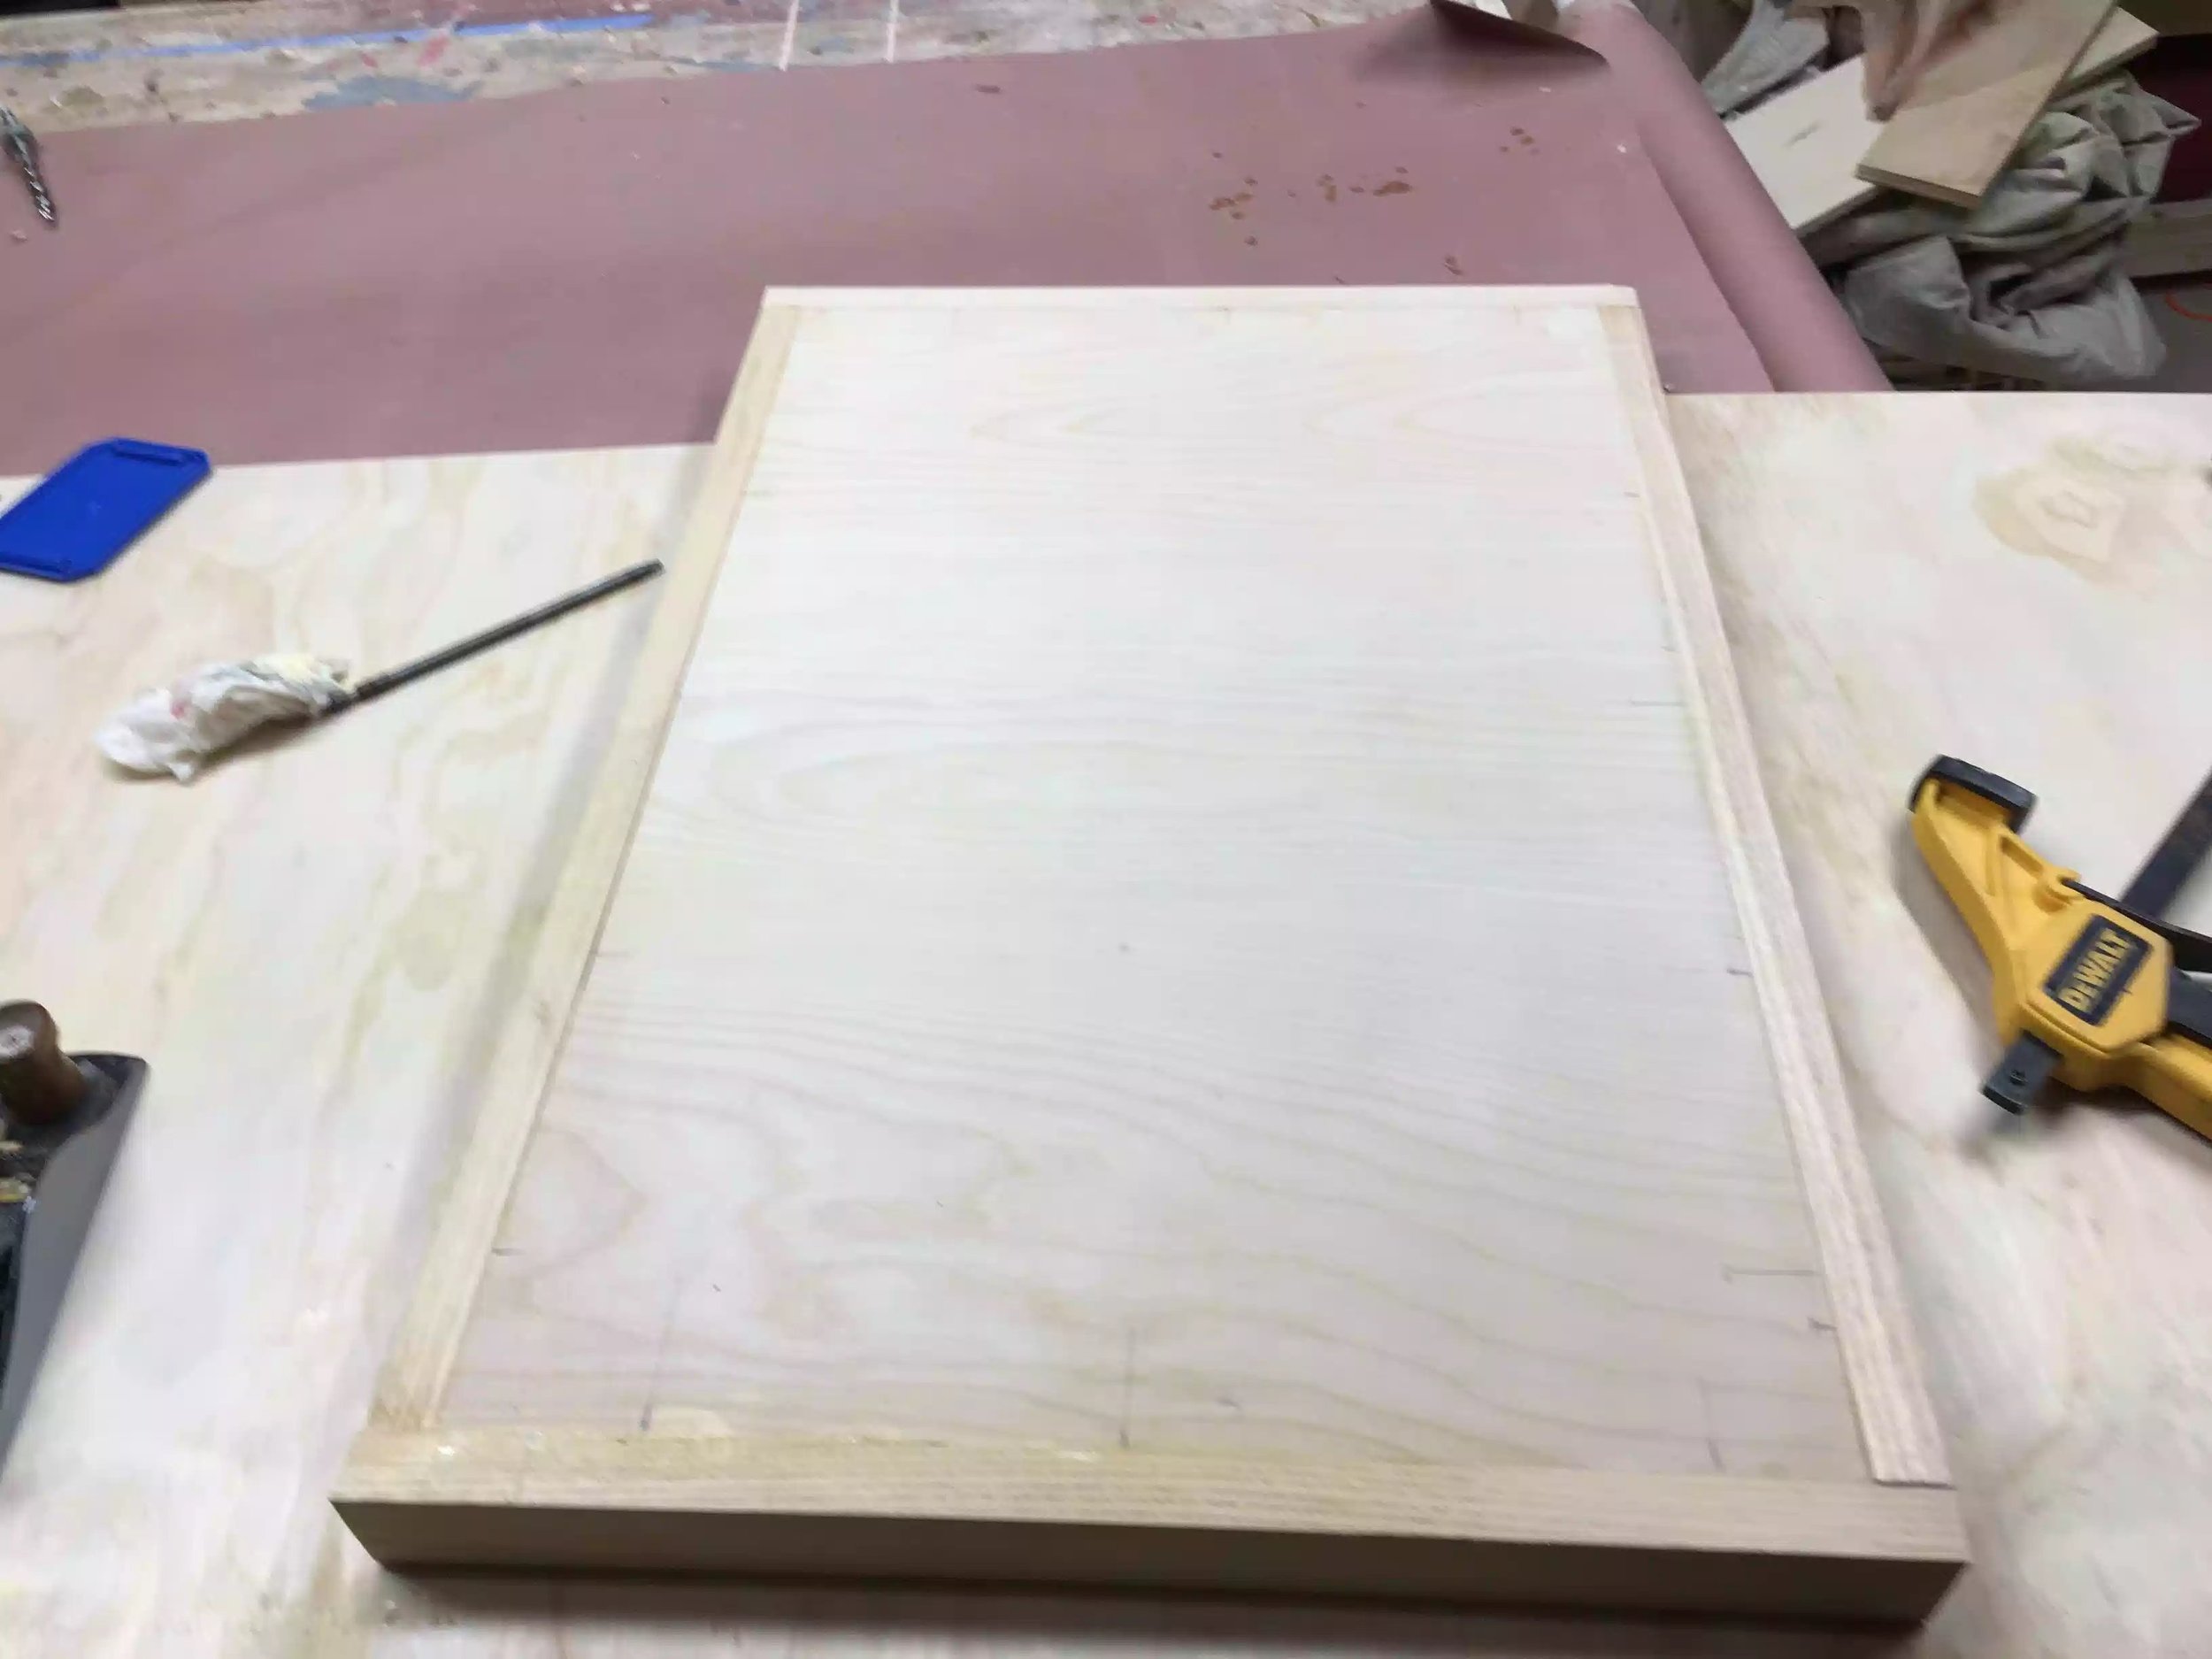
Here you can see the underside of the top, its all clamped up and the hardwood is ready to be added. I still need to add the cleats to the left & right of the panel so as that I can attach it to the cabinet.

Here is the top almost finished, just need sand and apply the finish.
Here is another angle of the top

Here you see the under side of the top, the solid wood edges give the look that it is very thick, but its all an illusiion.
ATTACHING THE DRAWER FALSE FRONTS
The last couple of days I have been applying several coats of polycrylic to the drawer fronts and cabinet so today it was time to attach them to the cabinet drawers themselves.
Here are the steps I took to attaching them.
- I added a 1/8" thick spacer to the underside of the false front
- The keep the false front in position while I screwed them I used clamps and pre-drilled the inside of the drawer to receive the 1-1/4" screws that hold the false fronts in place.

Here you can the spring clamps holding the false front in place, you can also see the 1/8" thick spacer under the false front.

Here is where I attached the screws to hold the false fronts, Im placed the screws to either side of the drawers because I still need to add drawer pulls that I will be making this week.
Here is what the cart looks like after todays activities

Here is a side view of the cabinet, I just love the look of the hardwood around the top, I also love the full extension drawer slides as I can reach the very back of each drawer, which comes in very handy for utilising all the storage space in each drawer.

Here you can see the front of my cabinet, I love how the grain runs from top to bottom on the false fronts.

Here is the top all attached, just need to sand it some more and apply the finish to it.
NEXT
- Since I am using castors that are currently on a cart that I am replacing this with I need to remove them and attach them to this new cart.
- I need to make and attach the drawer pulls that I found online. It entails a lot of router work.
- Finally need to apply the last coats to the top.
Until then take care