FOR THE KIDS
GIANT JENGA
(03/2019)
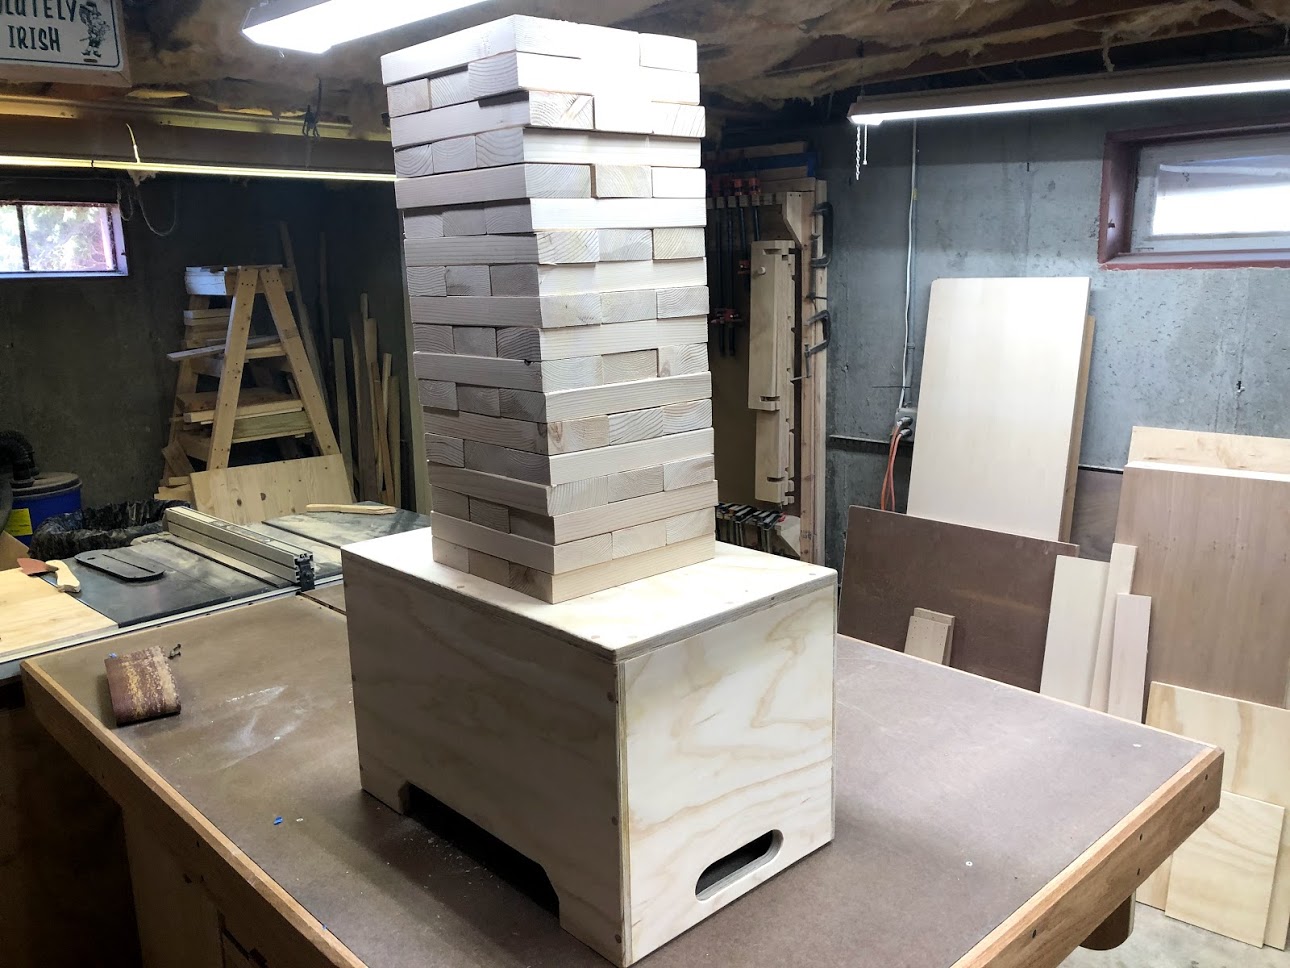
I decided with Summer just around the corner I wanted to add to my expanding yard game collection by making this Giant Jenga set. My son has loved playing the small version of this game over the winter period and when we played with it last year on Summer vacation I made a mental note to make it for him.
This project could not have been any easier and I used a lot of plywood scraps I had lying around for the storage box.
MATERIALS
I estimated that I needed a half sheet of 3/4” plywood and about 6 8’ lengths of 2”x4”.
JOINERY
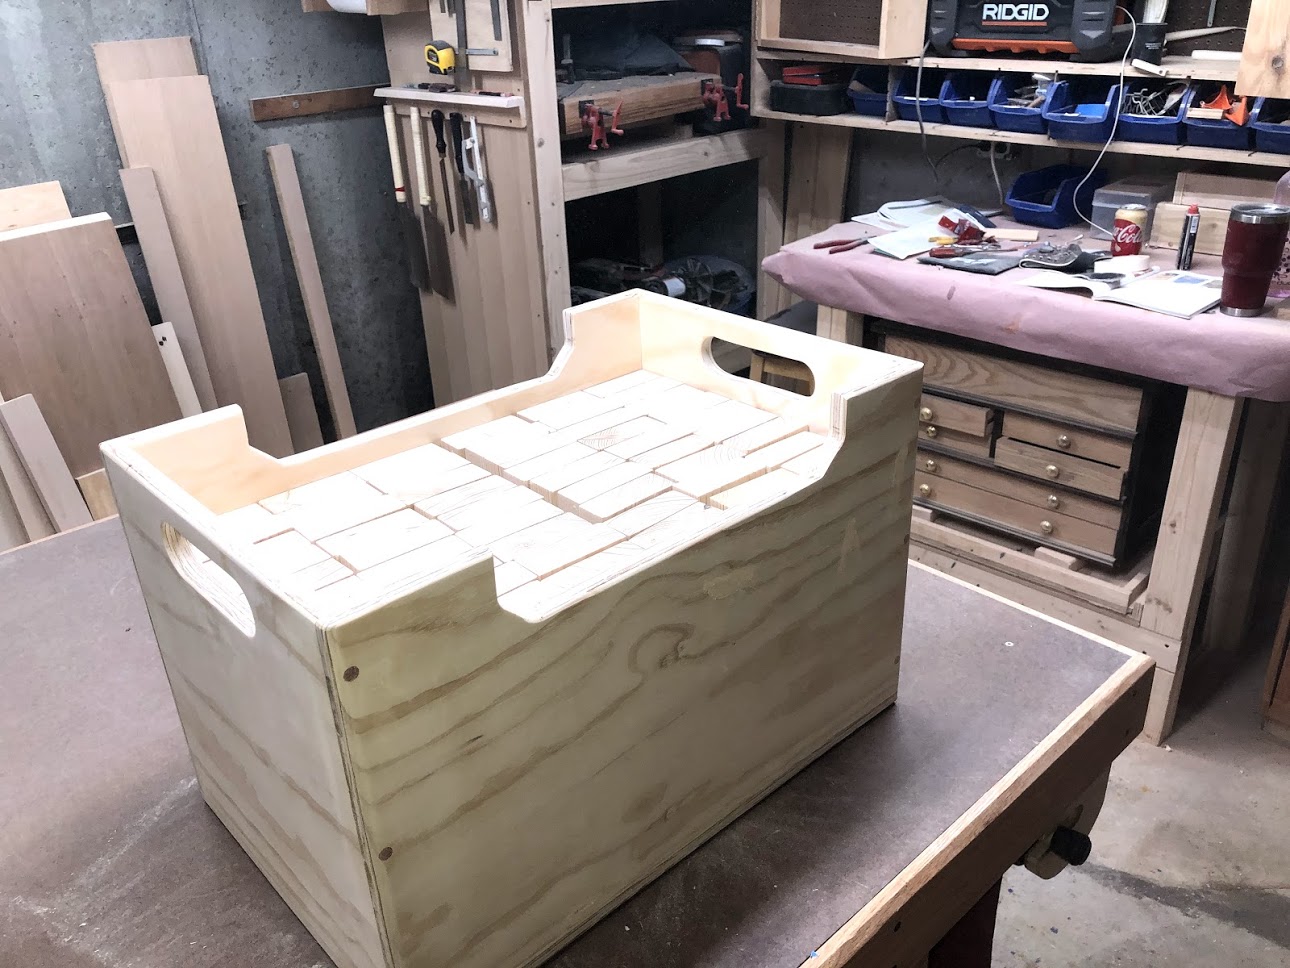
There was little to no joinery involved in this project the little I had to do was cut to rabbets into the front and back box pieces for the sides to fit into and then its basically all glue and screws. I did cover up the screw holes with some walnut dowel I had laying around. The base of the box is basically glued and screwed into the box frame parts.

Rabbets cut into the front and back panel

Pre drilled holes to secure the box together with glue and screws.
SHAPING
I added some visual aspects to the box with some cutouts in the front and back and I also cut out some handholds on the sides, I eased all sharp edges with a round over bit and router, after all kids will be playing with it and the last thing I needed on a sunny summers day is pulling splinters out of neighbors kids hands lol

Creating the handhold for the box sides.

Cutting the cut out for the front and rear box panels
THE JENGA BLOCKS
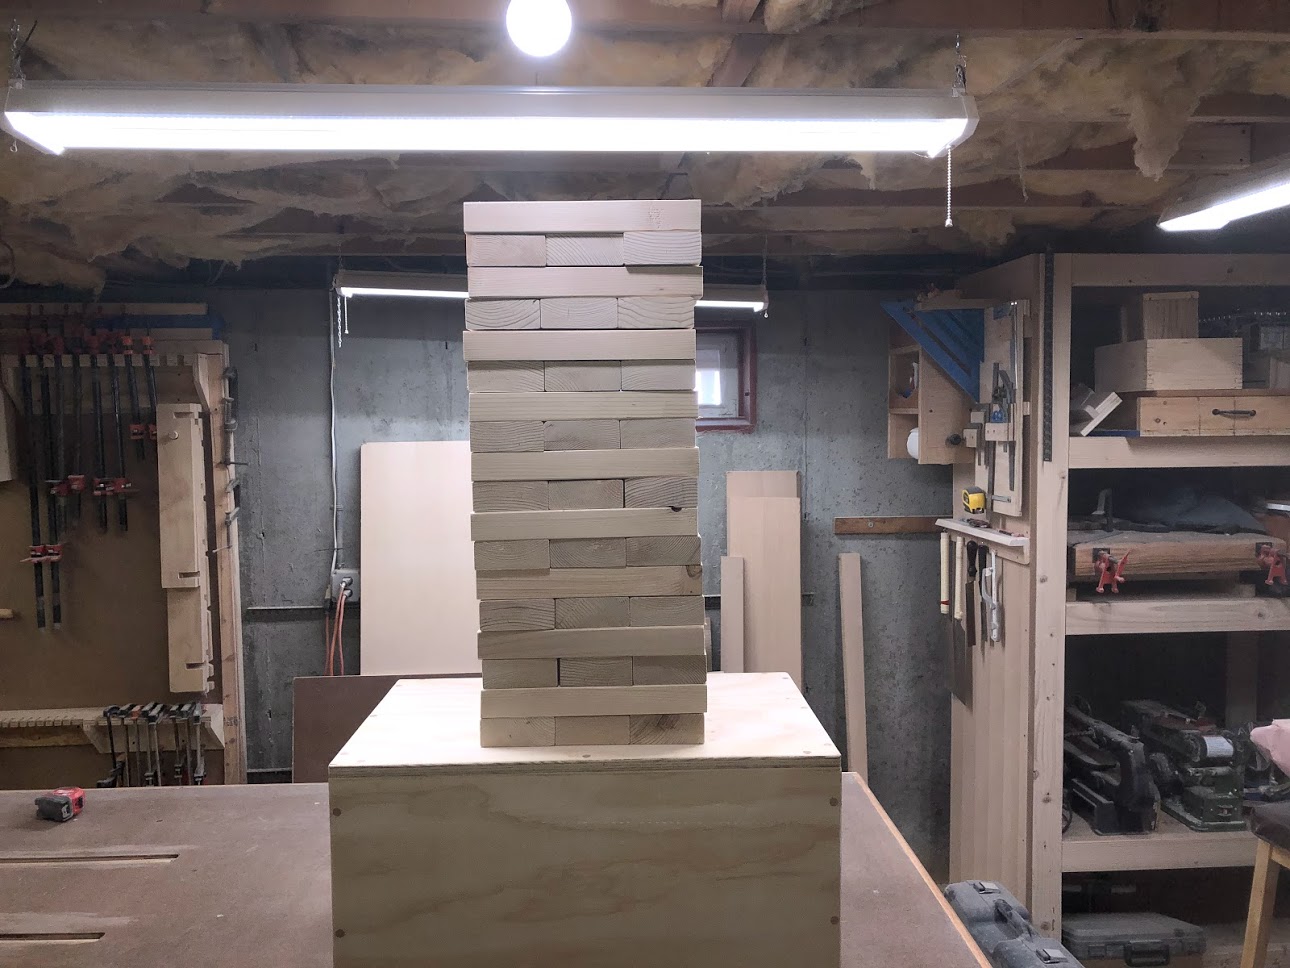
You will need 54 blocks to play the official game and they are basically 2” x 4” x 10-1/2” so I cut all these out of 6 lengths of 2×4’s. I spend an age sanding them utilizing all my sanding machines from the belt sander, to the oscillating belt sander and finally the orbital sander this took a long time but the effort was worth it even cheap construction grade lumber can feel nice to the touch after the effort is put in.

Cutting the Jenga Blocks on the miter saw

Lots of sanding

More sanding

Jenga blocks all complete
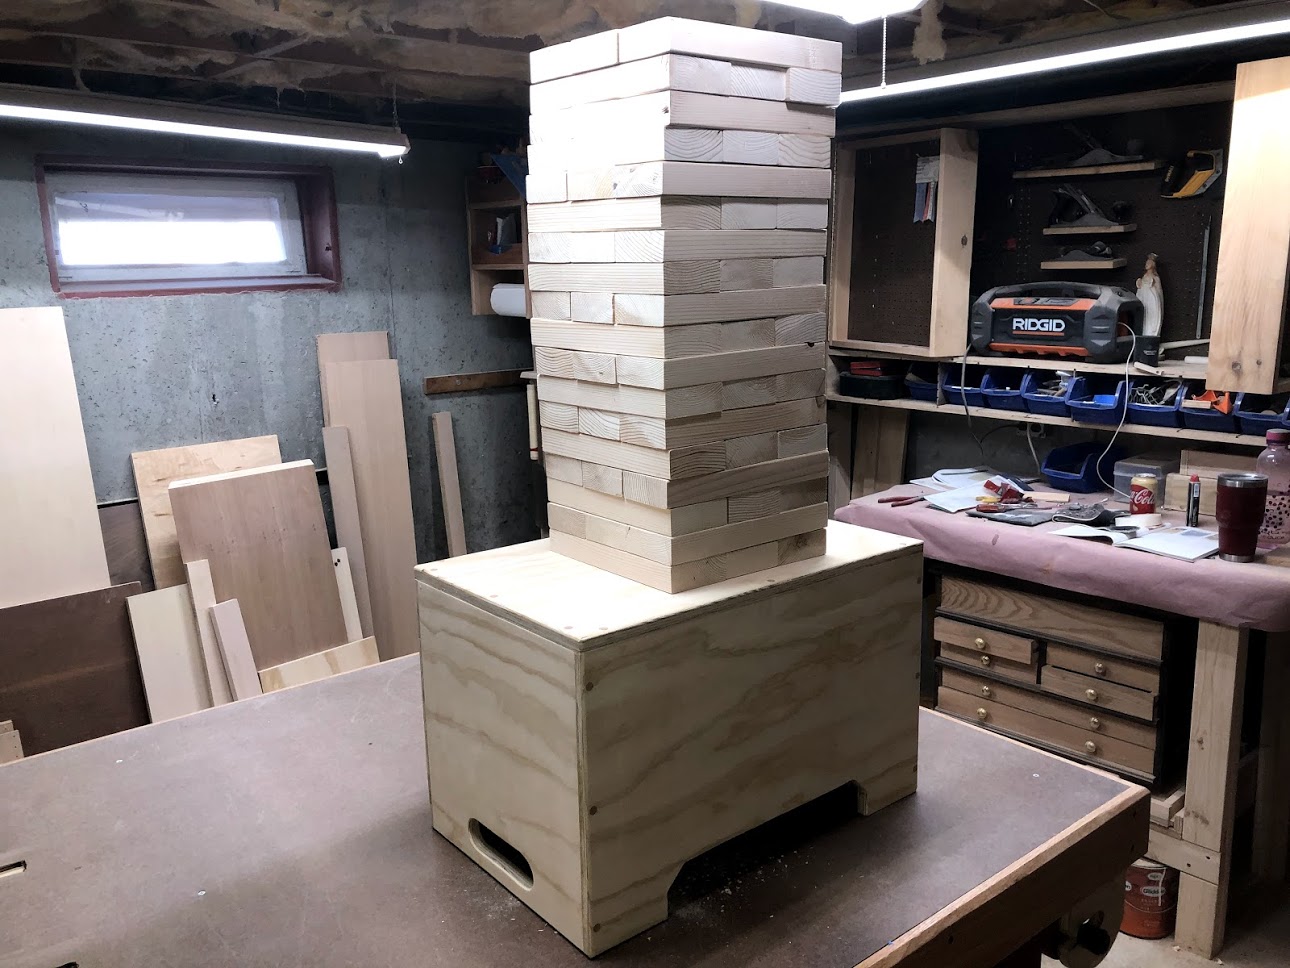
ALL COMPLETE


SAND & WATER TABLE
(07/2018)
Since my son has been born I have been making a lot of play centers for him around the house, last summer he just loves this old water table that had been given to him from his aunts he played with it everyday until it fell apart.
So I have been meaning to build him a new one because I know that he will use it almost every day.
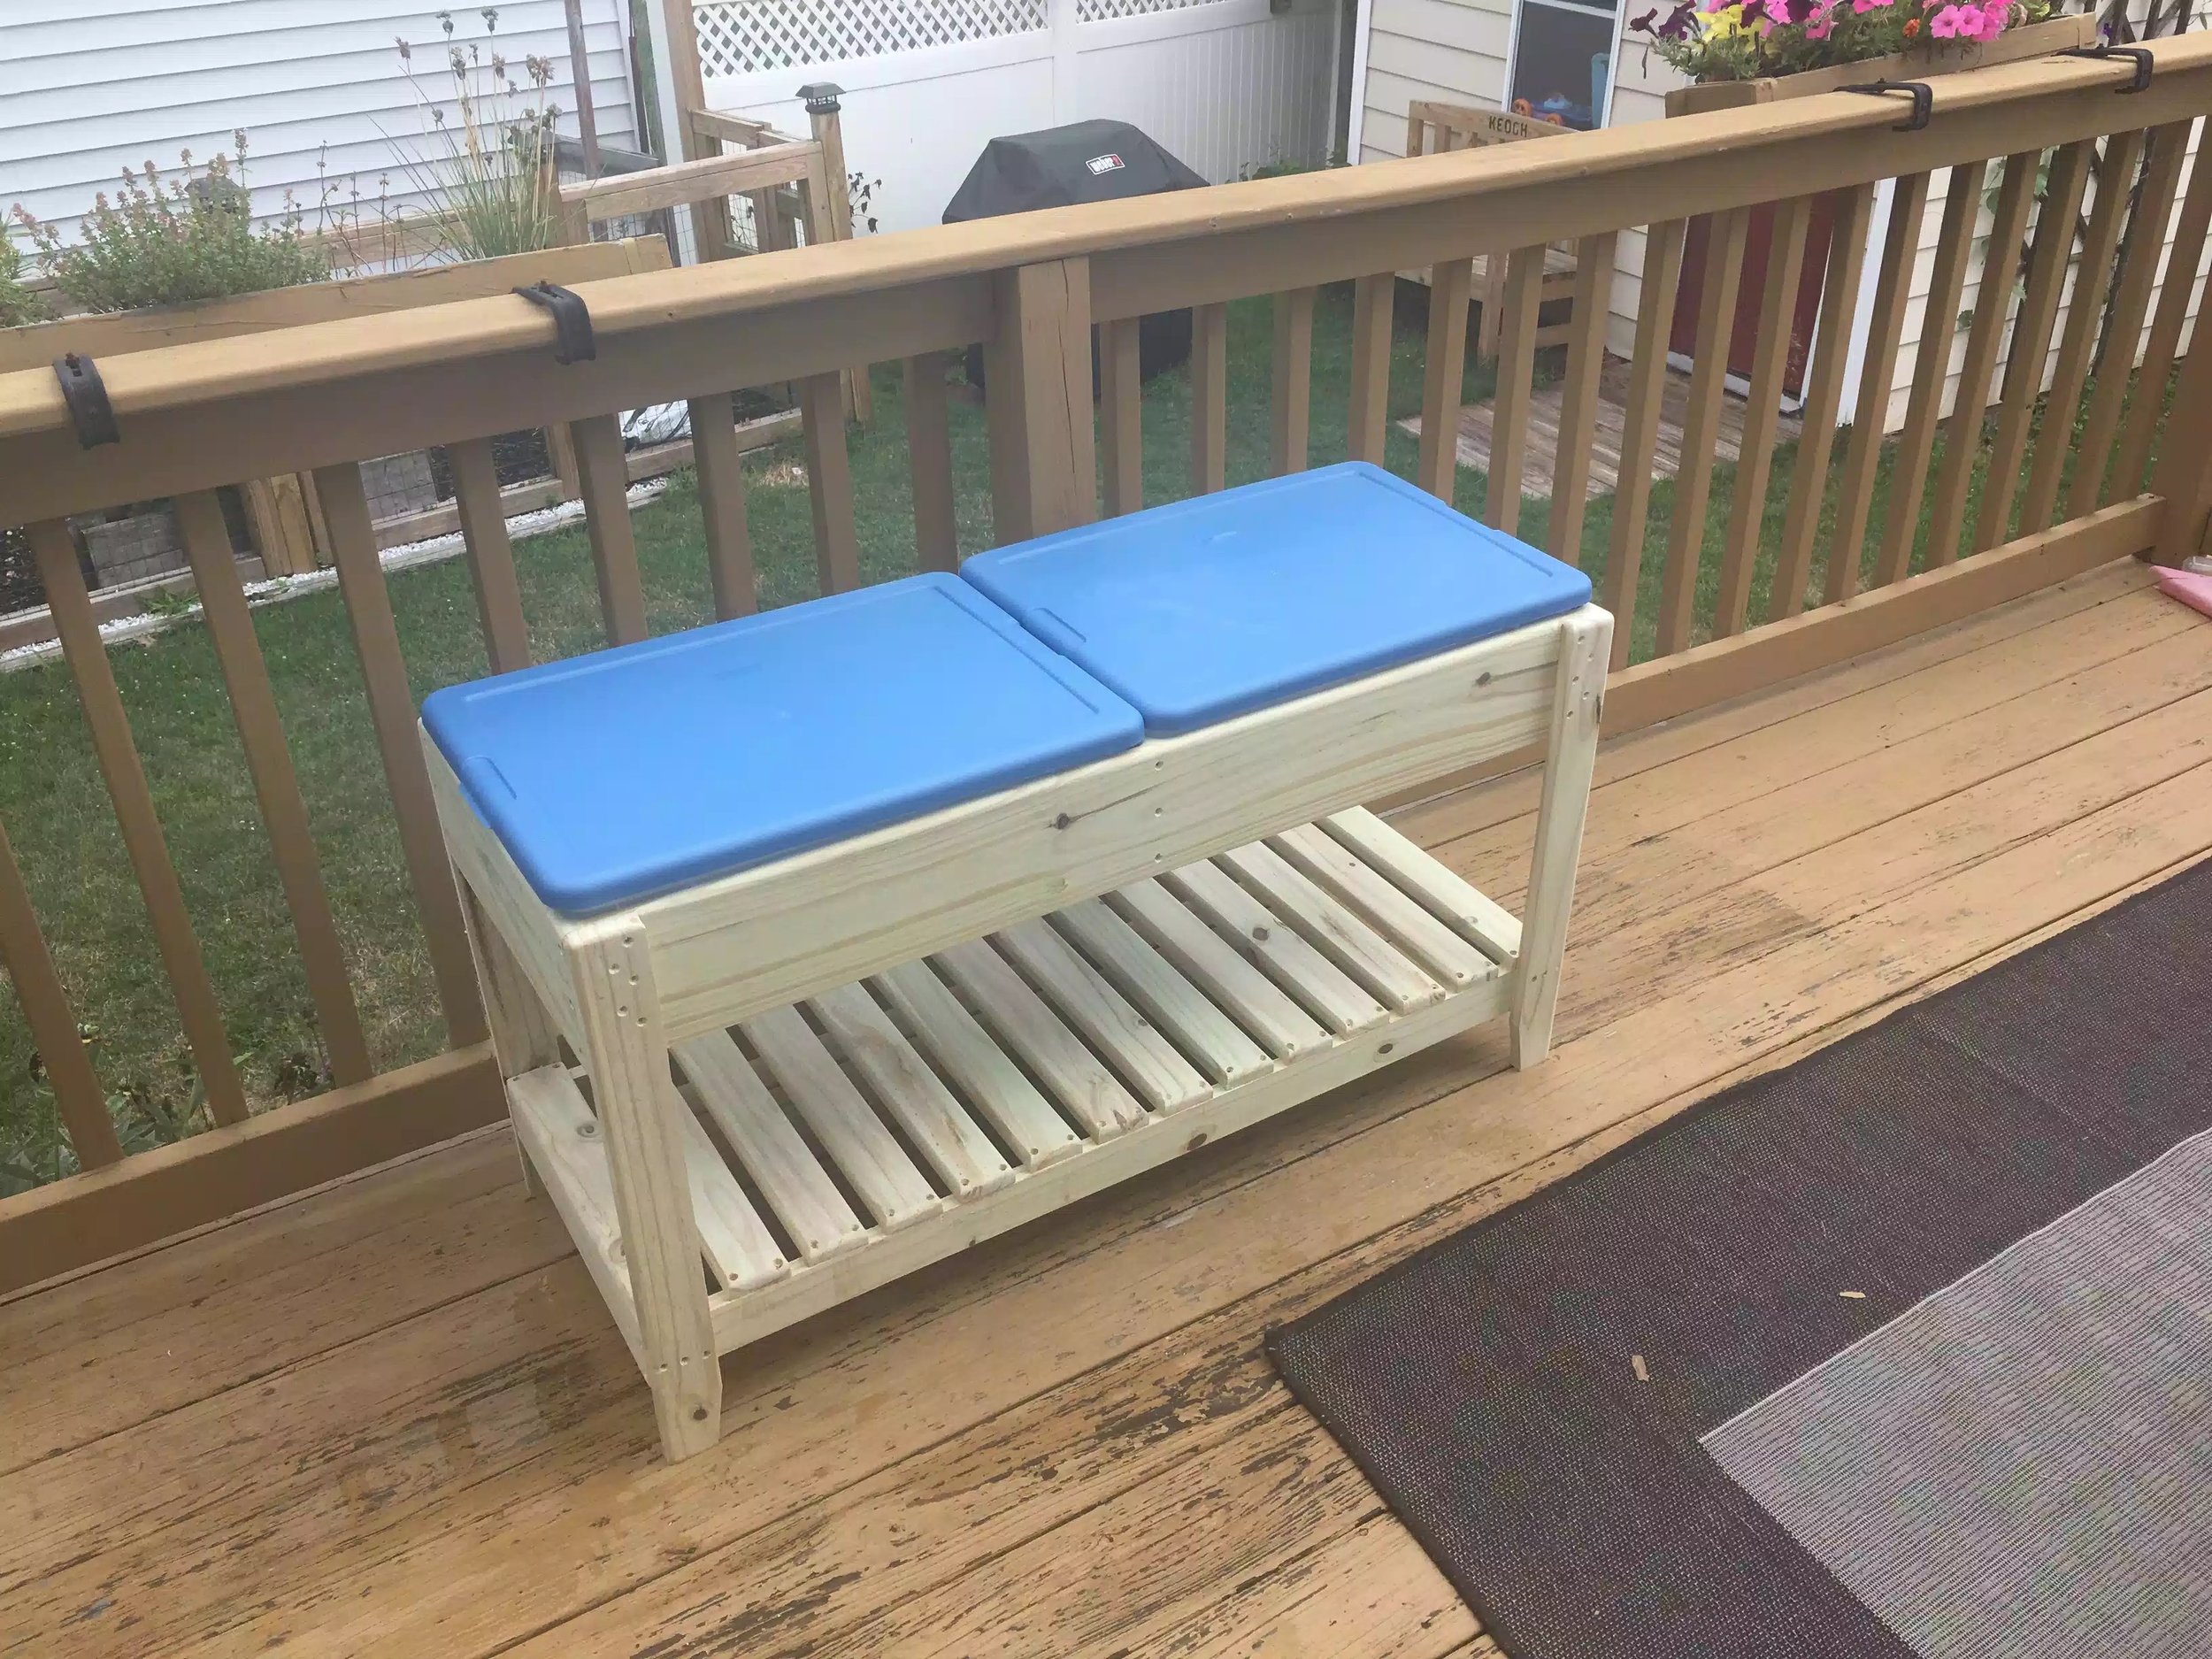
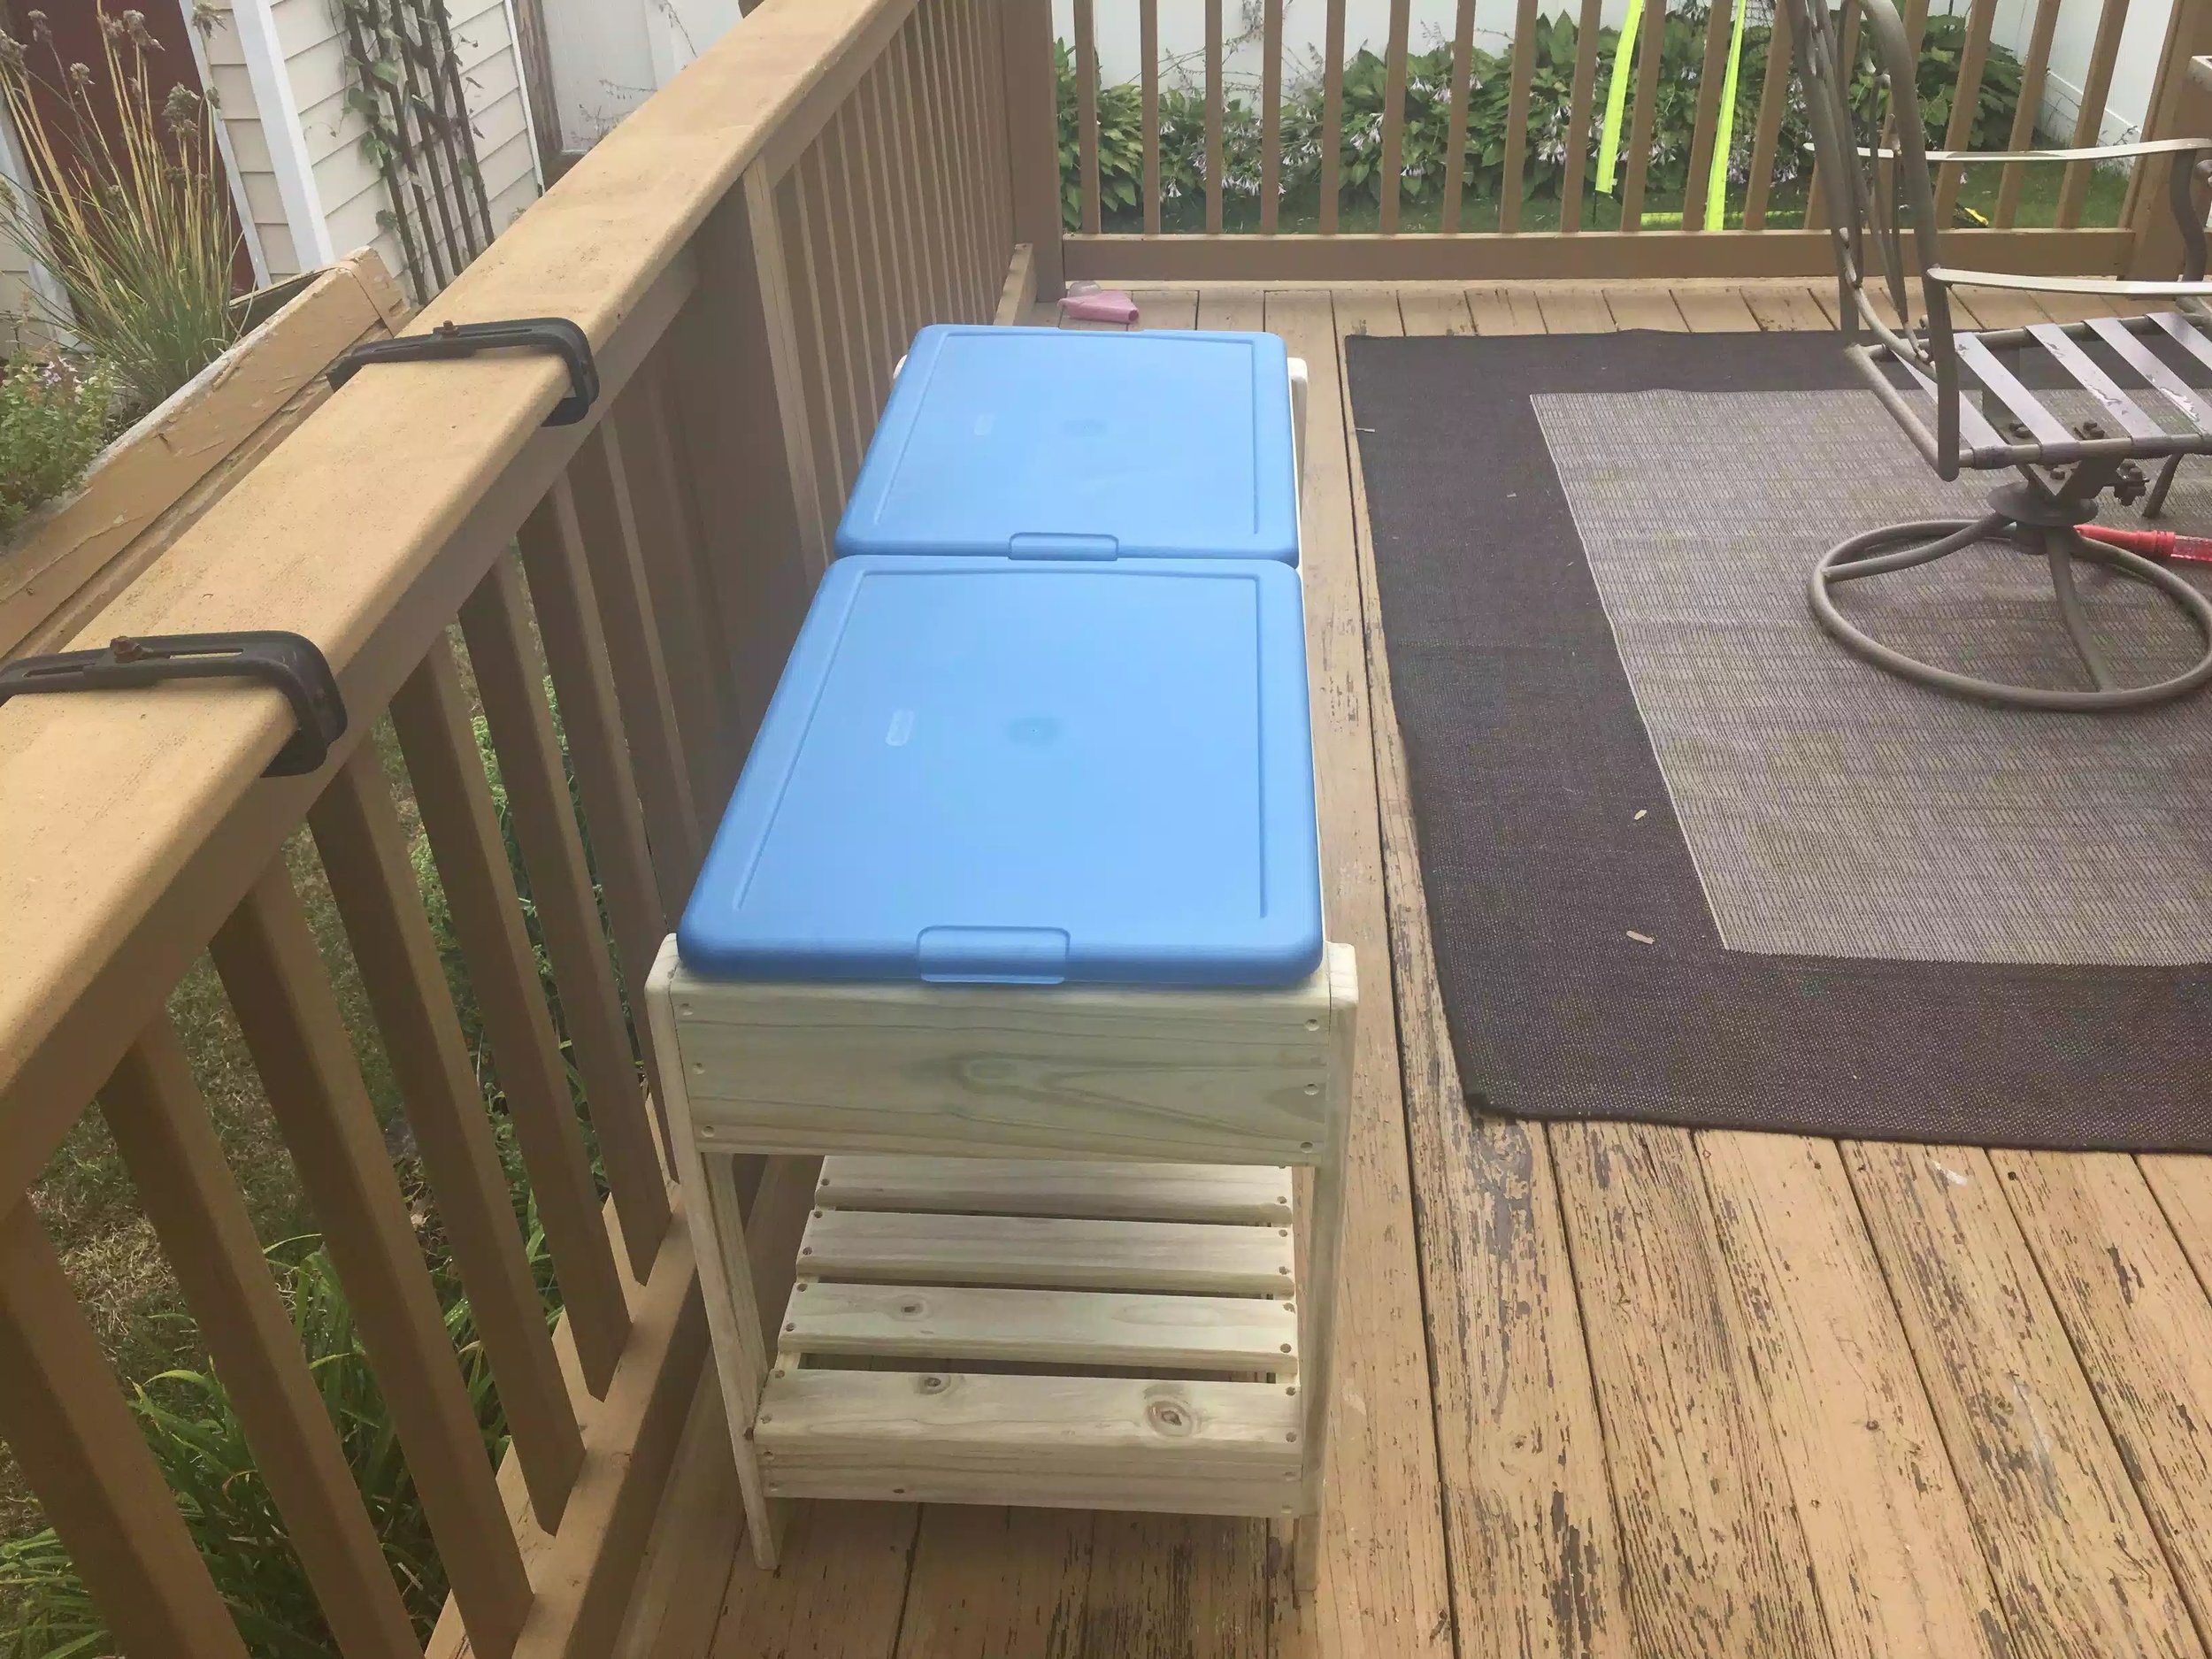
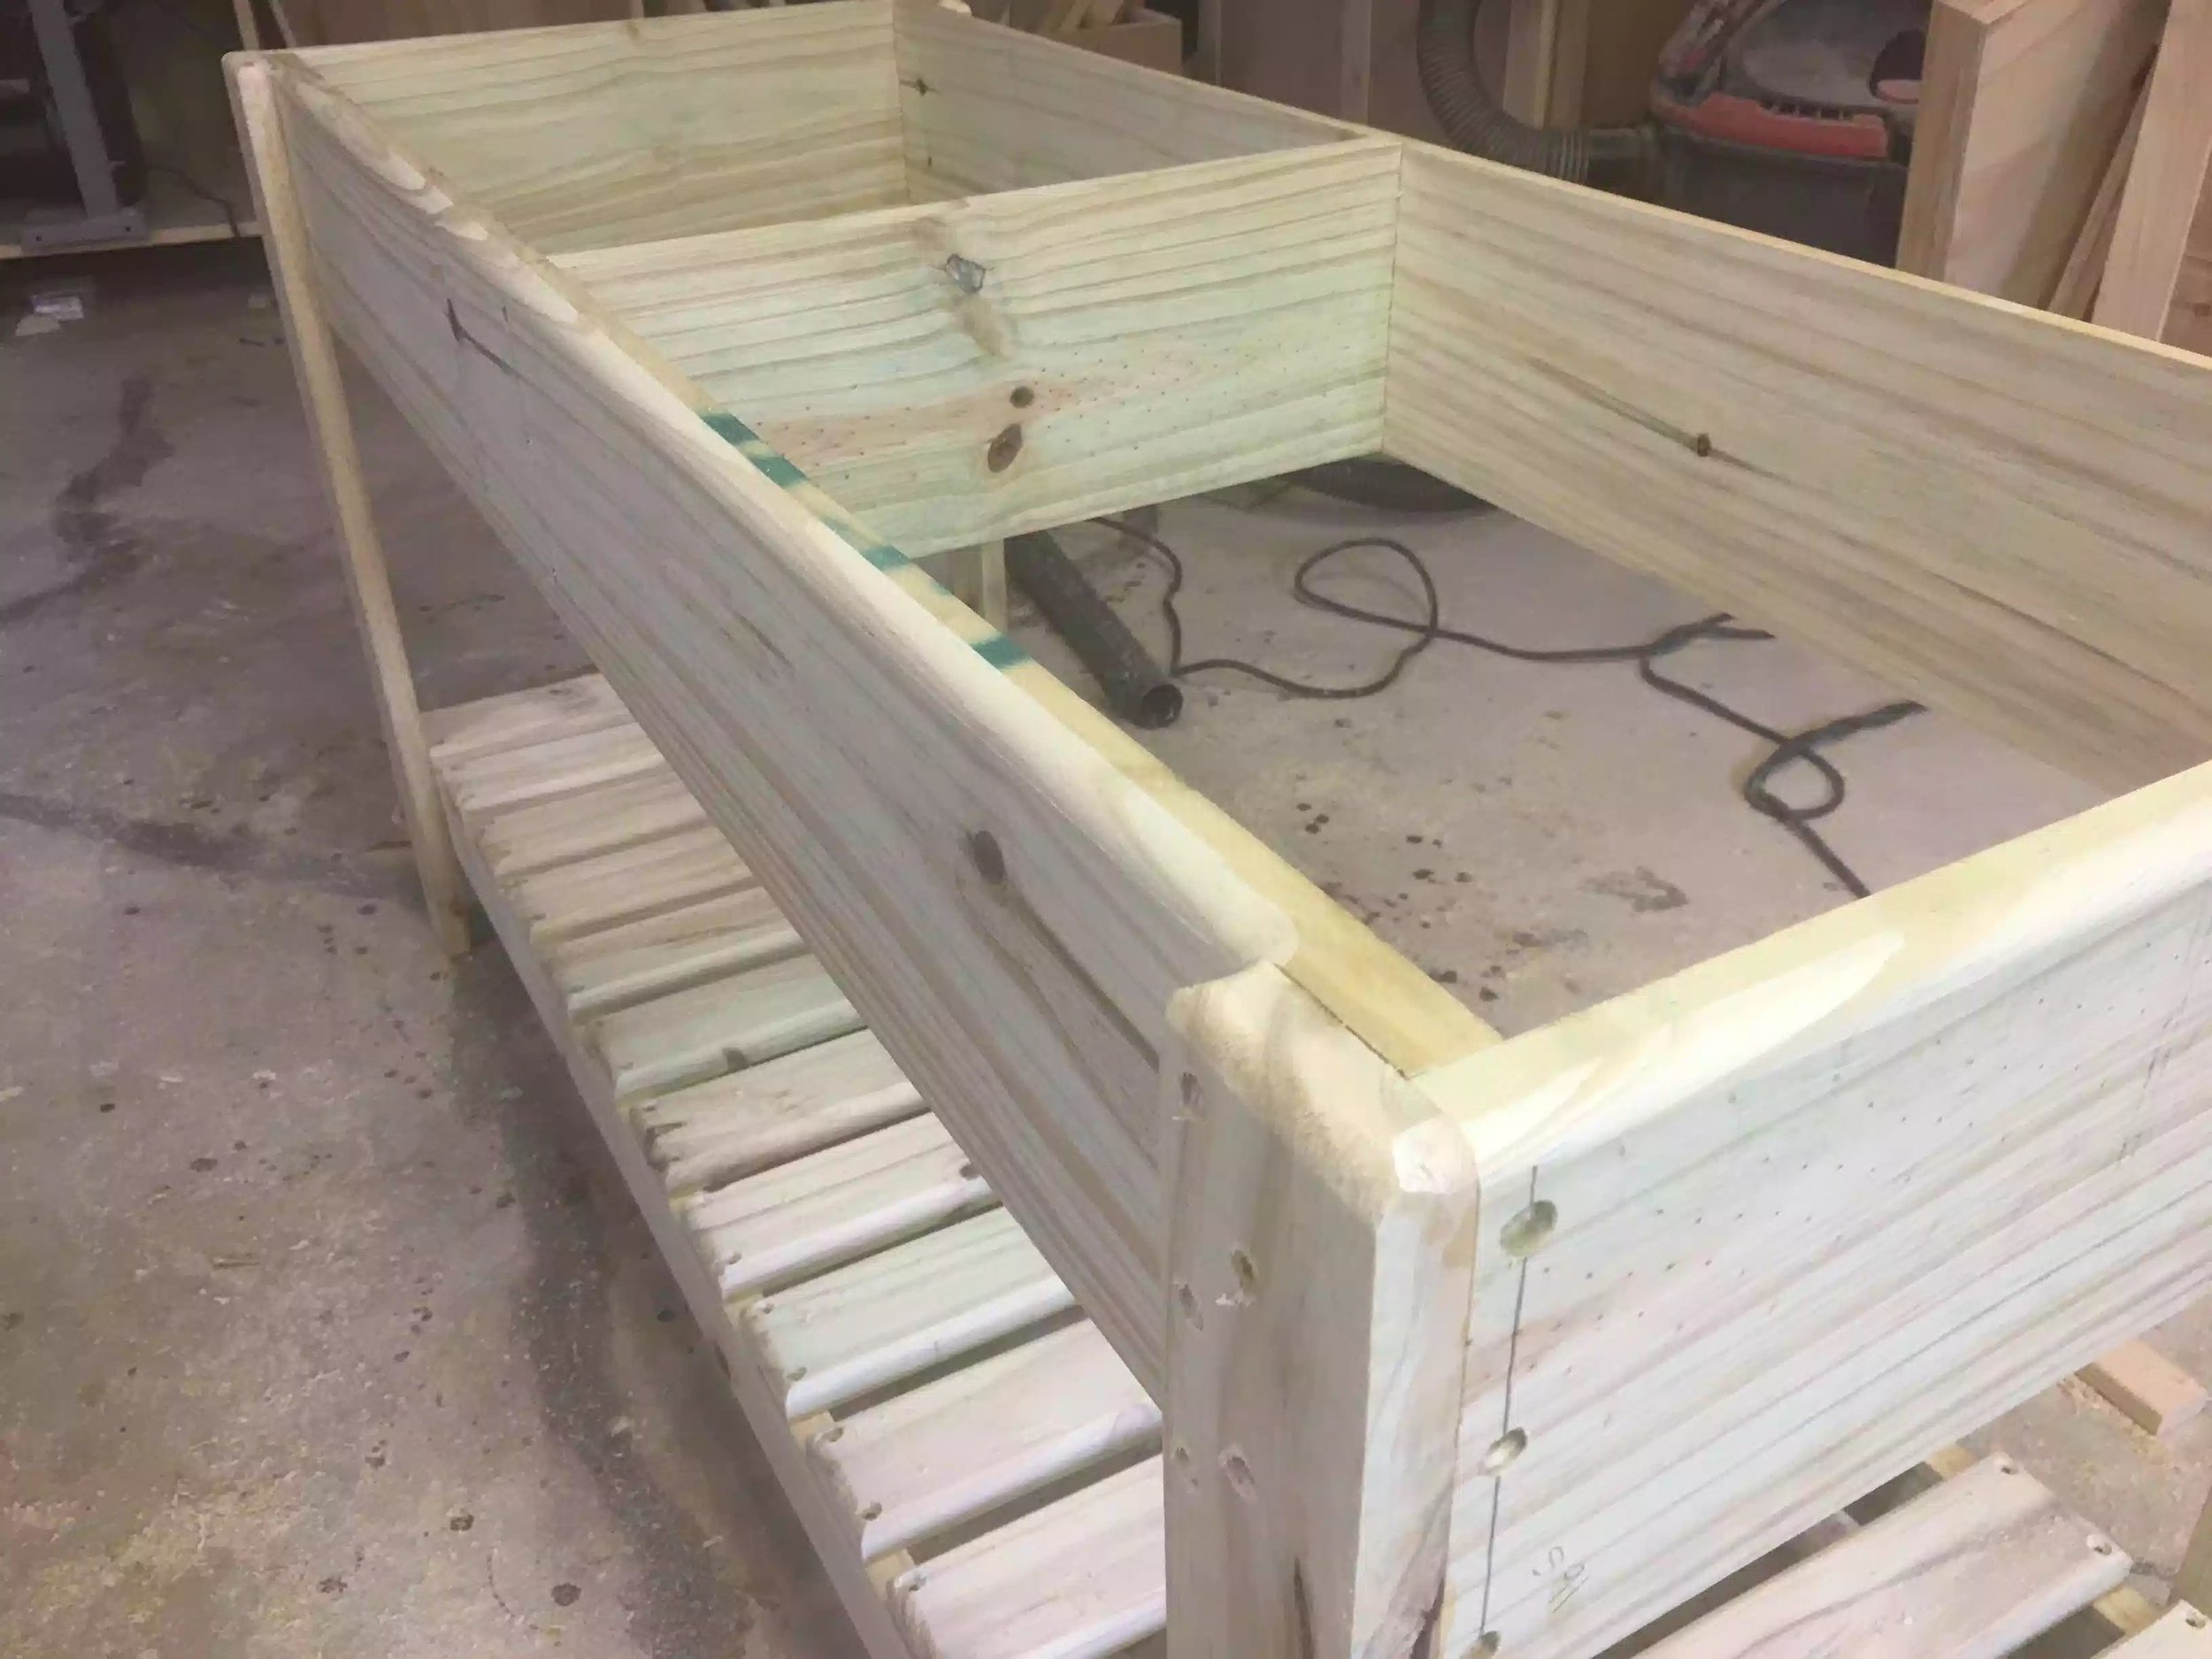
I loved for inspiration online and came across a set of plans from Ana White.com and I used these to build the table. In her plans she uses 2 Tupperware containers as the basis for the build, all the dimensions of the table are base around these containers. The table measures 48" wide x 24" high x 18" deep.
Some of the features that I put on the table are as follows
I added a router profile around the table to soften the sharp edges, so as that my son would not scrape himself
I also counter-sunk all the screw holes so as that they would not be visable.
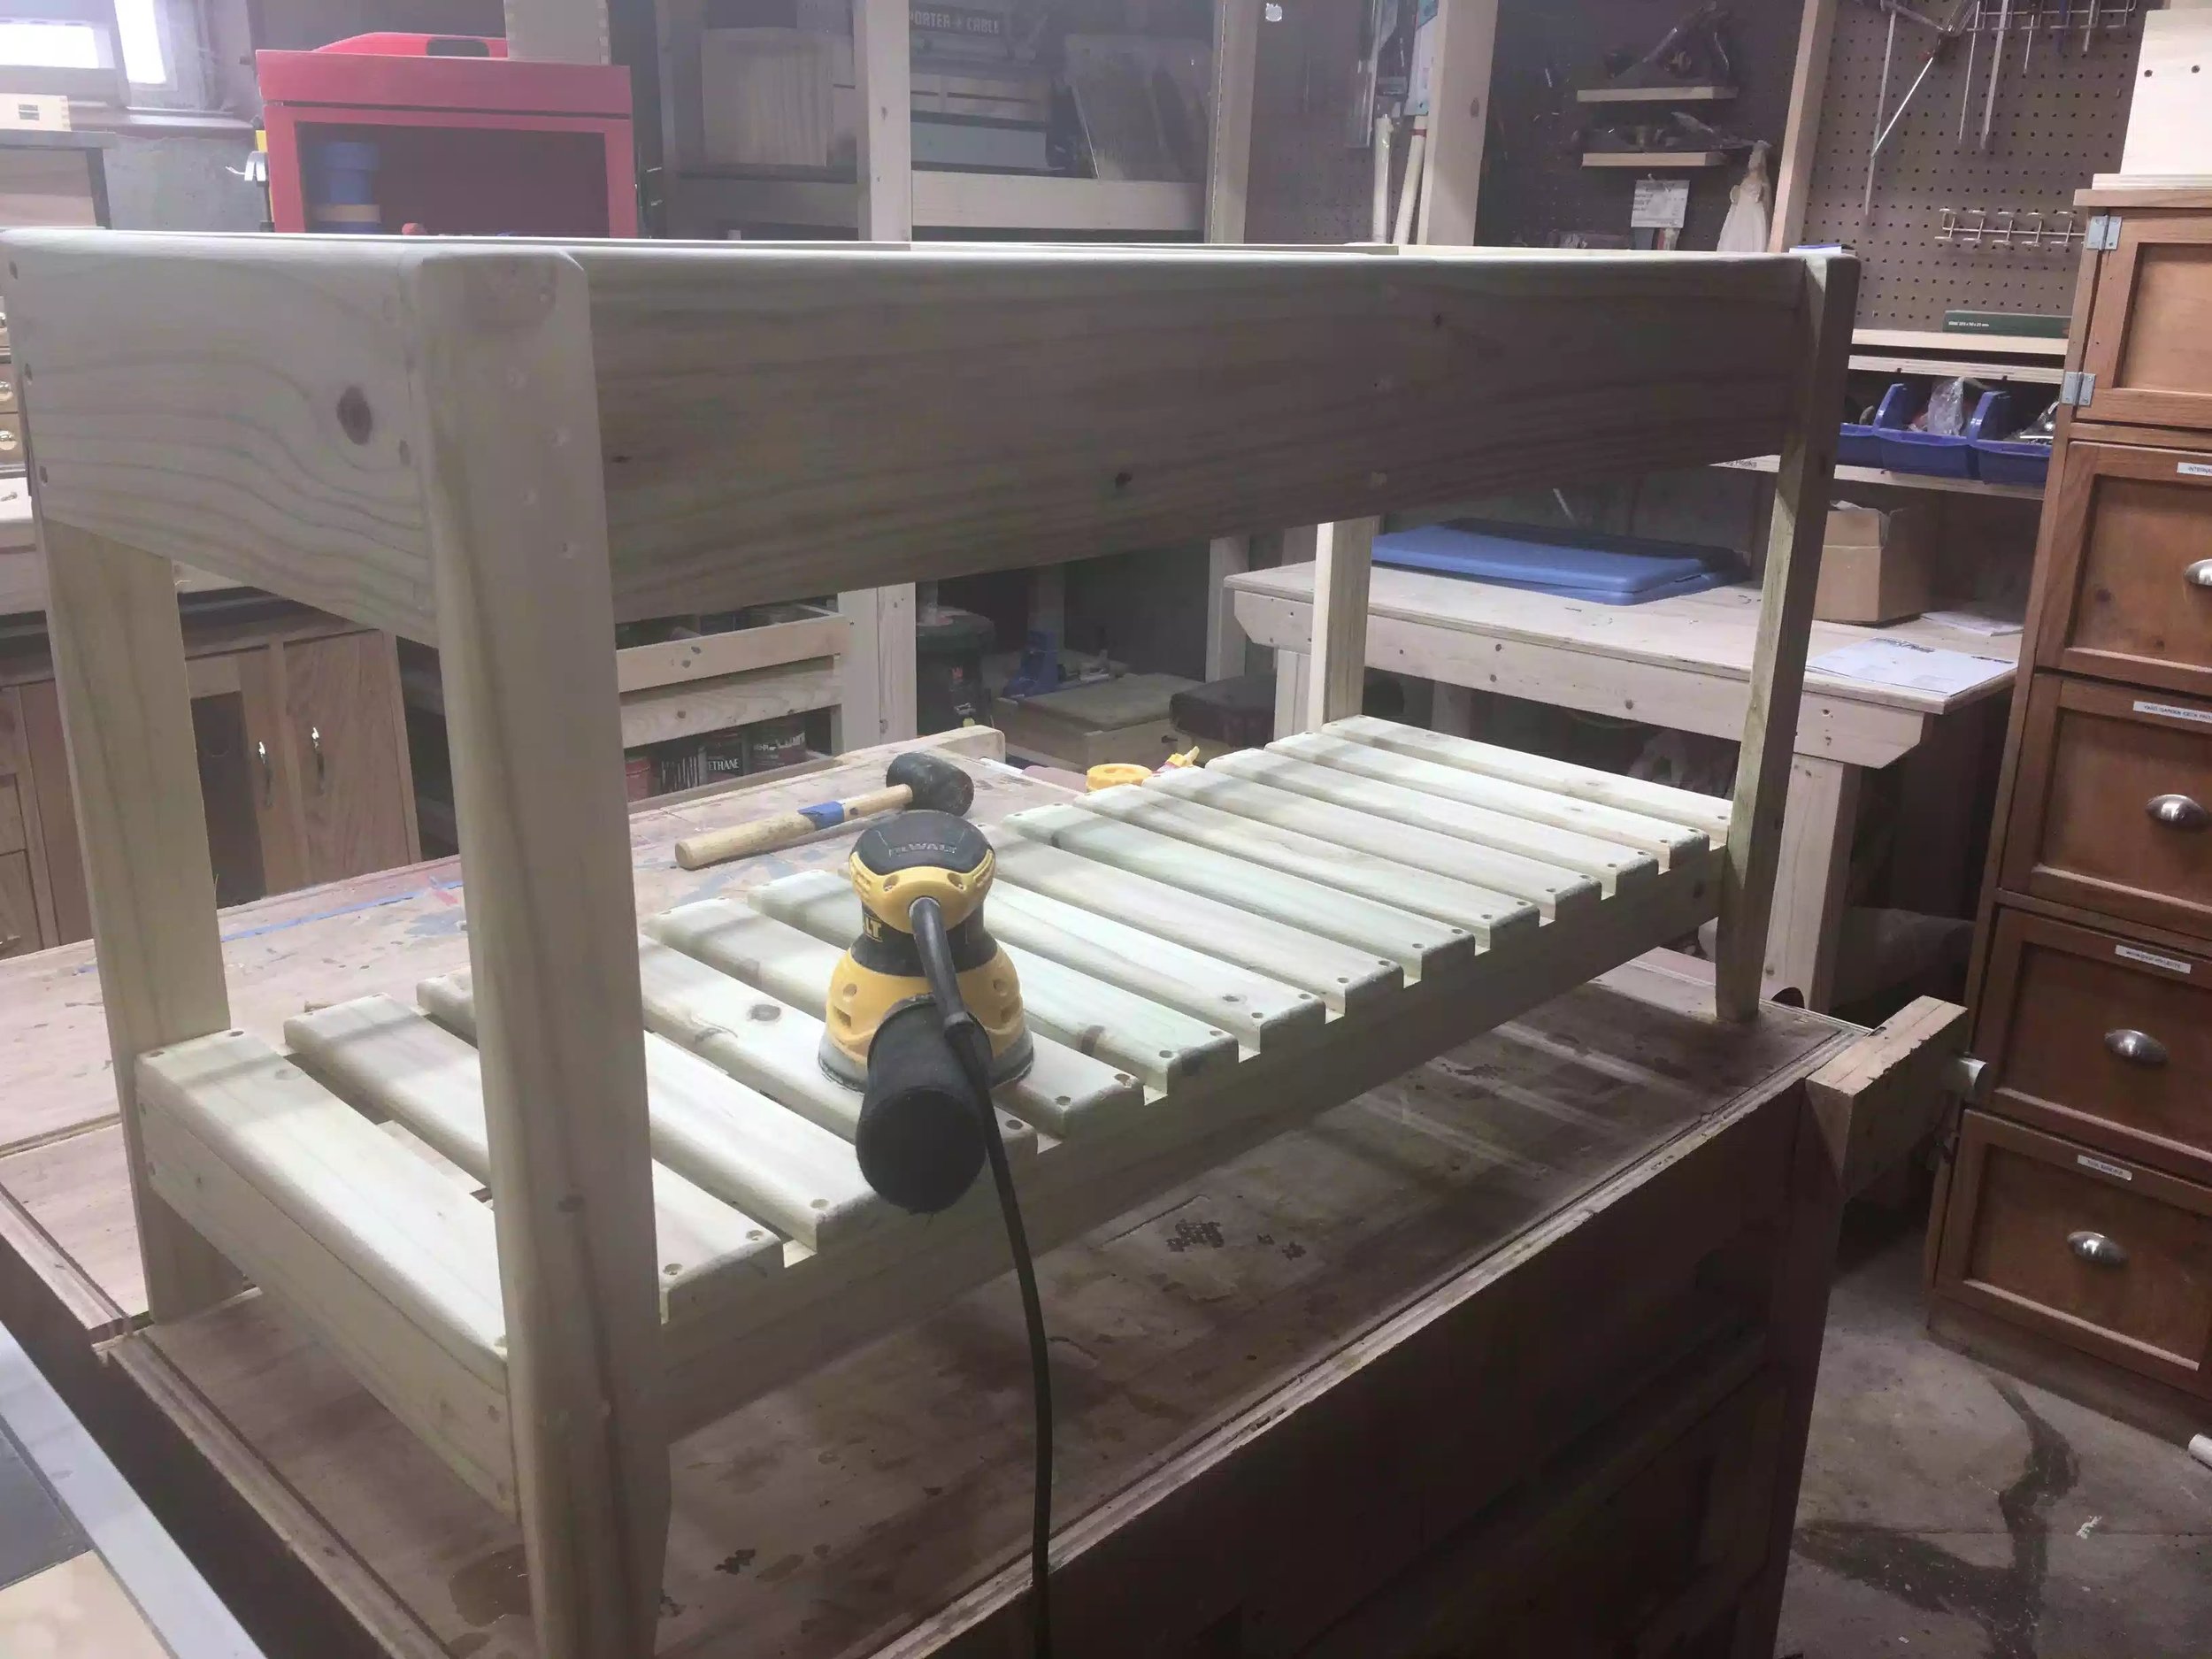
I also added a round-over router profile to the shelf slats to give it that clean look.
The project could not be any easier as it is built solely with butt joints, screws and glue. You don't need all the fancy tools either to make, you could literally make it with:
Handsaw
Drill
Screwdriver.
sandpaper
I did however make use of all the tools that I had at my disposal which include:
Miter Saw
Table Saw
Router table
I did make a set of plans that I am giving away in my store, so if you want to undertake this project I couldn't think of a better project to start with.
I really wanted to make it out of cedar boards but for some reason cedar has suddenly become difficult to purchase in my area, so I decided to make it out of pressure treated wood. I also made a blog detailing the journey and the links to both the blog and the free plans are below.


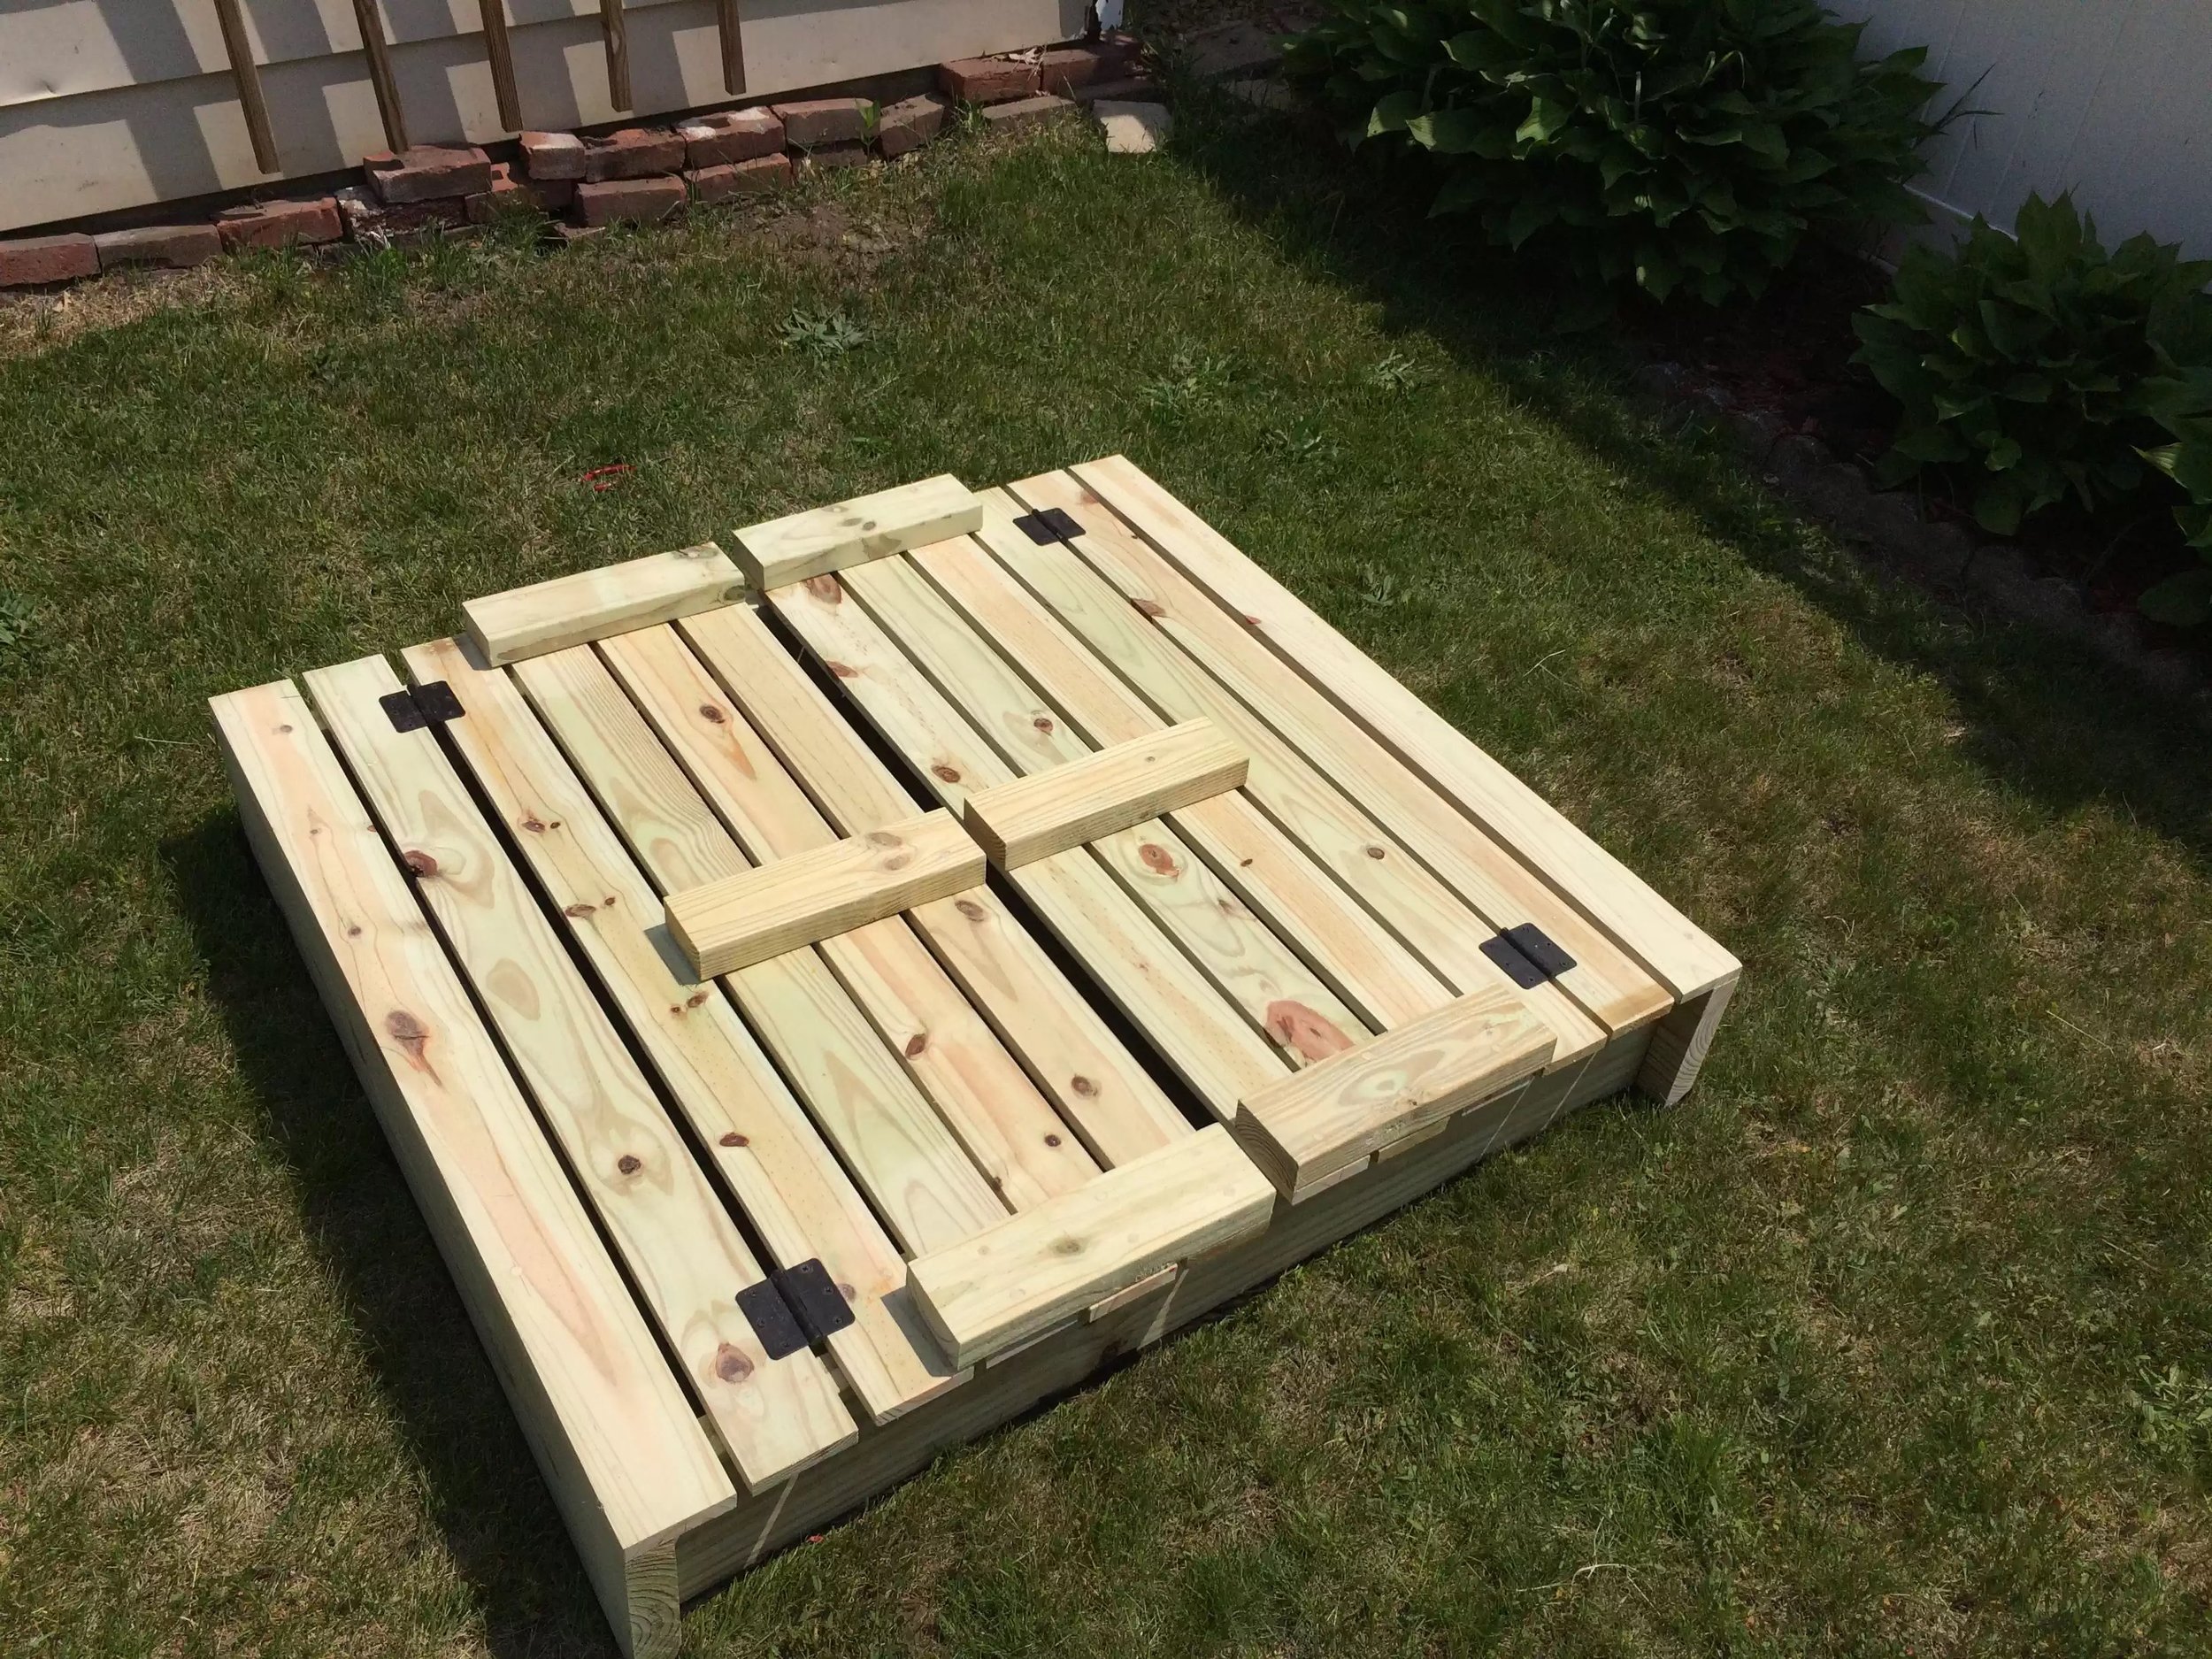
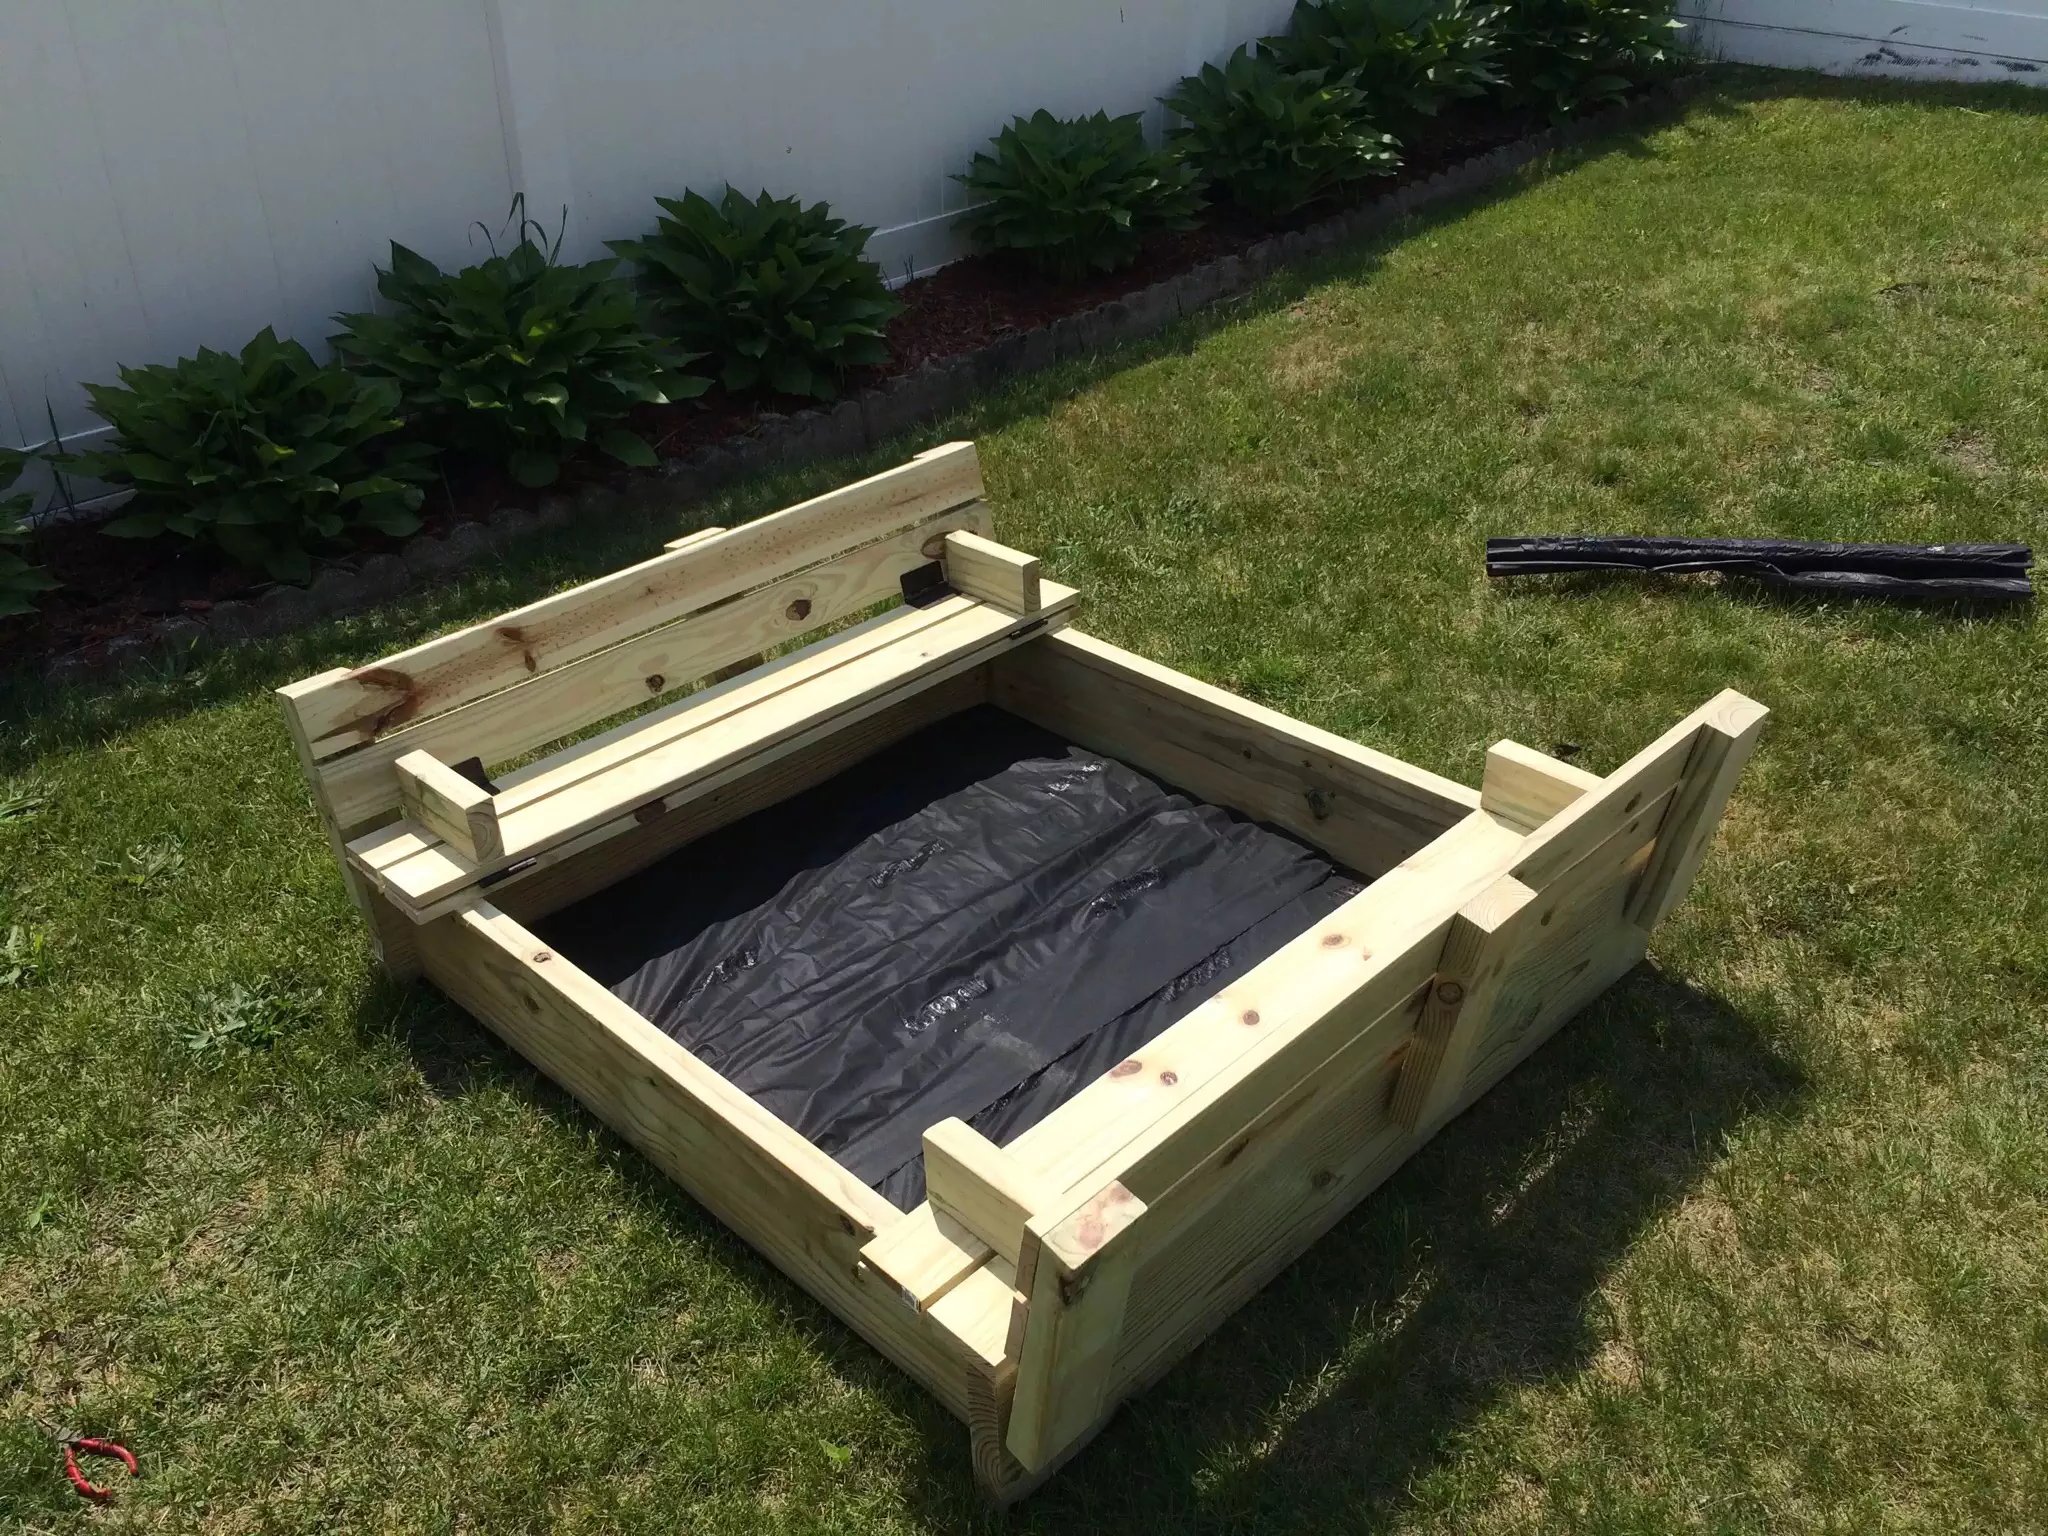
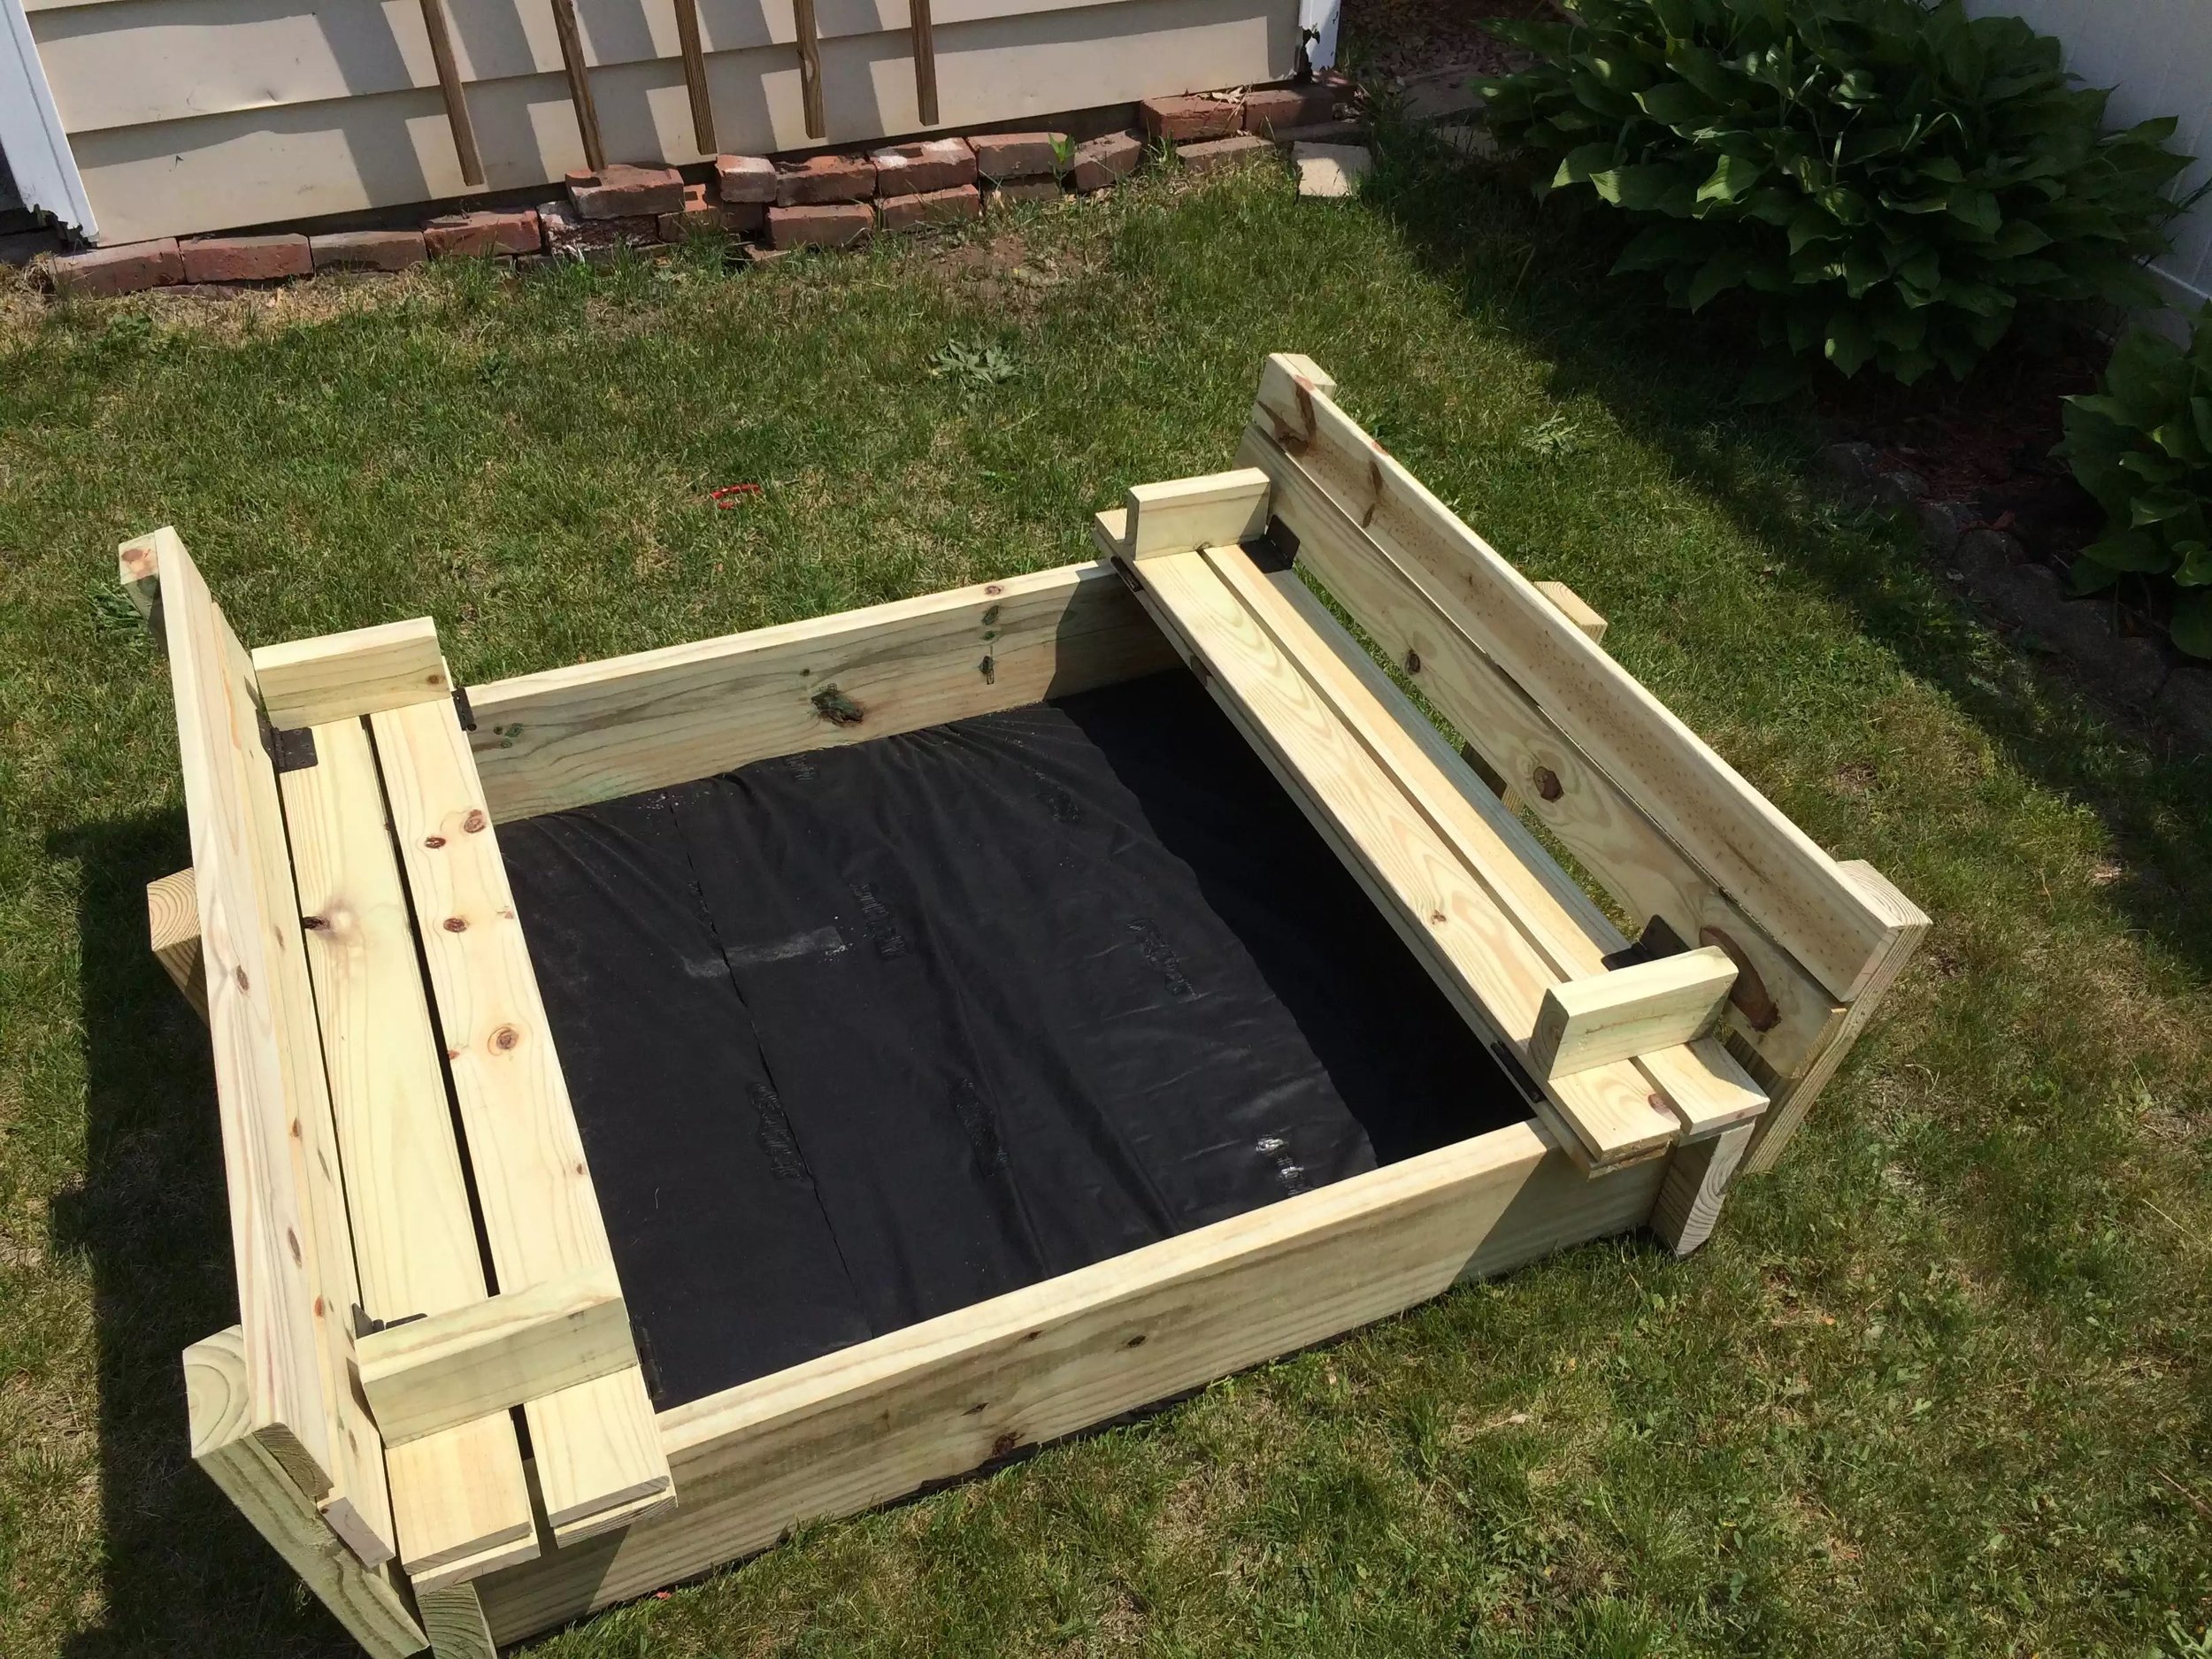
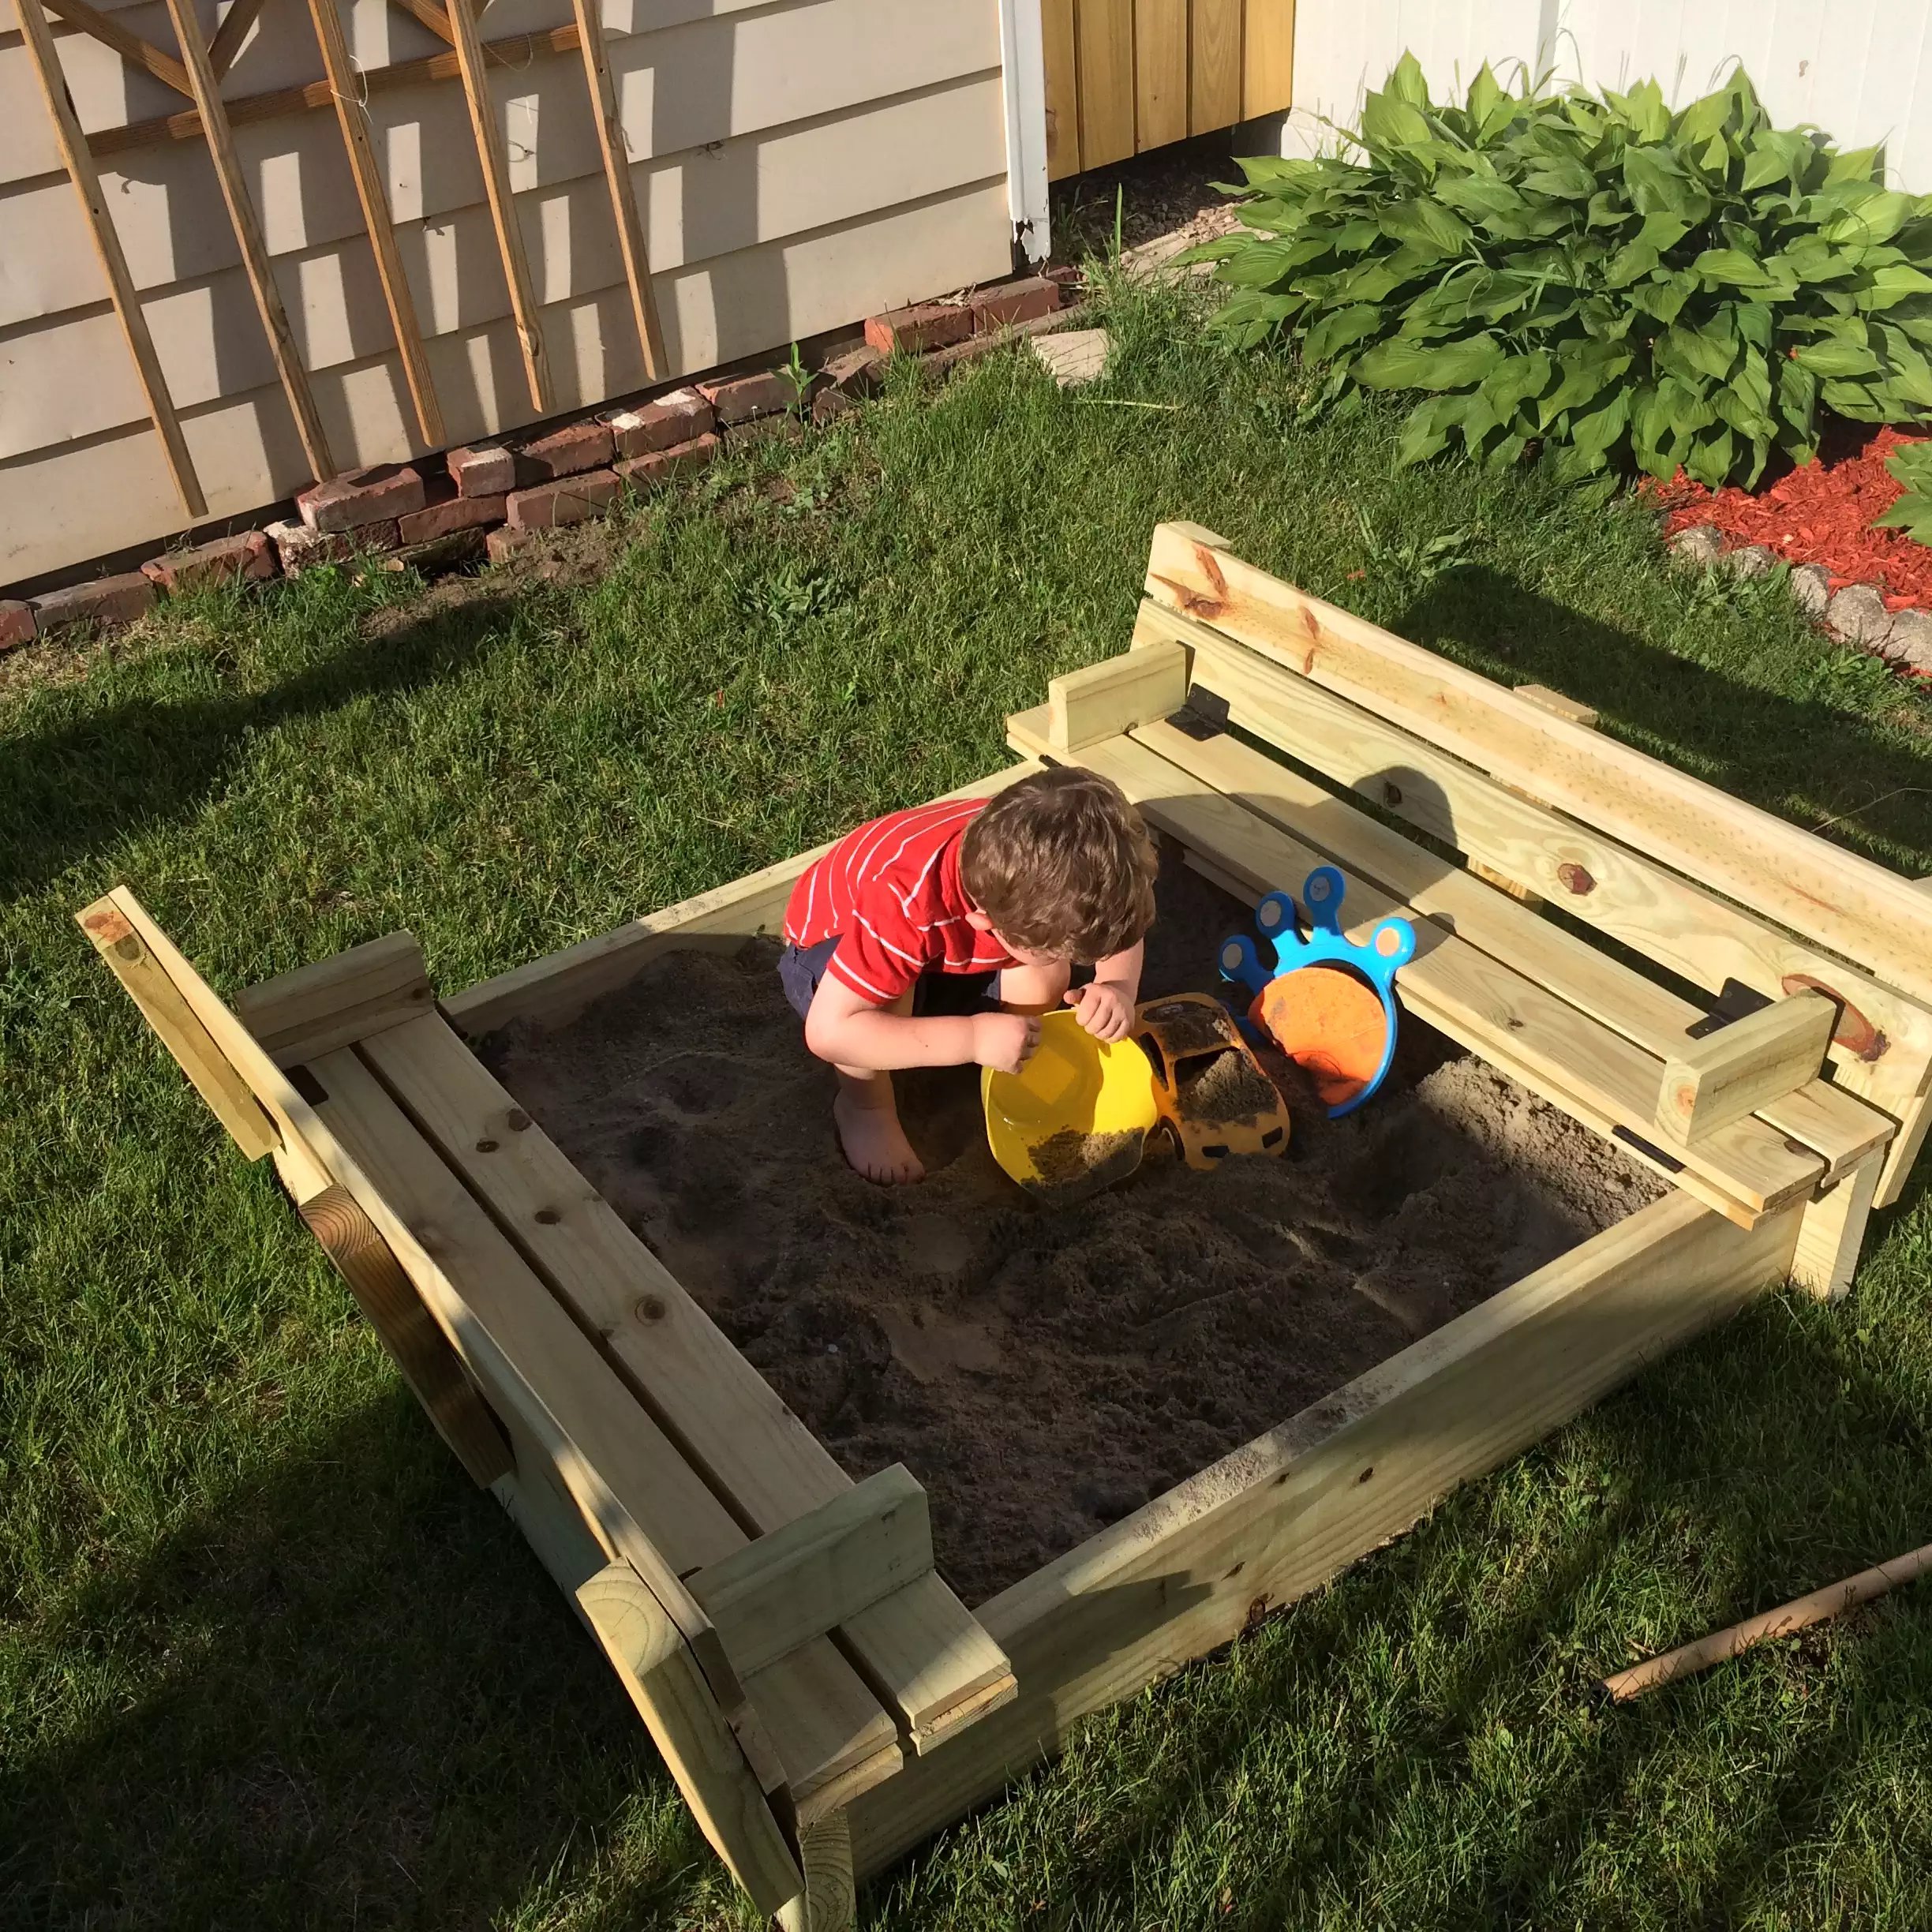
SANDPIT WITH SEATS
So I saw this really cool sandpit online @ AnaWhite.com that I really wanted to make for my 3 year old son, what I really like is that there are 2 bench style seats that when he is done playing with it fold away to become an entire cover for the pit that keep big creatures away from the sand , last thing I need is to be cleaning turds from various creatures out of, the only draw back I can see is that it will not keep out all the elements so I will probably throw a tarp over it when the wet and snow season. There is no social joinery on this its all but joint but I did put dowels to cover all screw holes and flush cut the dowels
Anyway materials needed for this project:( all wood in this project is pressure treated, suitable for ground contact)
(2) 2×8x8( although what I saw online was 1×8, but that wasn’t available and I had to alter the plans ever so much).
(2) 2×4x8
(6) 1×4x8
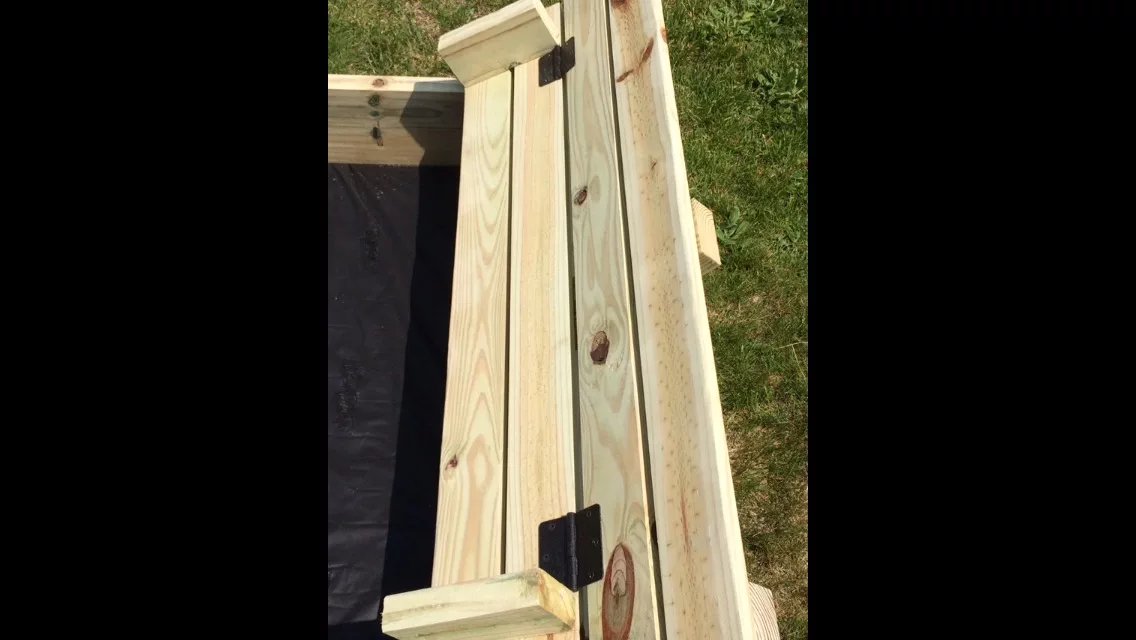
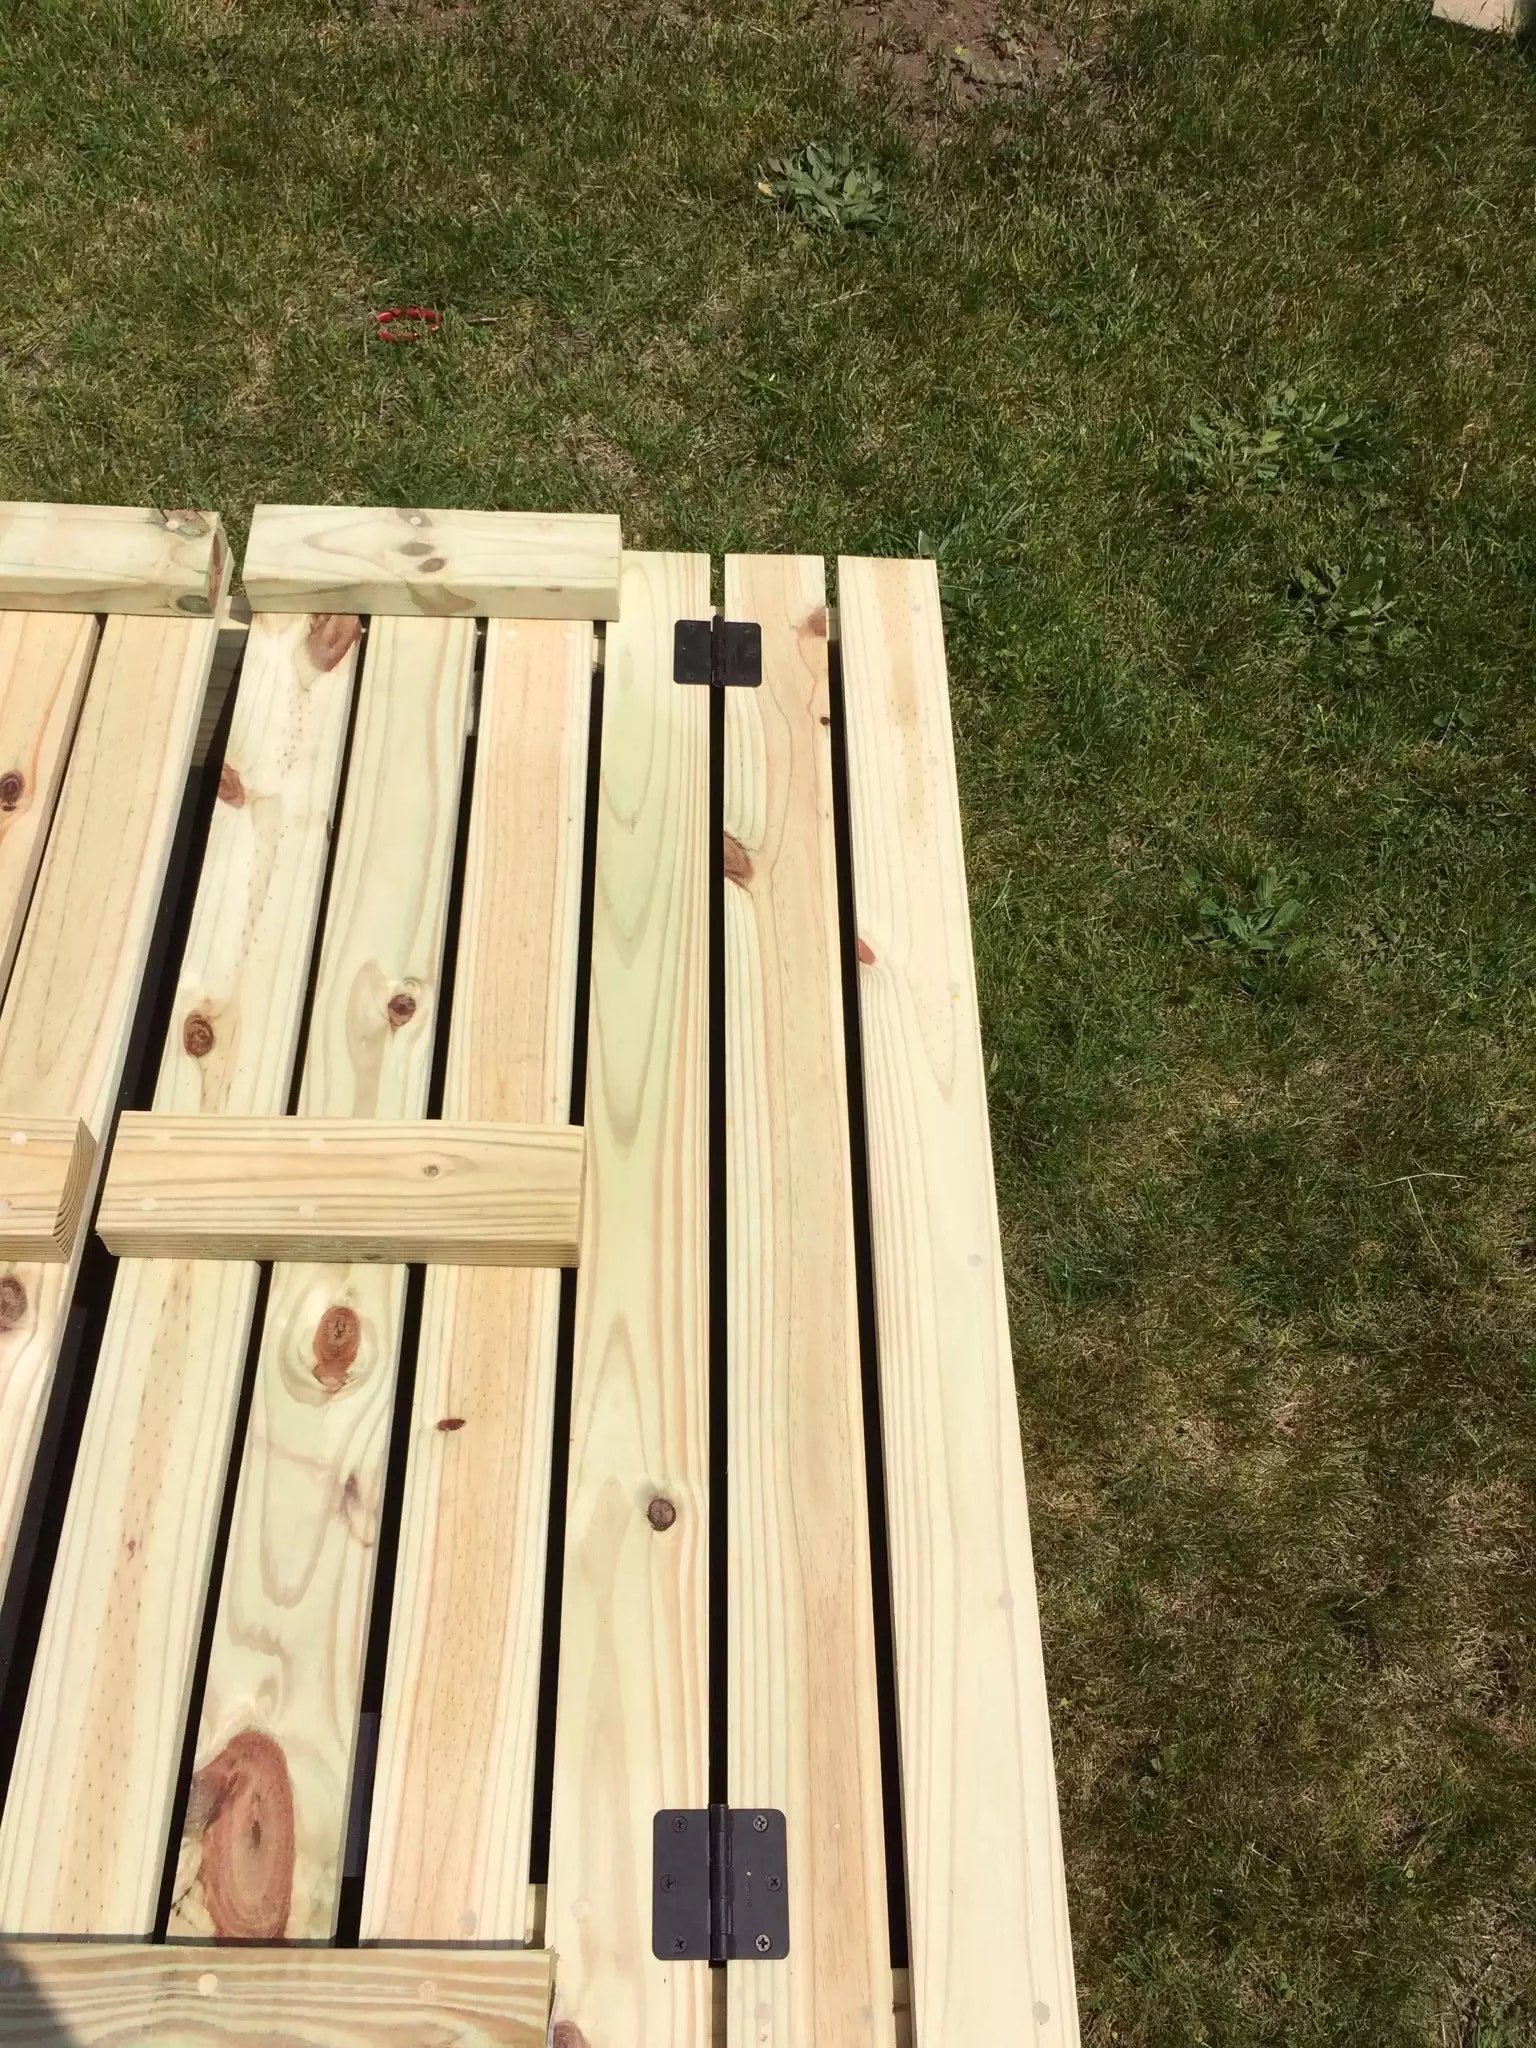
(8) butt hinges
(4) door pulls
These are some sketchup plans that are very close to the finished project the only thing I added was 2 center braces in the middle of the cover which when rotated forms more support for the back of the seat.
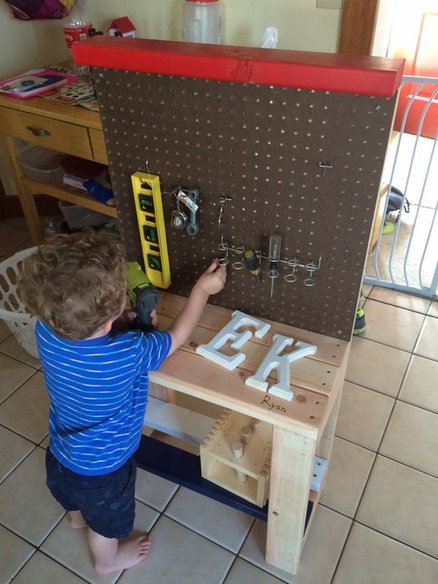
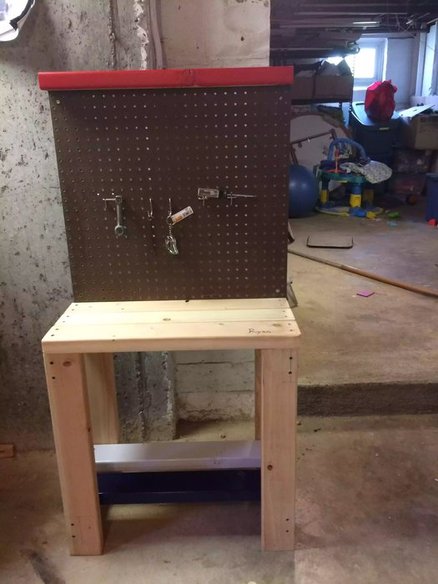
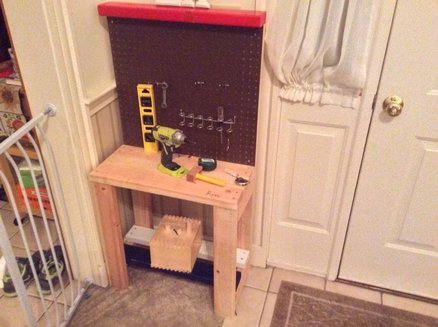
TODDLER WORKBENCH FOR $25.00
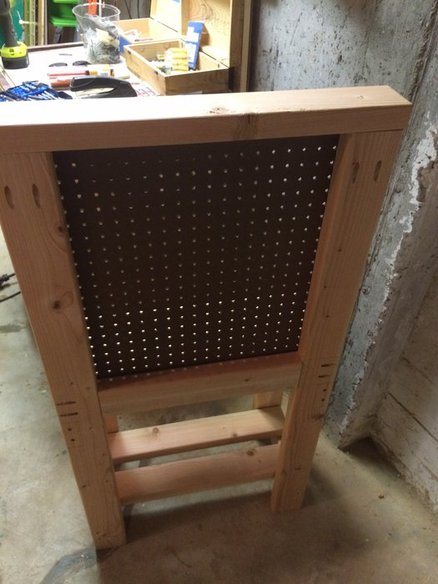
When my son was two he loved helping me with my projects and loves a screw gun so I thought it was a good time make him his own little workbench I took some measurement from him and added a little more so as that he can grow into the bench but still use it now…
I designed it as usual on Sketchup using 2×4 solely and a little pegboard and you can see some dimensions but I suggest you decided how big or small yours needs to be…
Shopping list
(4) 2×4’s
(1) 2’x2’ pegboard ( my dimensions were 22”x24” wide
(1 box) 3” screws
Cut list:
(6) 2×4x24” ( bottom shelf, main work surface , top stretcher)
(2) 2×4x45” ( back legs)
(2) 2×4x23.5” (front legs)
(4) 2×4x9” ( side stretchers)
I think it came awesome and he has been playing with it for hours, all that’s left is for me to get him some toy tool…...

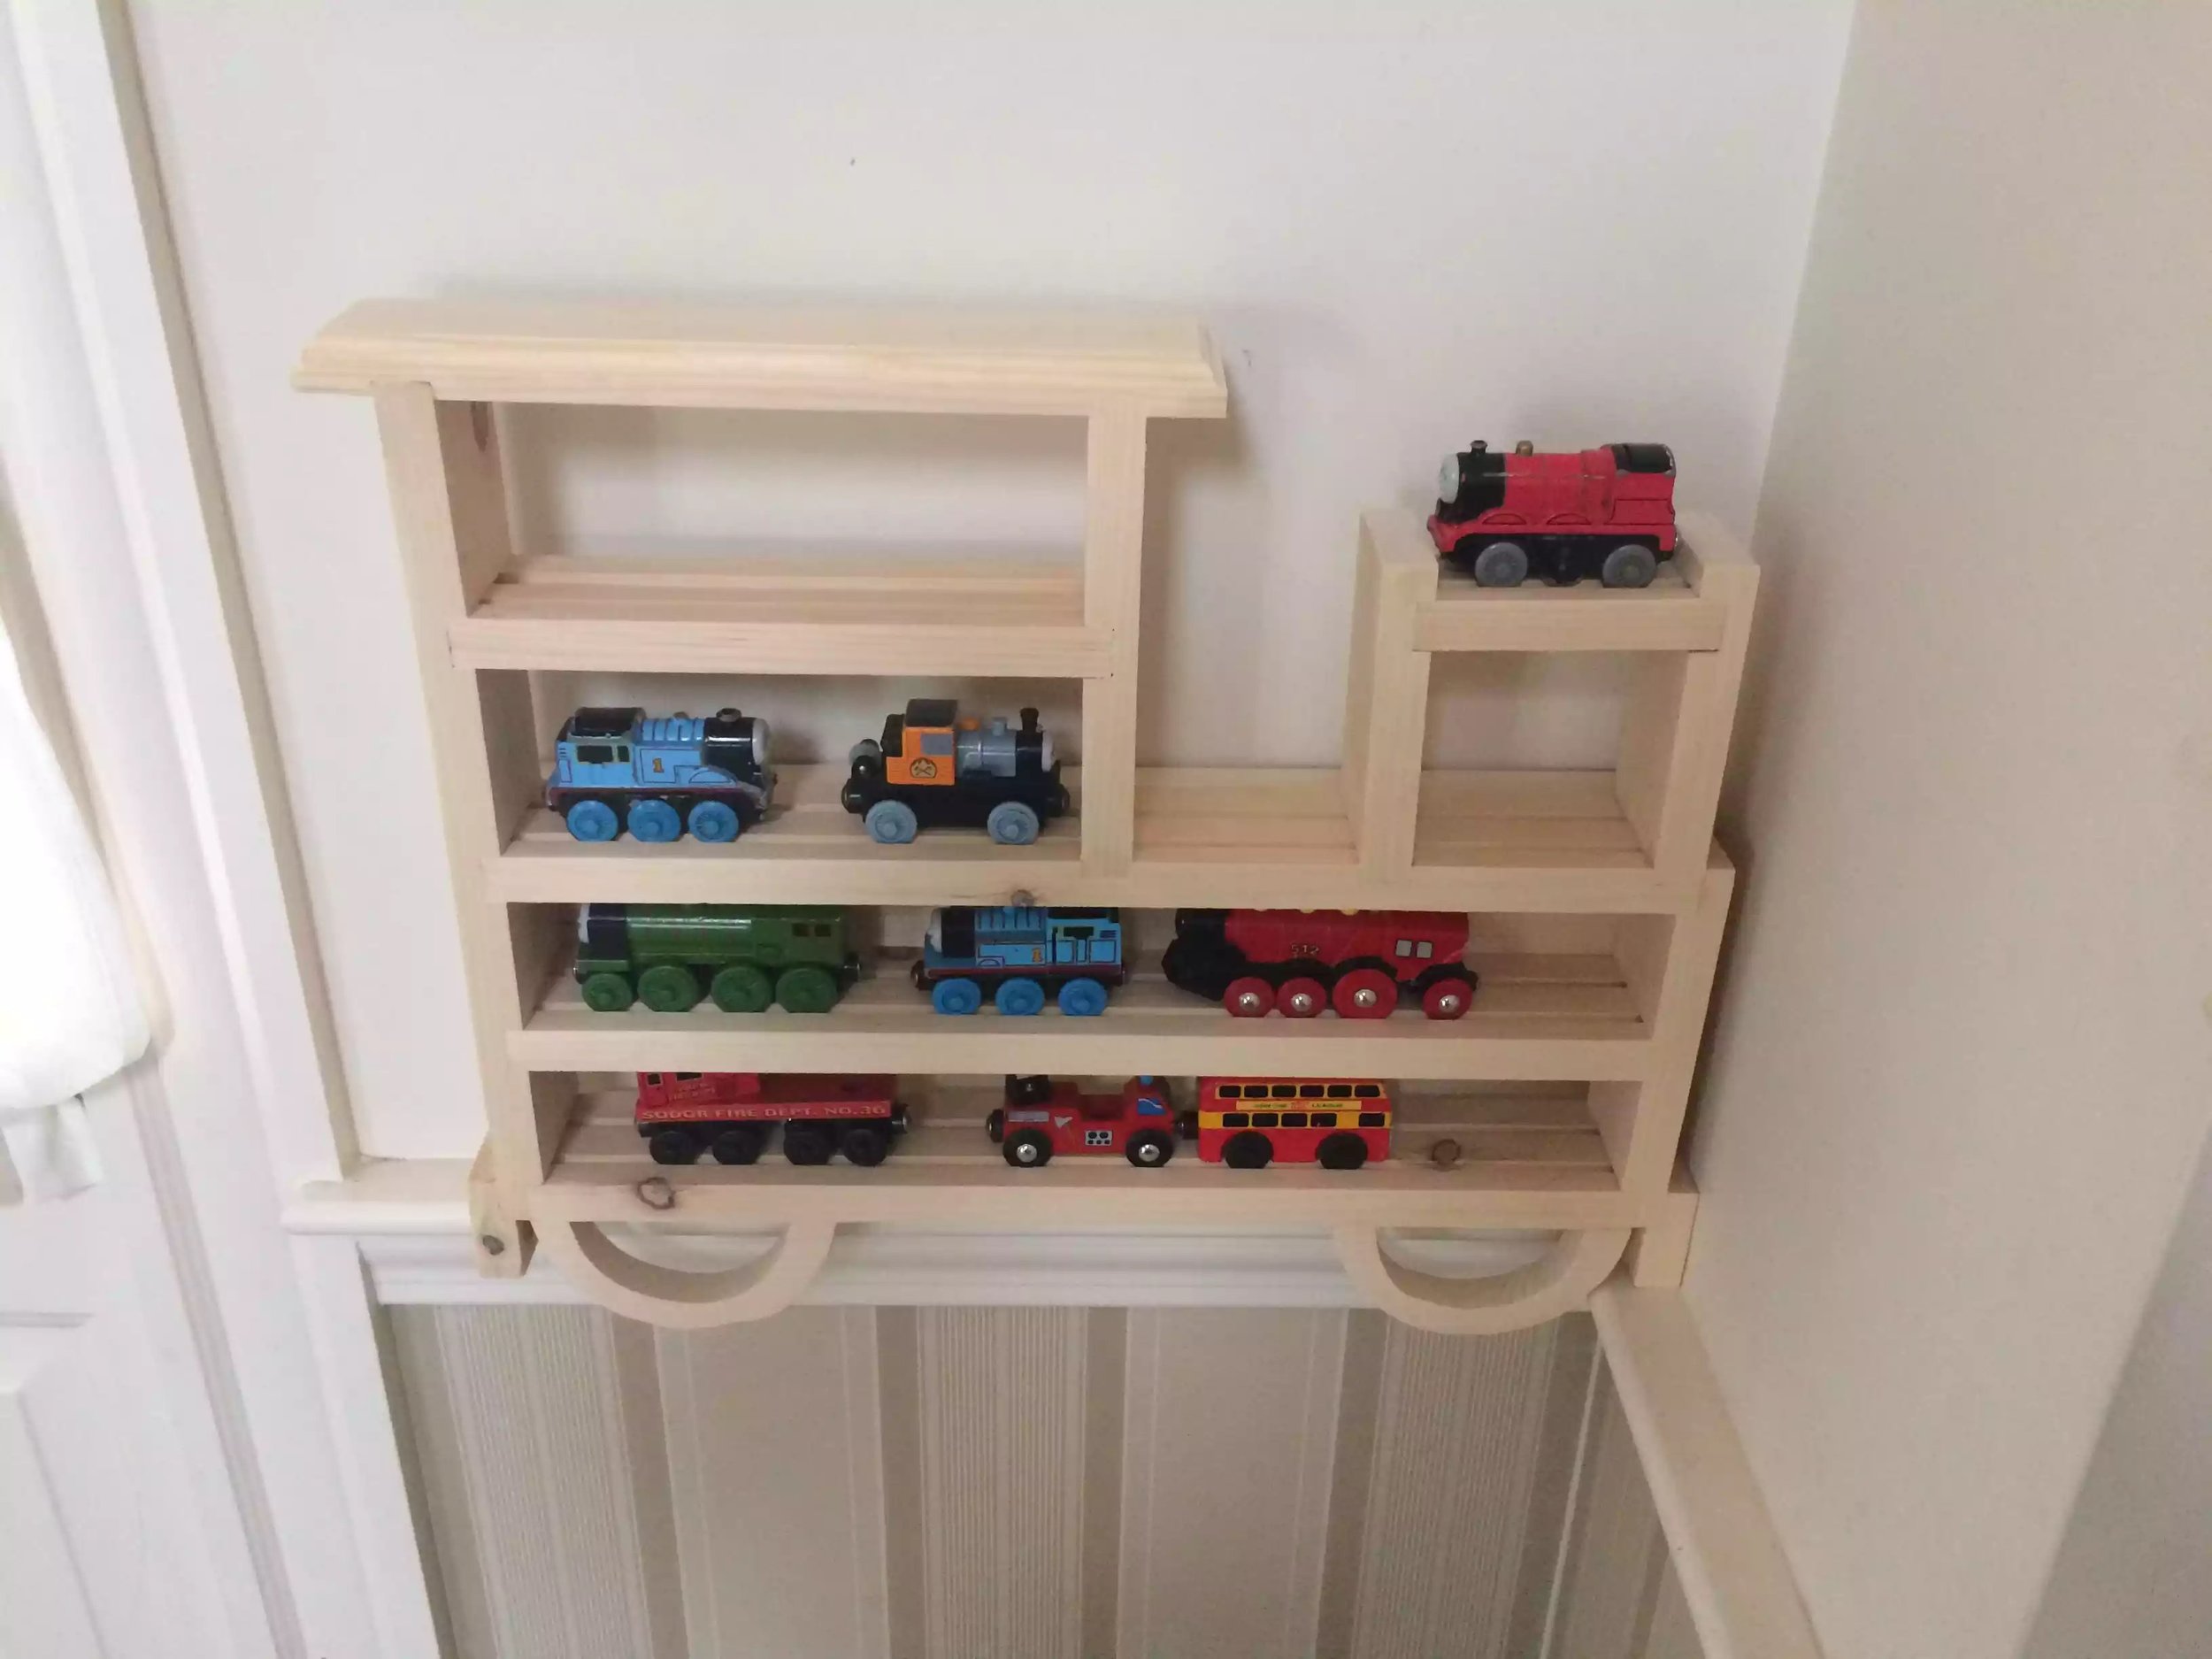
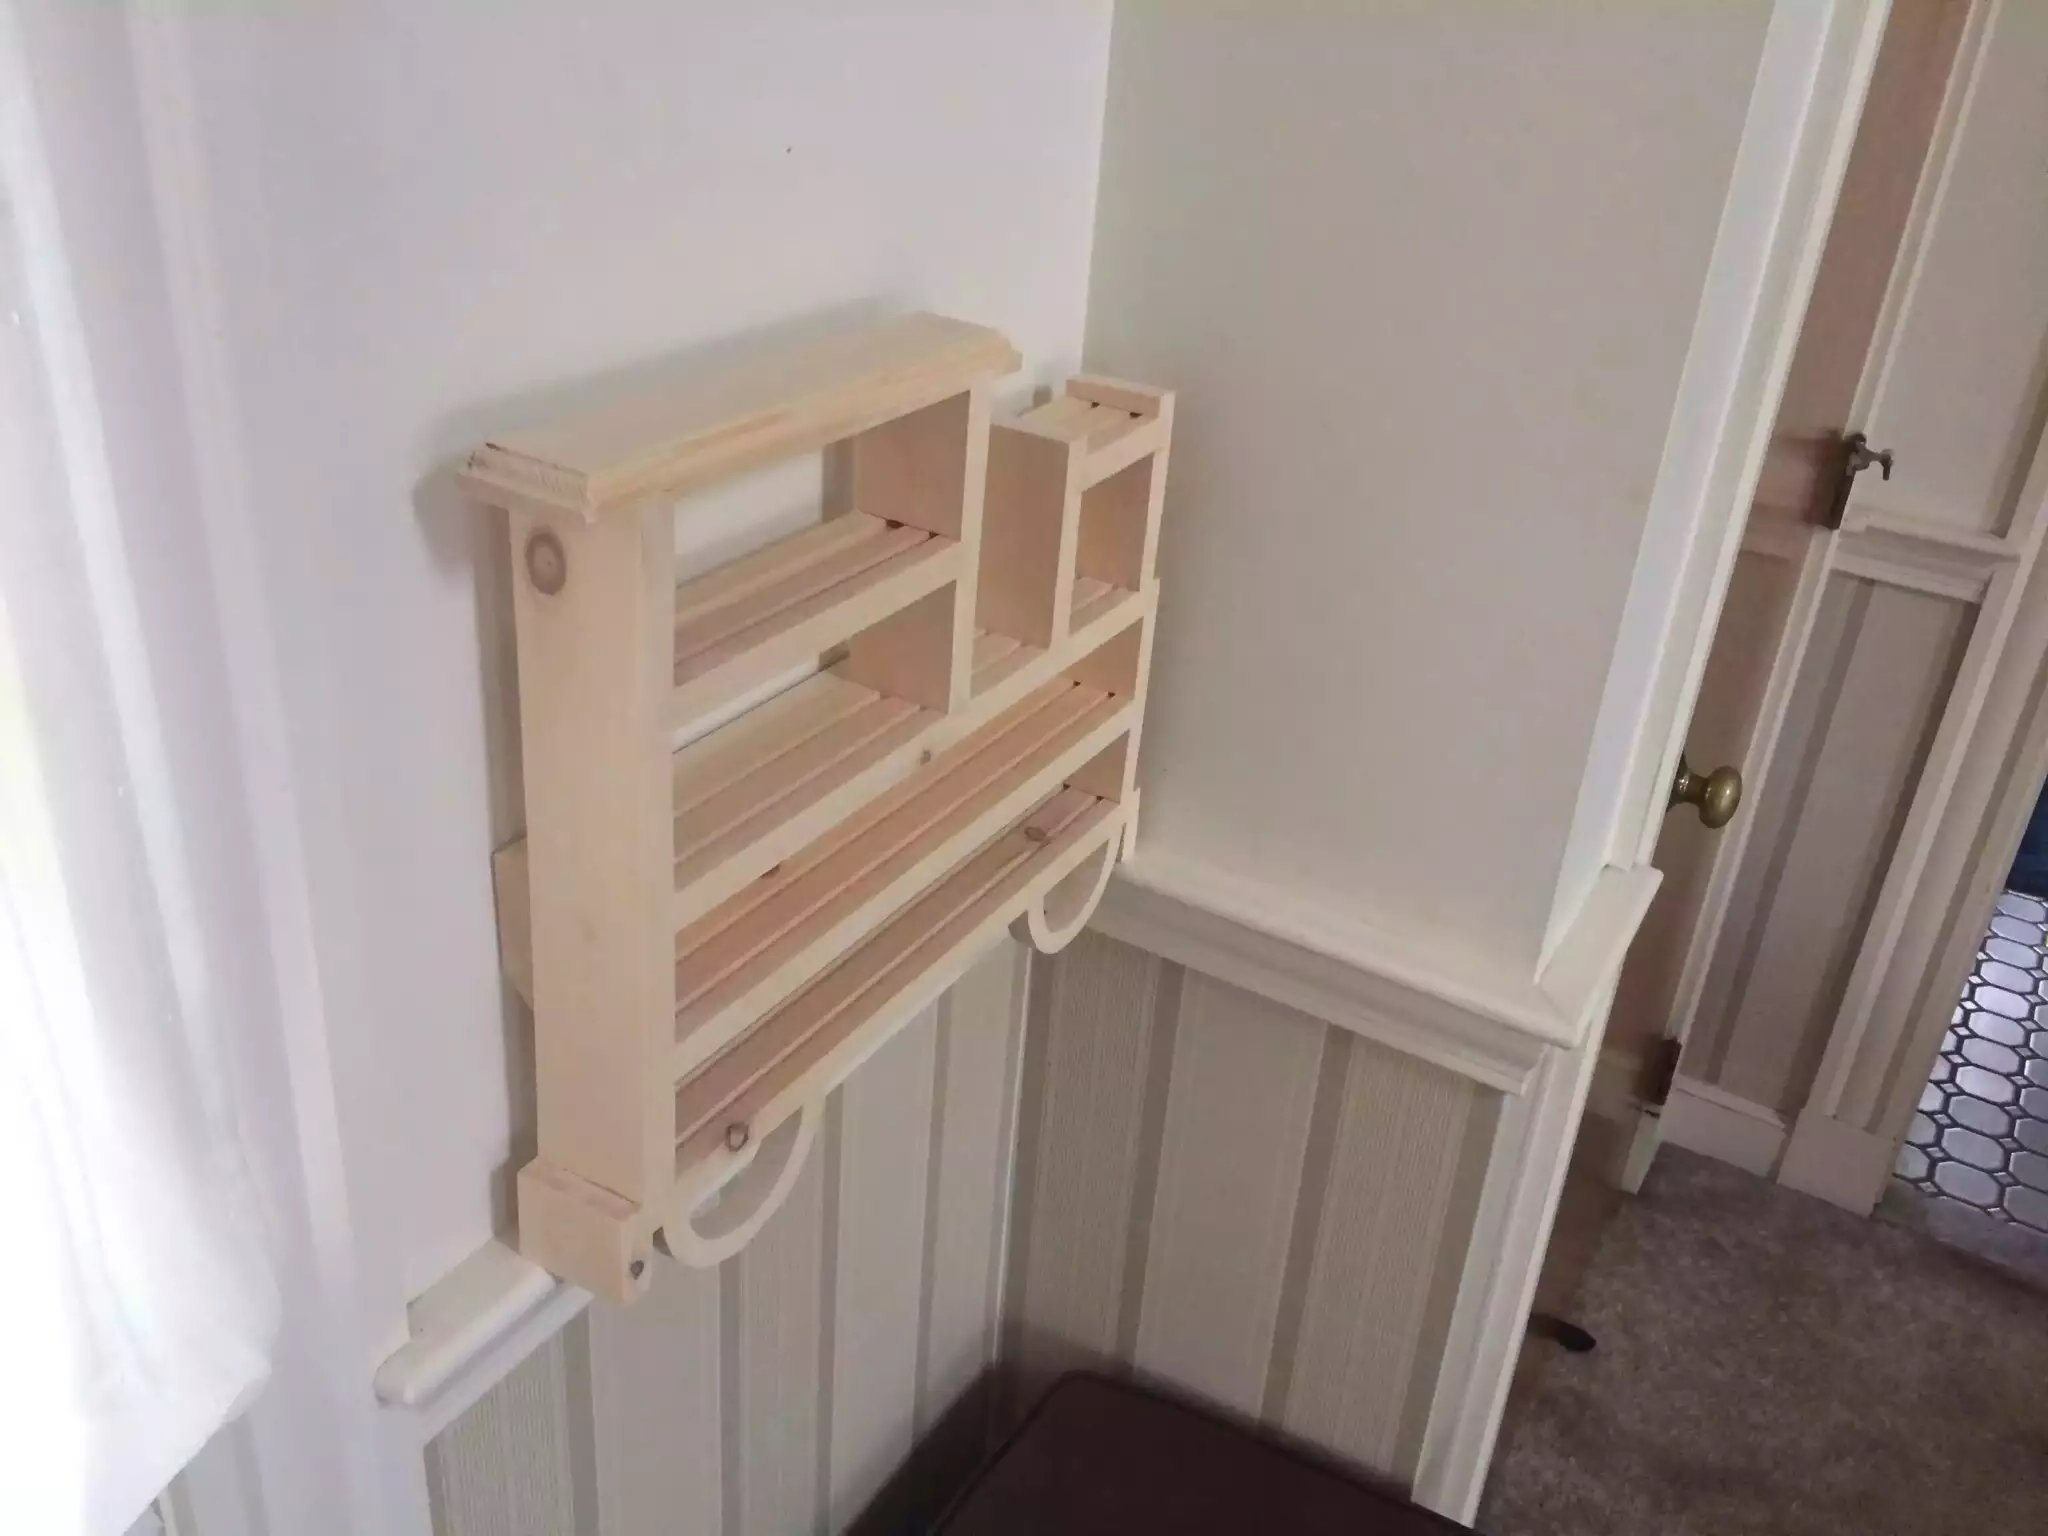
TOY TRAIN SHELF UNIT
So a friend of my sons asks me could I make a storage shelf for all his toy trains and I figured that a unit in the shape of a train would be awesome .
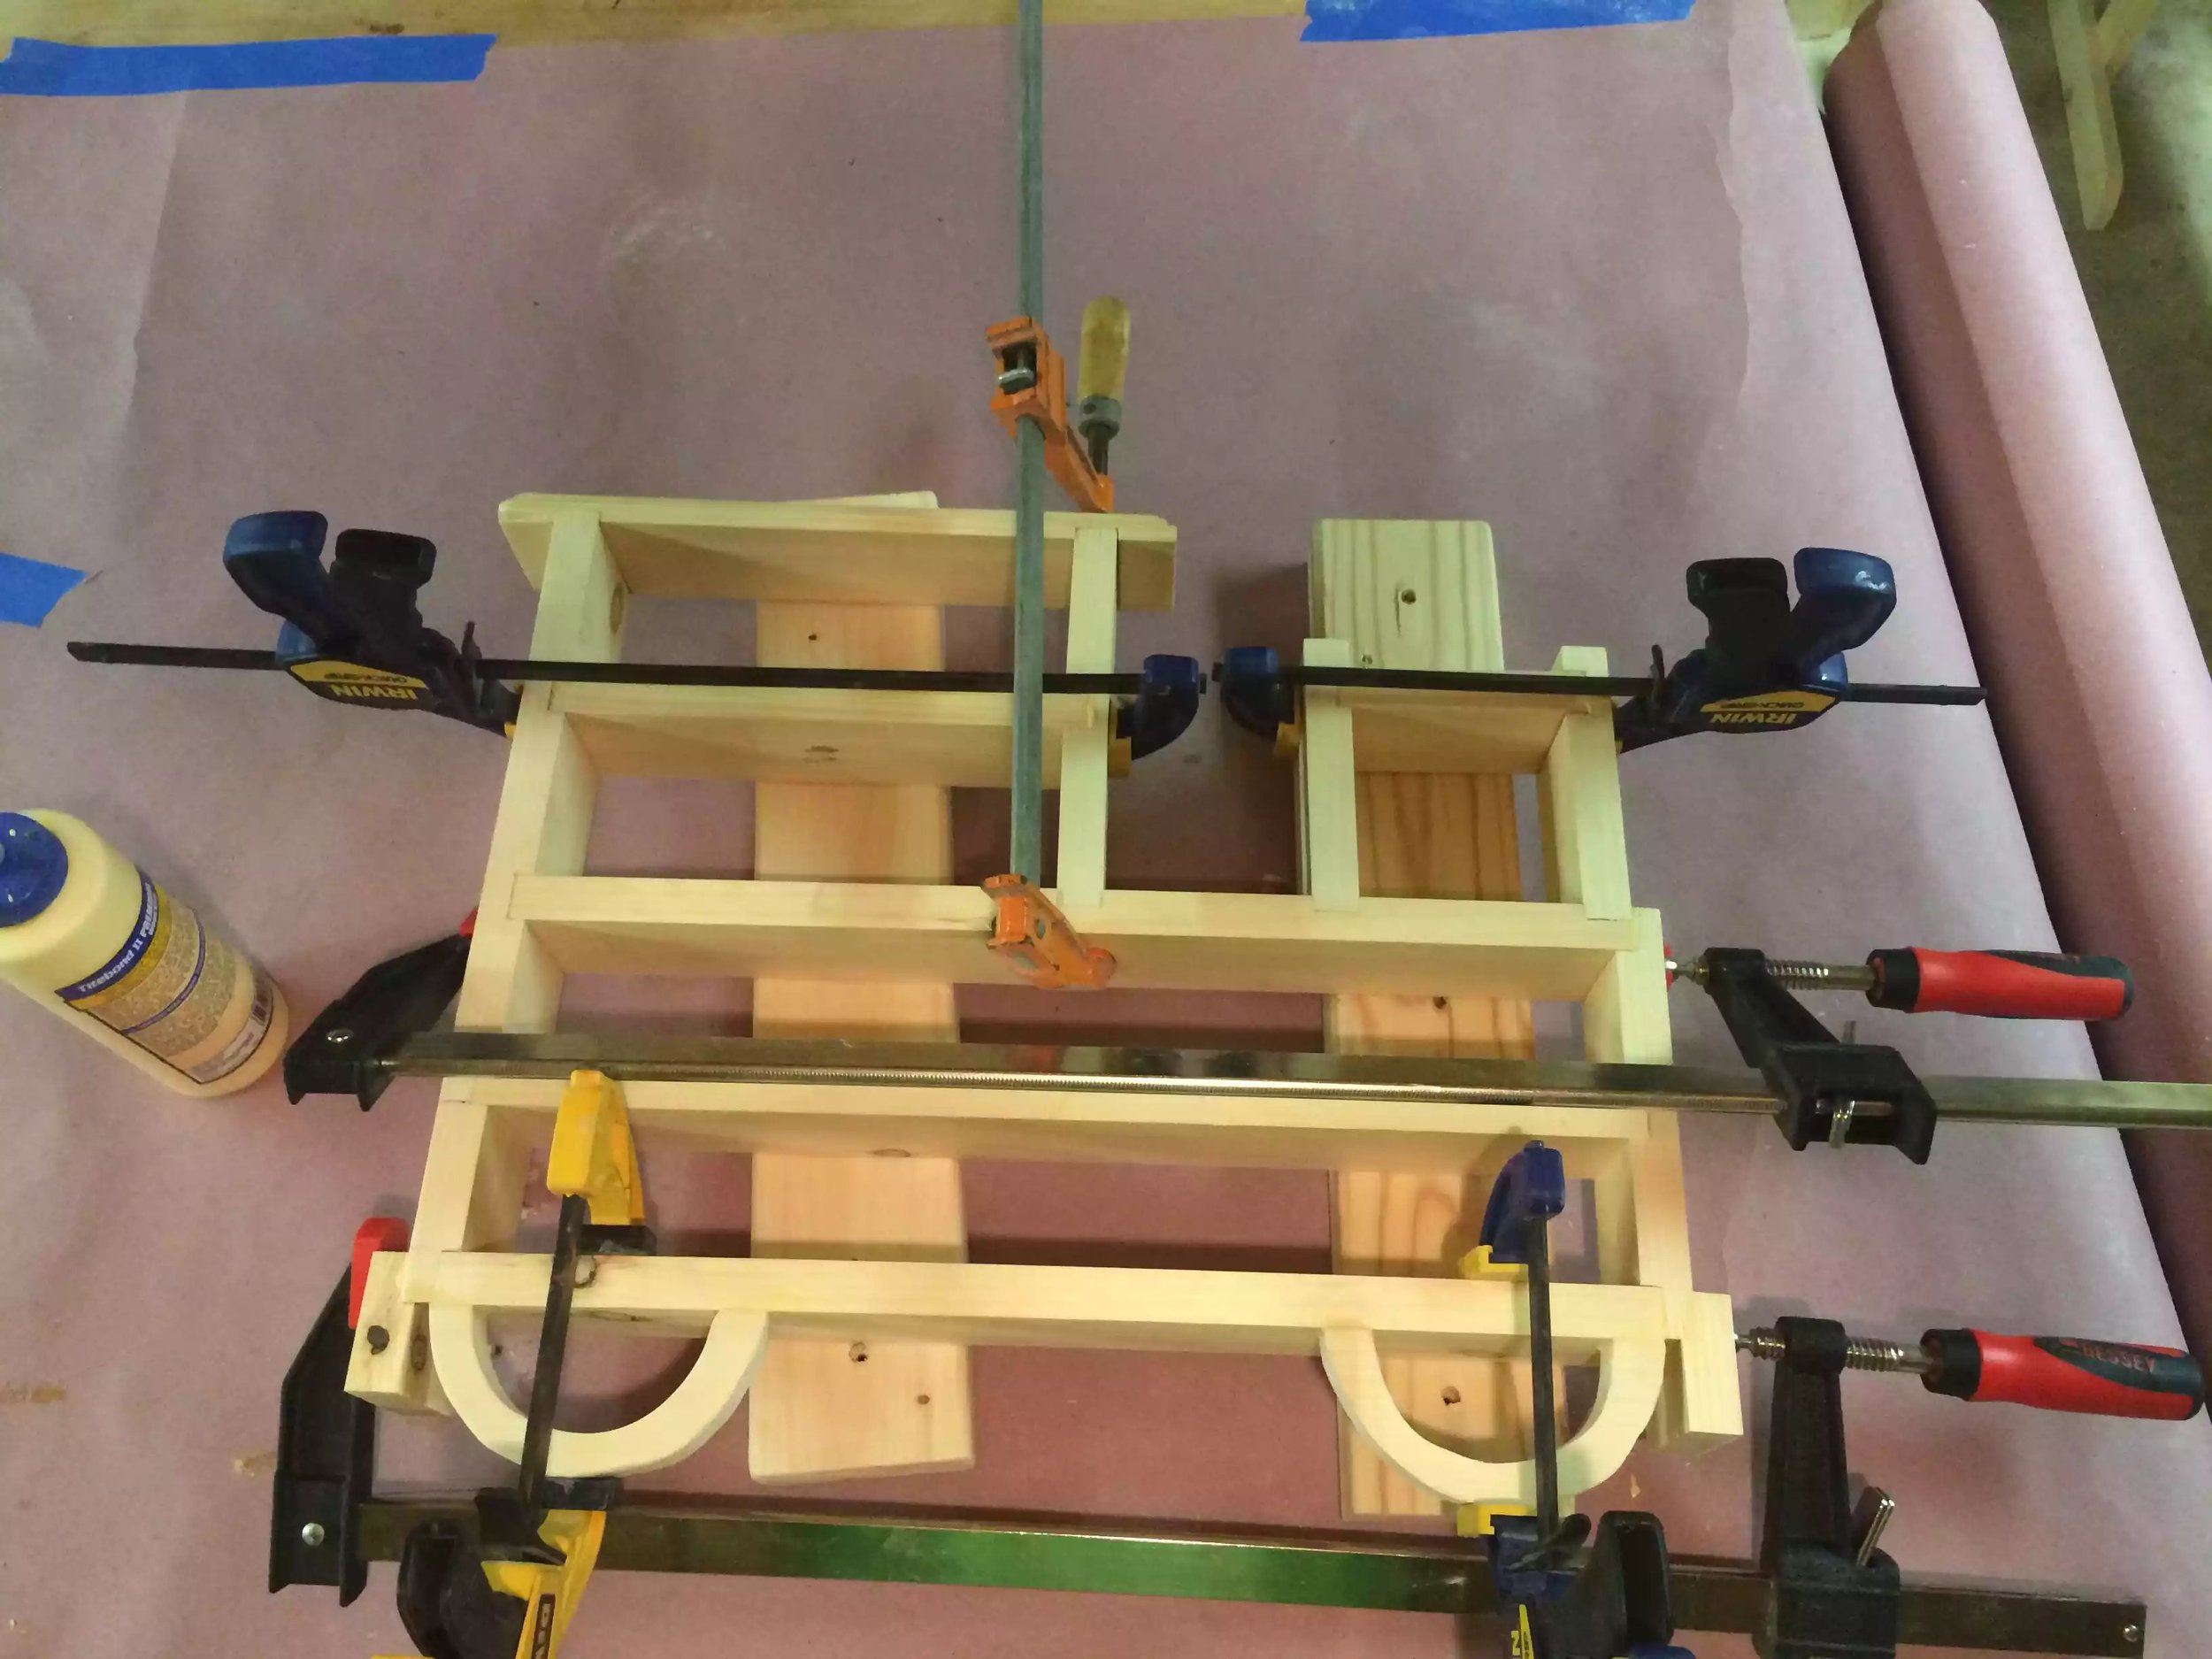
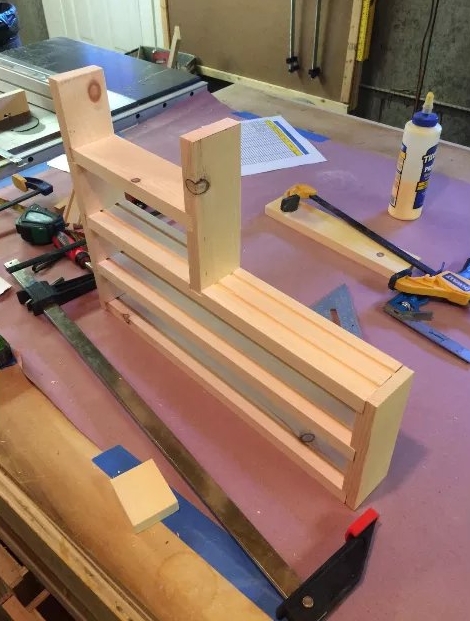
It’s basically built with plain old 1×3 lumber and it’s held together with a series of dados that shelves fit into it.
Each shelf has 2 groves cut into it mimicking Train tracks so as they don’t fall out.
And it’s just all held together with glue.