
HOME OFFICE PROJECTS
C-TABLE with SHELF
(04/2019)
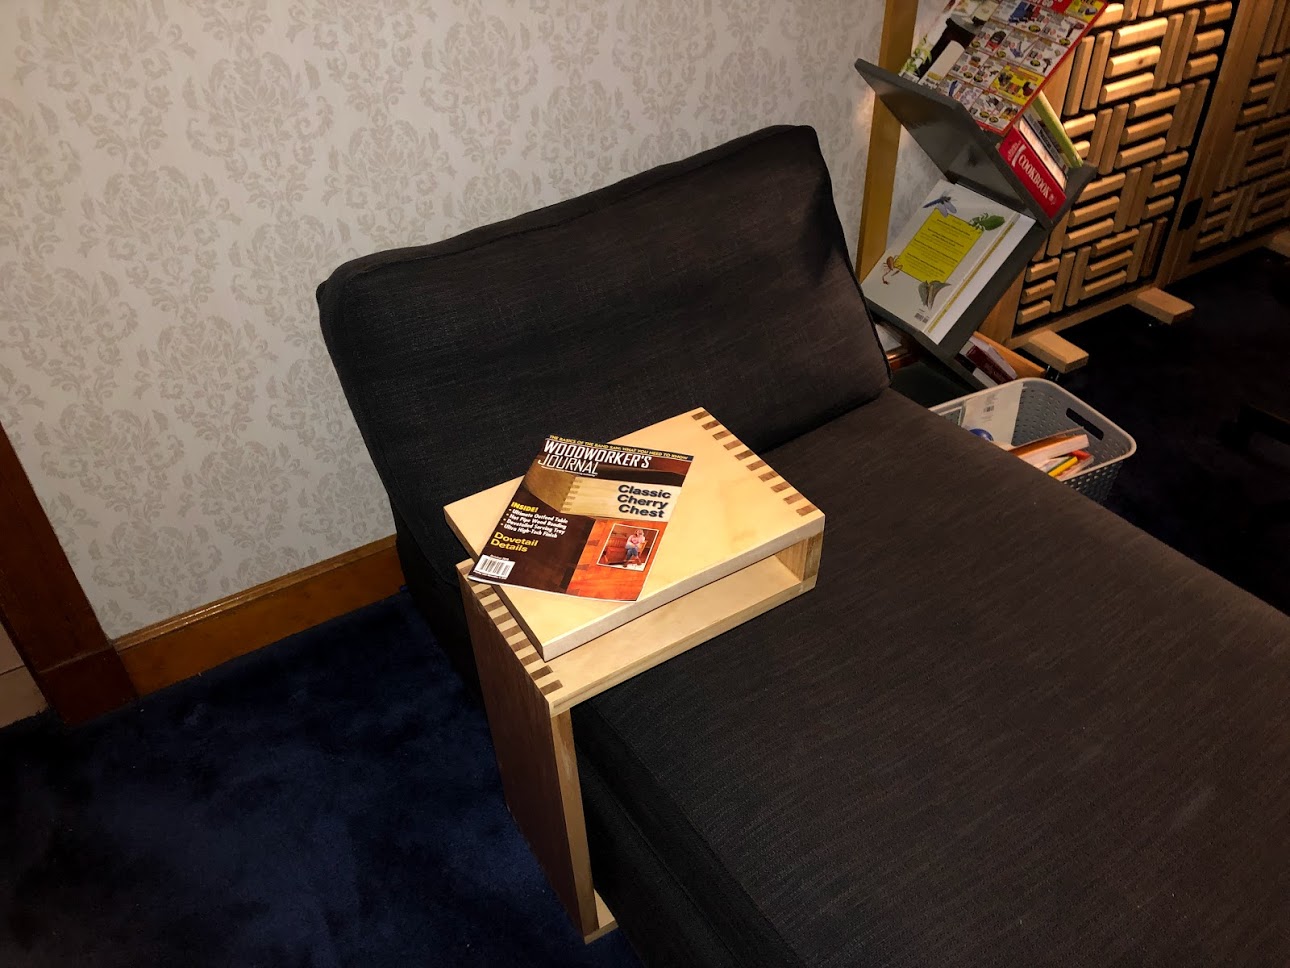

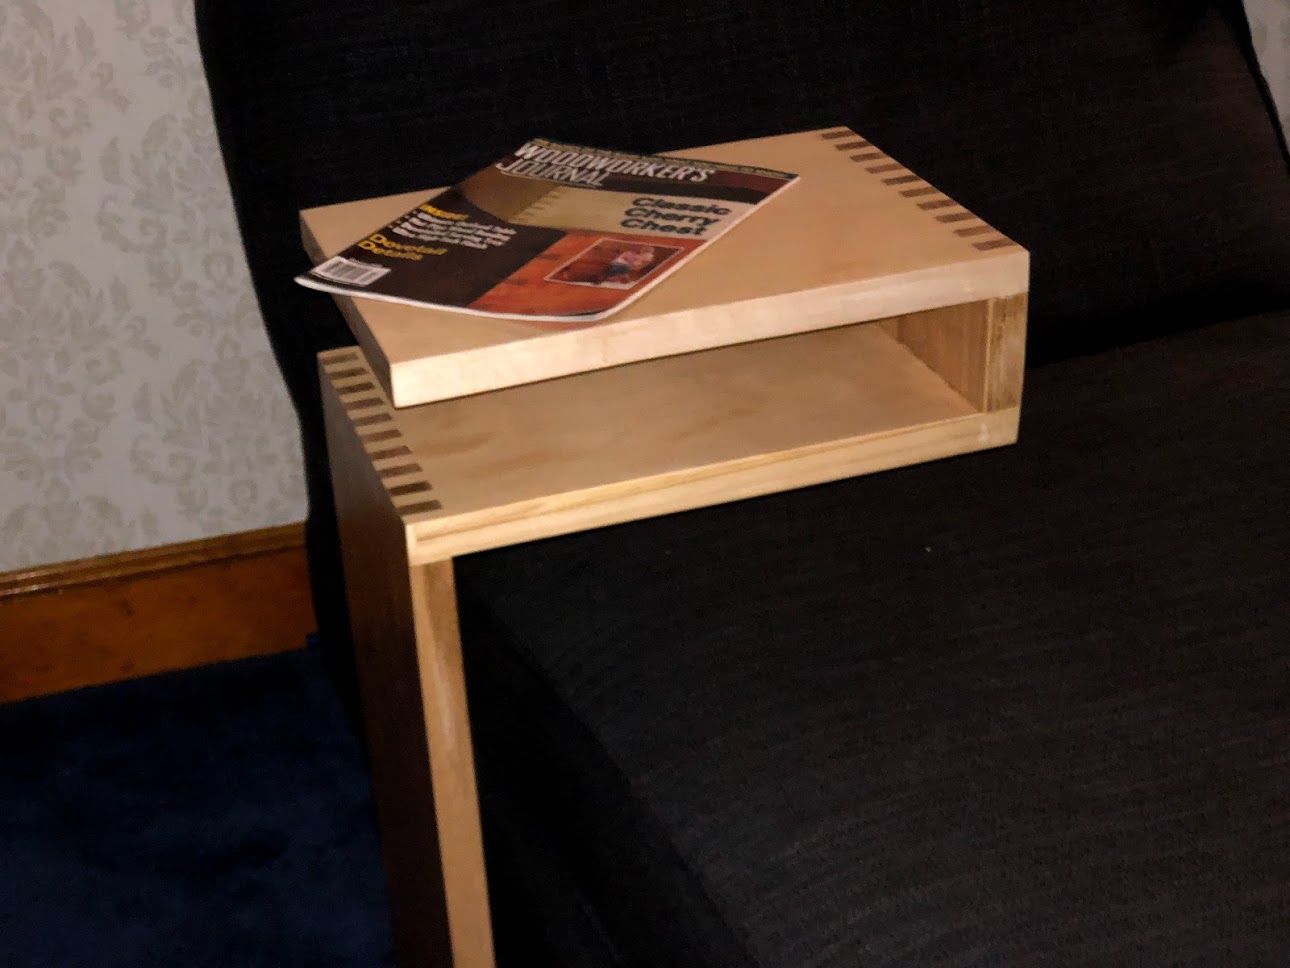
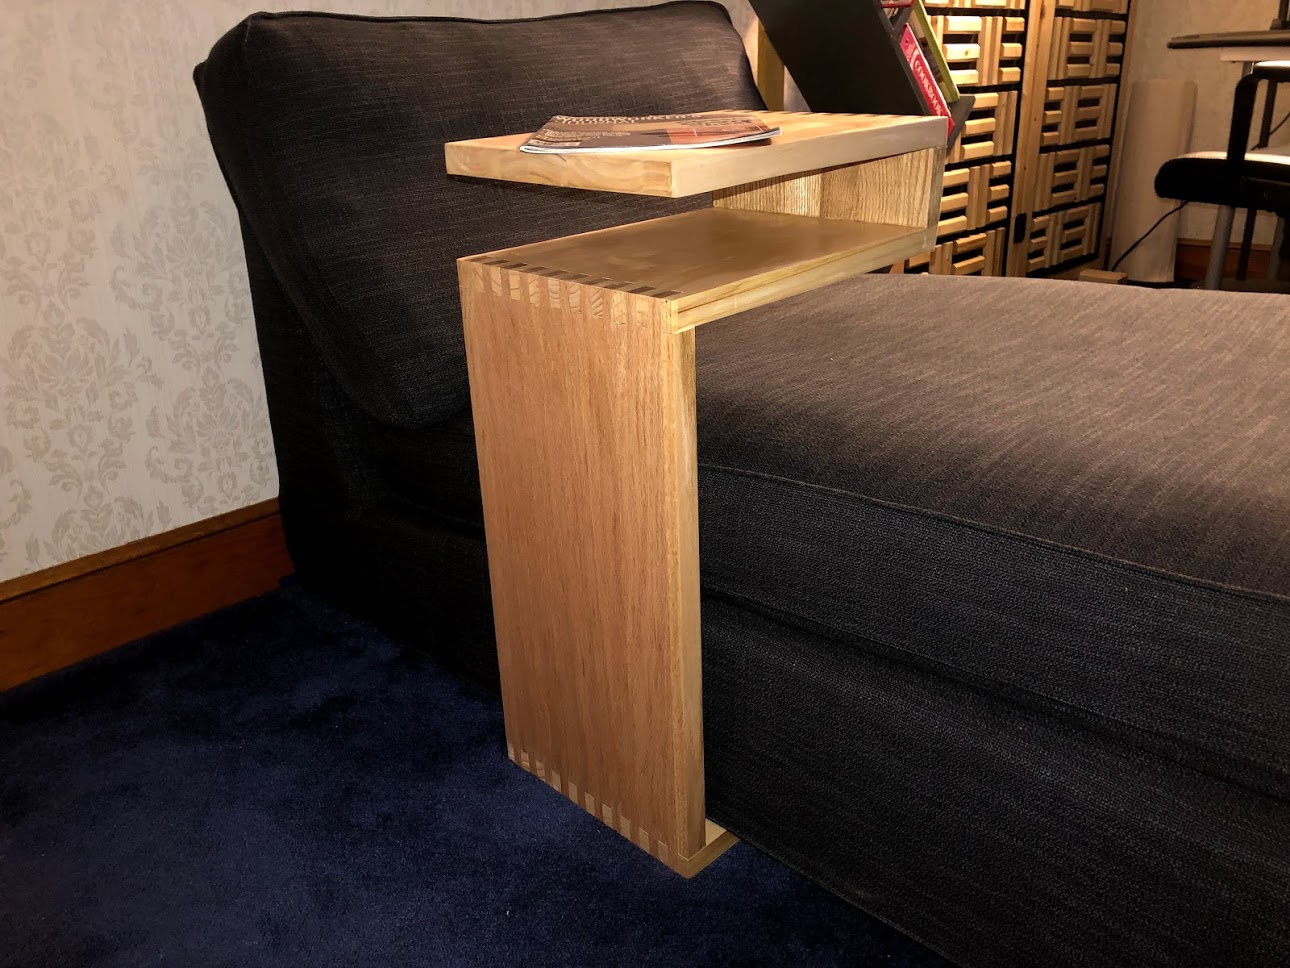
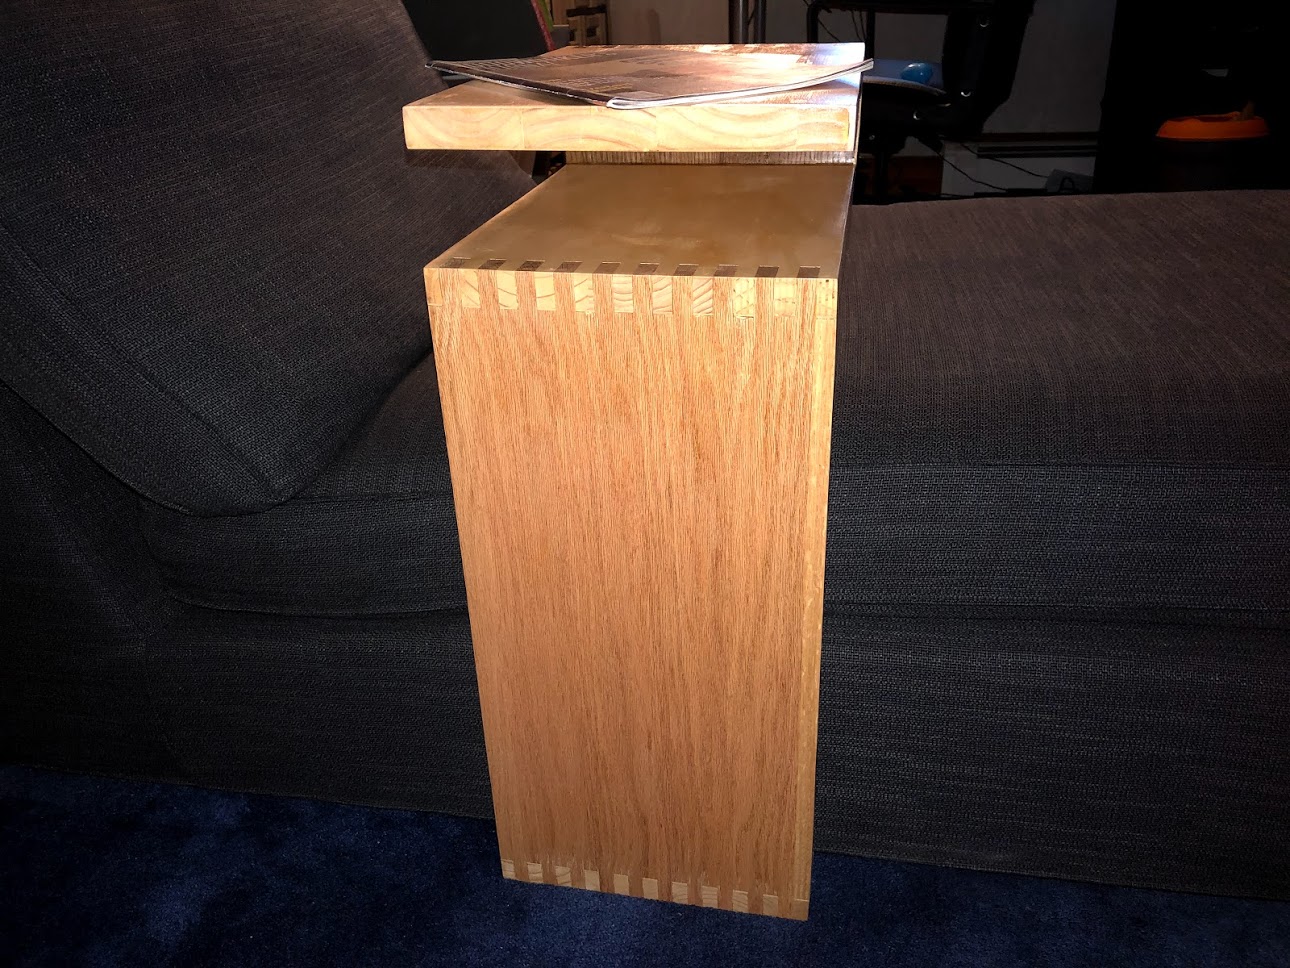
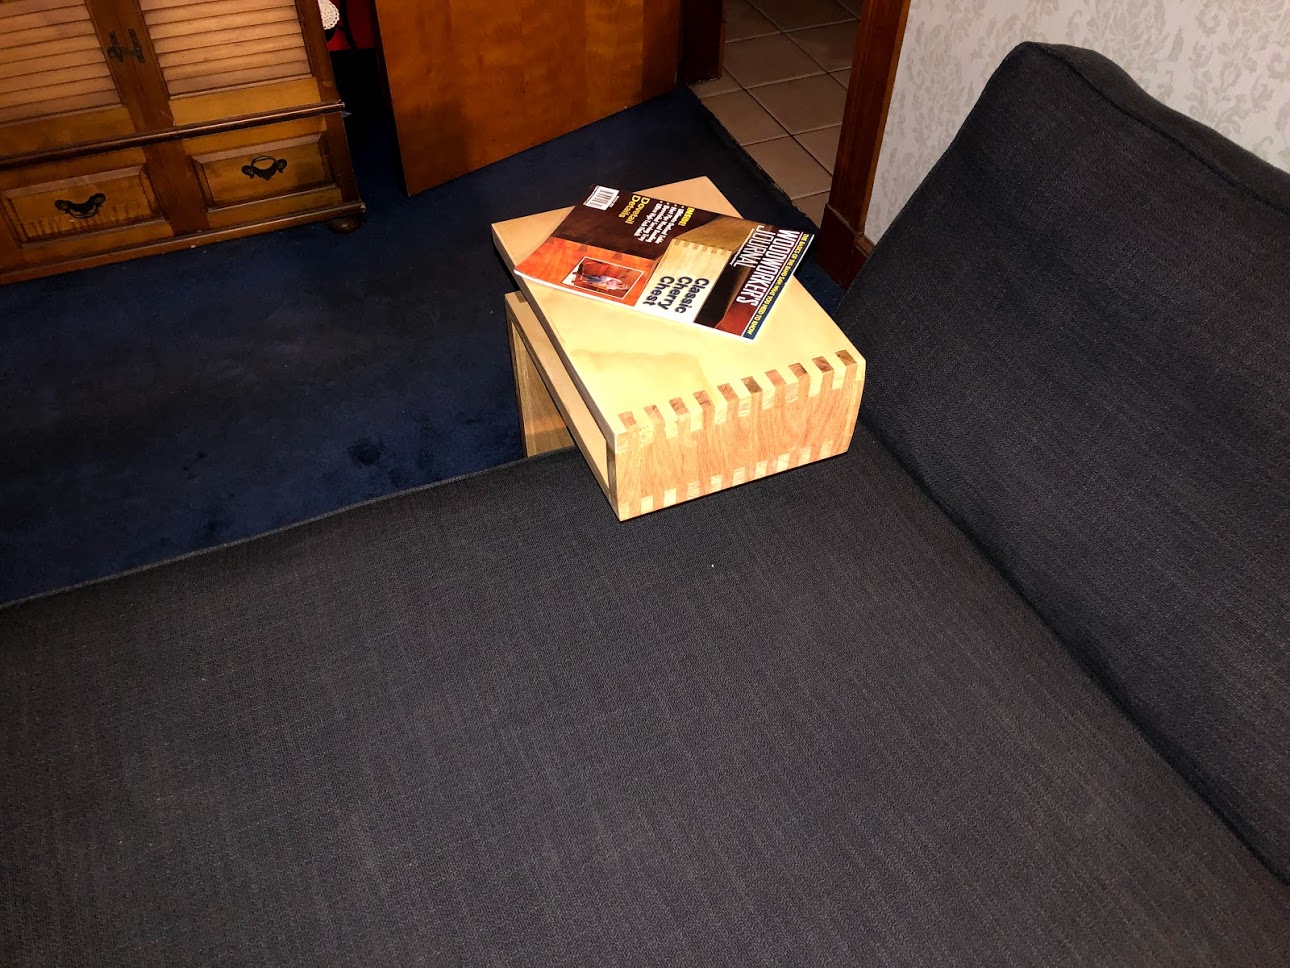
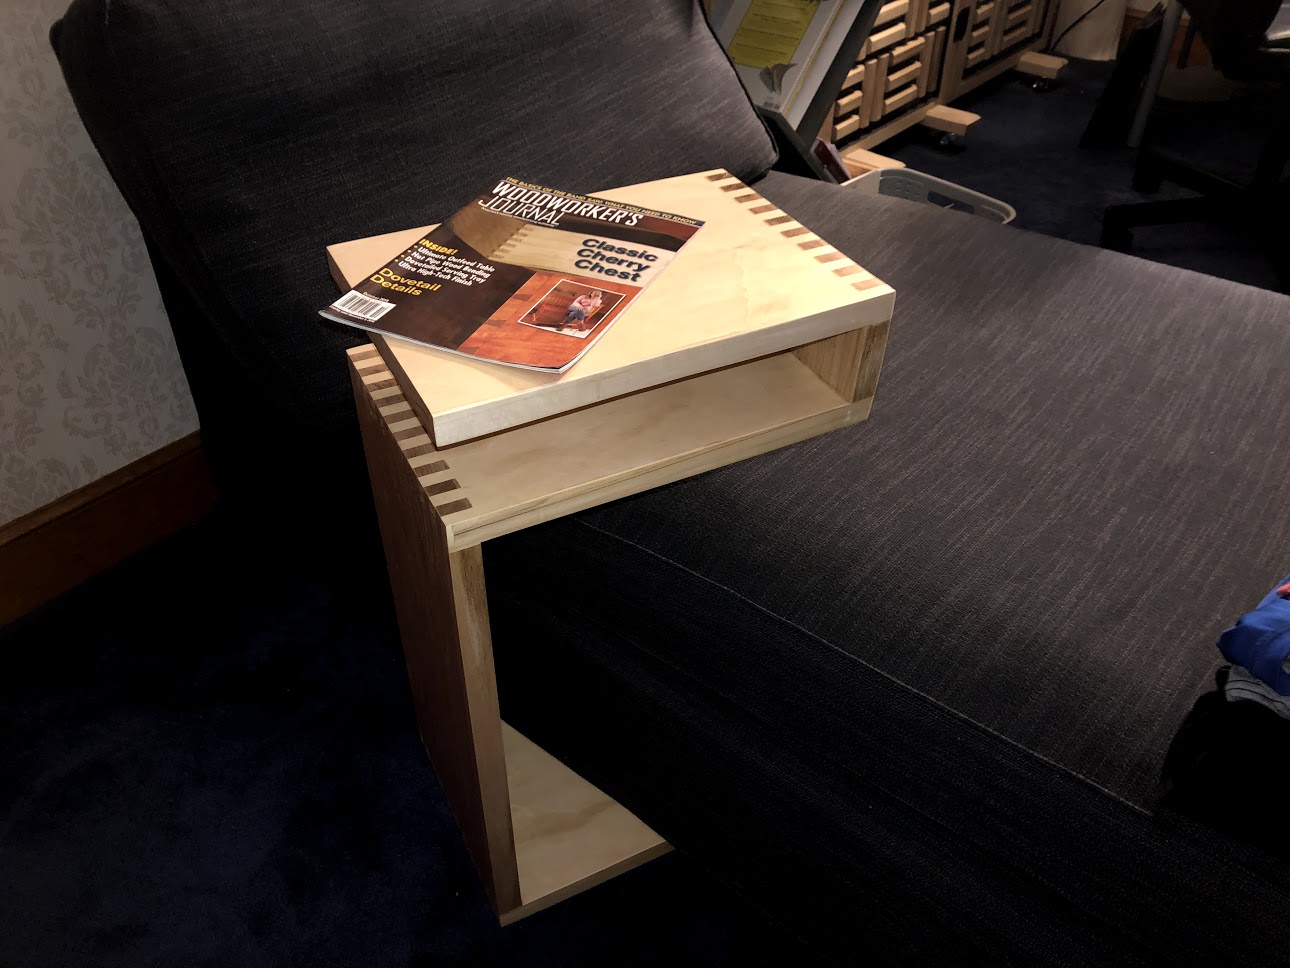


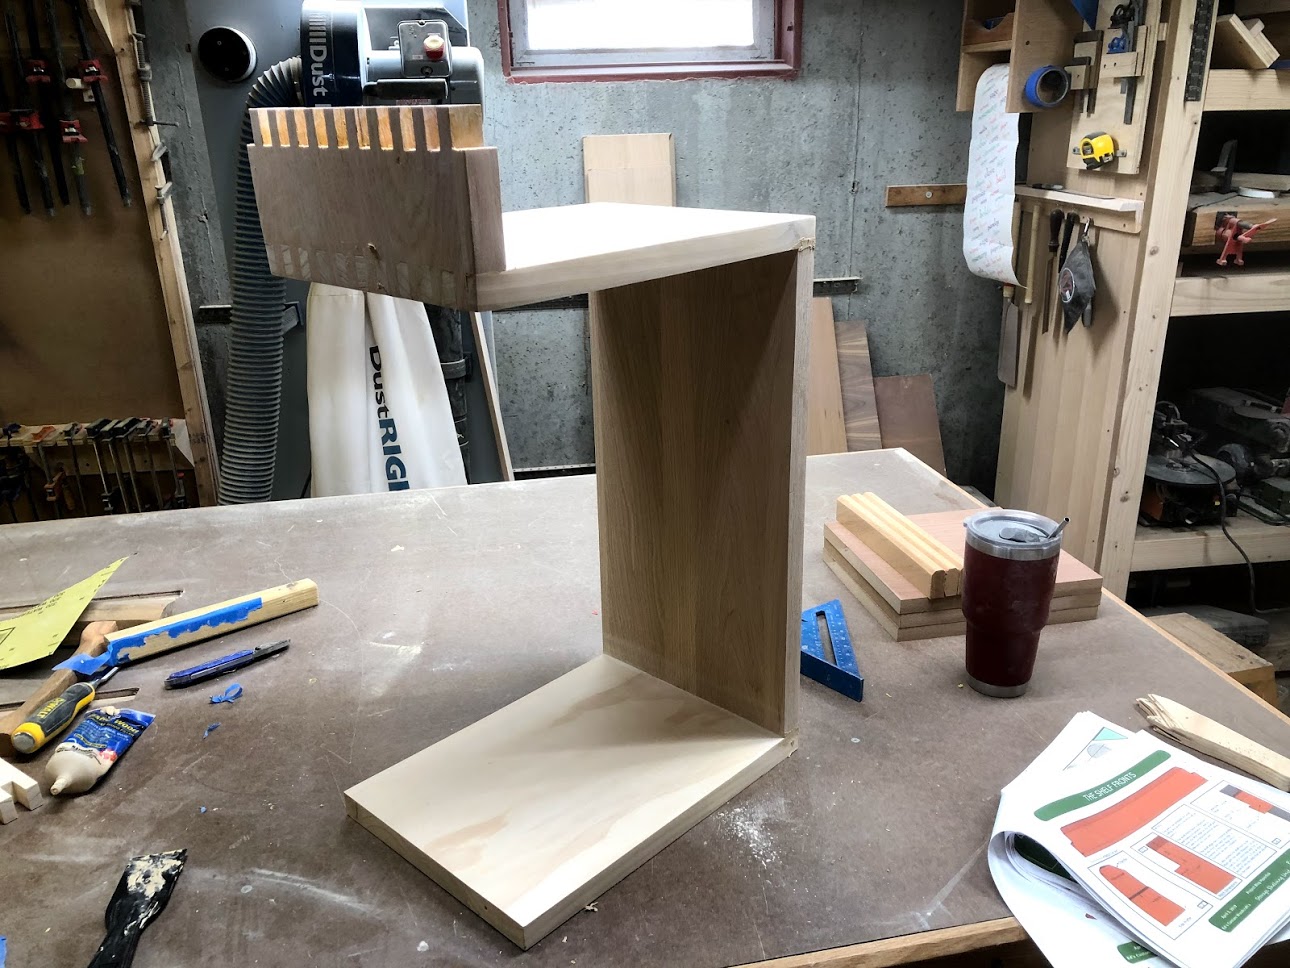
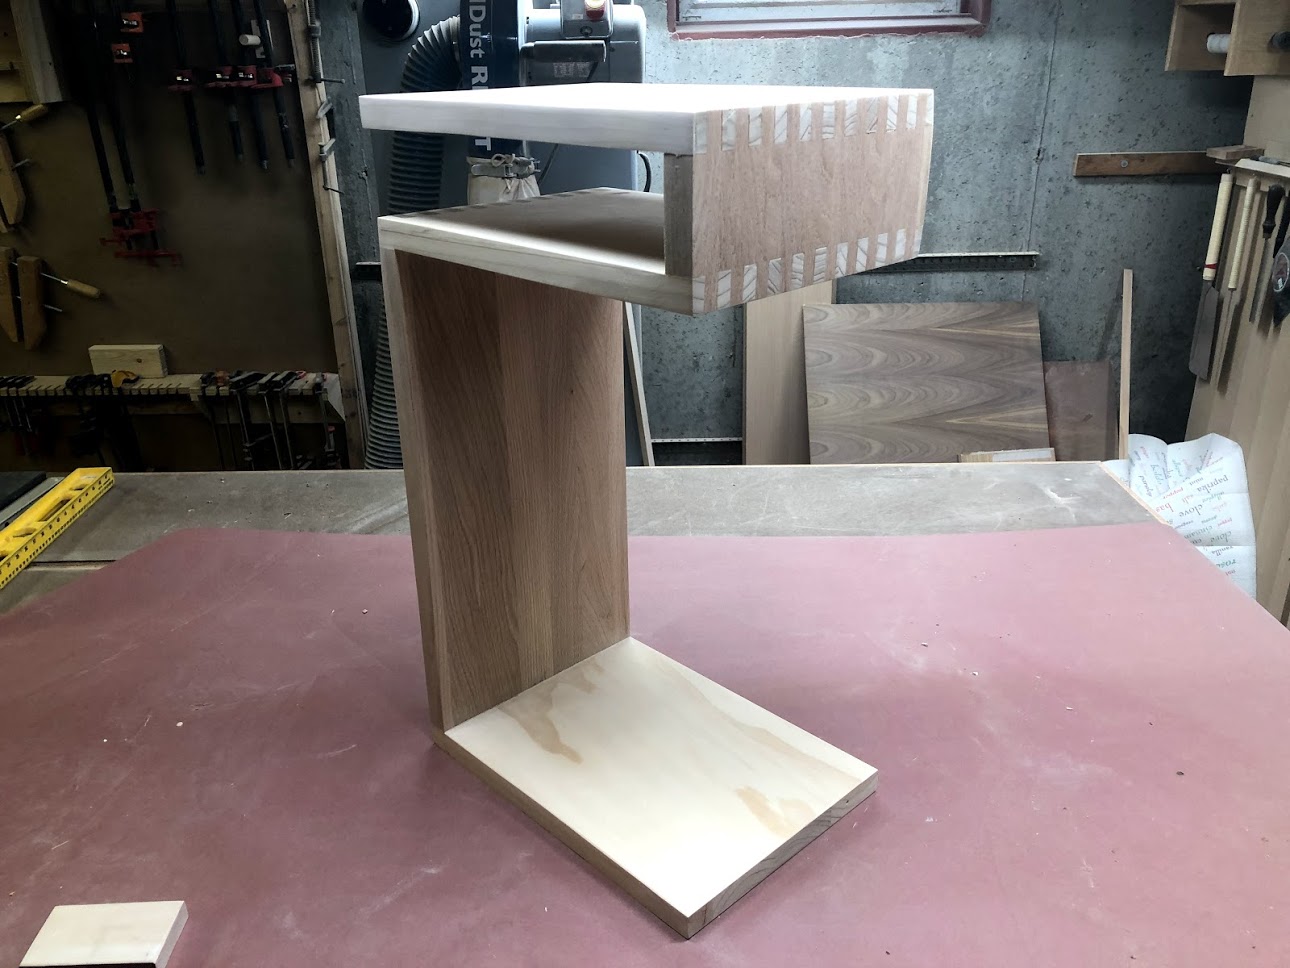
My wife has a home office that she recently purchased a Chaise Lounger , its a model that doesn’t have any arms on it, so it makes it difficult to read or drink a cup of coffee at. So She asked me to come up with a idea of a table.
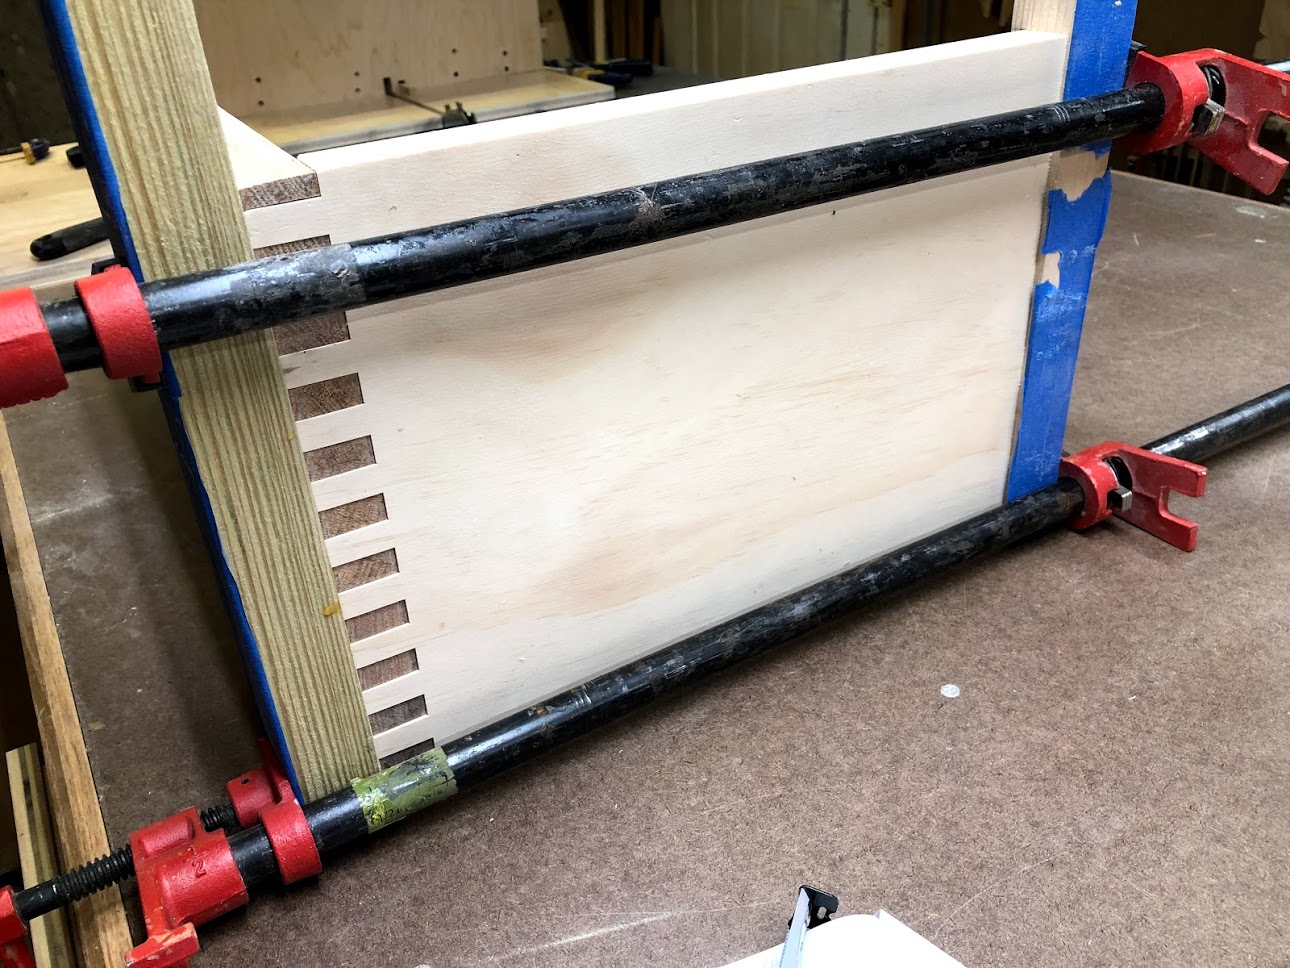
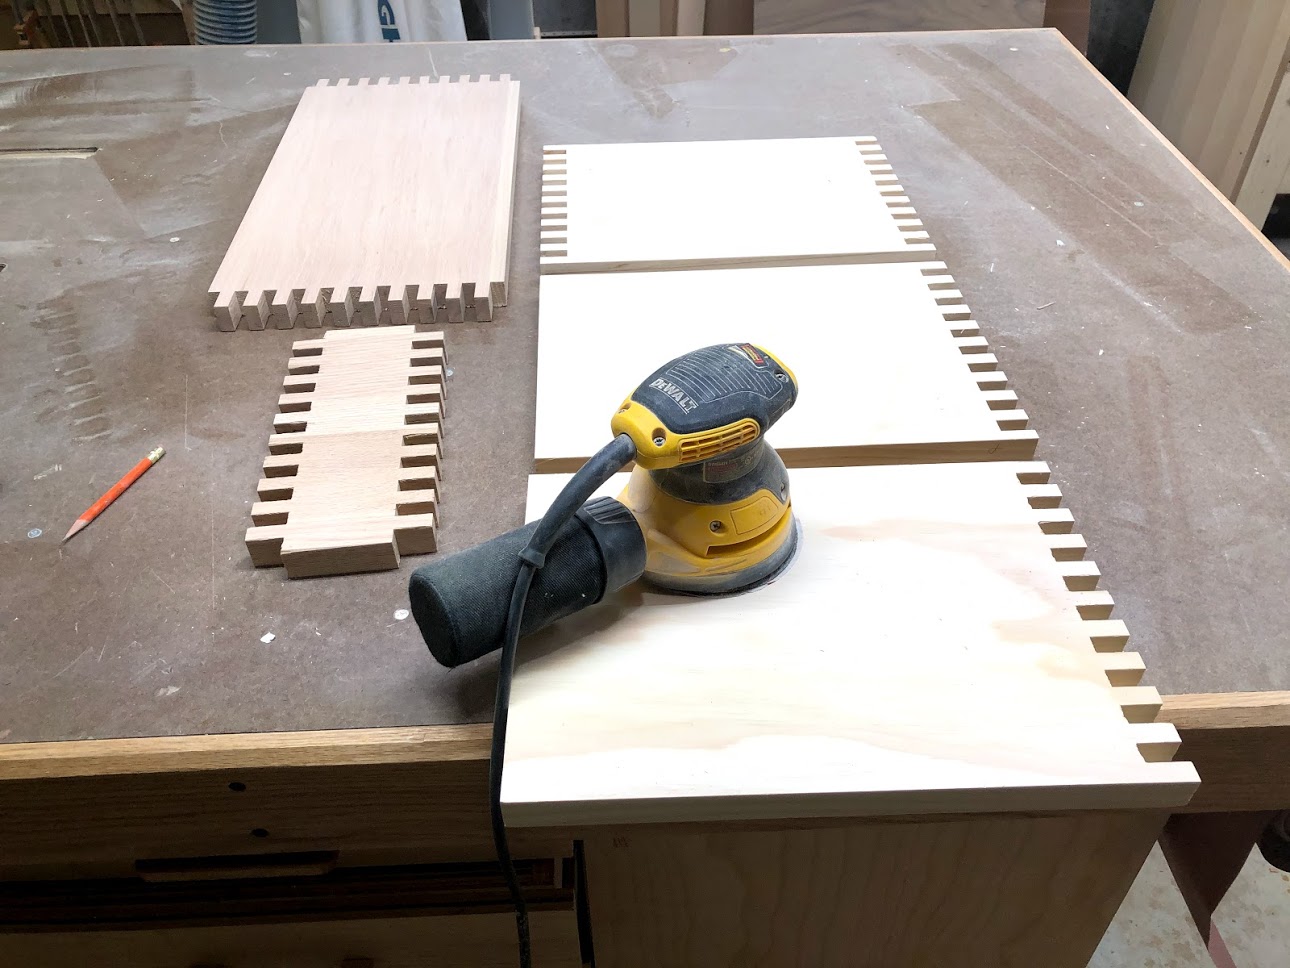
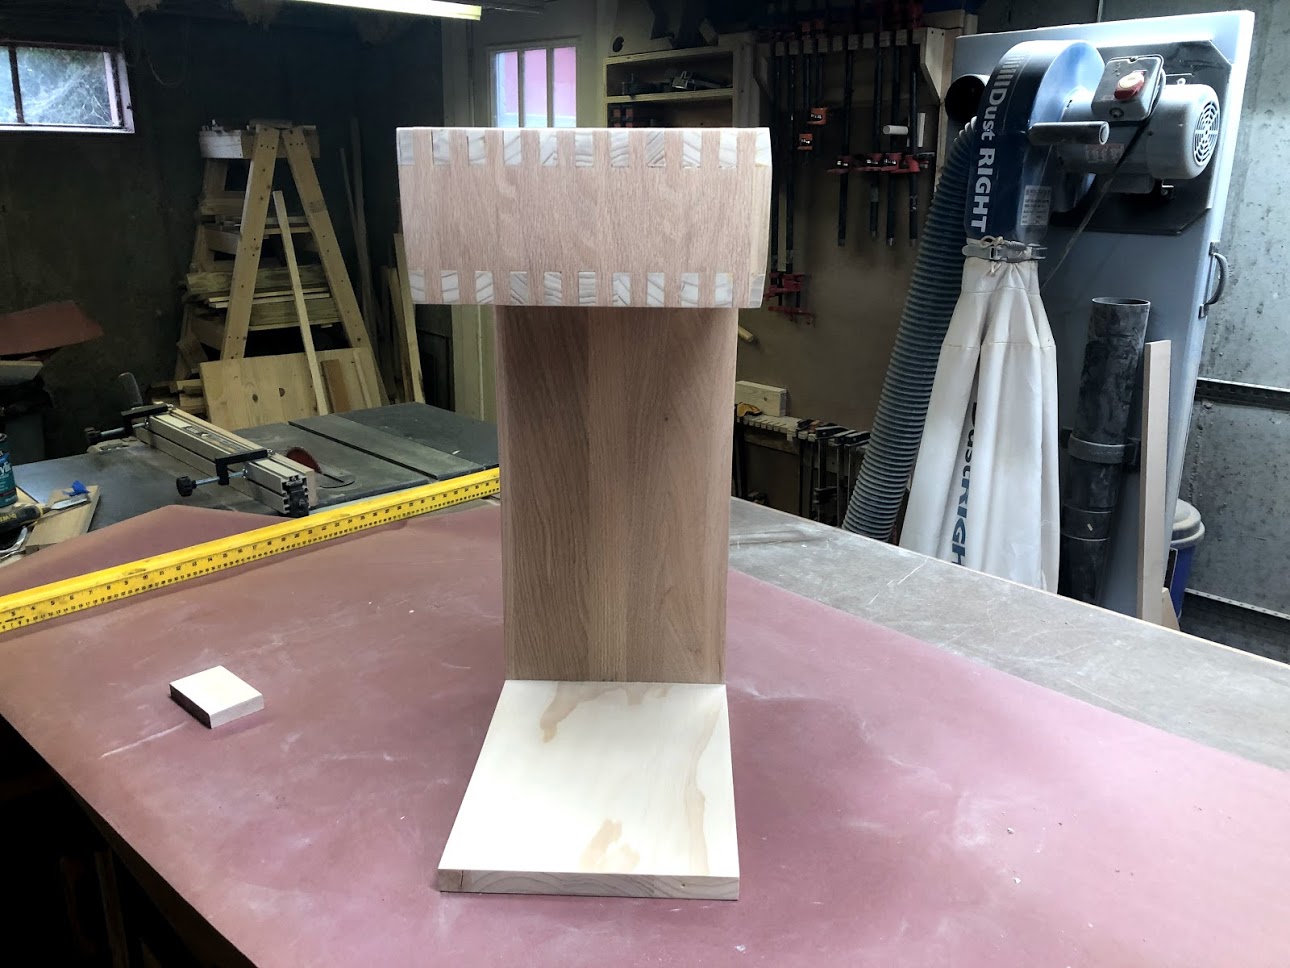
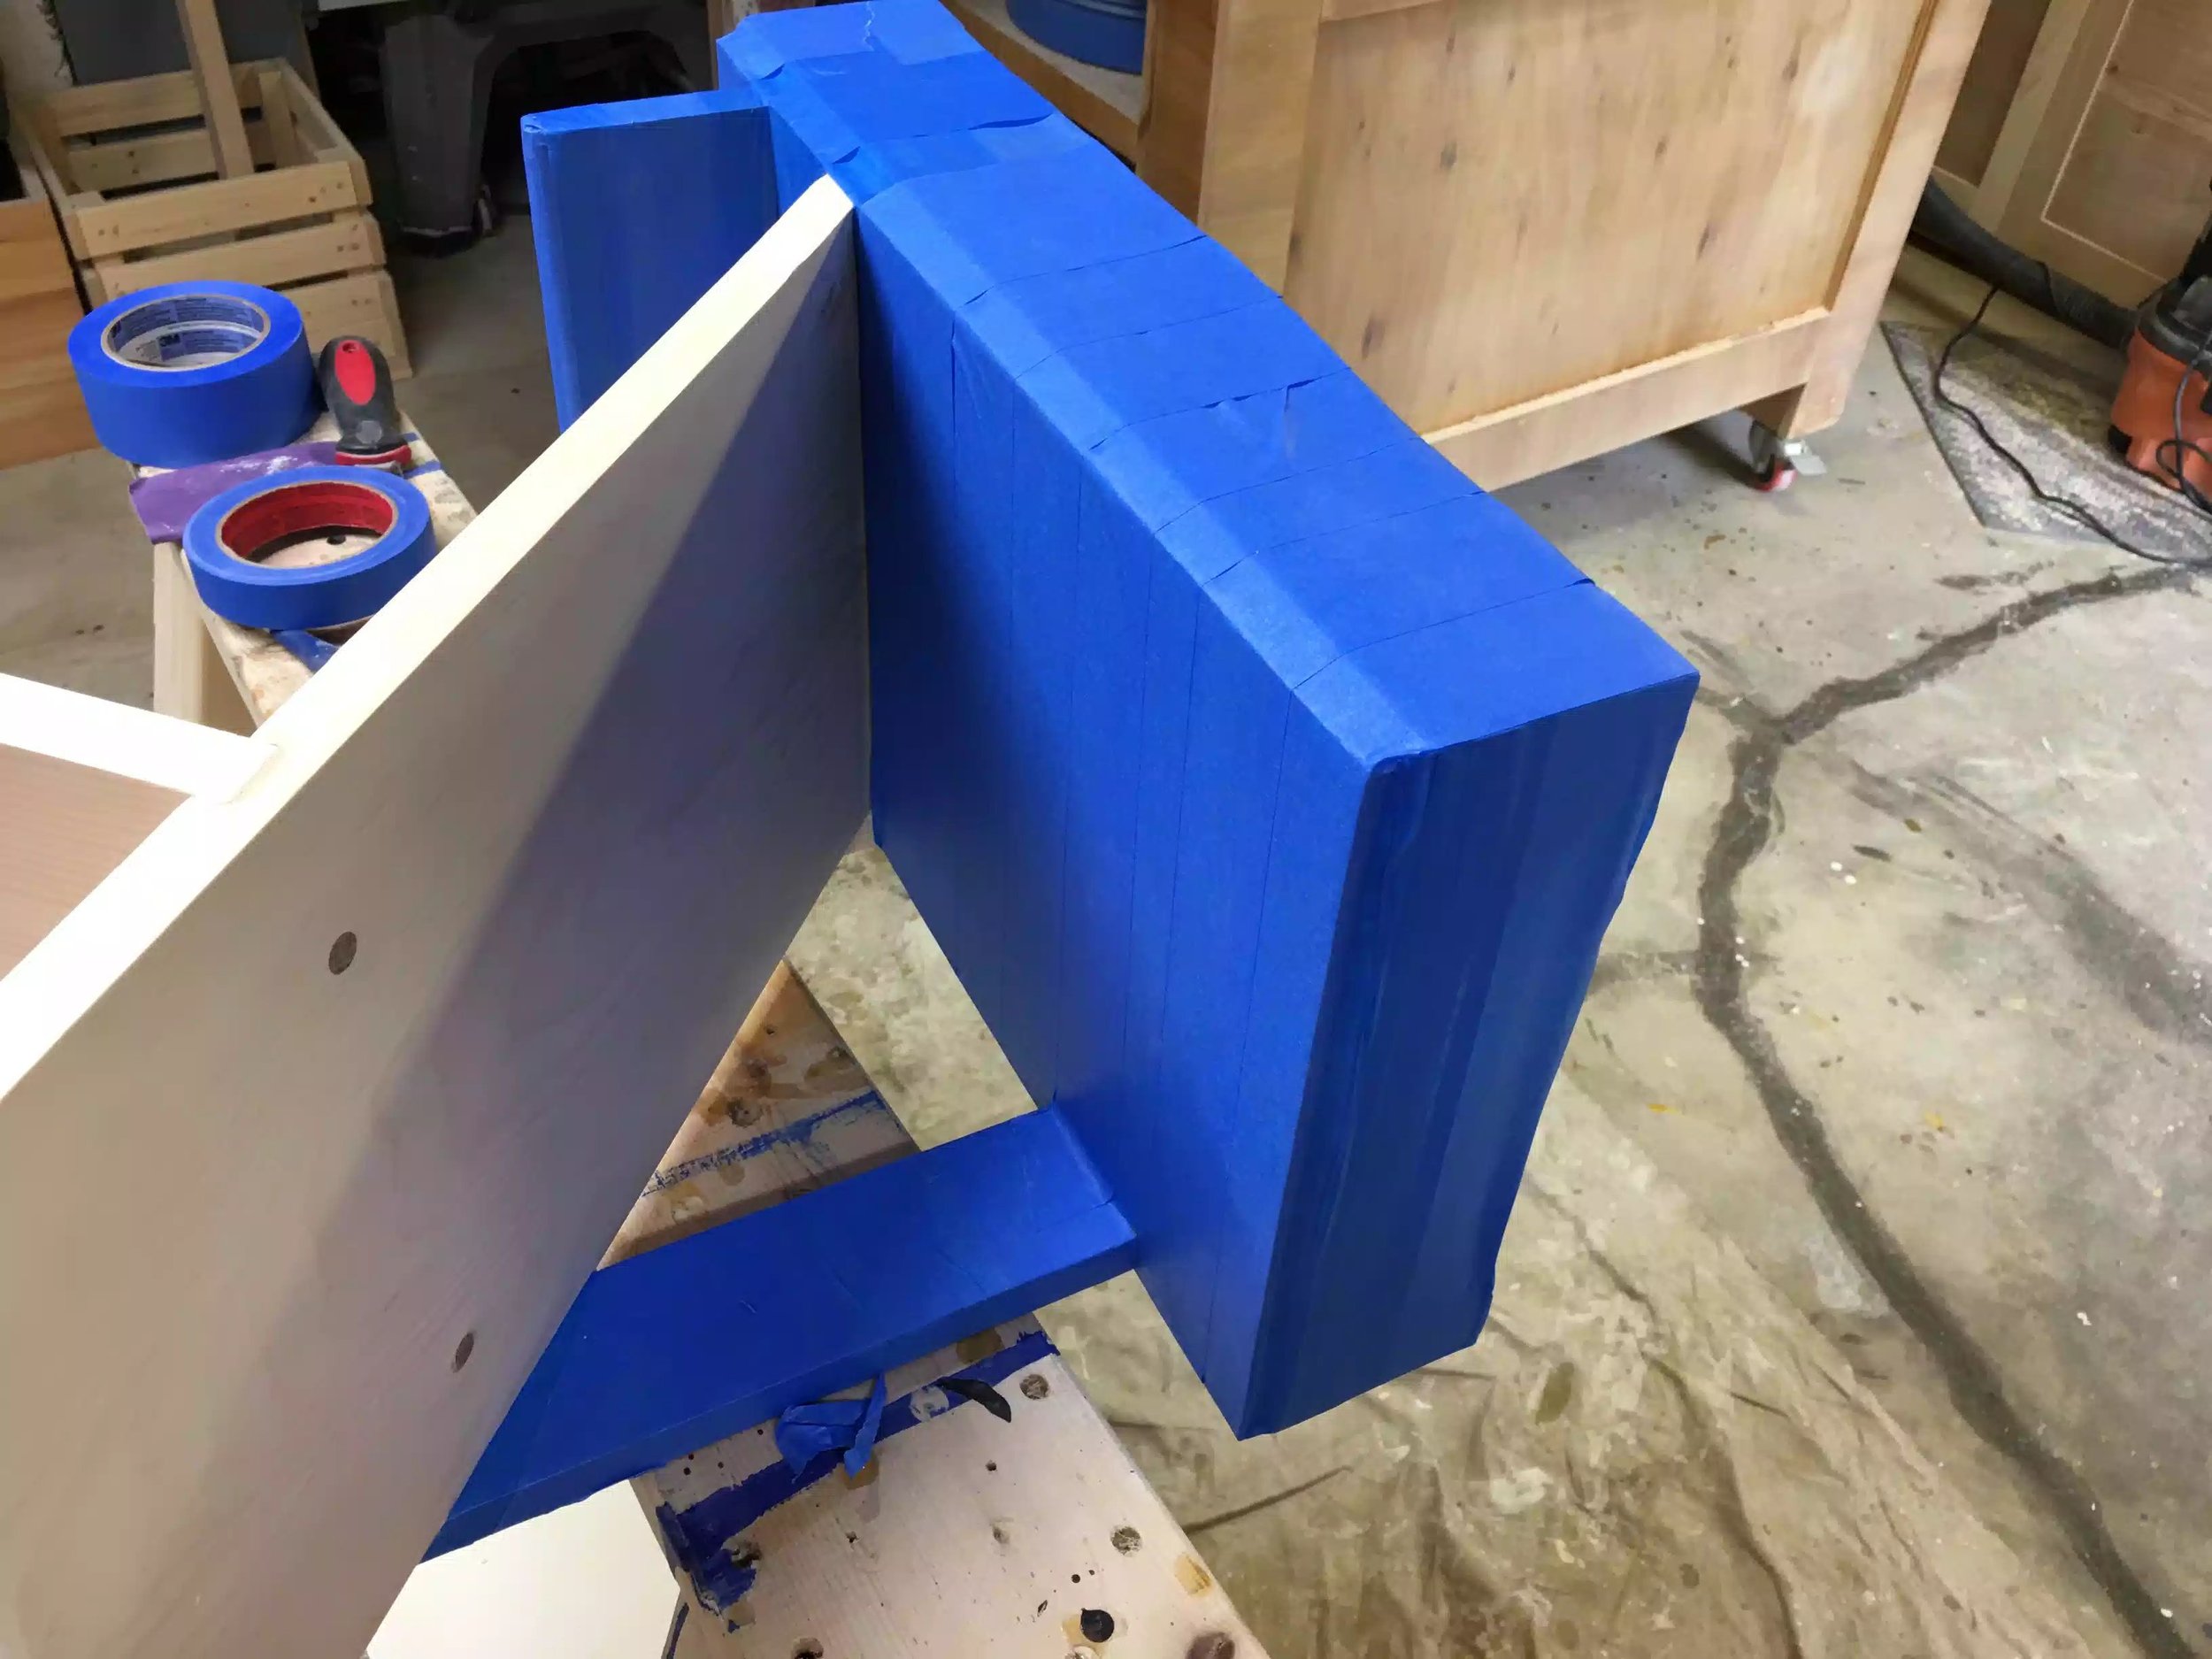
So I came across a lot of style’s of table that would work great but something stuck out about this style of table and mainly it was the joint that was used to assemble it, its called a finger joint (box joint) and its simply a series of fingers and slot that when mated together forms an extremely strong joint as well as looking very attractive and not as hard to complete as say a dovetail joint.
My blog detailing this project goes into a lot more detail but these are the steps I took in making this project, but please feel free to click the below links for he Project Blog and Complete plans on making it.
Materials Needed
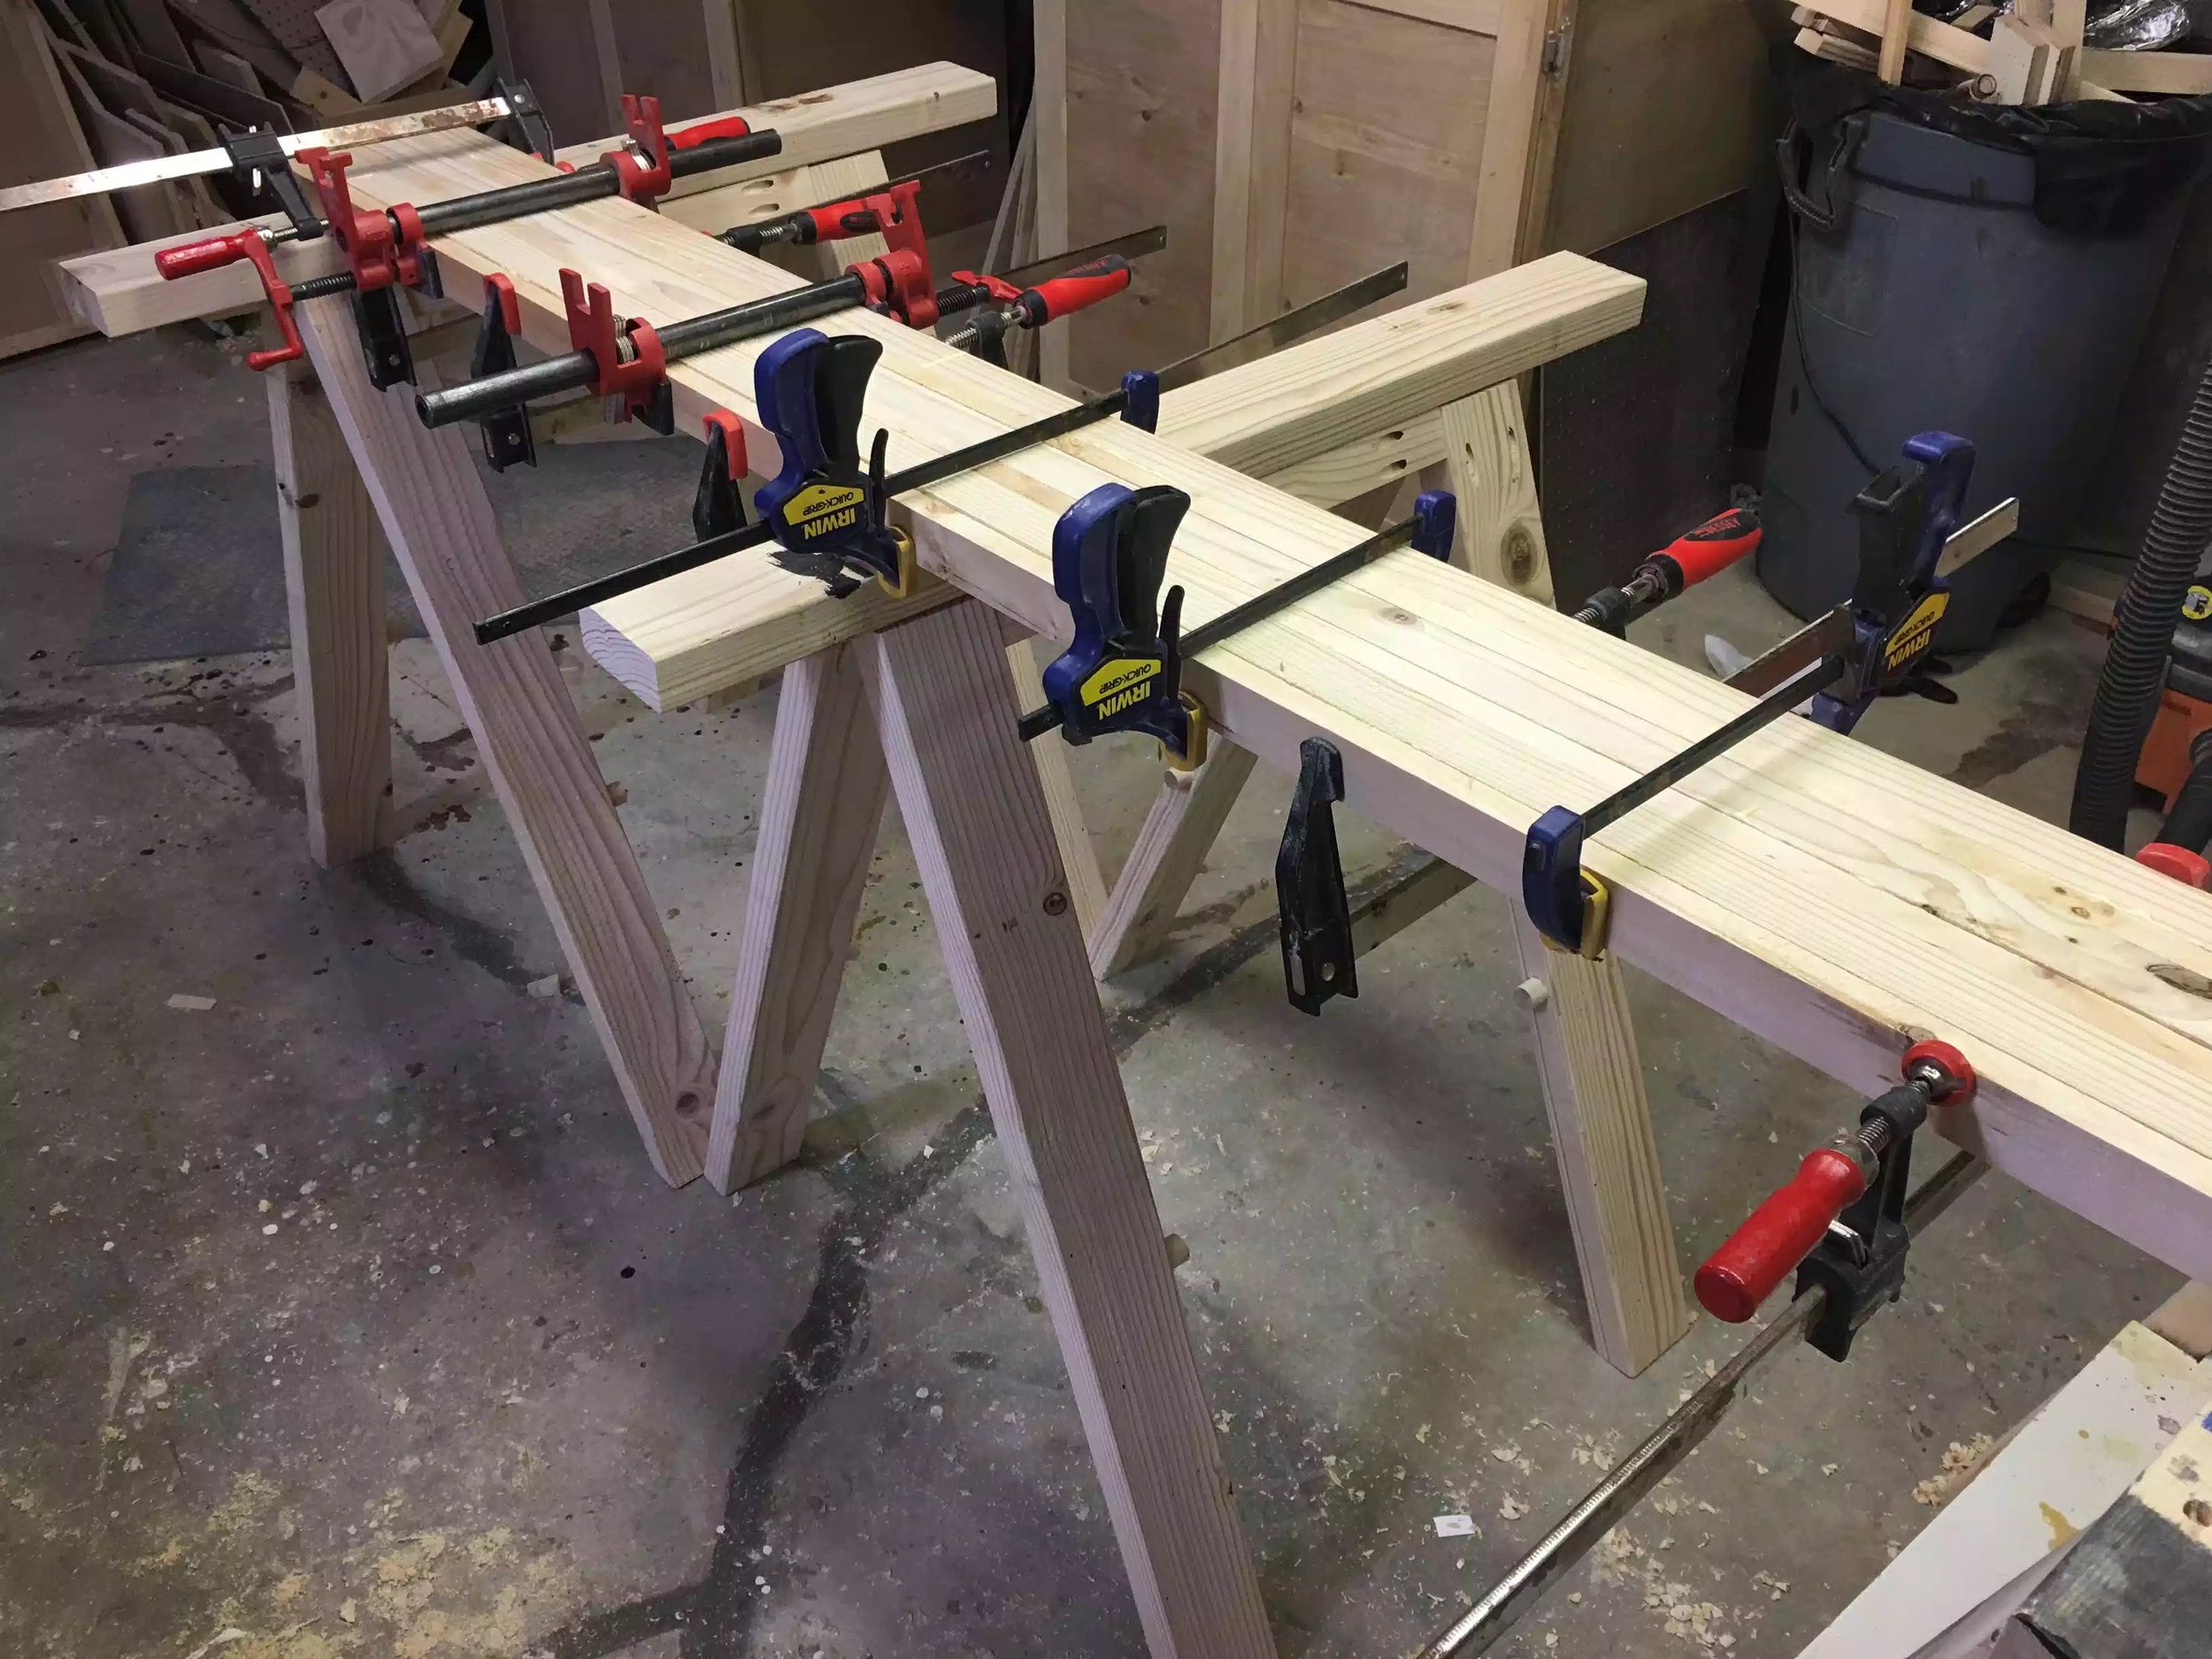
Wood Prep
Crosscutting the parts
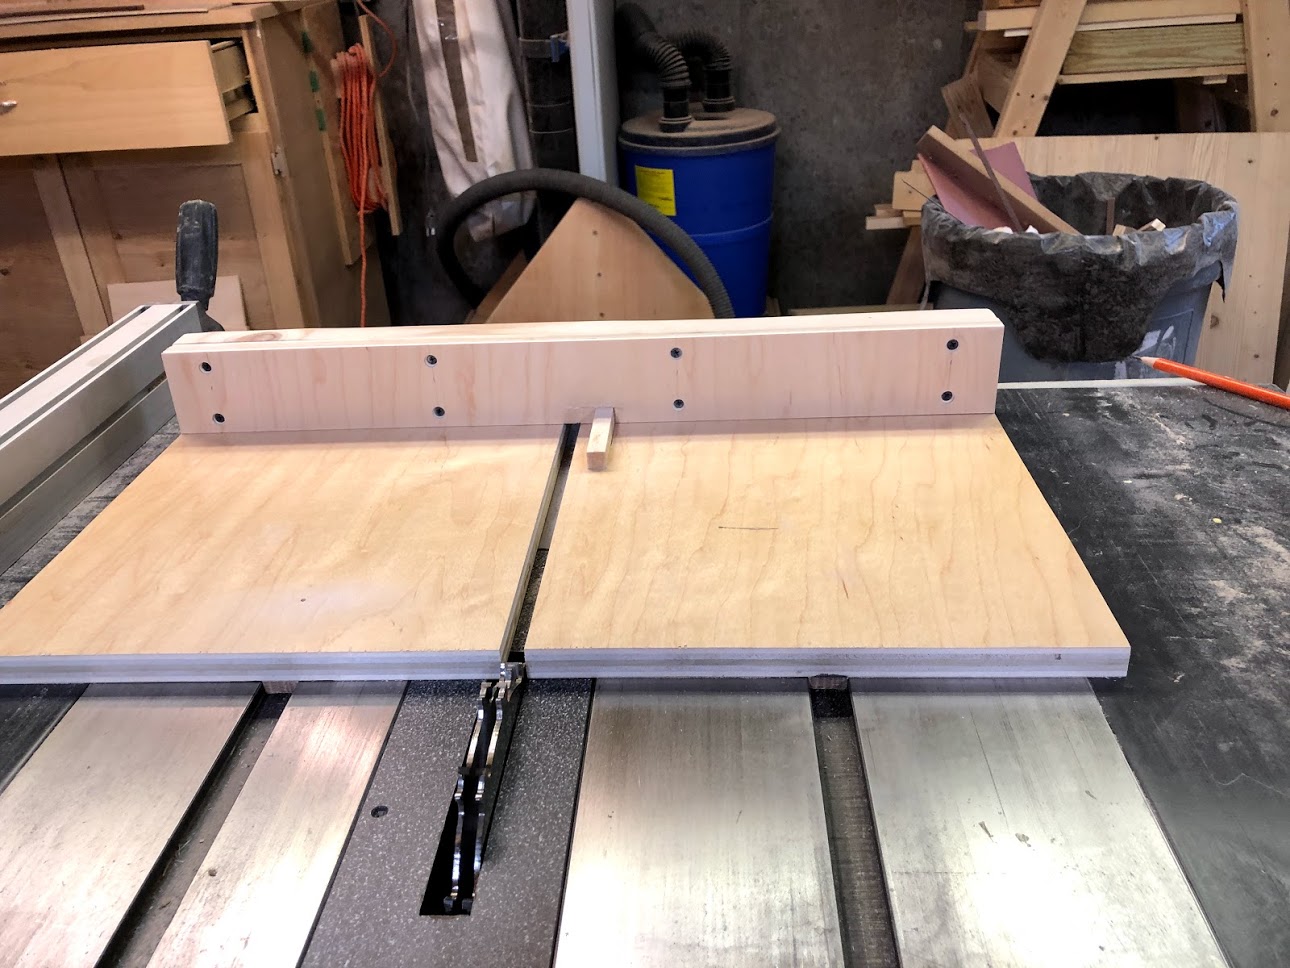
The Box Joint Jig
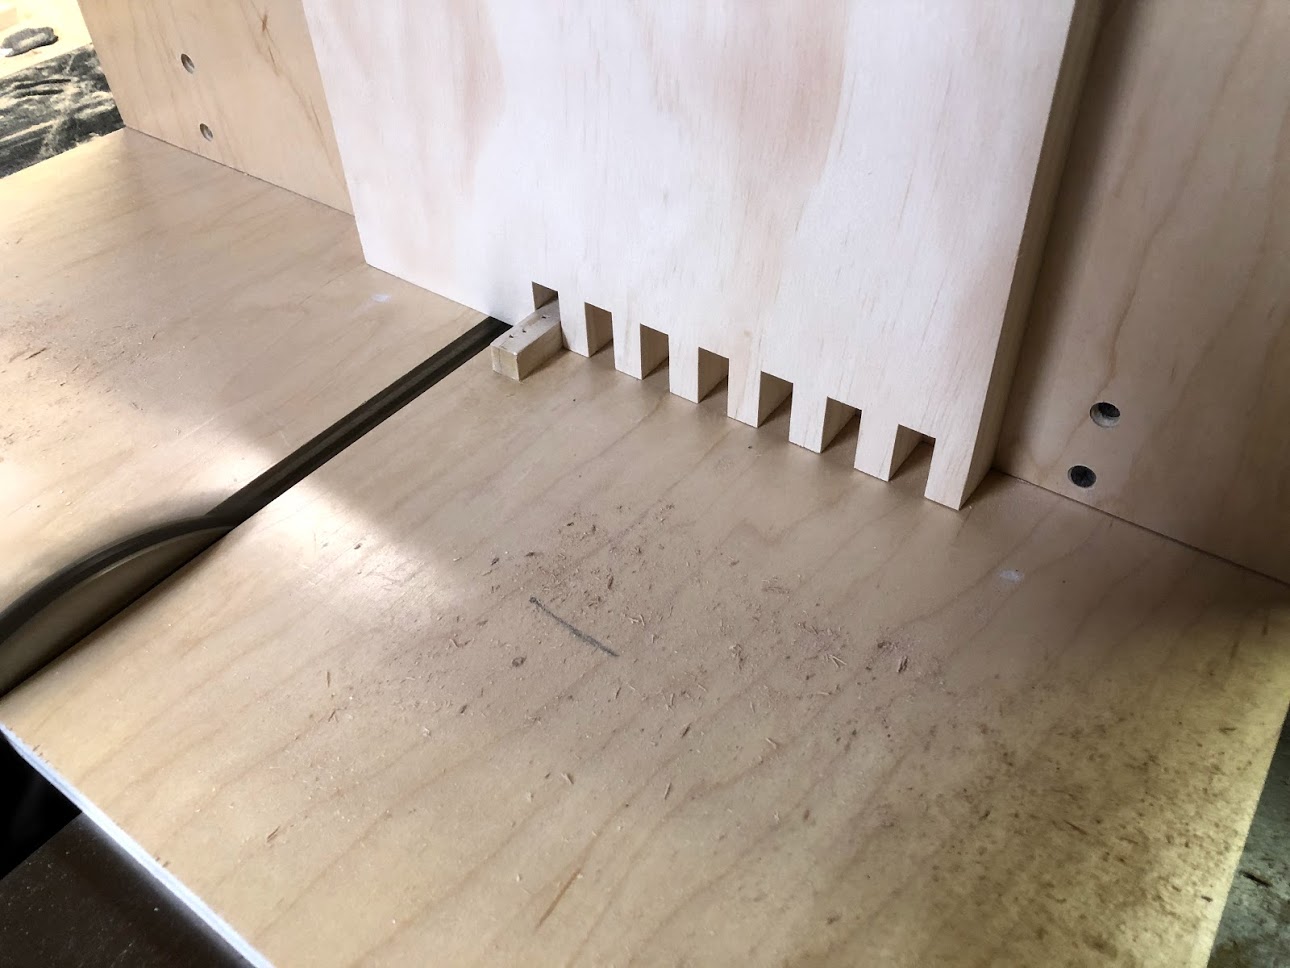
Cutting the finger joints
Dry Assembly & Clamping Aids
Glue-Up
Sanding
Finished Table
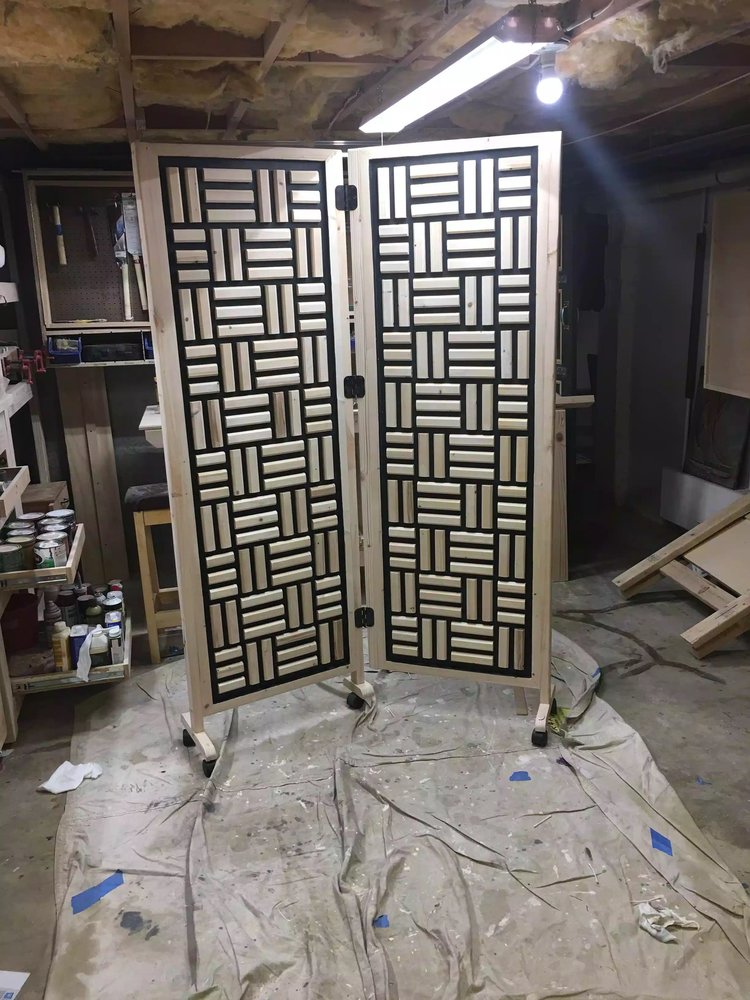
ROOM DIVIDER
(07/2018)
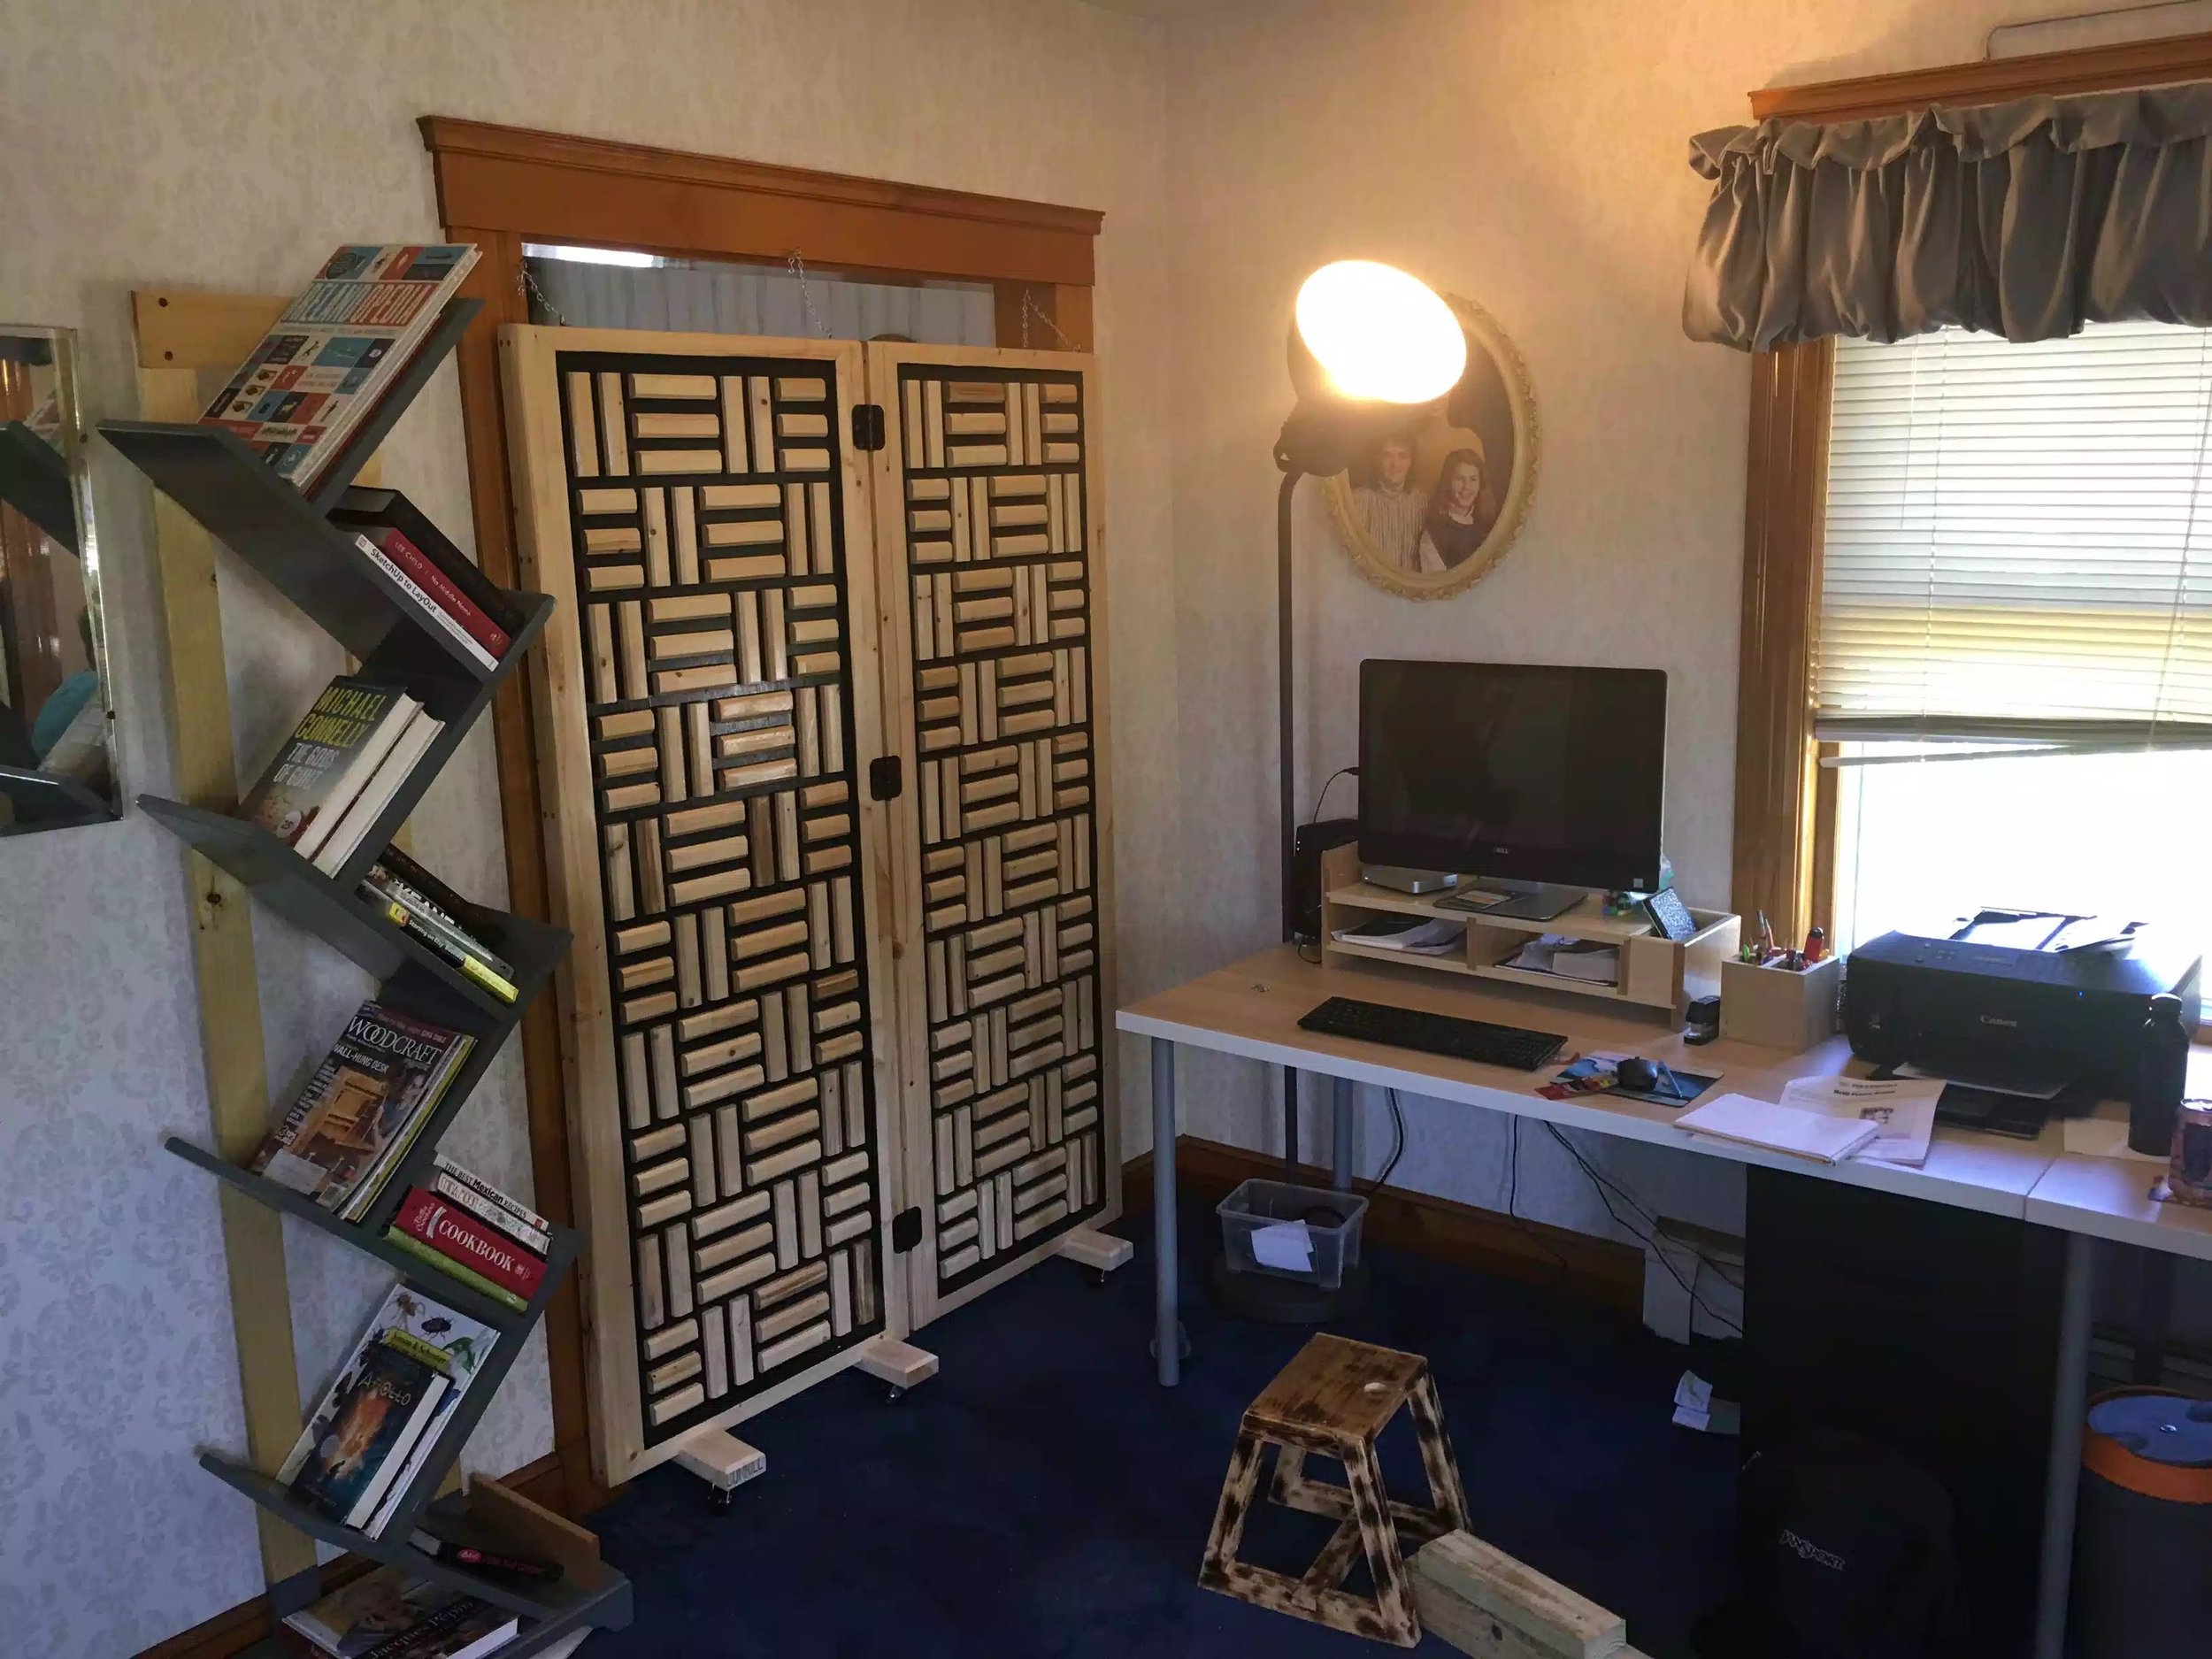
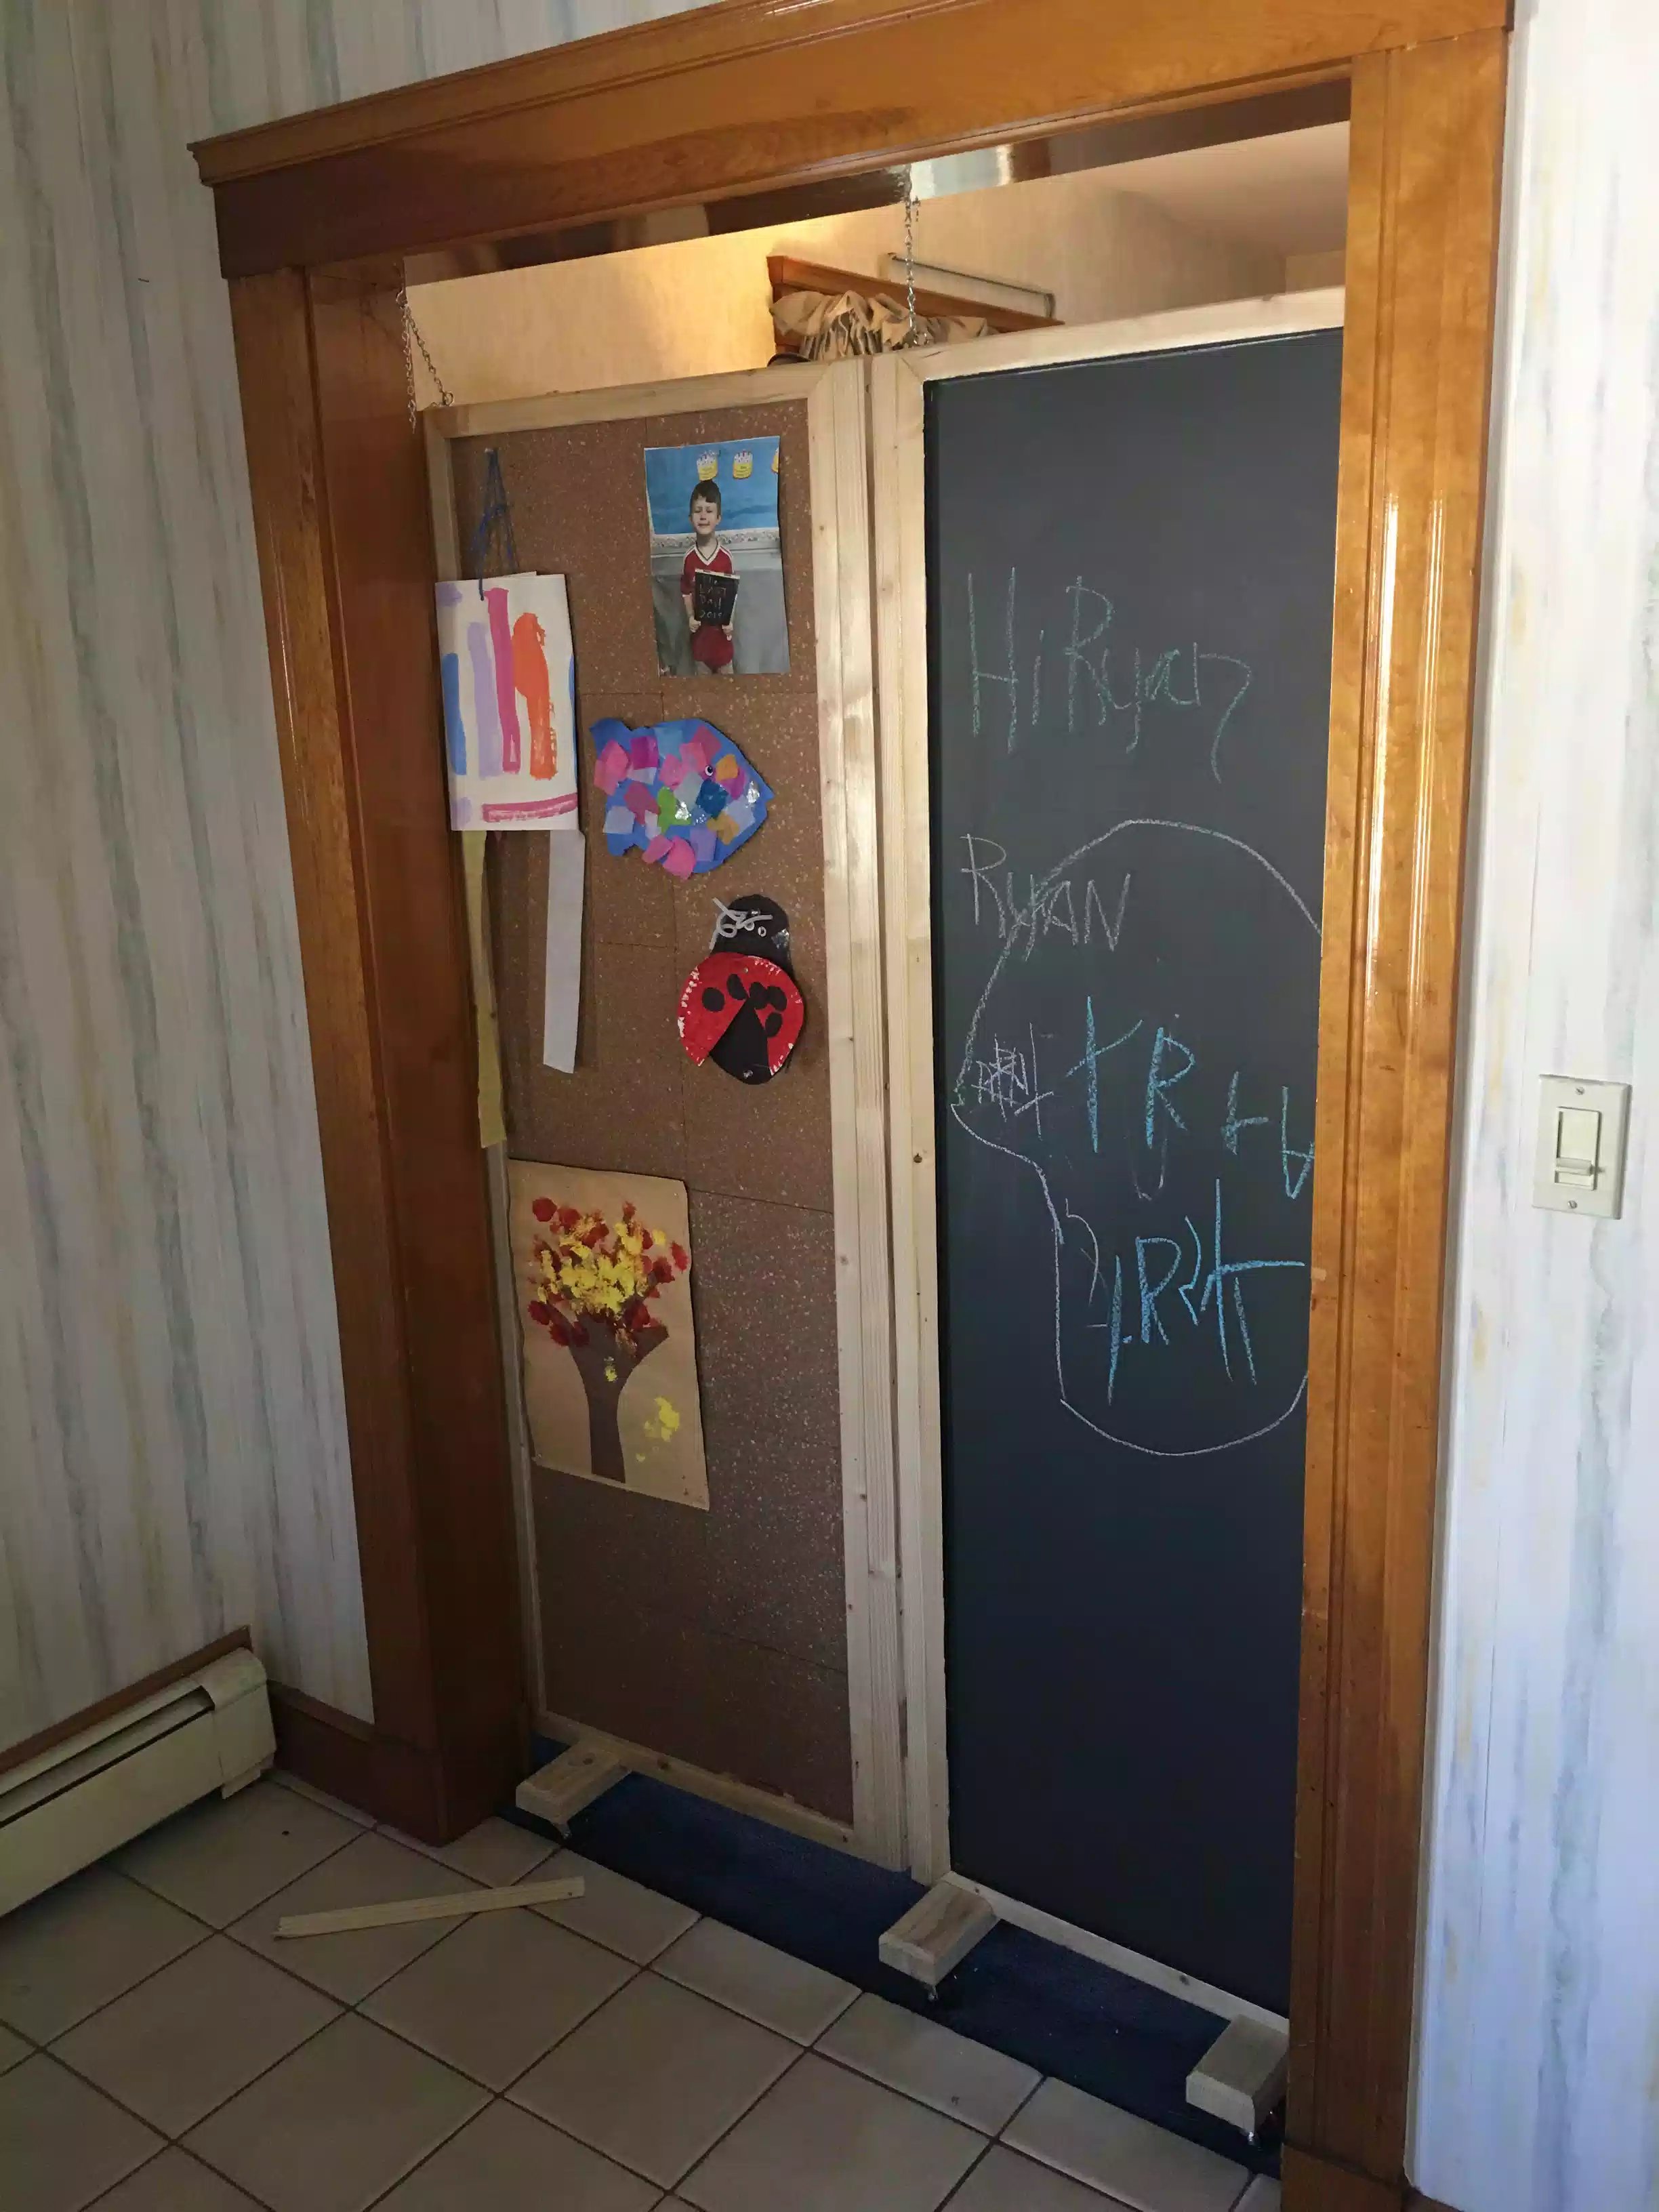
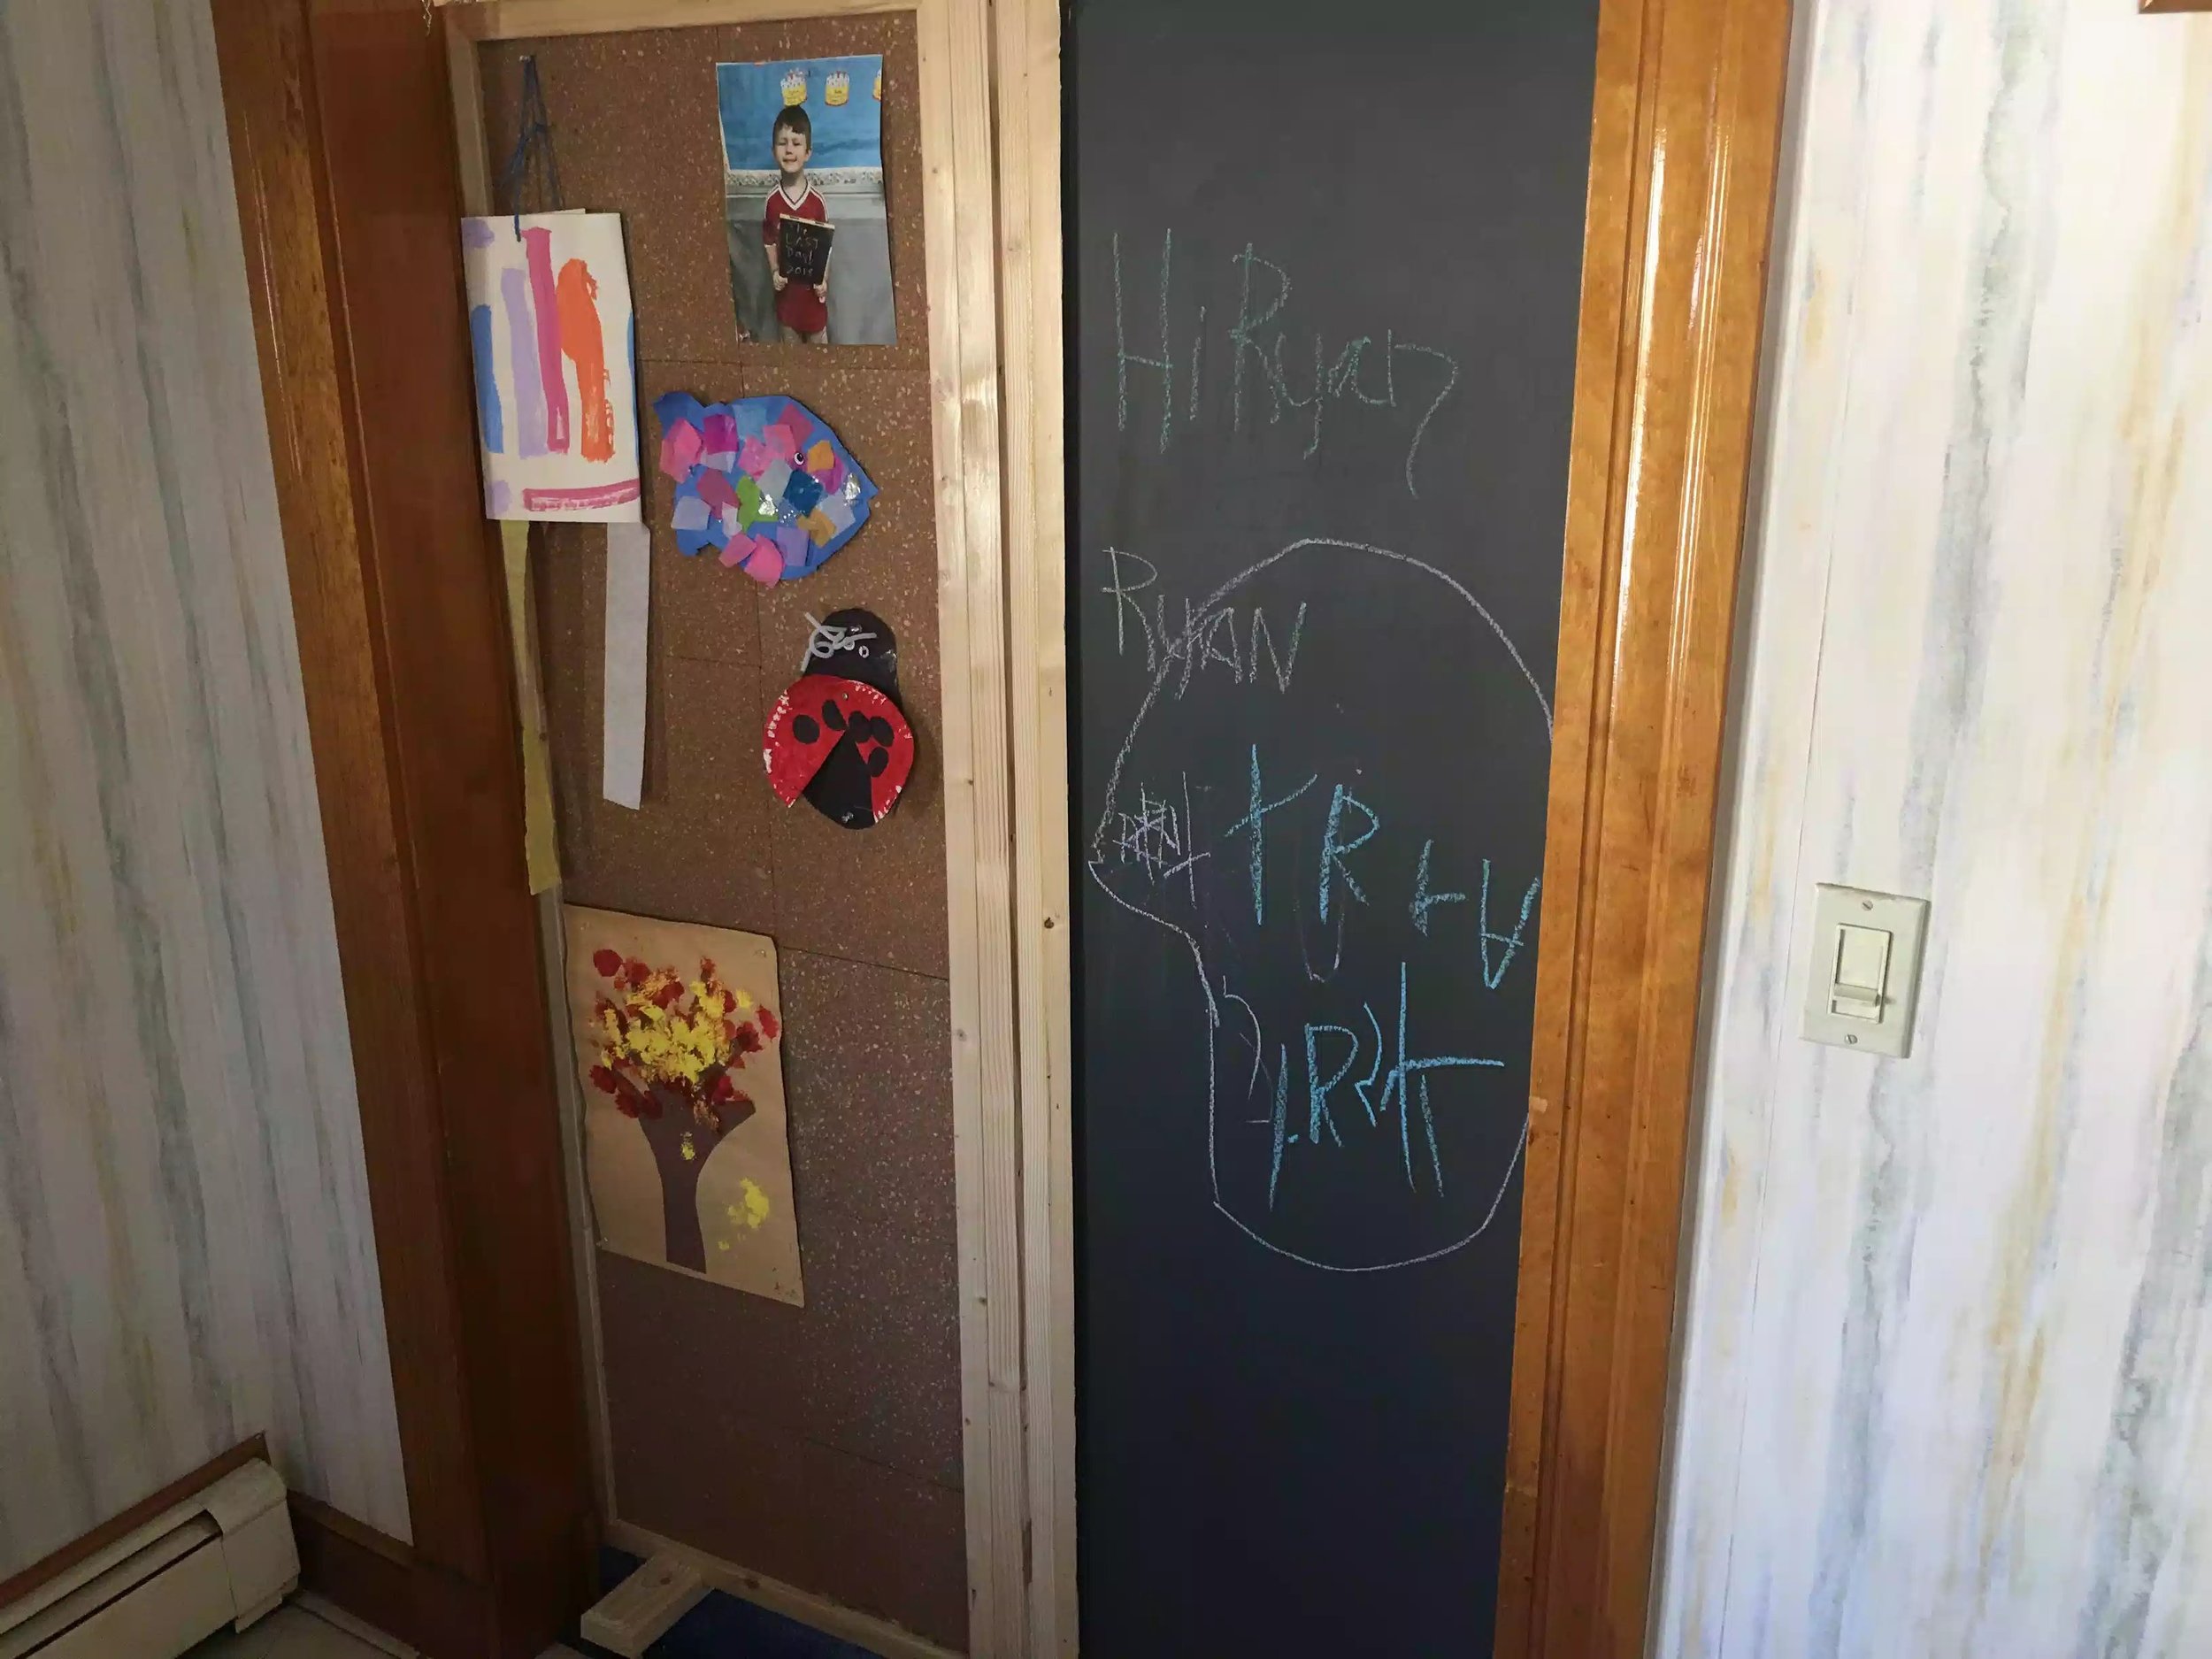
For the past 6 weeks or so I have been working on this project, but I would say for the last 2 1/2 months I have been making projects for my wife's home office, this is the latest and probably last project I make for this space for some time.
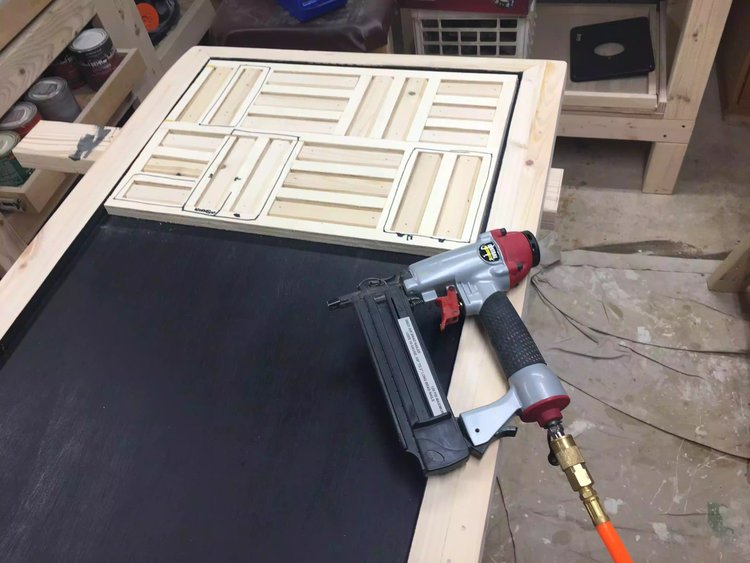
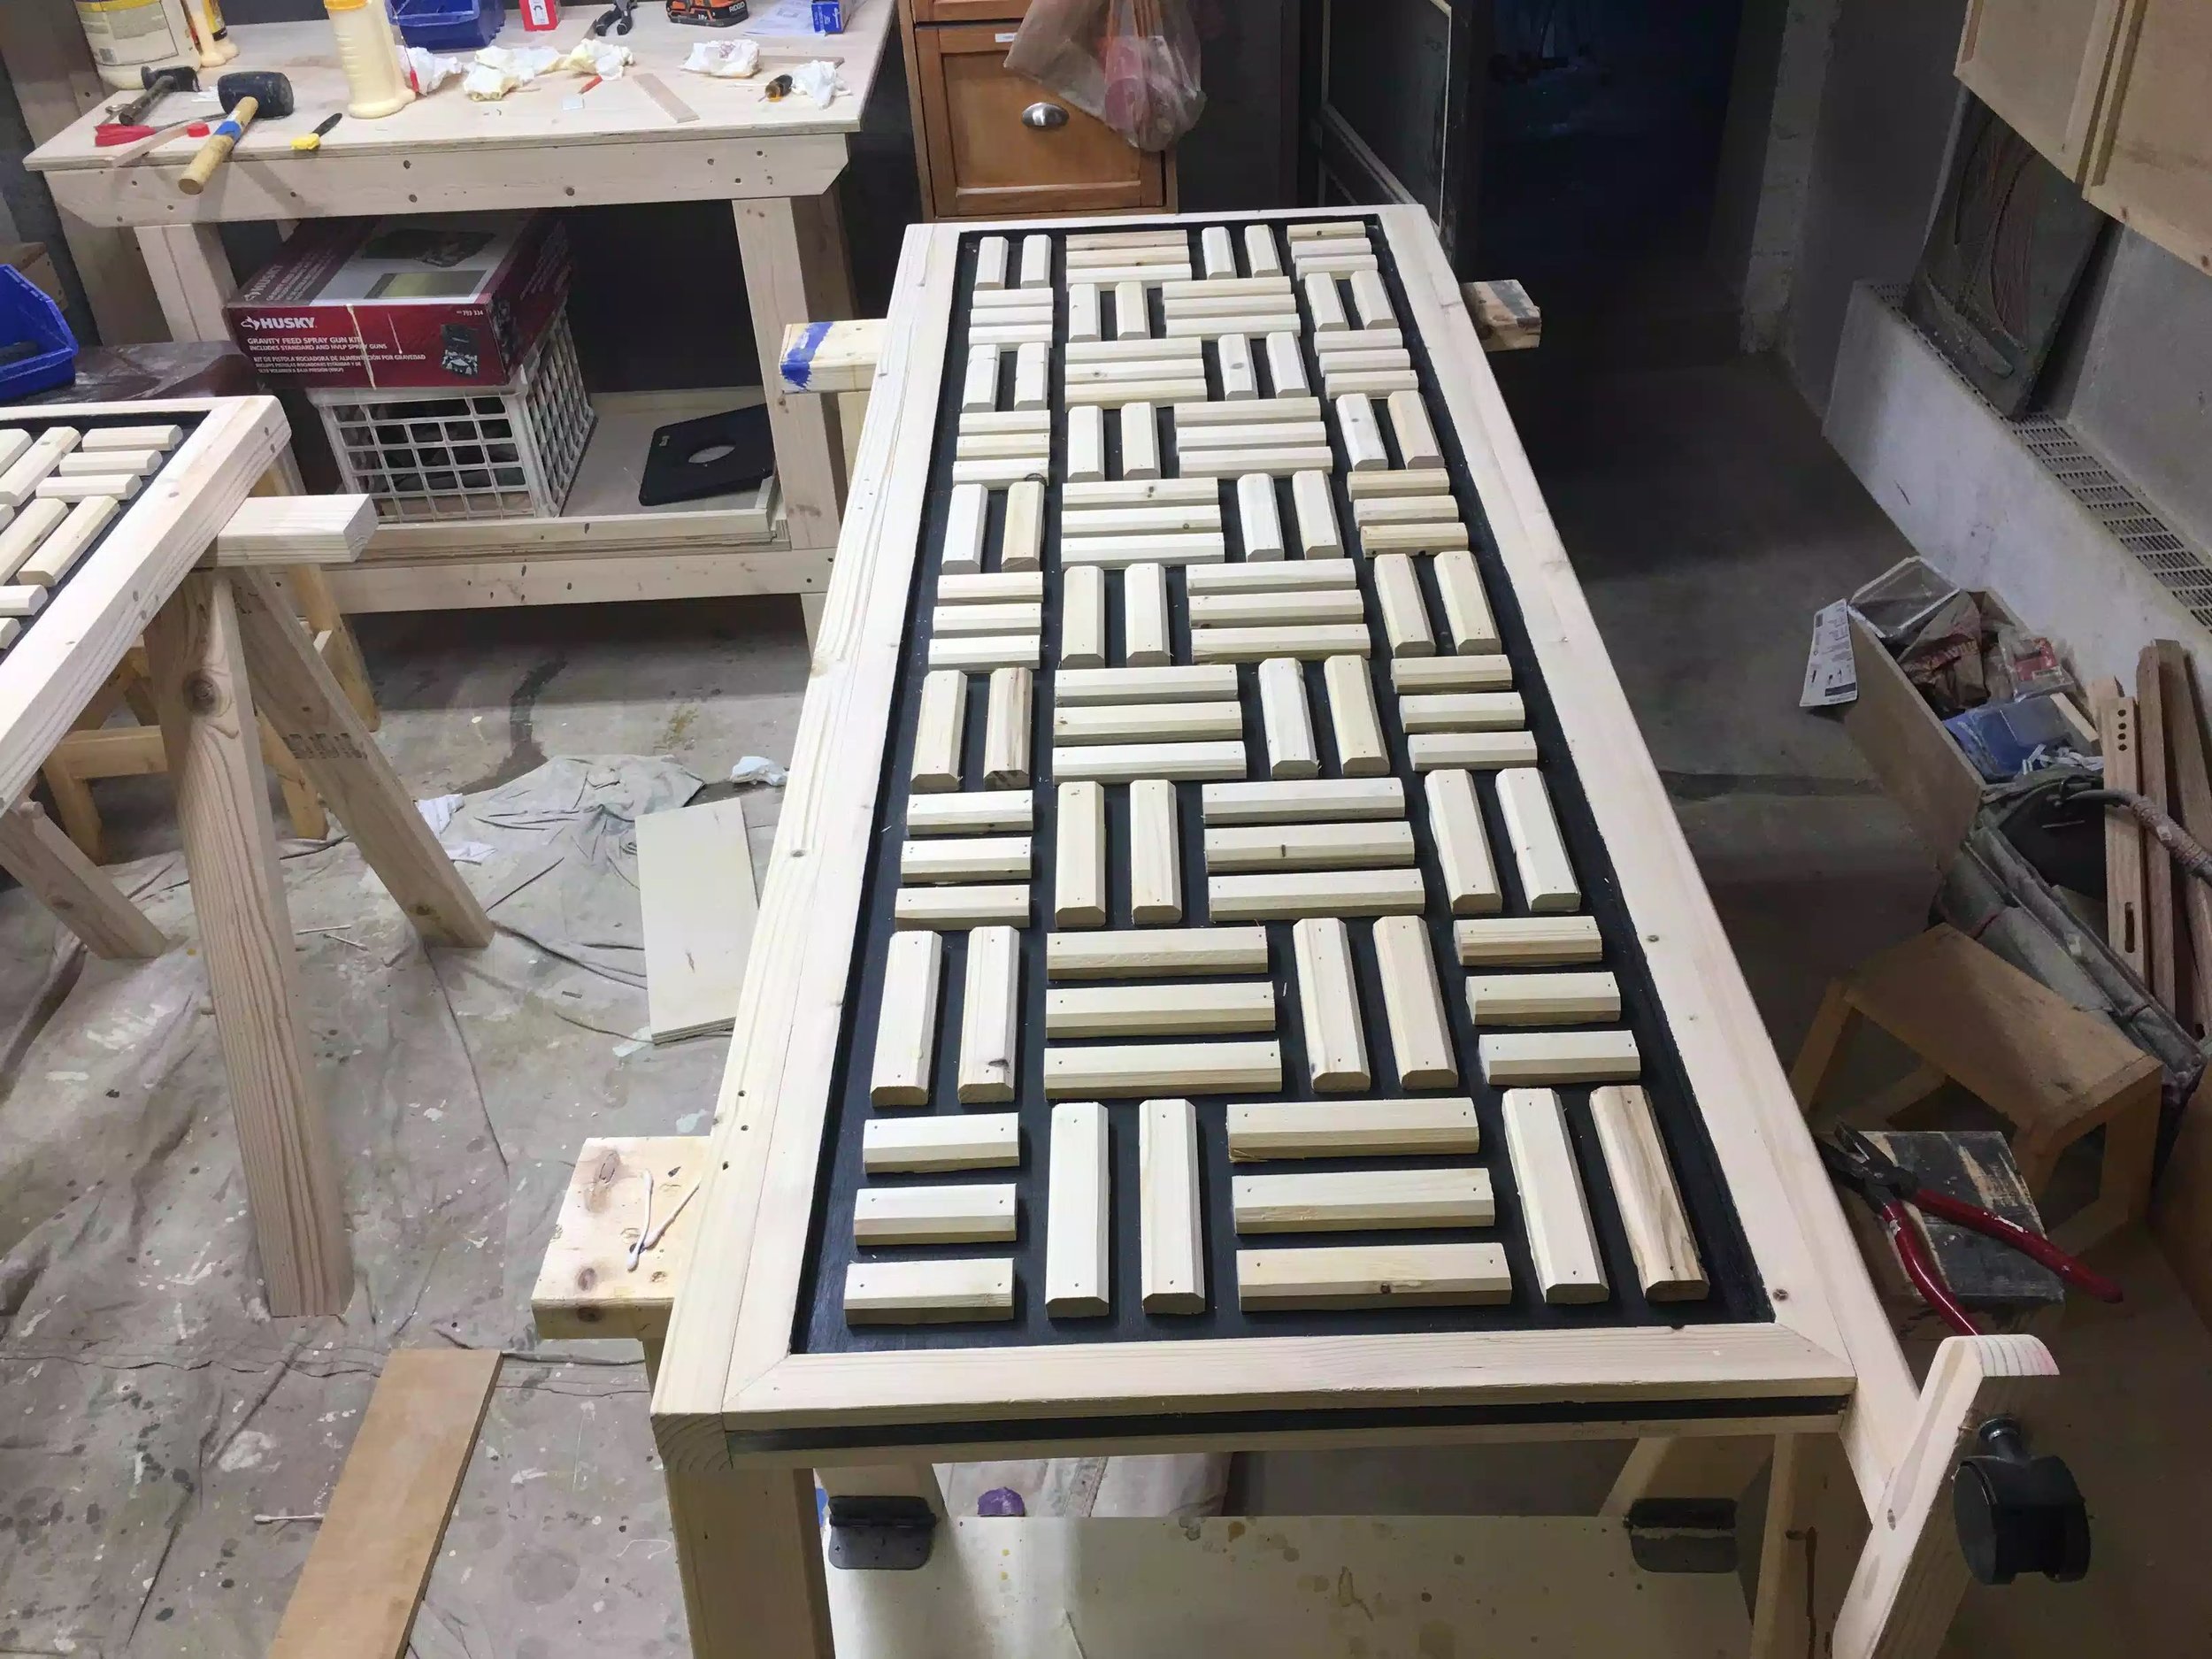
The project was inspired by a lot of internet searches and a lot of Pinterest in-put, I took parts of a multitude of projects and then added my touch. I decided to put a wooden pattern on the divider to give the project my touch on ut as I have never seen this pattern done on anything even resembling a divider, I found a lot of herringbone style was flooring and feature walls.
This project had a lot of first's for me and that is what drew me to the project, that is not say that it didnt have a lot of challenges and times where I almost scrapped the whole project and told the wife to just go buy one, but I hung in and made the project my own and I am glad that I did.
Like I said this project had a lot of first for me but to list just a few
I never made a pattern template before
This is one of the biggest projects that I had ever made in my 4 years of woodworking
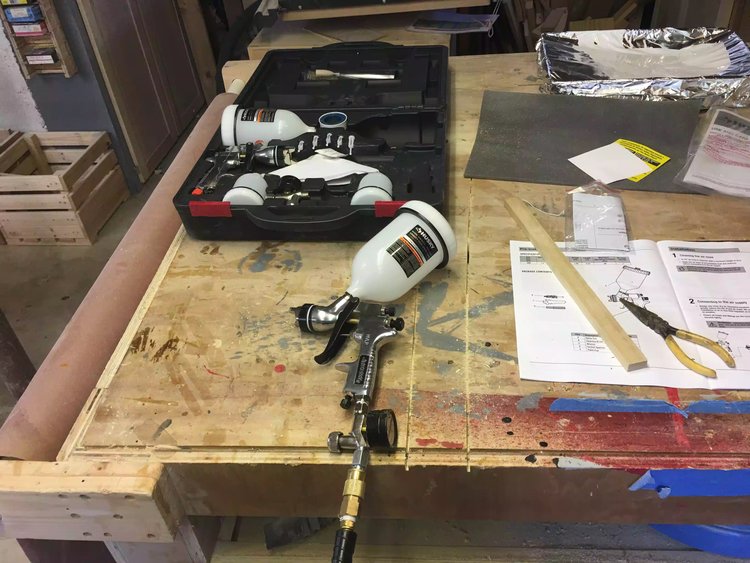
Never used a HVLP sprayer to finish a project this big
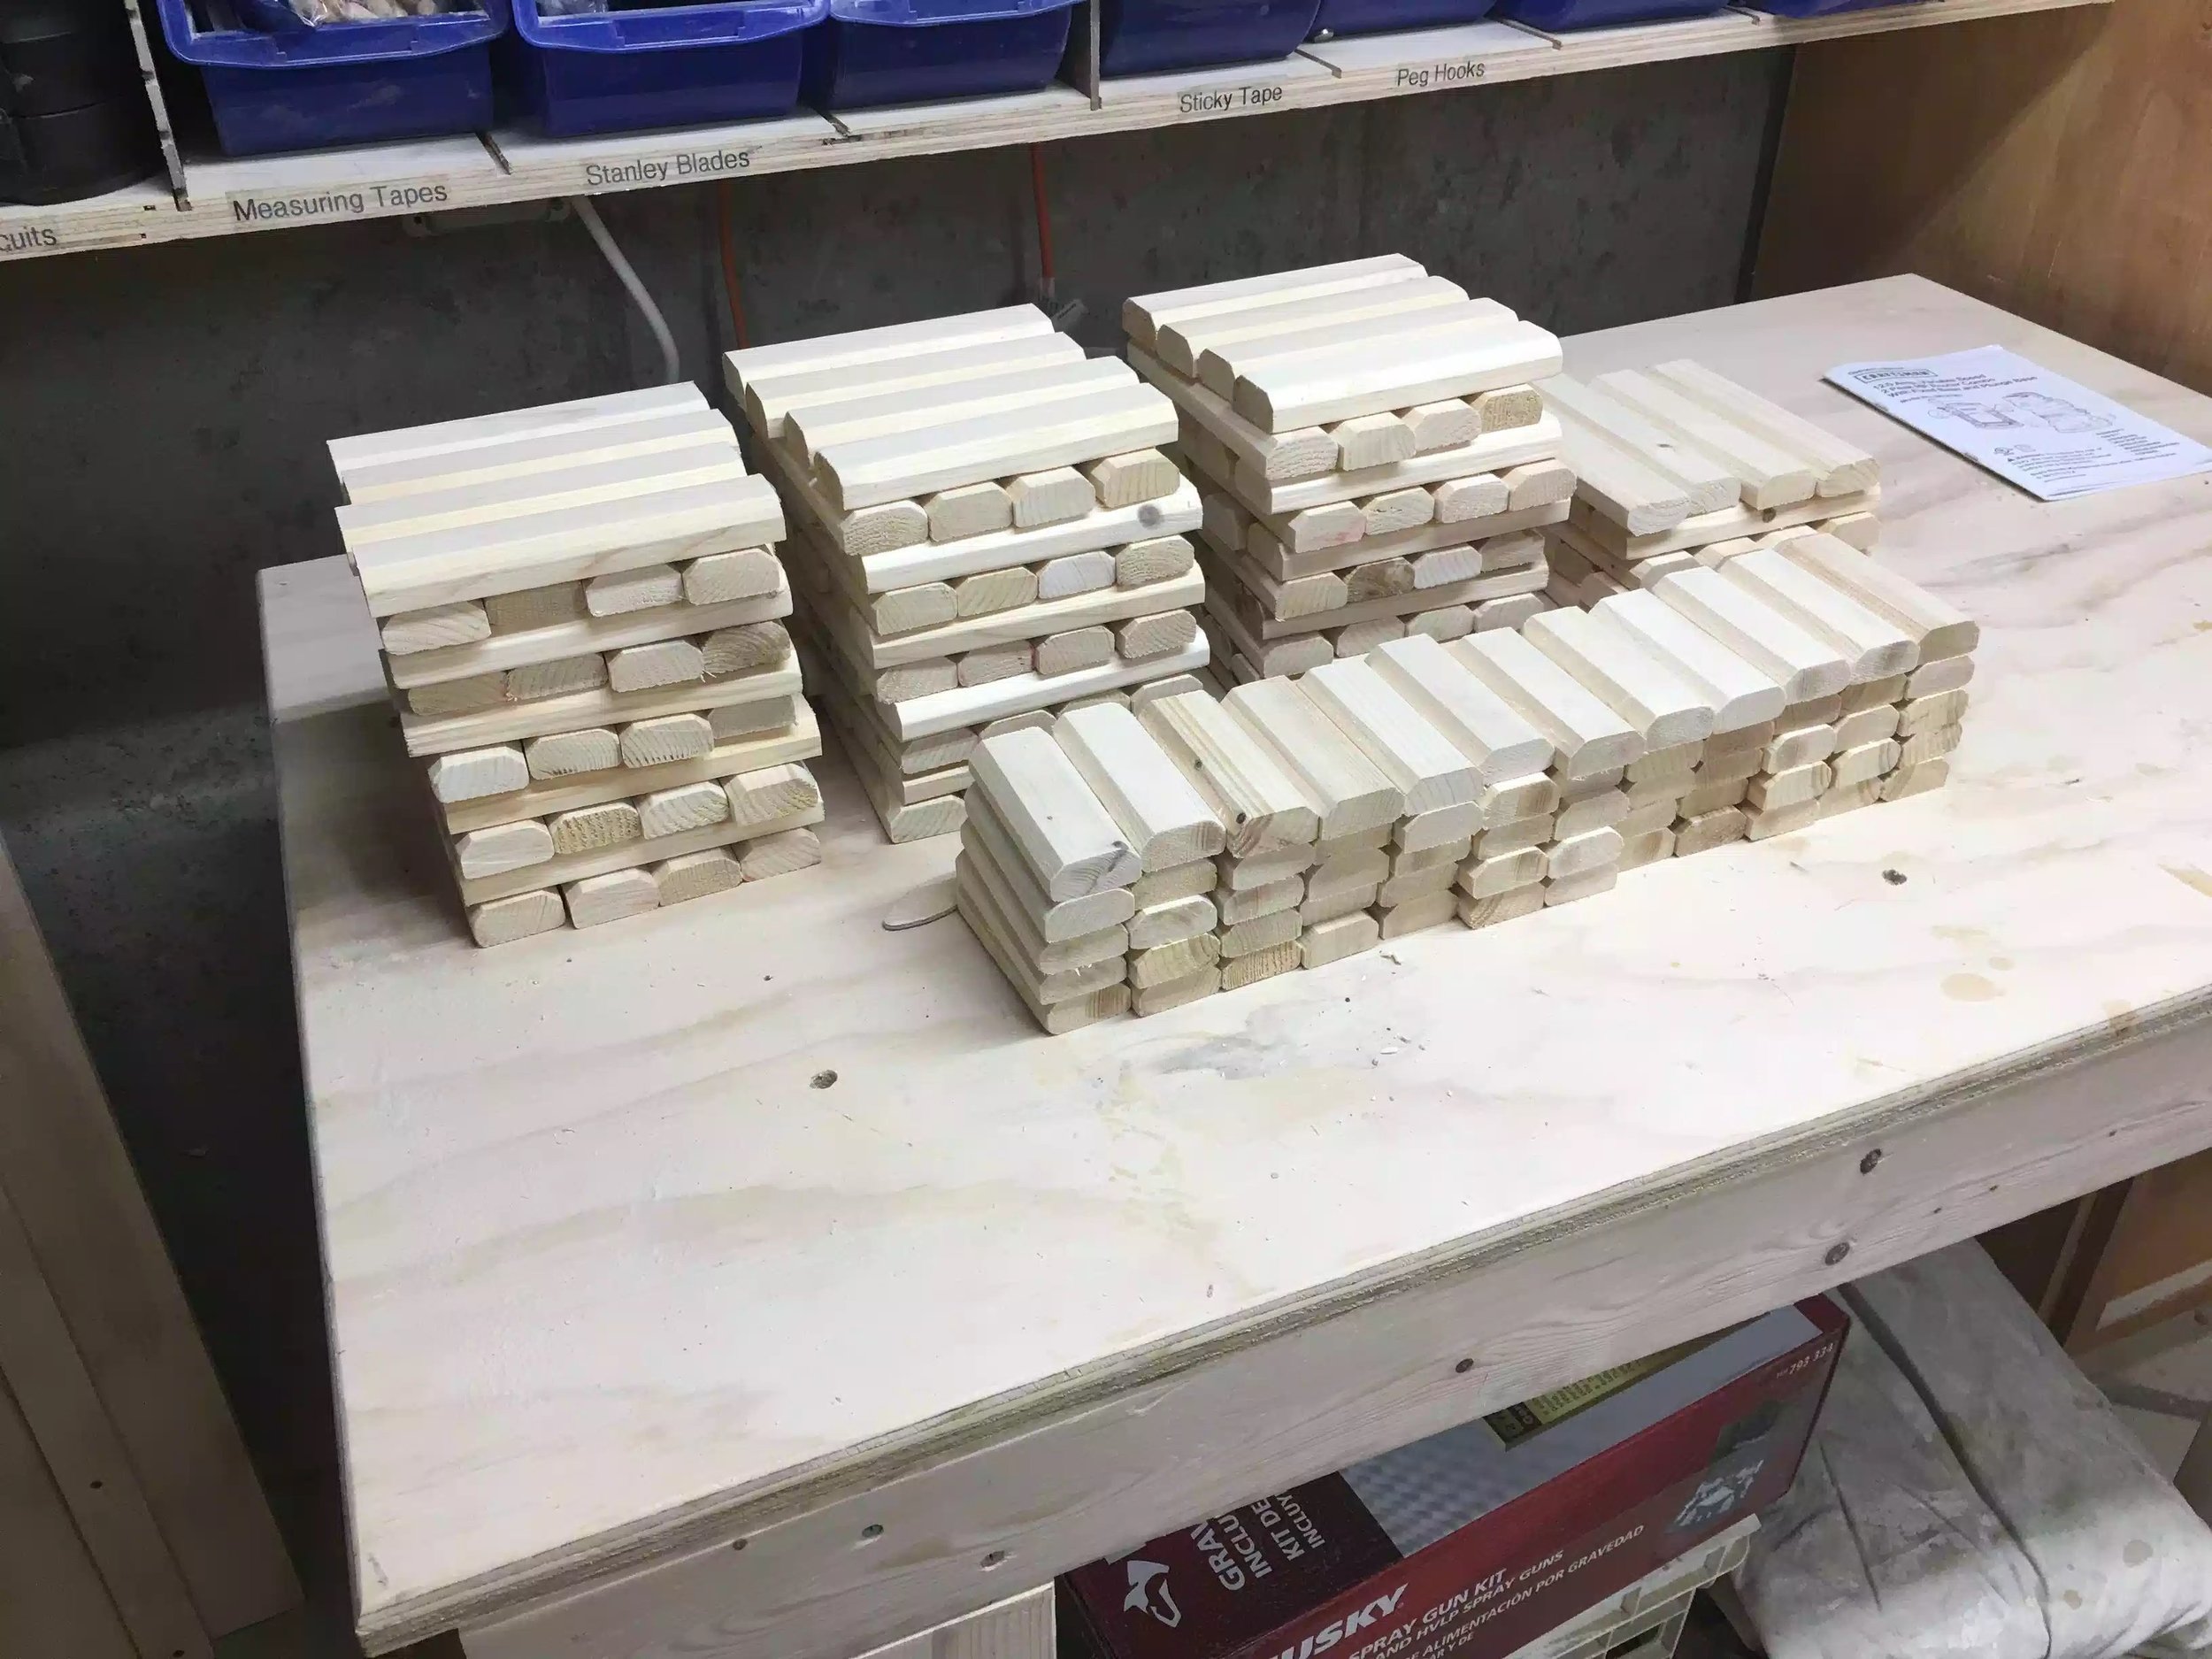
I made over 200 pieces that I hand sanded, routered, and glued them to a panel but so glad I did because without them it would just look very plain.
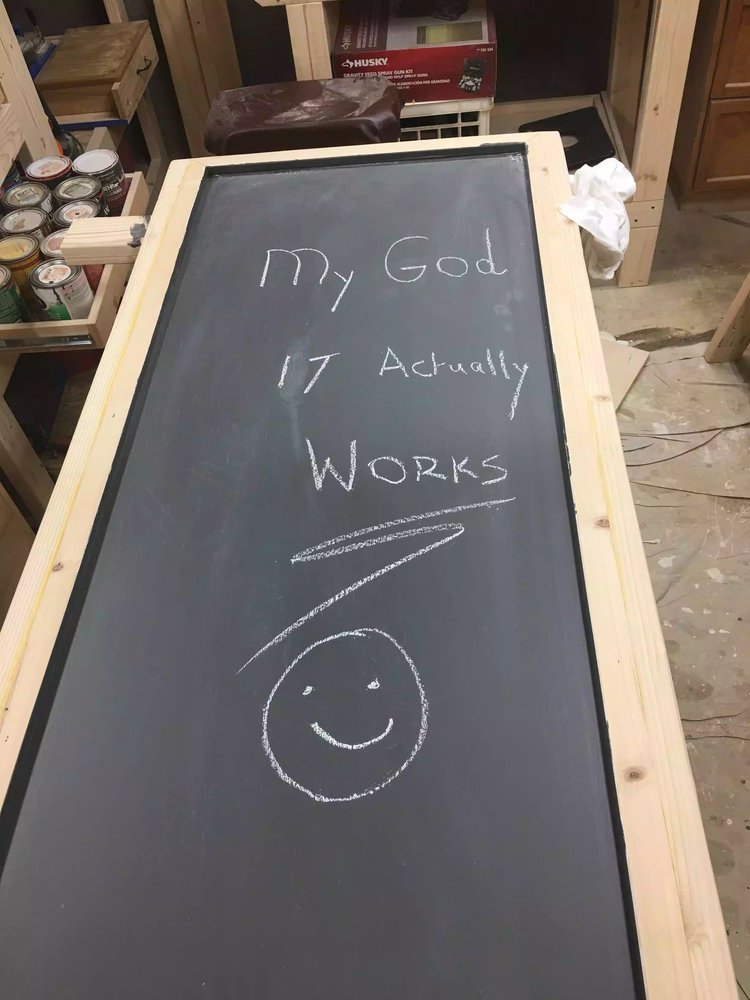
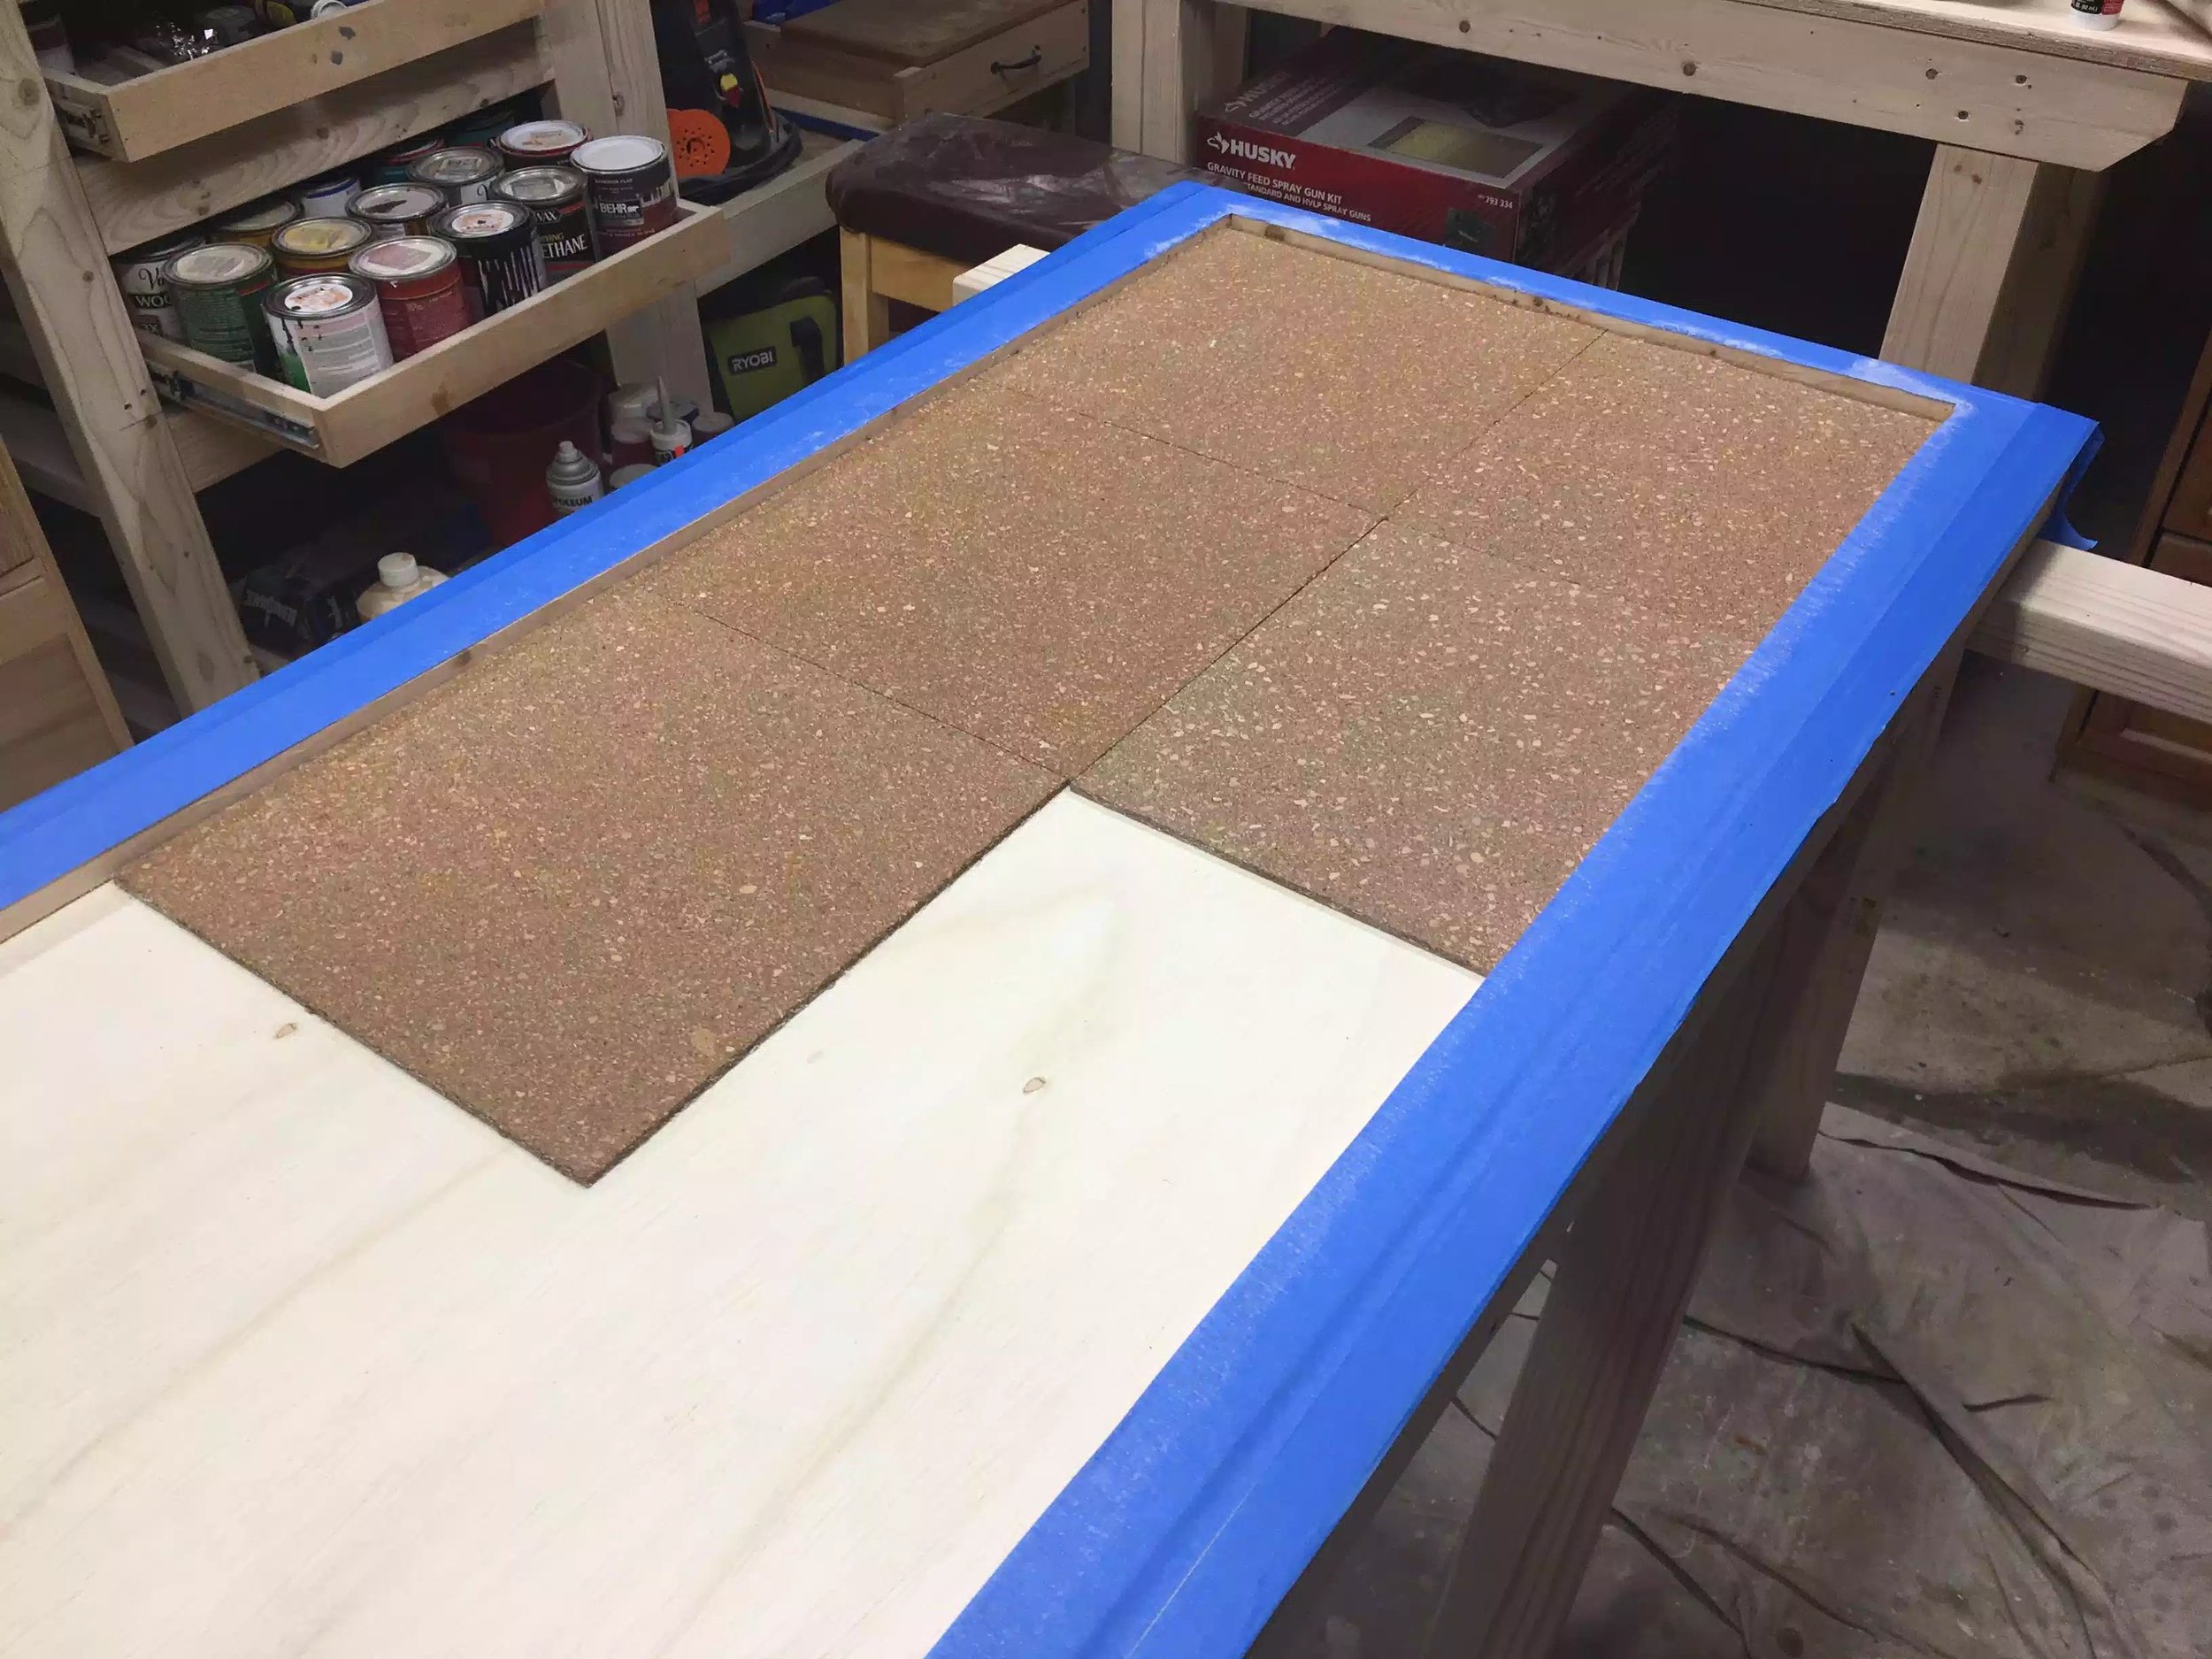
I never used chalk-board paint or cork-board tiles before
Below are a few of the project pics and the finished article, I did write a very extensive blog on this project and I will attach a link below, If you would like to undertake this project and make it for your own home I will be publishing plans soon.

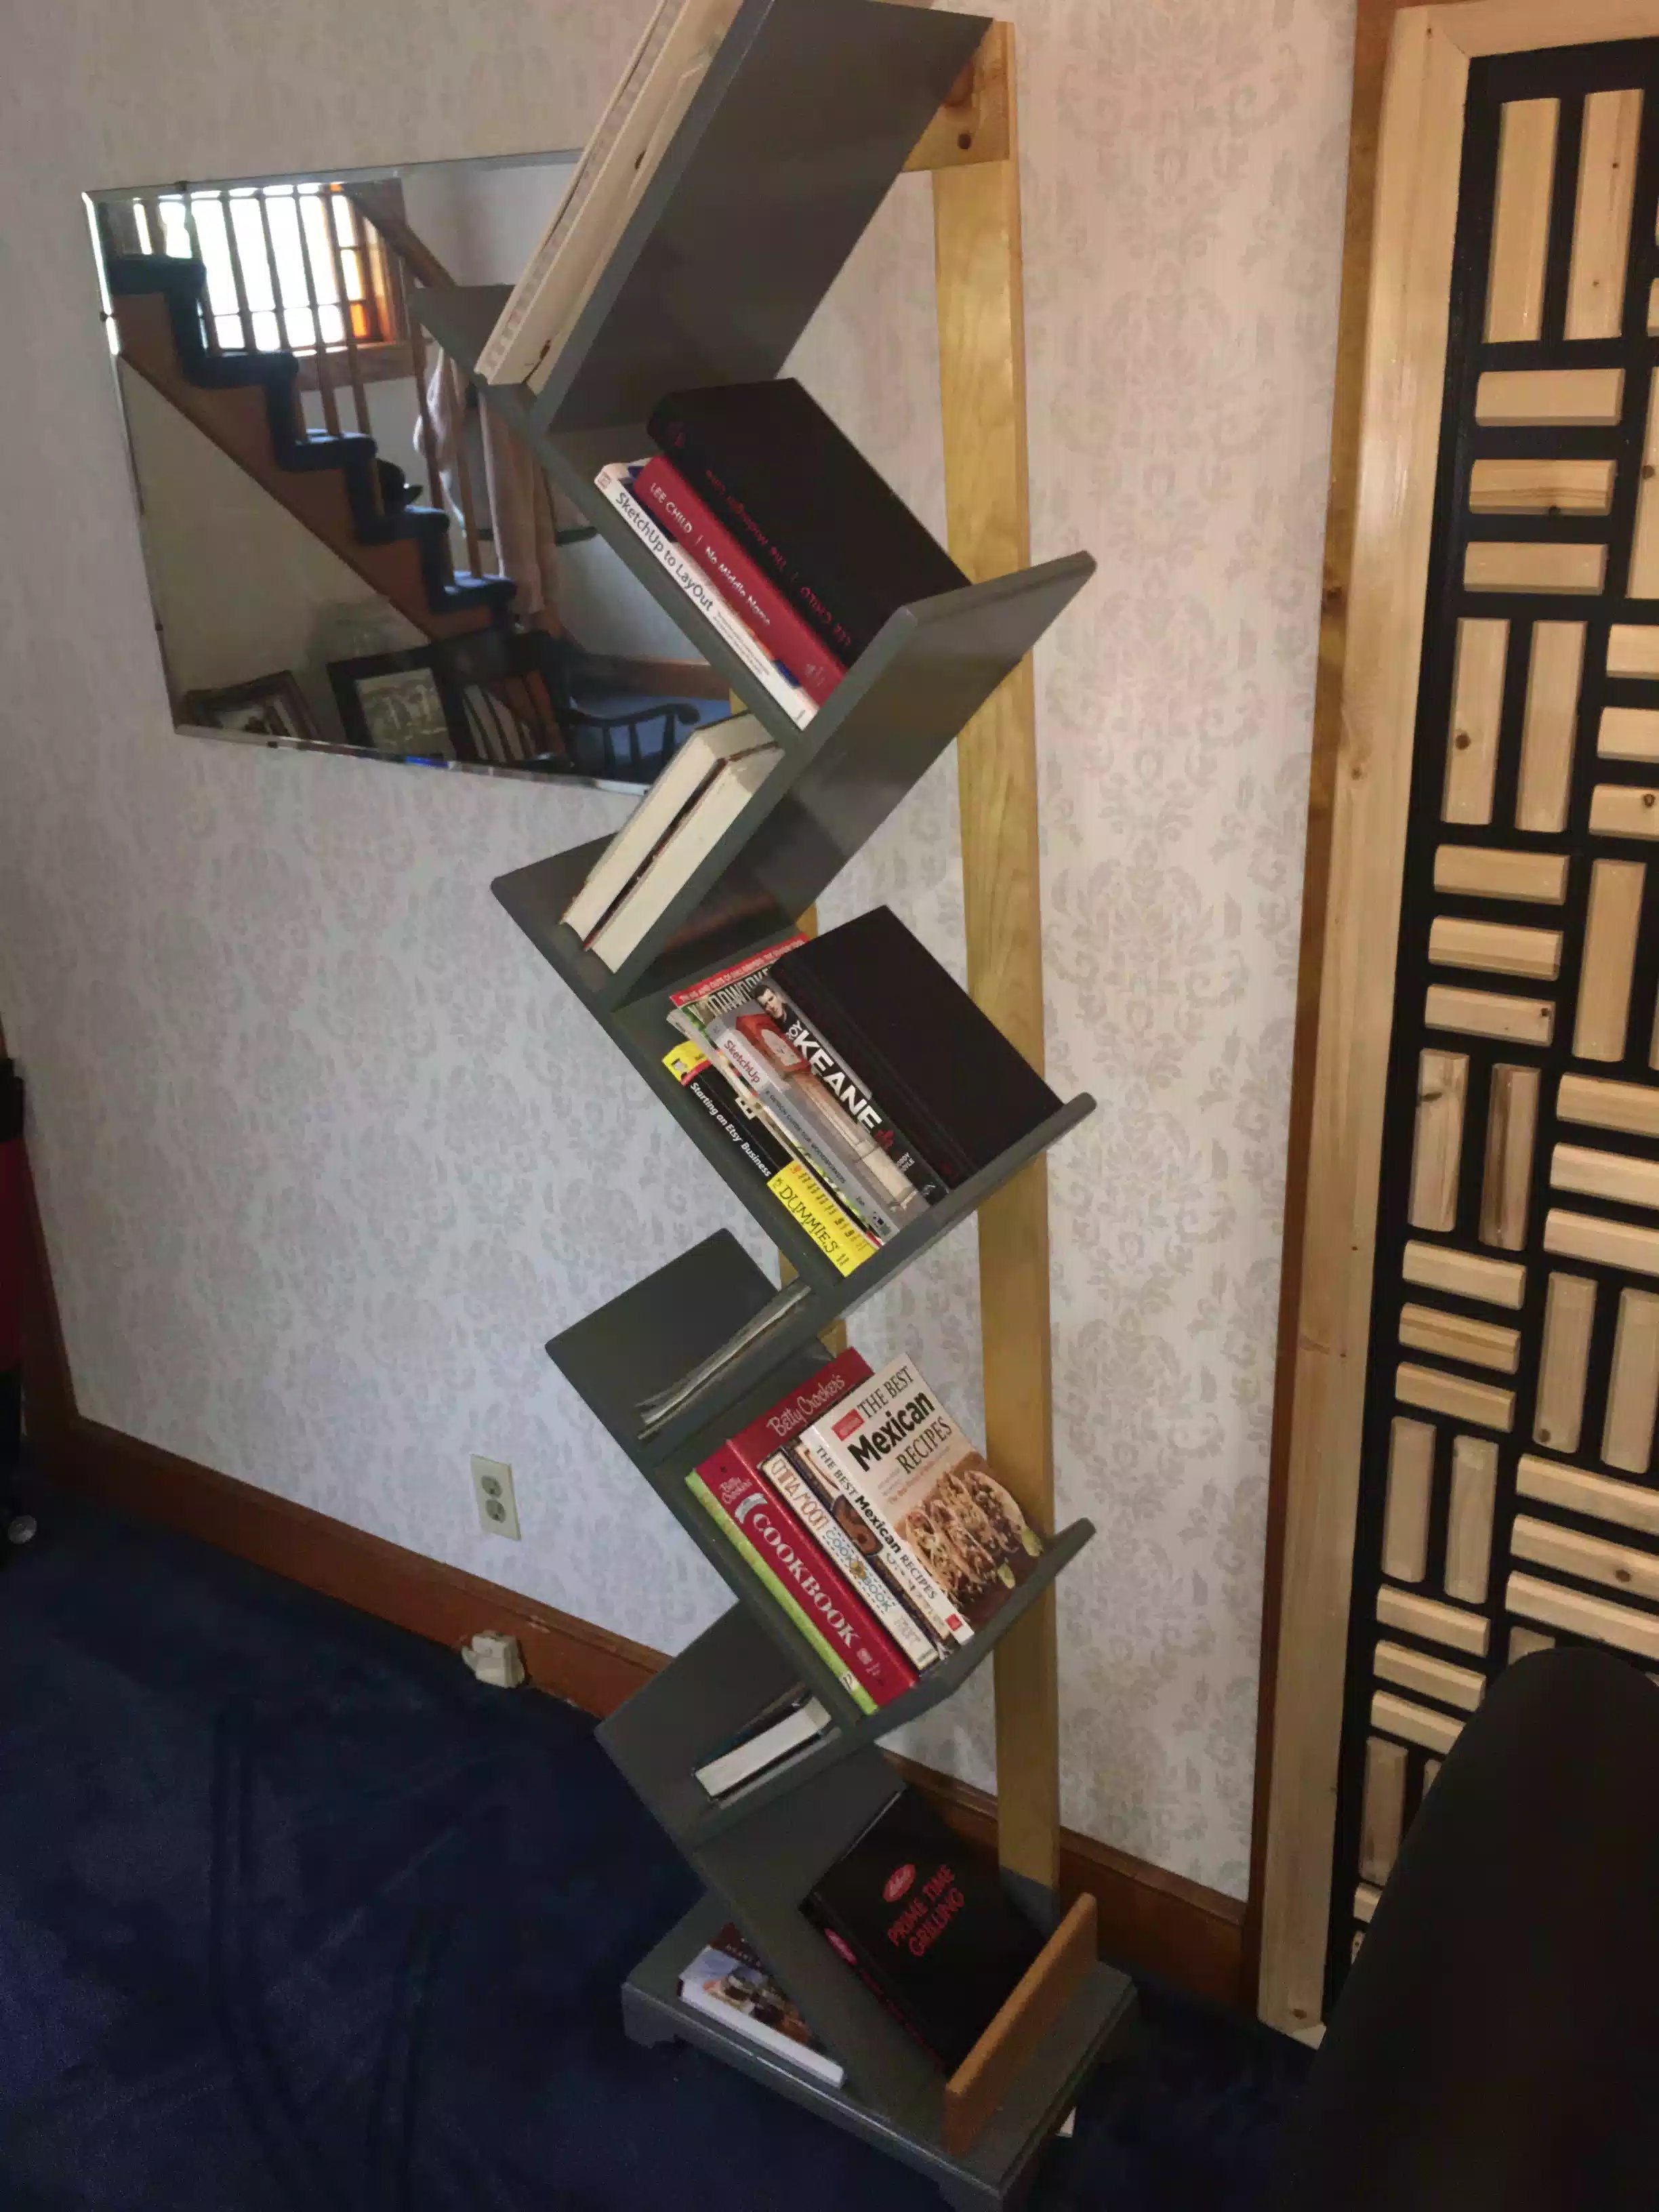
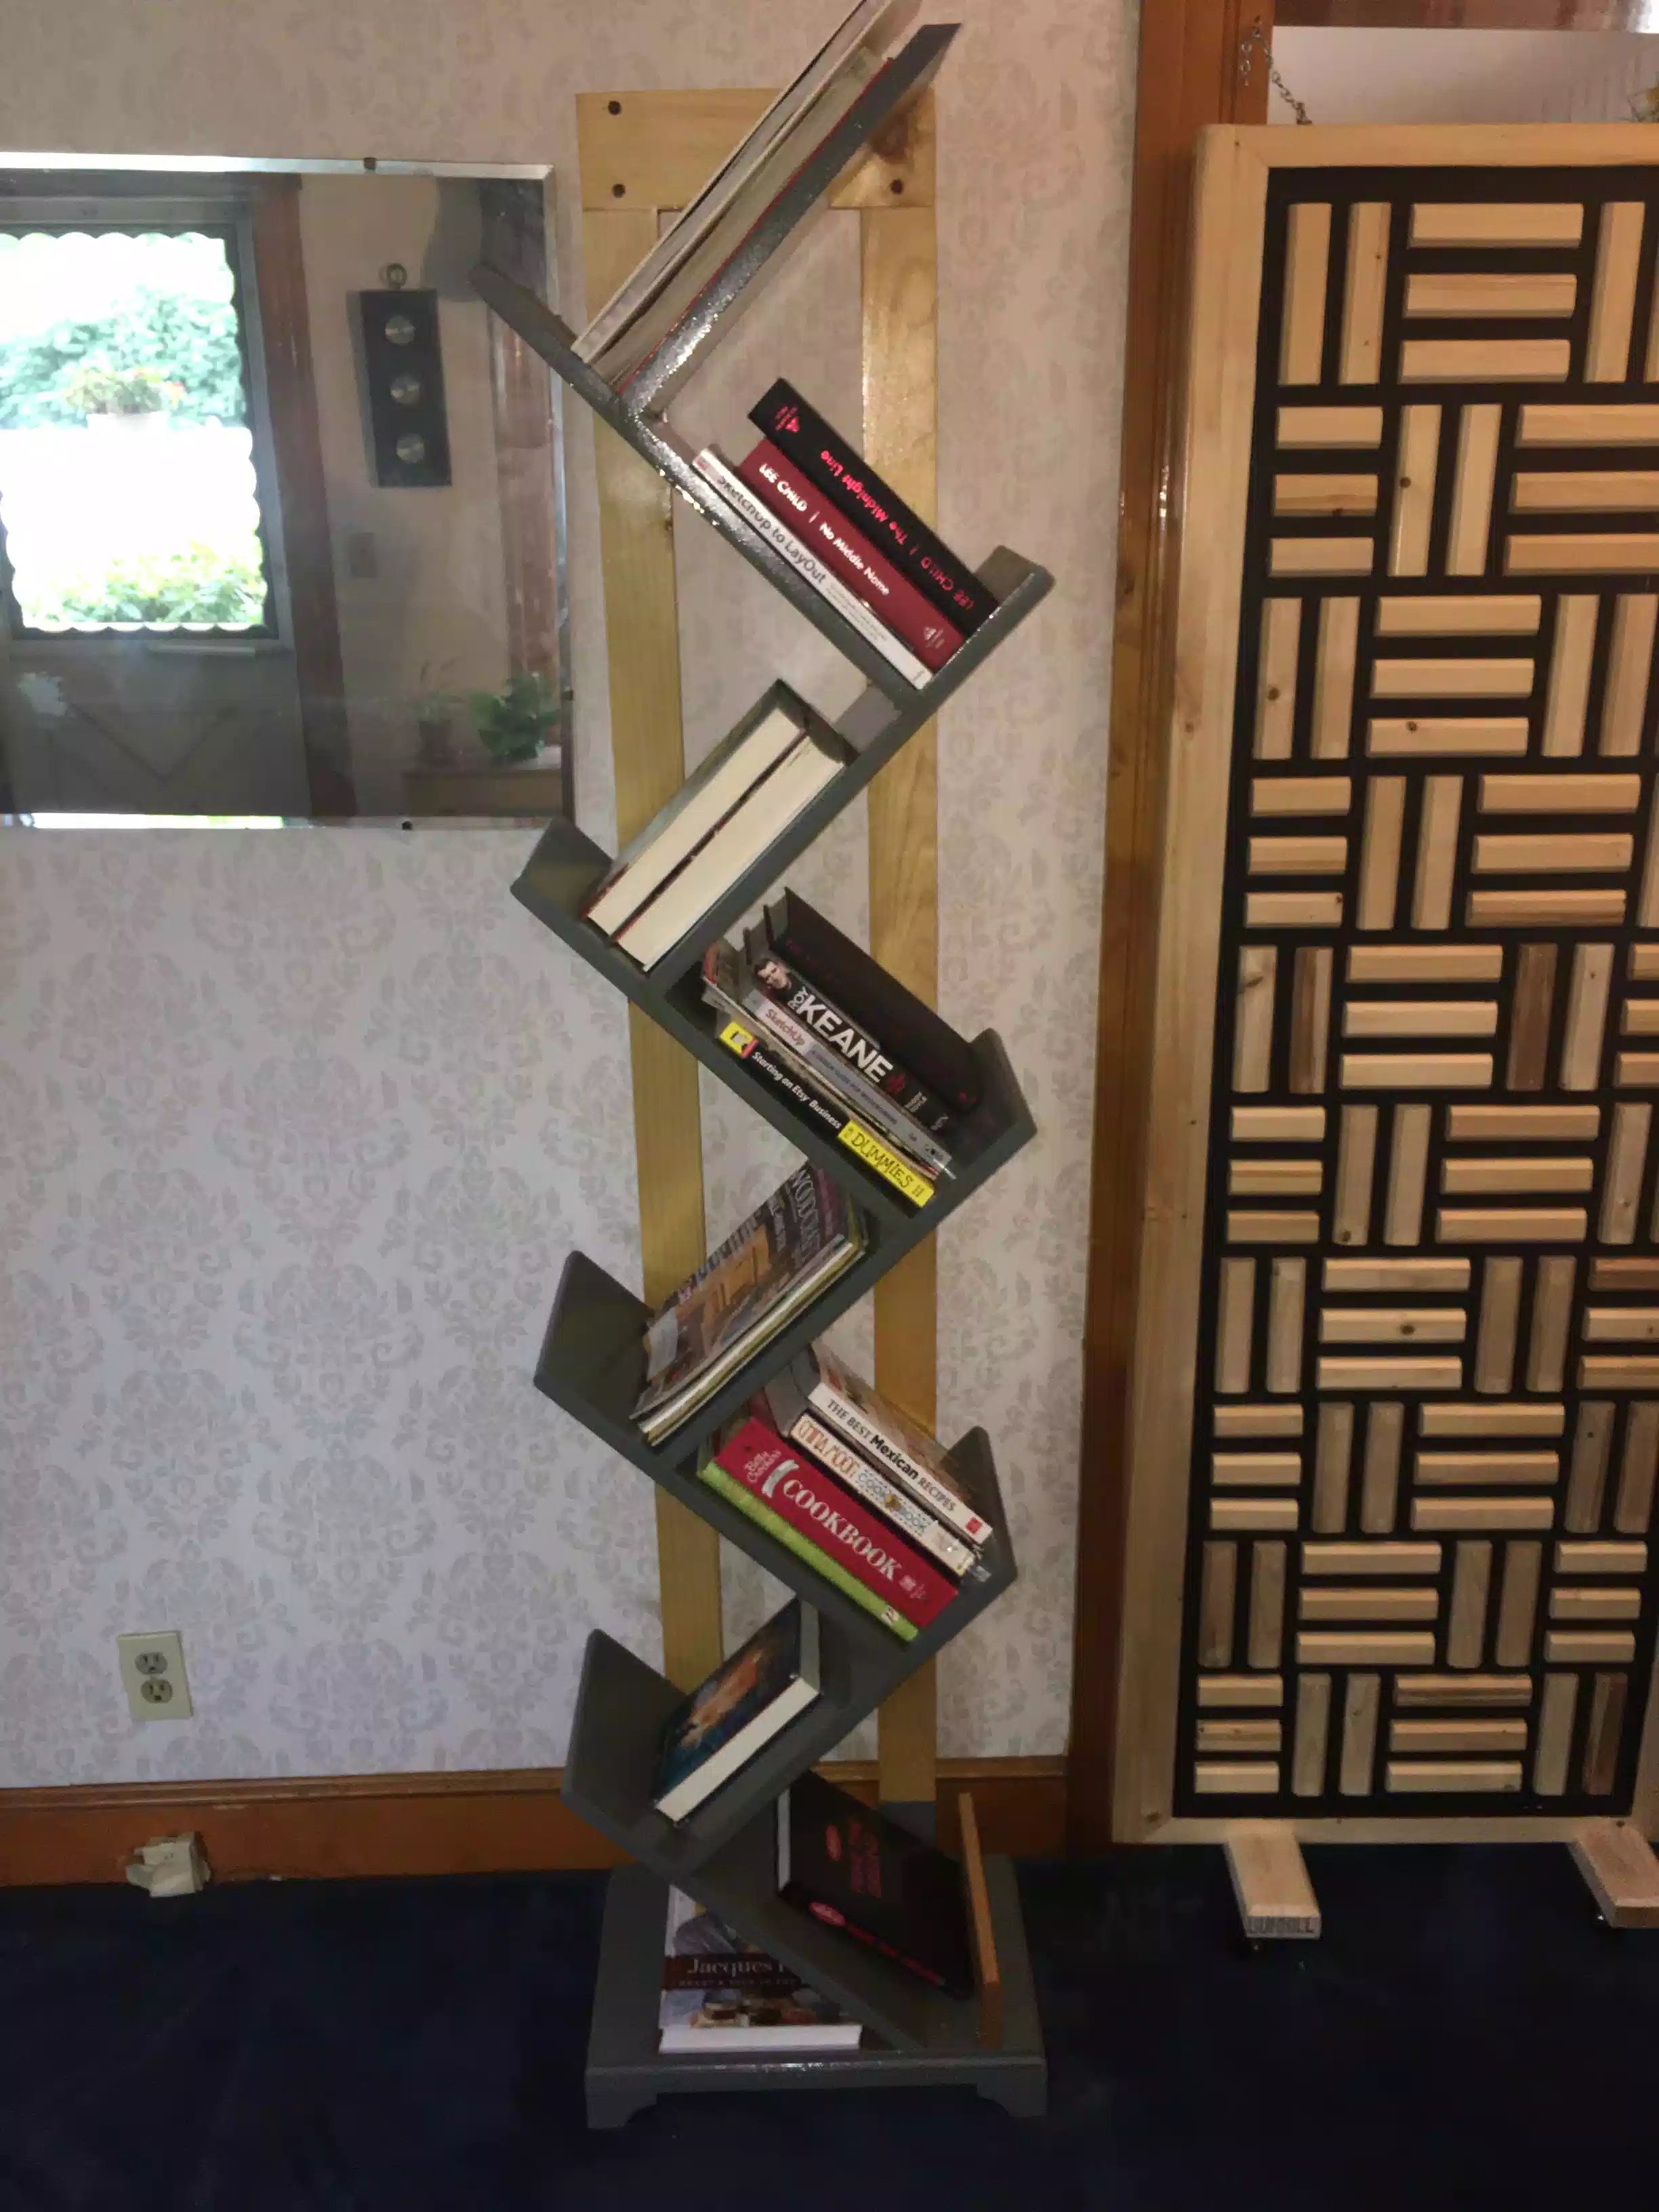
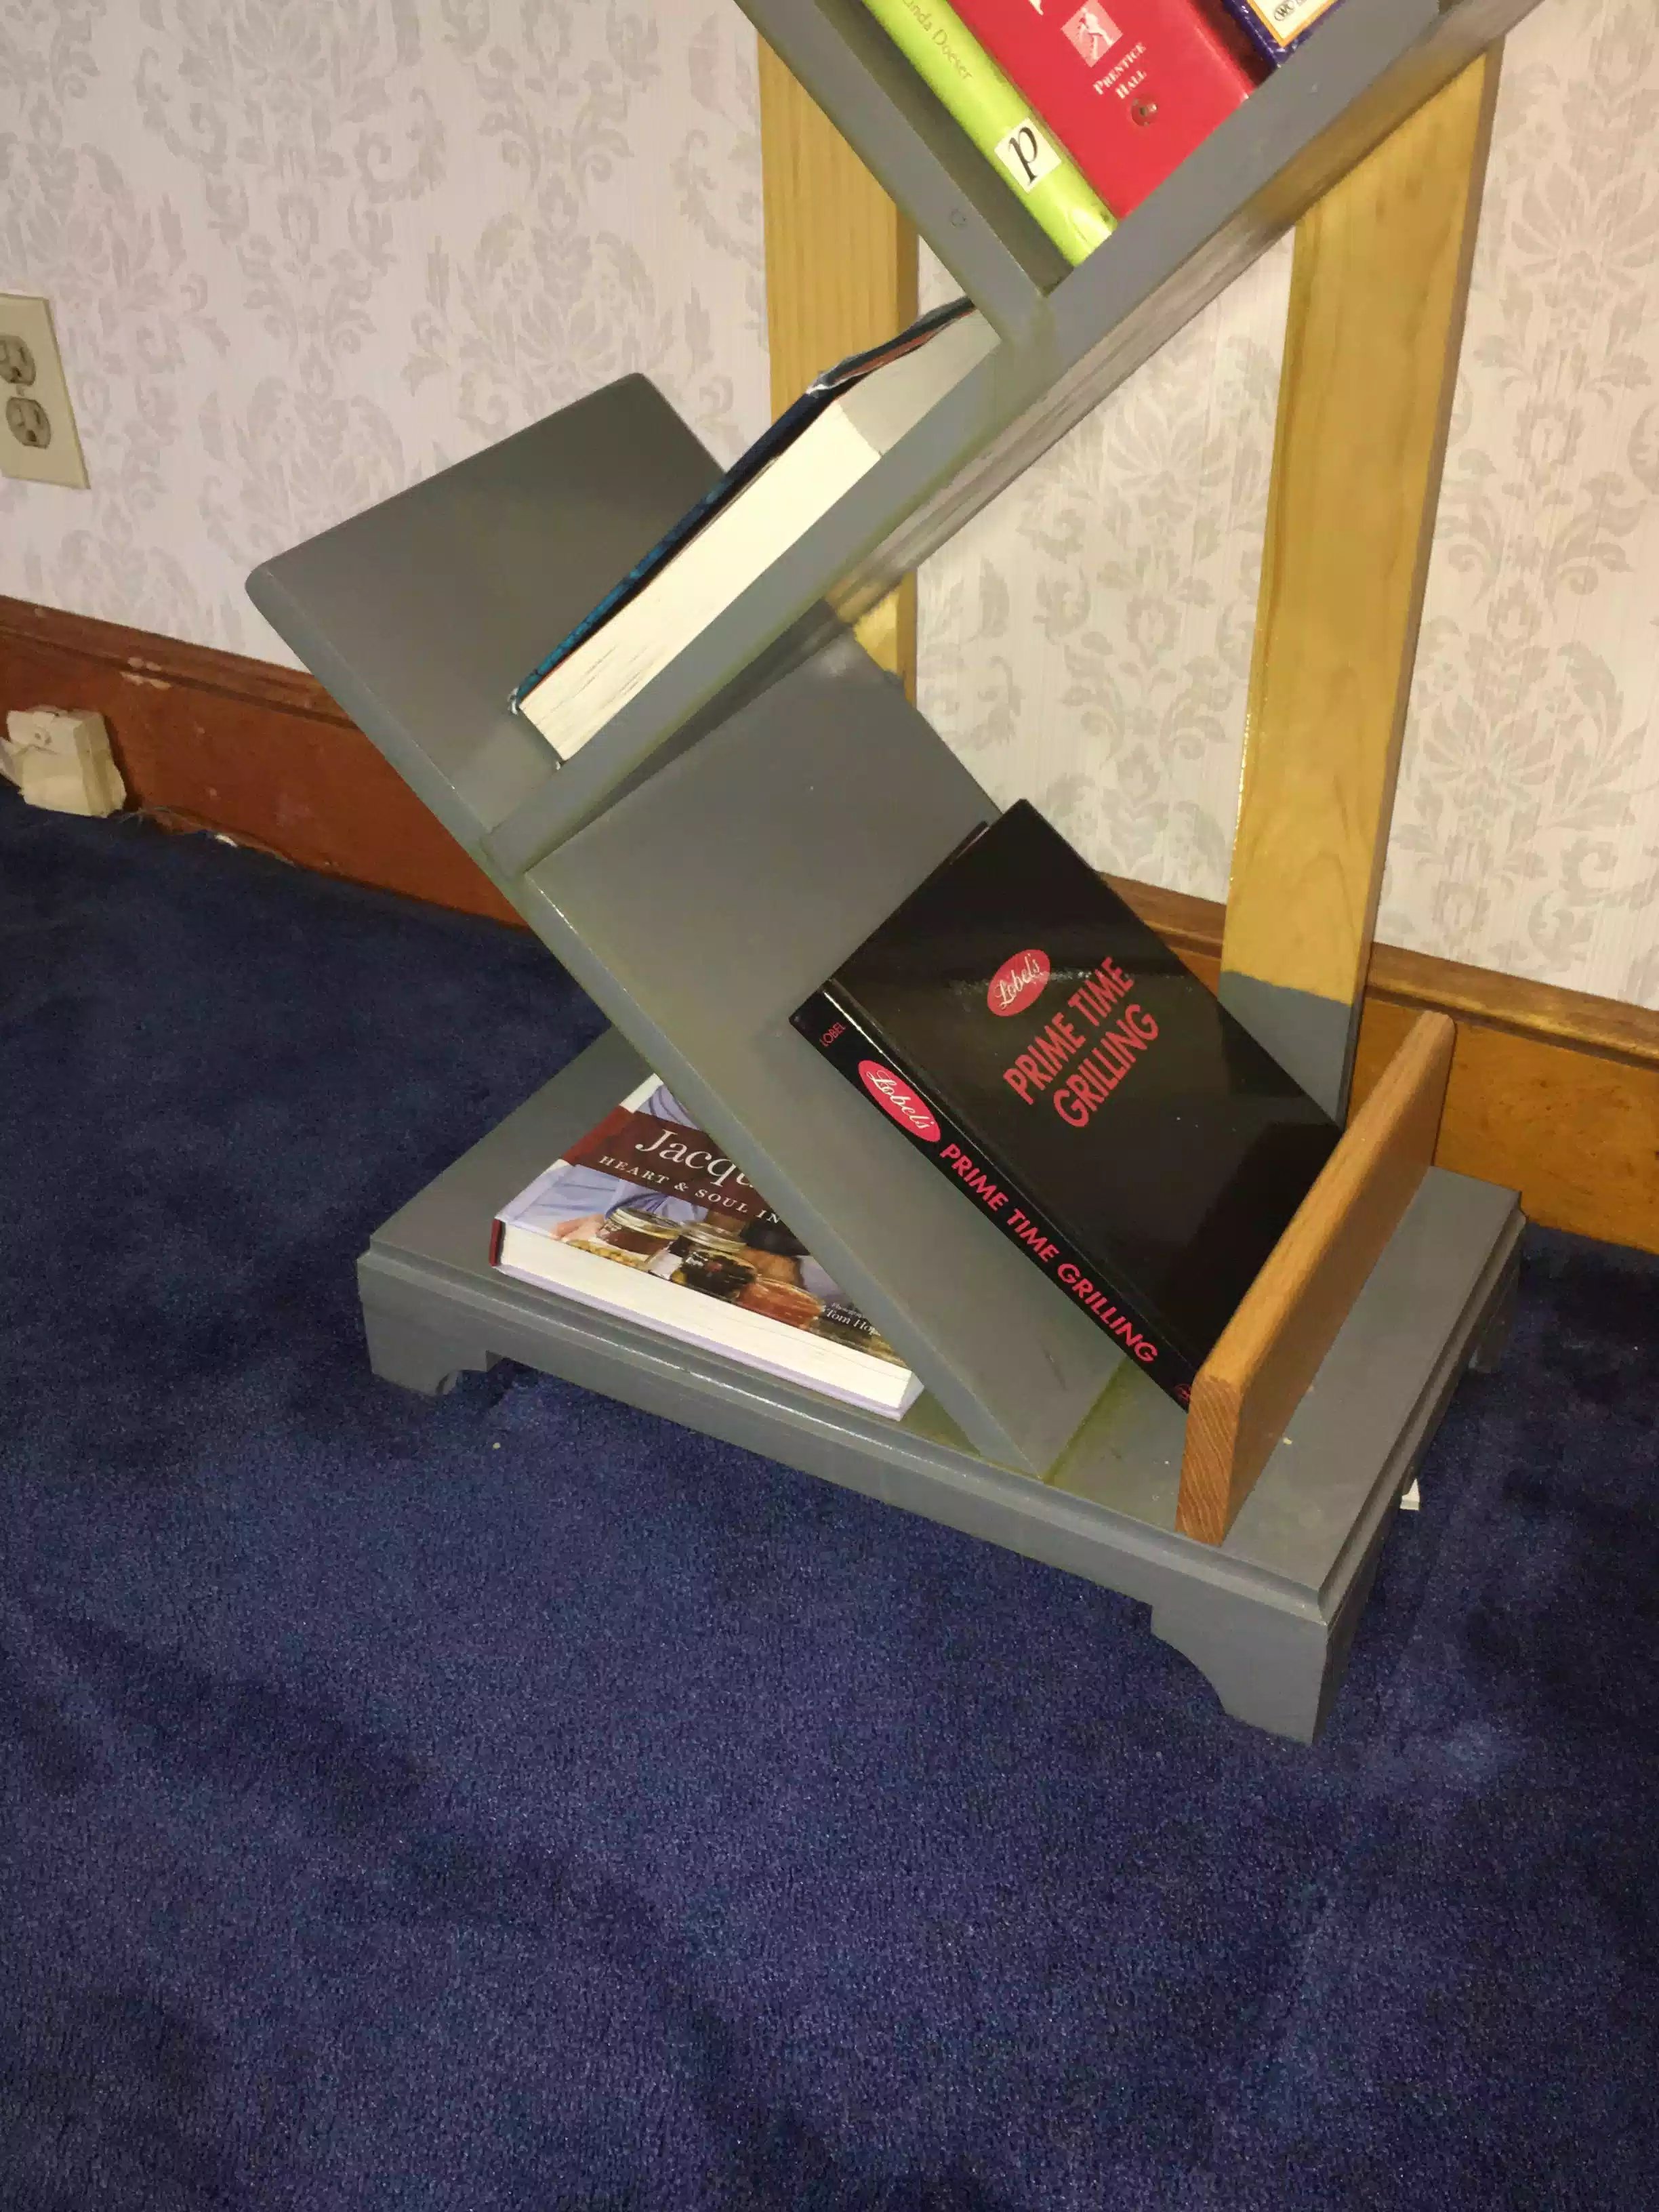
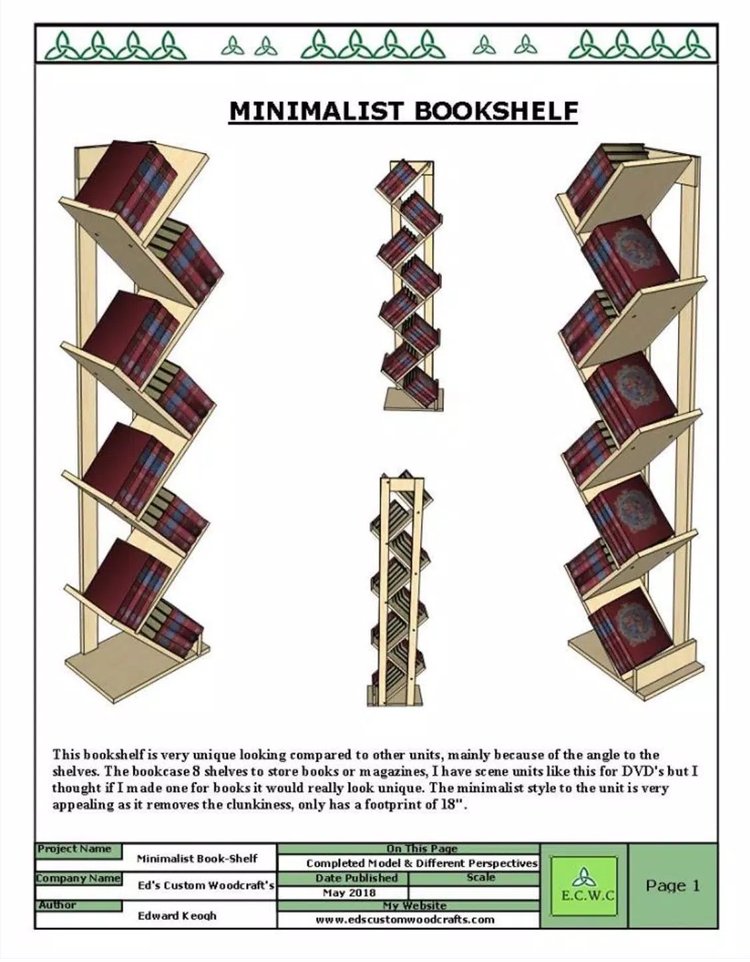
MINIMALIST BOOK STAND
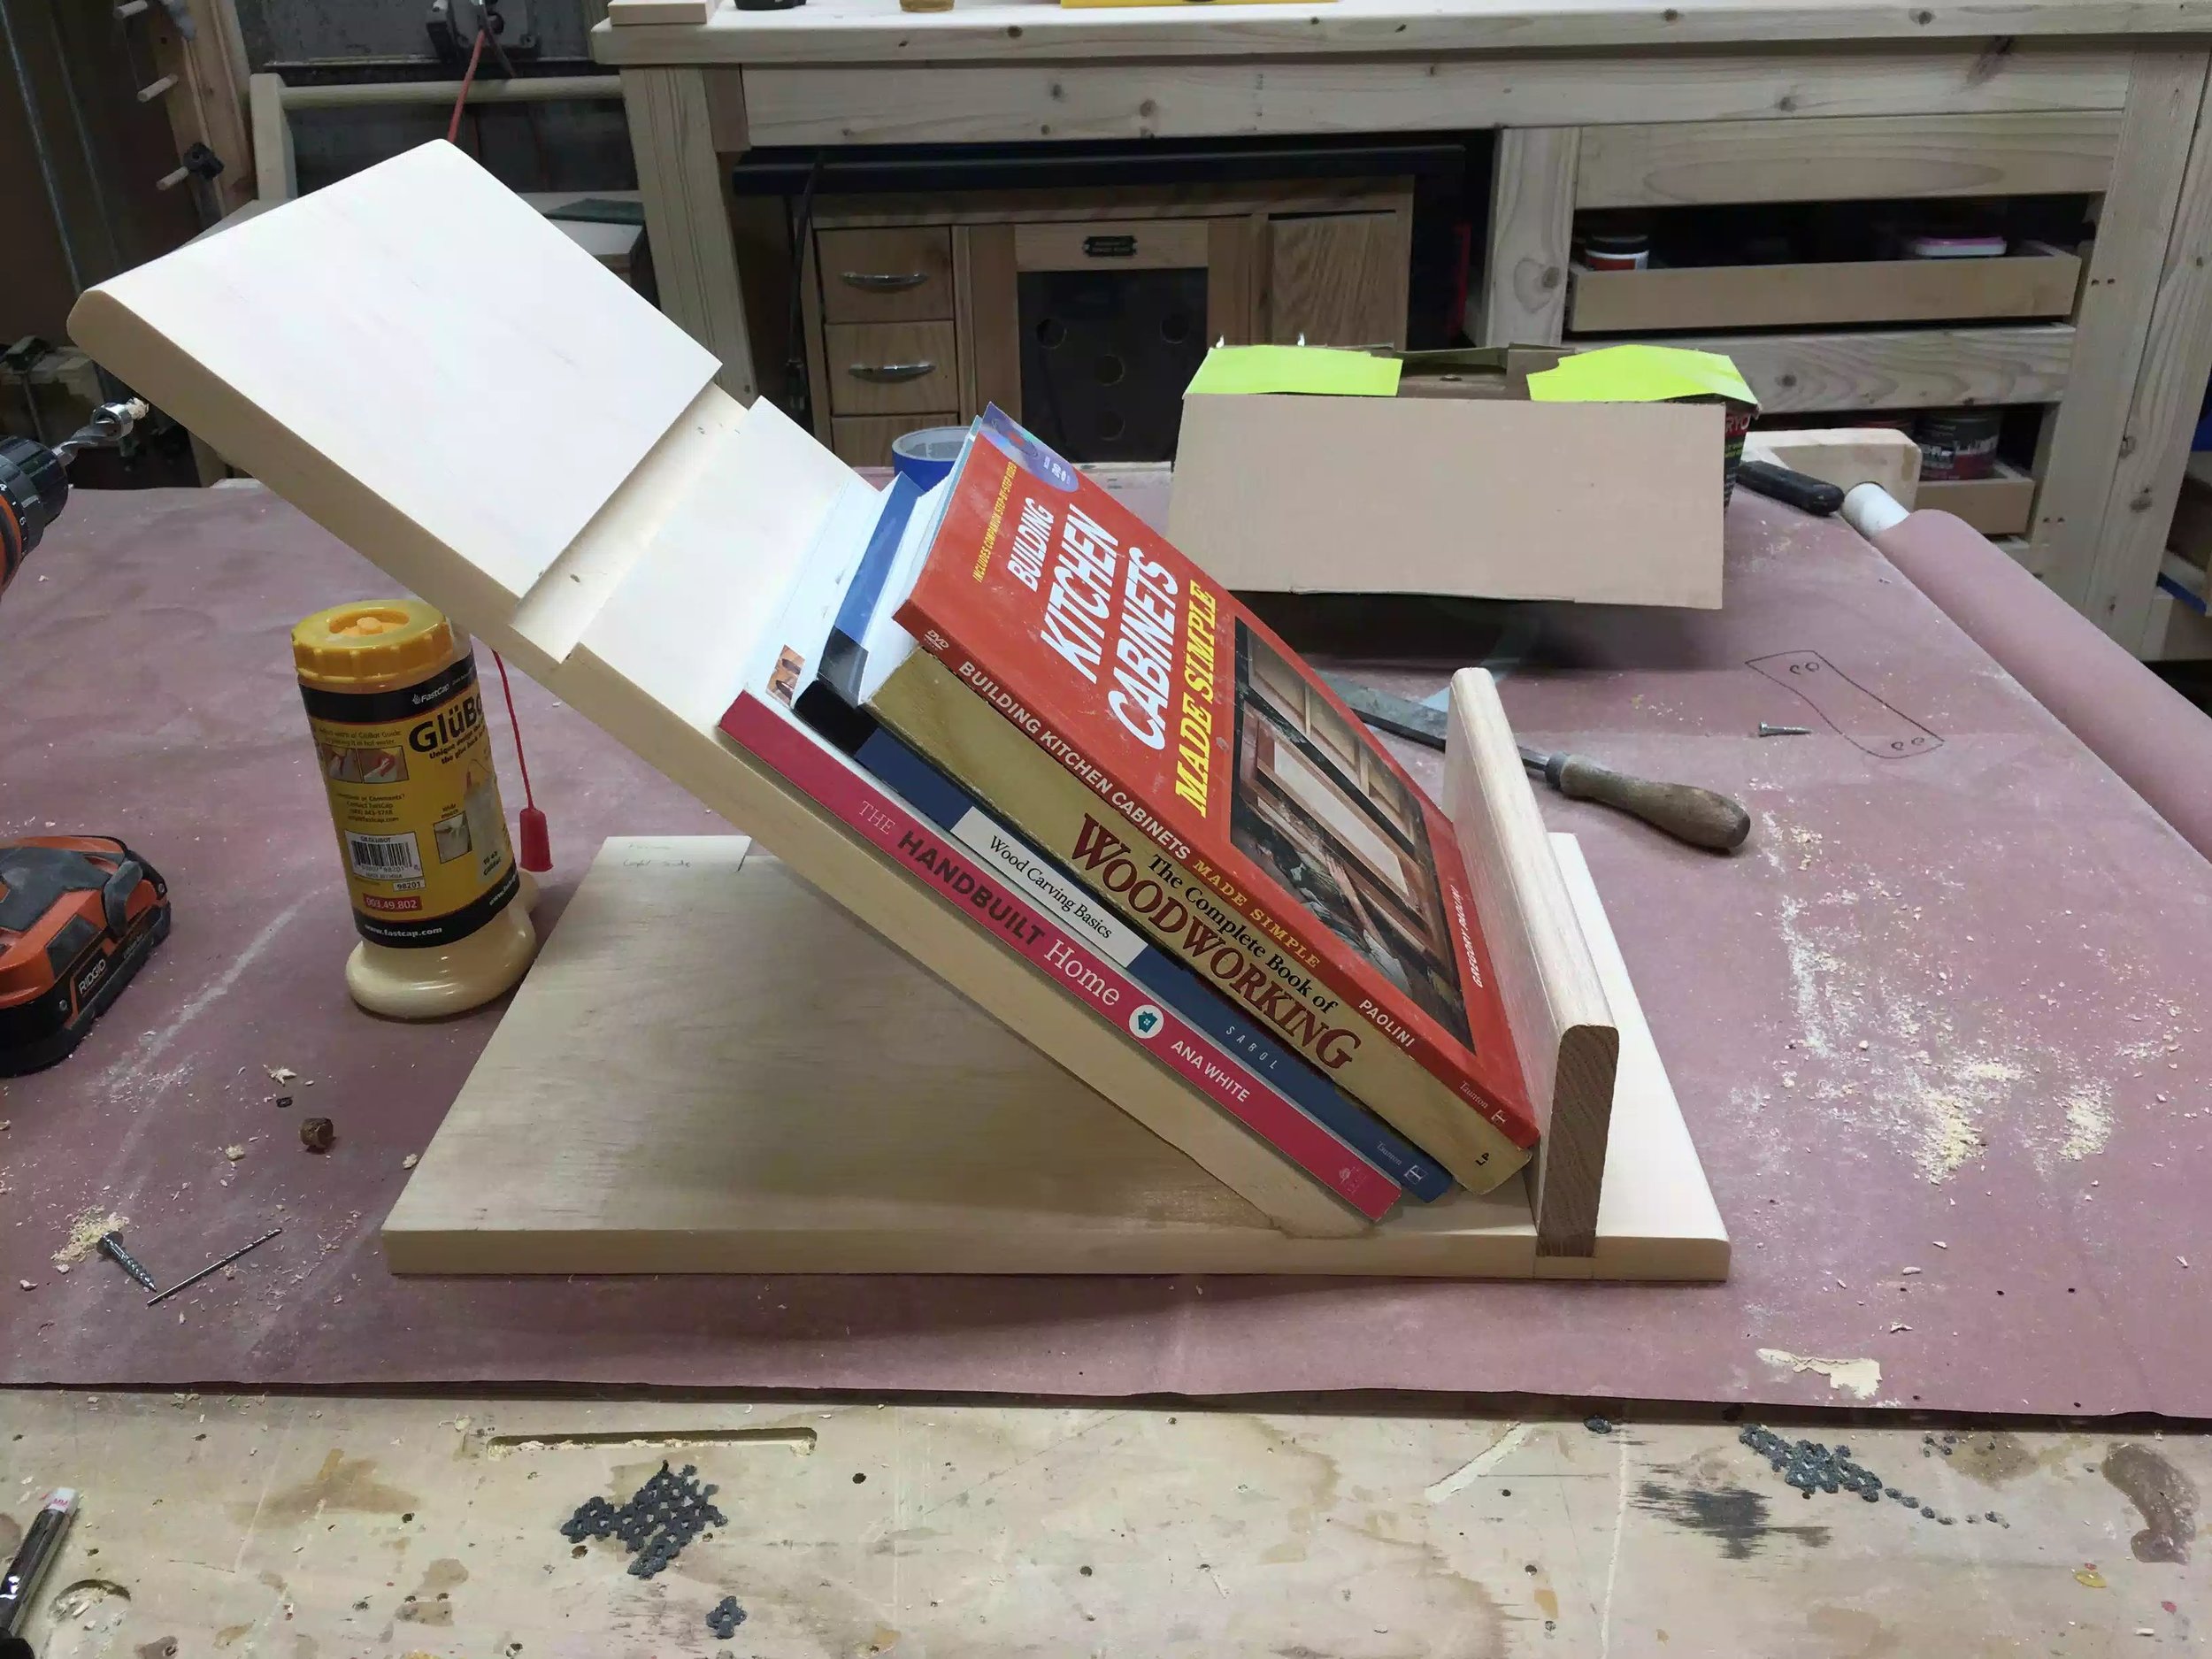
So I have been building projects for the home office for a little while now and I wanted to make a book stand for all the books and magazines that I have been collecting and what better place to store them than in the home office.
I didn't have the room for a traditional book case so I went online for some inspiration and came across a concept on Pinterest that was made to house DVD and music CD'S and I thought that if I just made it bigger or taller it could accommodate the books and magazines.
This project was a completely new build to me for a couple of reasons
I don't usually design vertical projects and this was definitely a tall one at over 72" tall.
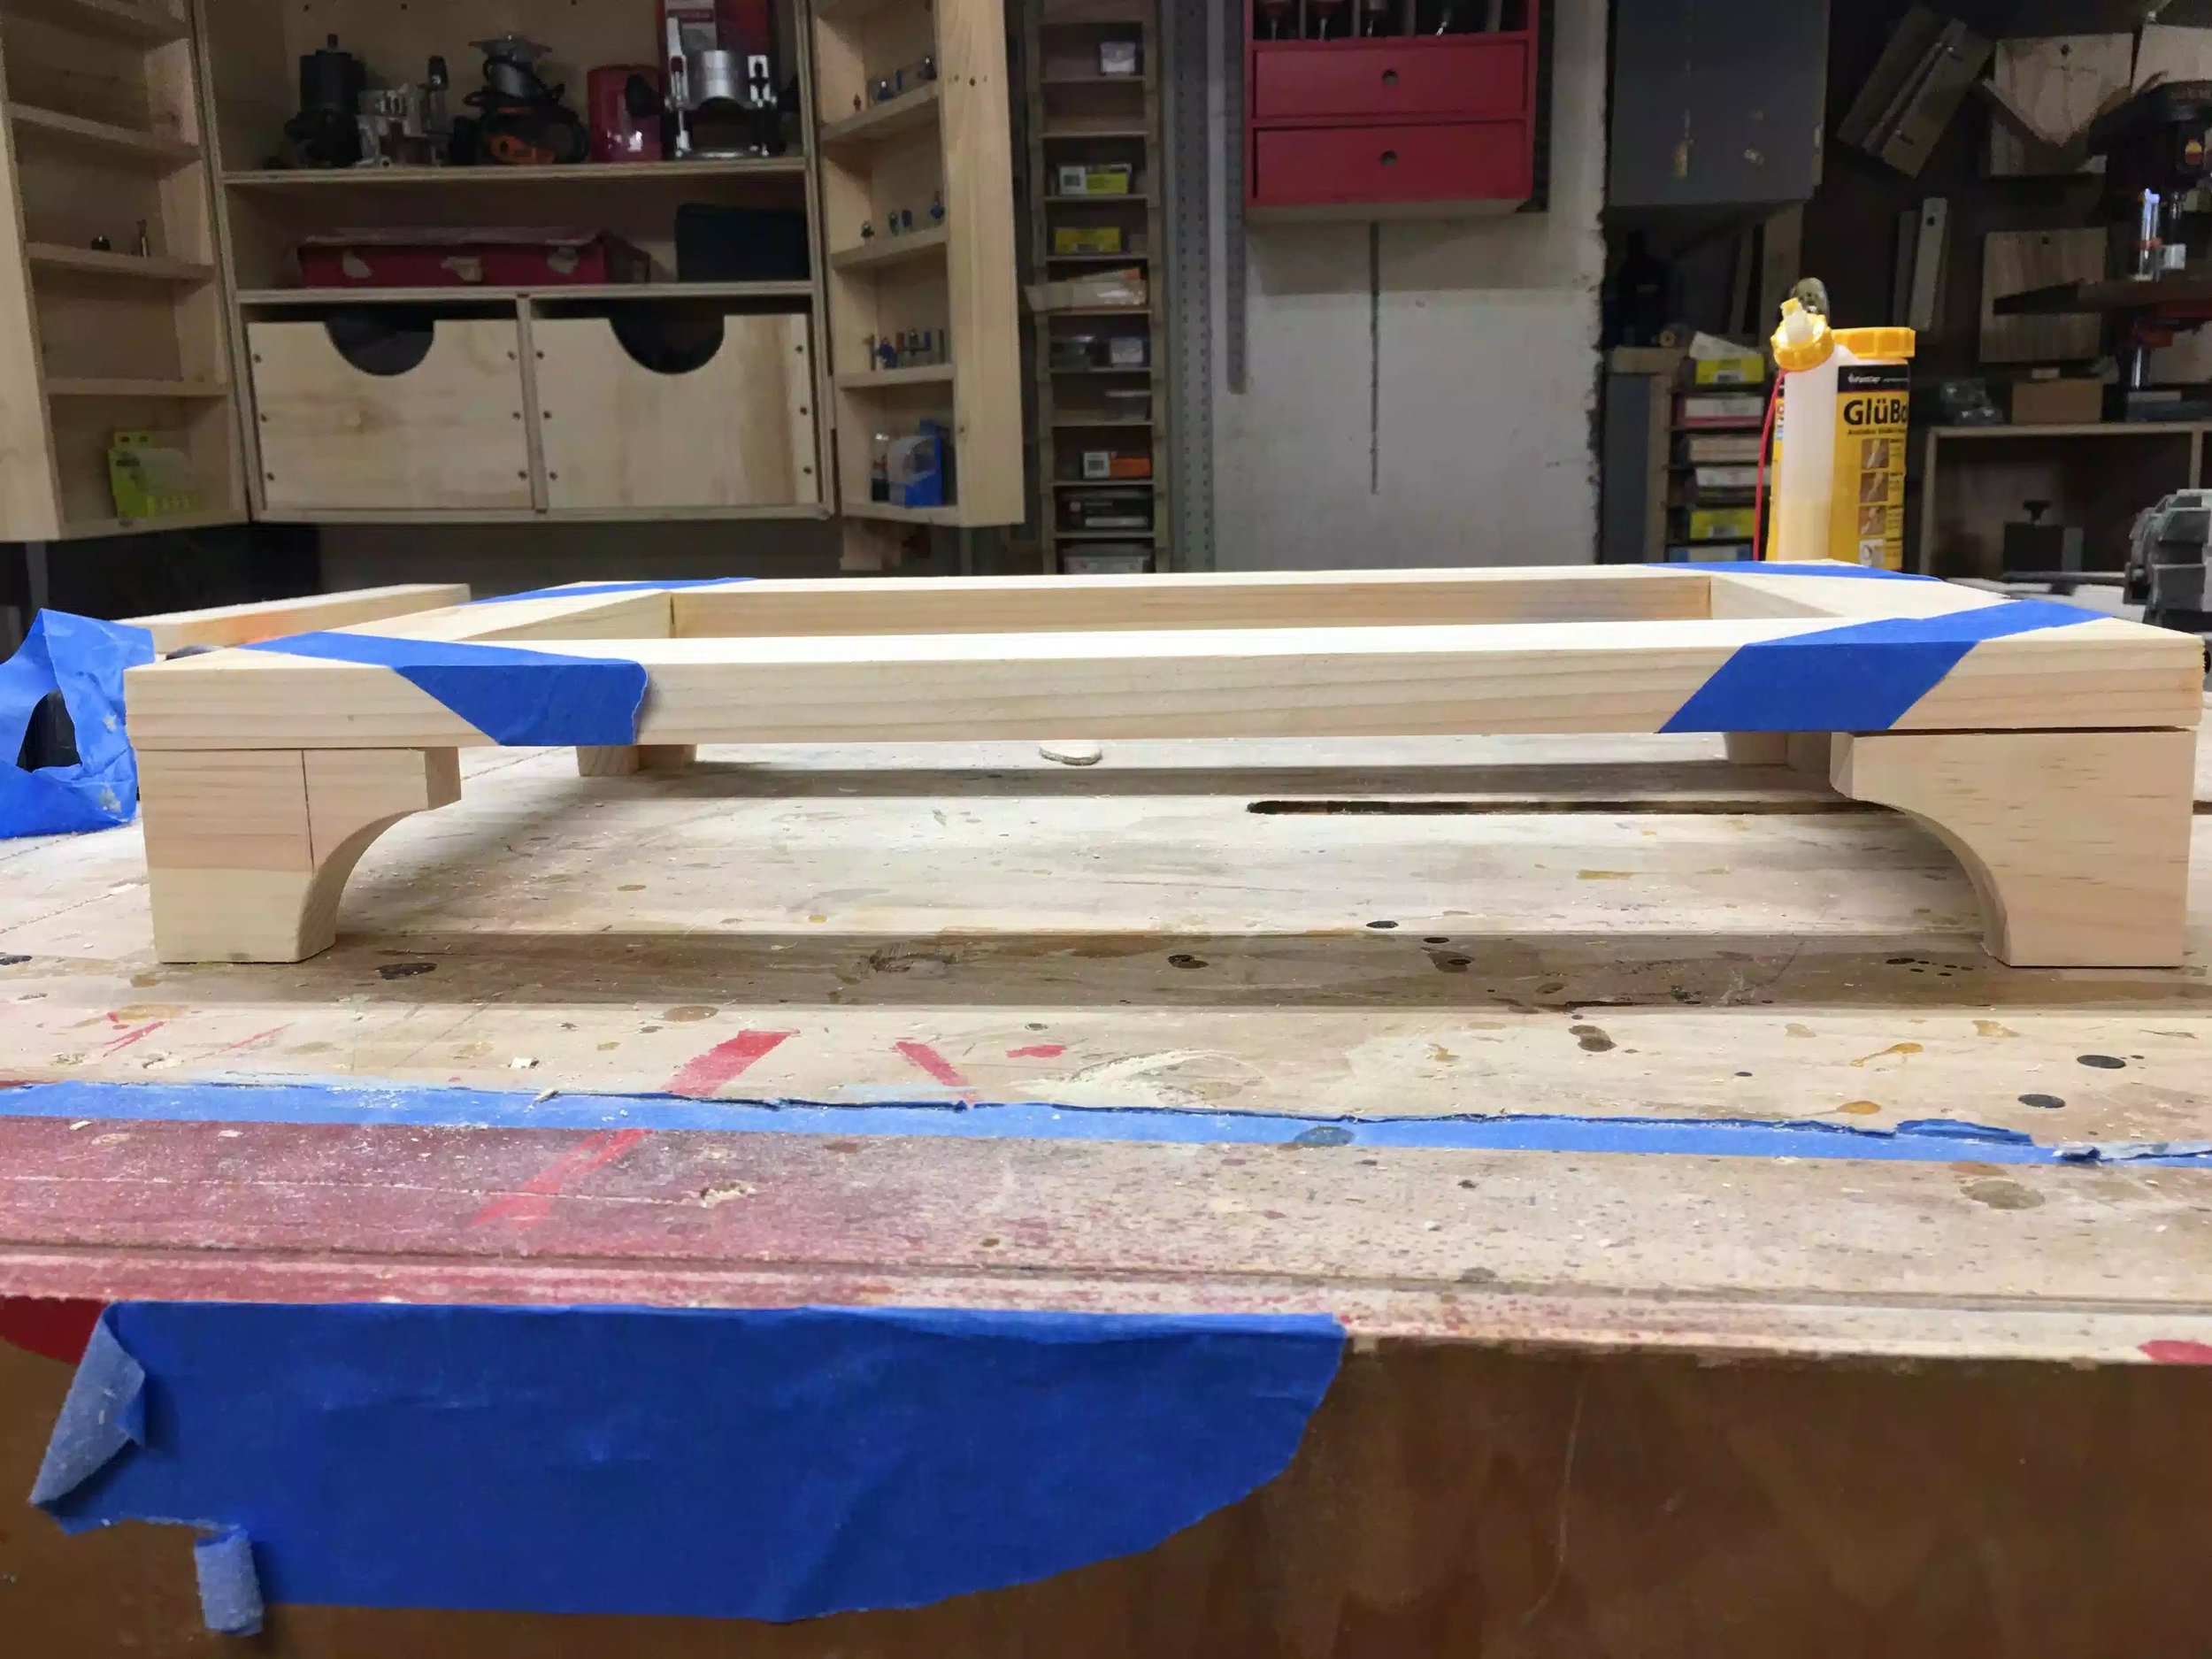
I never made bracket feet before
I used Sketchup in a way I never used it before to determine the tilt angle for the bottom shelves
So I turned to Sketchup to get a 3D model of what I had come up with so far and to also determine what it would look like in the office since I already did a 3D rendering of the room.
This was not a long project but it was challenging one, I did blog the build progress and you can find it here
COMPUTER MONITOR SHELF
(04/2018)
This was a fun little project I have been spending a lot more time than I used to at the desktop computer and I need to make some organizational change to the desk as I need more room and needed to raise the monitor up to a more reasonable height as I am 6’2
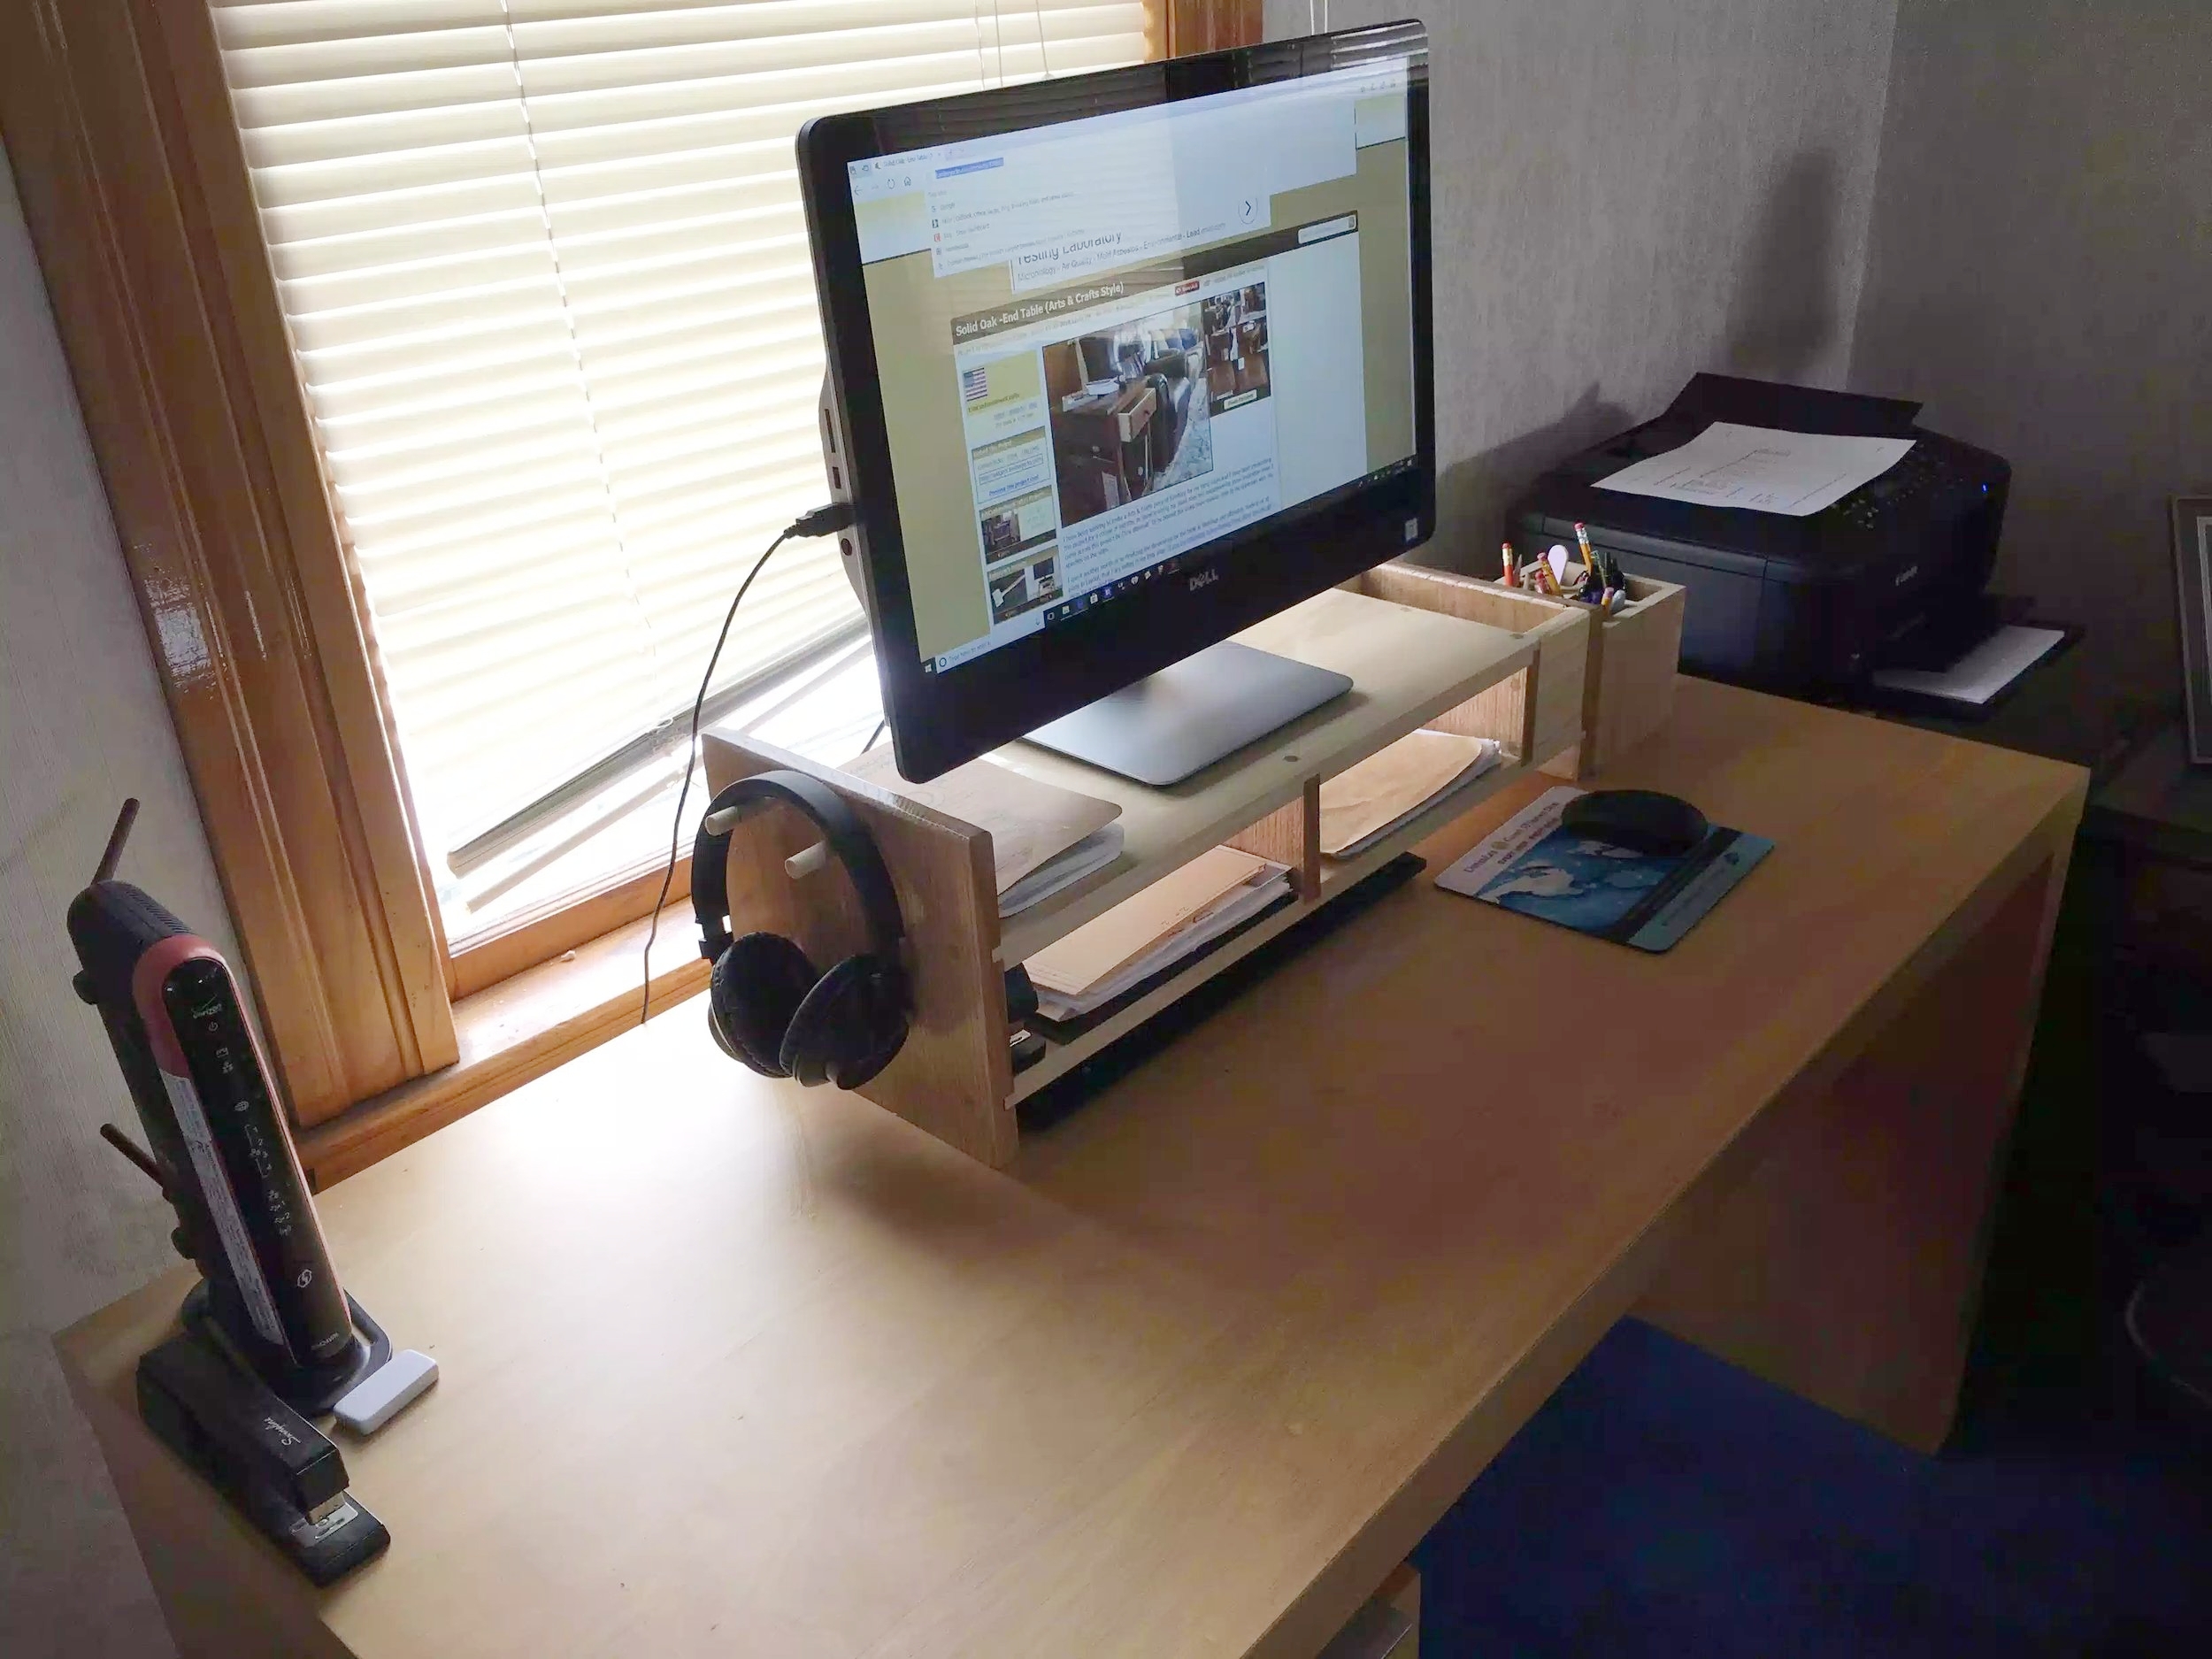

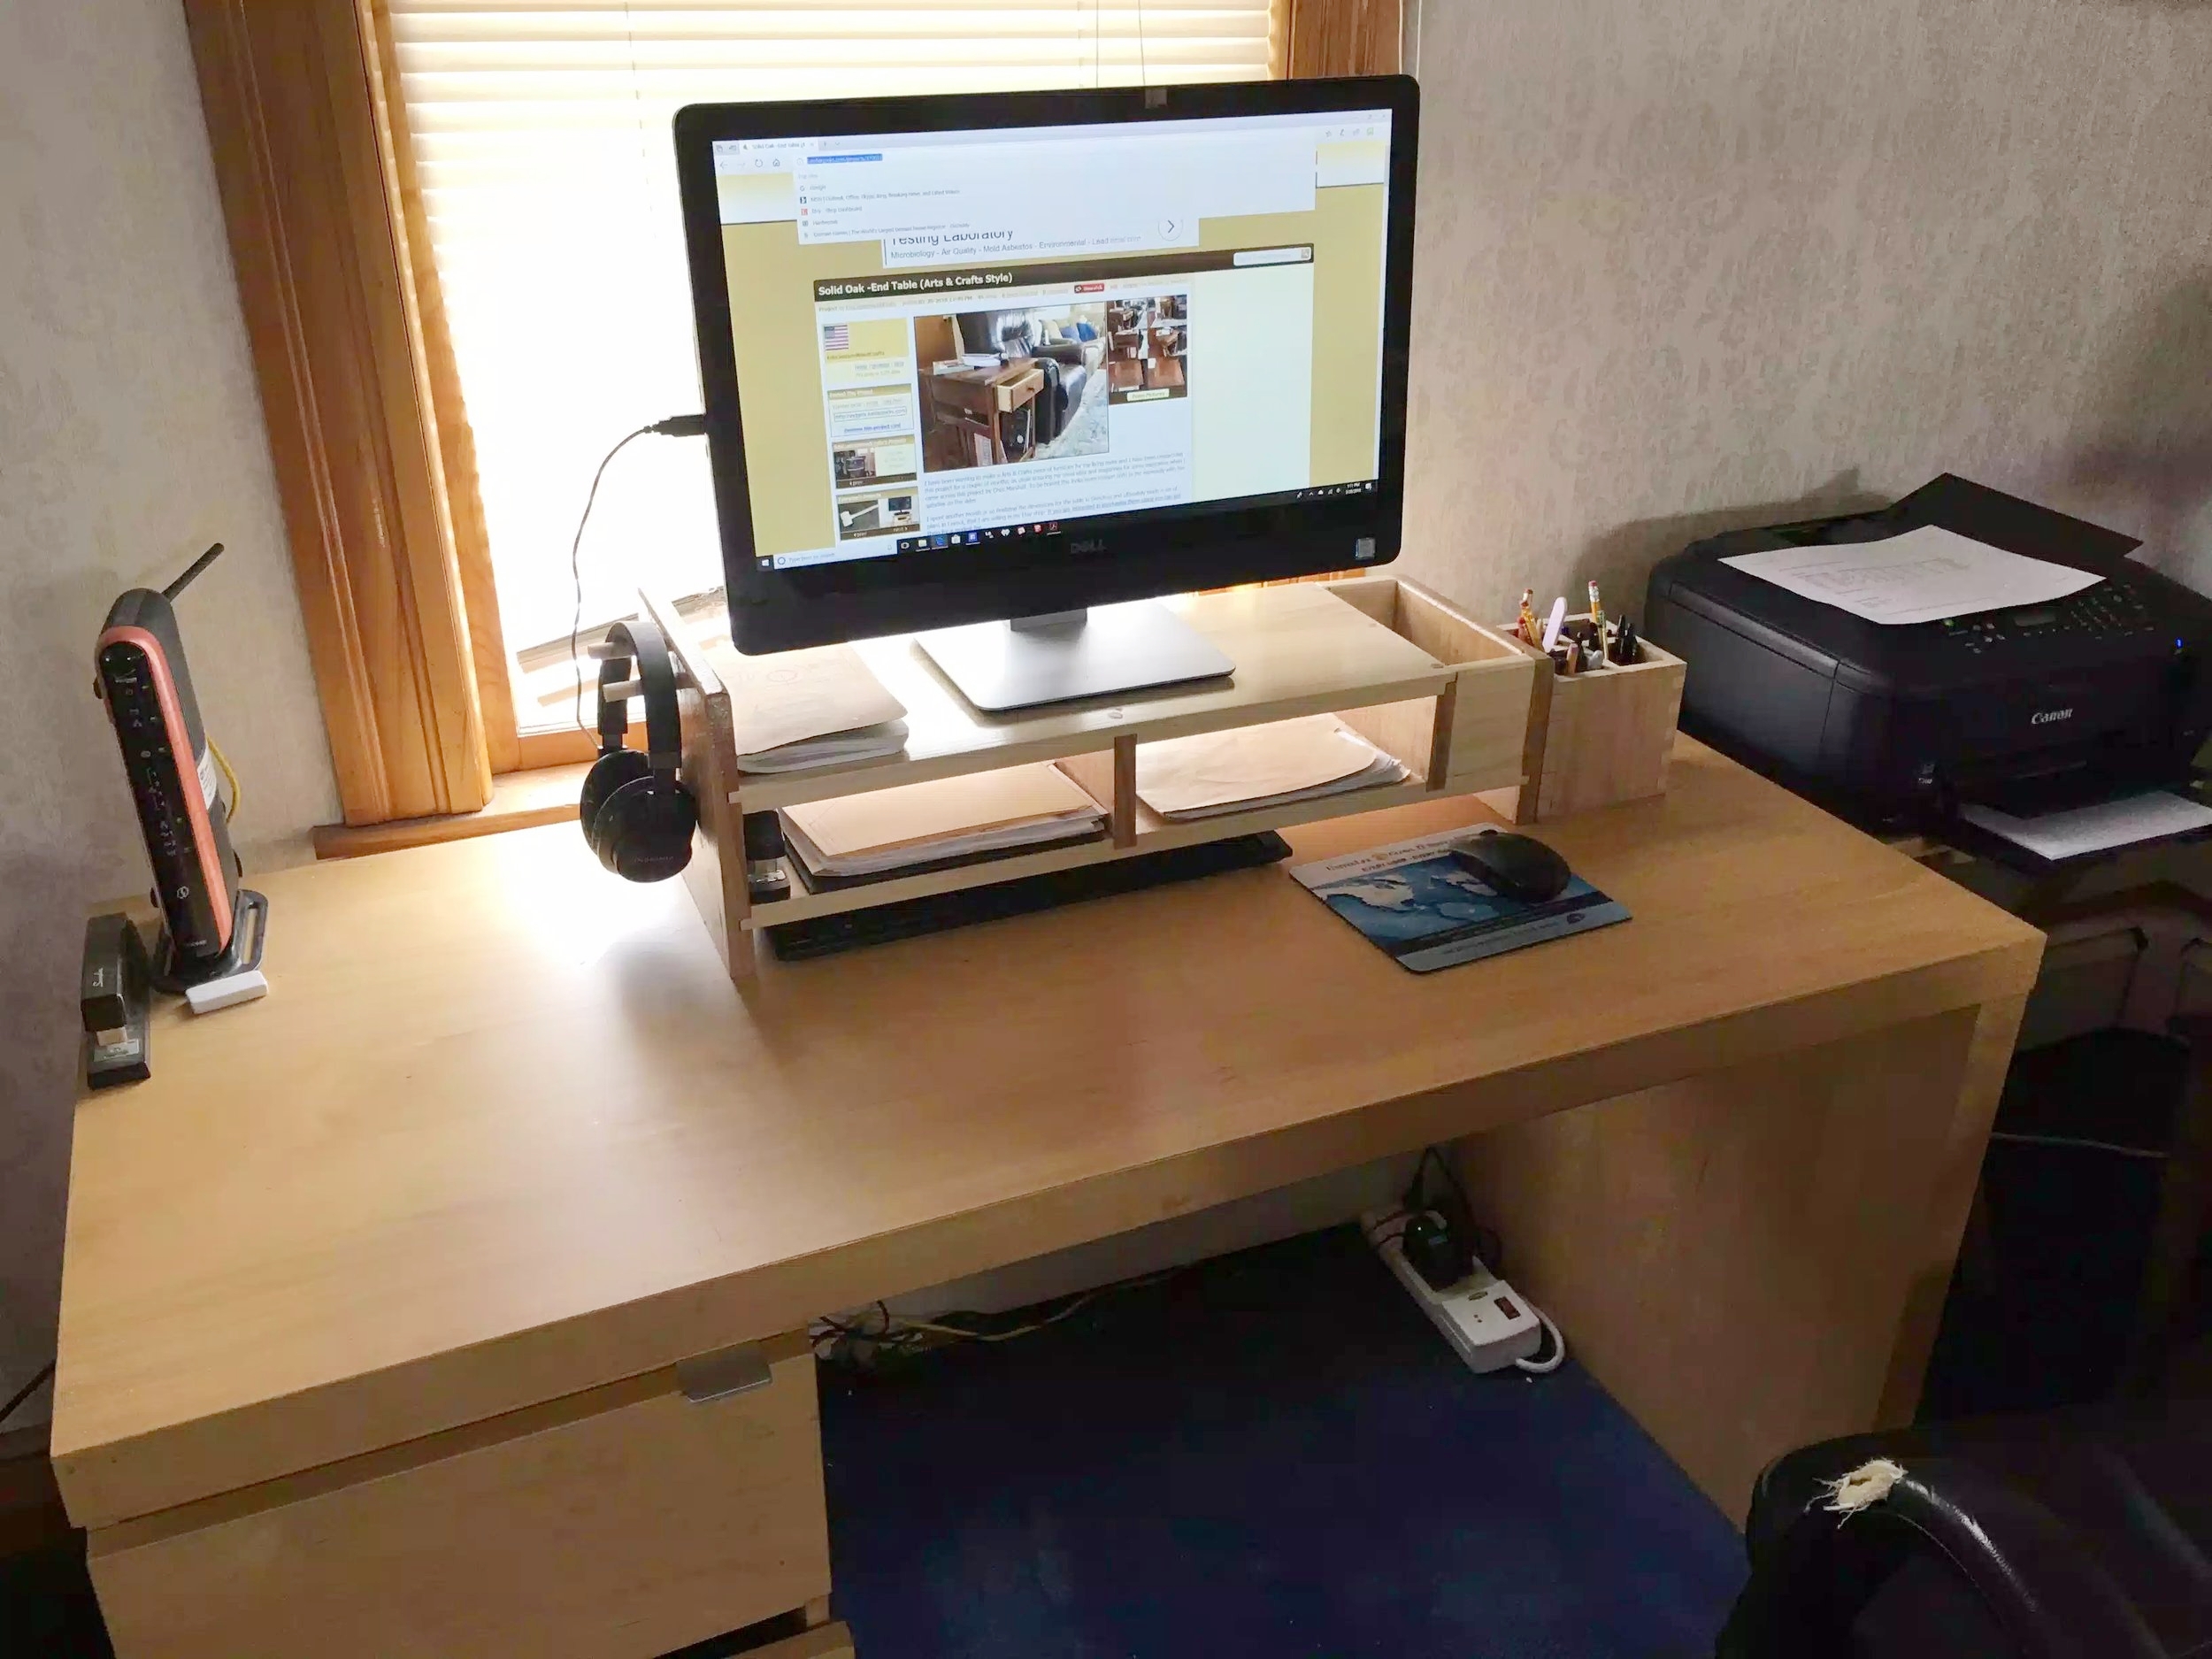
I went online for some inspiration and came across multiple ideas that I liked a little. Using some features in each one I kind of combined them all and added my own touches.
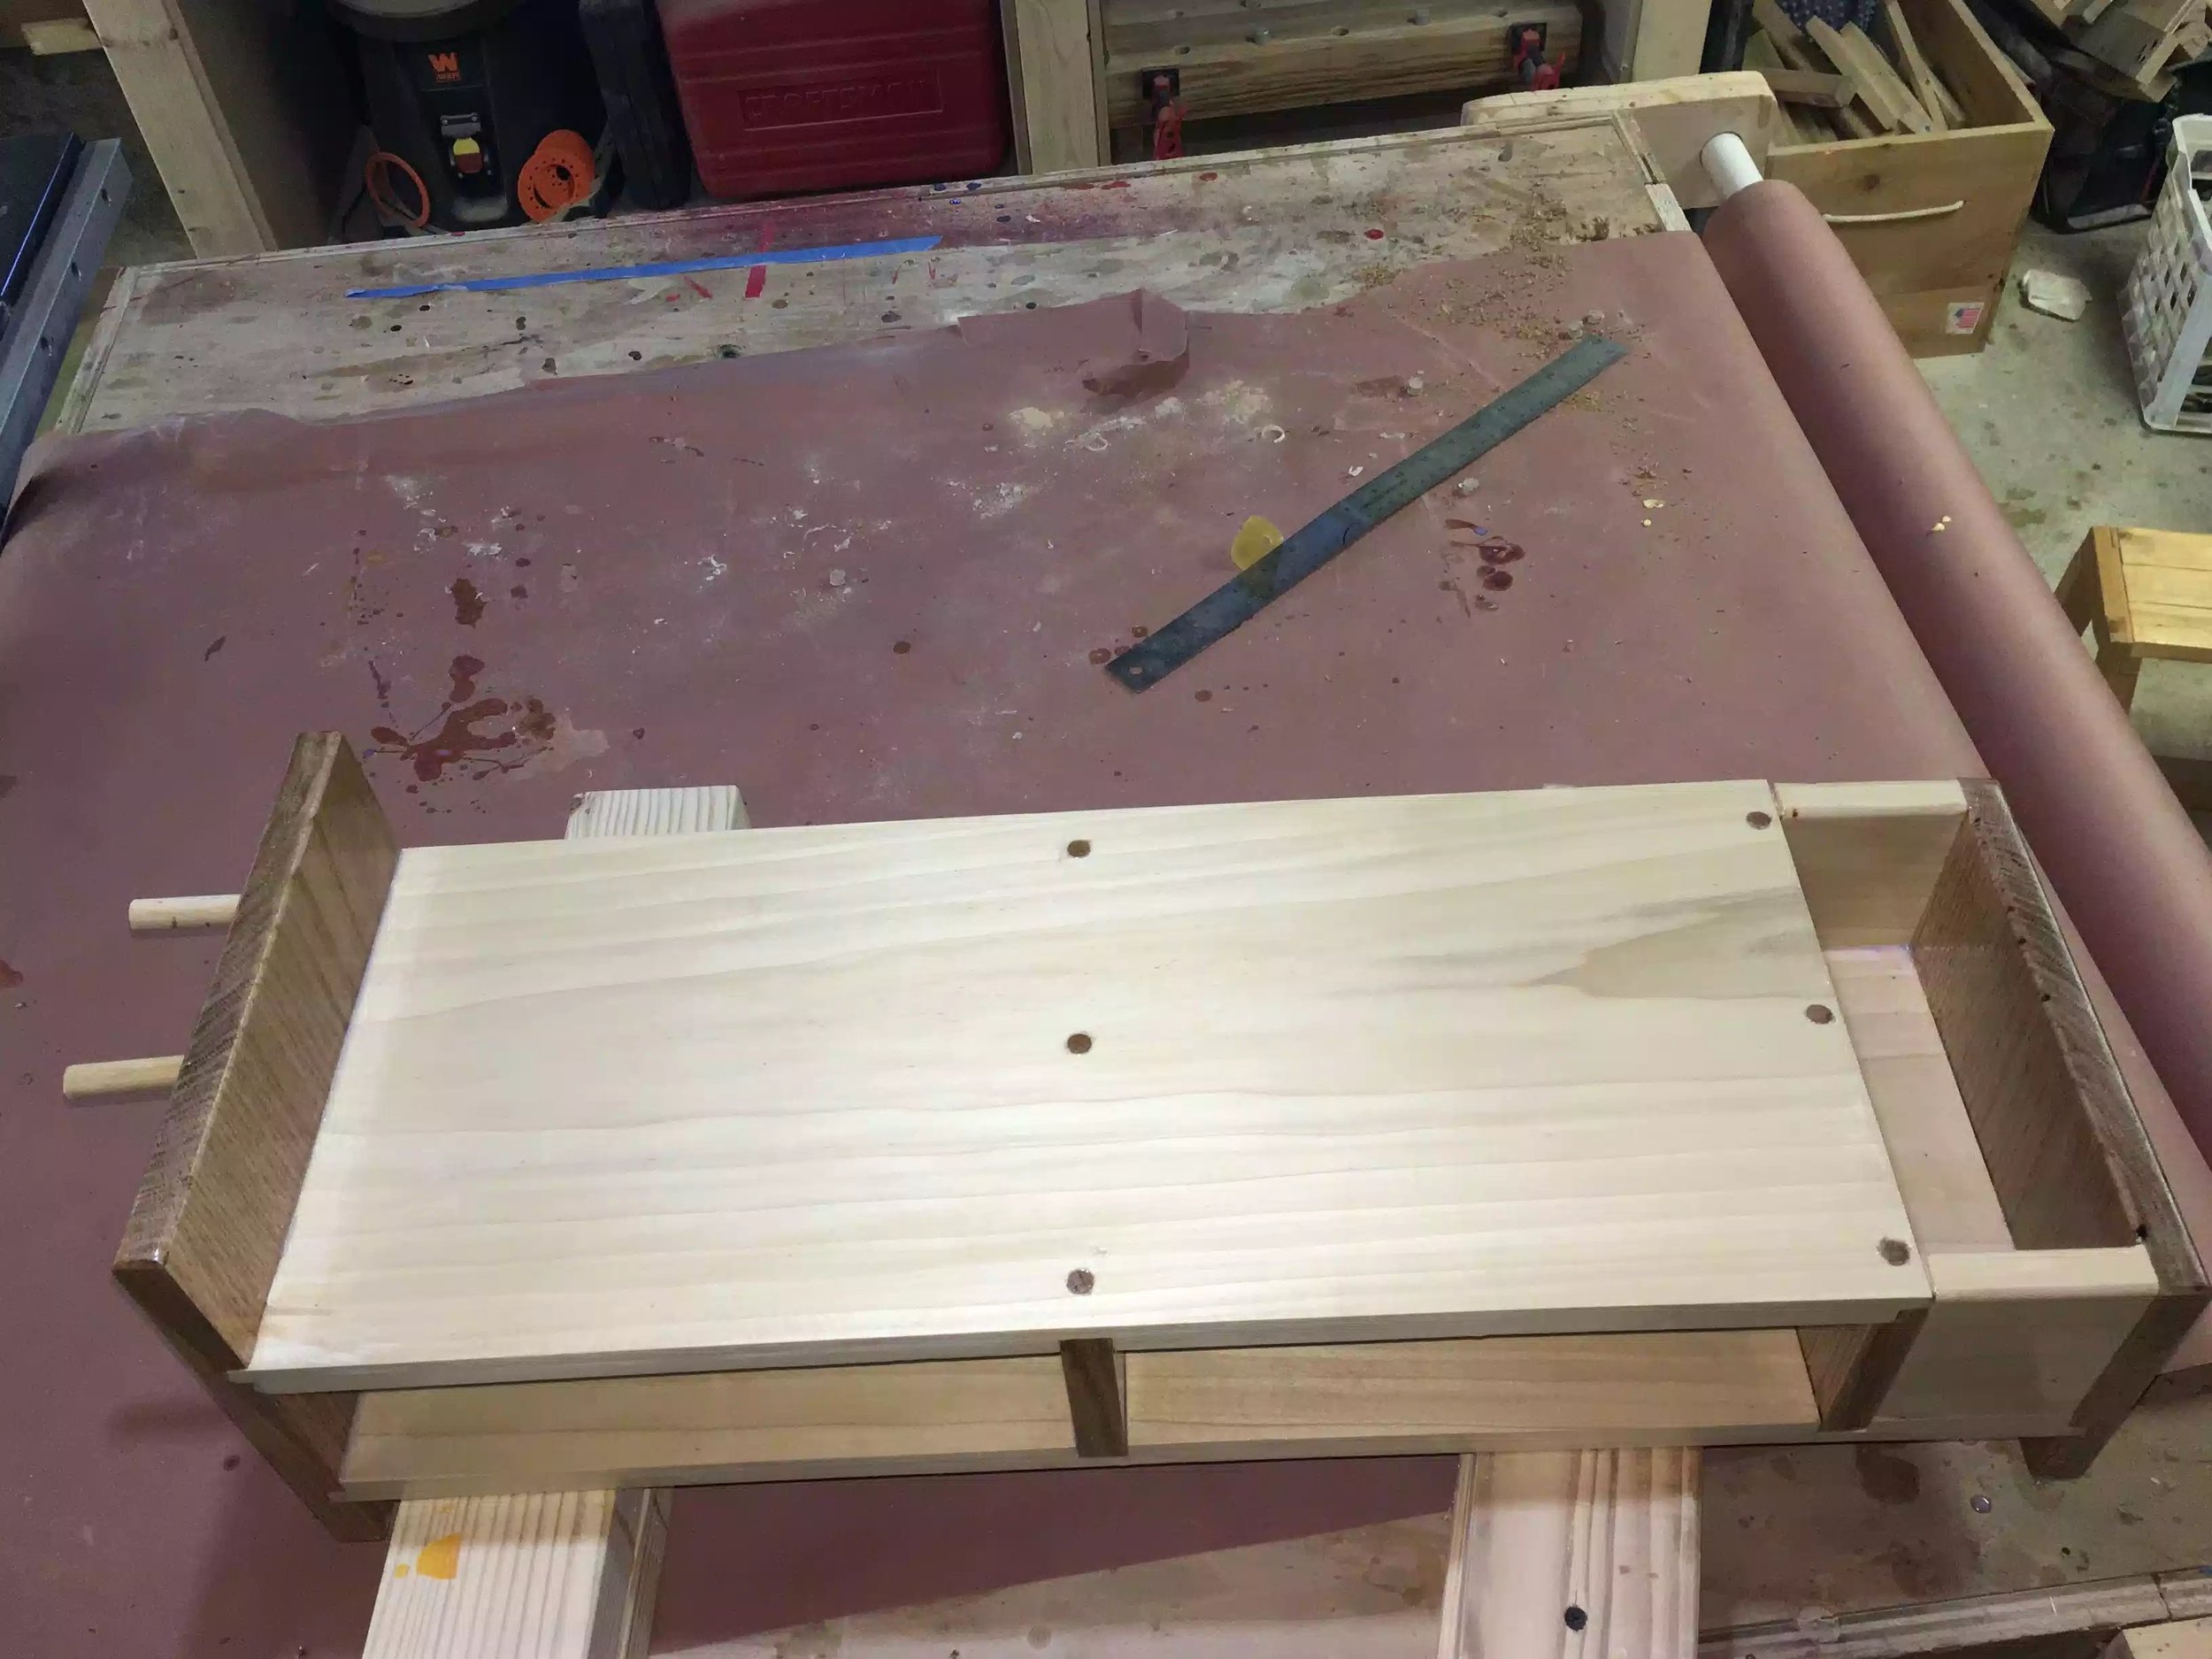
The entire unit is made up of joinery and no screws were used to fix the parts together.
I used locking rabbit joints and dado’s added with glue.
The unit measures in at 28” wide x 10” deep and 9”’at its tallest side that I made high to accommodate my headphones. The unit also has a shelf that is divided into 2 compartments that can hold papers and I also put a compartment on the right side that I am currently putting writing instruments in.
Finally the bottom shelf is raised up about 1.5” so as that I can slide the keyboard under, I finished the unit with 3 coats of Polyacrylic .
Thanks for looking and have a great day
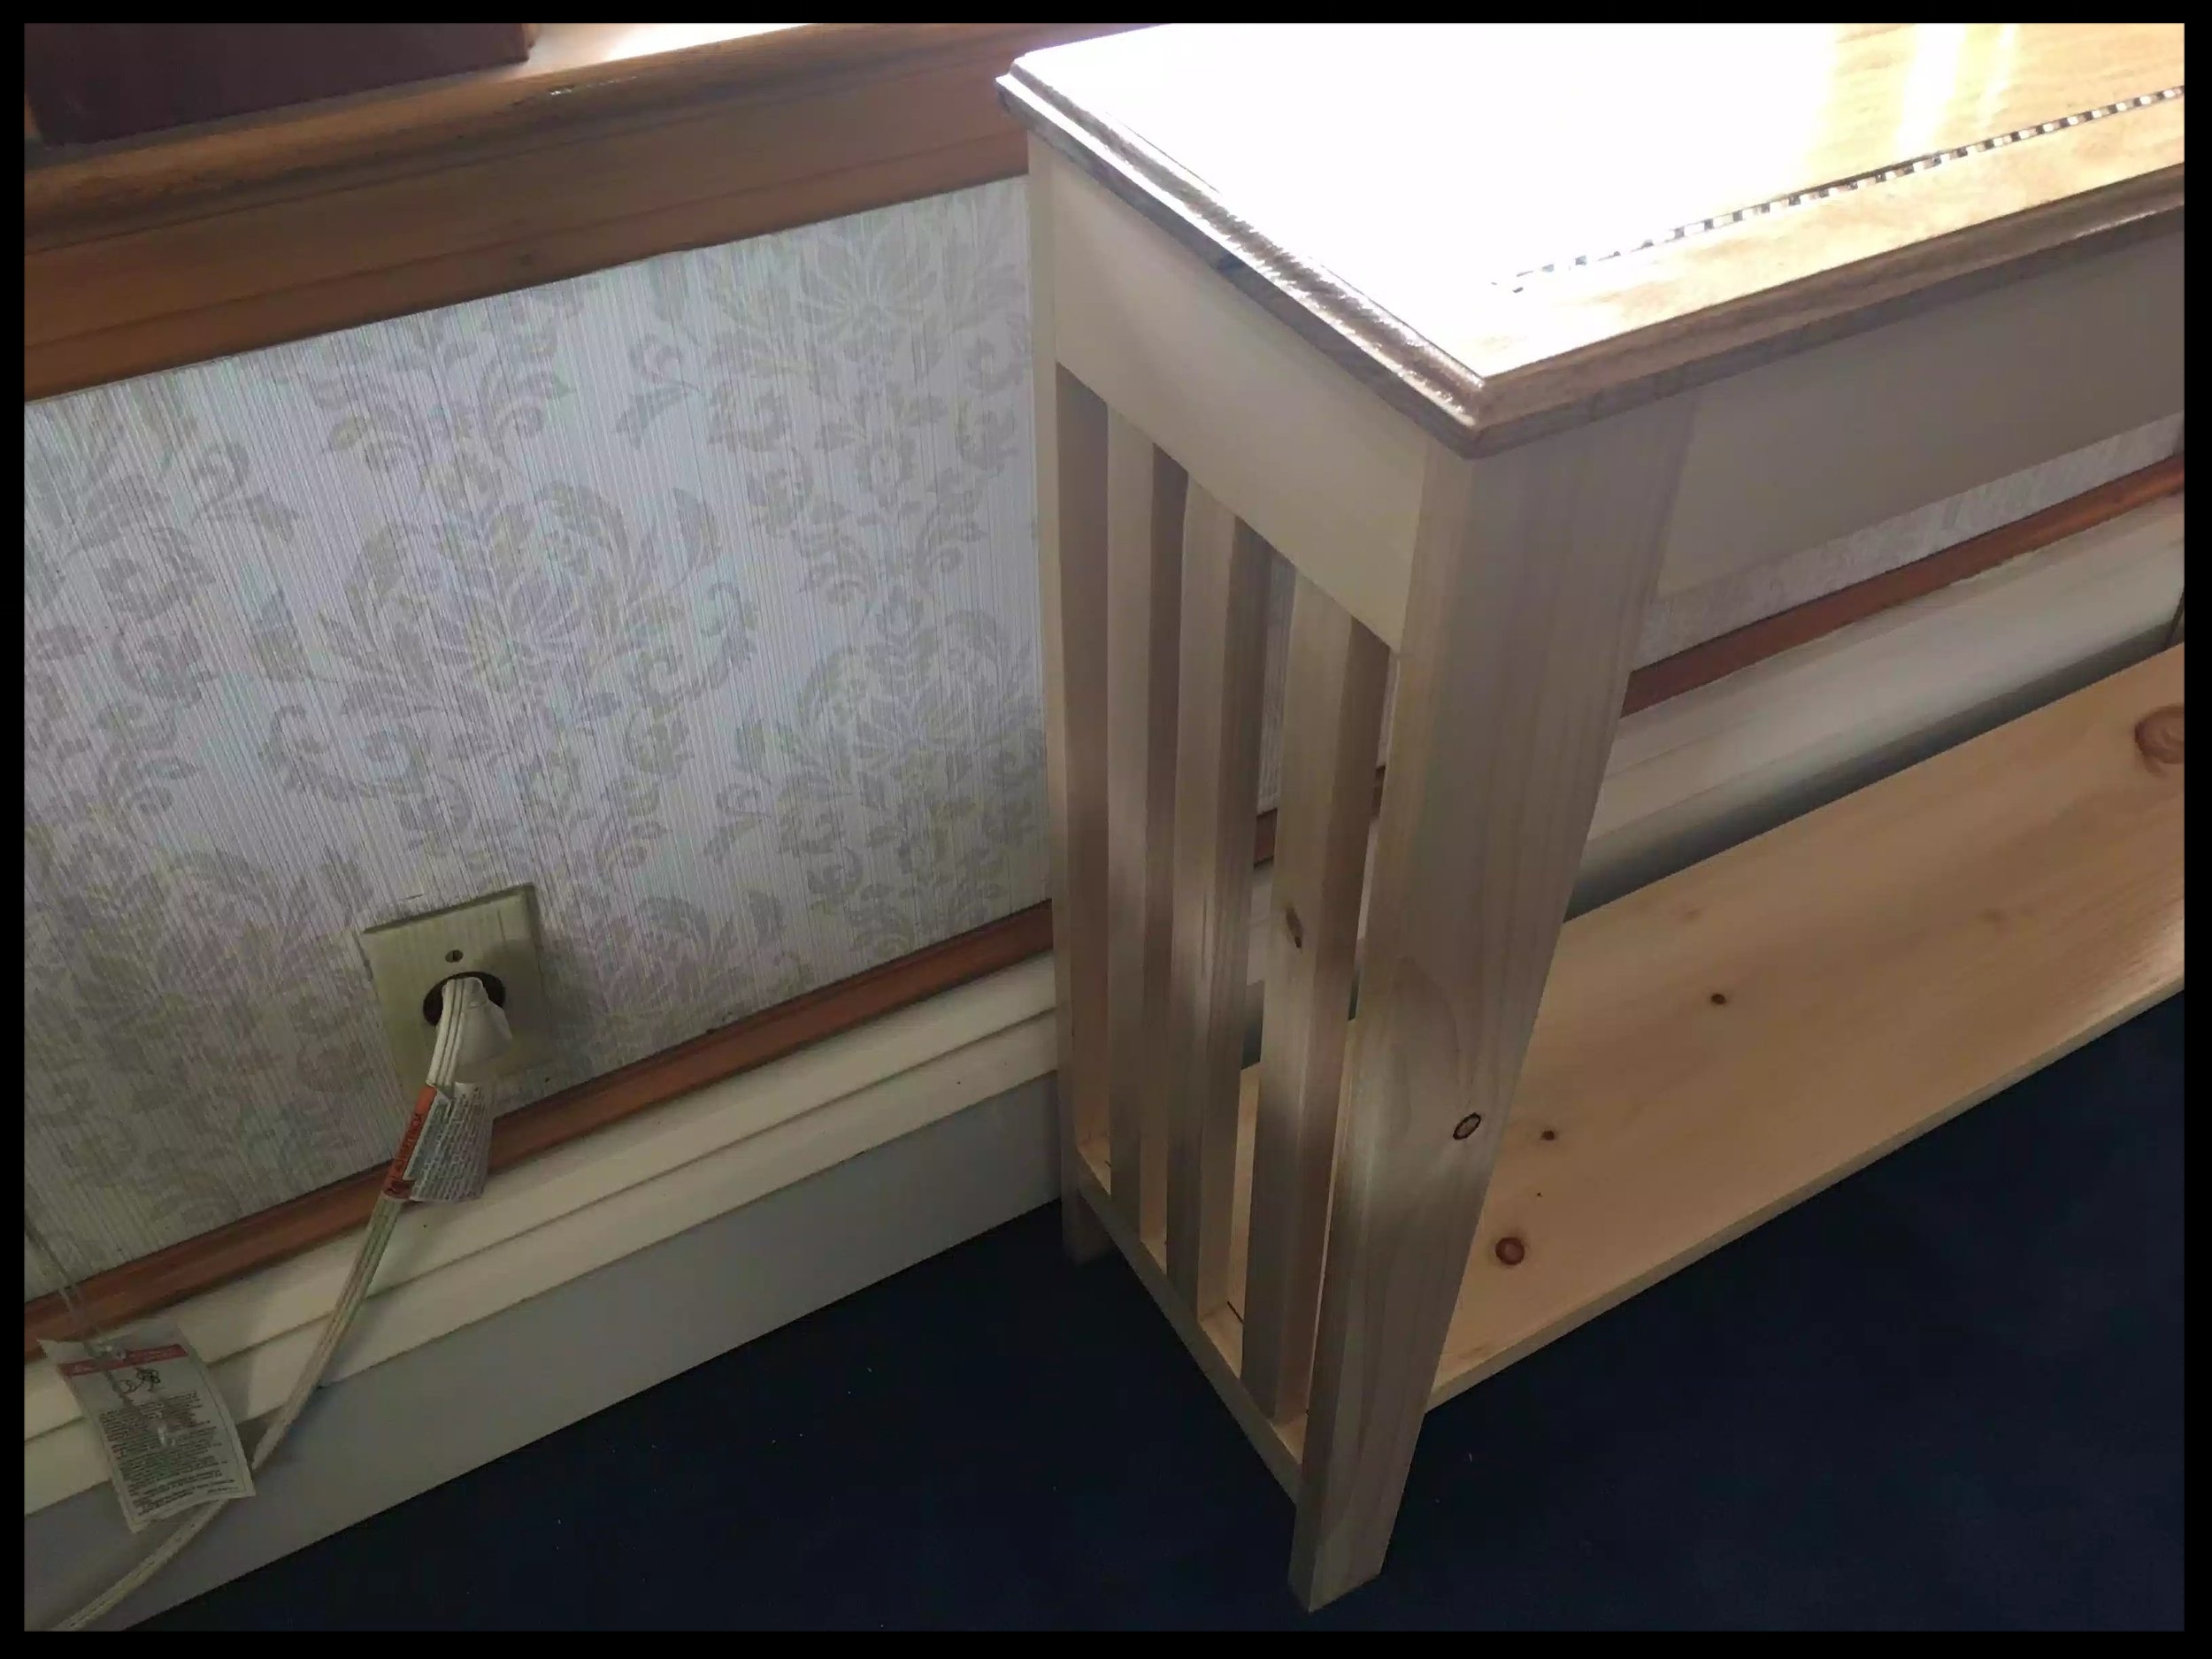
CONSOLE TABLE
(05/2018)
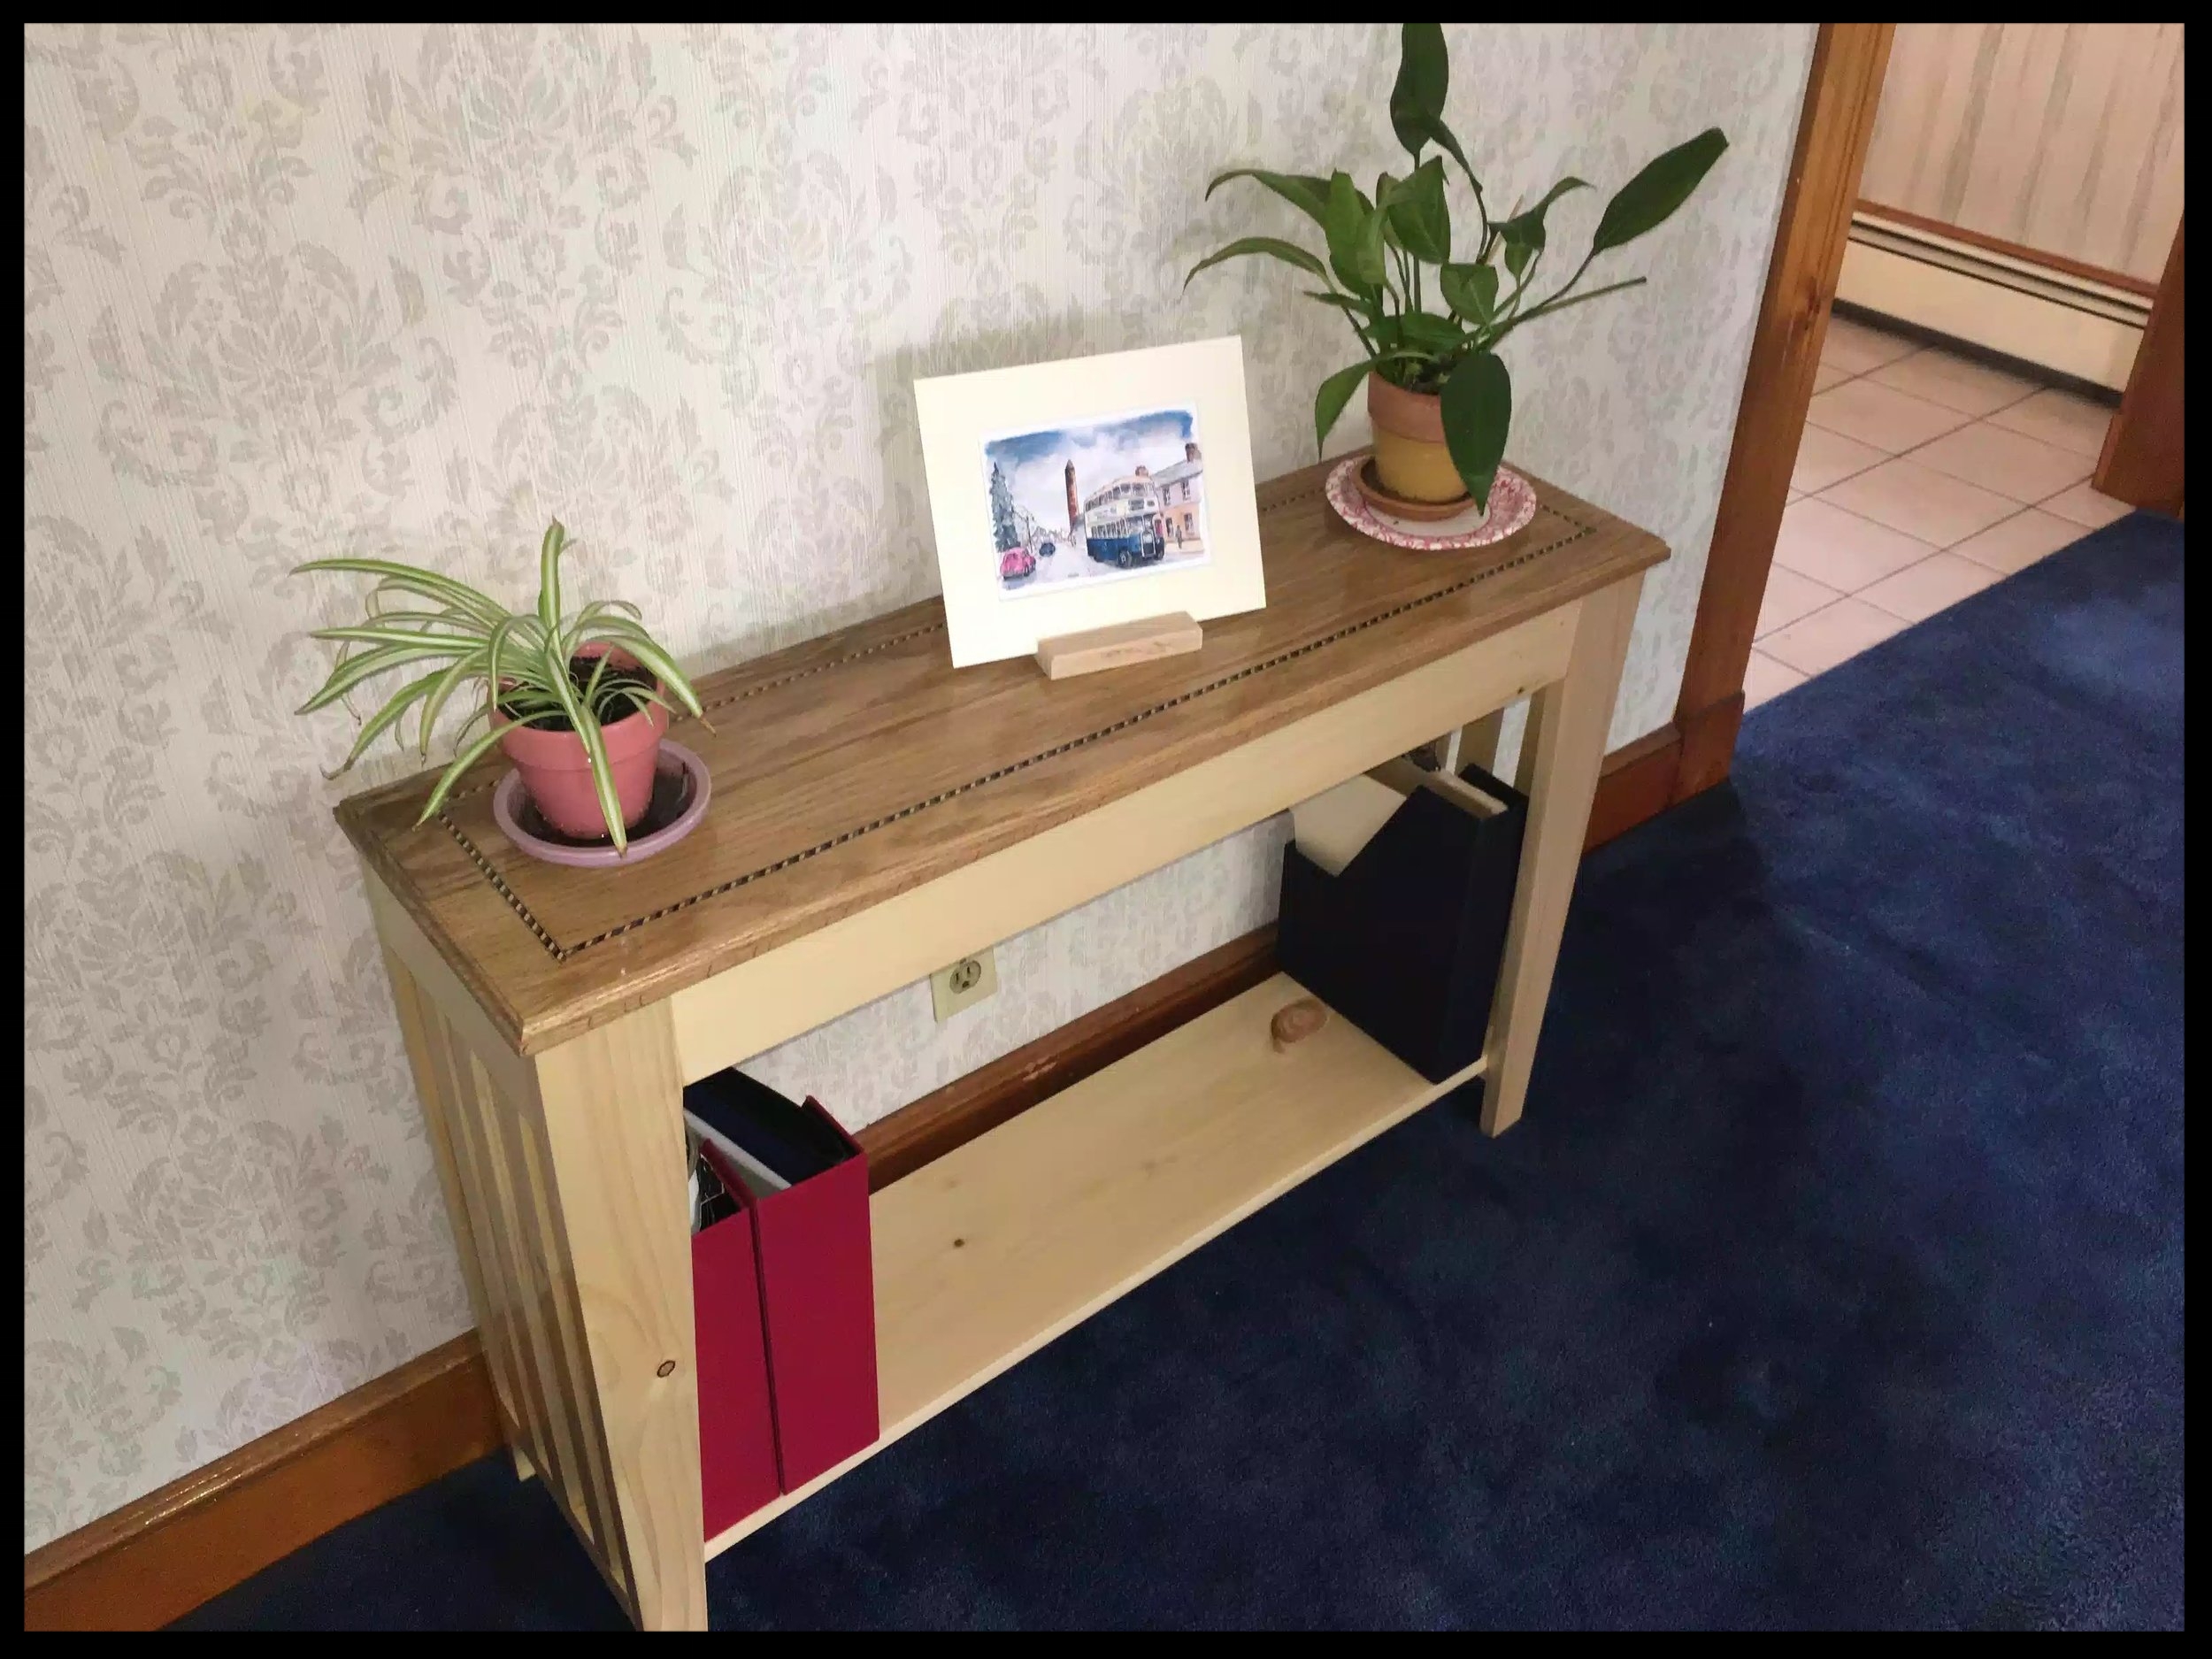
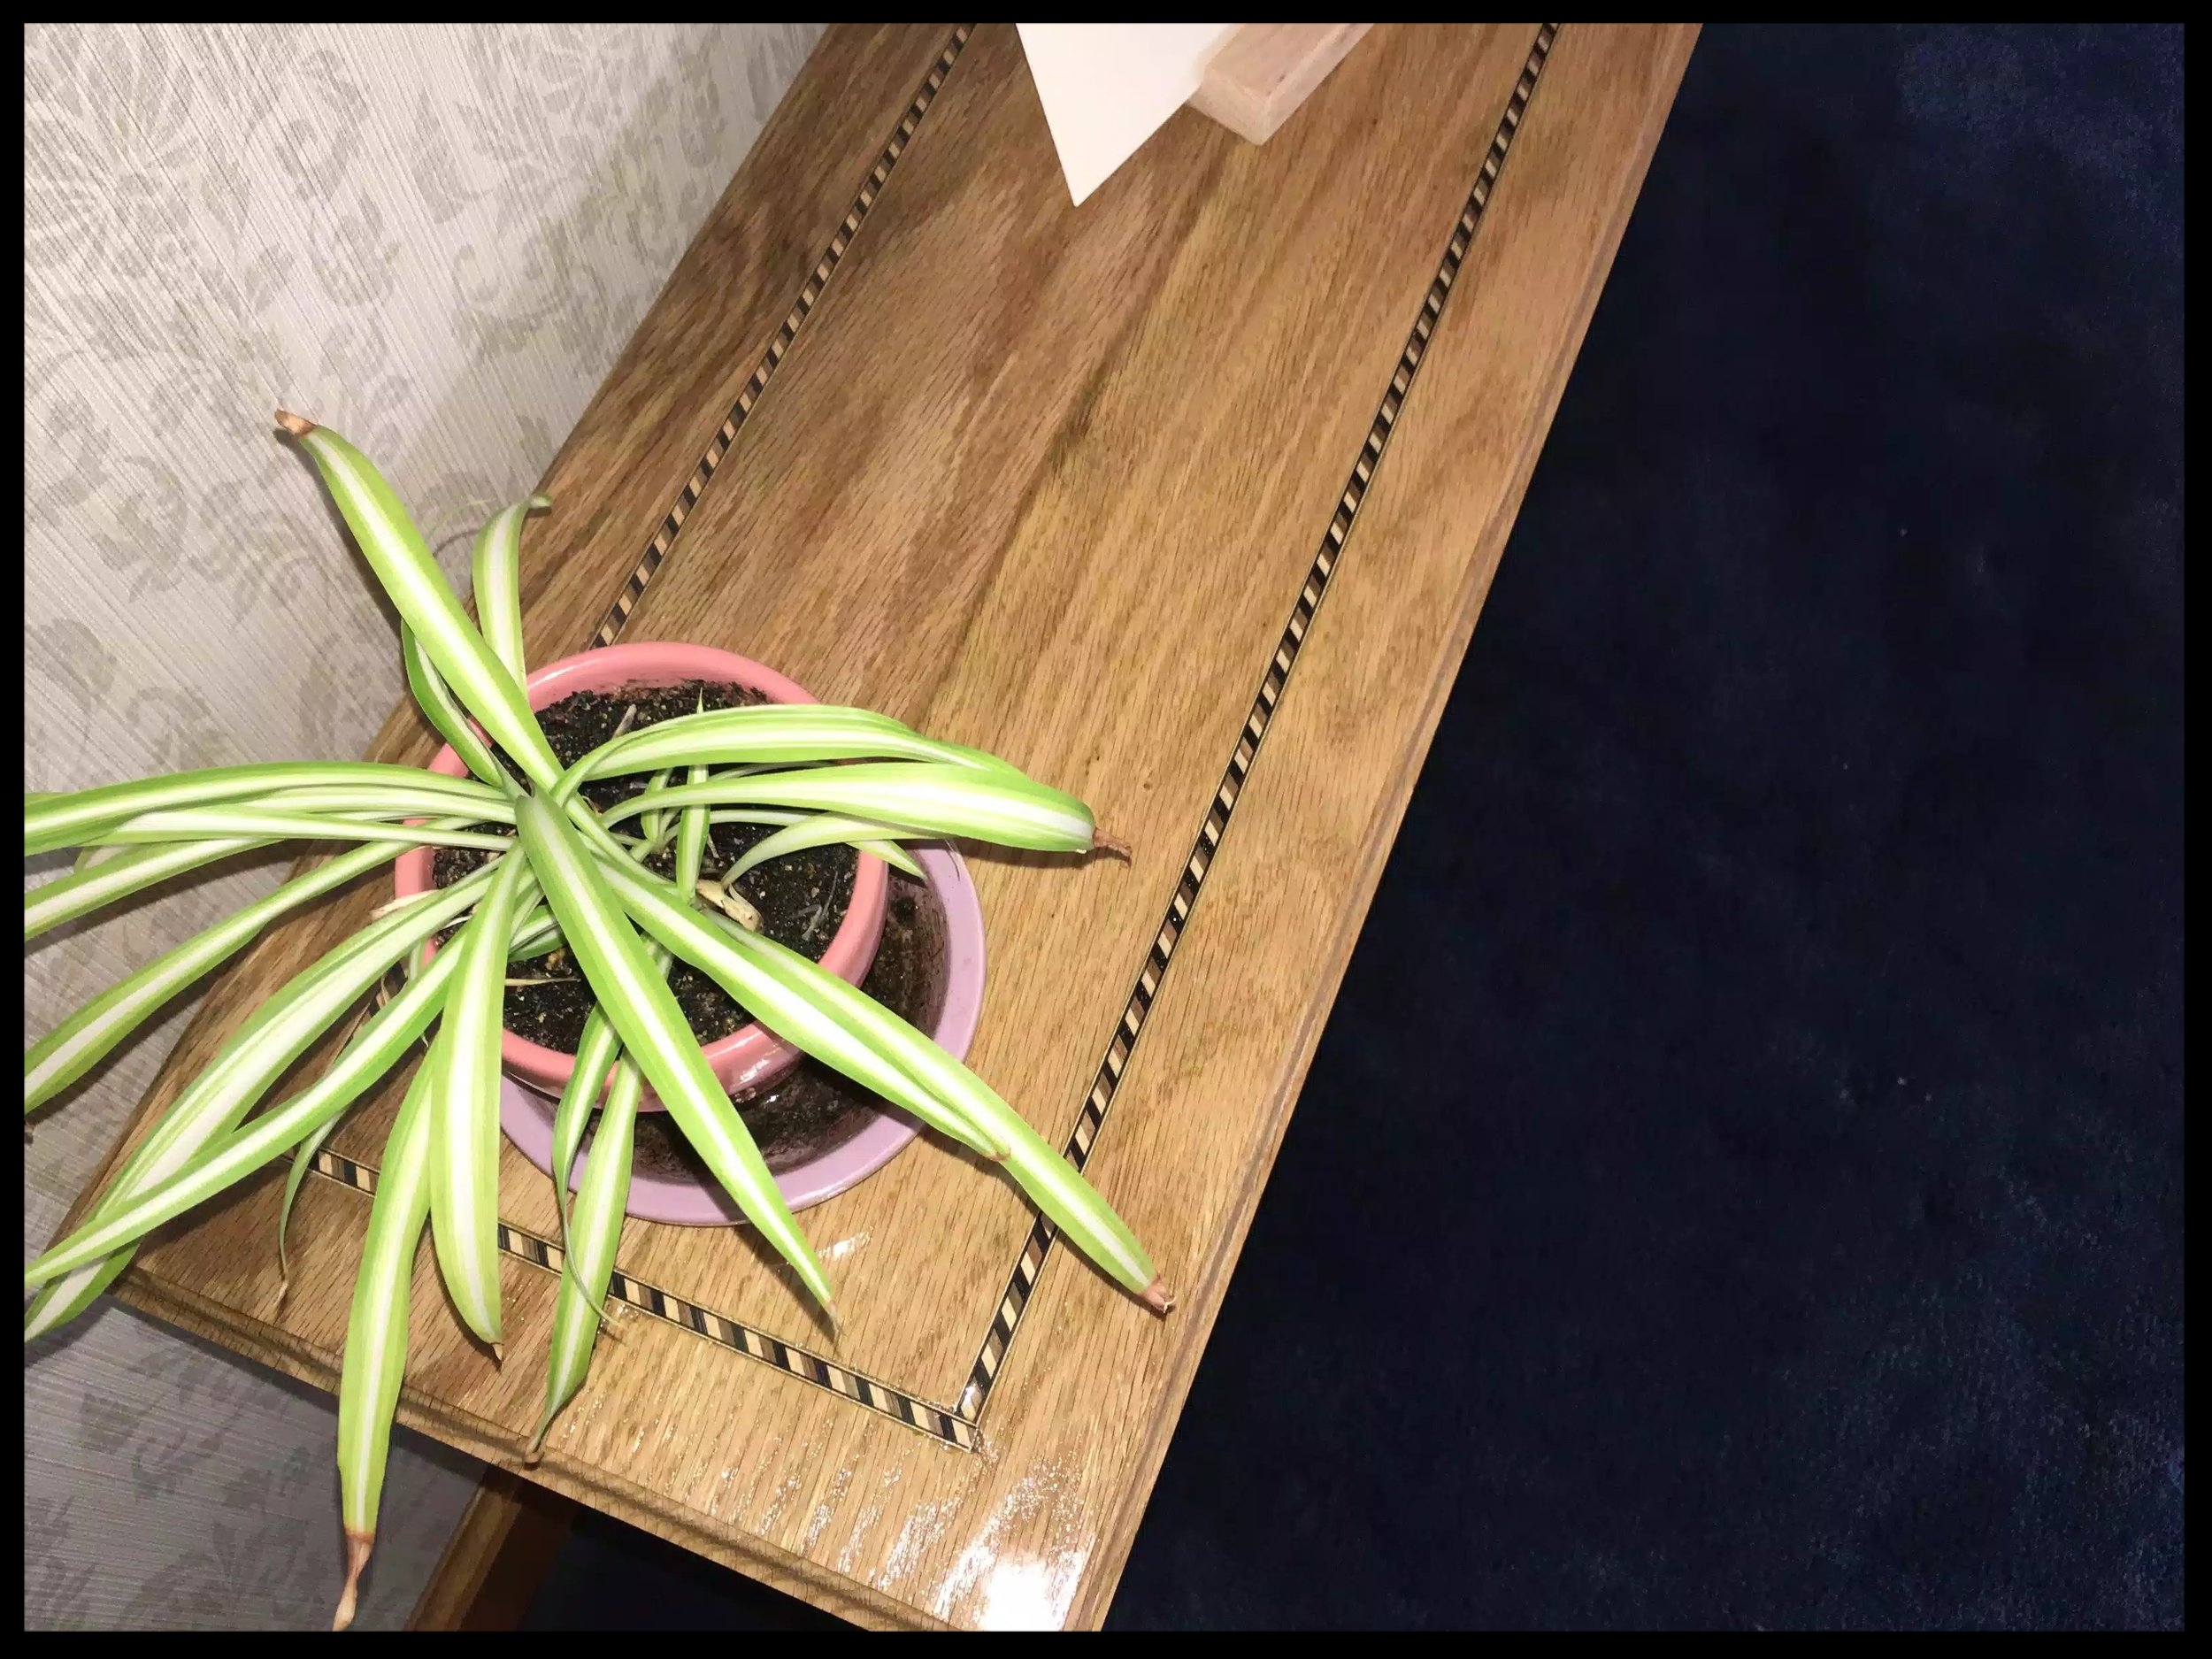
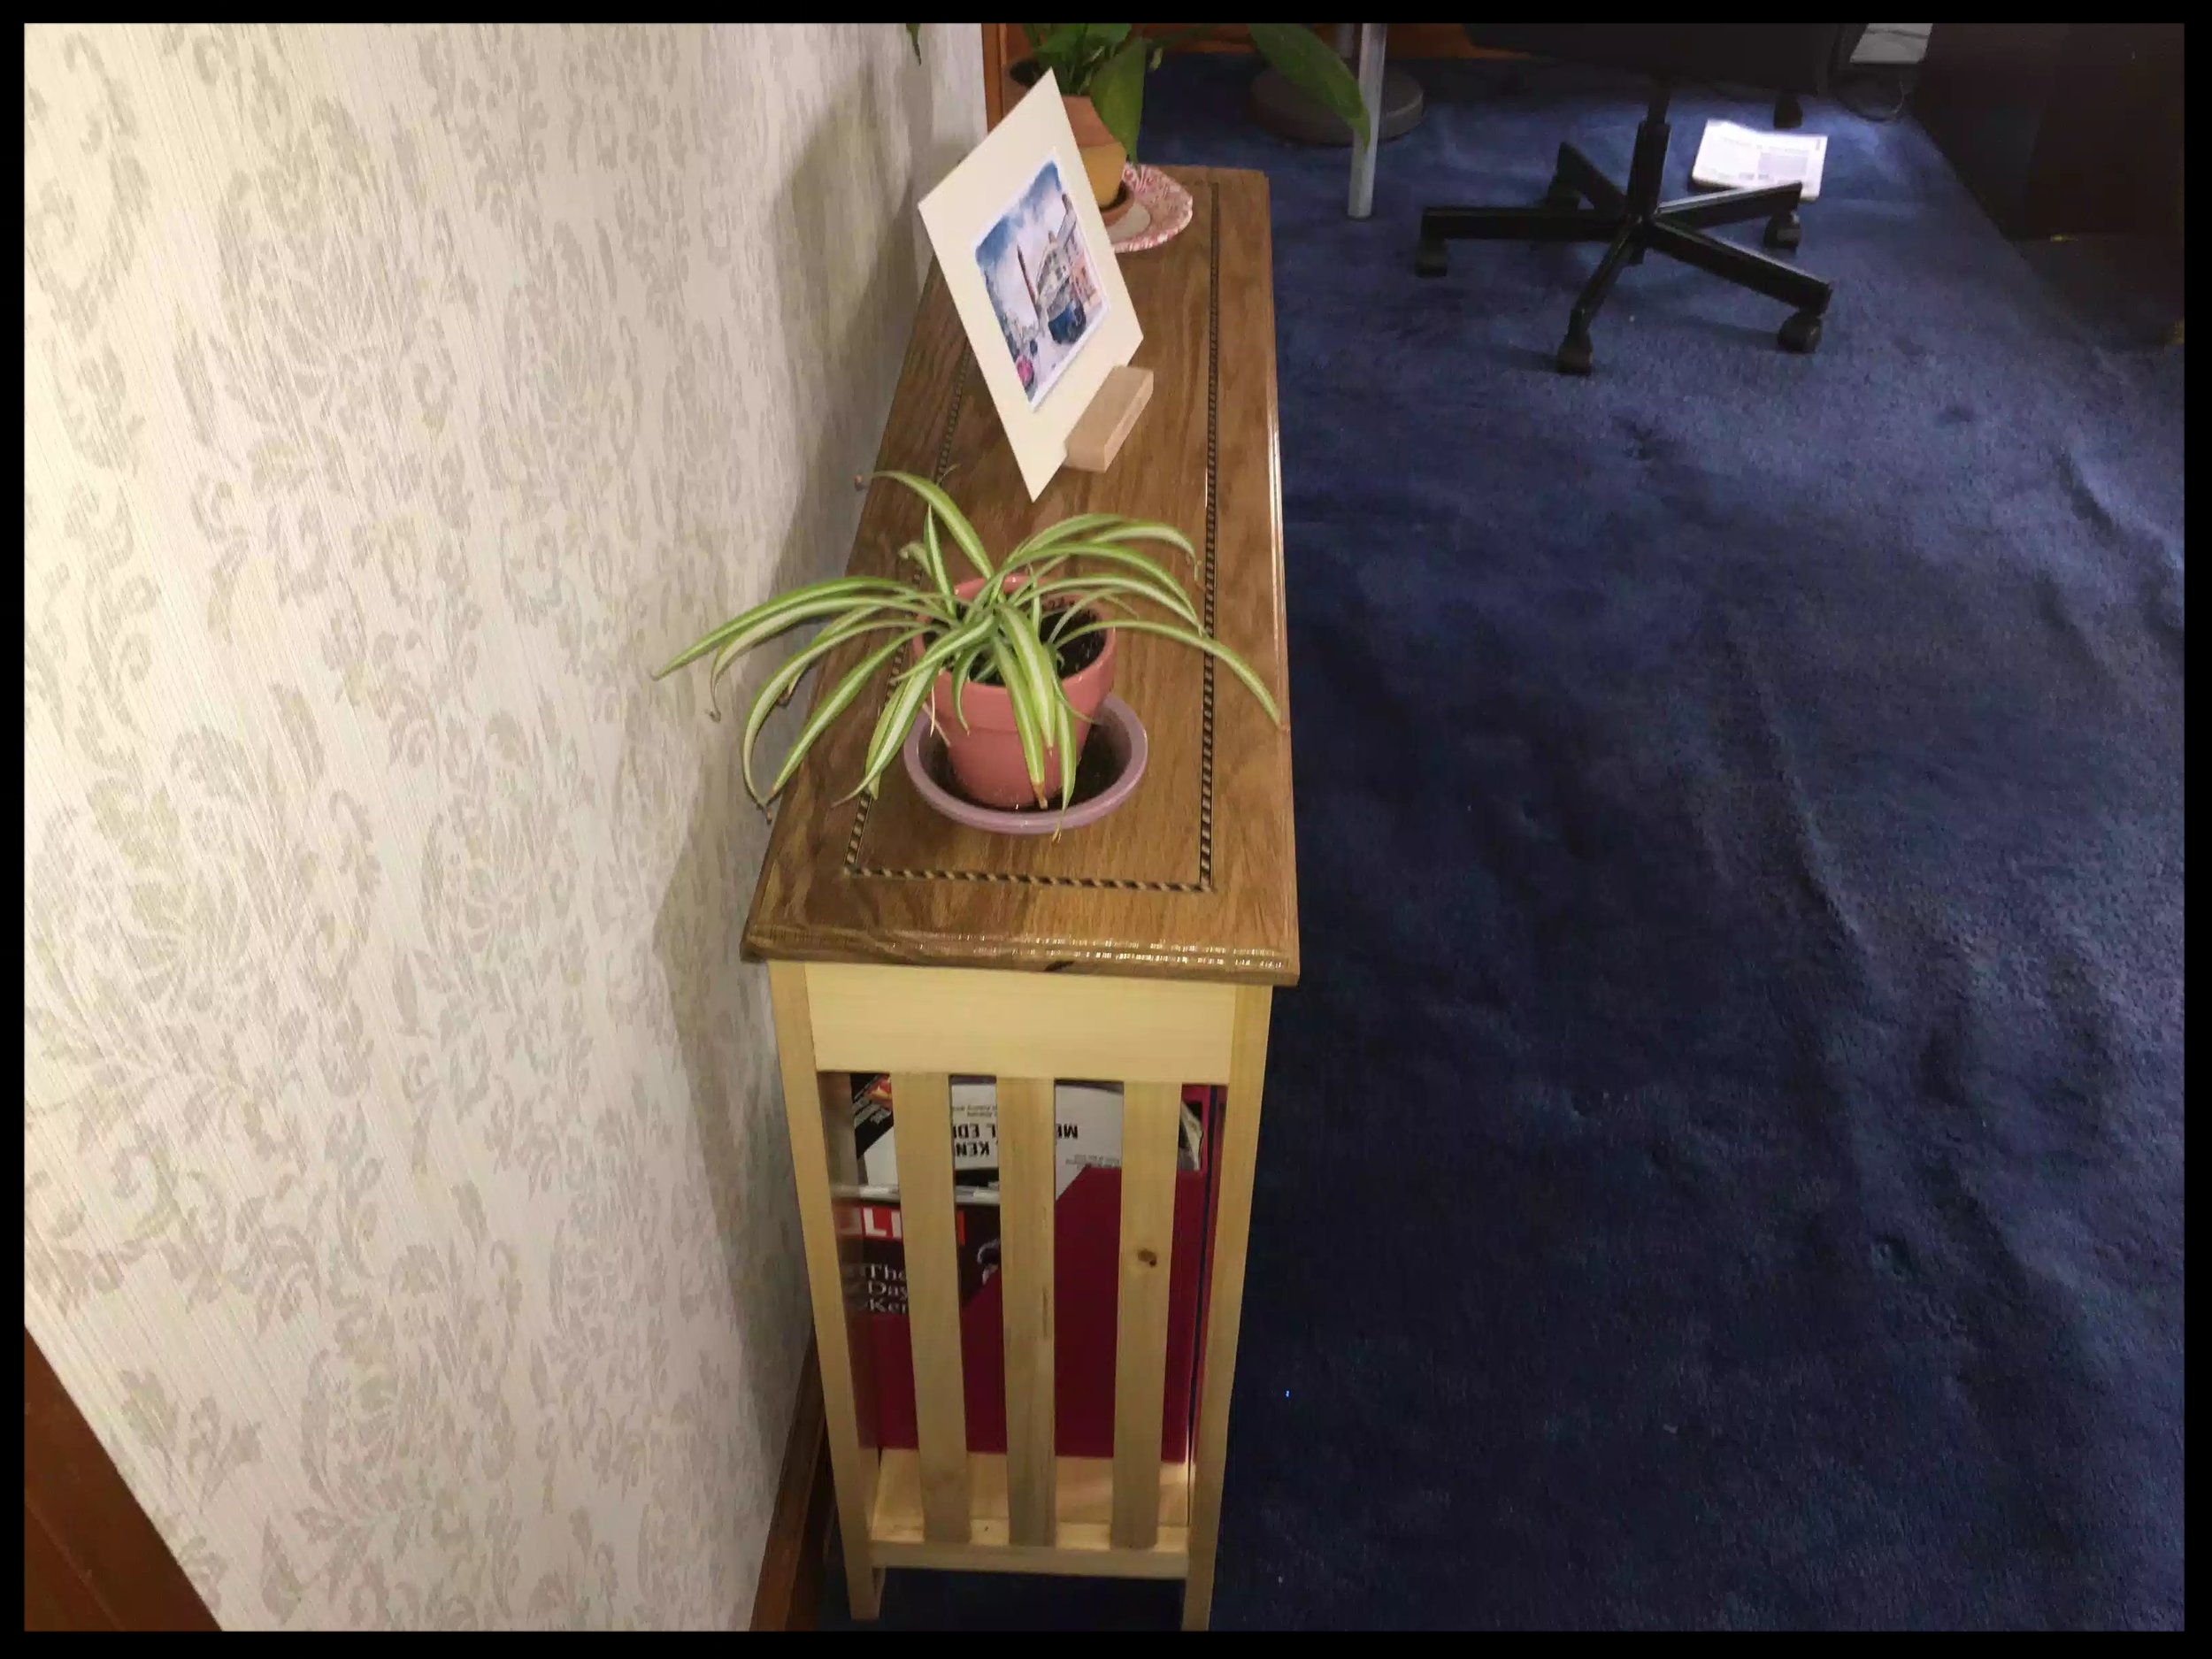
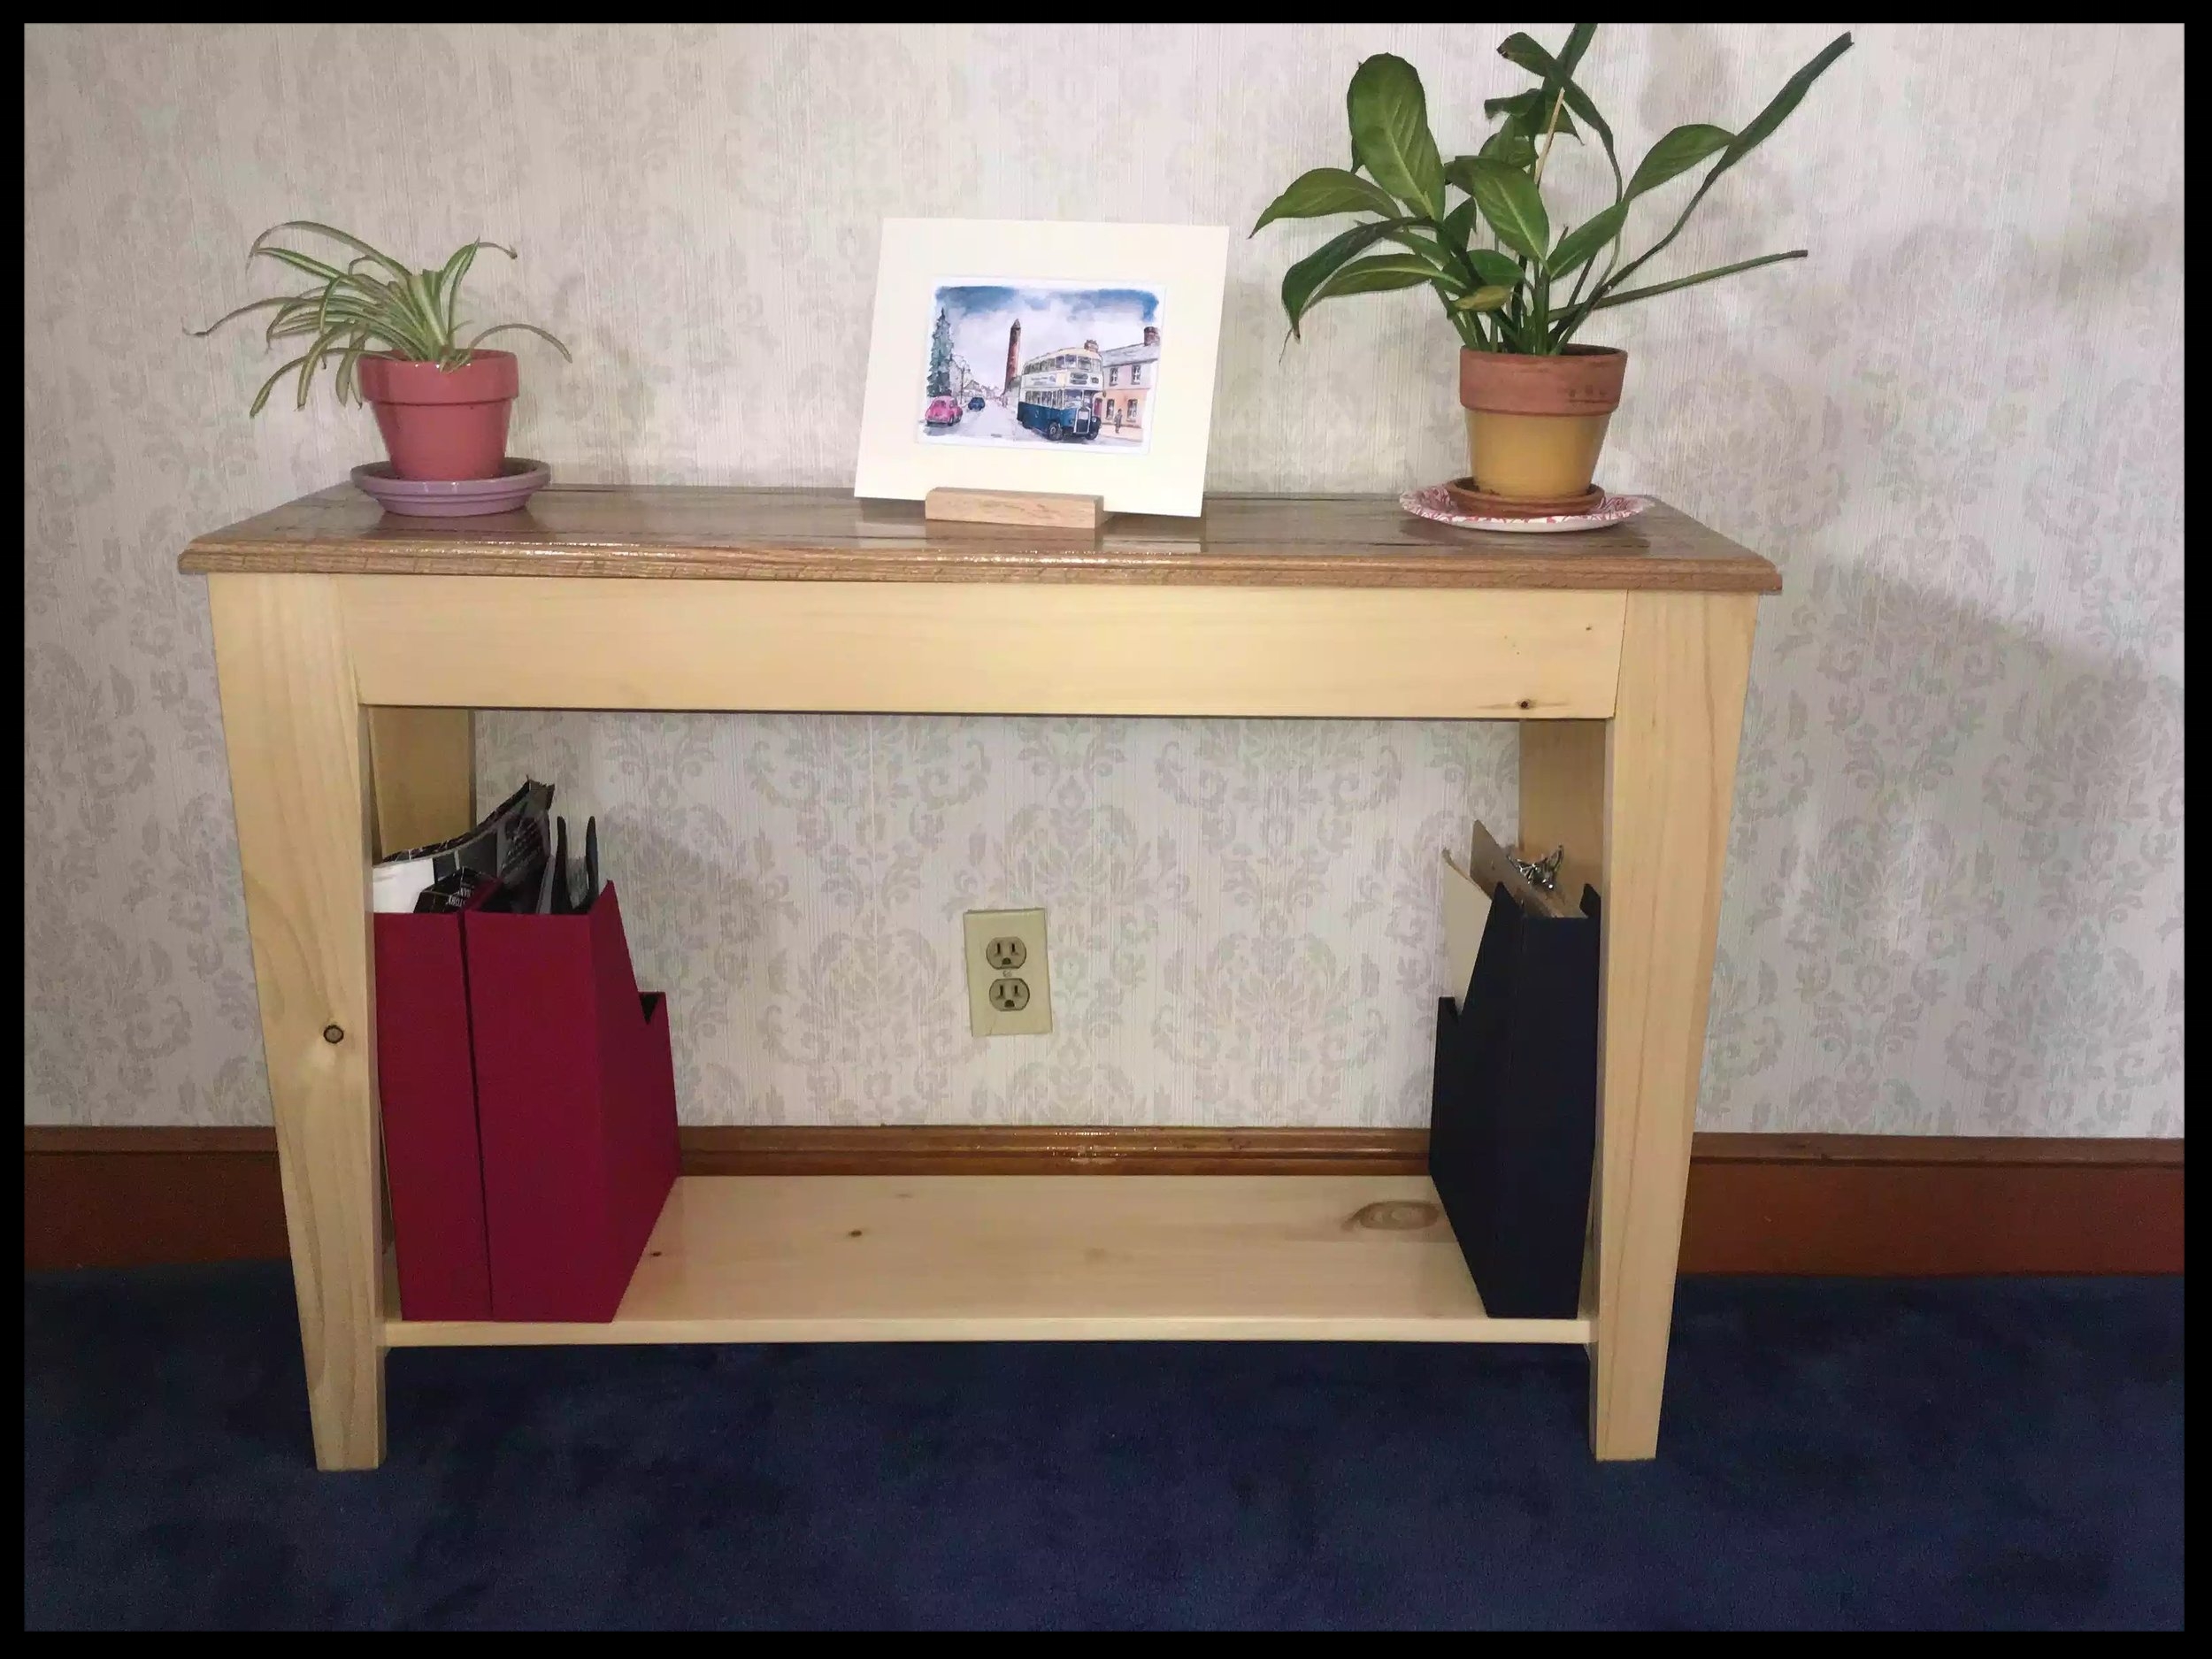

Since we decided to renovate one of the rooms in my house to a home office, we have been planning and researching the look of the room so we decided to do a minimalist look and my wife needed a table that was flush with the window sills in the room so as that we could put plants and a few decorative things such as pictures and ornaments on it.
Although I made this project for the home office this console table could be put in almost any room and the dimensions could also be altered to make it wider, deeper or higher.
So off I went doing some research and came across this console table with tapered legs and thought the design of this table would look awesome in the room. So I built a 3D model on my Sketchup software program to get a realistic view of the unit.
The console table features the following elements
Solid Oak Tabletop with a inlay around the perimeter of the panel. the top also has a routered ogee profile around the edges
I used dowel joinery for the entire project
Tapered front and back legs, using a home made tapering jig for the table-saw
Finished with 3 coats of Minwax poly-acrylic
If you would like to see more details of this project please click the links below, one of them is to my blog page and the other has detailed project build details. I am also working on PDF plans that I will sell in my shop for a small fee, they will be released soon
Thanks for reading and I hope you enjoyed this content as much I liked writing it.