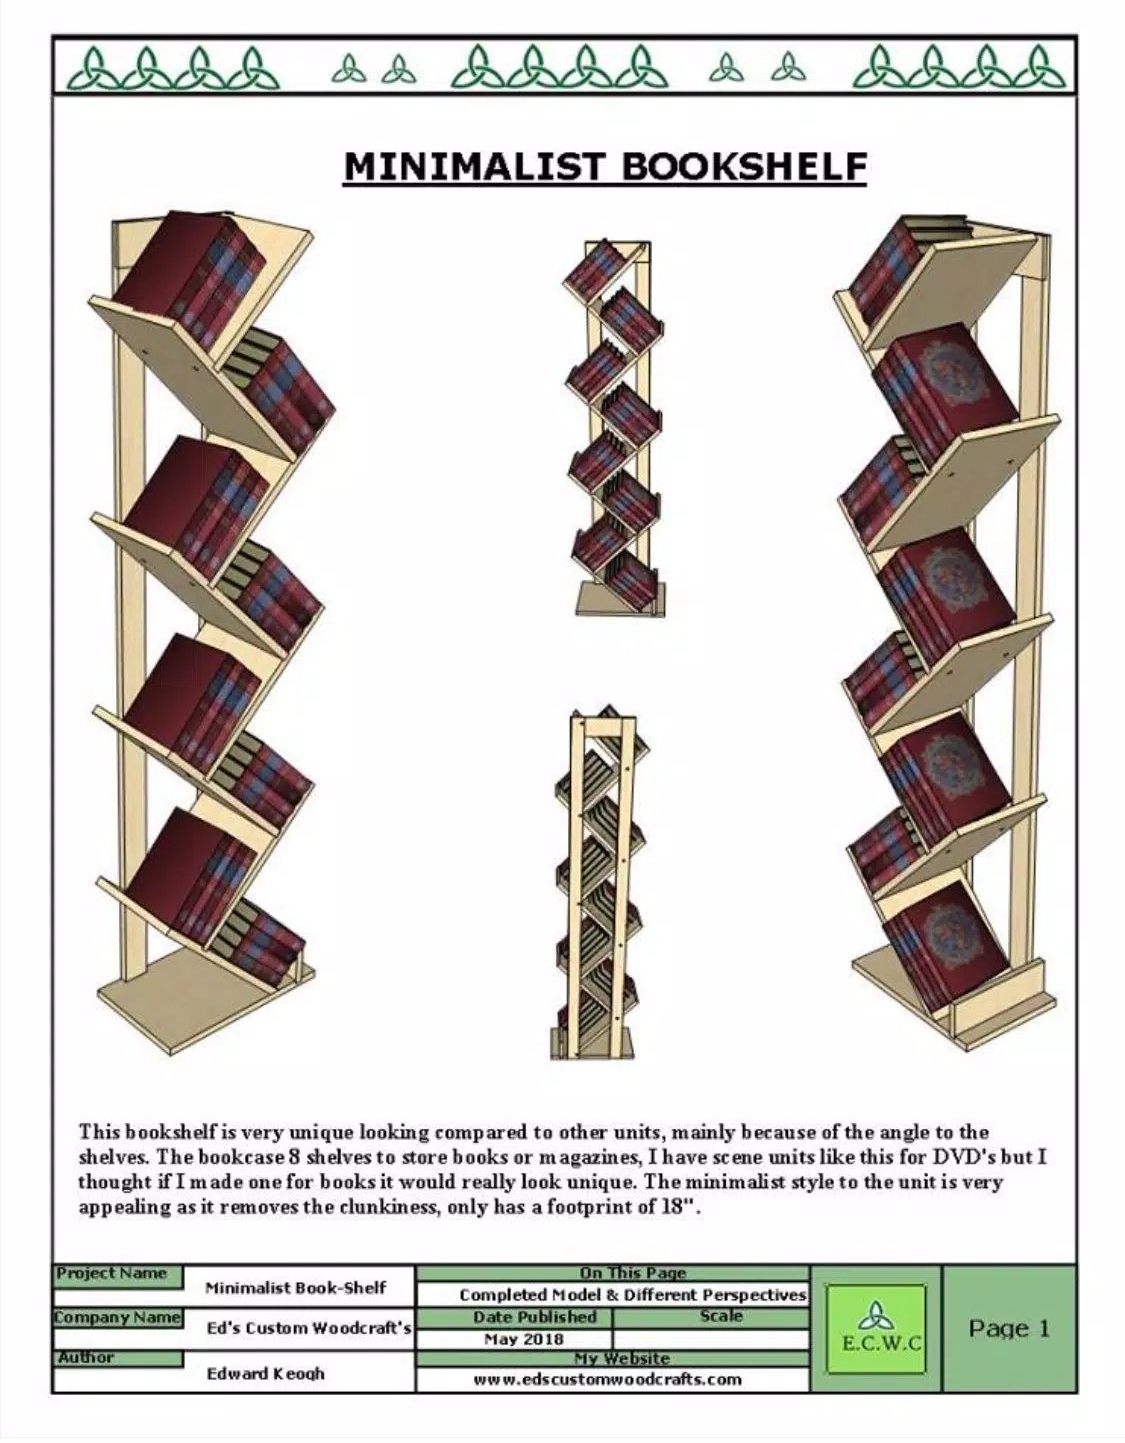
The book stand is all finished and it looks awesome. Like I stated before I am not the best at applying stain to projects especially this type of projects because it is two tones, what I mean by that is some parts of the unit are not stained at all and so I needed to cover them sections with painters tape while applying the stain and to be honest it didn't do that great a job because I had some bleeding through the tape . I will show pictures below.
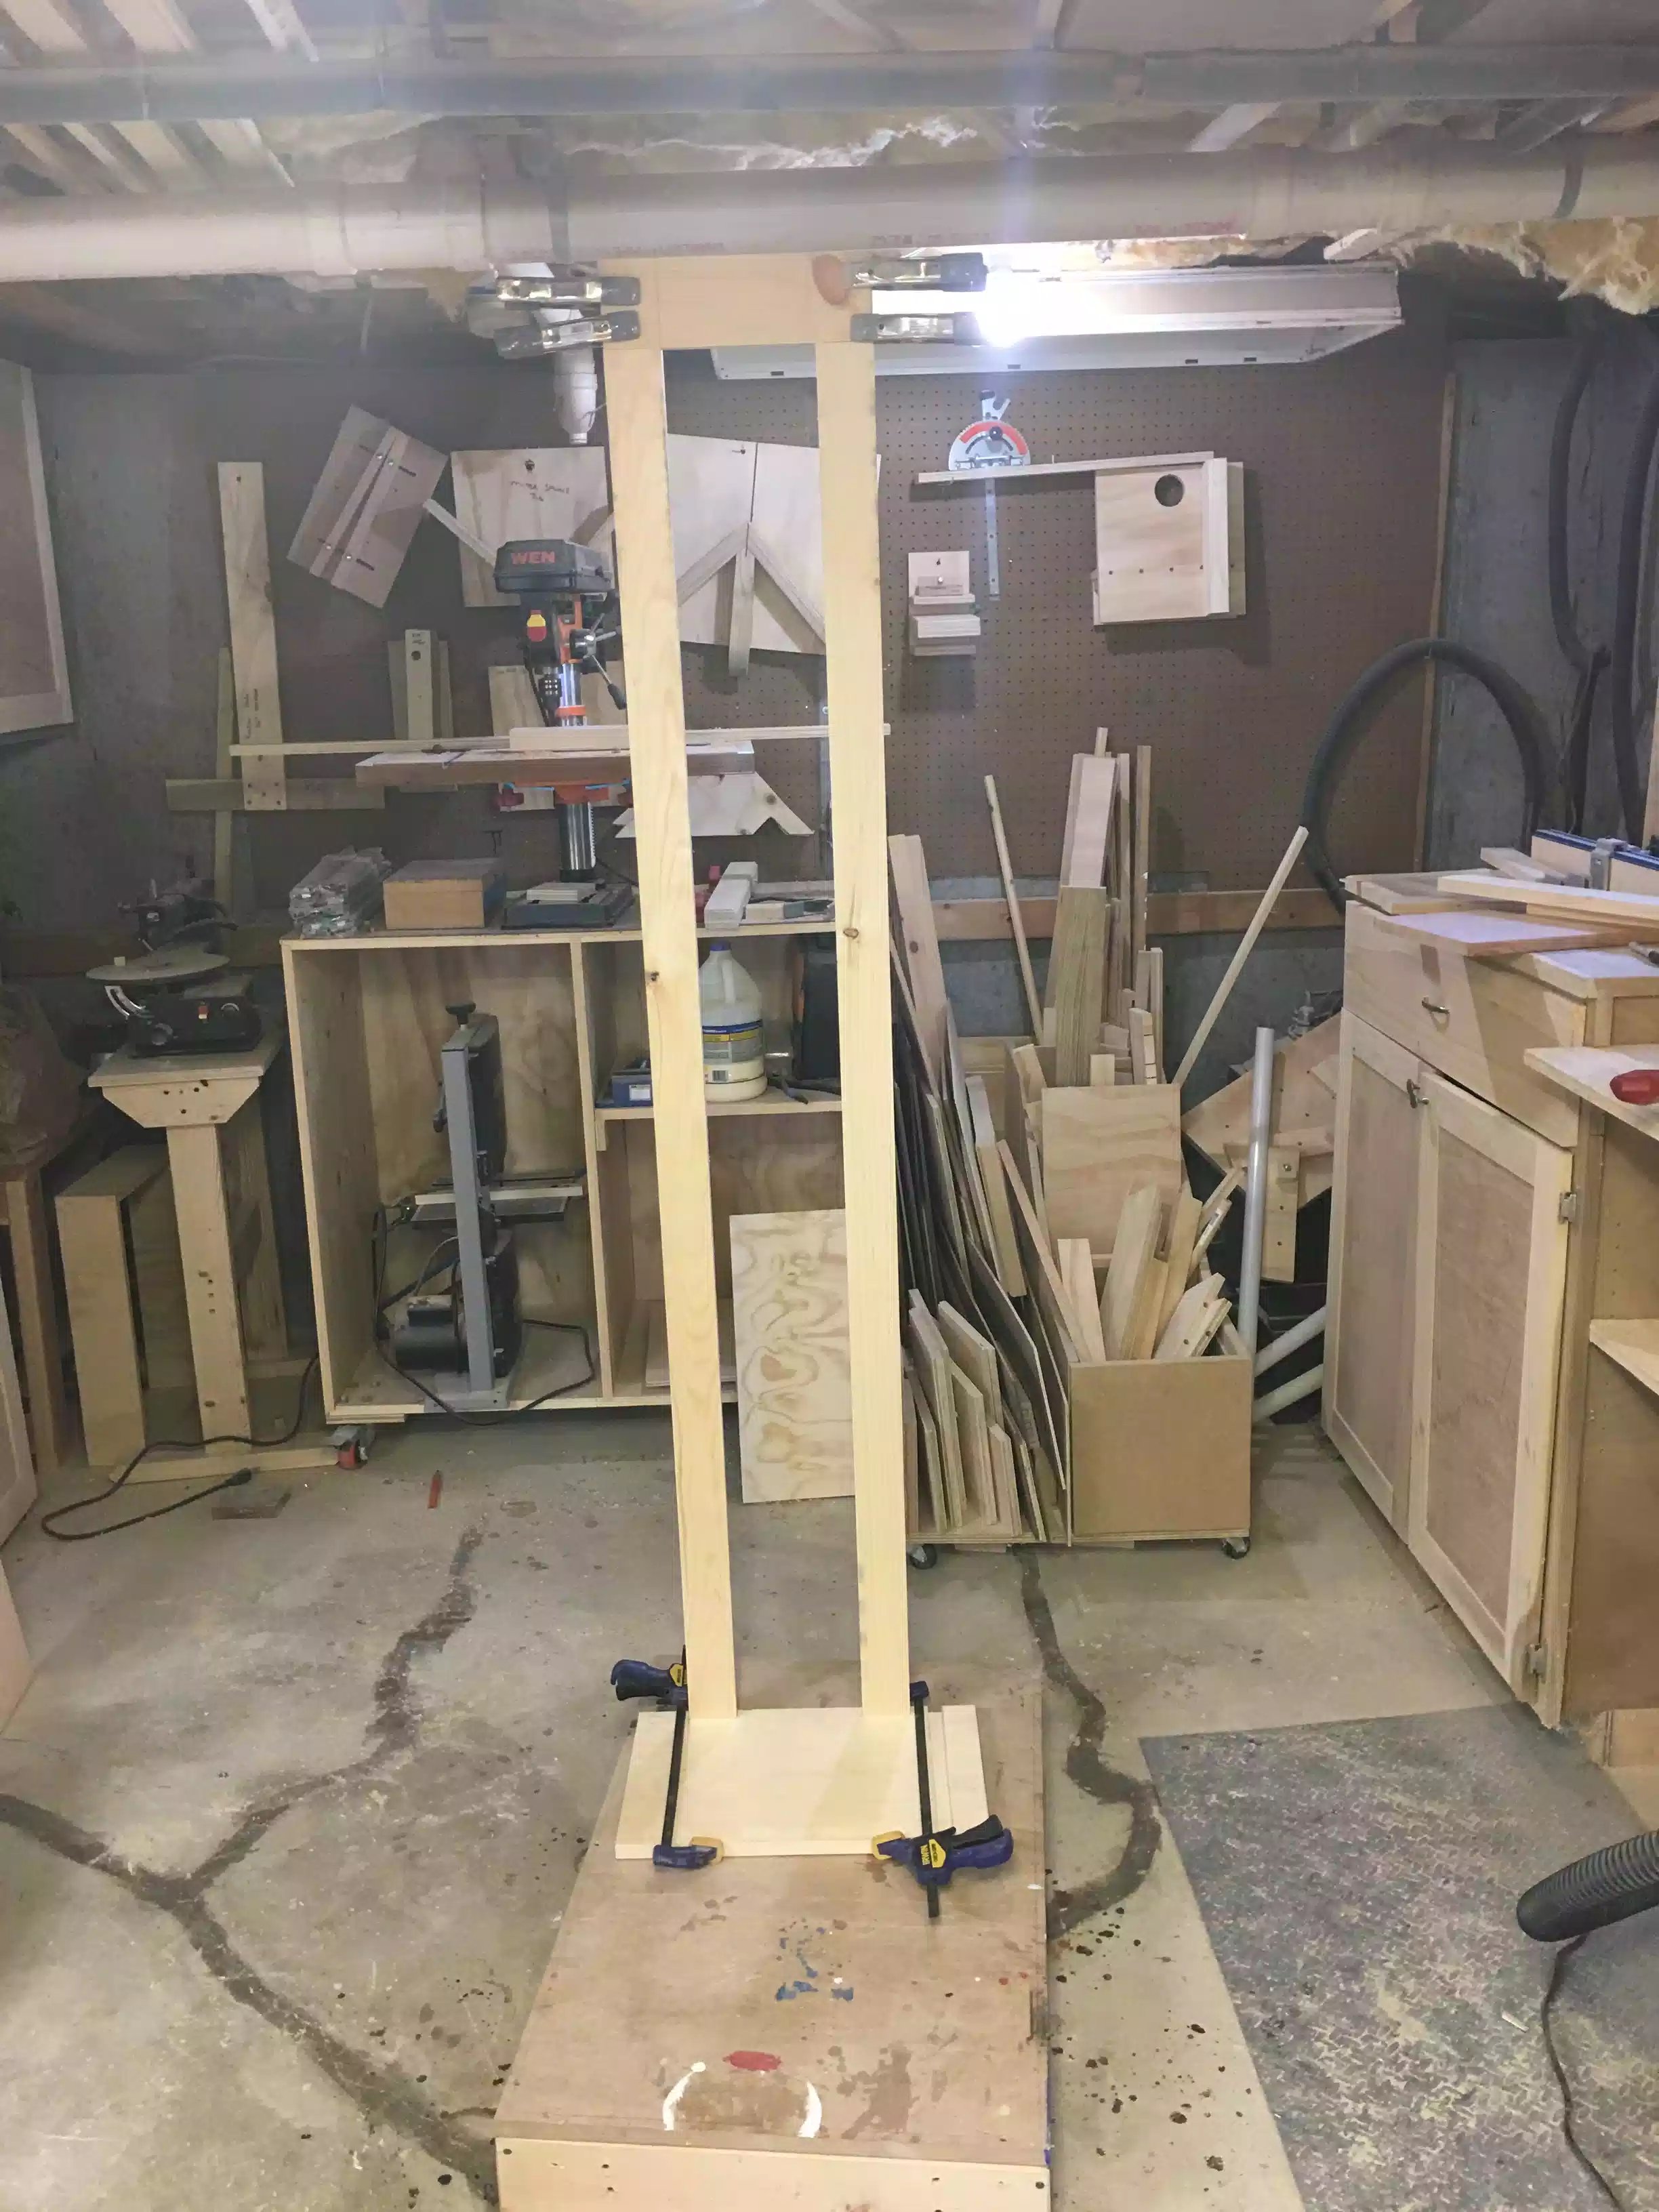
WHAT I DID YESTERDAY & TODAY
- Applied the first coat of stain let it dry for a couple of hours
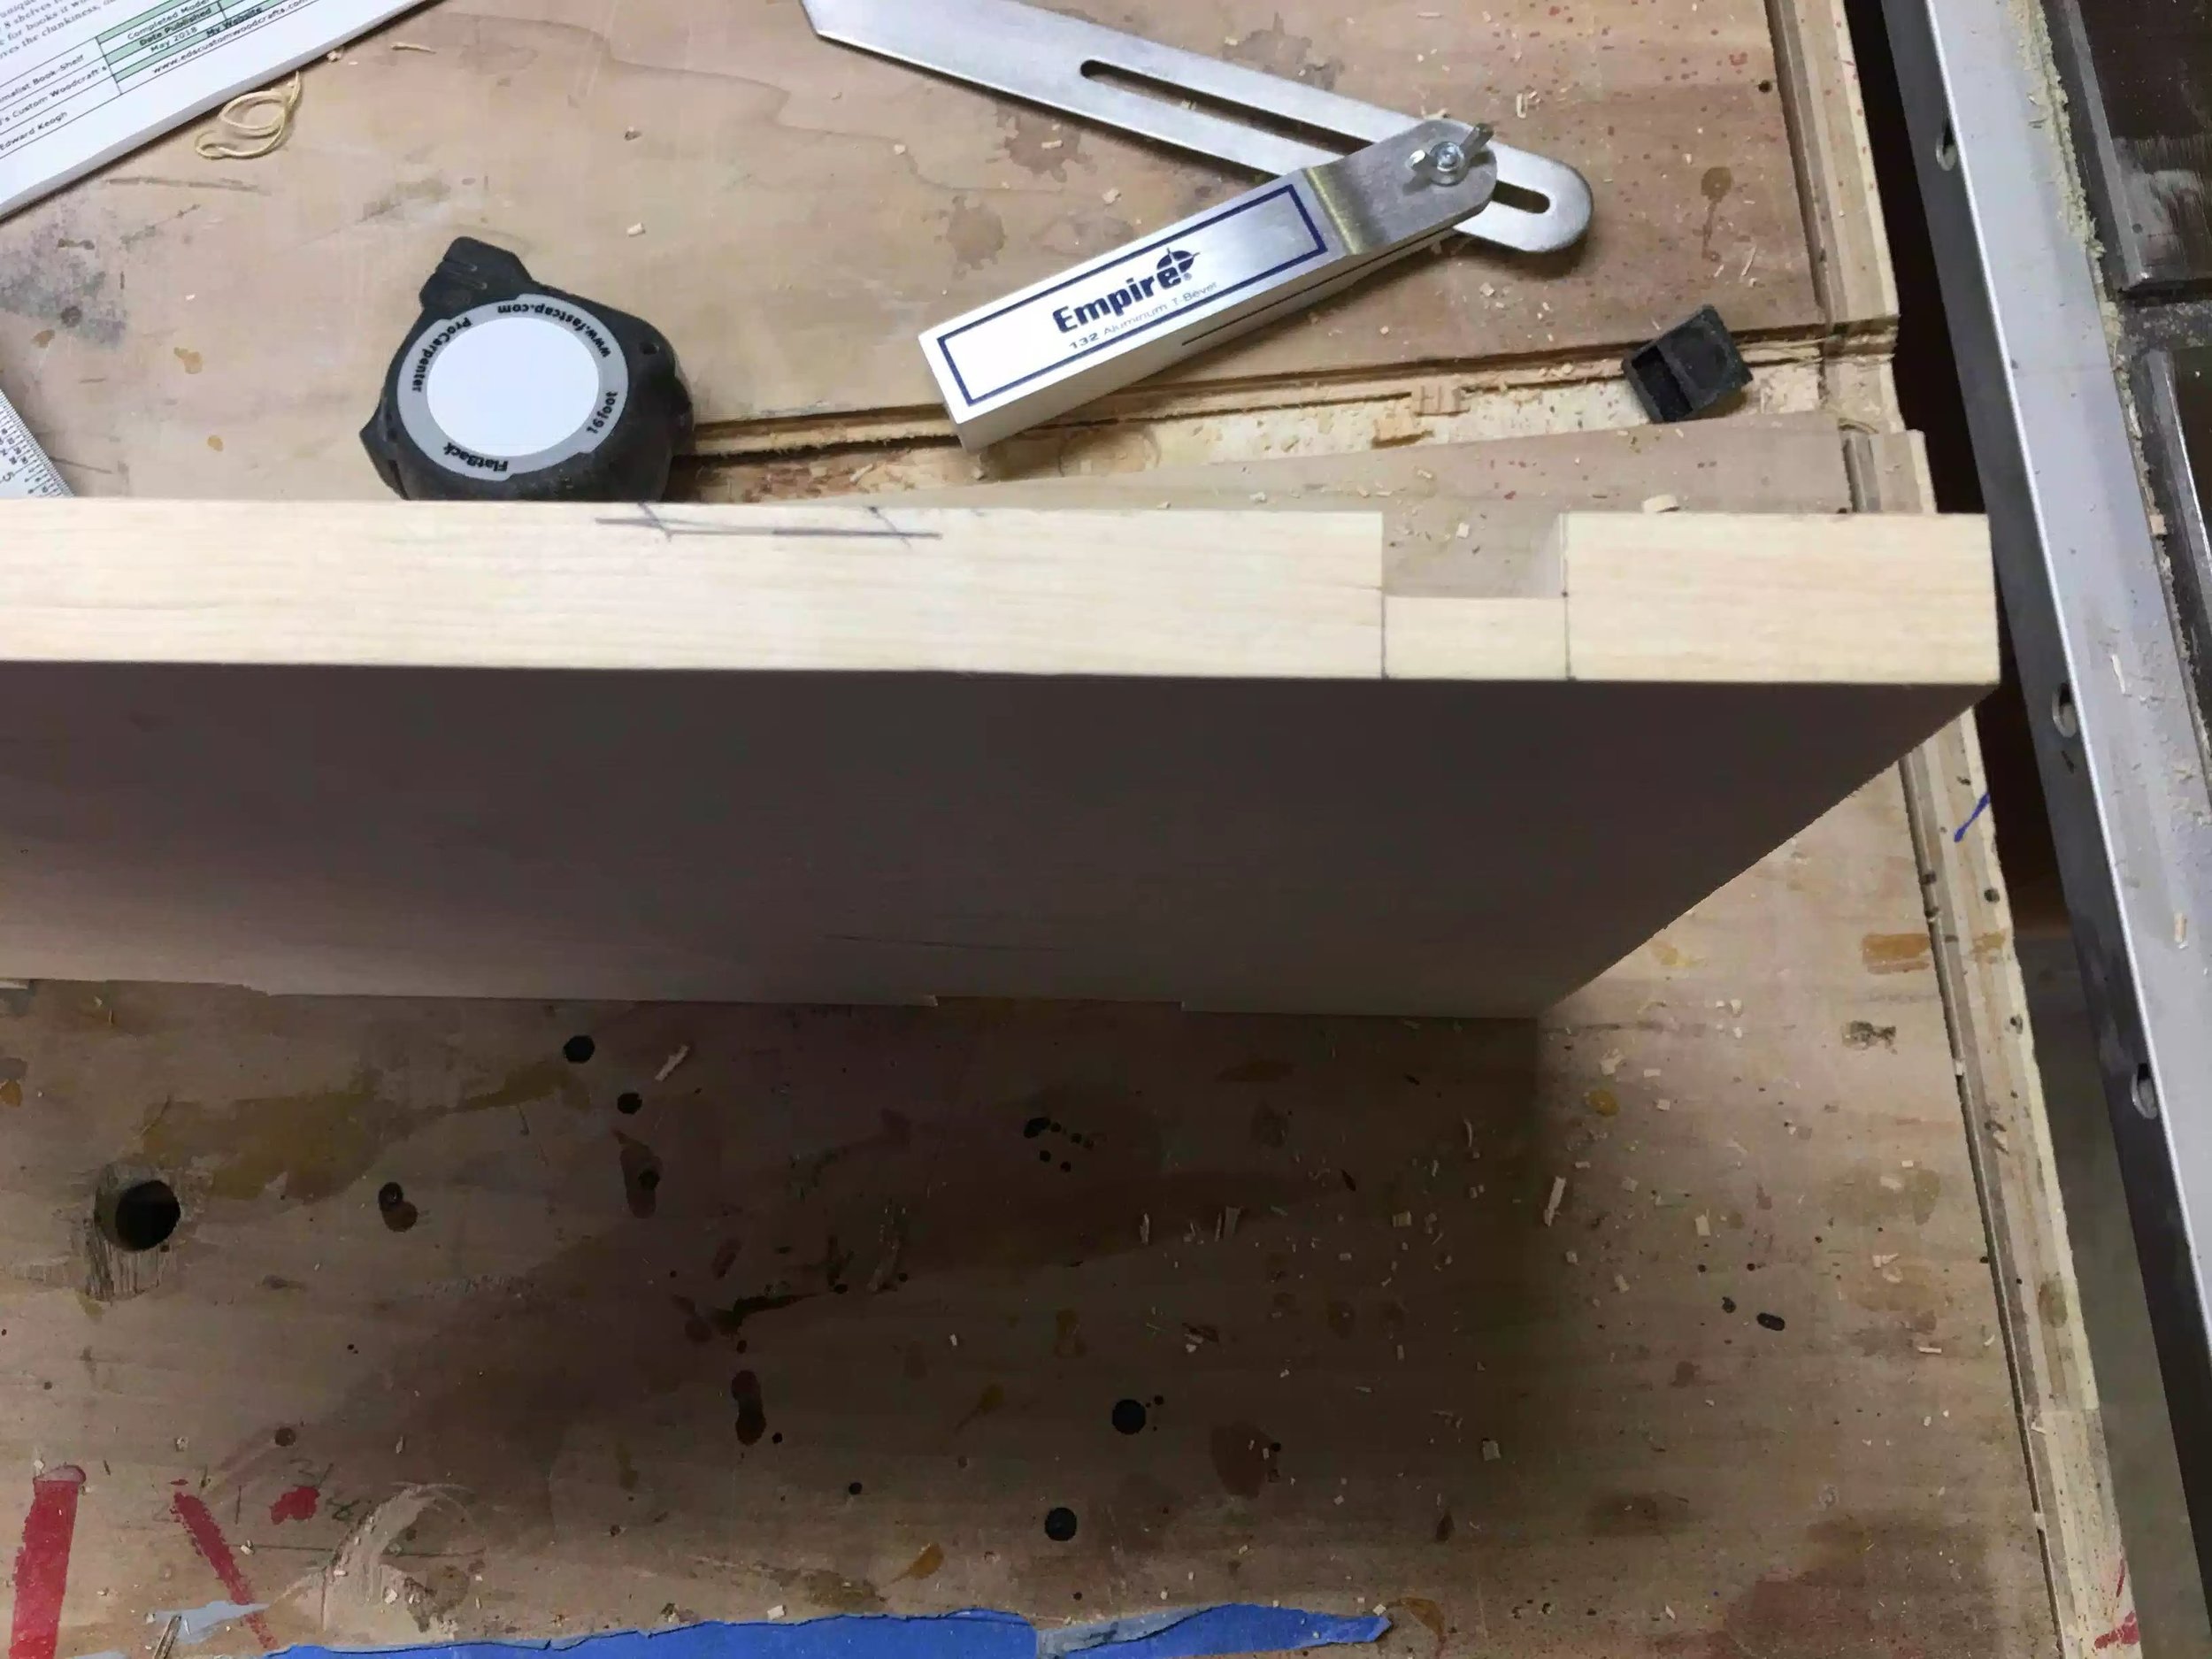
- Removed the tape and saw that my lines were not very crisp
- Applied my 1ST coat of oil base polyurethane
- Finally applied the 2nd coat of polyurethane

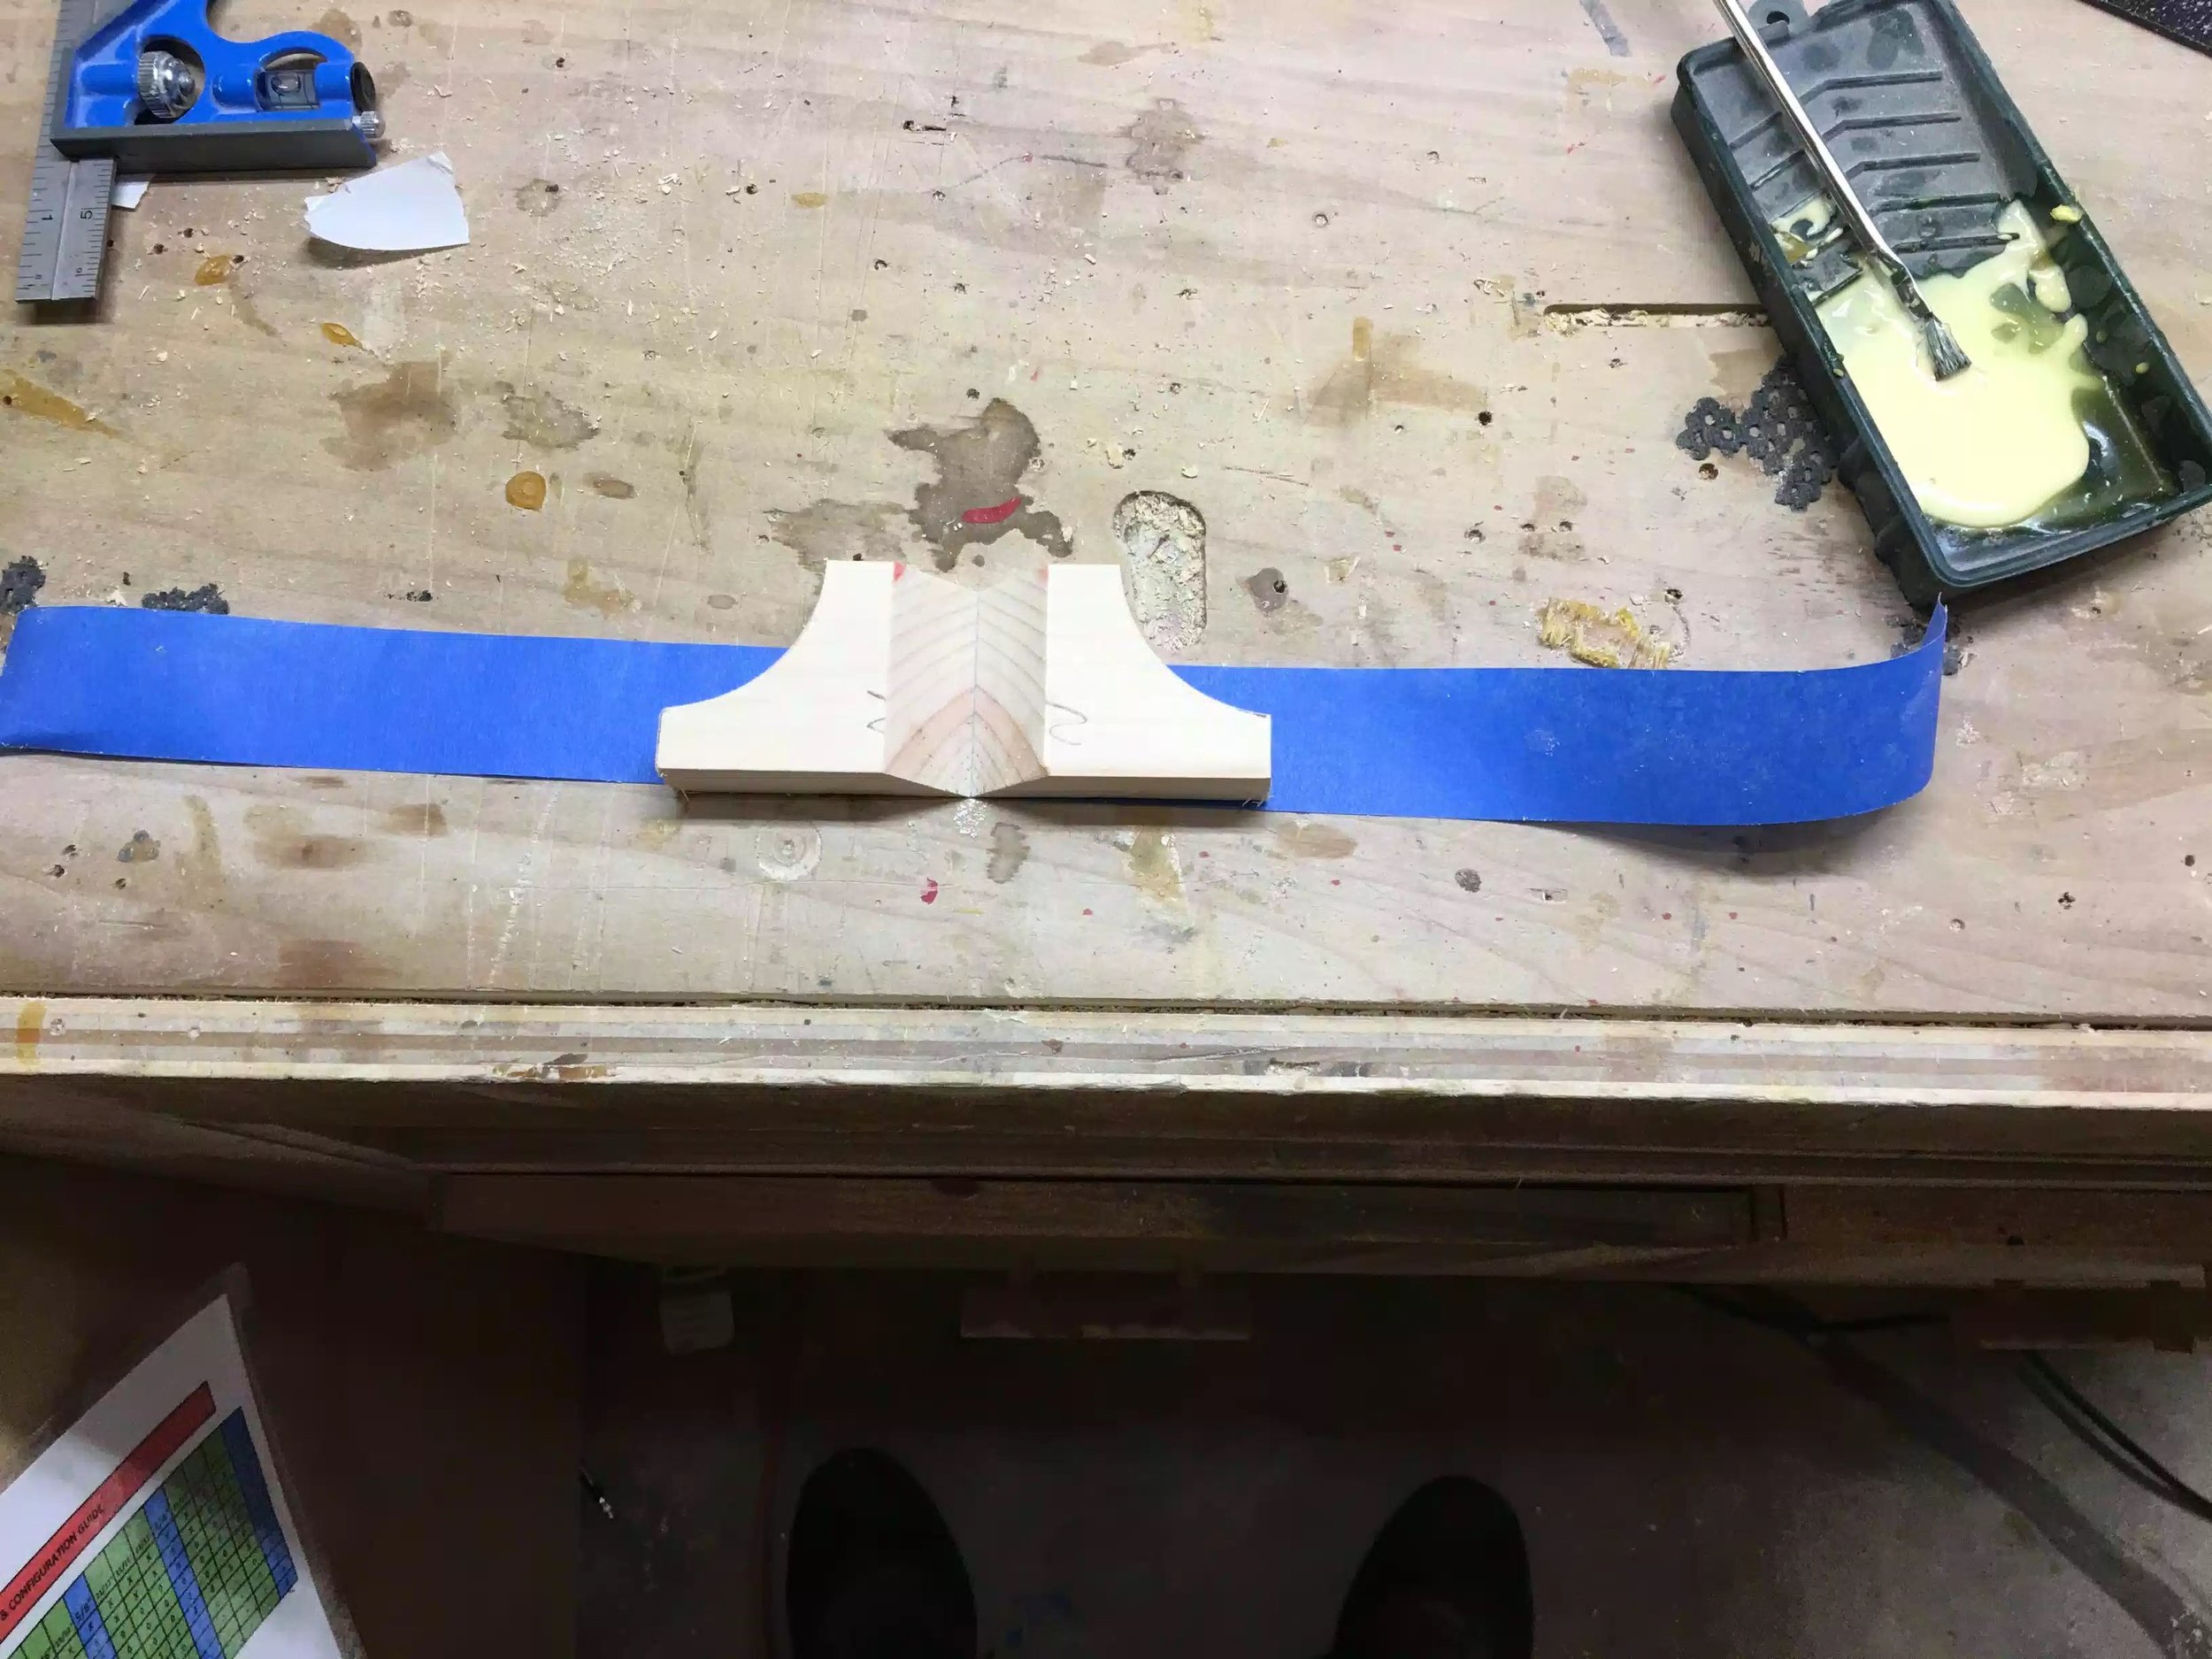
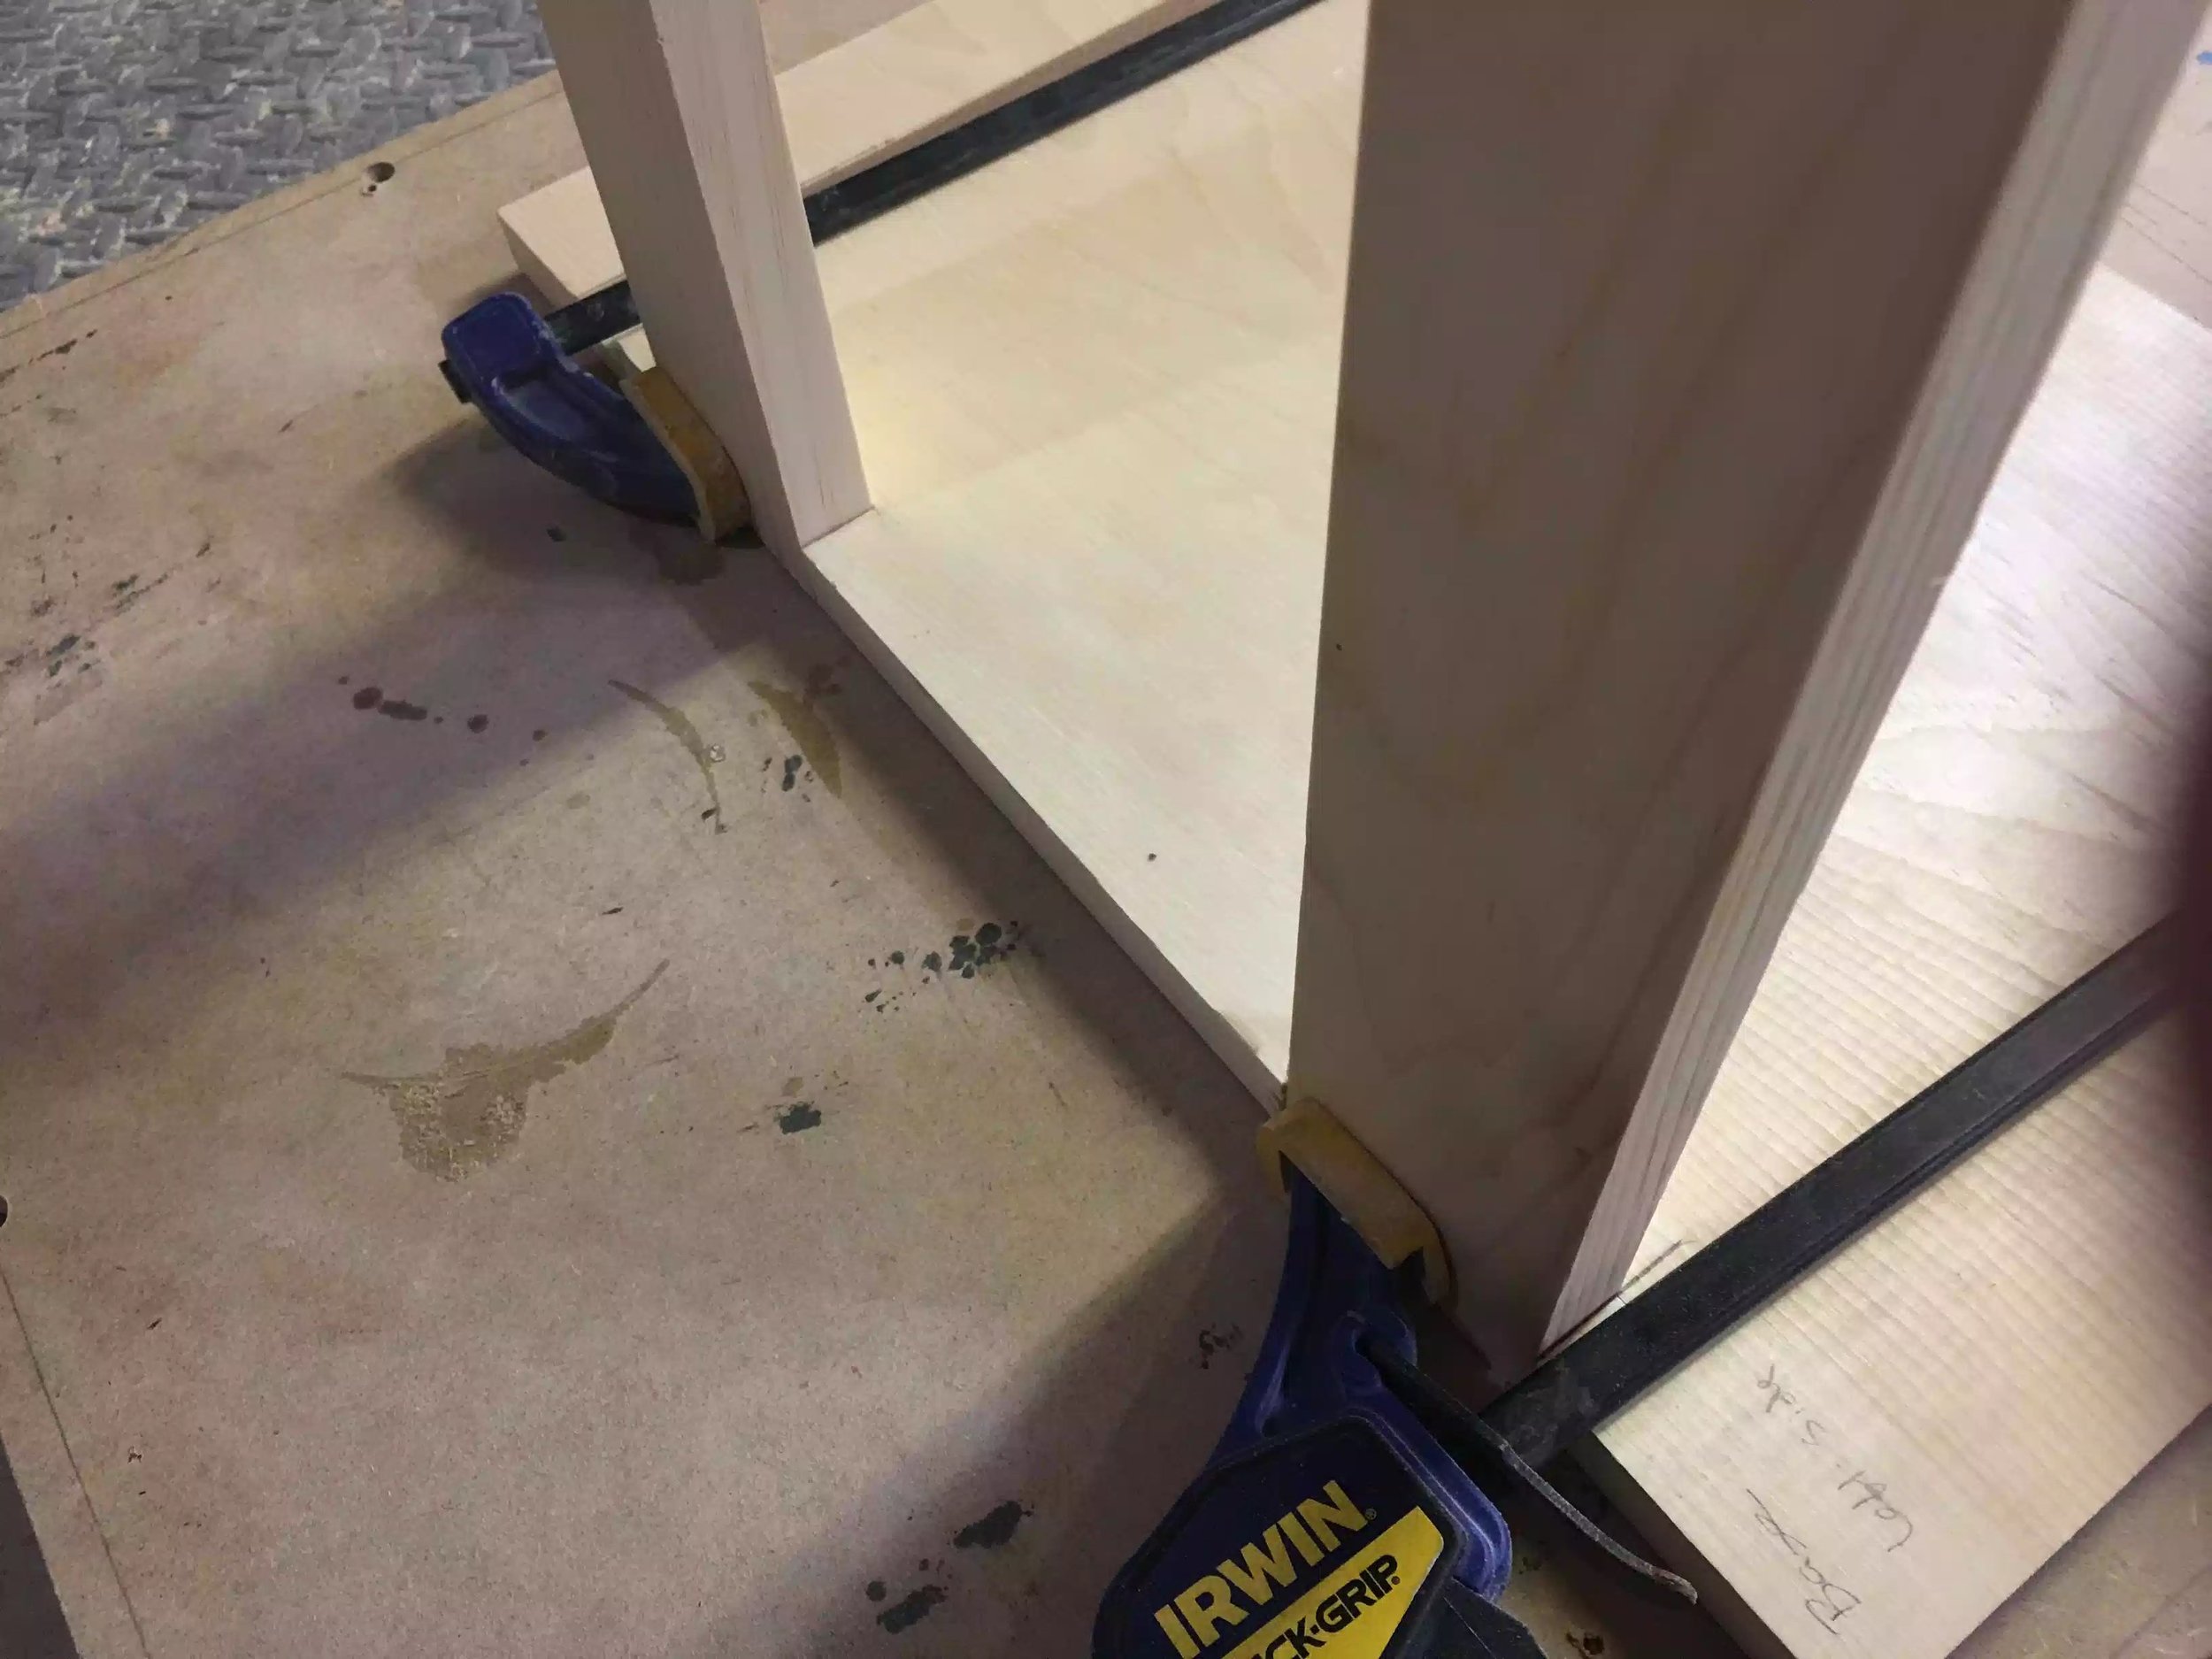
Here you can see another example of the staining bleeding through the tape, I decided to stain the whole of the base as it looks so much better.

As you can see the stain lines are not very crisp, I needed to clean this up. I cleaned It up a lot but in the future I will be staying away from staining like this, especially with pine because it is famous for blotchiness.
FINISHED PROJECT PICS

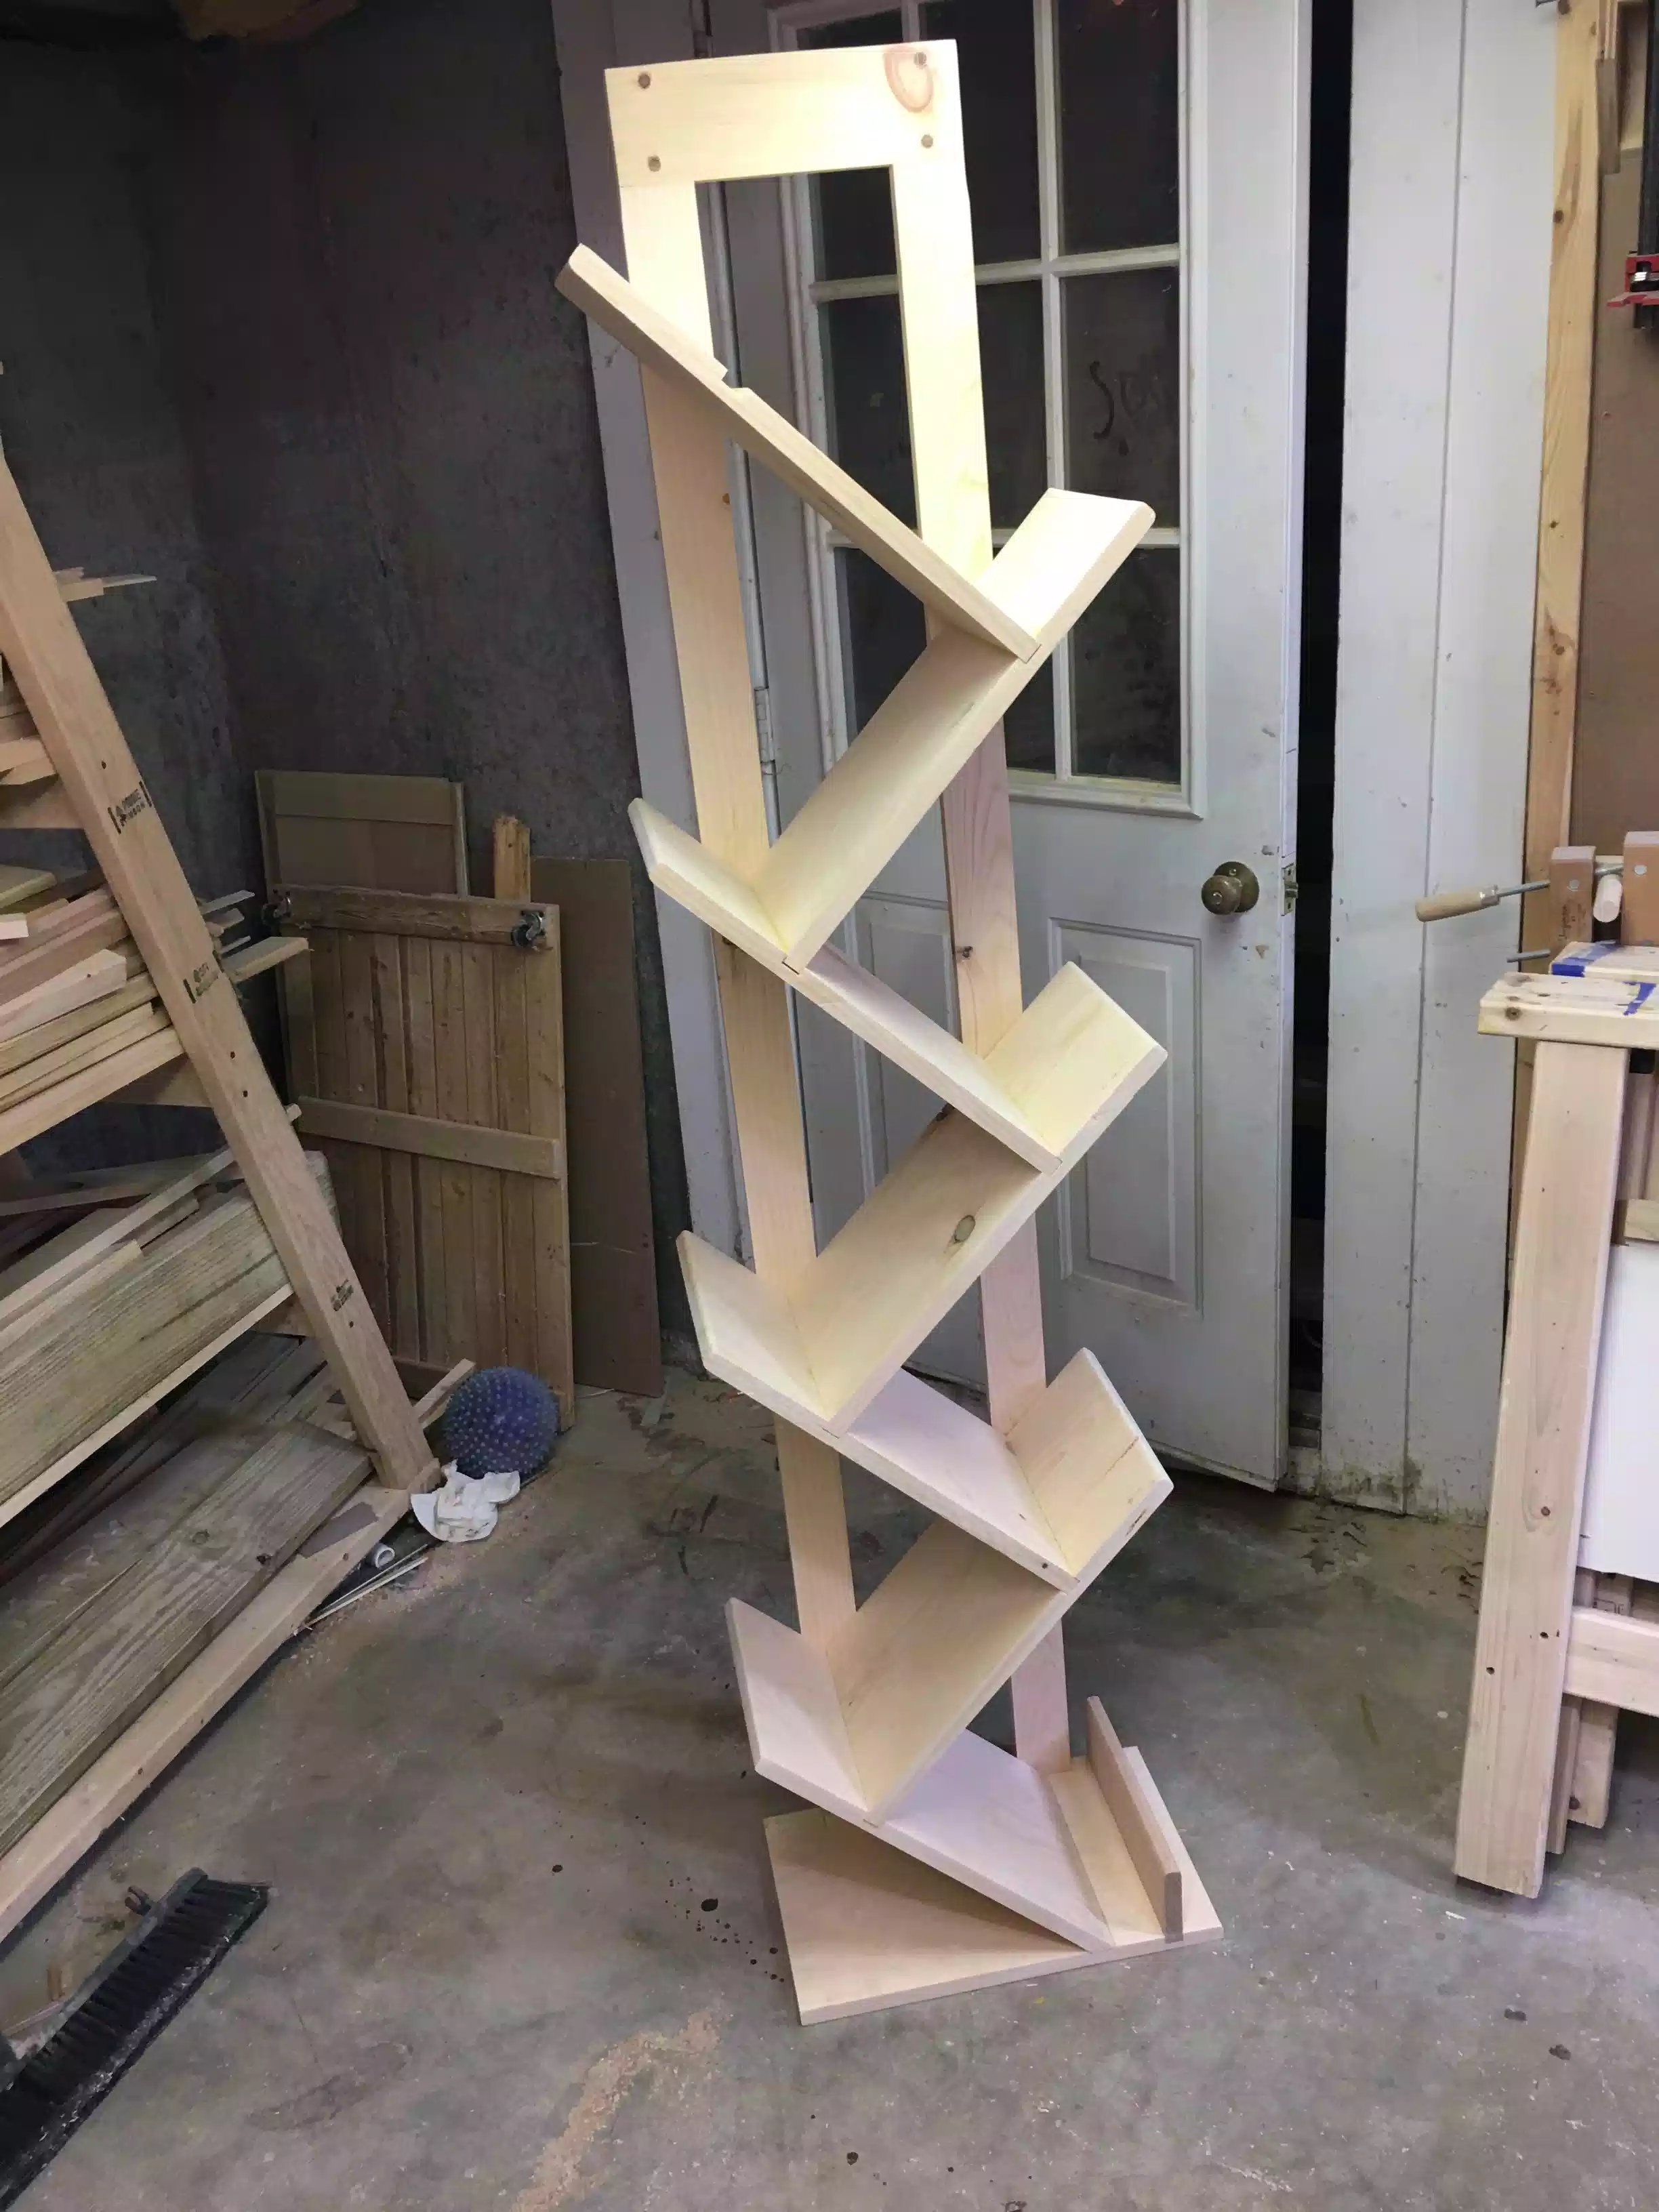
Front view of the finished book stand

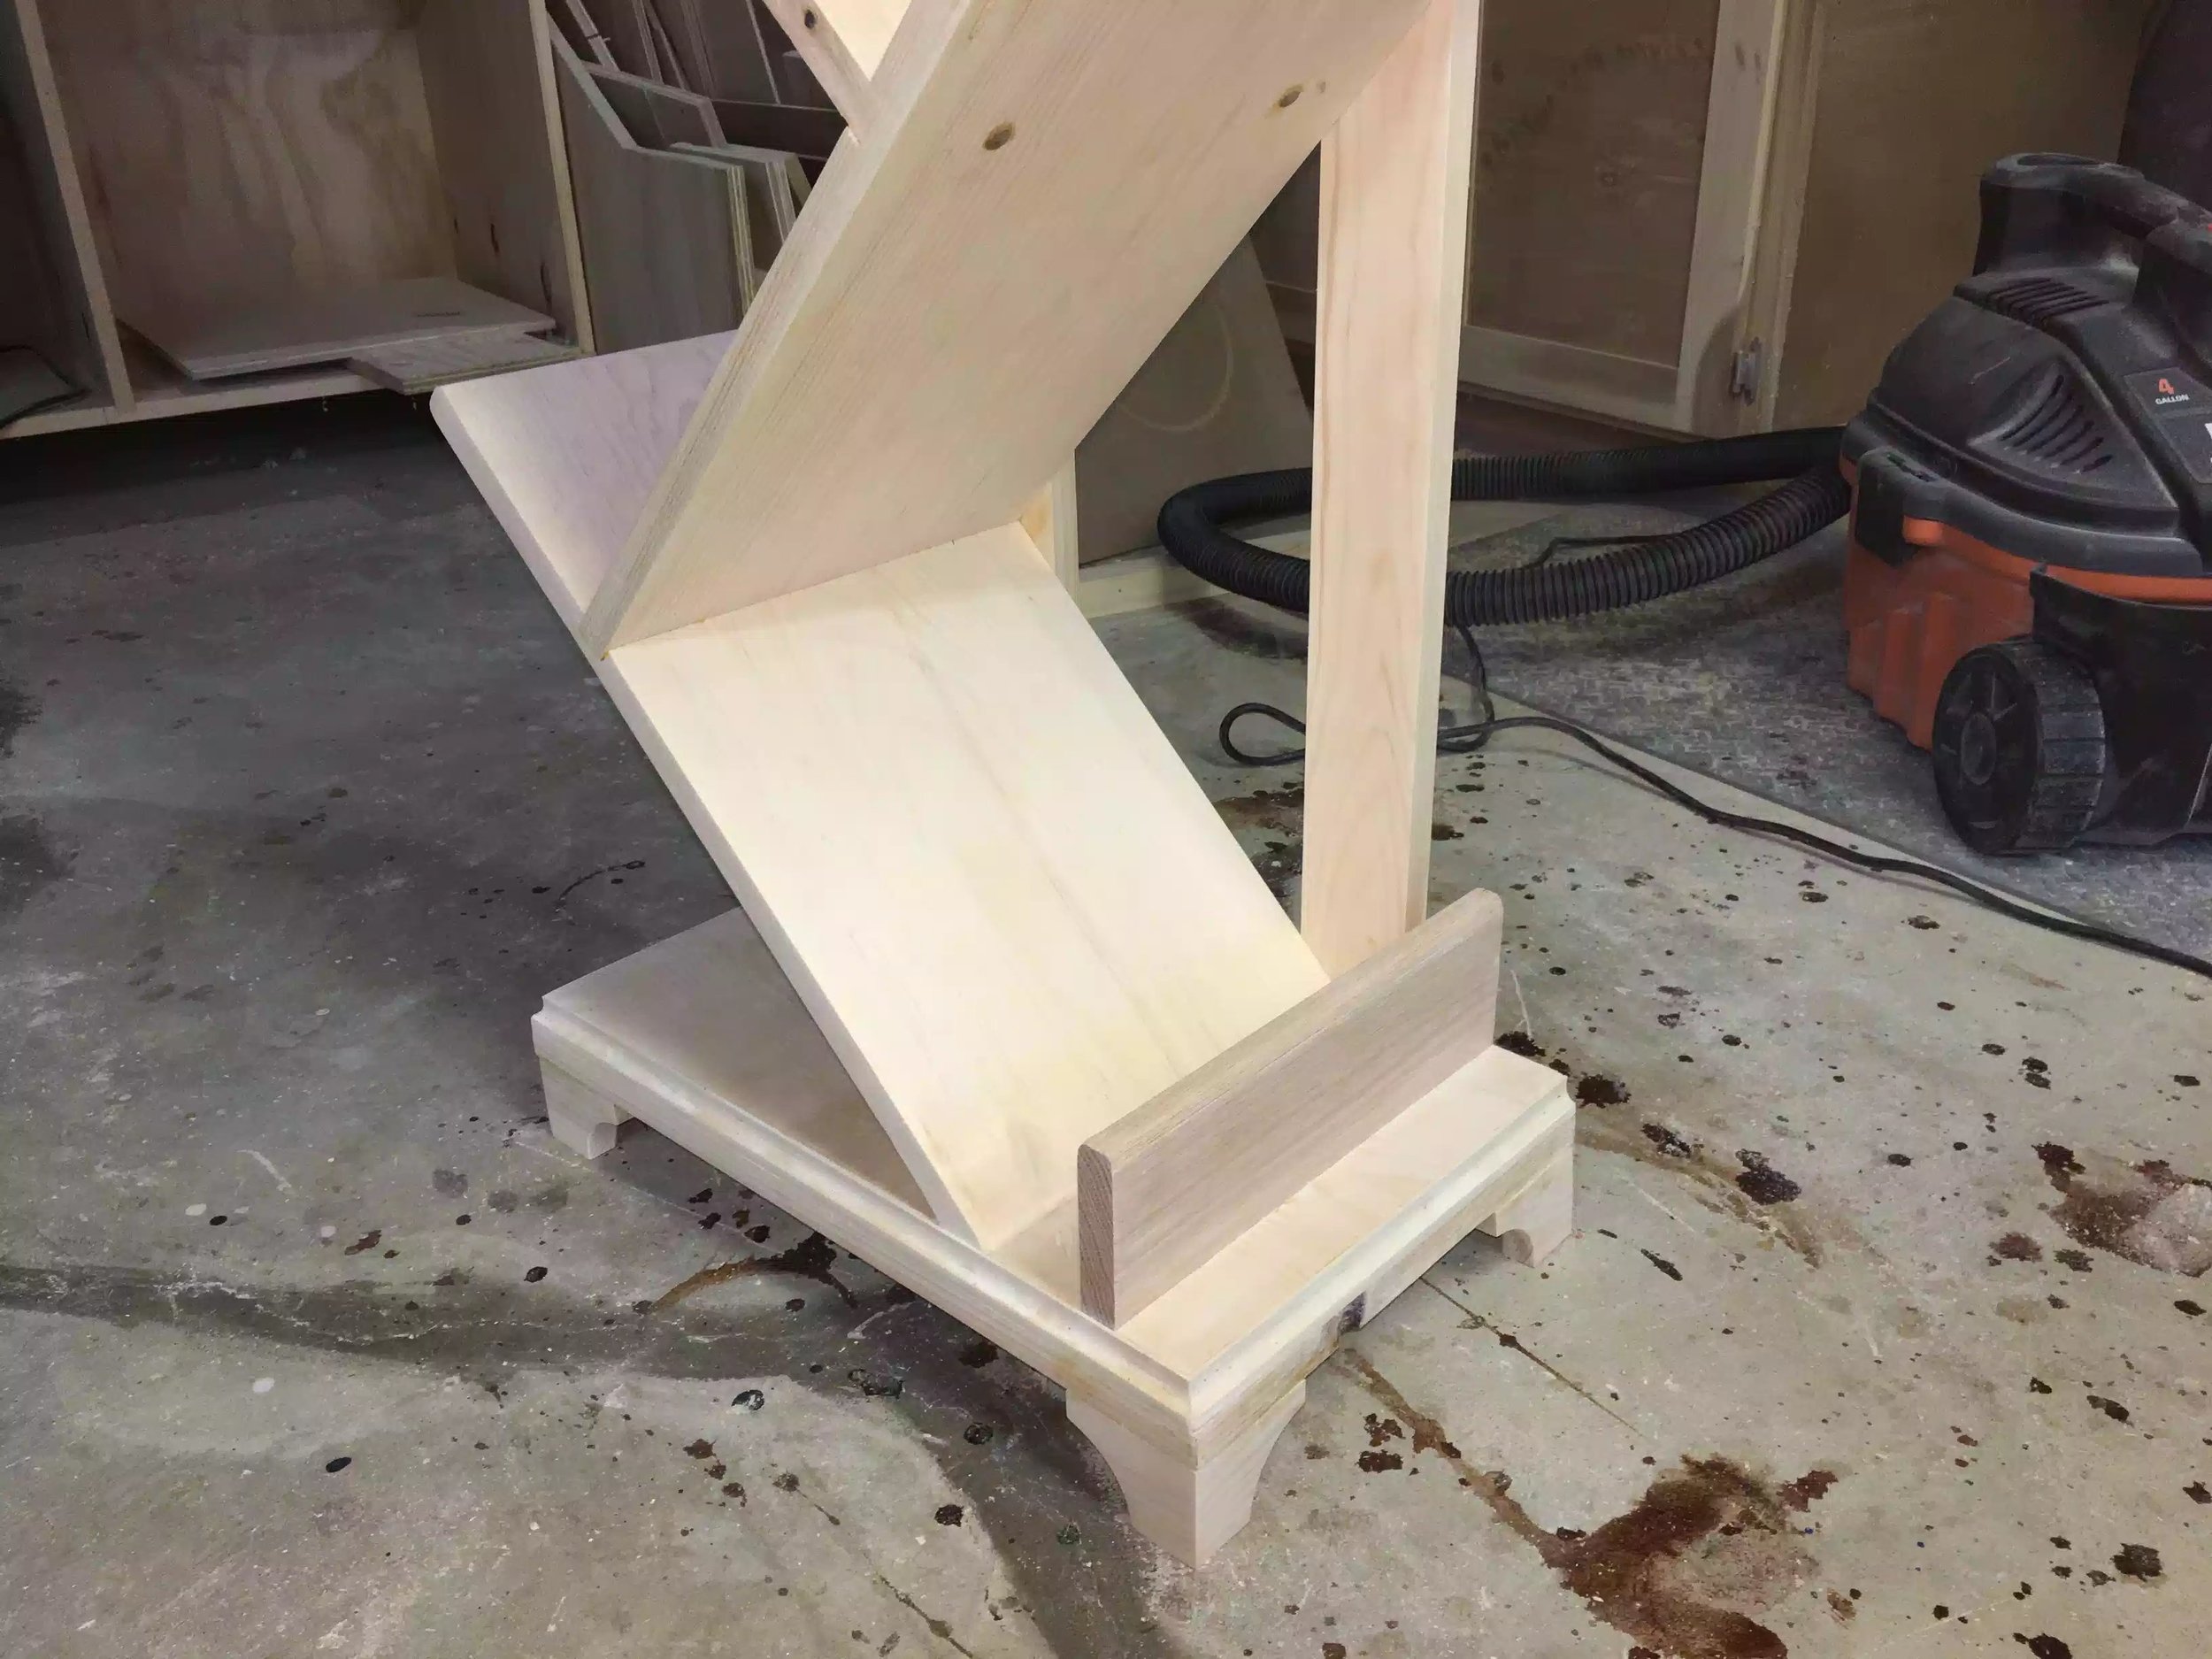
Here is the base all stained and it looks so much better, I didn't stain the oak book stop and I think it adds to the project.

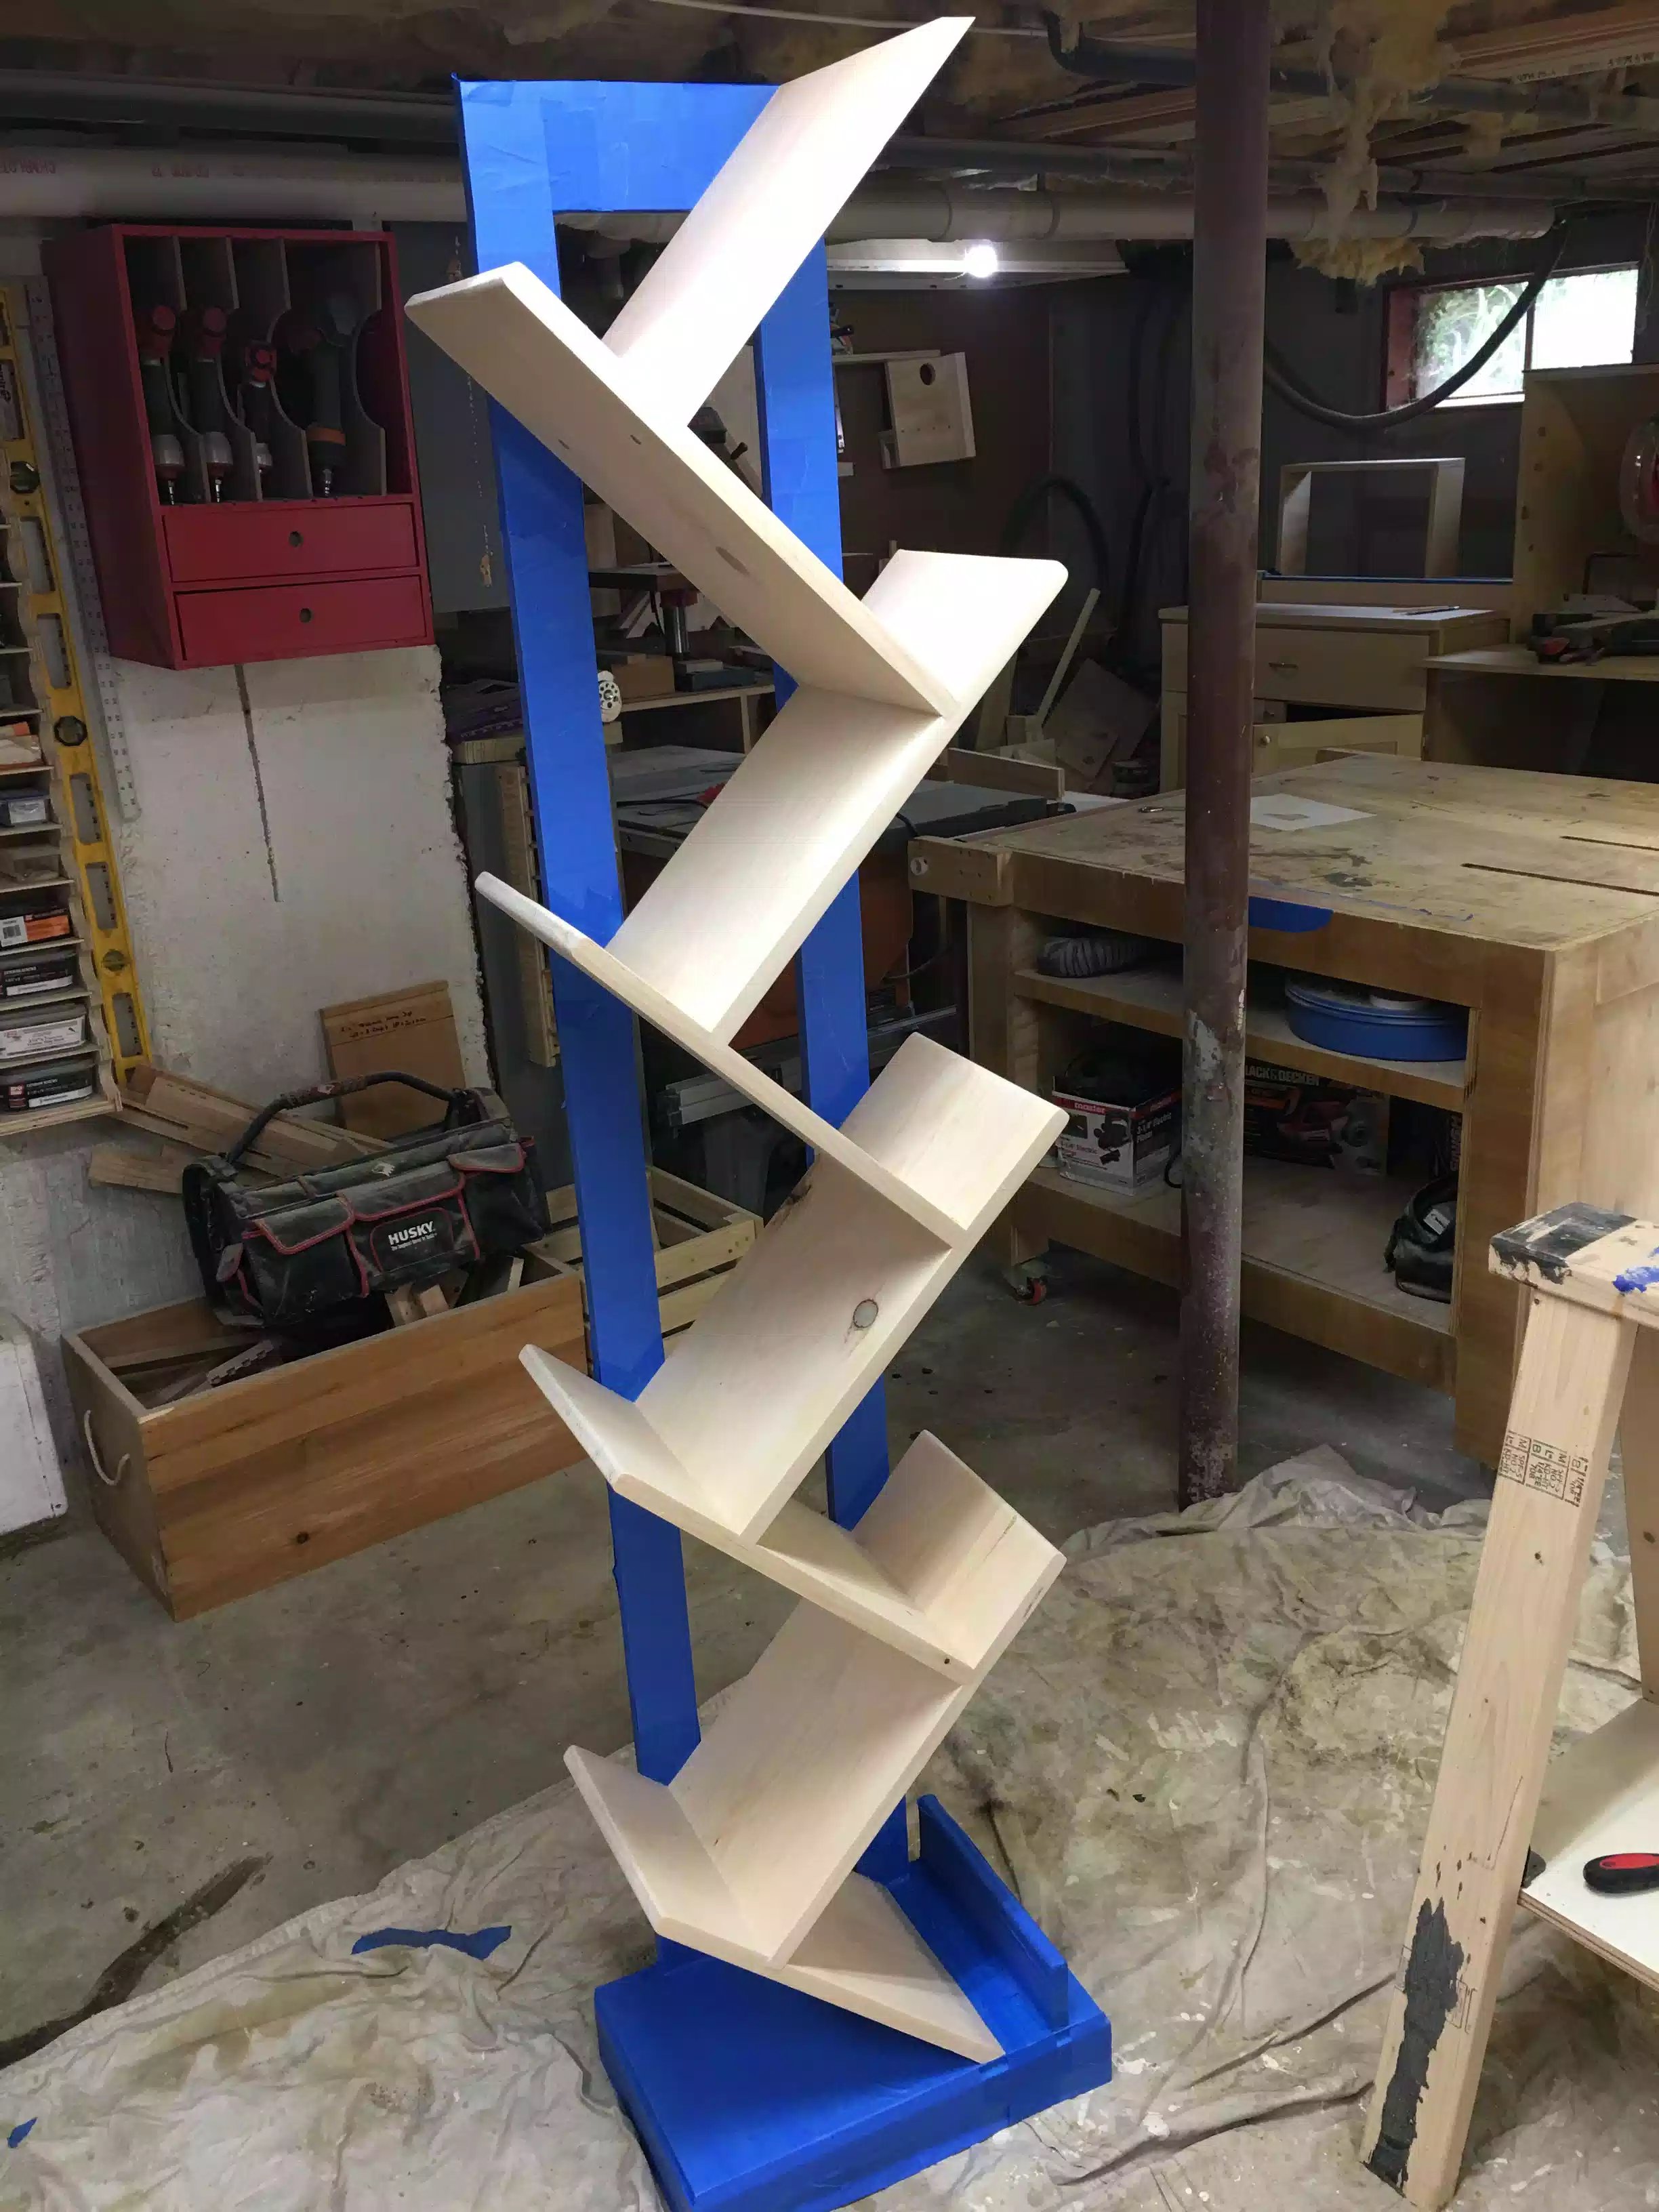
Here you can faintly see the wood grain through the stain and poly, the grain is more dominant to the naked eye, my camera isn't really picking it up. I really love the shape of the unit.

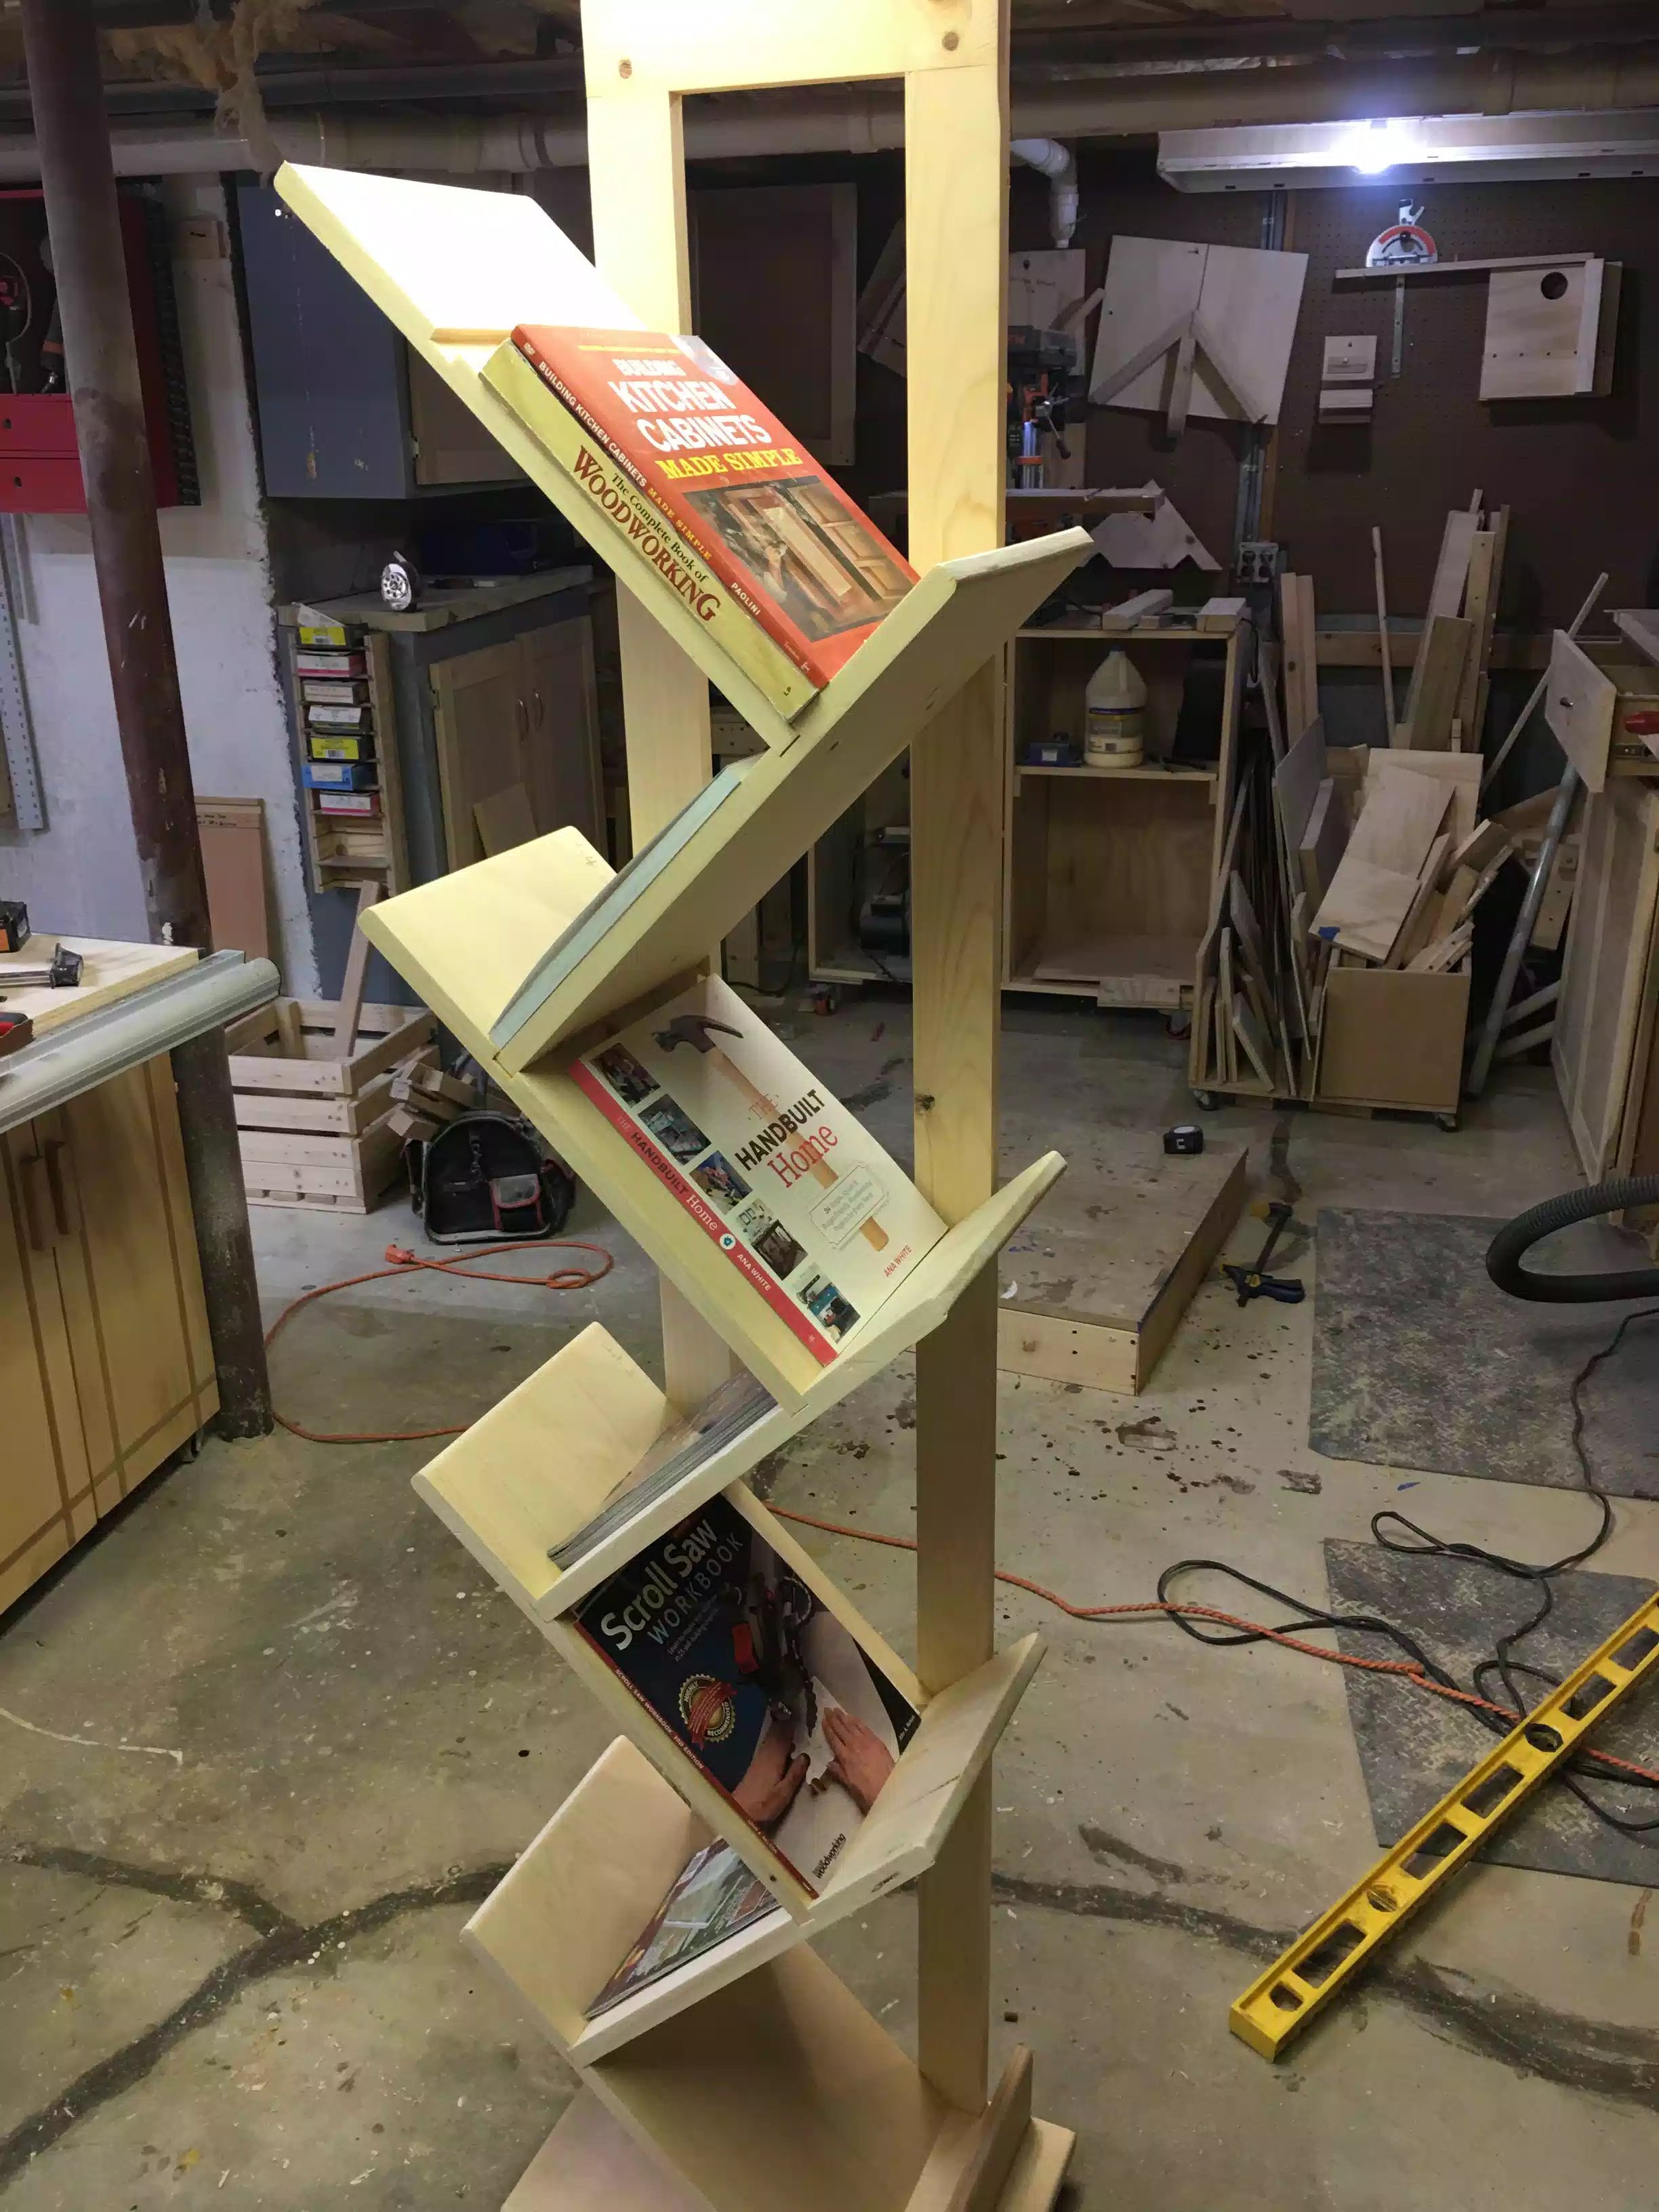
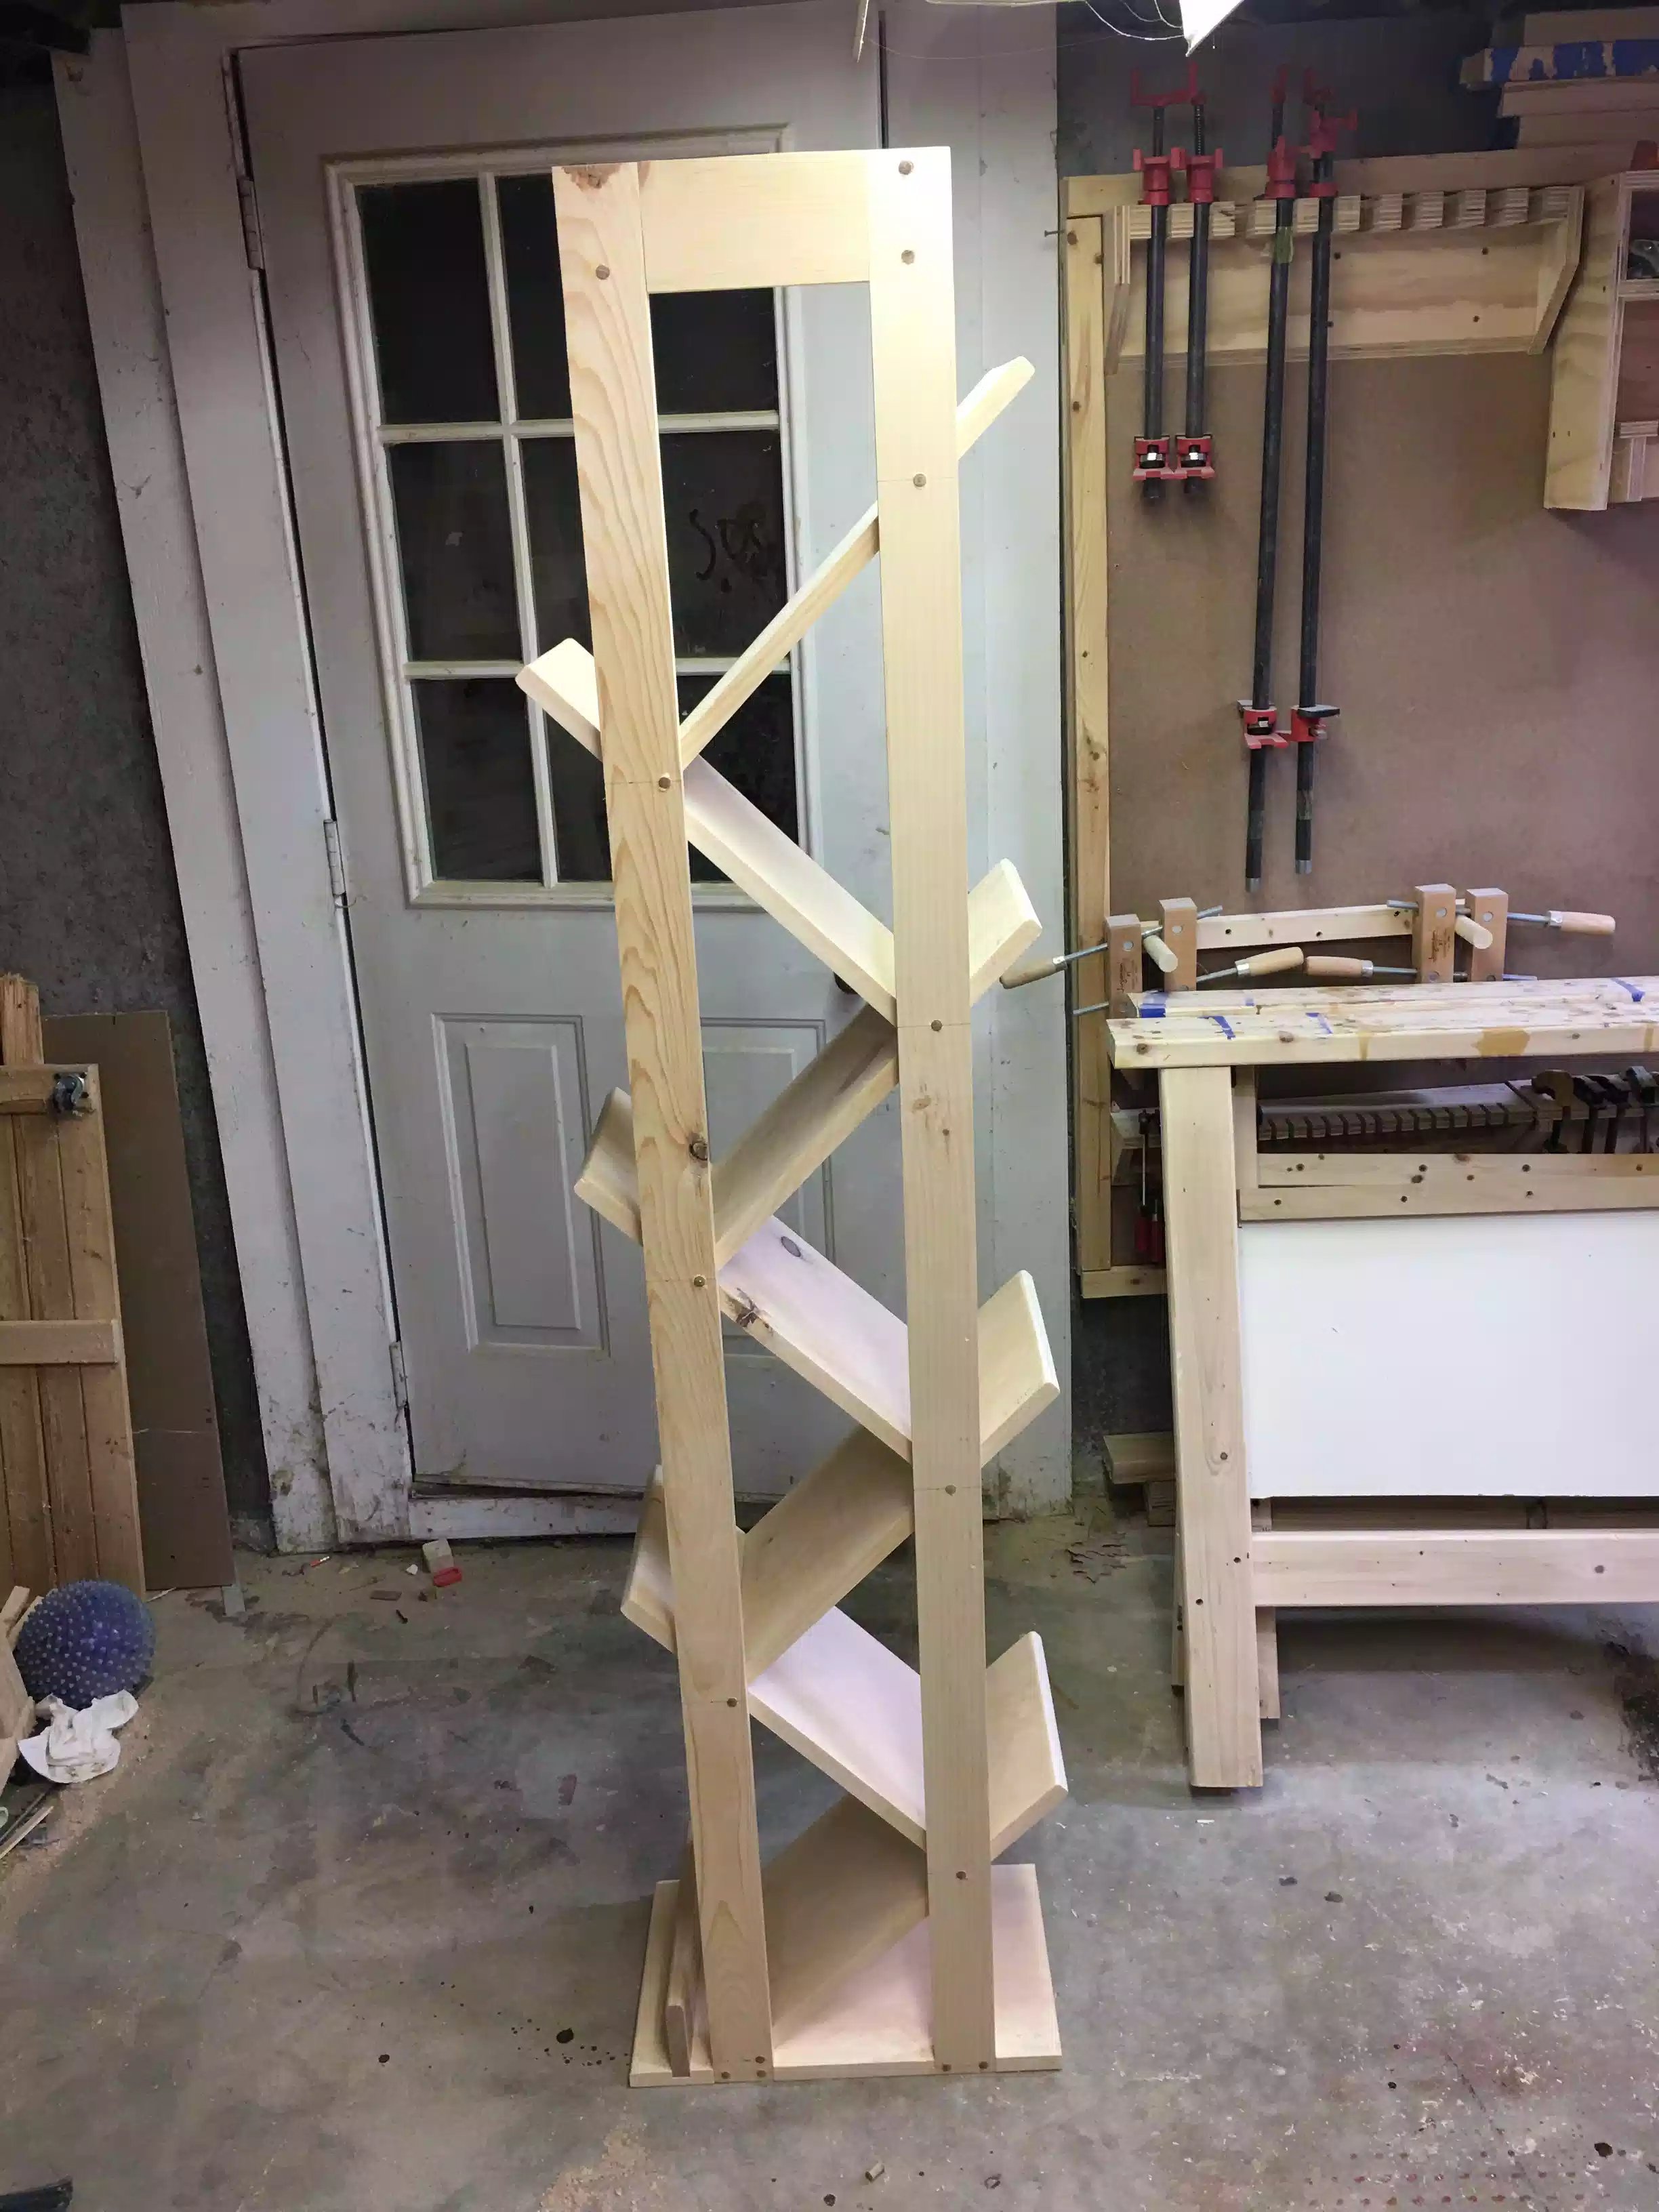
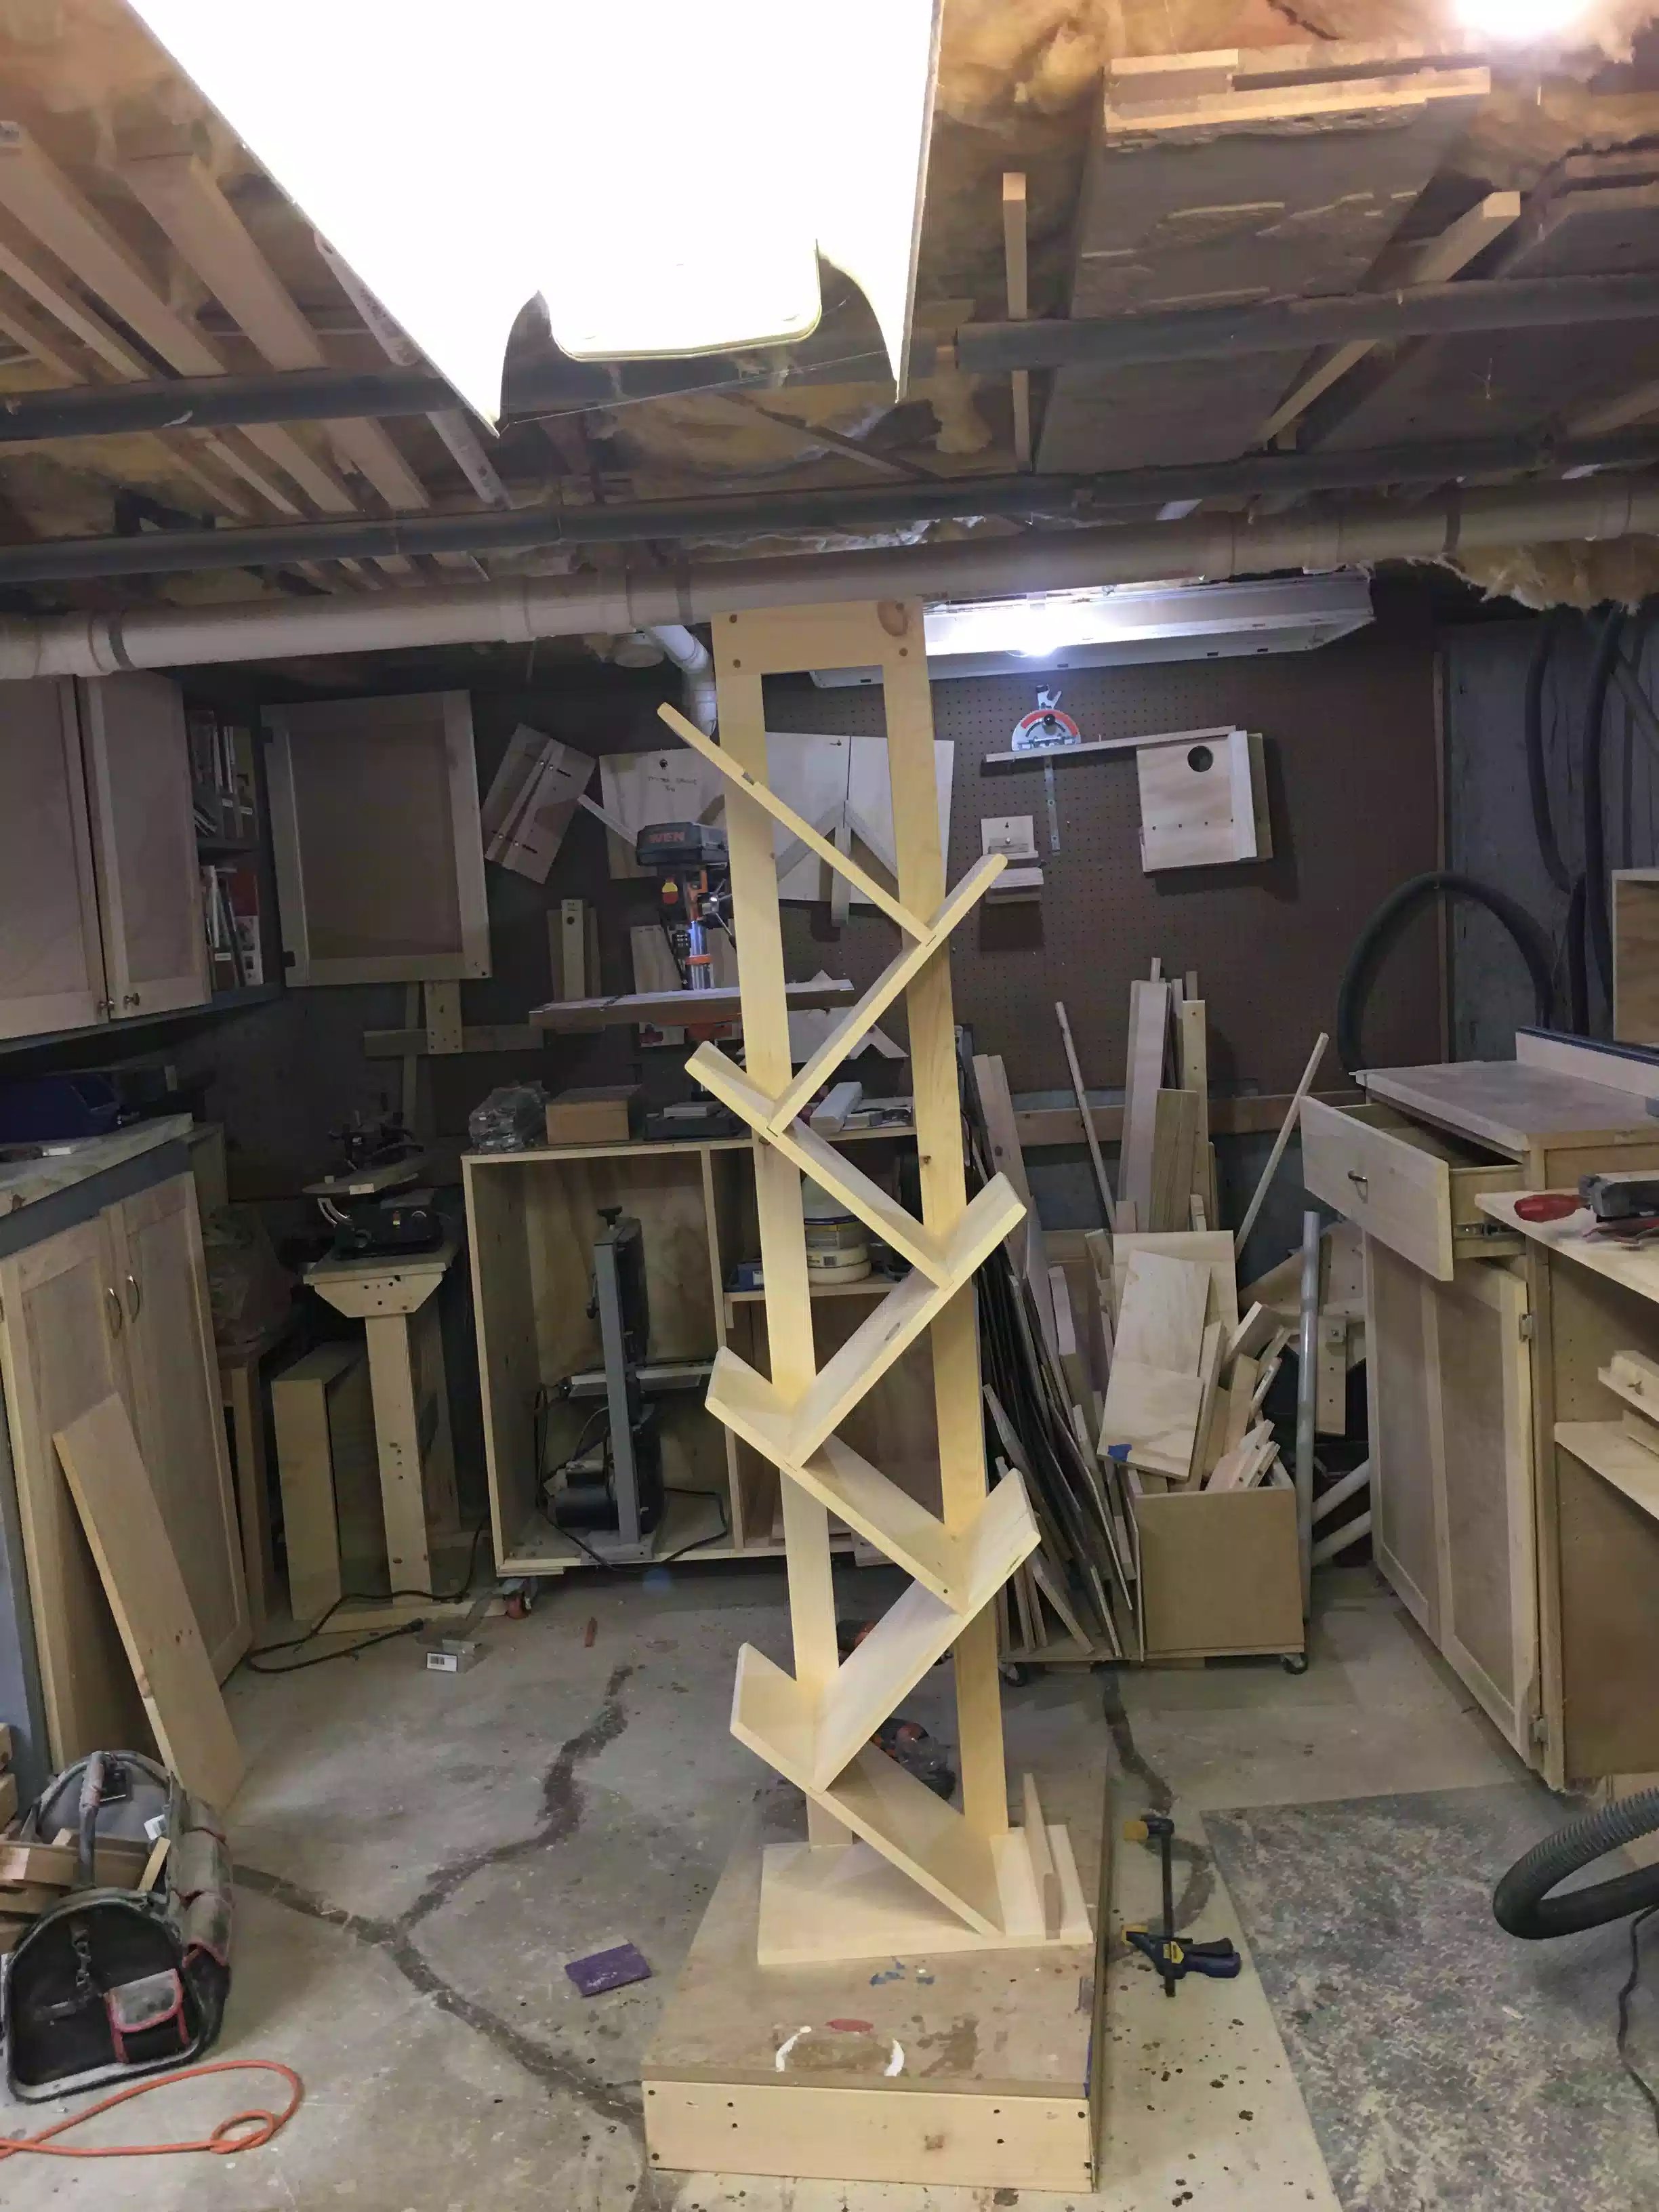
Here is a side view of the stand, as you can see there is plenty of room for books or magazines

Back view of the stand, this looks very good, I almost wish I hadnt stained the project because I love seeing the woodgrain and the joinery wood plugs, but hey its ok to color a project especially since it was on my honey do list.

Here I added some books just to display how they look on the unit. To be honest if my wife doesn't like this unit I might just keep it for myself I have amassed a lot fo woodworking books over the years and I could use storage.
So that's a wrap, if you would like to purchase plans for this project, you can find a link below.