
CREATING SHOP DRAWINGS
This is where the fun begins for me working drawings are essential to a successful project because you actually get to see a 3 Dimensional image of what it is you want to make.
For those of you that are great freehand drawers and can whip up a plan with only paper and pencil, I truly envy you. Me on the other hand couldn't draw a straight line and needed to rely on other methods on getting that project image out of my thought process into a form I could physically see, but not actually make it. That's why I turned to 3D computer software and despite popular belief you don't have to purchase the top of the line software and it doesn't take that long to master the basic maneuvers in getting that 3D rendering completed. I will go into the Sketch up application that I use in another chapter.
After you have spent some time making the drawings and you have settled on a concept sketch that comes closest, its time to assign dimensions to the project. Since I will be using computer software I don't really need to worry about scale as the software automatically does that for you, and that is why I like using it , it takes away all that time consuming drawing in drawing everything to scale and you get a working 3D model in a very quick amount of time, depending of course on the size of the project you are going to undertake, I have spent maybe a week on some big projects that I have completed and others only a couple of hours.
Once you see the overall size of the project you can see clearly how the size and shape of the components relate to each other, you can also determine the method and the sequences of joinery also become more obvious. These working drawings are a bridge between your 3d model and a master cut list, which will then in turn lead to actually building and assembling the wood project.
“Below you can see some examples of what I use in my workshop to aid in building my projects”
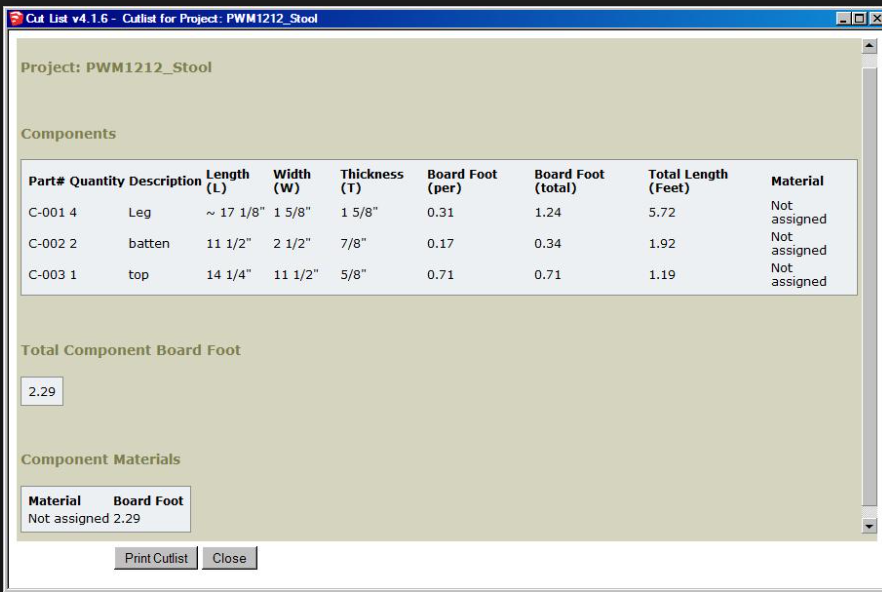
Here you see a cut- list that I generate from my 3D model in Sketch-Up, as you can see it provide very detailed dimensions and a description of each component, you can also use it to roughly estimate how much lumber you need to buy.
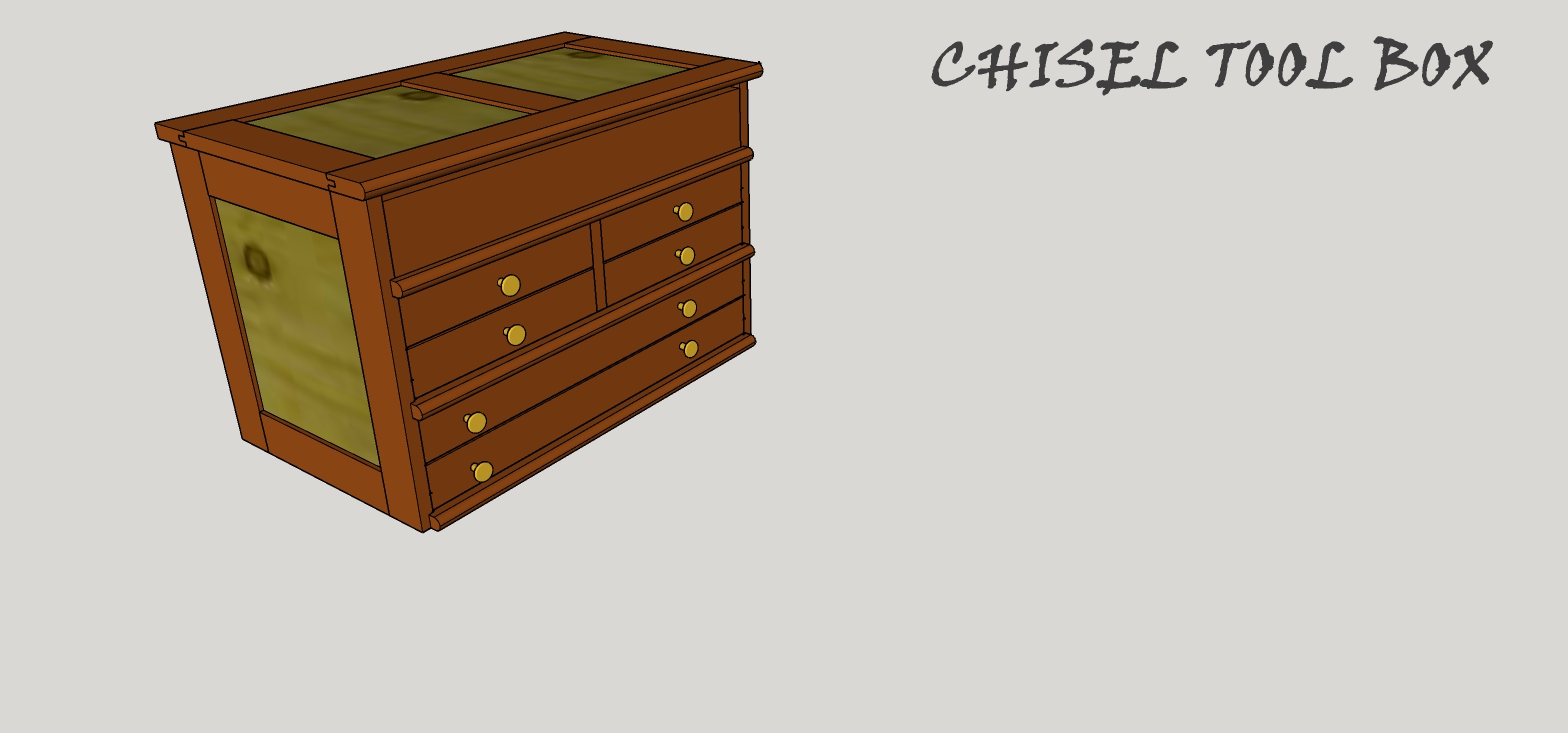
This Chisel tool box that I made was a huge project and couldn't of completed it if it were not for this process, this software bailed me out of a couple of tricky situations and as a whole saved me a lot of time and more importantly it was a great way to cdisplay the design and other functionalities of the tool box without having to make it, or even buying lumber.
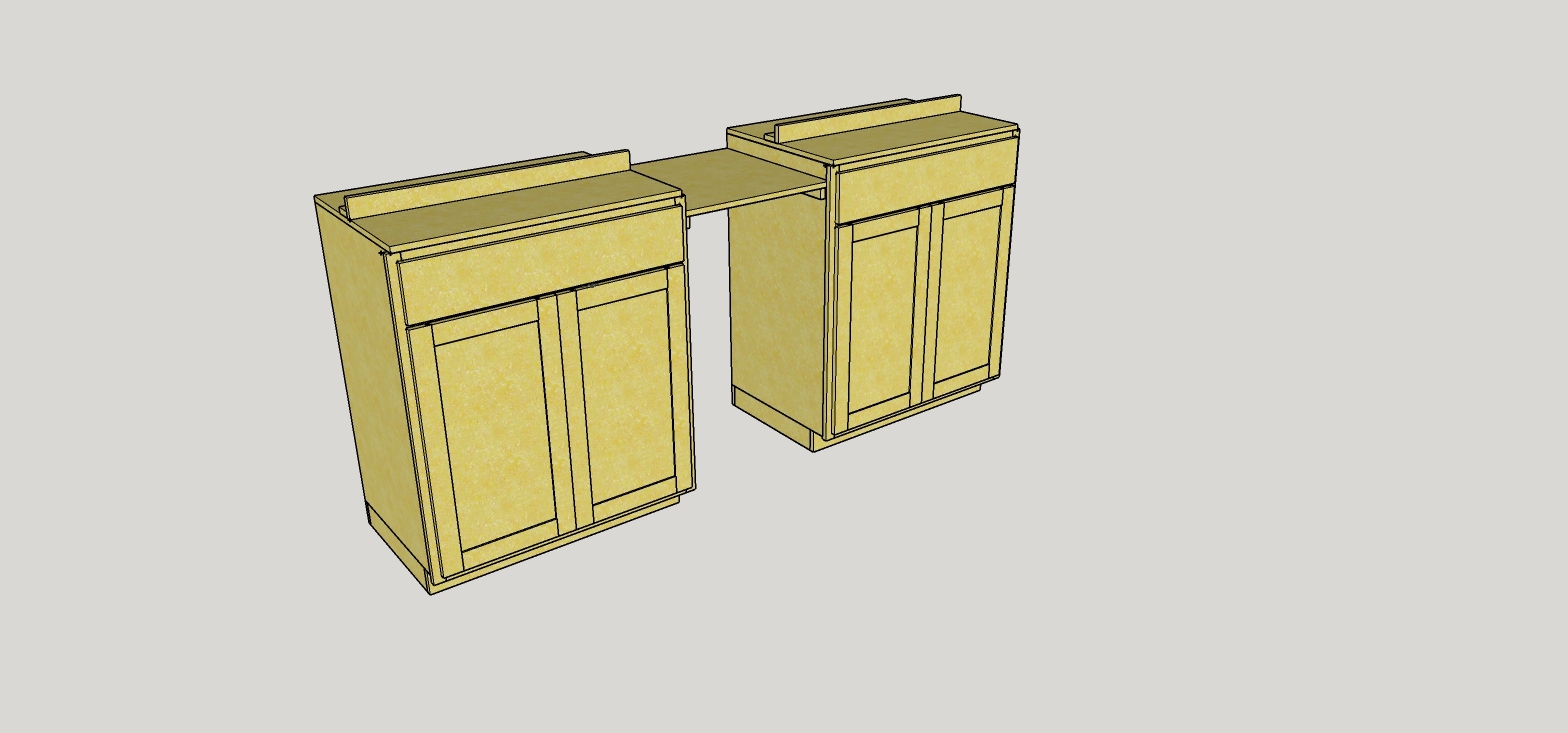
If you have a full size model to look at you can determine how the size works relative to the place where the project will be ultimately placed.
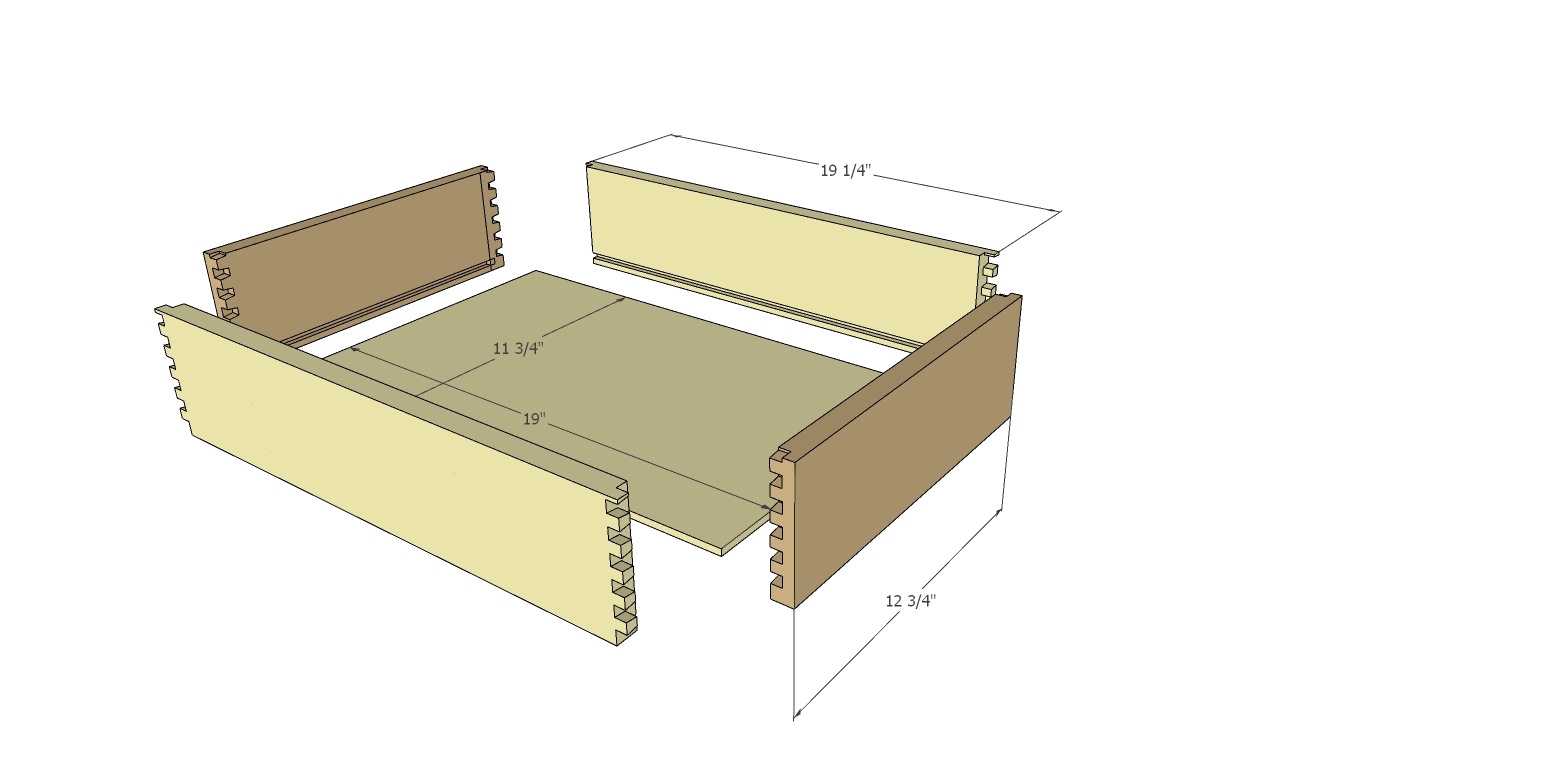
Tedious tasks of finding out the exact dimensions of a part are made so easy such as above trying to determine all the drawer components measurments.
Please feel free to add comments on this page, if you have a question also please feel free to contact me, or leave a comment below.