

Well with all the separate assemblies all complete its now time to make the sides, front 7 back into 1 box and that is what I will be doing in this final Phase of the project as well as a few other steps to ready them for the great outdoors.
Here is what I did in this Phase.
Predrilled for Screws
Glued Up the Box
The Removable Base
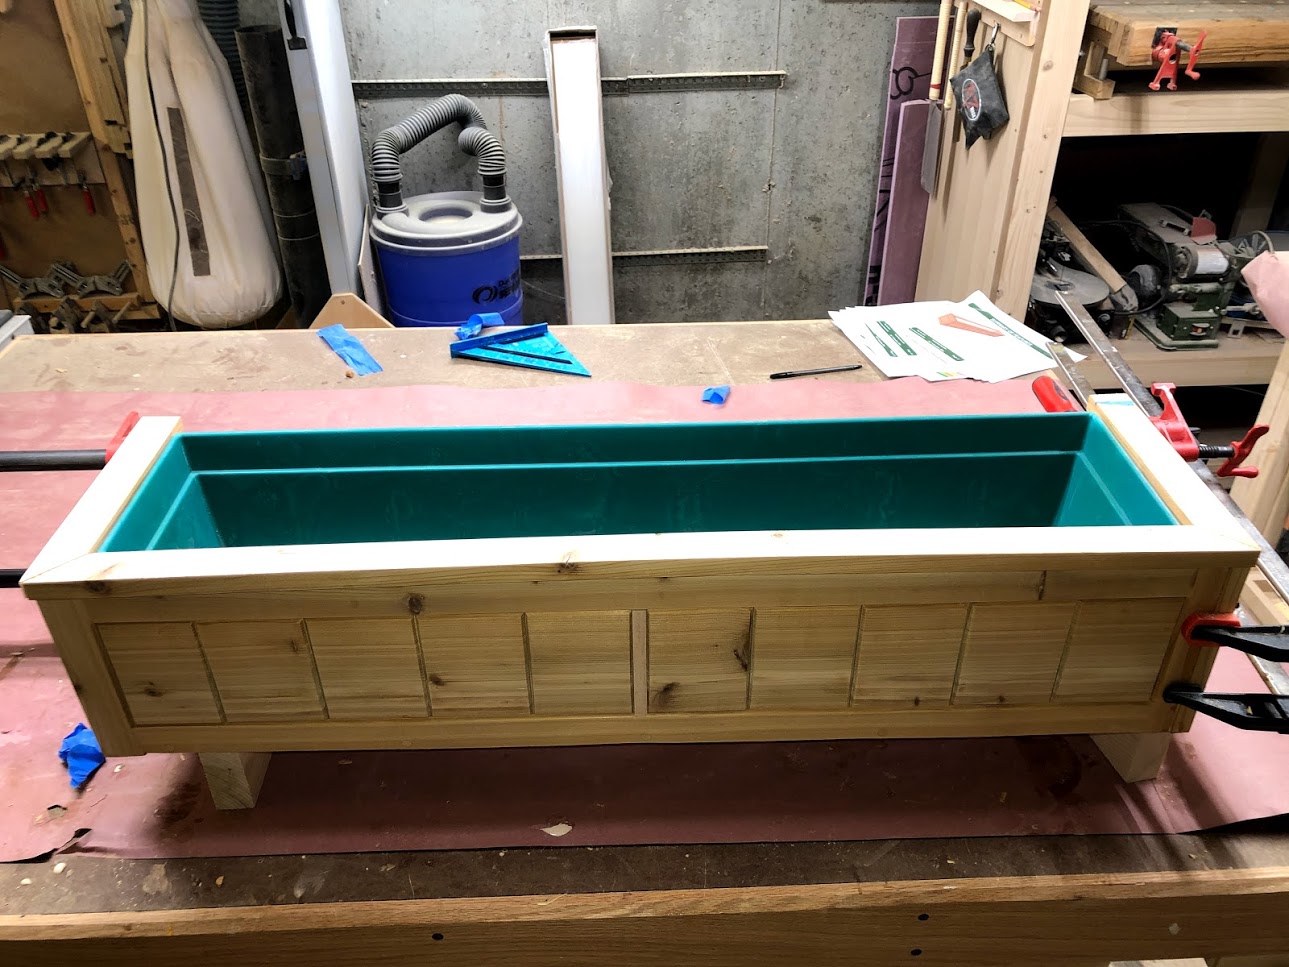
Made & Attached the Top Trim
PRE-DRILL HOLES
So to secure the base frame to the inside of the window I opted to use exterior grade construction screws going through the outside faces of the window box. So as I often do I counter-sunk screws theough pre-drilled holes then came back and added wooden plugs to hide the holes and screw heads. I used the same wood species of wood as the box so as that it would not be that noticeable.


You can hardly see the cedar wood plugs they blend right into the faces of the box, just what I wanted.
GLUE-UP
So the glue was pretty straight forward. A lot of the window box didn’t get any glue as I needed the panels in the front and sides to be floating in the grooves, that way it had the freedom to expand and contract with the seasonal humidity. So the only parts that got glue was the tenons on the ends of the rails all around the box.


THE BOTTOM
The bottom couldn’t be any easier to make its basically a board cut to fit inside the walls of the window box, and to allow for water drainage I drilled 3 holes about 1-1/2” in diameter, later I came back and rounded over the holes using my palm router but sorry no picture. The bottoms basically sits on the base frame we made with the bridal joint in Phase 5, its not secured in any way.

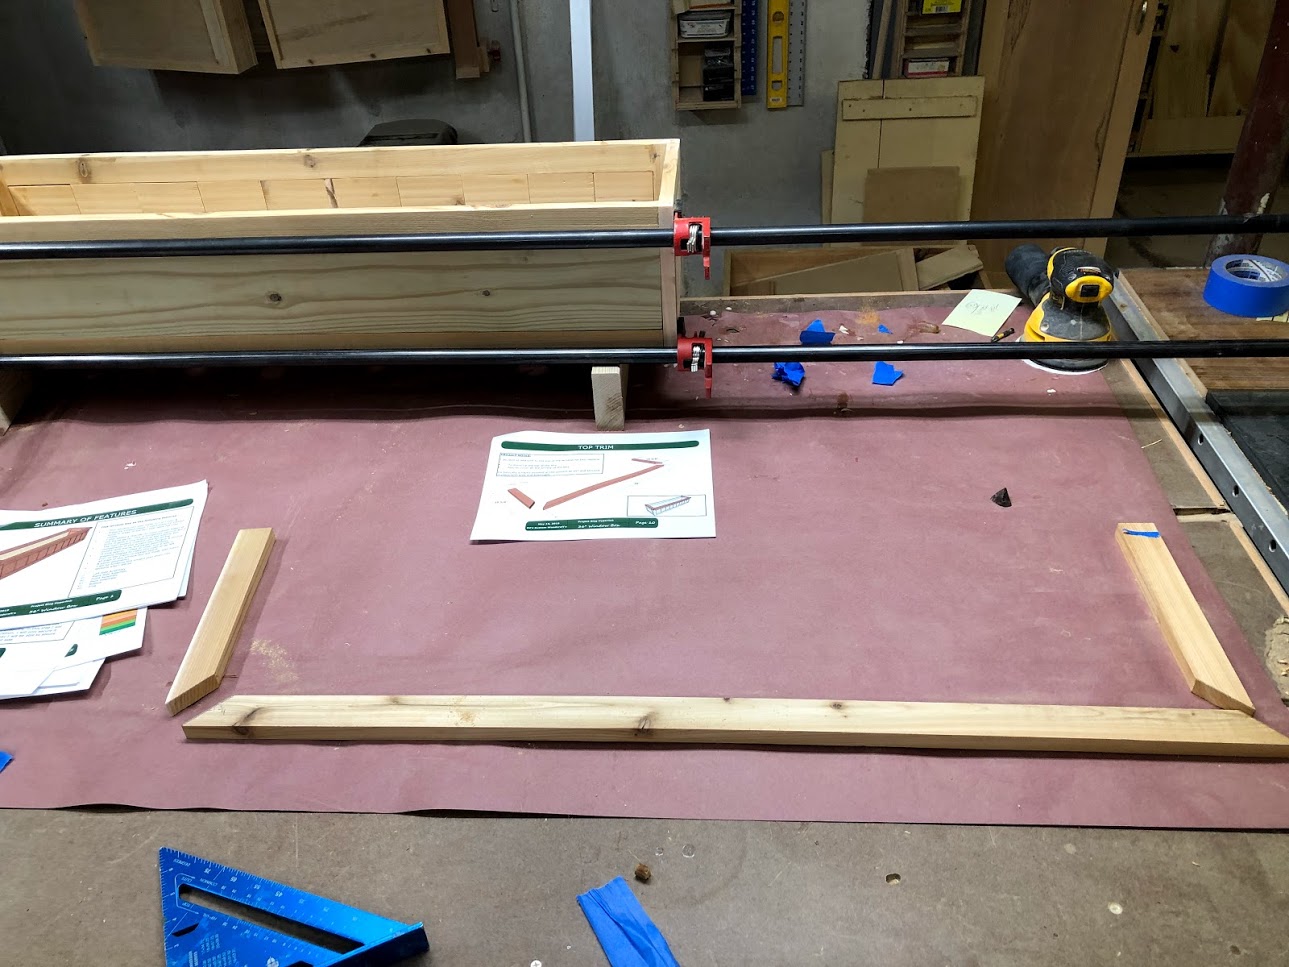
ADDING THE TOP TRIM
There is just something very clean when trim is added to a project so I decided to add trim to the top of the window box and again I used cedar so as to make it blend in with the rest of the box. I mitered the corners at 45° using my chop saw and then used glue and brad nails to secure the 3 pieces to the top of the box. I didn’t use any trim to the back as it would not be visible. I also made some cedar wood putty to cover all the brad nail holes in the trim this is something I do periodically you basically use some very fine sawdust of the species of wood you are using and then add wood glue to the dust which creates a paste then basically apply the putty to the are let dry then sand away the leftovers and it hides everything.
Well that wraps up phase 6 phase of the project I really hope you liked this project blog and it gives you some inspiration in making your next project. Although this project deals with me only making the large 40” window box I did make 2 more smaller boxes but these box are different as they are smaller at 24” and I used pressure treated lumber for their construction.

ALL FINISHED