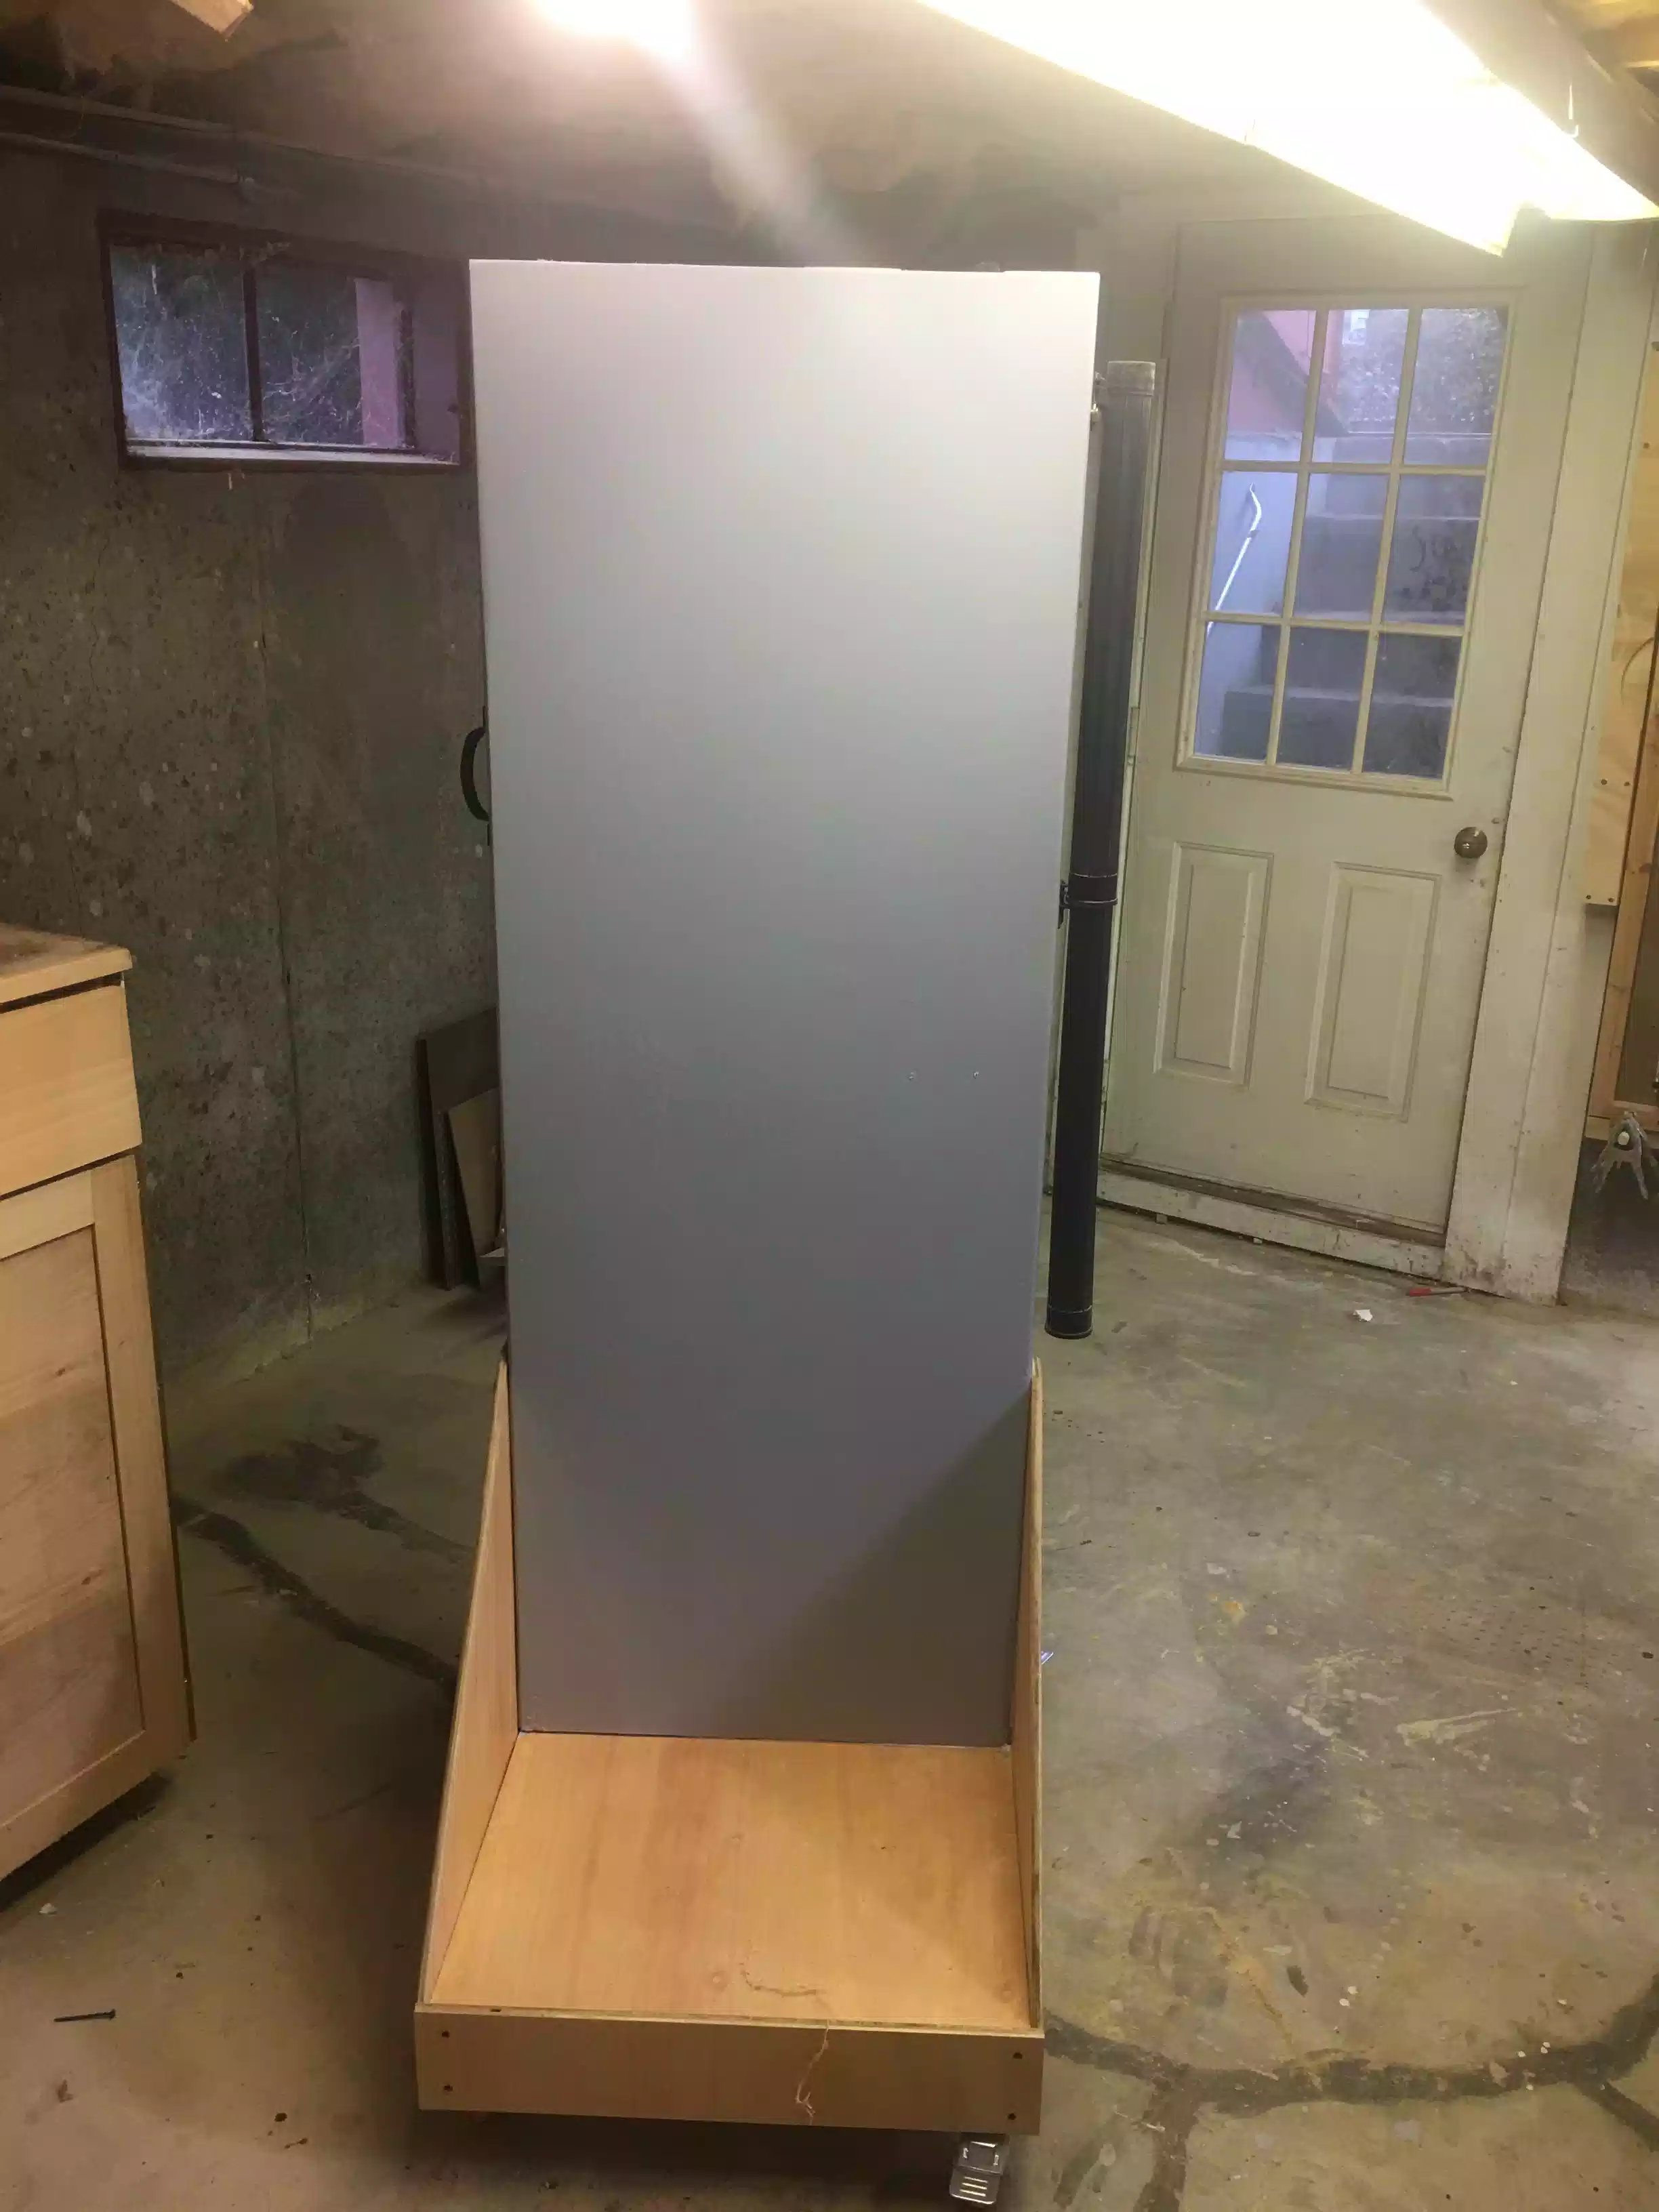
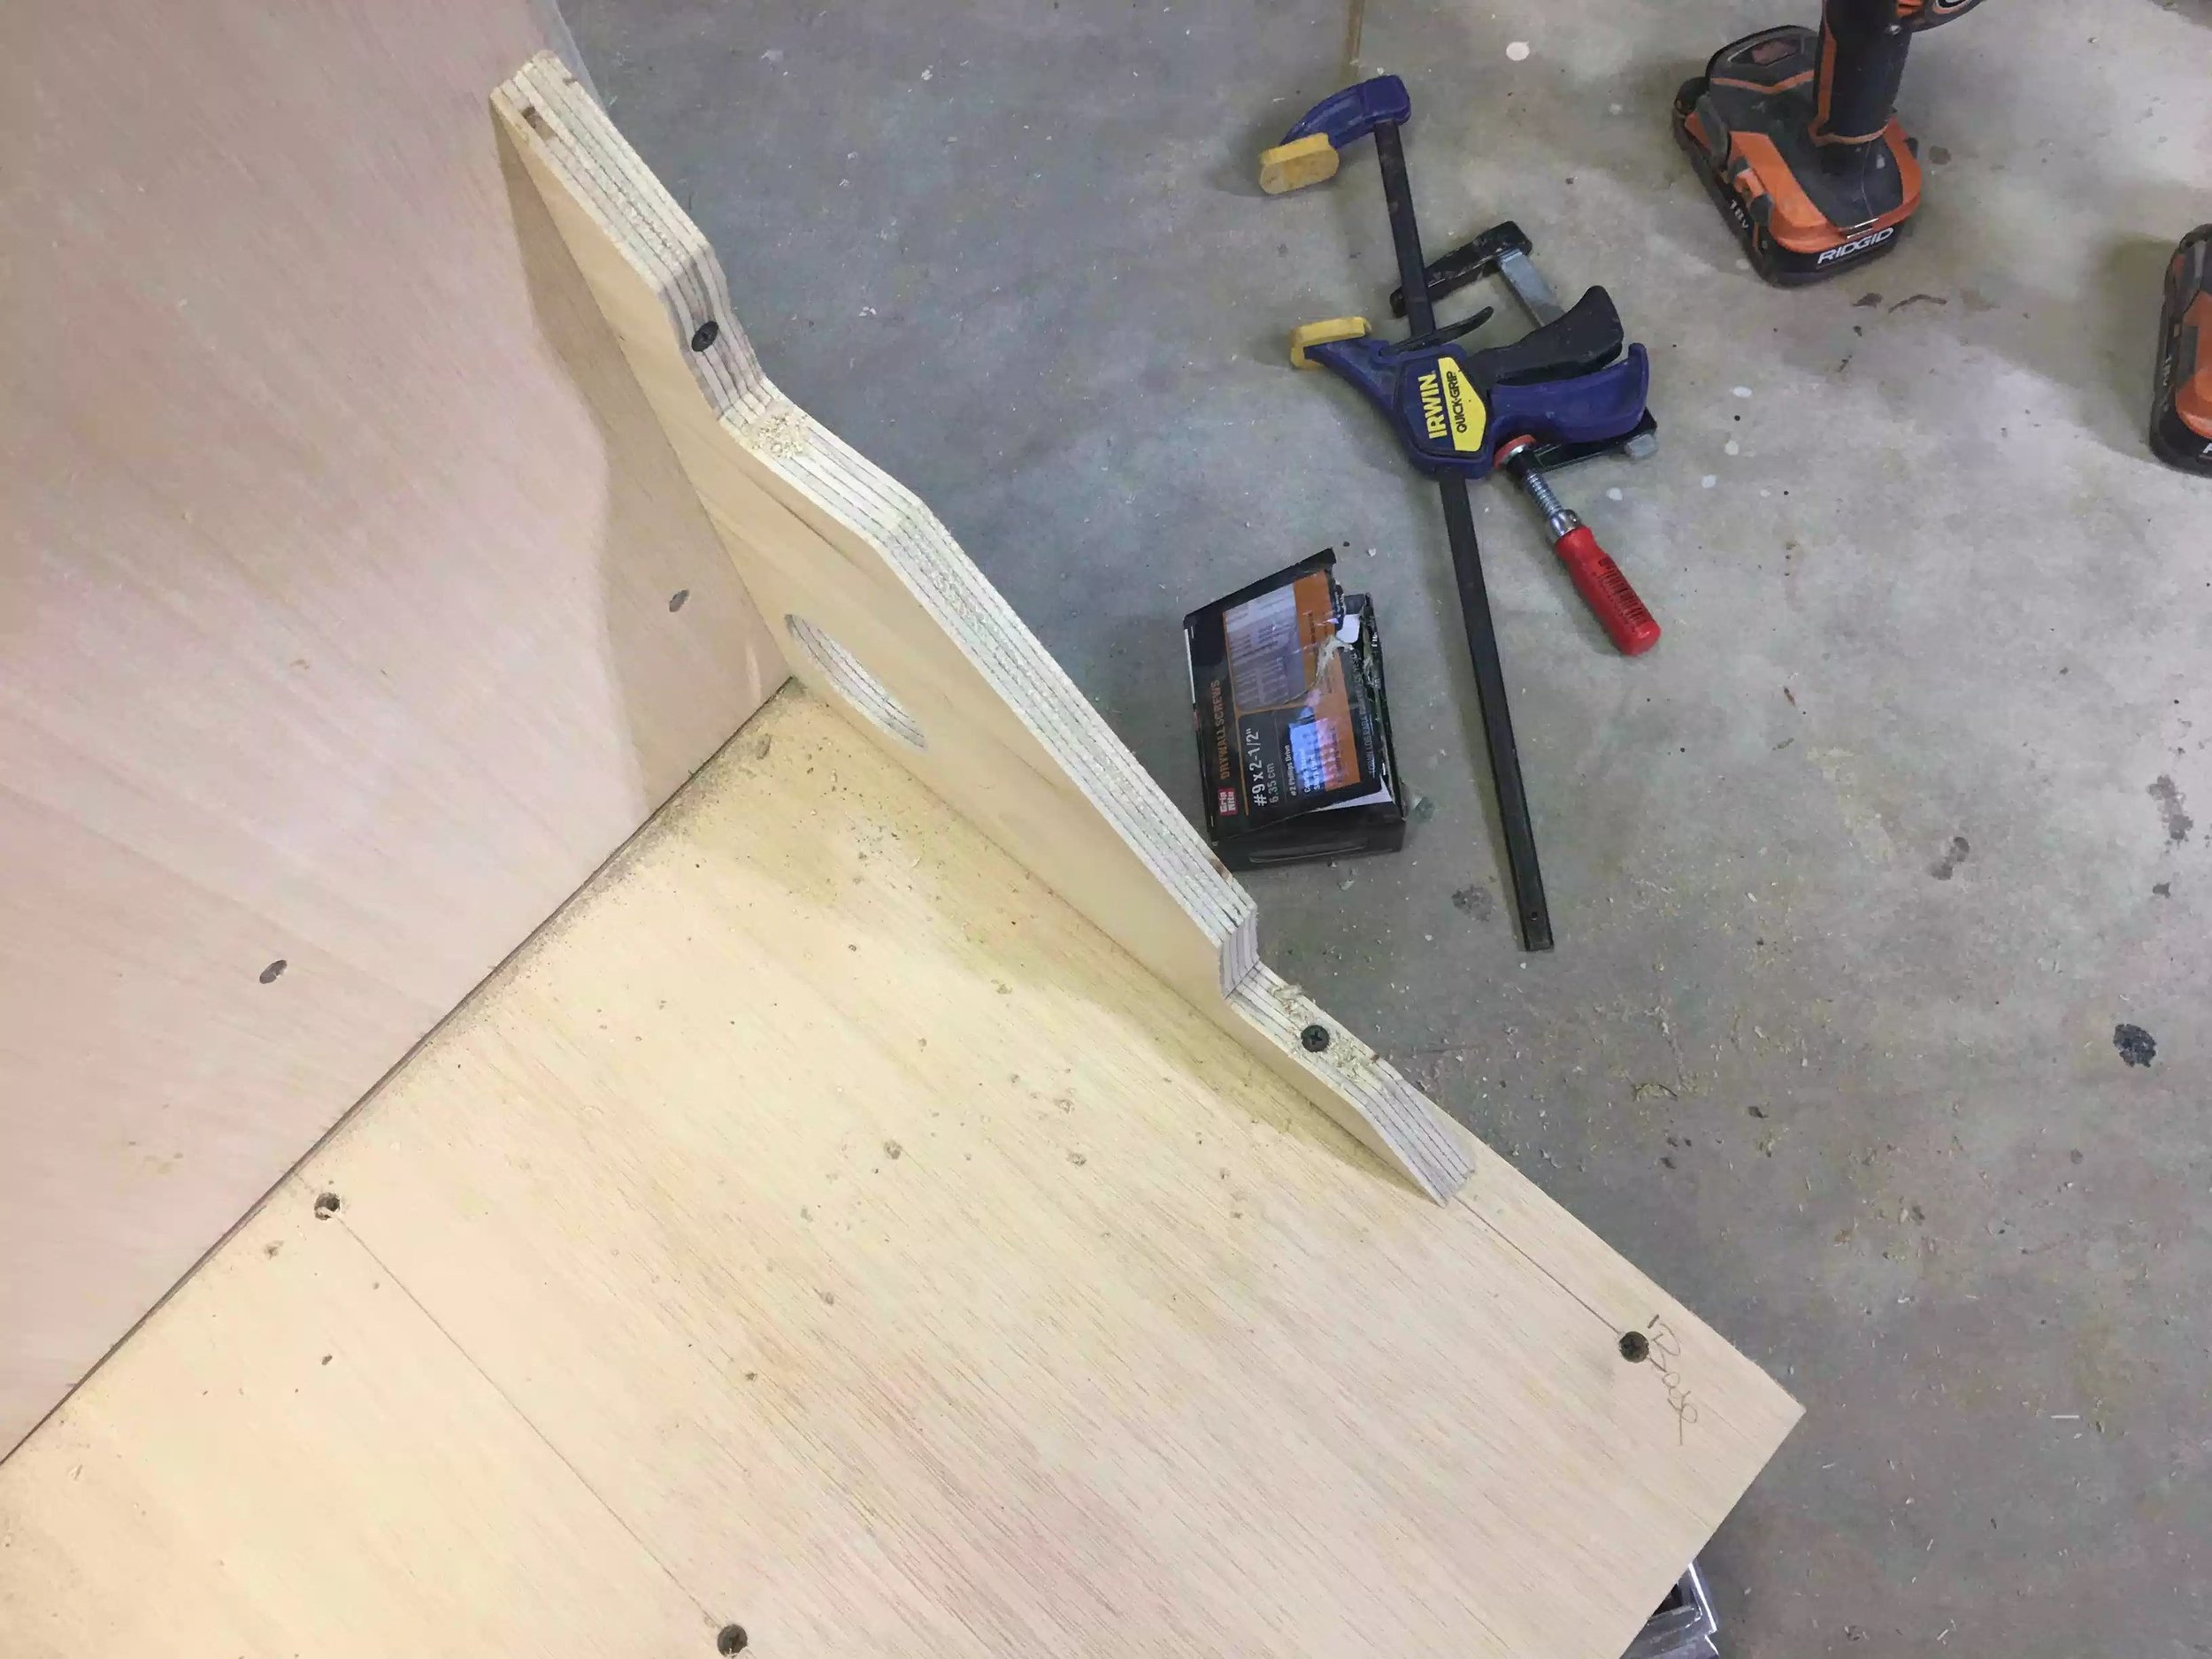
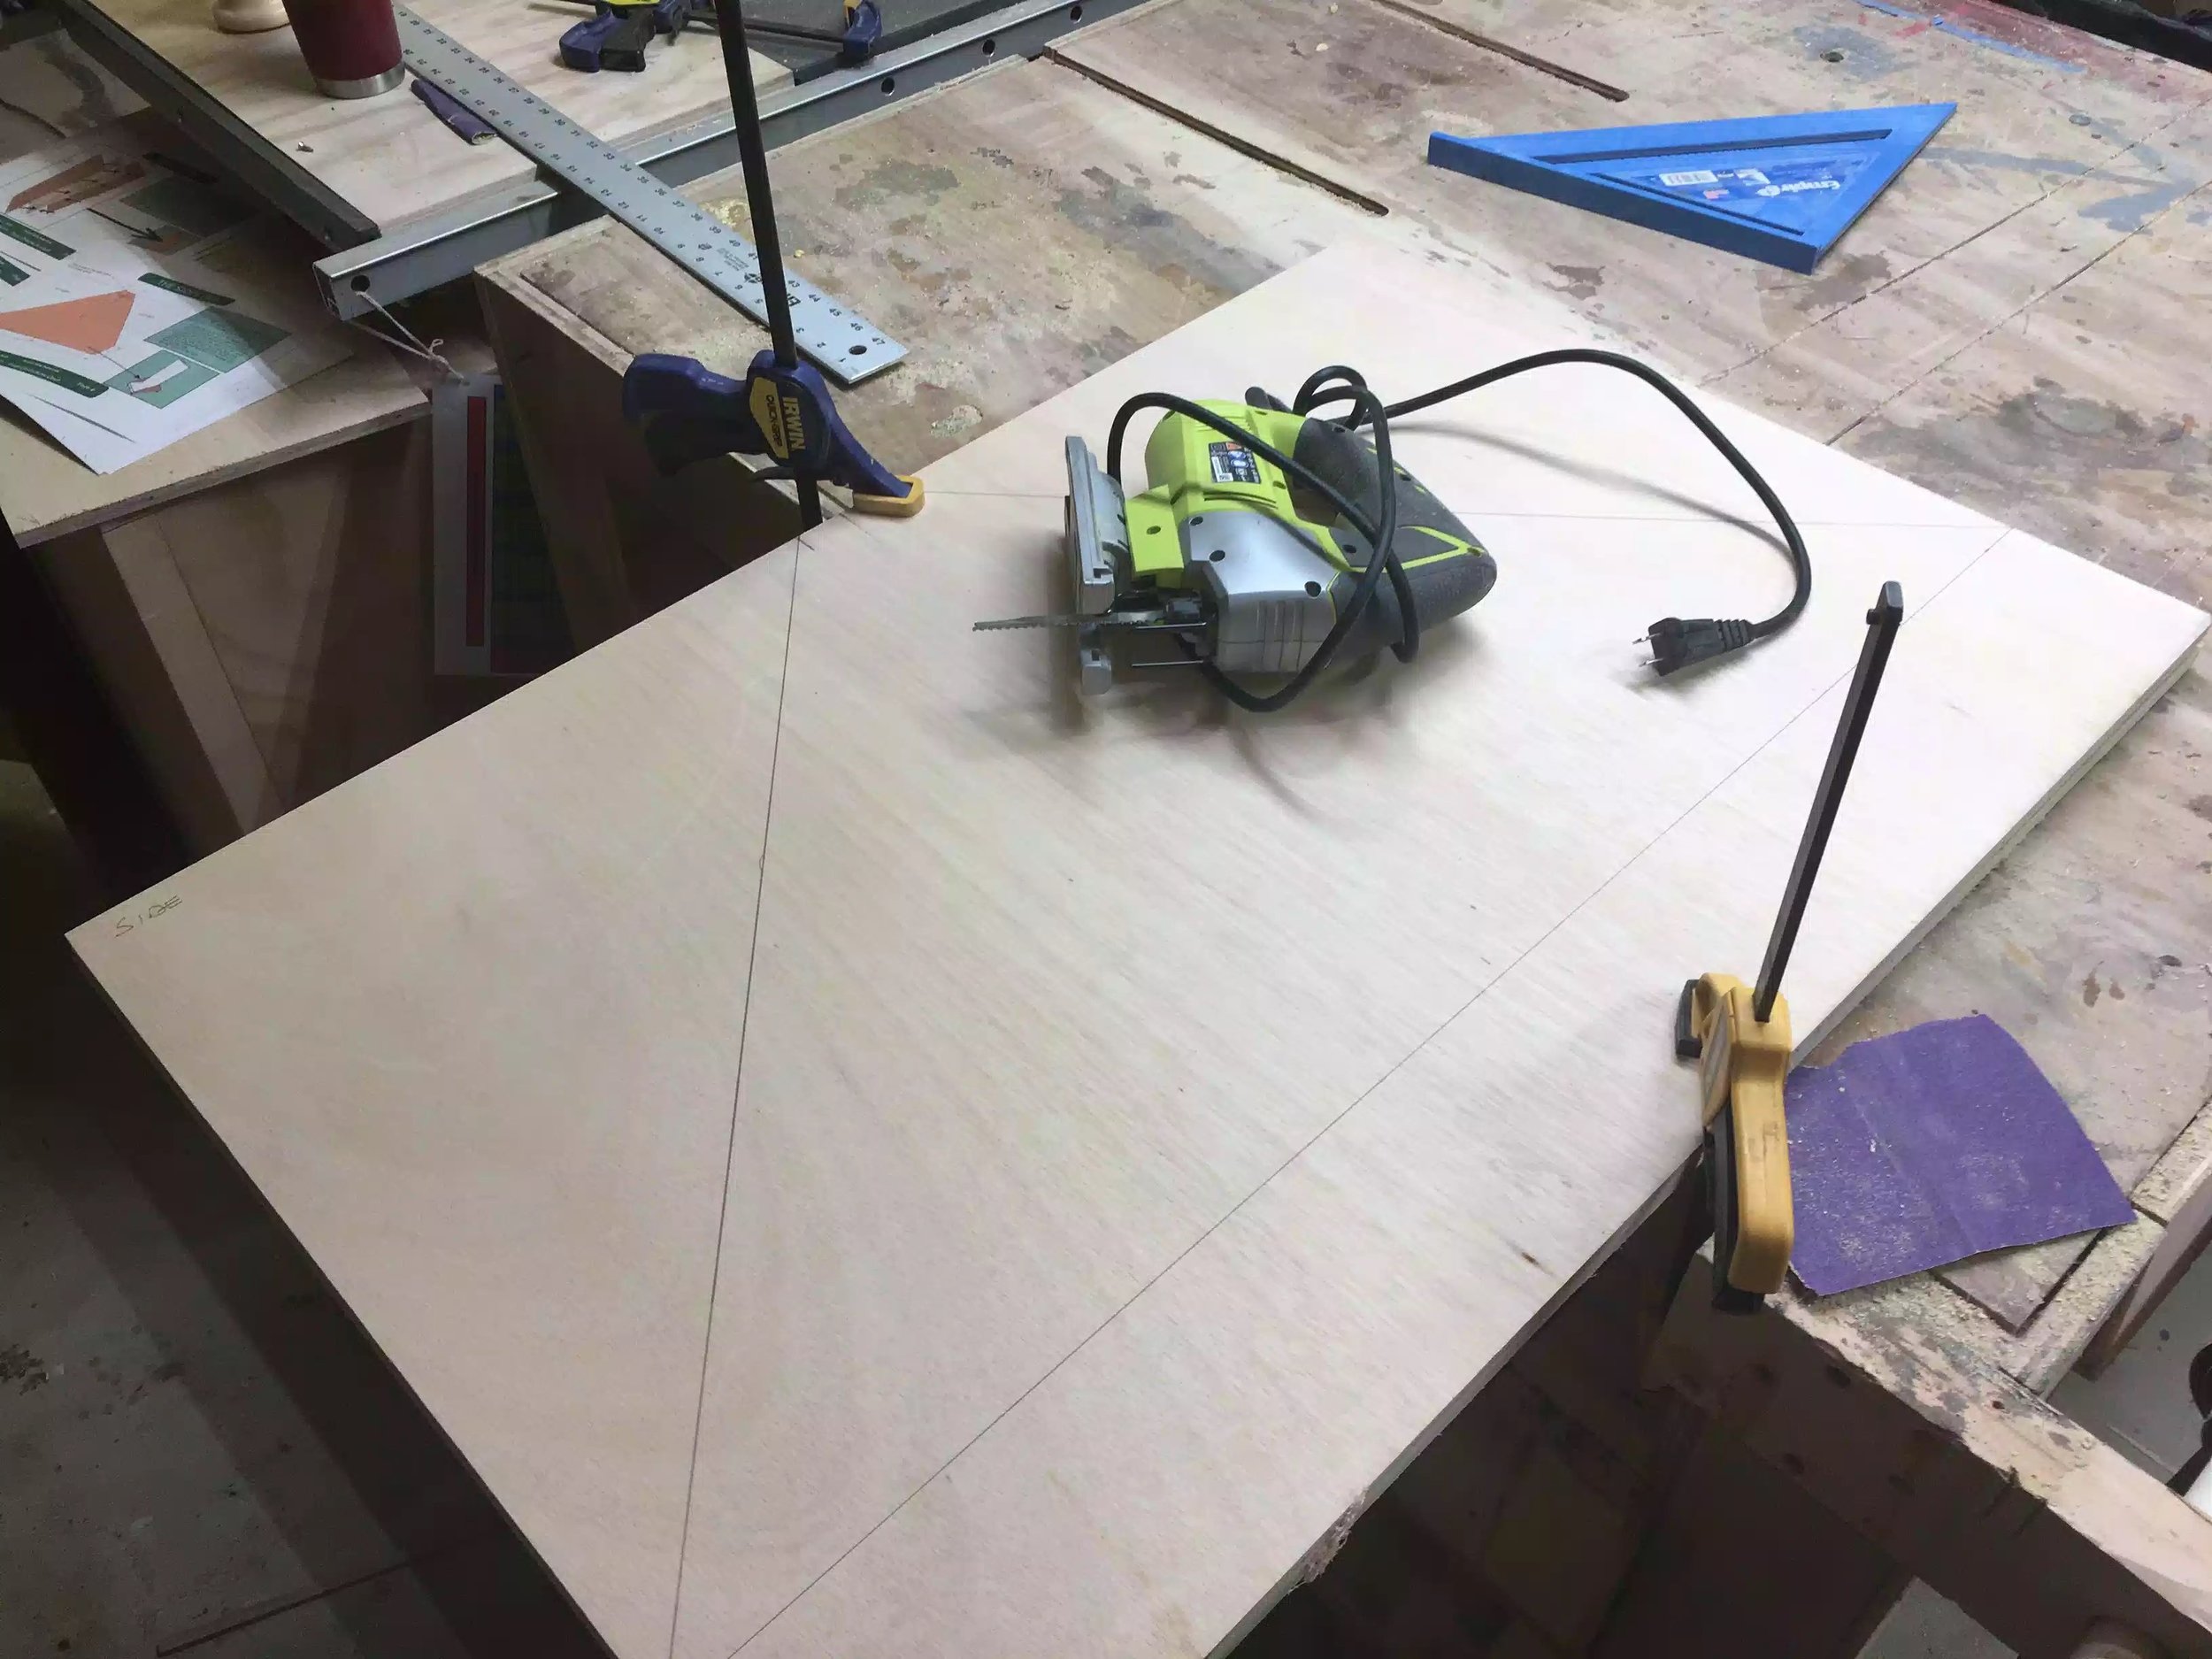
Back at the start of the month I purchased a new dust collection system which was the Dust Right System from Rockler and it works out great, the cart I also made for the unit is also working out great but the last time I left the Dust Collection shop upgrade project I had not hooked it up to any of my power tools as I needed to figure out that process.
Well today I went to my nearest Rockler store to purchase what I needed to hook the dust collection system upto my table-saw and I detailed it all below:
MATERIALS

Flexform Hose ; This hose runs from the elbow underneat the table-saw dust shute and into the Quick Connection for the dust collection system

The Flexform hose is the middle component


Here is the elbow this attaches directly to the table-saw dust shut and is held in place using the metal hose clamps, this really does provide an air tight seal around the dust shute where the saw dust is collected before being sucked up by the Dust Right collector.

Here is an image of the port, this is the port that I needed to attach to the Flex-form hose and is what I attach the dust collector hose that runs from the Dust Right Collector, it completes the dust collection loop from the table-saw to the dust collector

Here is the order of assembly The Quick Connect Dust Ports attaches to the flex-form hose which then attaches to the elbow and the elbow attaches directly to the table-saw dust shut under the saw.
HOOKING IT ALL TOGETHER
I will try and explain this the best way I can using layman’s terms.
Step 1: The Elbow is first up and I needed to get under saw to attach the elbow to the dust shute, the rubber end of the pipe is awesome because it allows you to fit it easily without wrestling with the OD of either the shute of elbow then you simply tighten the hose clamps until its nice and right.
Below is a picture I got of the internet this is not my saw but you can see the dust shute with the table-saw upside down

The dust shute is the 4” hole you see here in the center of the underside of the saw. This is where the elbow gets attached.
STEP 2 : The next step is to connect the 4” flex-form hose to the end of the elbow, I was surprised to pen the box to this part and not find any hose clamps in the box but luckily enough I still had some left over from when I purchased the dust collector, I used 2 one at each end to attach the hose to the elbow and the next step as well.


STEP 3 : My next step was to attach the Dust Right Quick hose port to the end of the flex-form hose, this is where my dust collector hose connects with the pipe and thus completing the circuit for dust collection to happen. I again used another hose clamp that I used on the other end of the hose , as seen above.

This recessed port allows the flex form pipe to connect to one end and the dust collectors hose to the other.
The only problem that I had to figure out was how to attach the this hose port to the left wing of the table-saw at a convenient height to connect my hose from the dust collector, I cam up with a temporary solution by tying the hose port to the left wing using twine but I will need a better solution, perhaps making a housing out of wood or something.
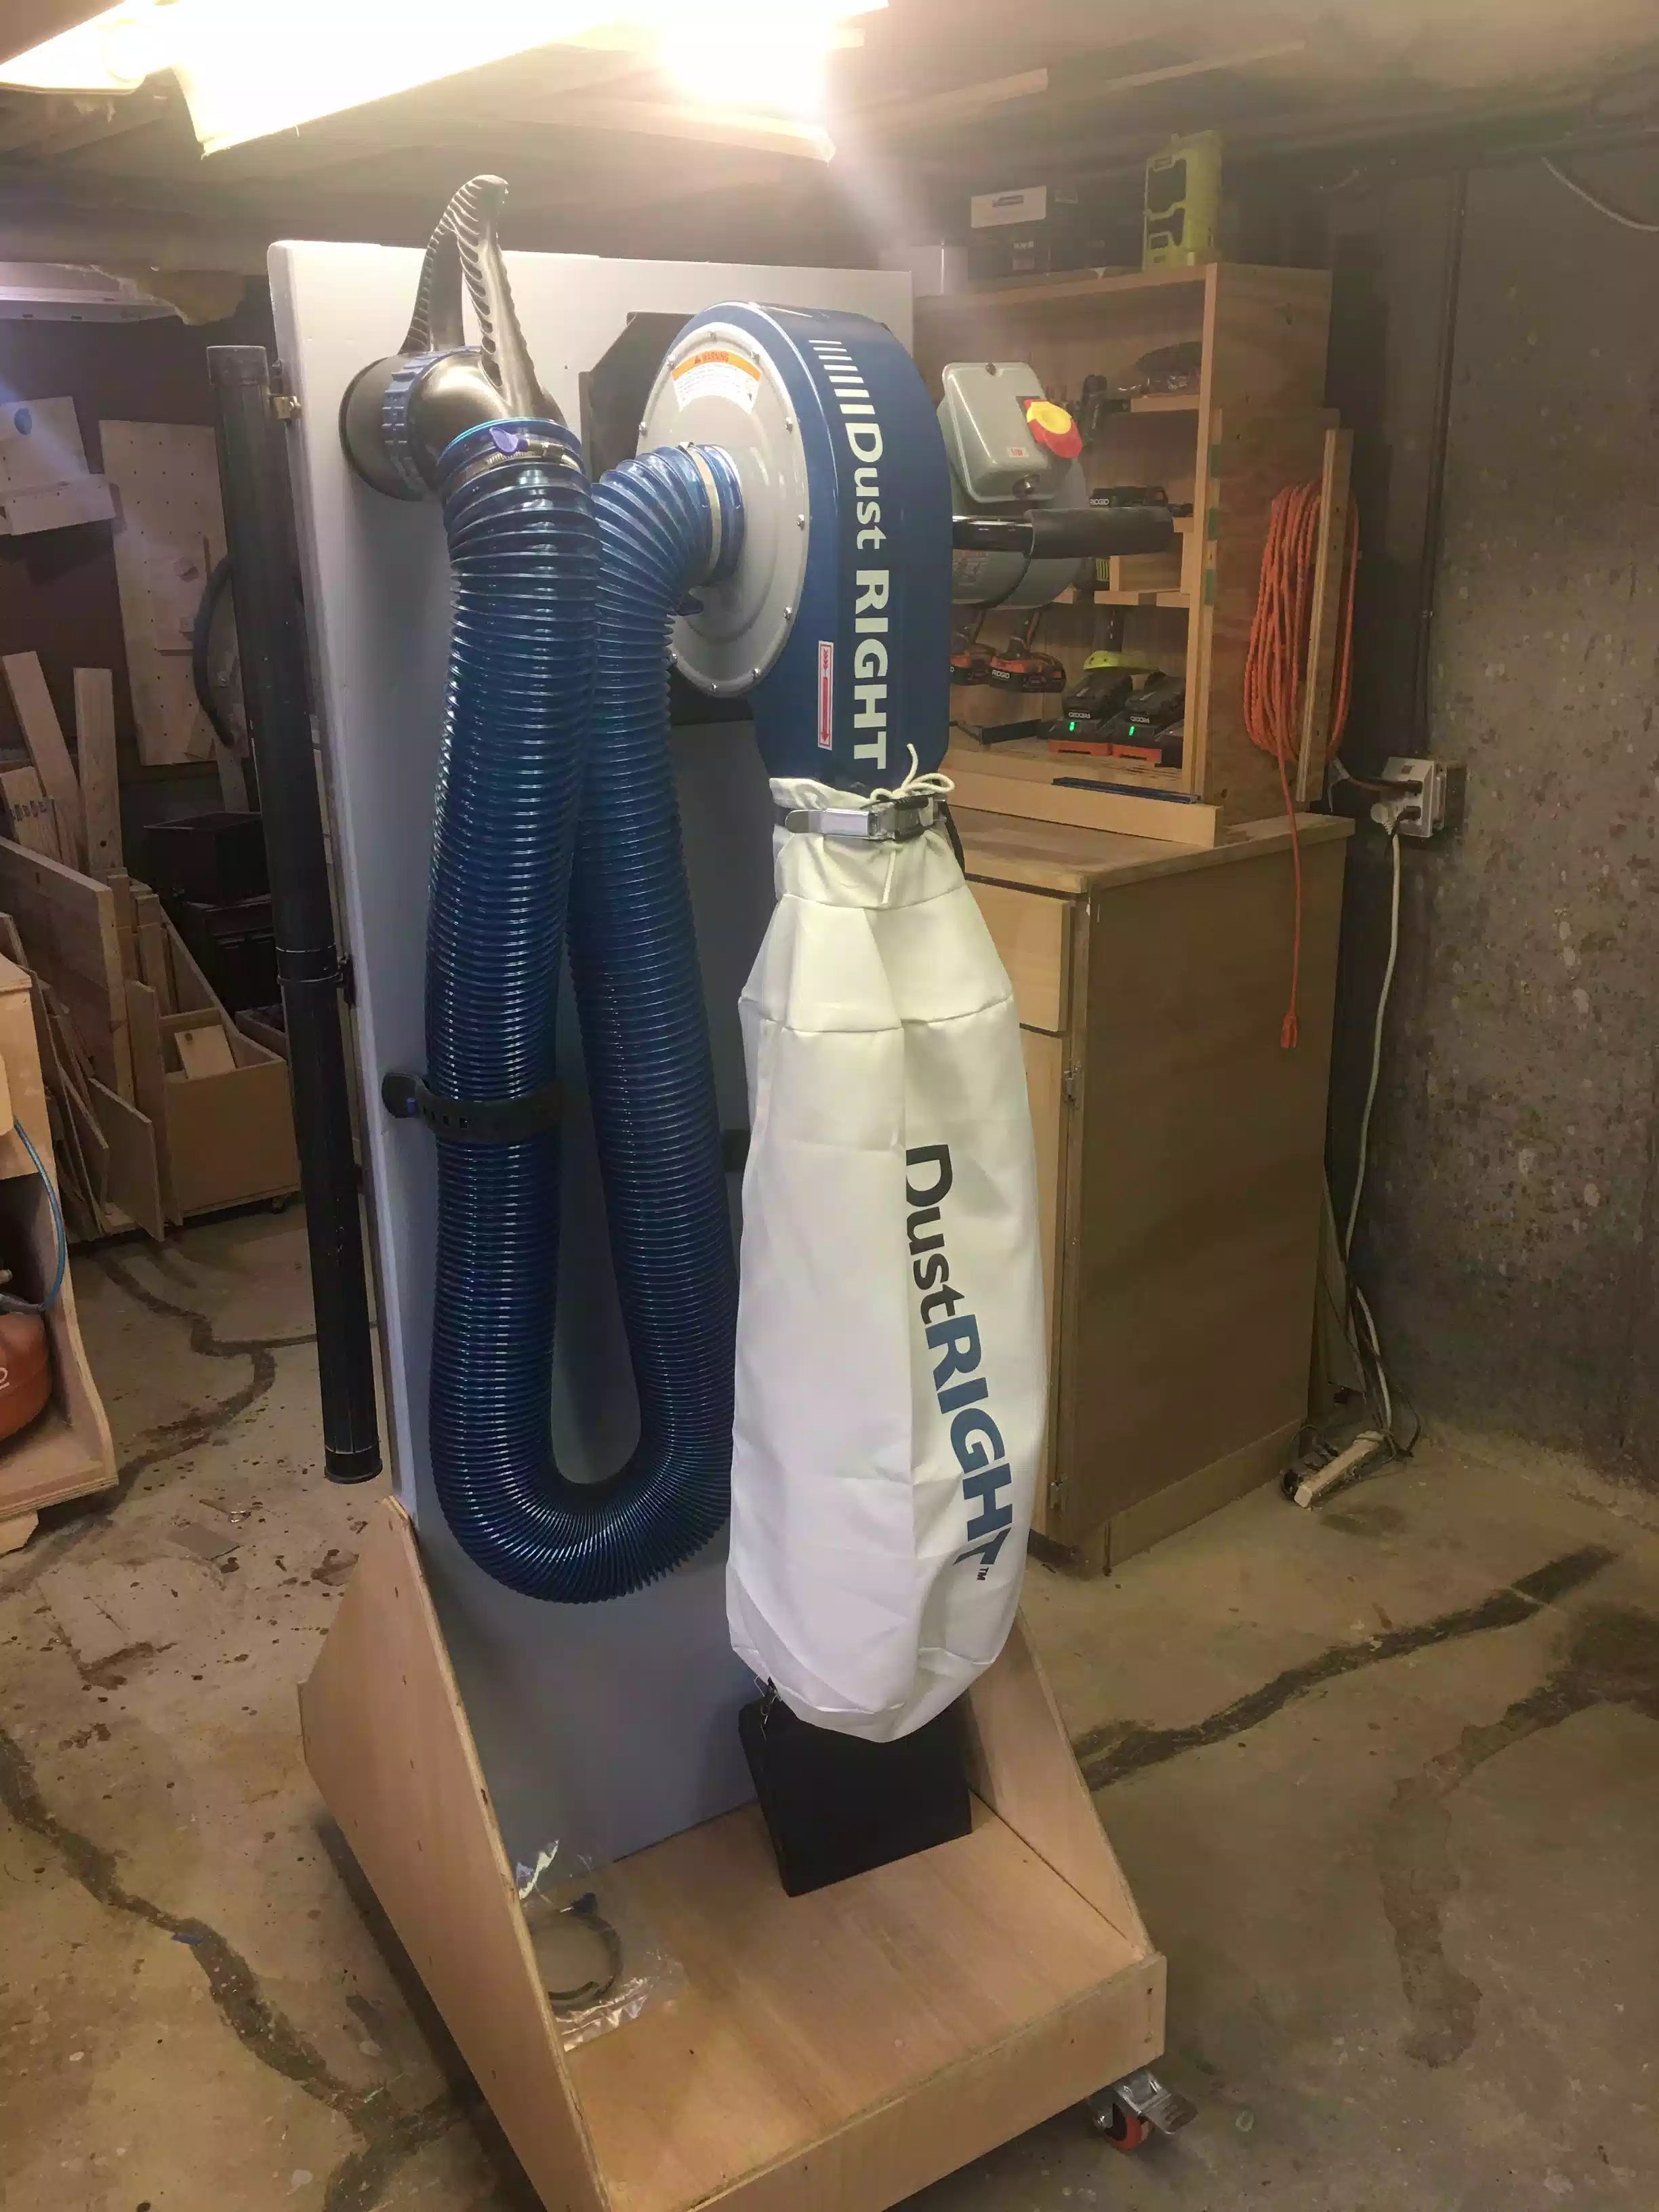
ALL CONNECTED
Below are some pictures of the finished assembly and I have to say that it works great, I fired up the dust collector and for the first time I am very happy to say that “it sucked” I ran a few test cuts through the table-saw and I didn’t see and saw dust after the cuts were completed, finally a dust collection system that works and my lungs will thank me for it in the years to come.

Here is the dust collector connected to the quick port that I have tied to the tablesaw.
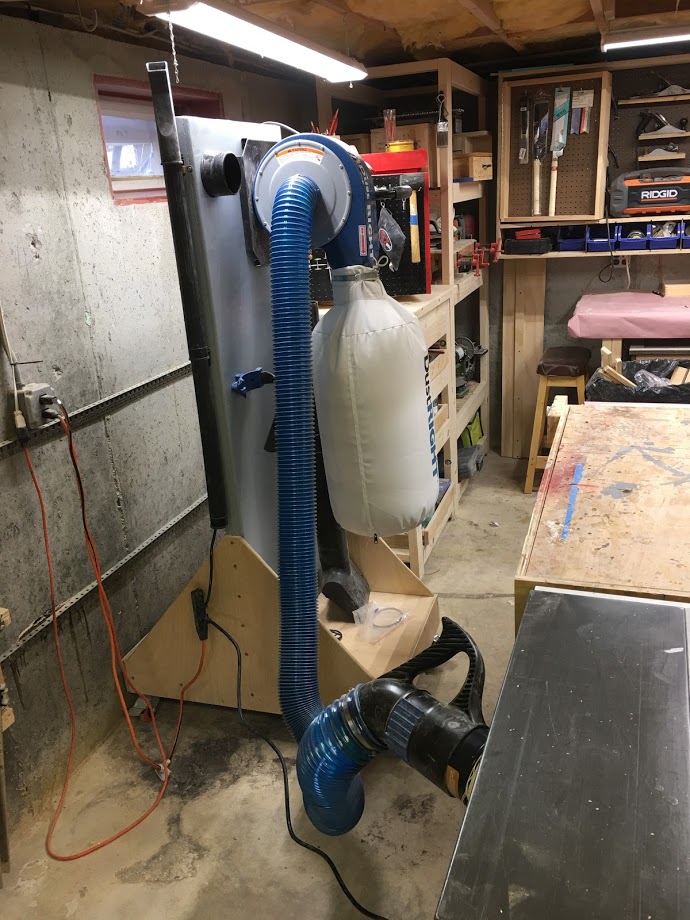
Here is the entire set-up and it works great.
One more item that I purchased for down the road was a dust separator which I will definitely need when planing wood, if you would like to learn more about this check out the below video. I can use it in connection with either a shop vac when using smaller hand power tools or the dust collector when hooking it up to the planer, it basically takes all the large wood chips out of the saw dust and puts it into the dust separator providing you with multiple benefits which are
Saves your filter on your shop vac so as that it doesn’t fill up or clog as often
You don’t have to empty your dust collection bag as often.

Fits nice and conveniently on my cart, if you want a link to this click here