

So now that I have everything that I need to get started on the build, I have broken down the build into the following sections:
Follow the cut-list
Make the Base
Make the Divider
Attach the Sides
CUT-LIST
Using my plans and cut-list it was time to start cutting everything to their final dimensions. My first stop was to the table-saw to cut all the plywood parts to final size.

Here is a picture of me cutting the plywood down.

Here is all the plywood cut down to their respective dimensions
Next I was over to the miter saw station to cut all the 2” x 4” lumber to their final dimensions.

Here you can see my miter saw station set-up, or part of it anyway lol

My miter saw station is one of my most used workstation because I can set-up repeatable cuts just like this one, I used my Kreg production stop to make quick work of cutting these dimensional lumber down to size.
So now that everything has been cut to its final dimension, well except for the sides (but more about that later).
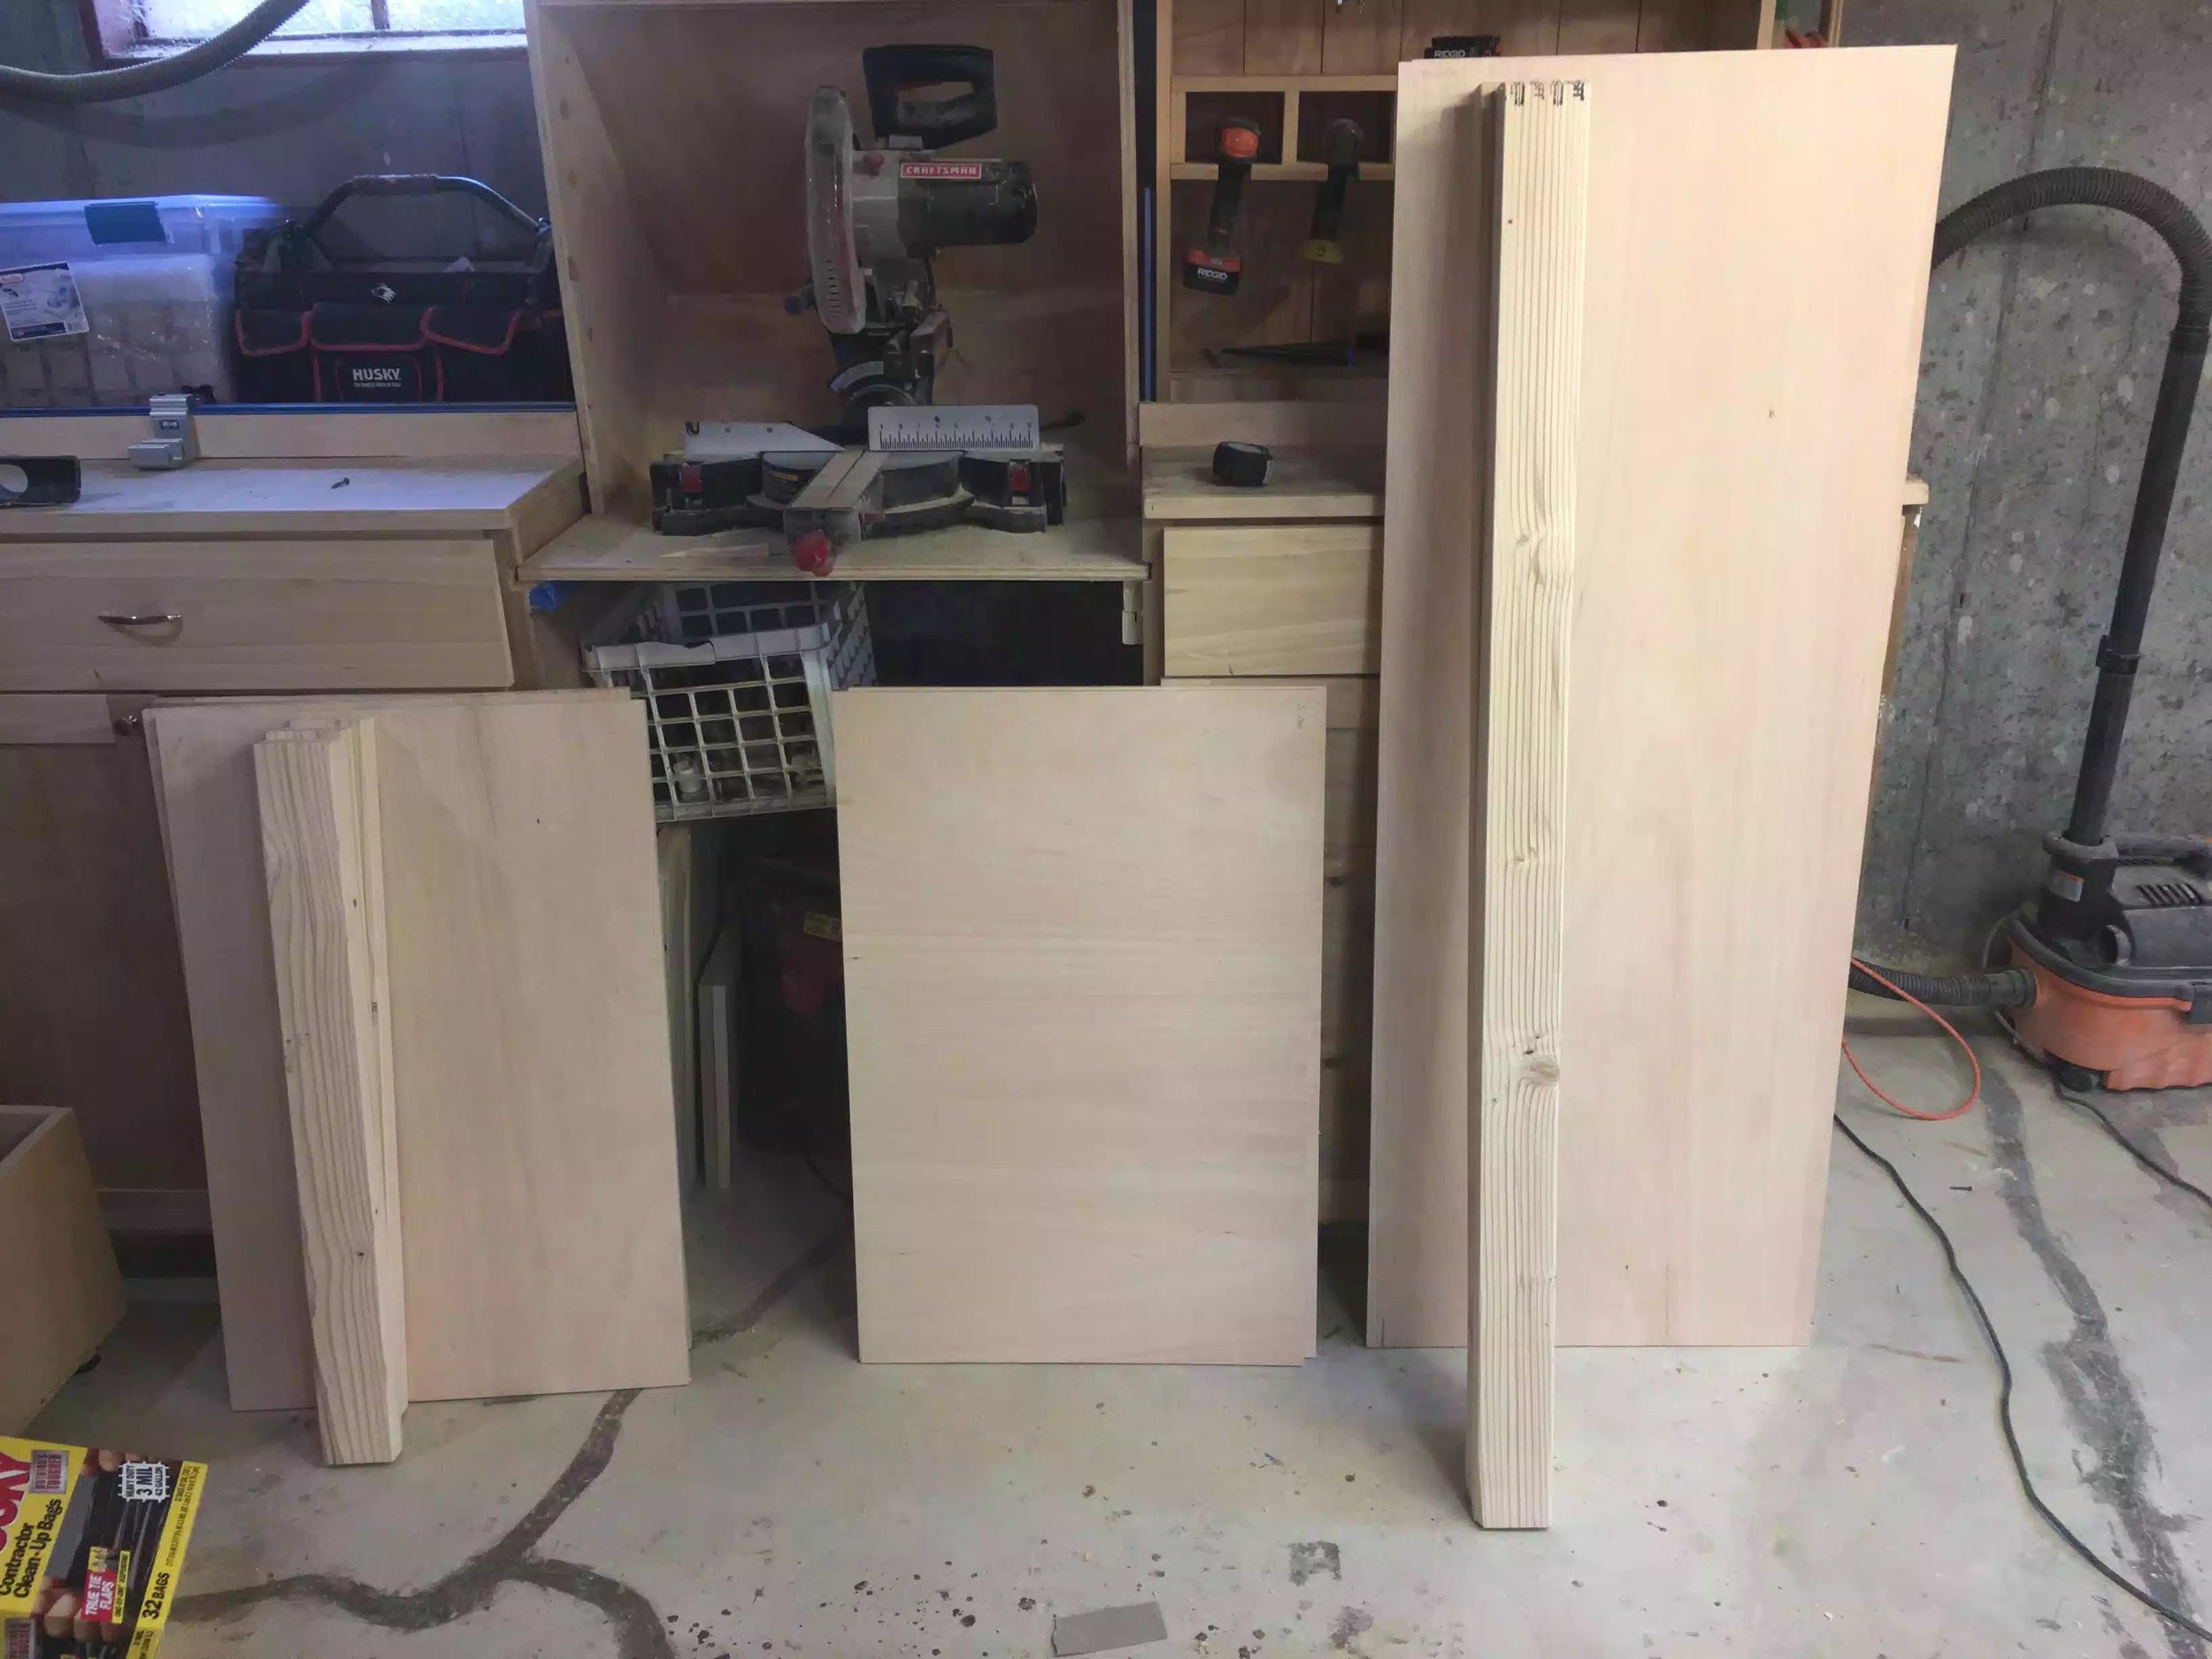
Here is all the sheet goods and lumber all cut to final size.
MAKE THE BASE
The base is basically a sandwich of plywood and 2x4’s glued and screwed together.
Step 1: I gathered my parts to make the base which were 2 plywood panels and 3 pieces of 2” x 4”. The plywood is positioned on the bottom and the top and in the middle is the 2”x4” positioned on their sides. I screwed through both bottom and top plywood sheets into the lumber sandwiched in the middle, I also applied glue to both edges of the lumber so as that when I screwed into the sheets the screws would act as clamps until the glue dried.

Here is the base with the plywood sheets on top and bottom with the lumber sandwiched in the middle, I clamped the plywood onto the lumber while screwing everything together, glue was also added. I counter-sunked the screws because I will be coming back and filling all these holes later on in the project.

Here is another picture of the base, you can see where I placed all the counter-sunked screws.
ADDING CASTORS
Almost everything in my shop is mobile mainly because I work alone I need all my large shop furniture to be easily moved about to make shop layout a little easier.
In the past when adding castors I usually used lag bolts and nuts to attach the castor’s to the bottom of whatever it is I am making, but I am tired of pre-drilling holes and making sure that I have enough clearance for the nuts to not interfere with the mobile aspect of the project.
But over the last 2 projects I have using self taping hex head screws and they have been working great, below you can see the screw type that I am referring to and they can be purchased at any home center.

Here is the self tapping screw, I just add a washer and using my driver I screw them home.


A real close-up of the Hex Head self tapping screw

Here is one oft he 3” casters that I will be using to make the whole cart mobile.

All casters positioned and ready to roll

Here is the completed Base
THE DIVIDER
Again the divider will act as a wall in which I secure the Dust collector on and everything else that I can fit, the construction of the divider is very much the same as the base with a few subtle differences
Its bigger
The 2” x 4” lumber is laid flat and not on its edge
The plywood is screwed into the lumber from the front and then glue is used to hold everything together, the screws again acts as clamps.
I used my hand held trim router to round-over the sides of the divider so as that they are nice to the touch.

I didn’t spare any glue on this glue-up but this is a look at how the divider was constructed, I did place a few countersunk screws into the lumber to hole it in place so as that I could flip the divider to the other side and attach the other panel.
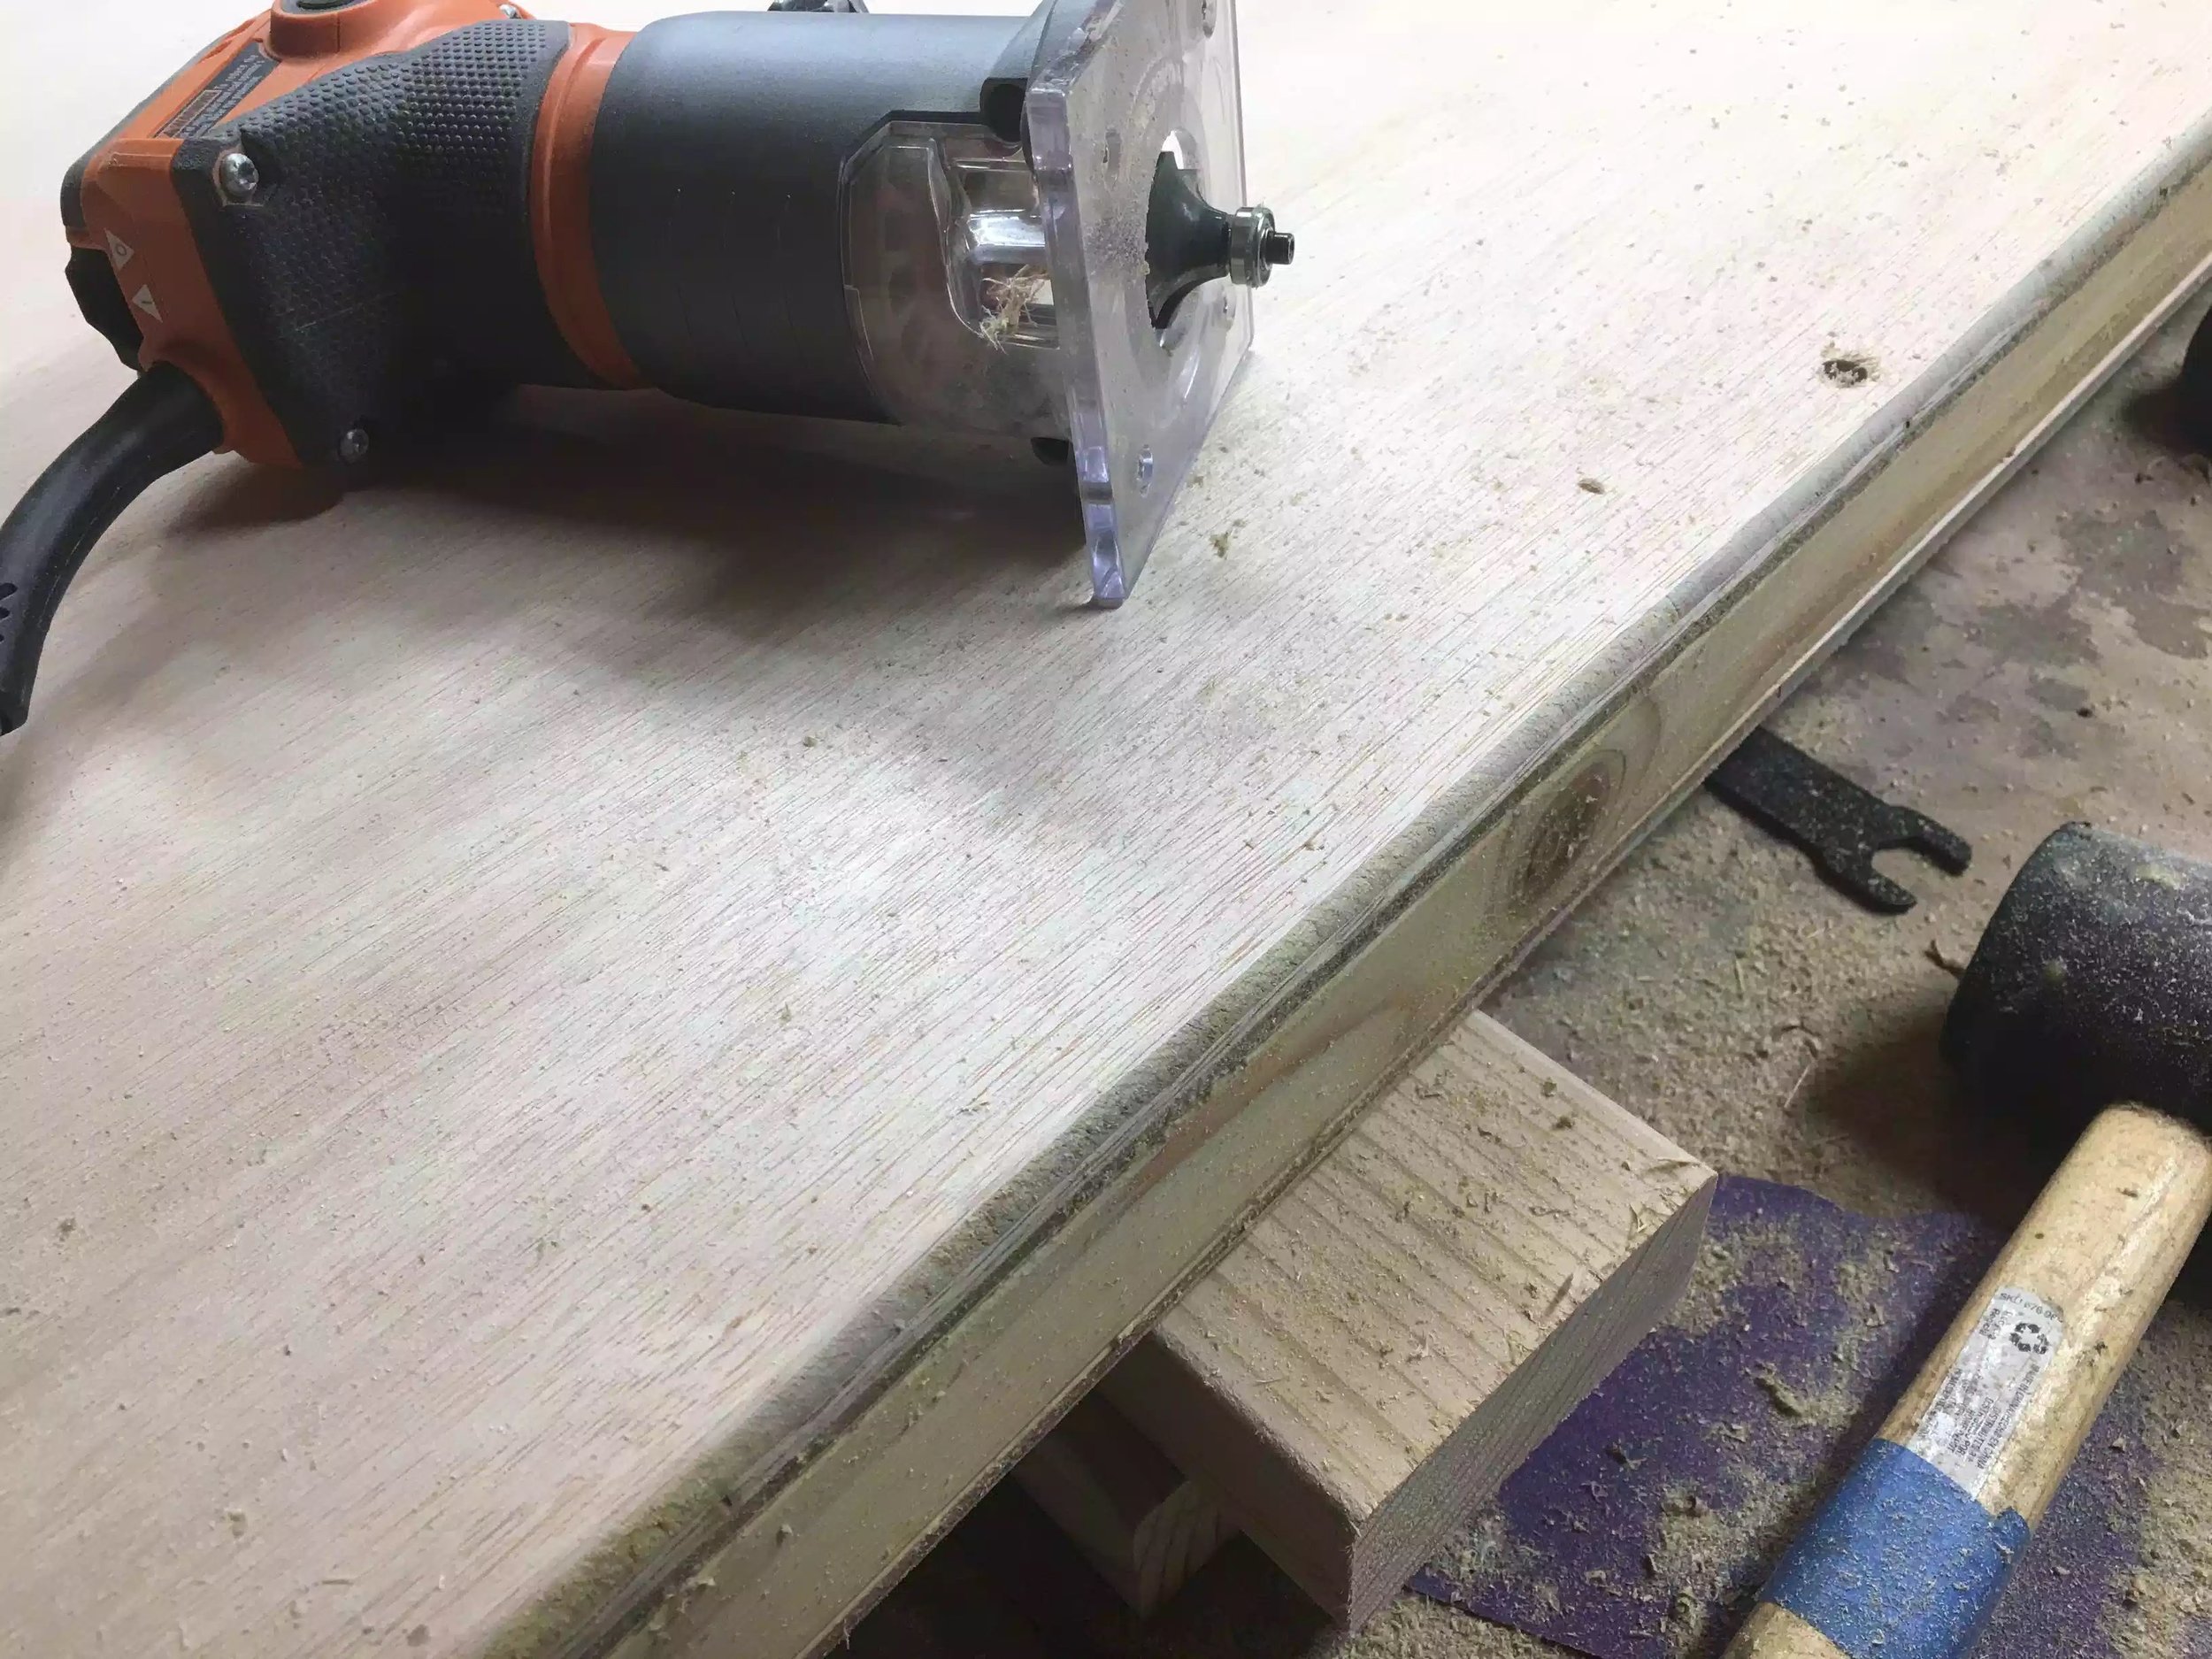
Here is a close-up of the round-over, Ill come back later and sand everything down

Both panel;s have been attached and I about to use my router to round-over the sides of the divider.

Here is the divider sitting on the base, it has not been secured yet that is why I am using some shop made right angle holders.

POSITIONING THE DIVIDER ON THE BASE
In order to make the sides I needed to position the divider on the base and make sure that everything lined up when i went to attach the sides.
In the above picture you can see that I used a unique clamping method these little helpers are a must have on a big projects like these as they act as another set of hands. I basically clamped these supports so as that I could position the divider in the middle of the base, but the clamps posse a major problem, since I need to attach the sides by screwing them from the outside of the plywood panel the clamps were in the way, its funny how you can never imagine all the problems of a build until your building, so my solution was to remove the clamps and basically screw the right angle supports into the base and the divider.
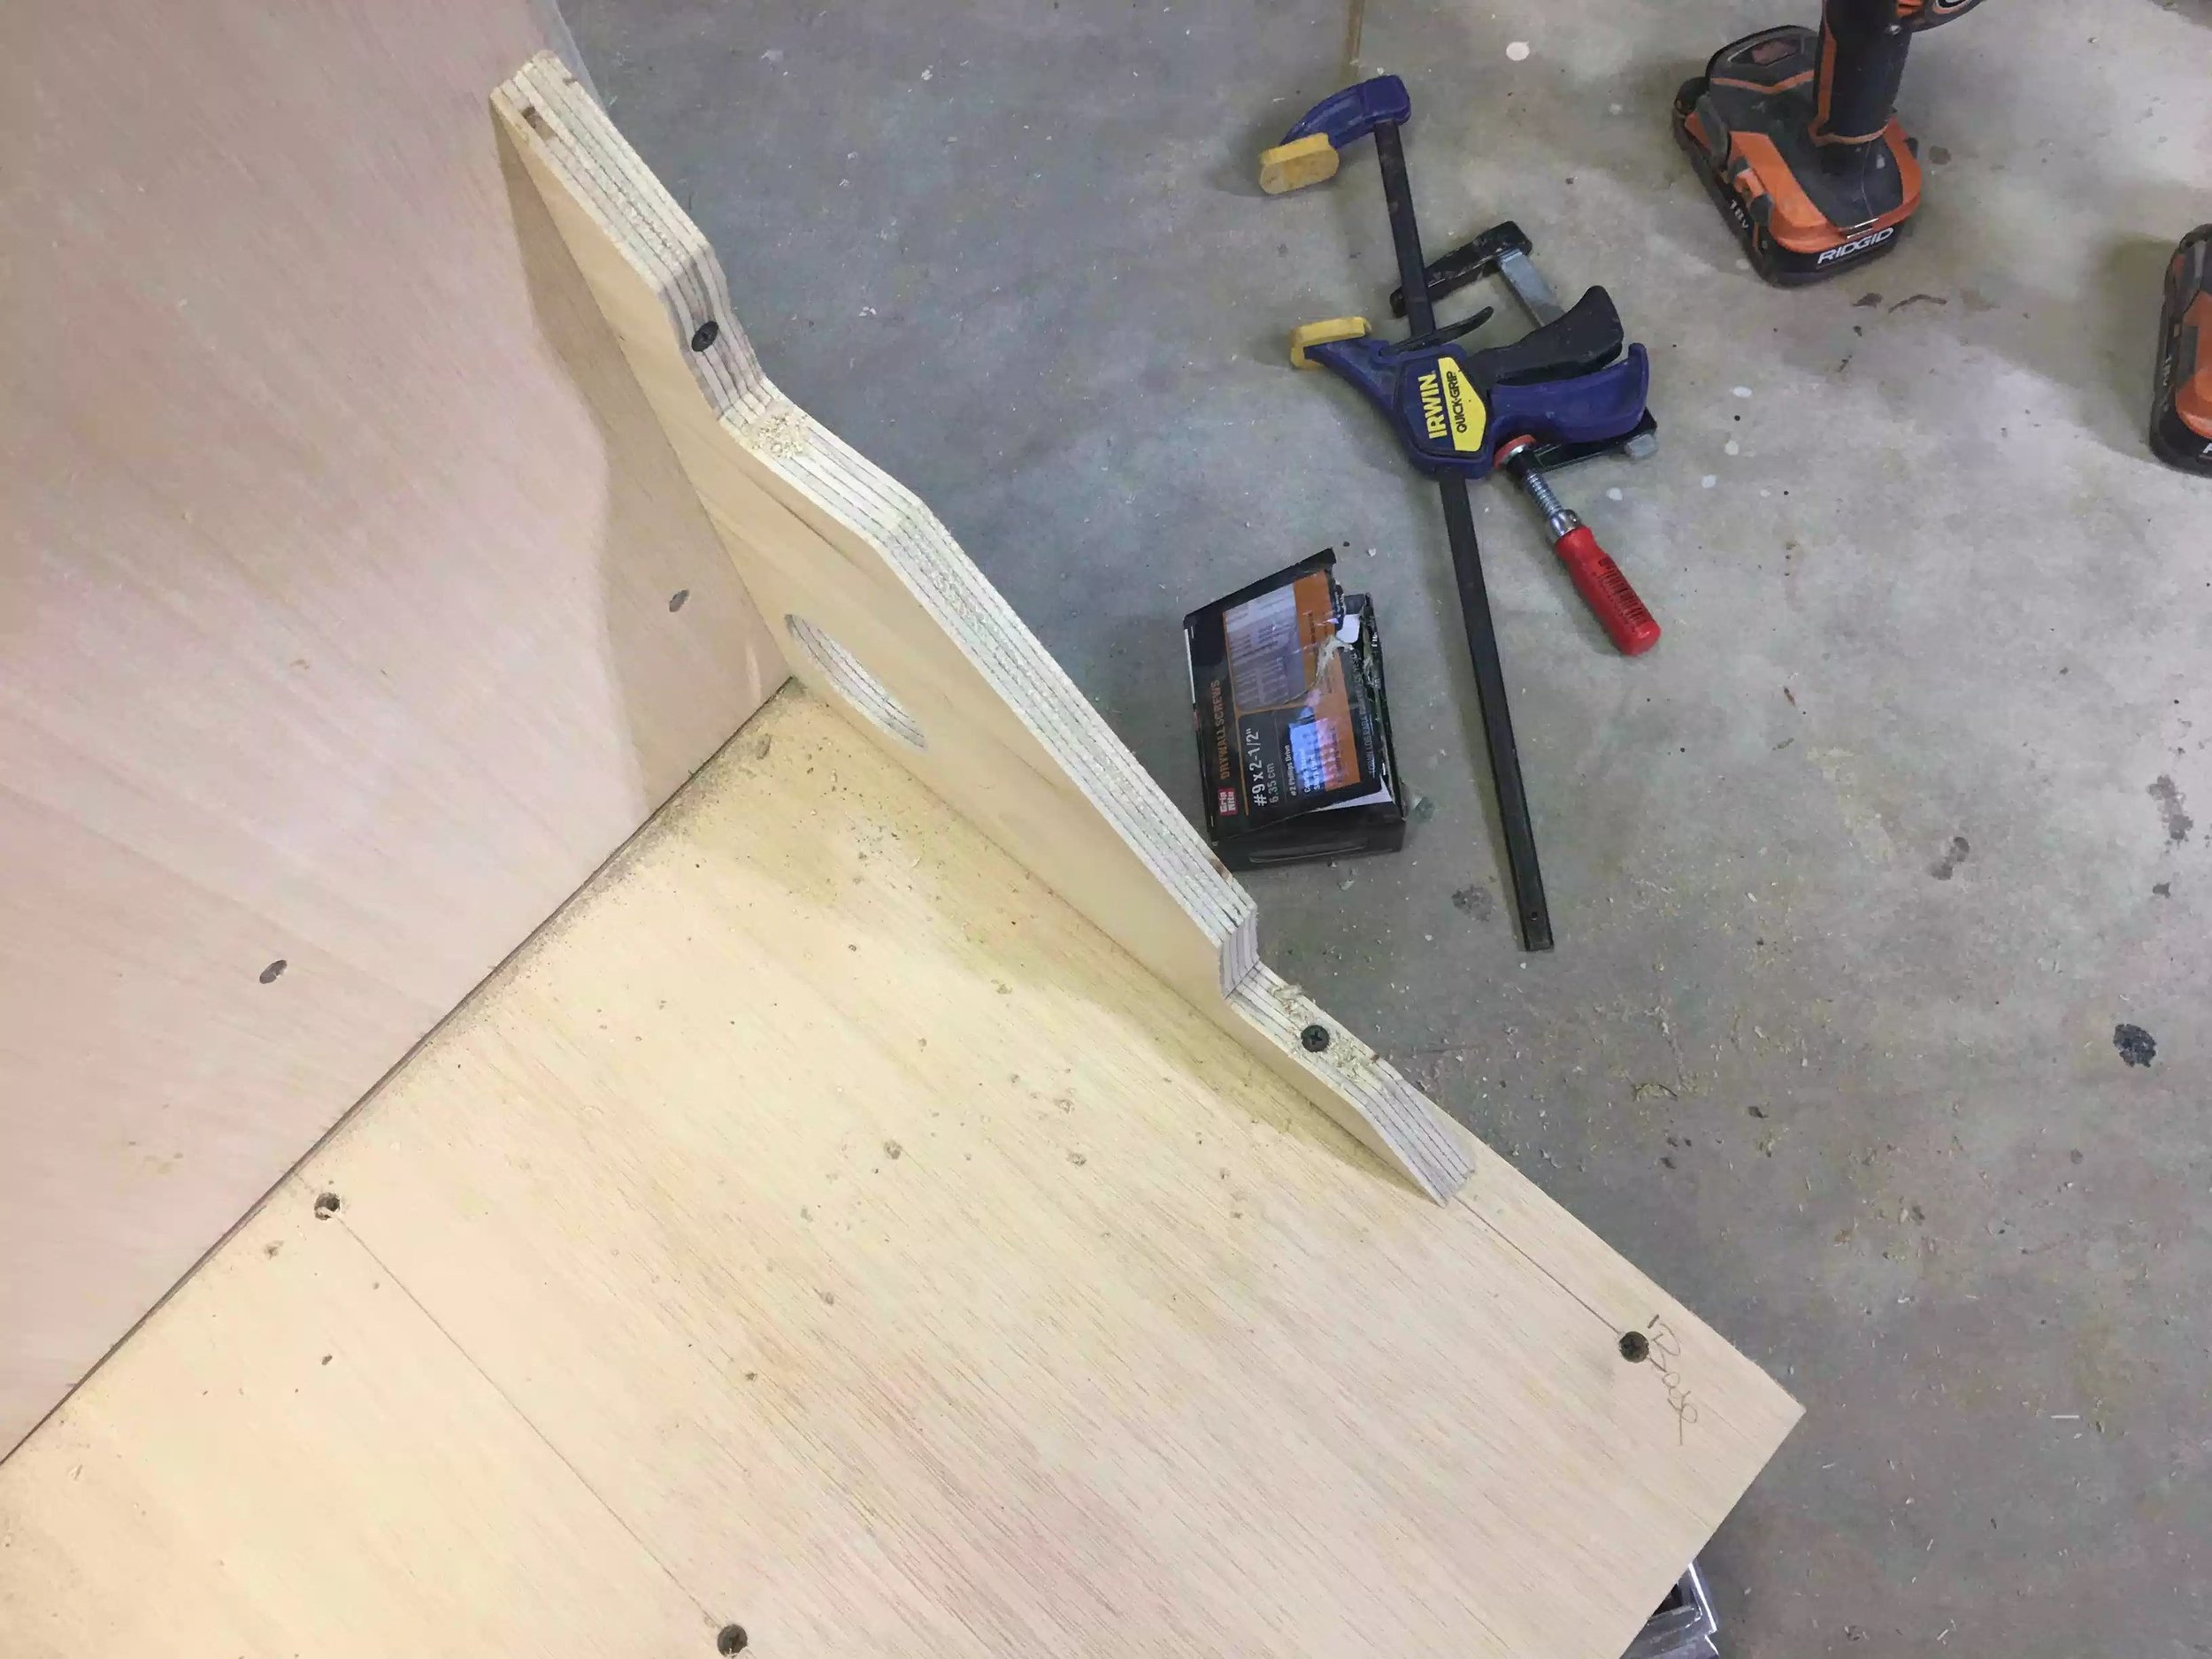
Here you can see the screws holding the right angled support in place allowing me free access to the sides without any hindrance.

Here is another images, whoops I cracked one of the supports

Everything plum and square
Now that I can stabilize the divider it was time to move onto making the sides.
THE SIDES
The sides are probably the most important part of this construction because it holds everything together, since I did not attach the divider to the base I need the sides to hold all the weight of the divider.
The sides are basically 2 big triangles that I cut out with my jigsaw and then as usual glue and screwed them into place from the outside of the side panels.

A little lay-out work is needed
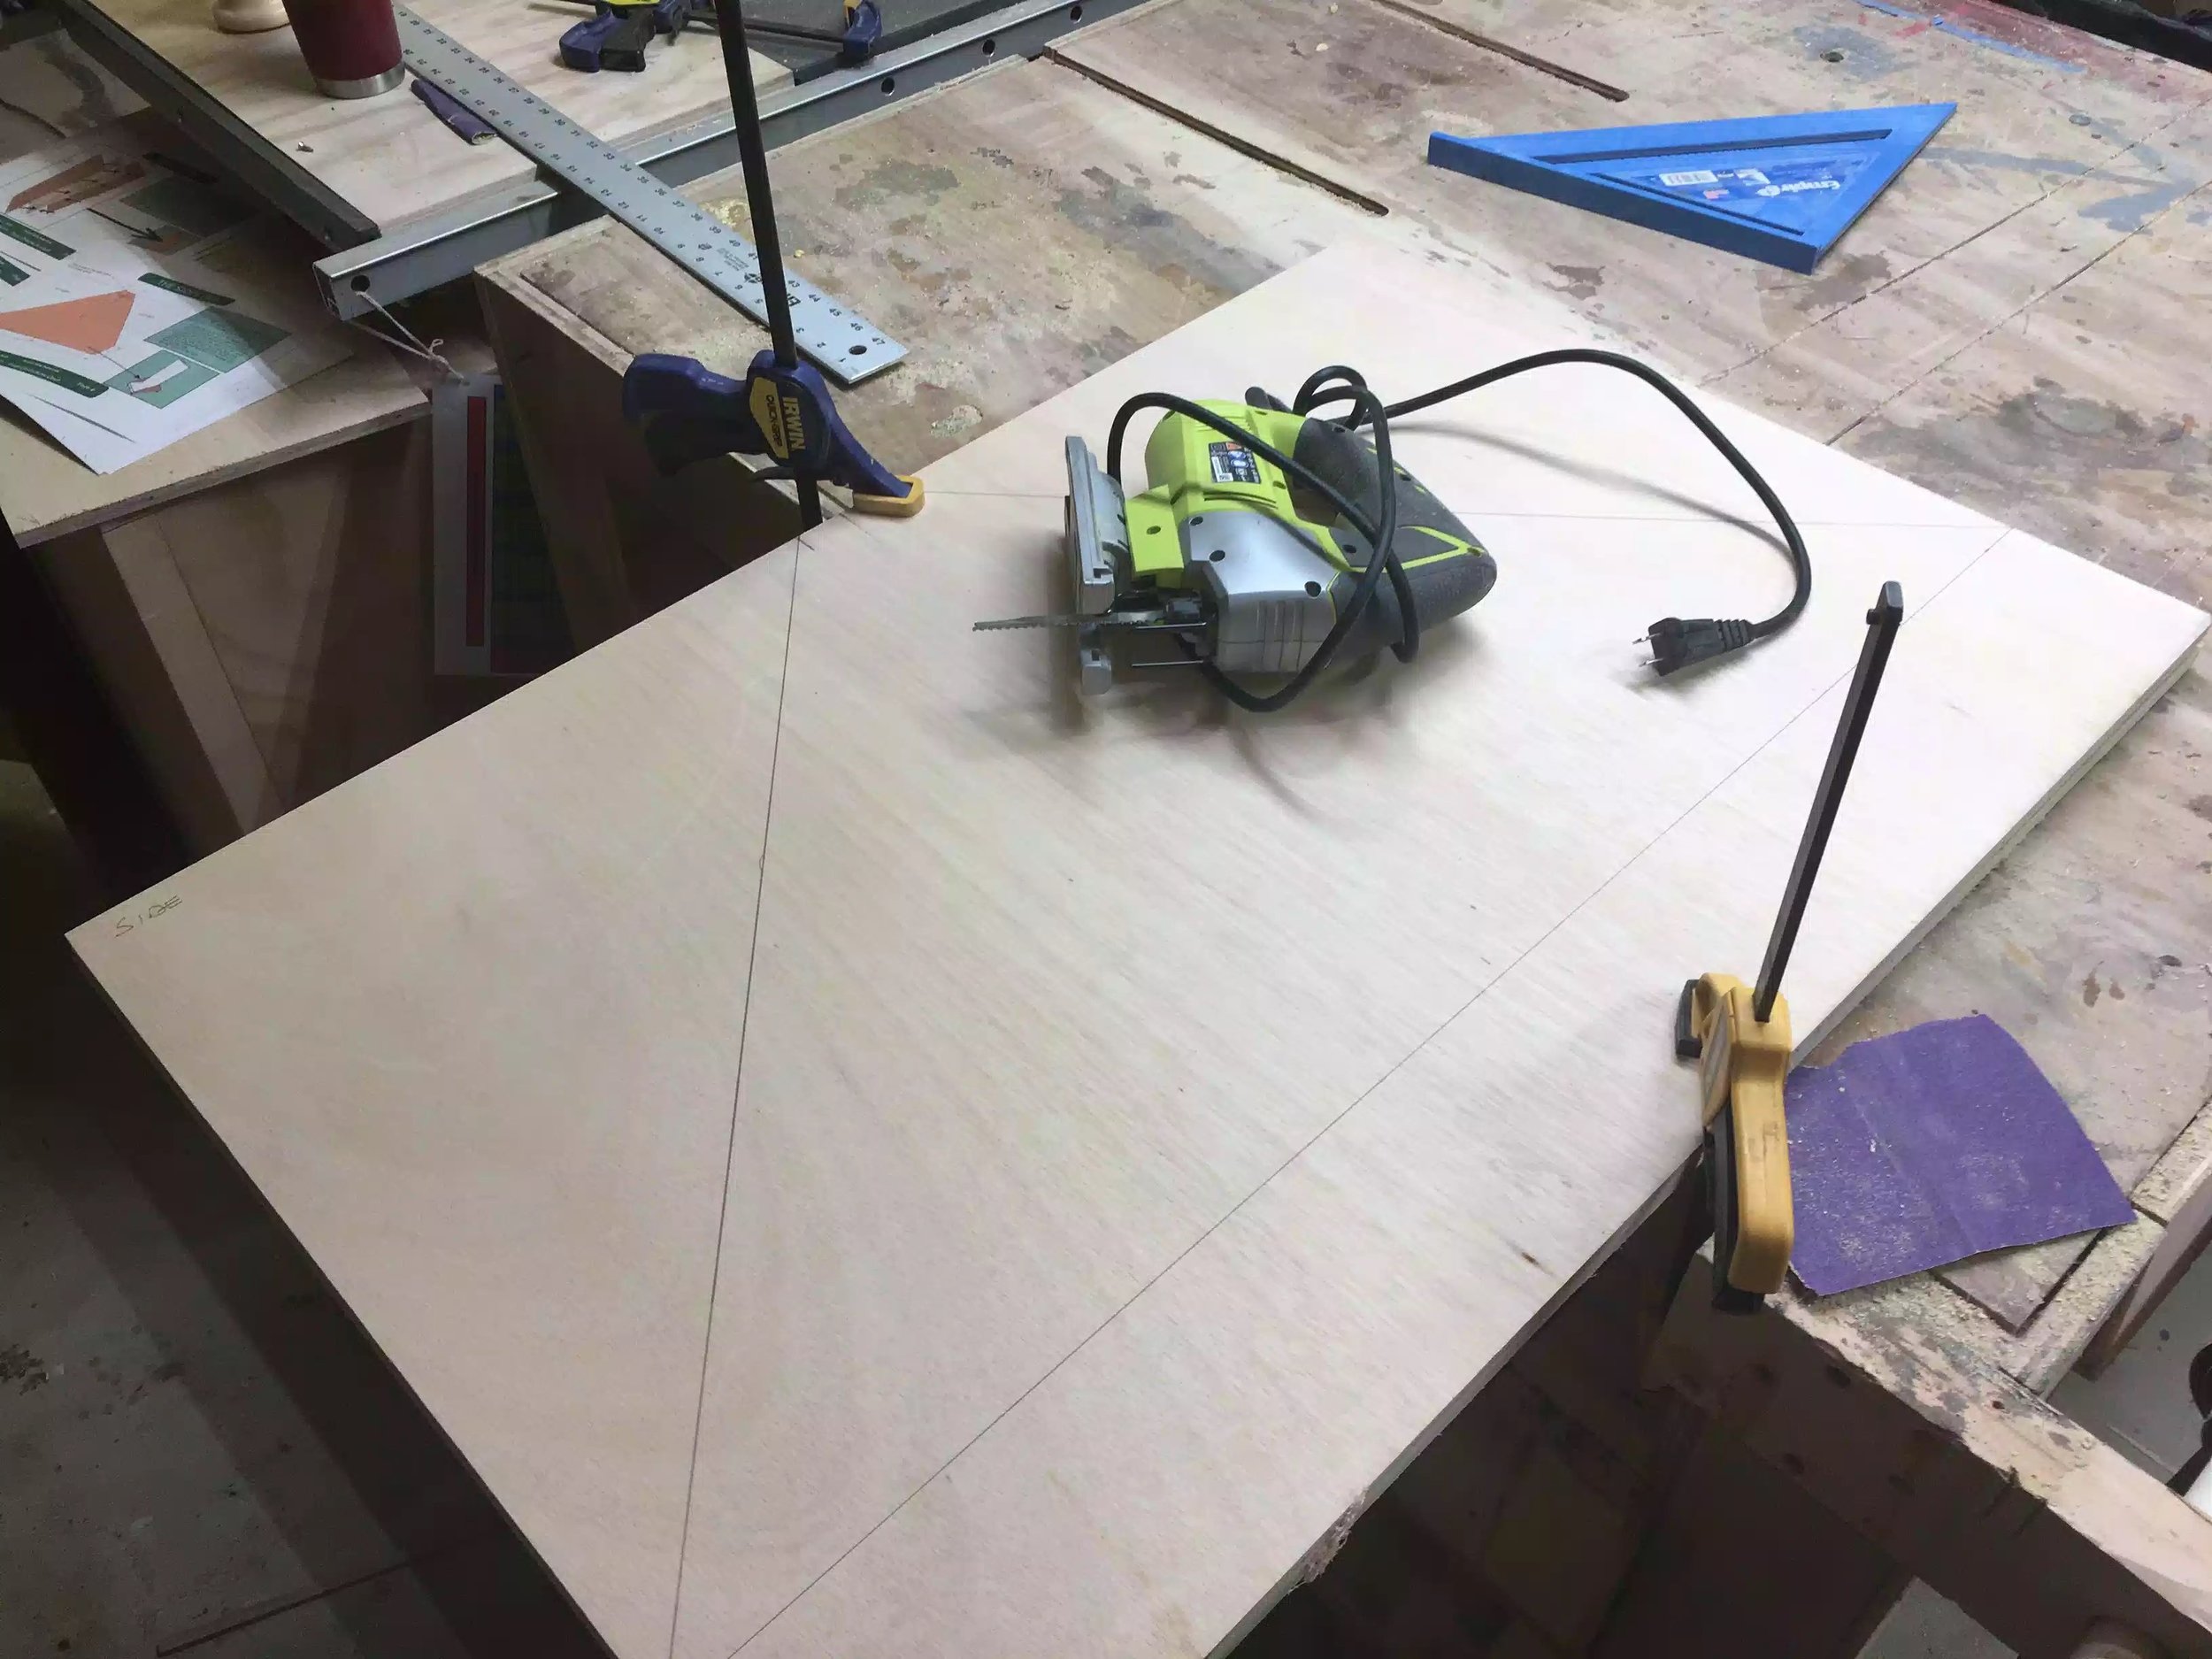
I clamped both sides together and gang cut them with my jigsaw that way both sides would be identical.
After cutting the giant triangles I placed countersunk holes in the areas that I needed to use screws to attach them to the divider and base, I also used a riser block under the side as I was securing them .

I positioned riser block on the ground to sit the side onto and then applied the glue and screwed this side in place I repeated this for the other side. I will be filling all these holes in the future.
CART ASSEMBLED
With the sides in place the construction phase of the build is complete, I still need to do a bunch more work finishing the cart but you can see where I leave the project today.


NEXT PHASE 5: FINISHING
Thanks for reading catch you all soon.