false fronts

Drill Press Cart: Day 6

So things have been very crazy and I have not gotten down to the shop in a day or so , please remember that if you undertake this project it will not take almost a week to complete, I might only get 1-2 hours at a time in the shop , this project should only take a weekend in the shop to complete.

So Here is what I done today

  • Made / Attached the top
  • Attached the drawer false fronts

MAKING THE TOP

Making the top is very straight forward thanks to the pocket holes, all it takes is a plywood panel cut to size and some hardwood. Here are the steps I took making the top

  1. I cut the plywood panel to its final size
  2. I took the ash hardwood panel I purchased the other day and cut it into 1-1/2" wide strips
  3. I laid the hardwood pieces around the plywood panel to get length needed, I then used my Japanese pull saw to cut these strips to length
  4. Next I needed to put the pocket holes in the underside of the plywood 
  5. I clamped all the hardwood pieces around the plywood added glue and screwed the hardwood to the panel.
  6. I will still need to sand the plywood top and apply the finish to it but that's next.
  7. Finally I need to attach the supports to the underside of the plywood so as that I can attach the top to the cabinet by screwing up from underneath the stretchers I used when building the cabinet 
Here is my bench top bench holding the ash hardwood before using my Japanese pull saw to cut the piece to final length ( Ireally love this bench top bench, I should make plans available to make it)

Here is my bench top bench holding the ash hardwood before using my Japanese pull saw to cut the piece to final length ( Ireally love this bench top bench, I should make plans available to make it)

Here you can see the underside of the top, its all clamped up and the hardwood is ready to be added. I still need to add the cleats to the left & right of the panel so as that I can attach it to the cabinet.

Here you can see the underside of the top, its all clamped up and the hardwood is ready to be added. I still need to add the cleats to the left & right of the panel so as that I can attach it to the cabinet.

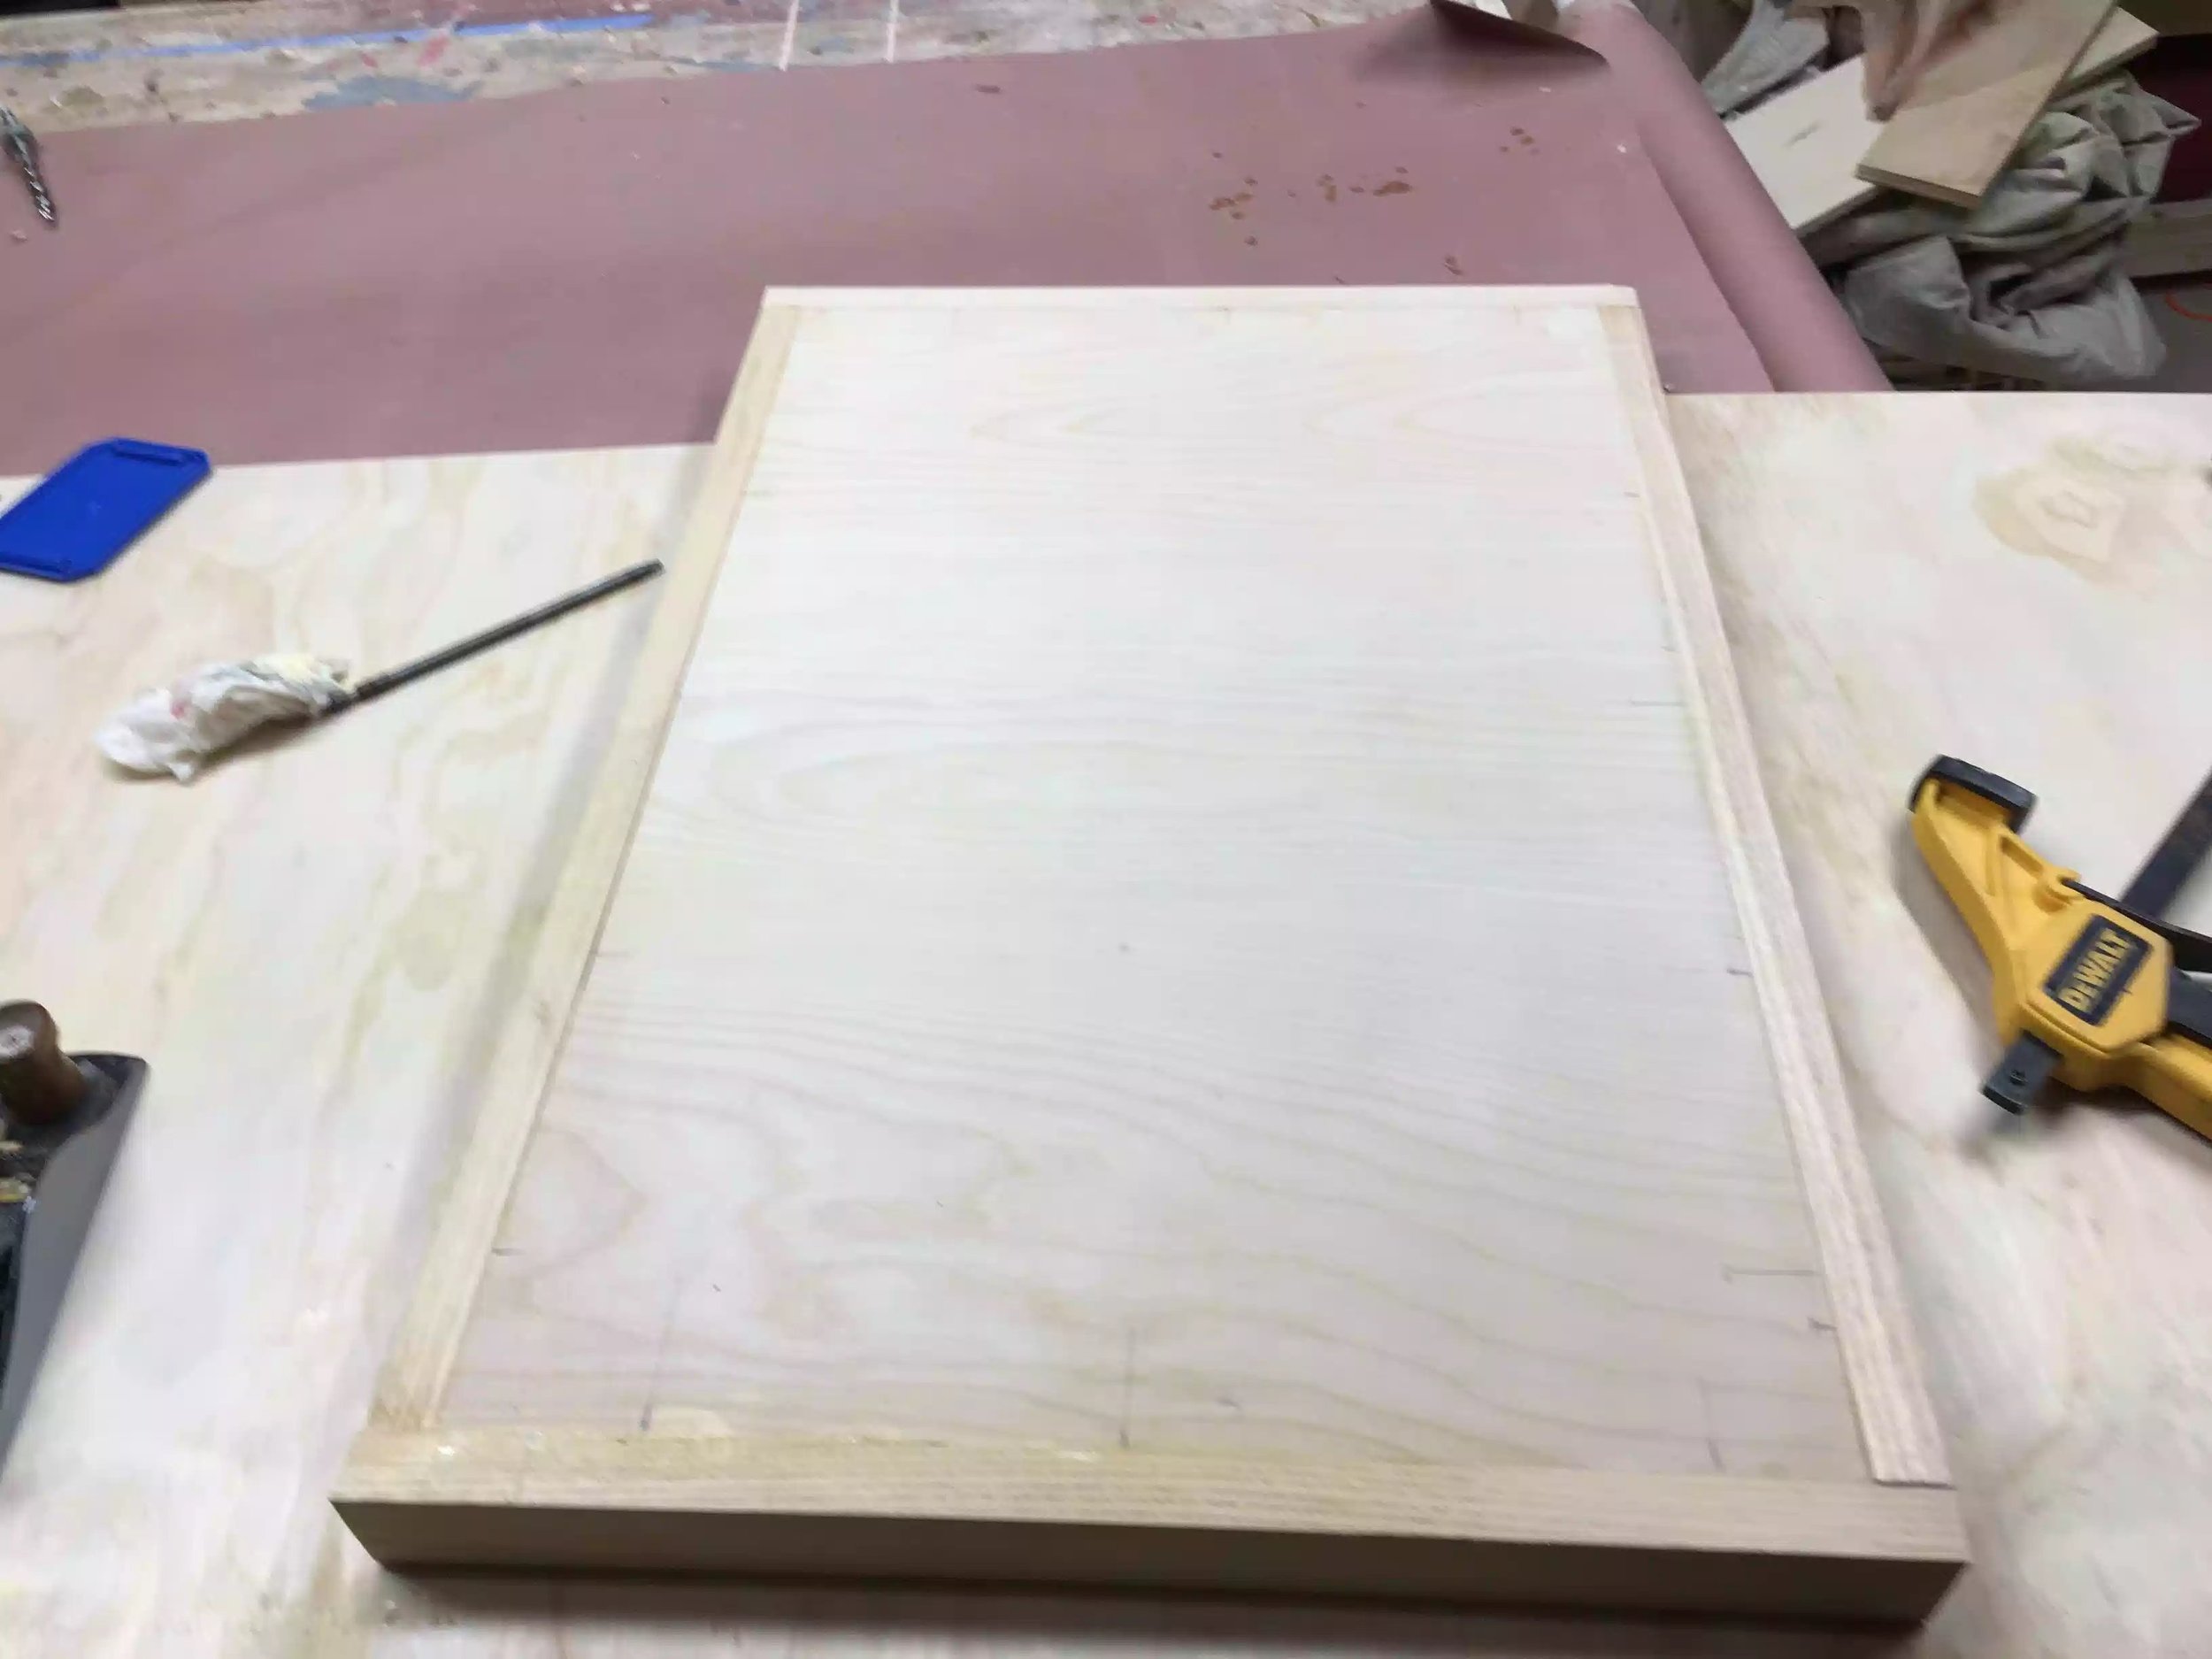
Here is the top almost finished, just need sand and apply the finish.

Here is the top almost finished, just need sand and apply the finish.

Here is another angle of the top

Here is another angle of the top

Here you see the under side of the top, the solid wood edges give the look that it is very thick, but its all an illusiion.

Here you see the under side of the top, the solid wood edges give the look that it is very thick, but its all an illusiion.

ATTACHING THE DRAWER FALSE FRONTS

The last couple of days I have been applying several coats of polycrylic to the drawer fronts and cabinet so today it was time to attach them to the cabinet drawers themselves.

Here are the steps I took to attaching them.

  1. I added a 1/8" thick spacer to the underside of the false front
  2. The keep the false front in position while I screwed them I used clamps and pre-drilled the inside of the drawer to receive the 1-1/4" screws that hold the false fronts in place.
Here you can the spring clamps holding the false front in place, you can also see the 1/8" thick spacer under the false front.

Here you can the spring clamps holding the false front in place, you can also see the 1/8" thick spacer under the false front.

Here is where I attached the screws to hold the false fronts, Im placed the screws to either side of the drawers because I still need to add drawer pulls that I will be making this week.

Here is where I attached the screws to hold the false fronts, Im placed the screws to either side of the drawers because I still need to add drawer pulls that I will be making this week.

Here is what the cart looks like after todays activities

Here is a side view of the cabinet, I just love the look of the hardwood around the top, I also love the full extension drawer slides as I can reach the very back of each drawer, which comes in very handy for utilising all the storage space in each …

Here is a side view of the cabinet, I just love the look of the hardwood around the top, I also love the full extension drawer slides as I can reach the very back of each drawer, which comes in very handy for utilising all the storage space in each drawer.

Here you can see the front of my cabinet, I love how the grain runs from top to bottom on the false fronts.

Here you can see the front of my cabinet, I love how the grain runs from top to bottom on the false fronts.

Here is the top all attached, just need to sand it some more and apply the finish to it.

Here is the top all attached, just need to sand it some more and apply the finish to it.

NEXT

  • Since I am using castors that are currently on a cart that I am replacing this with I need to remove them and attach them to this new cart.
  • I need to make and attach the drawer pulls that I found online. It entails a lot of router work.
  • Finally need to apply the last coats to the top.

Until then take care

DRILL PRESS CART : DAY 5

I am starting to see the end of the project as the whole cabinet is built and the drawers are attached, here is what I did today.

  • Cut & Attached False fronts
  • Used my new Grr-ripper Attachment
  • Applied Finish to the cabinet carcass and drawer fronts

FALSE FRONTS

When I was cutting up the 4x8 panel I put a piece aside so as that I could cut all my false fronts in sequence so as that I could keep the grain pattern on the plywood inline to add a finished touch on the front of the cart, its the little things that make a project pop.

I used my crosscut sled on my table-saw to cut all the false fronts to final size.

I used my crosscut sled on my table-saw to cut all the false fronts to final size.

Here is the bottom false front, I am not attaching them yet as I want to apply the water based finish before I install them.

Here is the bottom false front, I am not attaching them yet as I want to apply the water based finish before I install them.

I used 1/8" spacers to provide a little reveal between the drawers, I used my Grr-ripper to do that but more on that in the next part.

I used 1/8" spacers to provide a little reveal between the drawers, I used my Grr-ripper to do that but more on that in the next part.

NEW ACCESSORY

I own one of the Grrippers which is basically a expensive push stick but it has so many cool features that make table-saw work more safe, so I have been wanting to cut very thin strips for various applications and Microjig the manufacturer of the Grripper have accesories to add to your tool that allow so many applications. 

So I got the 1/8" leg attachment, it basically allows you to rip 1/8" think stock and have it fully supported through the saw blade it also reduces saw burn on the work-piece which reduces the need to sand it it

If you would like to read more about this accessory click the link below.

Here is the 1/8" thick strips that I made, I need these as spacers between the drawer false fronts.

Here is the 1/8" thick strips that I made, I need these as spacers between the drawer false fronts.

Here is the front of the gripper.. (stock photo)

Here is the front of the gripper.. (stock photo)

Here is my Grripper getting ready to cut the strips

Here is my Grripper getting ready to cut the strips

On the left side of this image you can see the accesory I purchased

On the left side of this image you can see the accesory I purchased

APPLIED FINISH

I thought that it would be easier to apply the finish to the false fronts and the cabinet now rather than waiting until the project was finished. For shop projects my go to finish is usually Minwax Polycrylic, I like this finish because its supper easy to apply with a foam brush and is extremely durable for a workshop, it also is good in my opinion at keeping dust away and if it does get dusty a simply damp rag will clean it up nice.

Here is the finish, you can read more about it here

Here is the finish, you can read more about it here

I also usually use props to raise whatever I am finishing up from the bench by putting the work-piece on Painters tripods seen below, but I ran out of them so I made my own quick and dirty using a simple square piece of plywood and put a screw through it.

Here is a painters tripod

Here is a painters tripod

Here is my shop made risers, cheap but effective

Here is my shop made risers, cheap but effective

So I covered my workbench in rosin paper to protect it from drips and dust getting onto my drawer fronts nad Istarted applying the finish, I will be applying a total of 3 coats sanding in between with 220 grit sandpaper.

Applied 1 coat in this picture

Applied 1 coat in this picture

I moved everything to a smaller bench and applied the 3rd coat, I love how the grain popped on the cabinet side.

I moved everything to a smaller bench and applied the 3rd coat, I love how the grain popped on the cabinet side.

THE TOP (tbc)

The top is extremely easy to make, I am still using pocket holes to attach everything. The top is basically a piece of plywood cut to size and and edge banded with some solid ash covering all the plywood edges. The edgebanding give the top a nice thick look but in effect it is only 3/4" thick.

Here you can see the solid ash I picked up from a local lumber yard and the plywood top.

Here you can see the solid ash I picked up from a local lumber yard and the plywood top.

NEXT :

  • Attaching the false fronts 
  • Make and attach the top
  • Attach the castors
  • Make drawer pulls