#5 Plane Restoration

#5 Hand Plane Restoration : Disaster

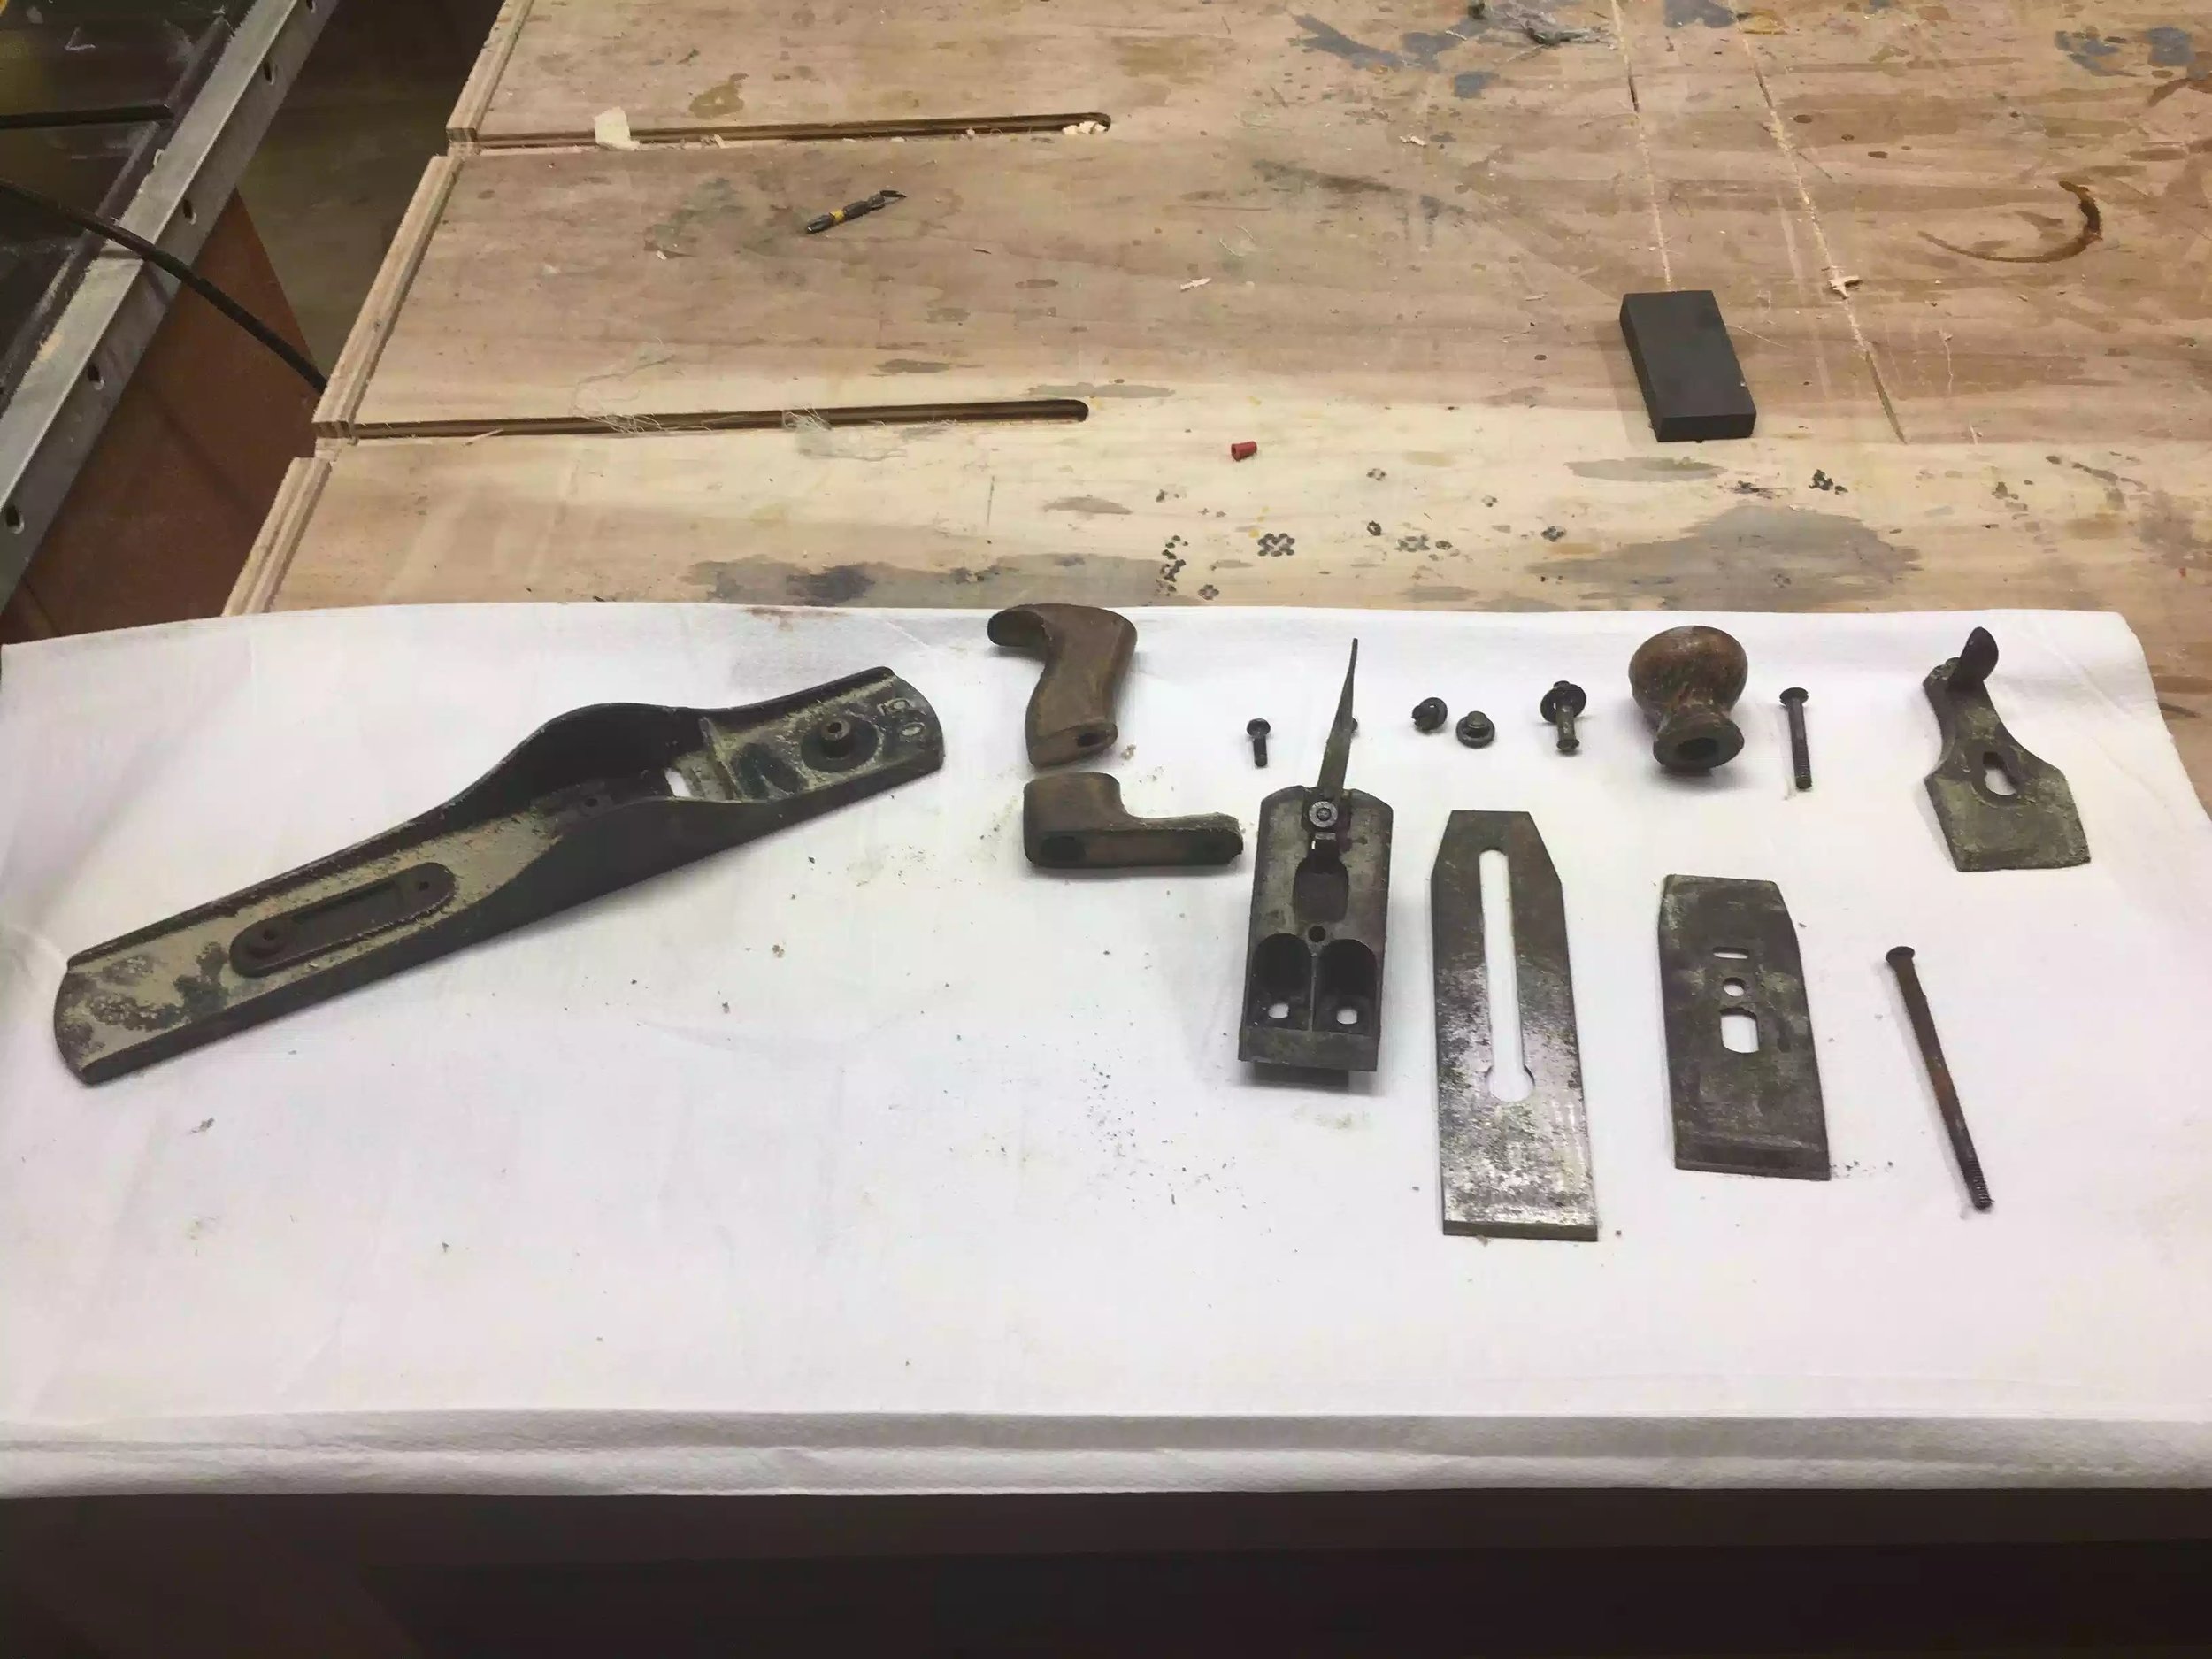
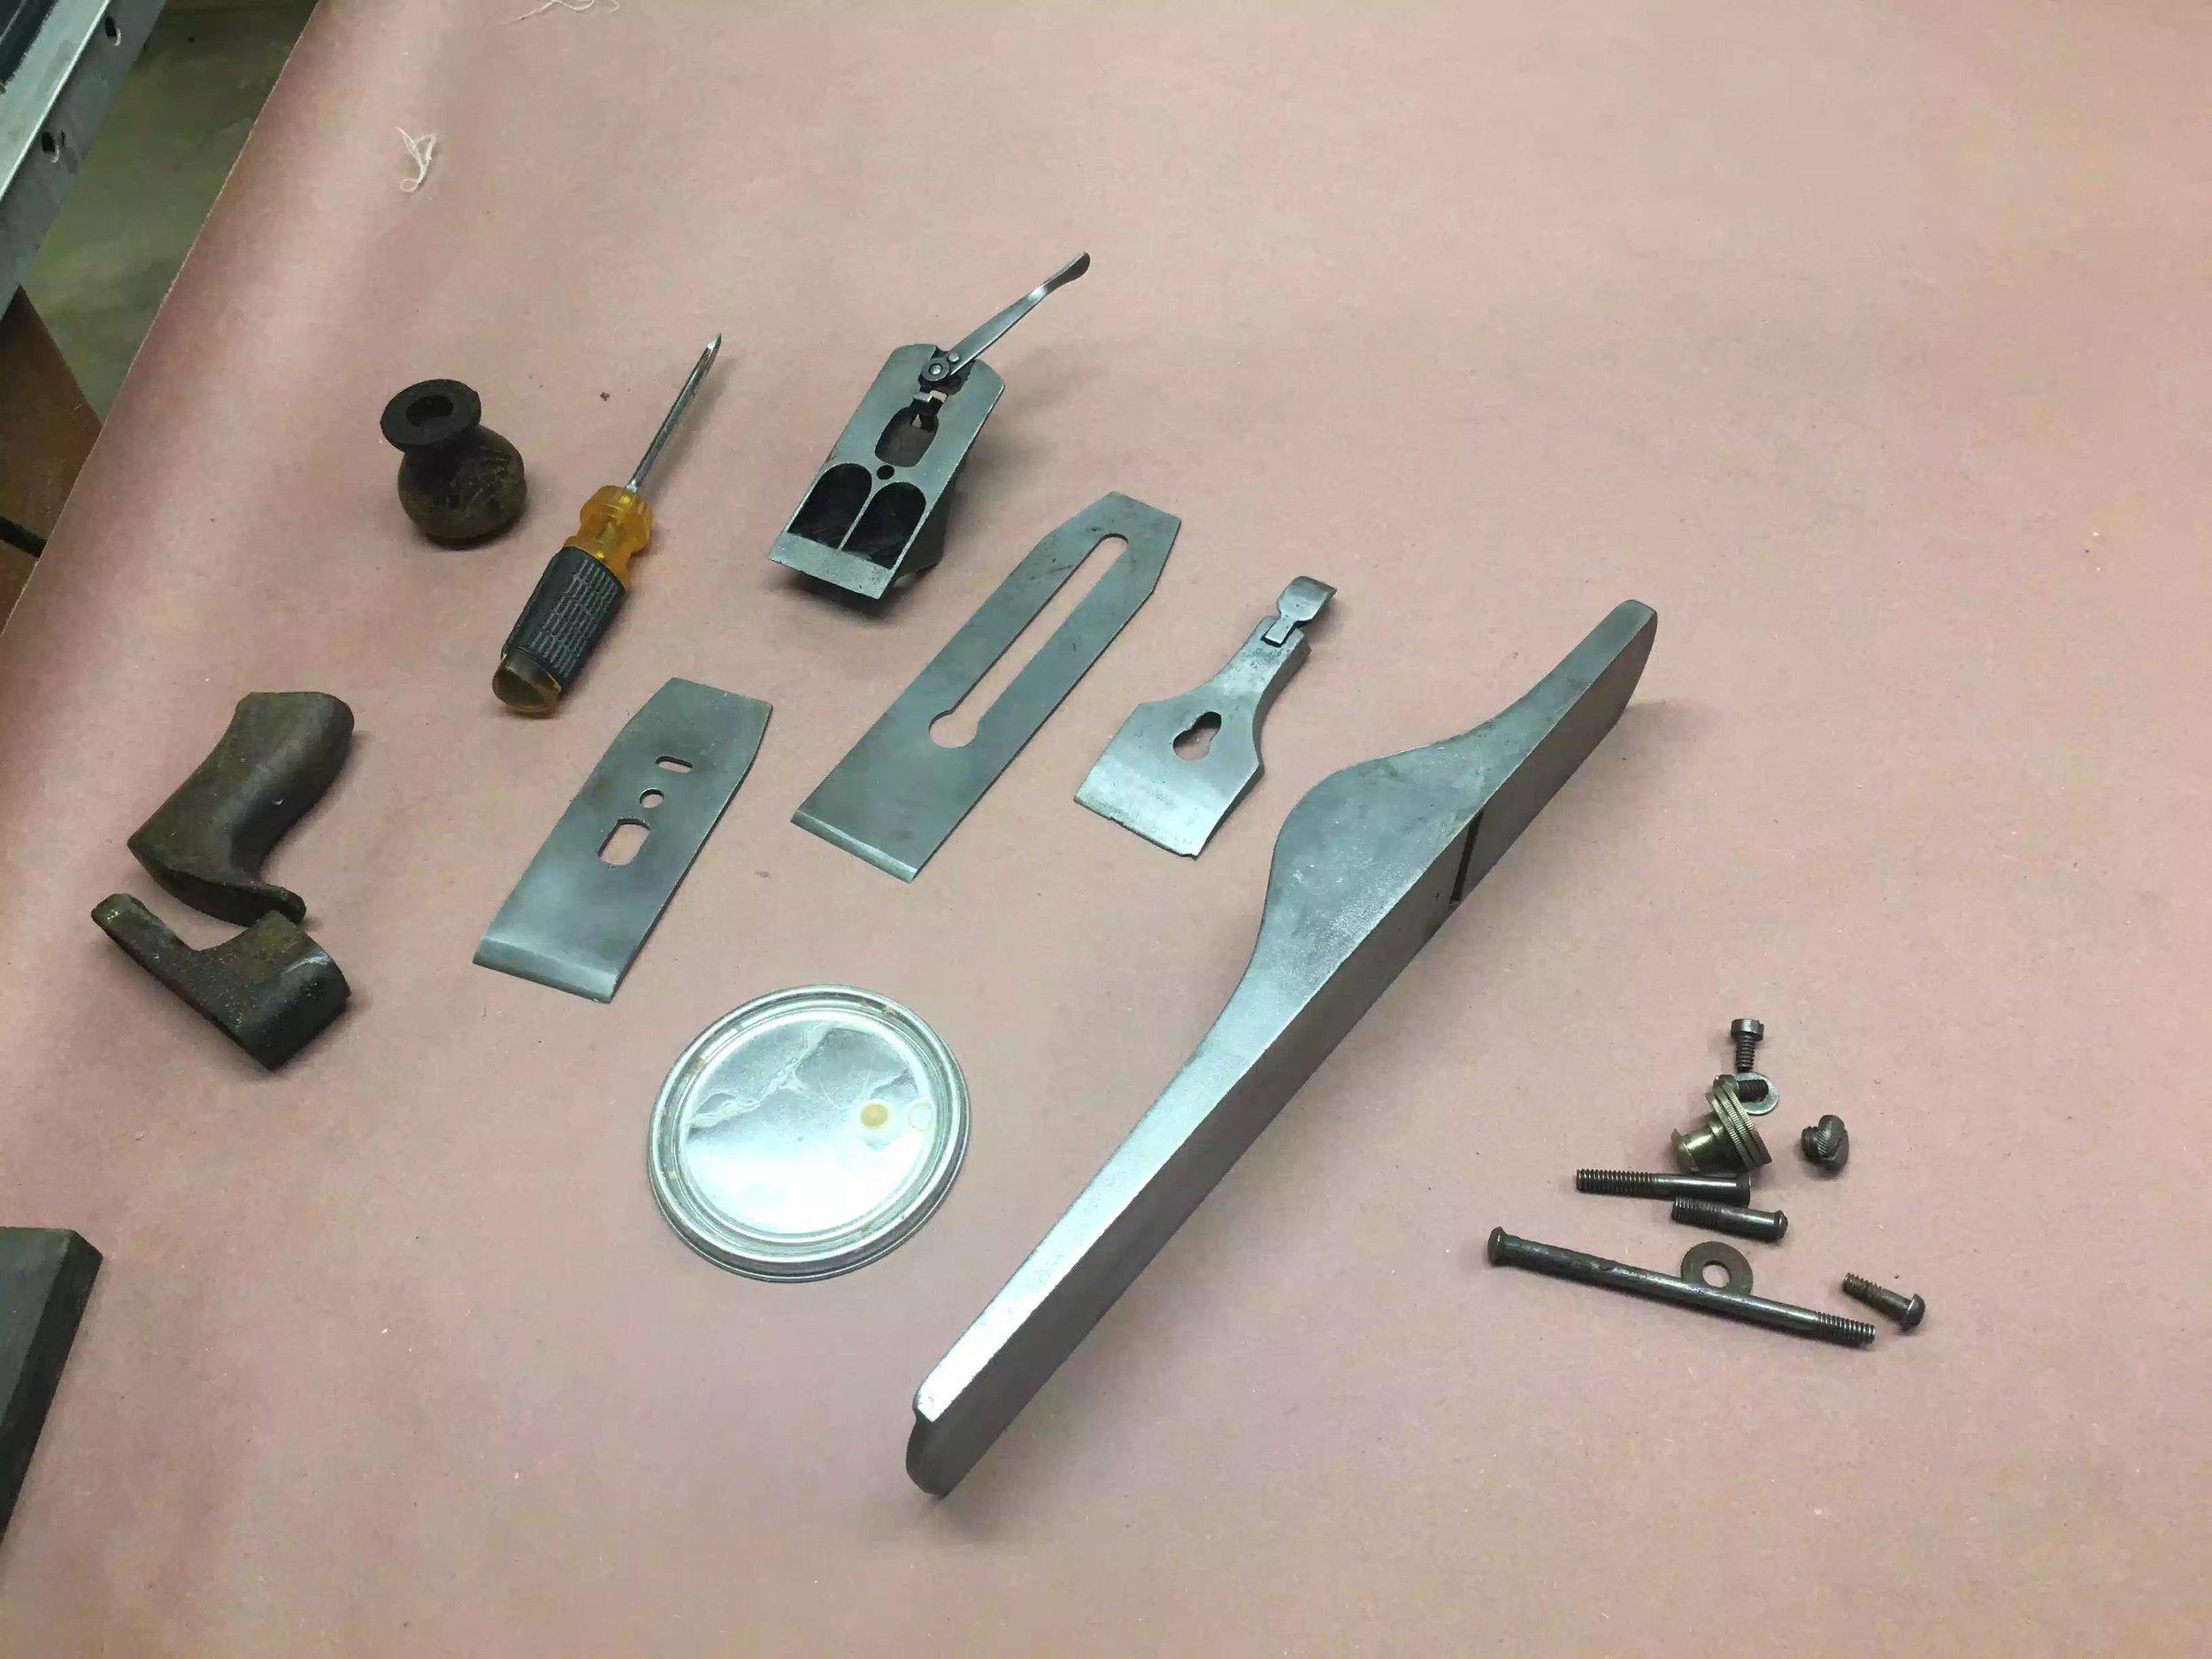
Well this morning I was in the mood for getting this very old #5 finished decided to take stock before I went any further rehabbing it.

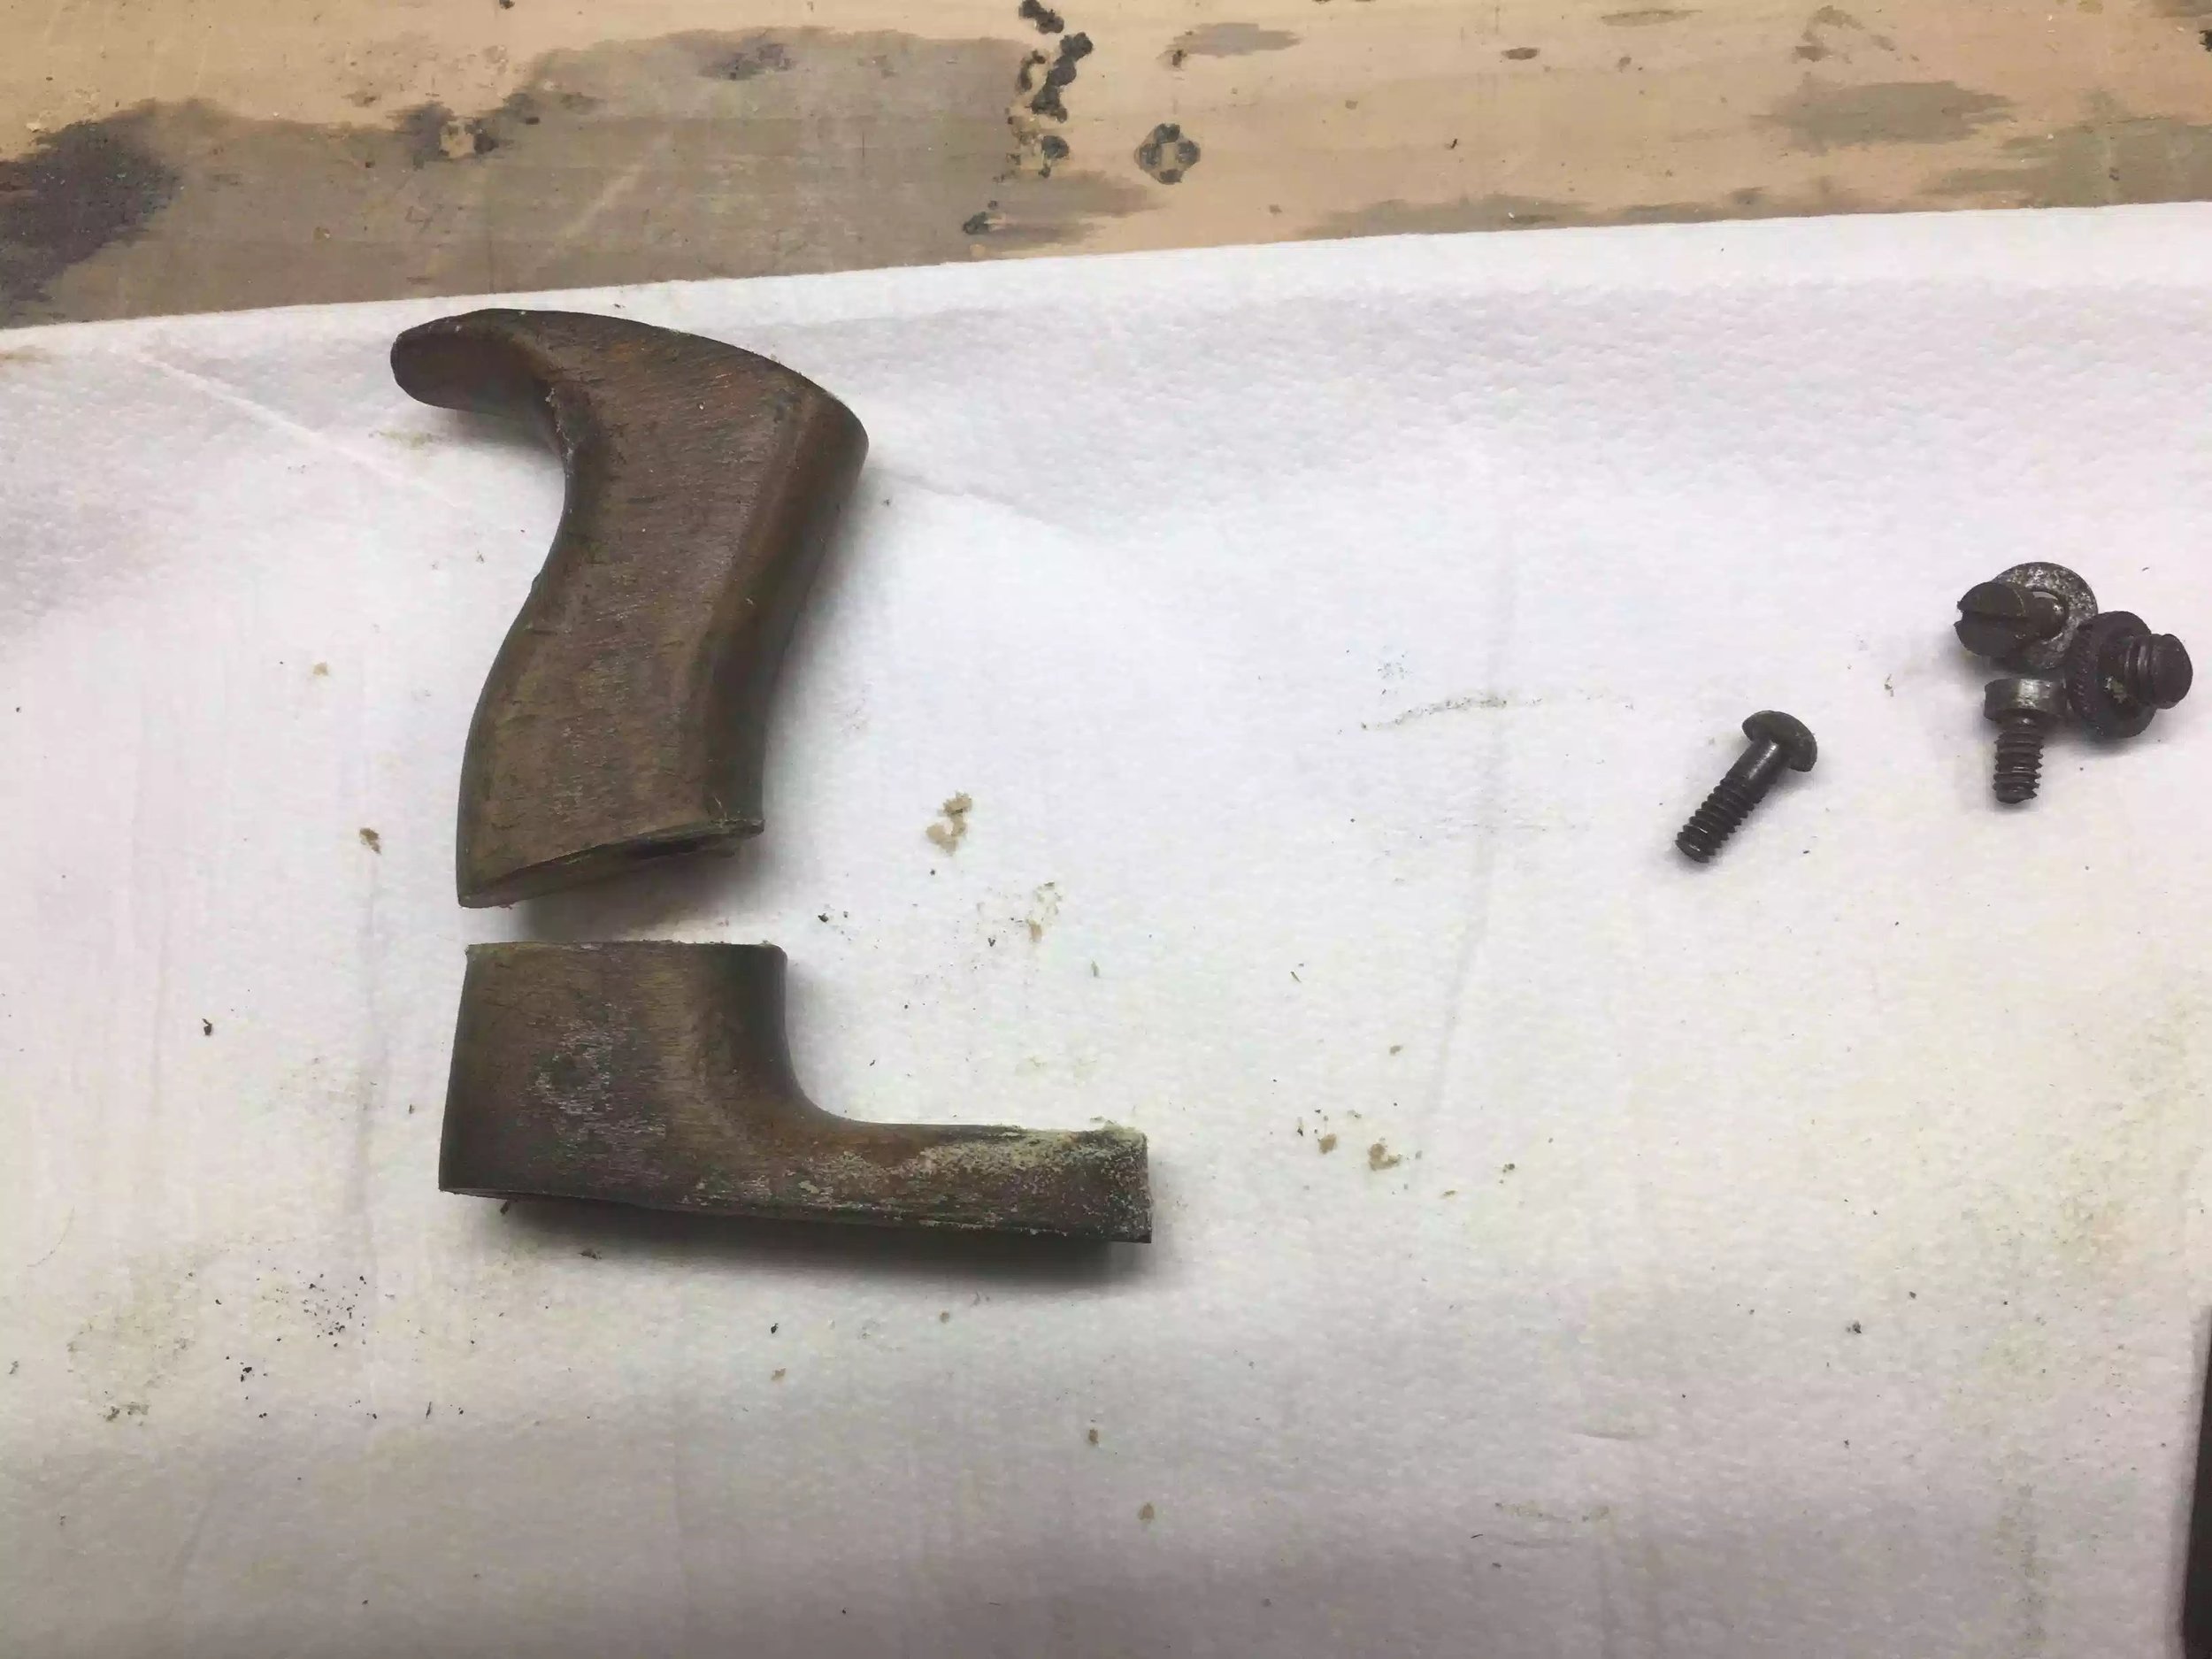
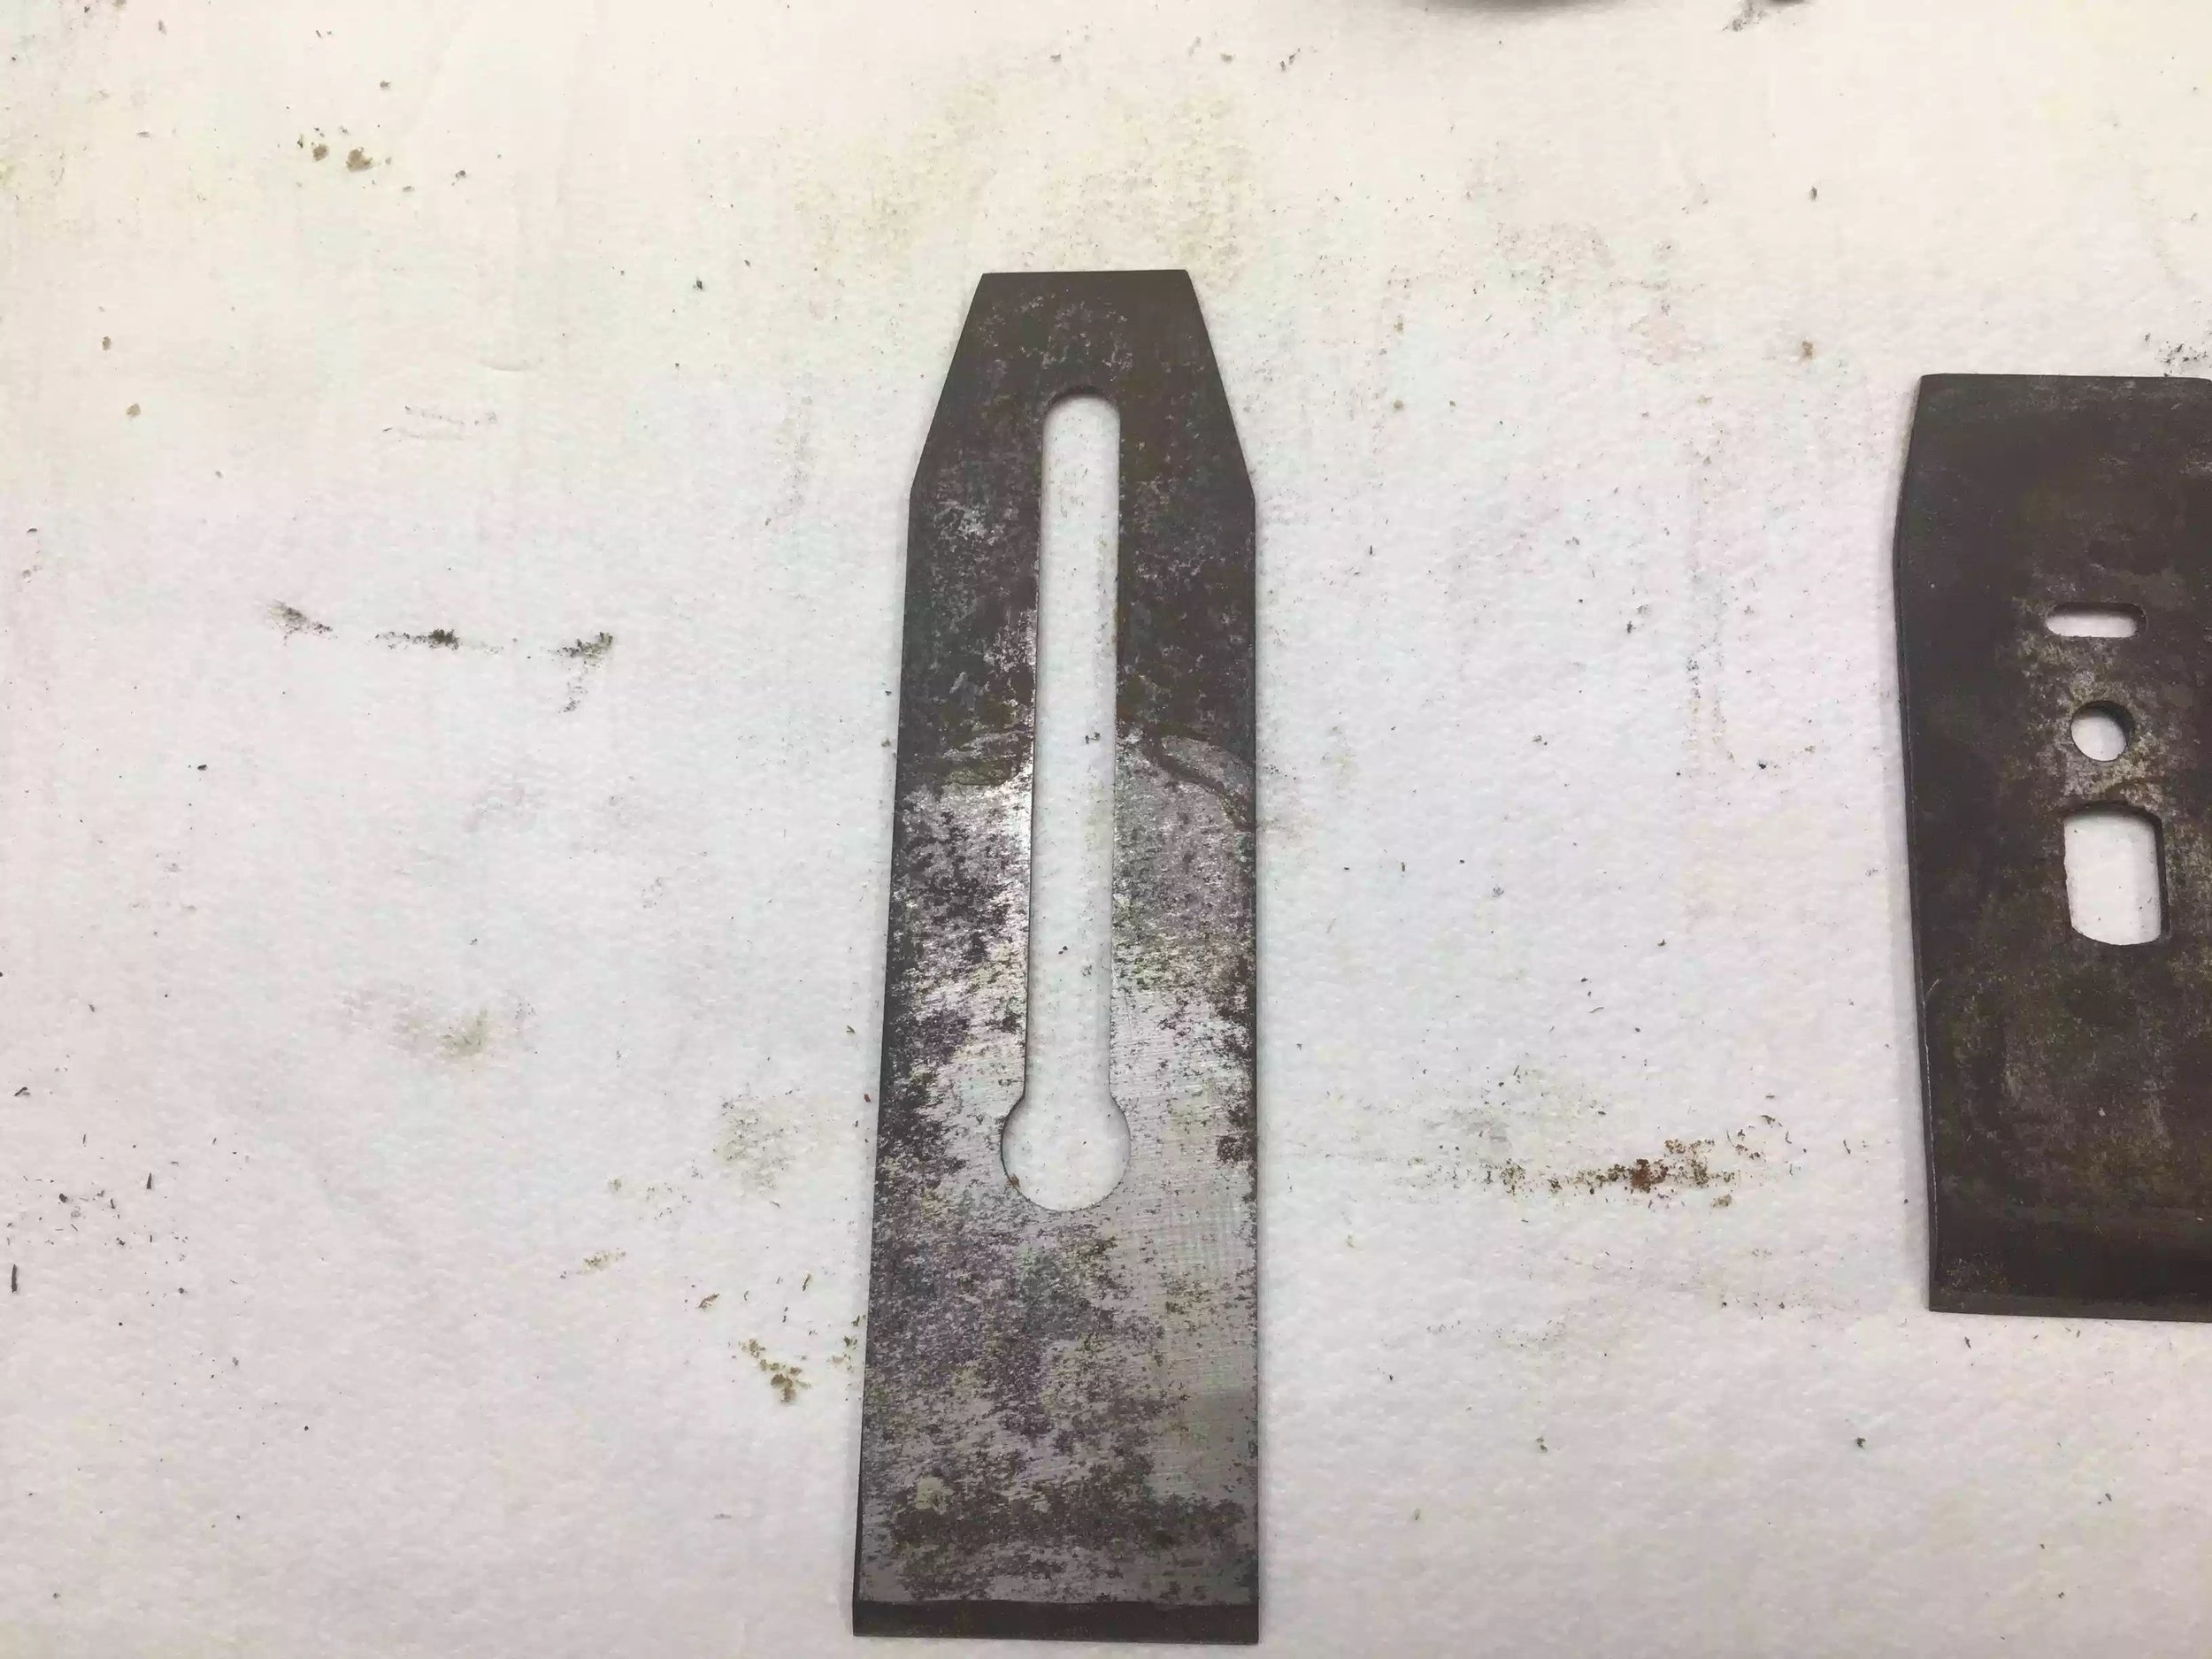
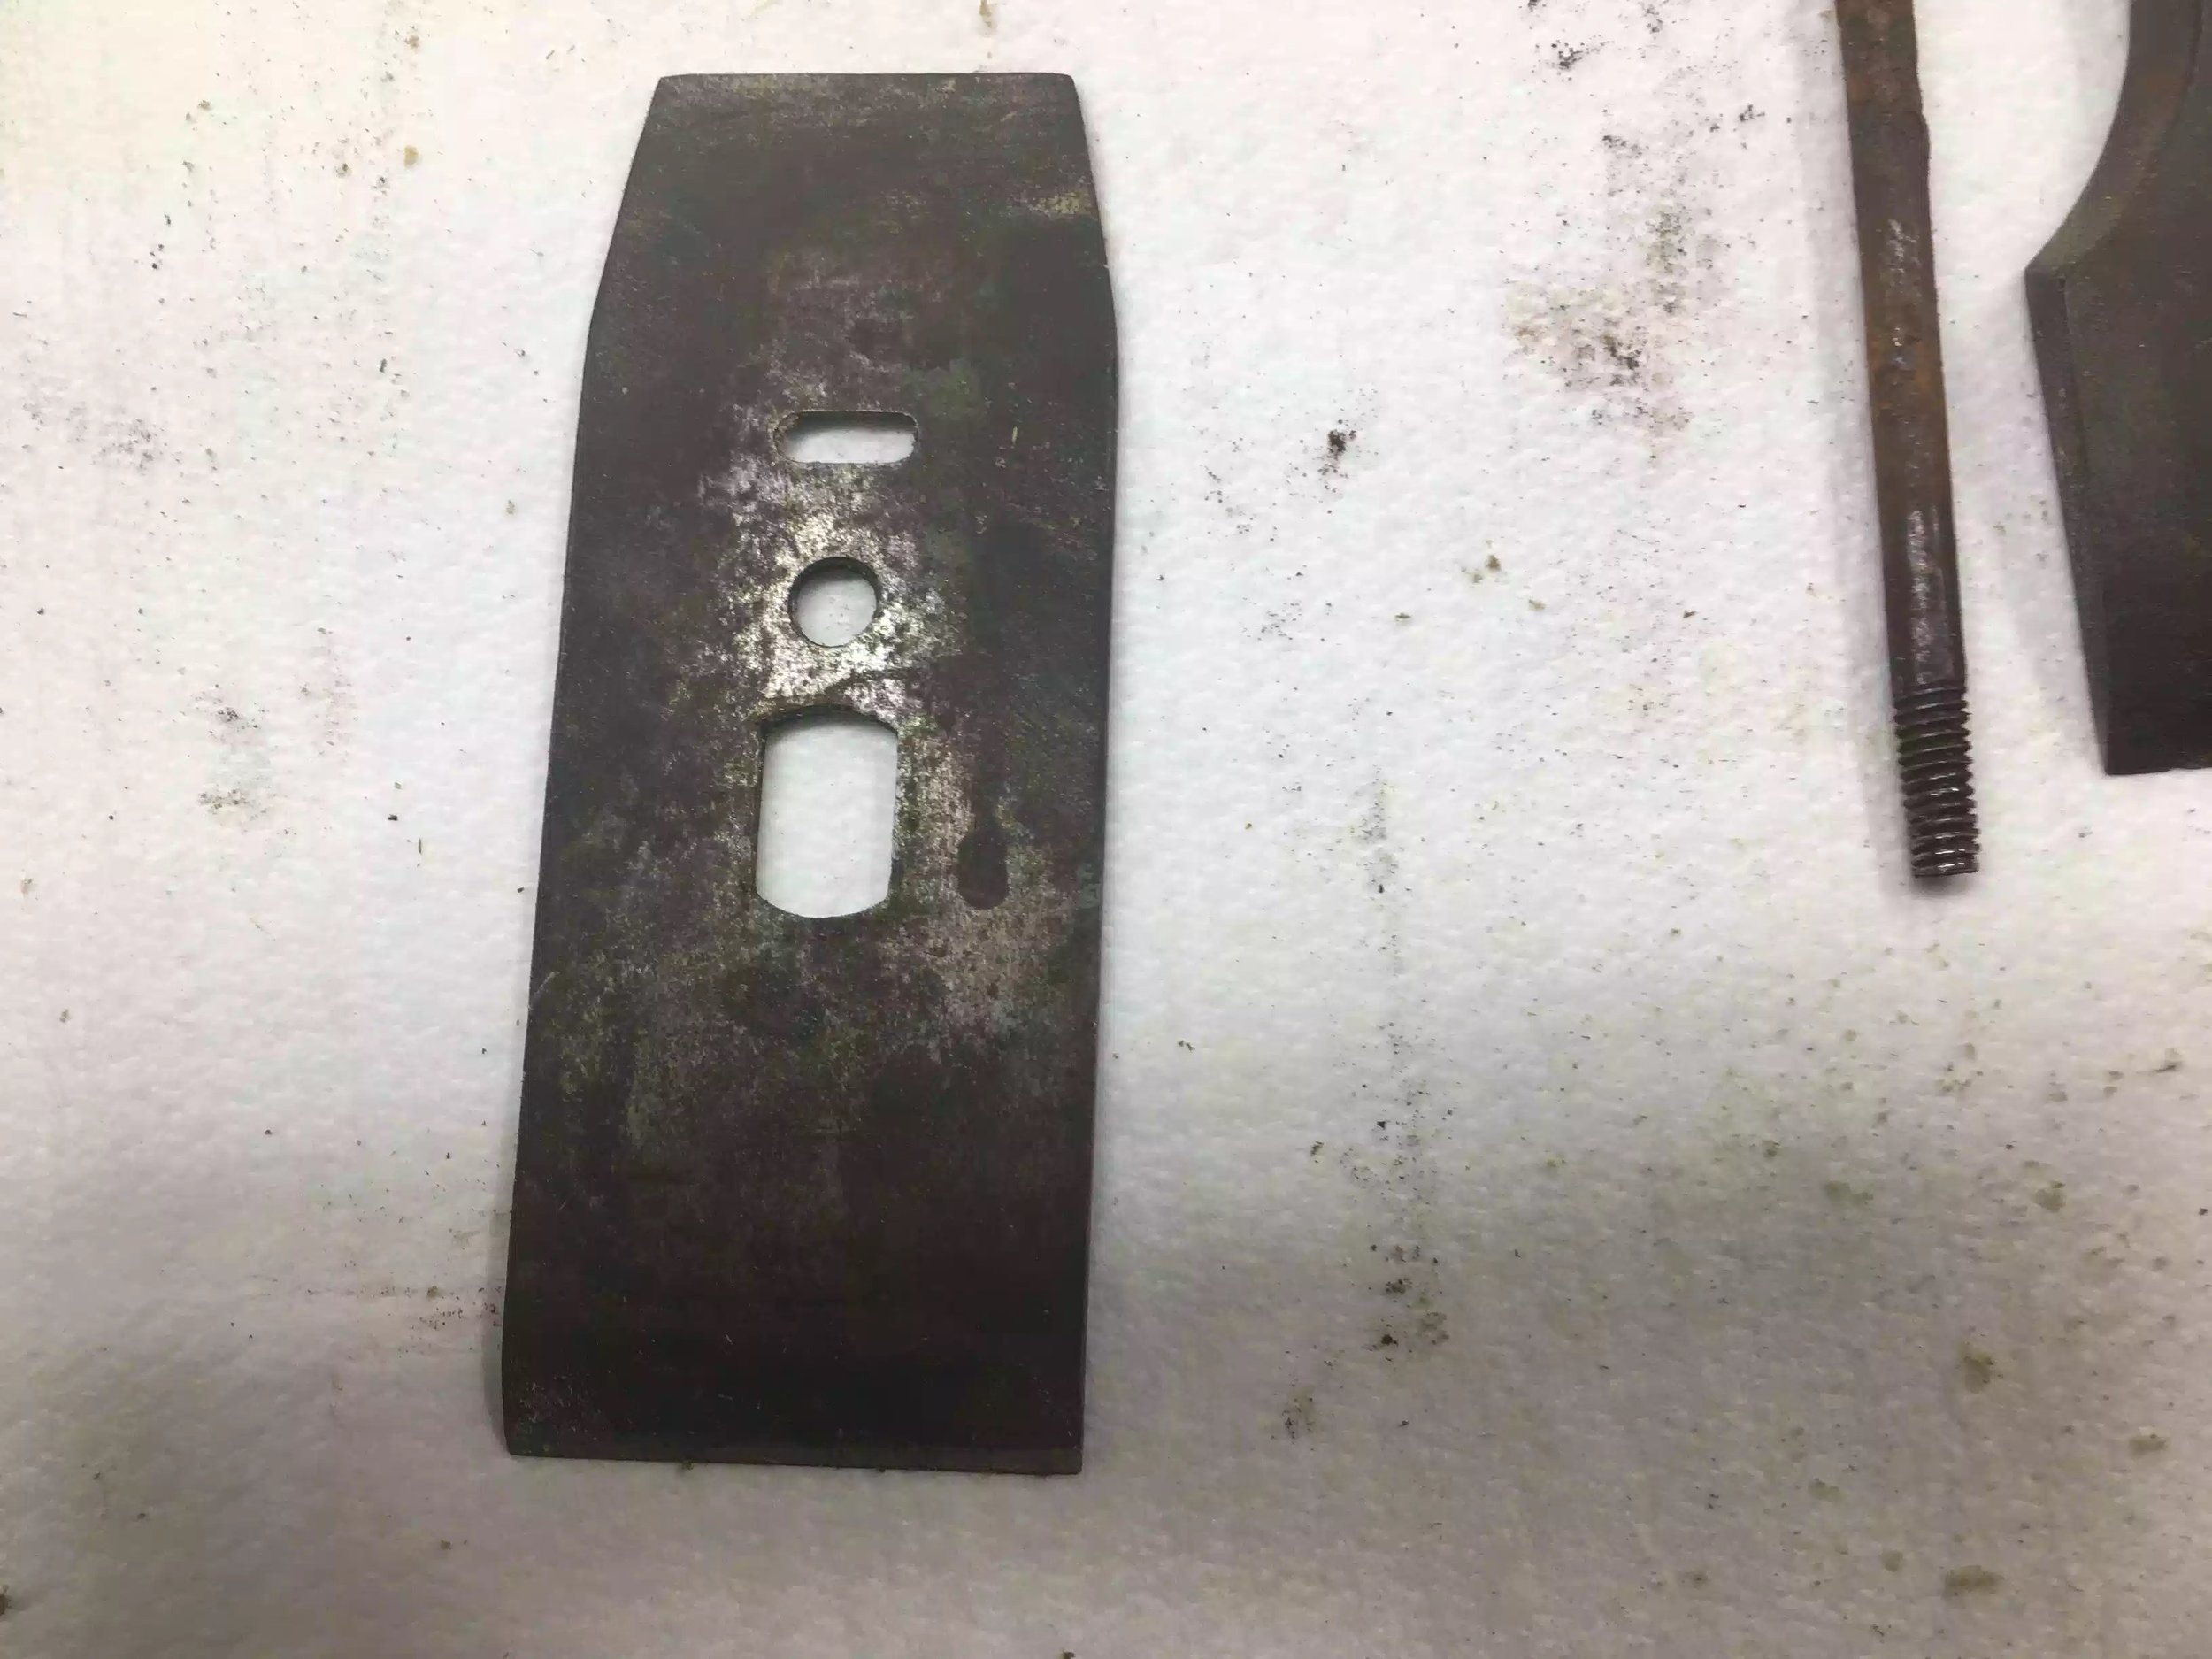
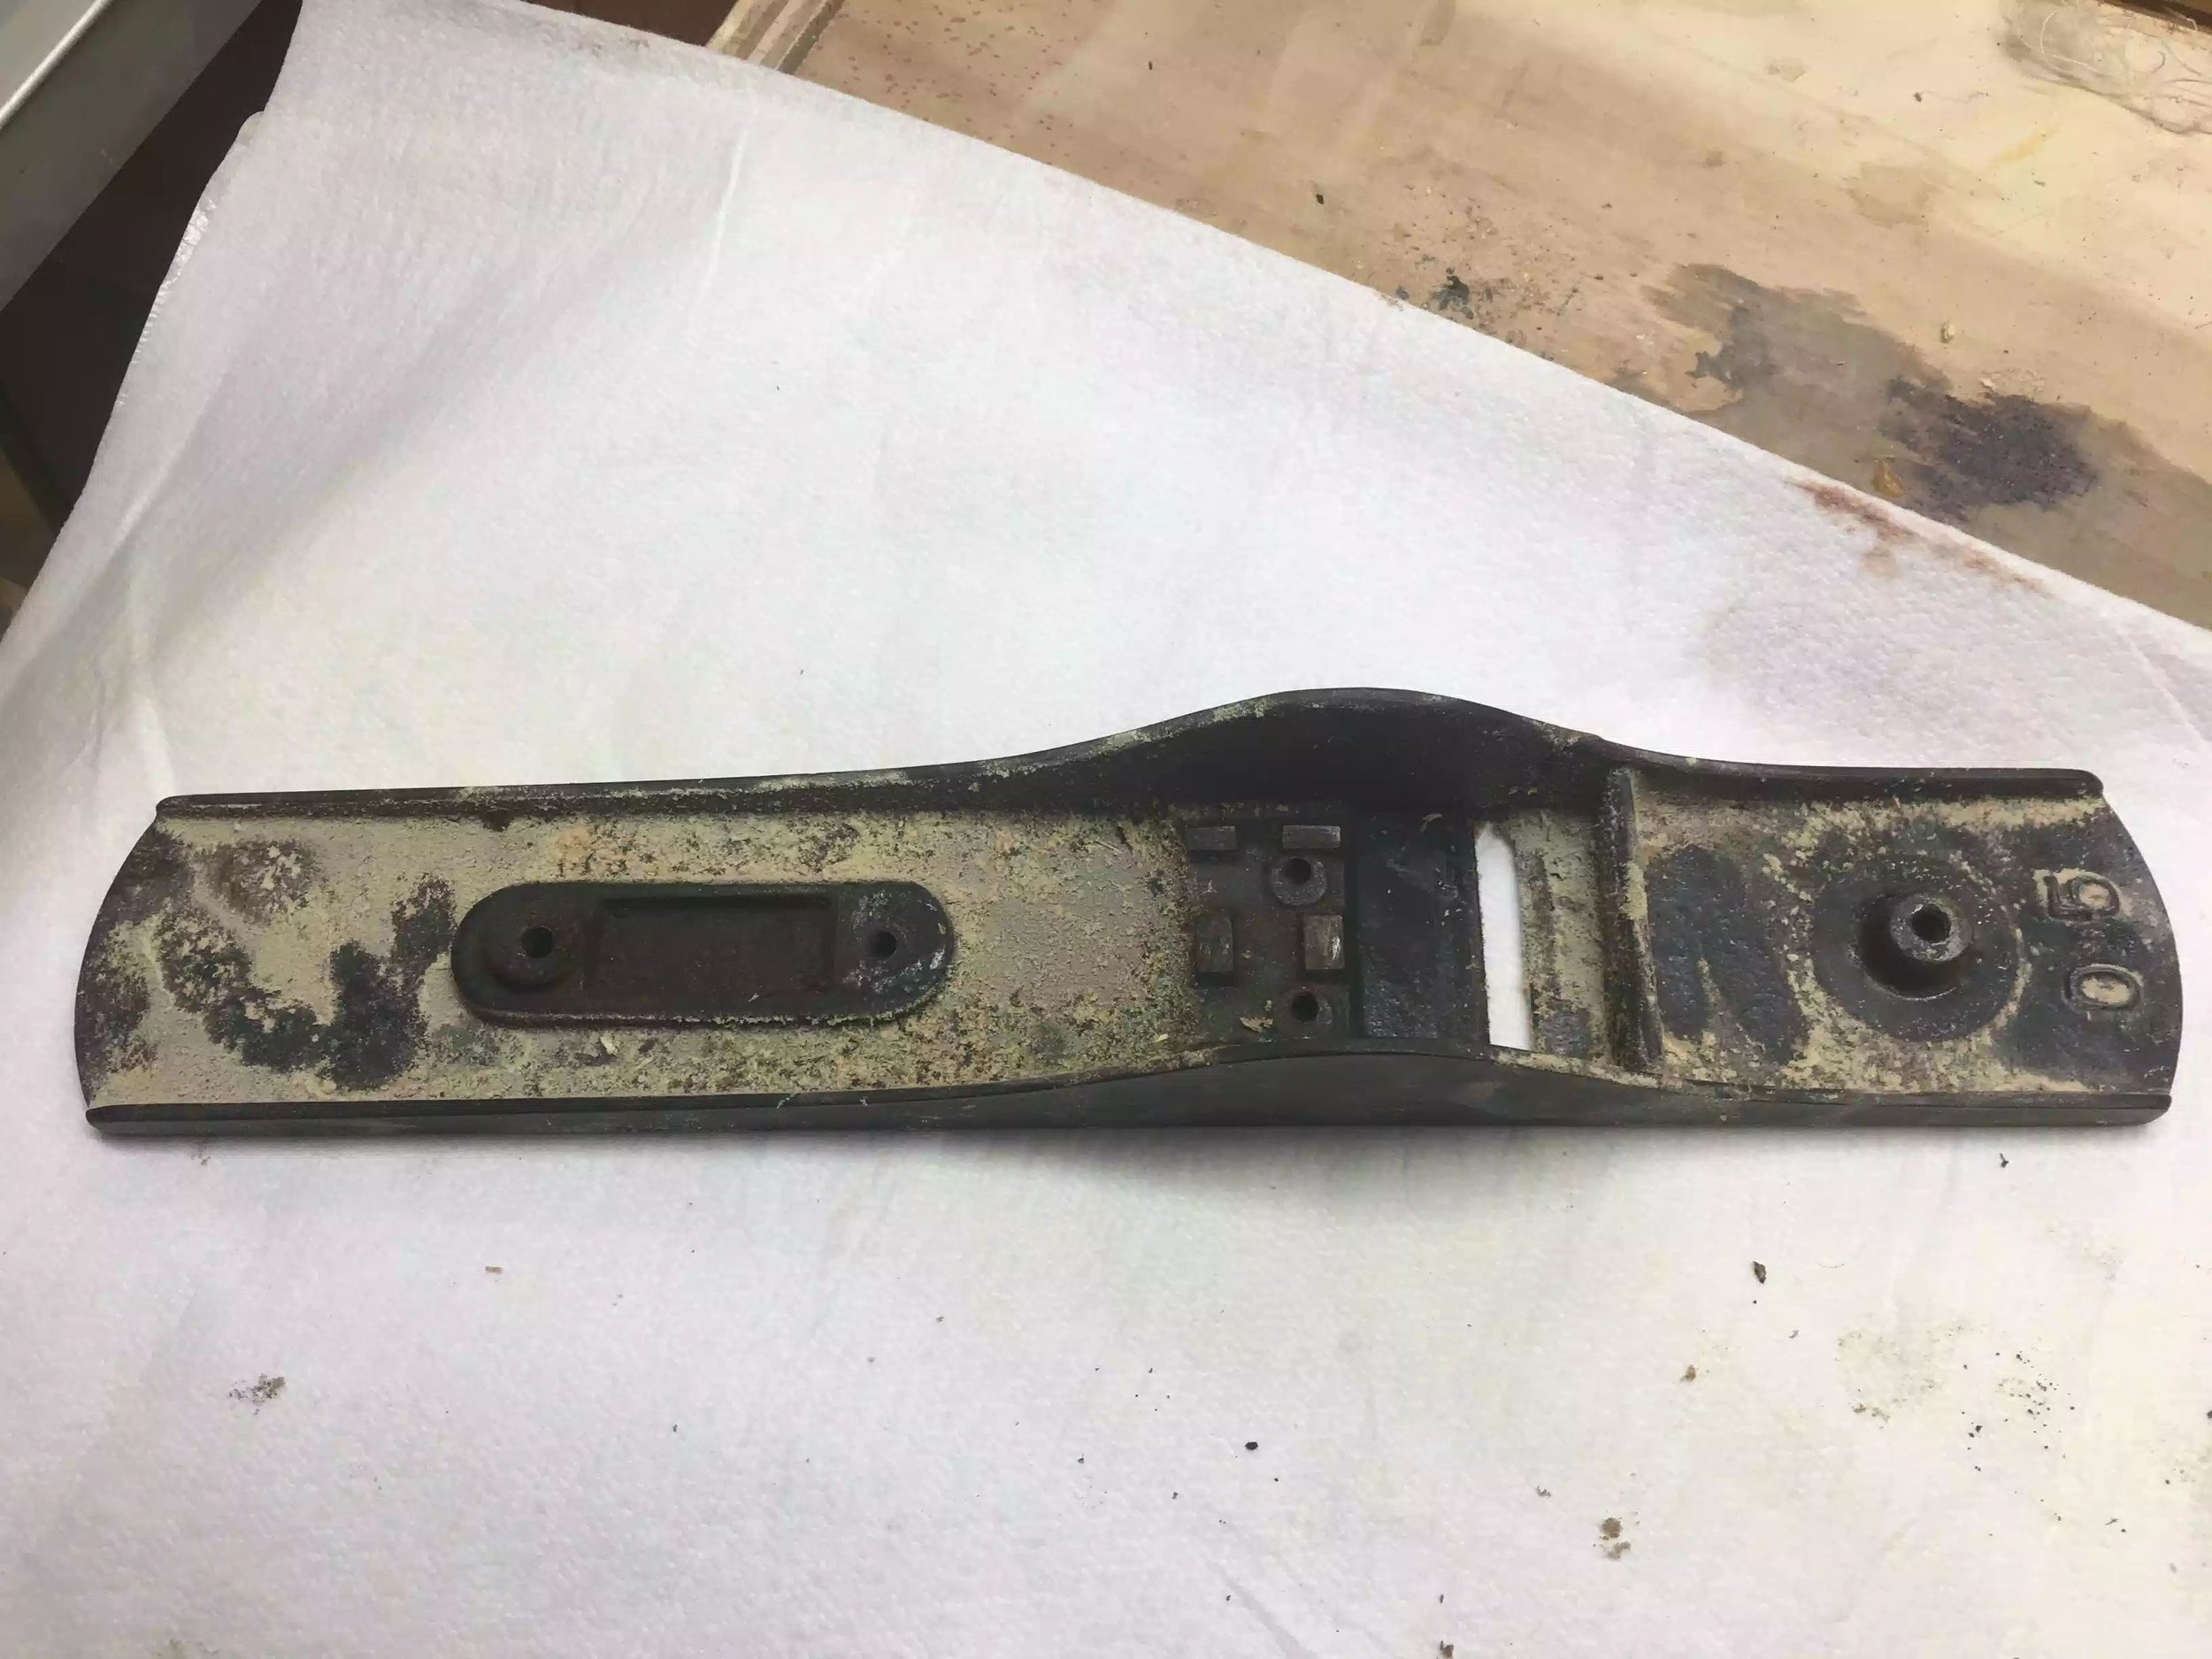
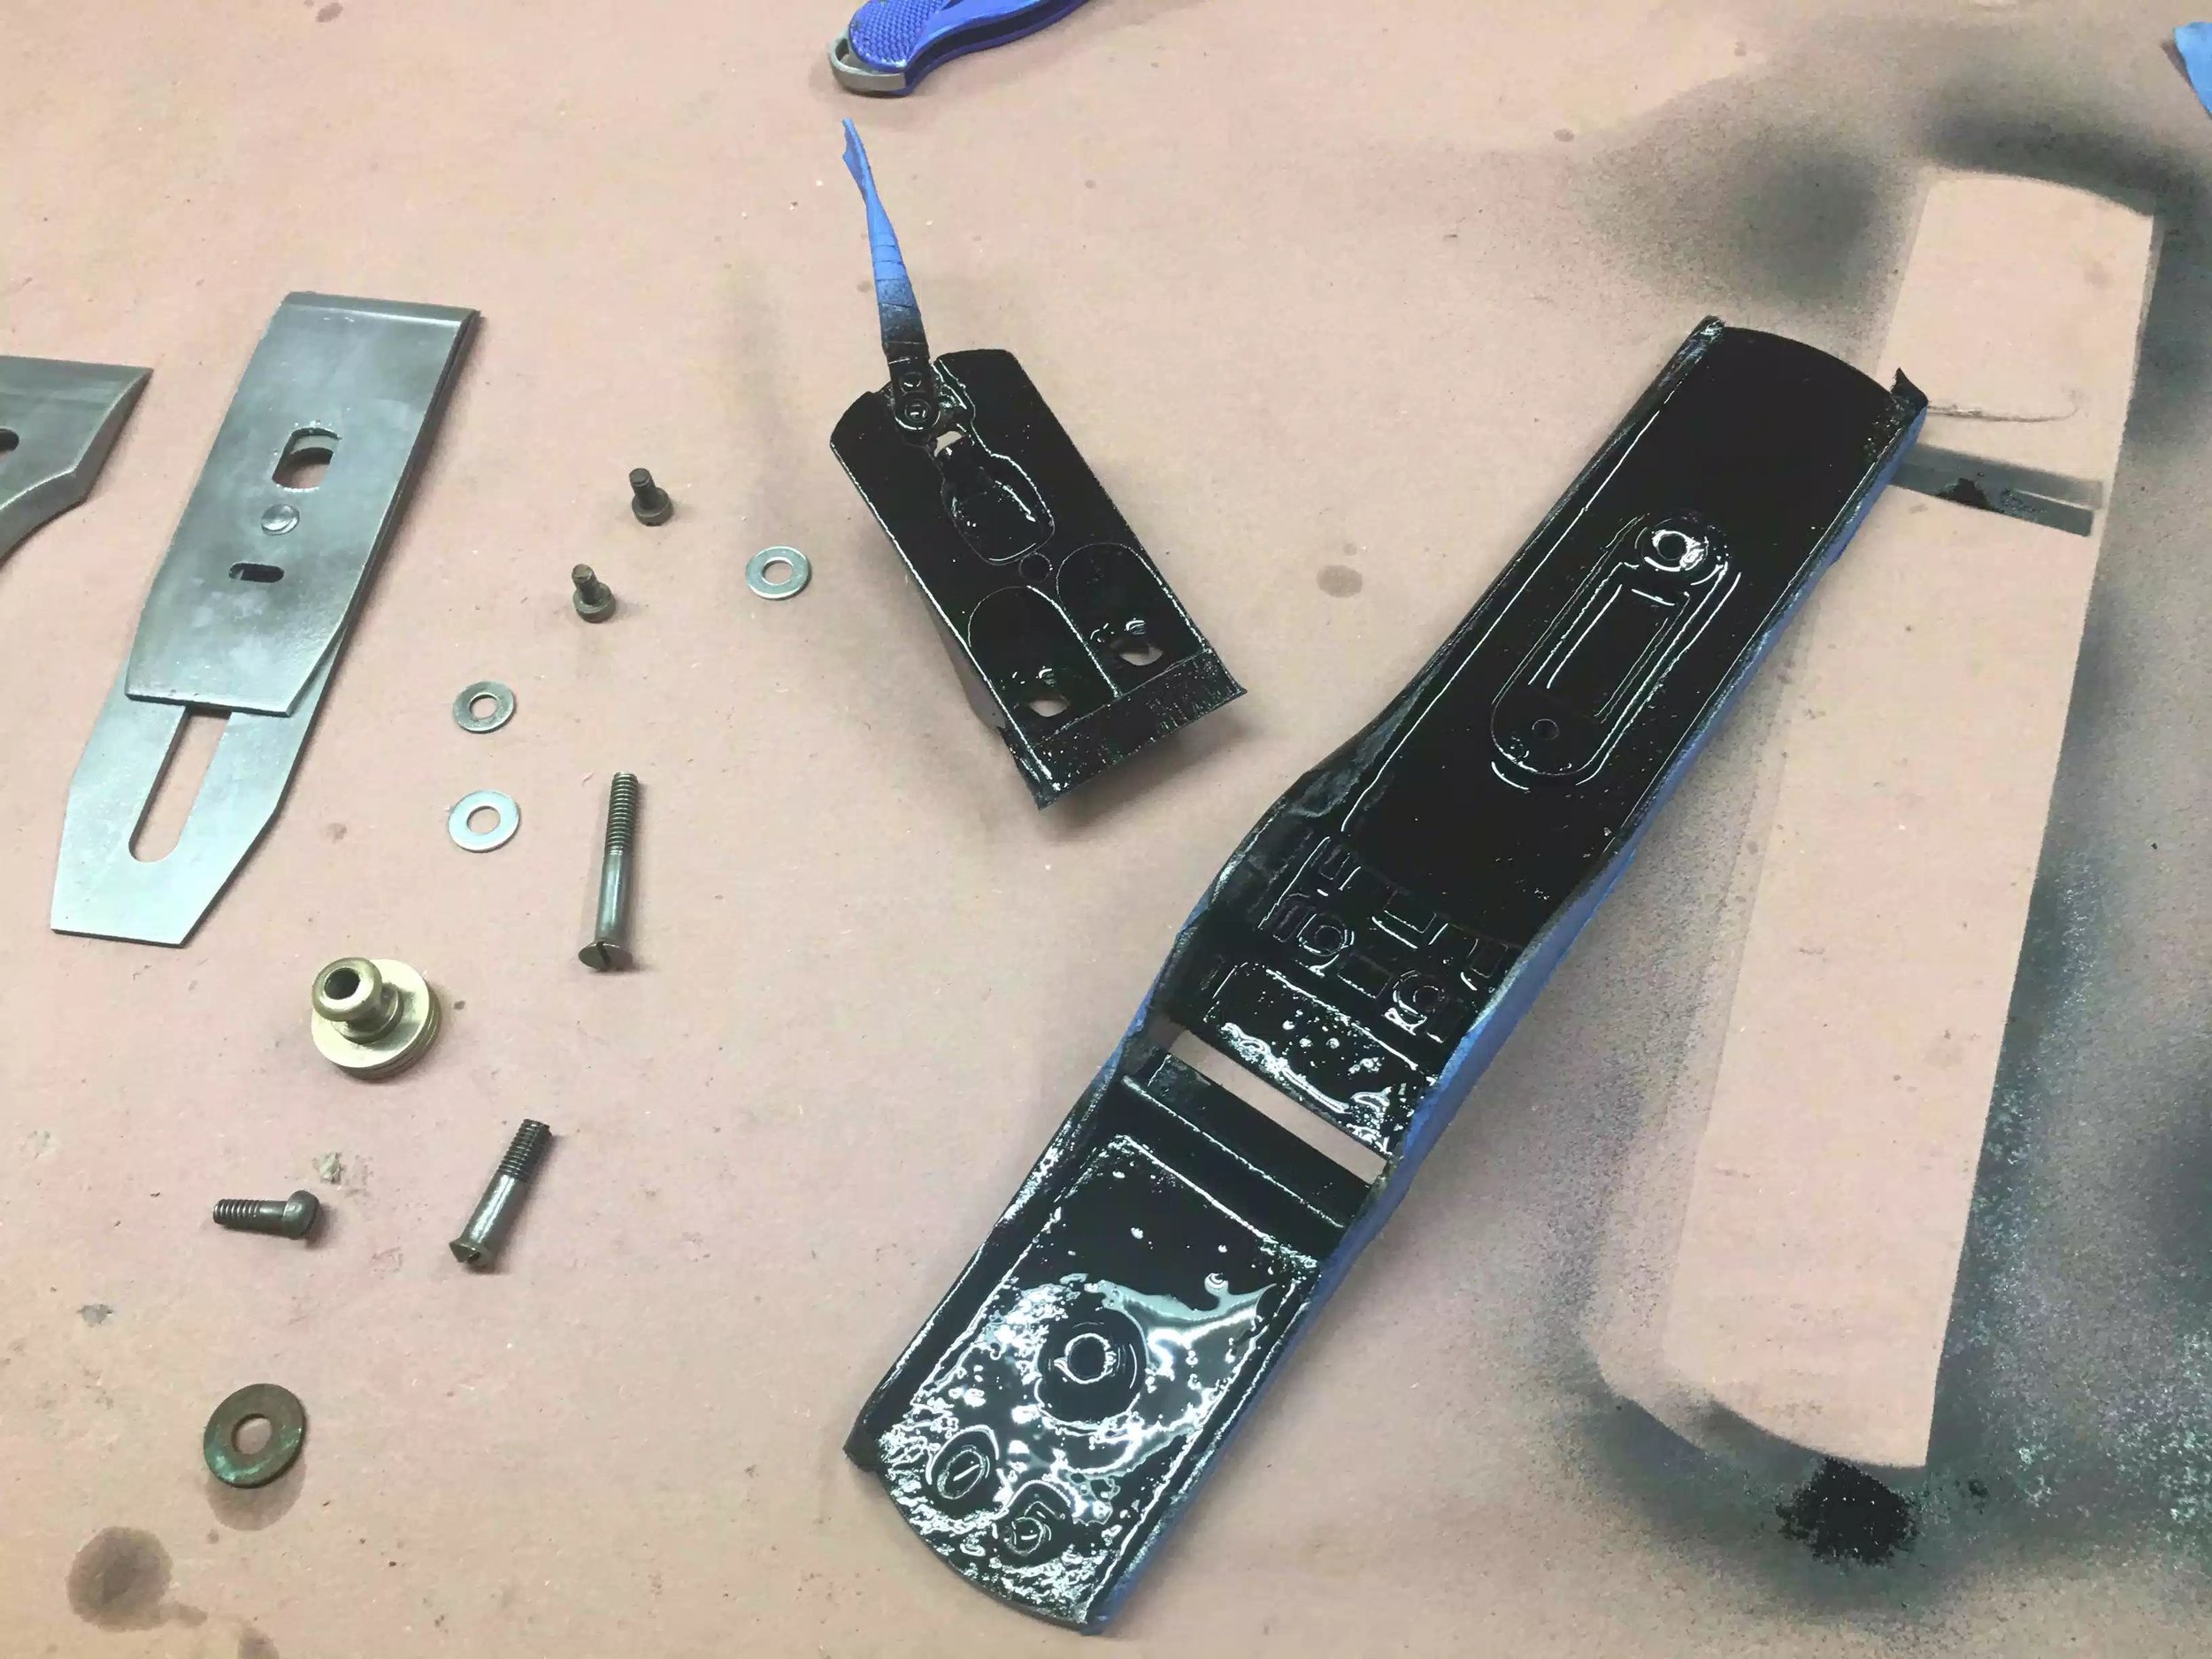
A lot of the parts that are key components in the operation of the hand plane are from other planes, for example the chip breaker is also damaged and the bottom needs to be ground to sit flush on the plane iron, the frog doesnt belong to this plane and was canabolised off another plane, the tote is broken and for some reason I cant get the 2 broken parts together I have tried 5 minute epoxy, Titebond II wood glue without any success, I could always remake the tote but with all the other issues with the plane I have decided to leave the plane for now and try and either find a Stanley #5 or find better replacement parts for this plane.

So as sad as it makes me feel I am leaving the restoration for now, but some times you need to cut your losses.

Anyway I need to perfect my honing skills and perfect my sharpening methods for various tools.

Until next time

Ed

#5 Hand Plane Restoration

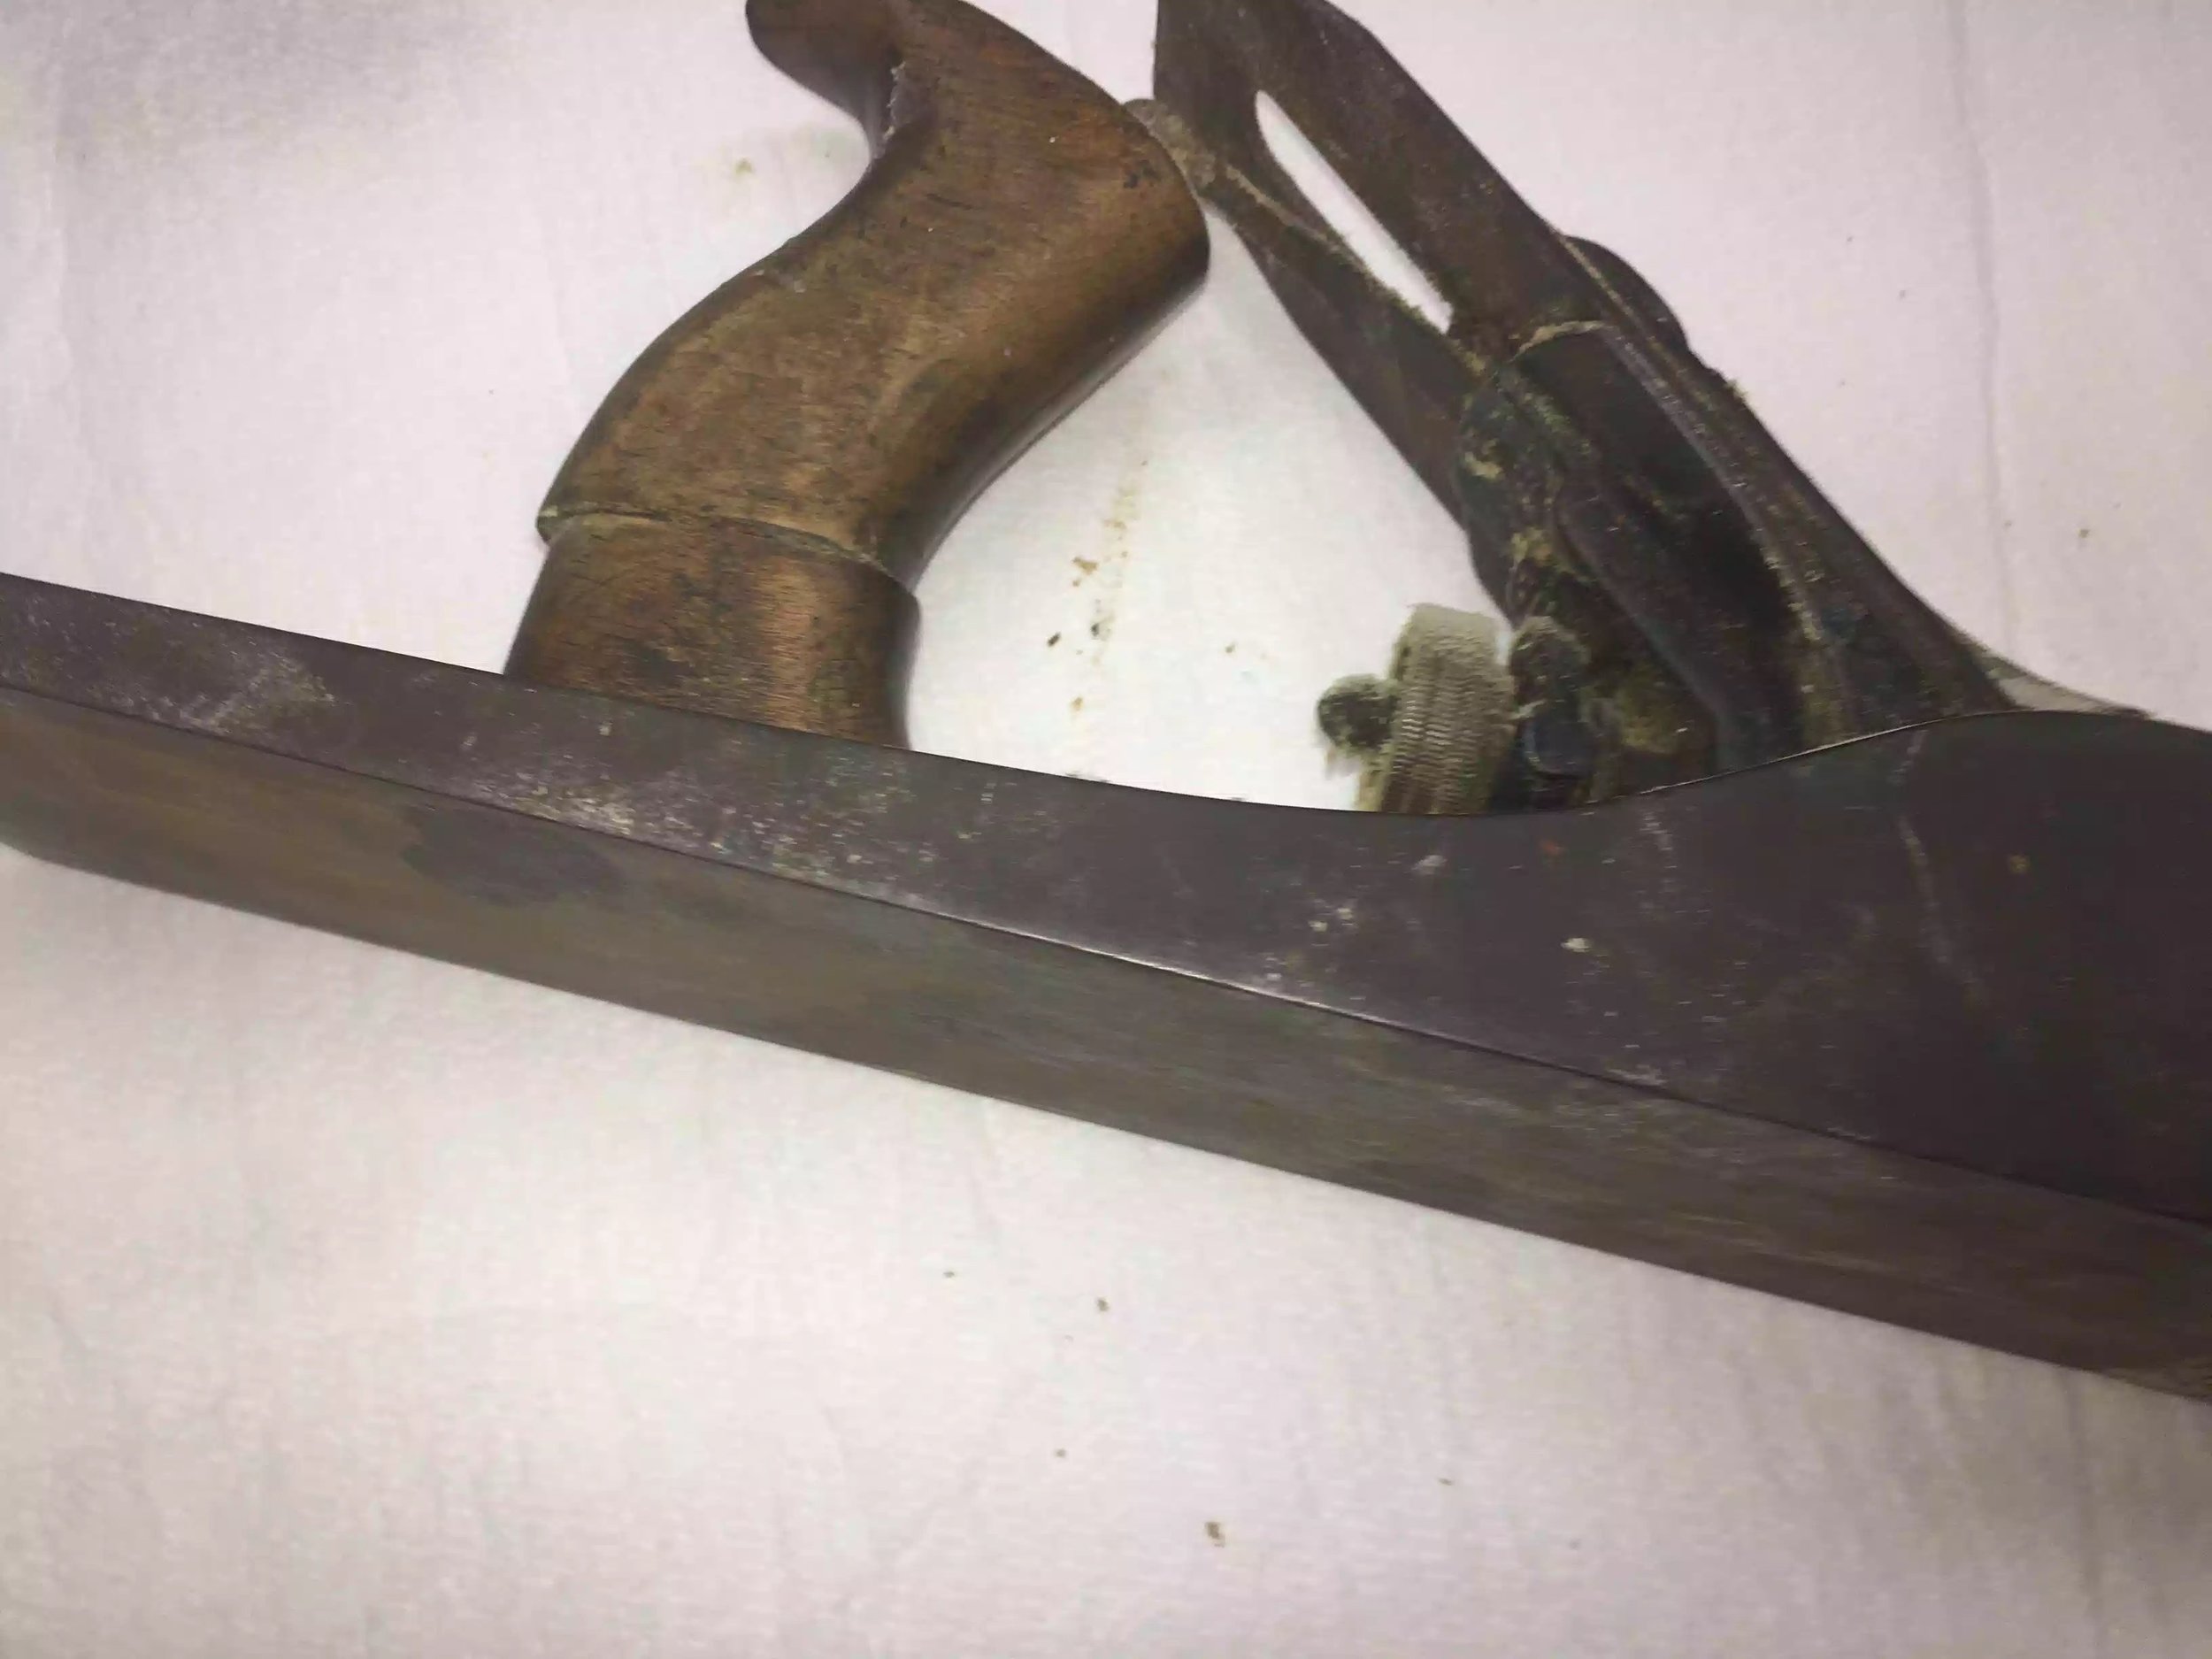
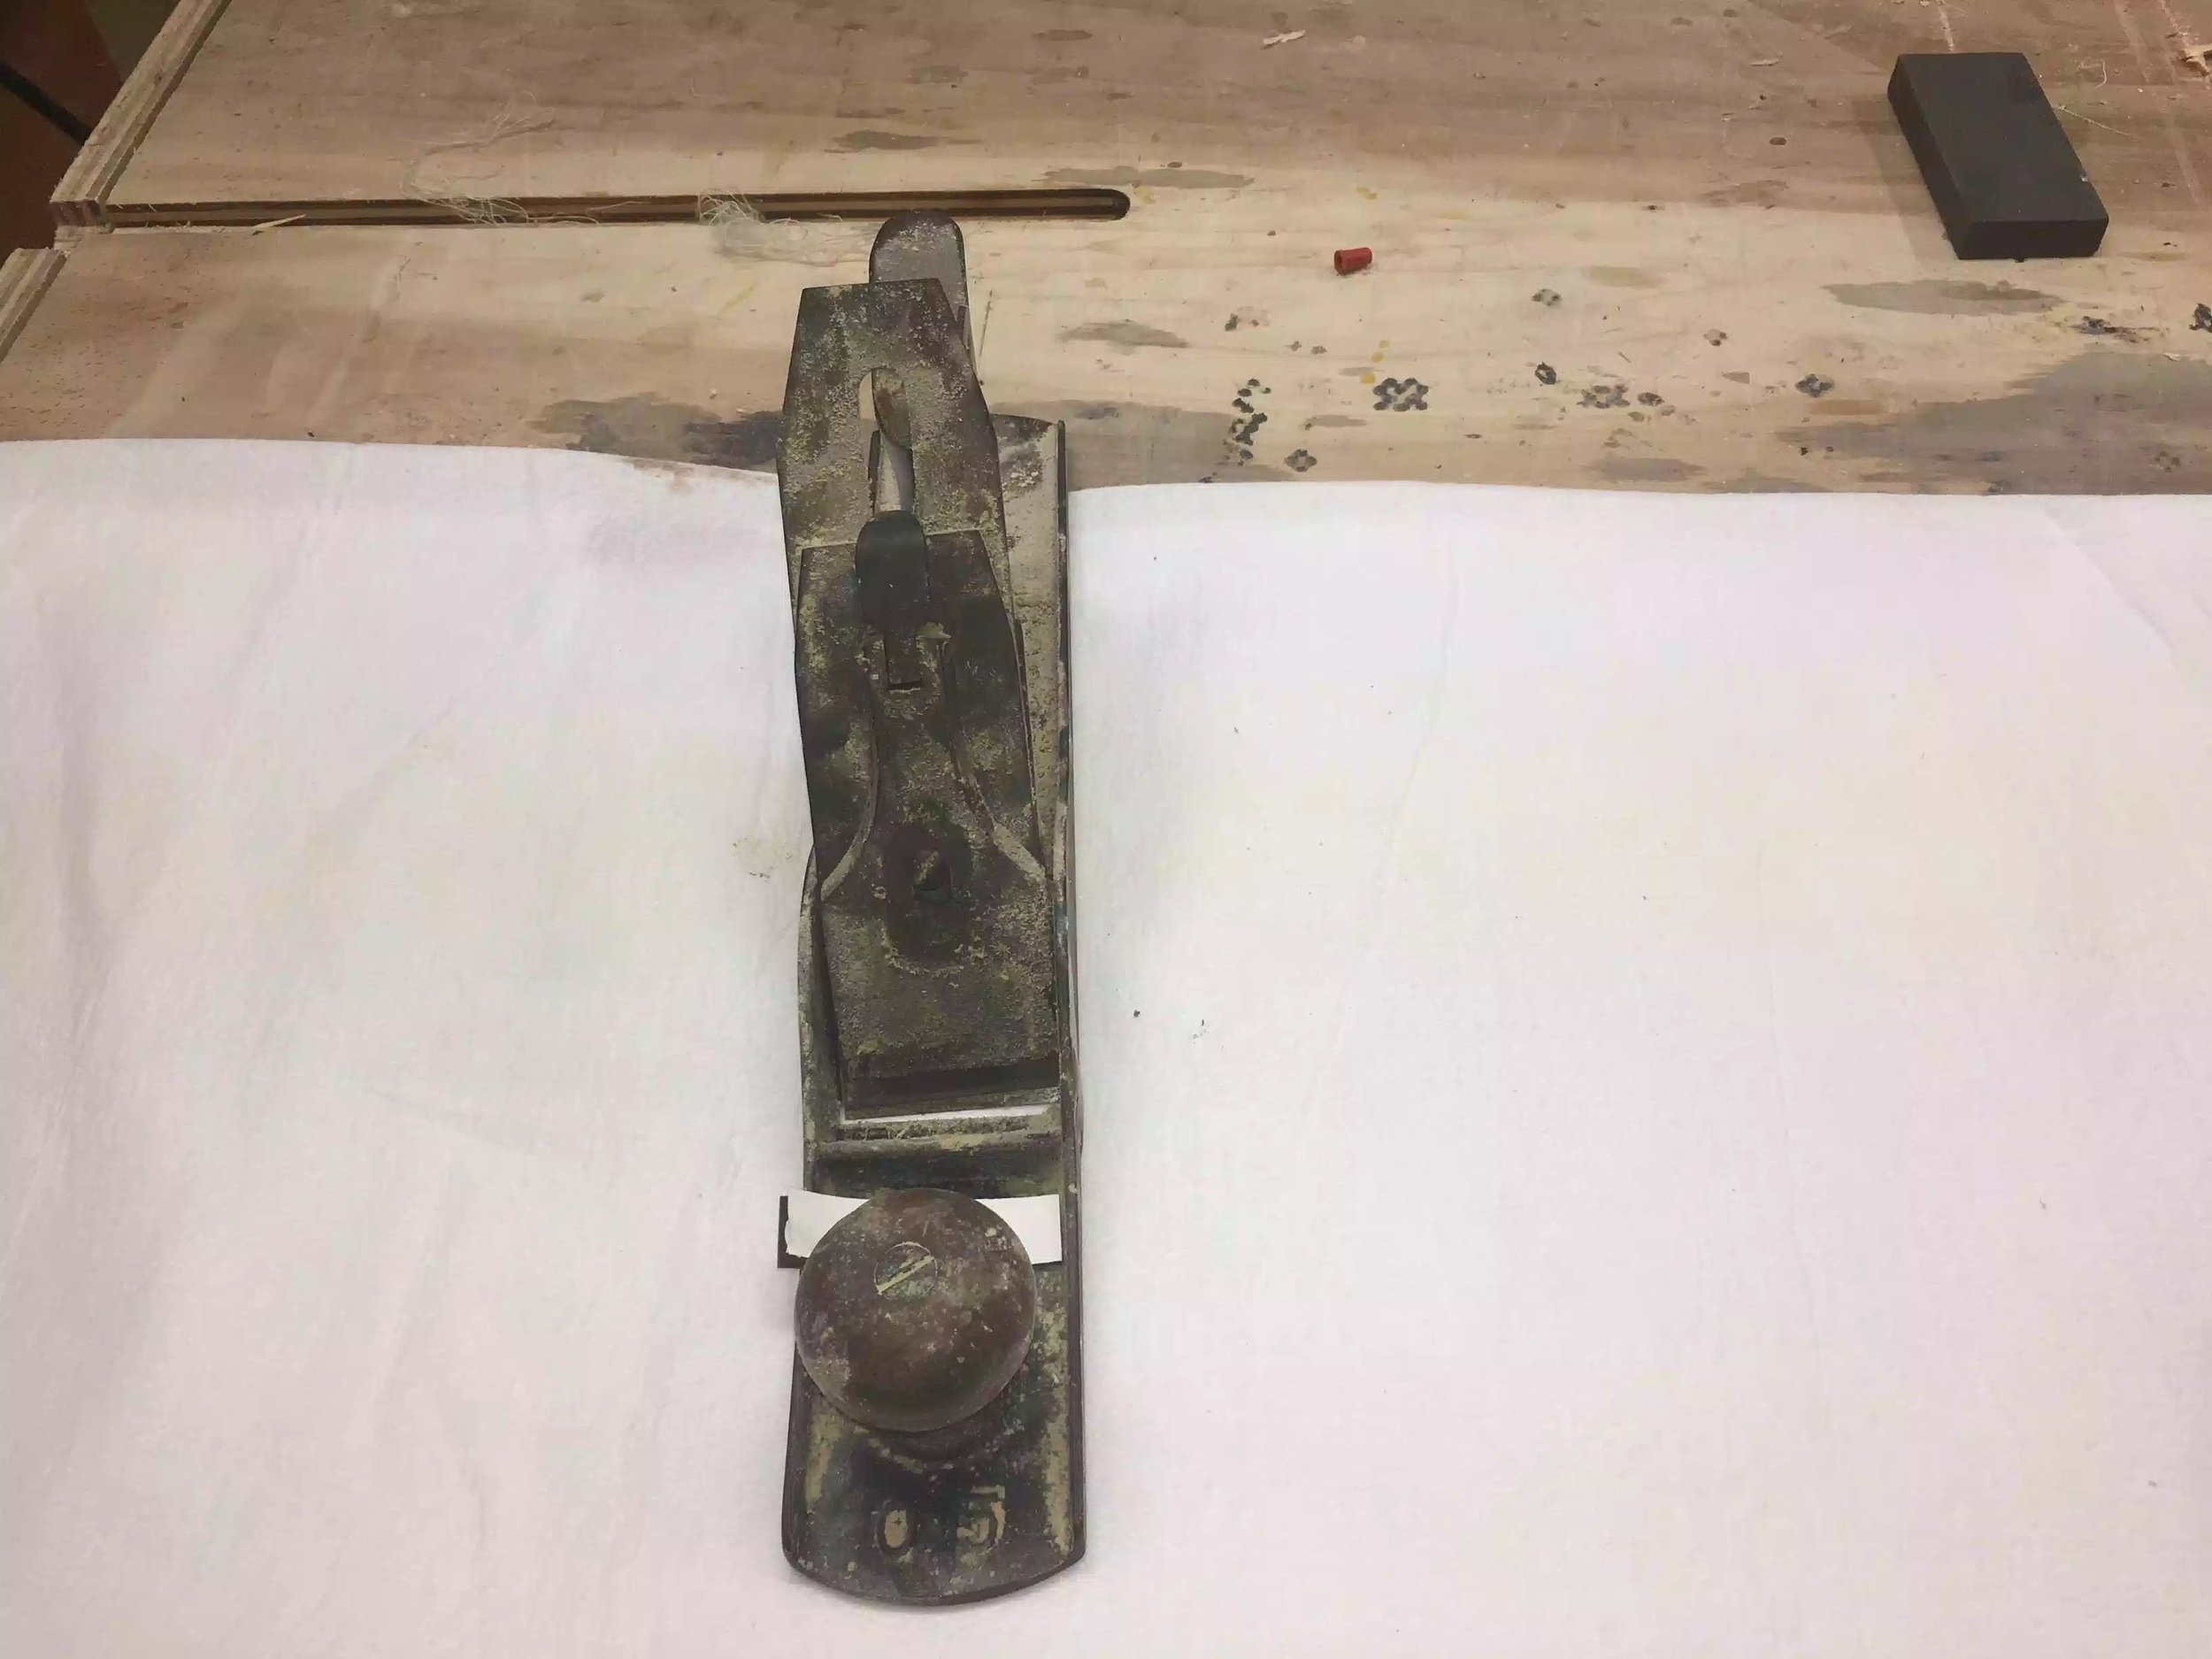
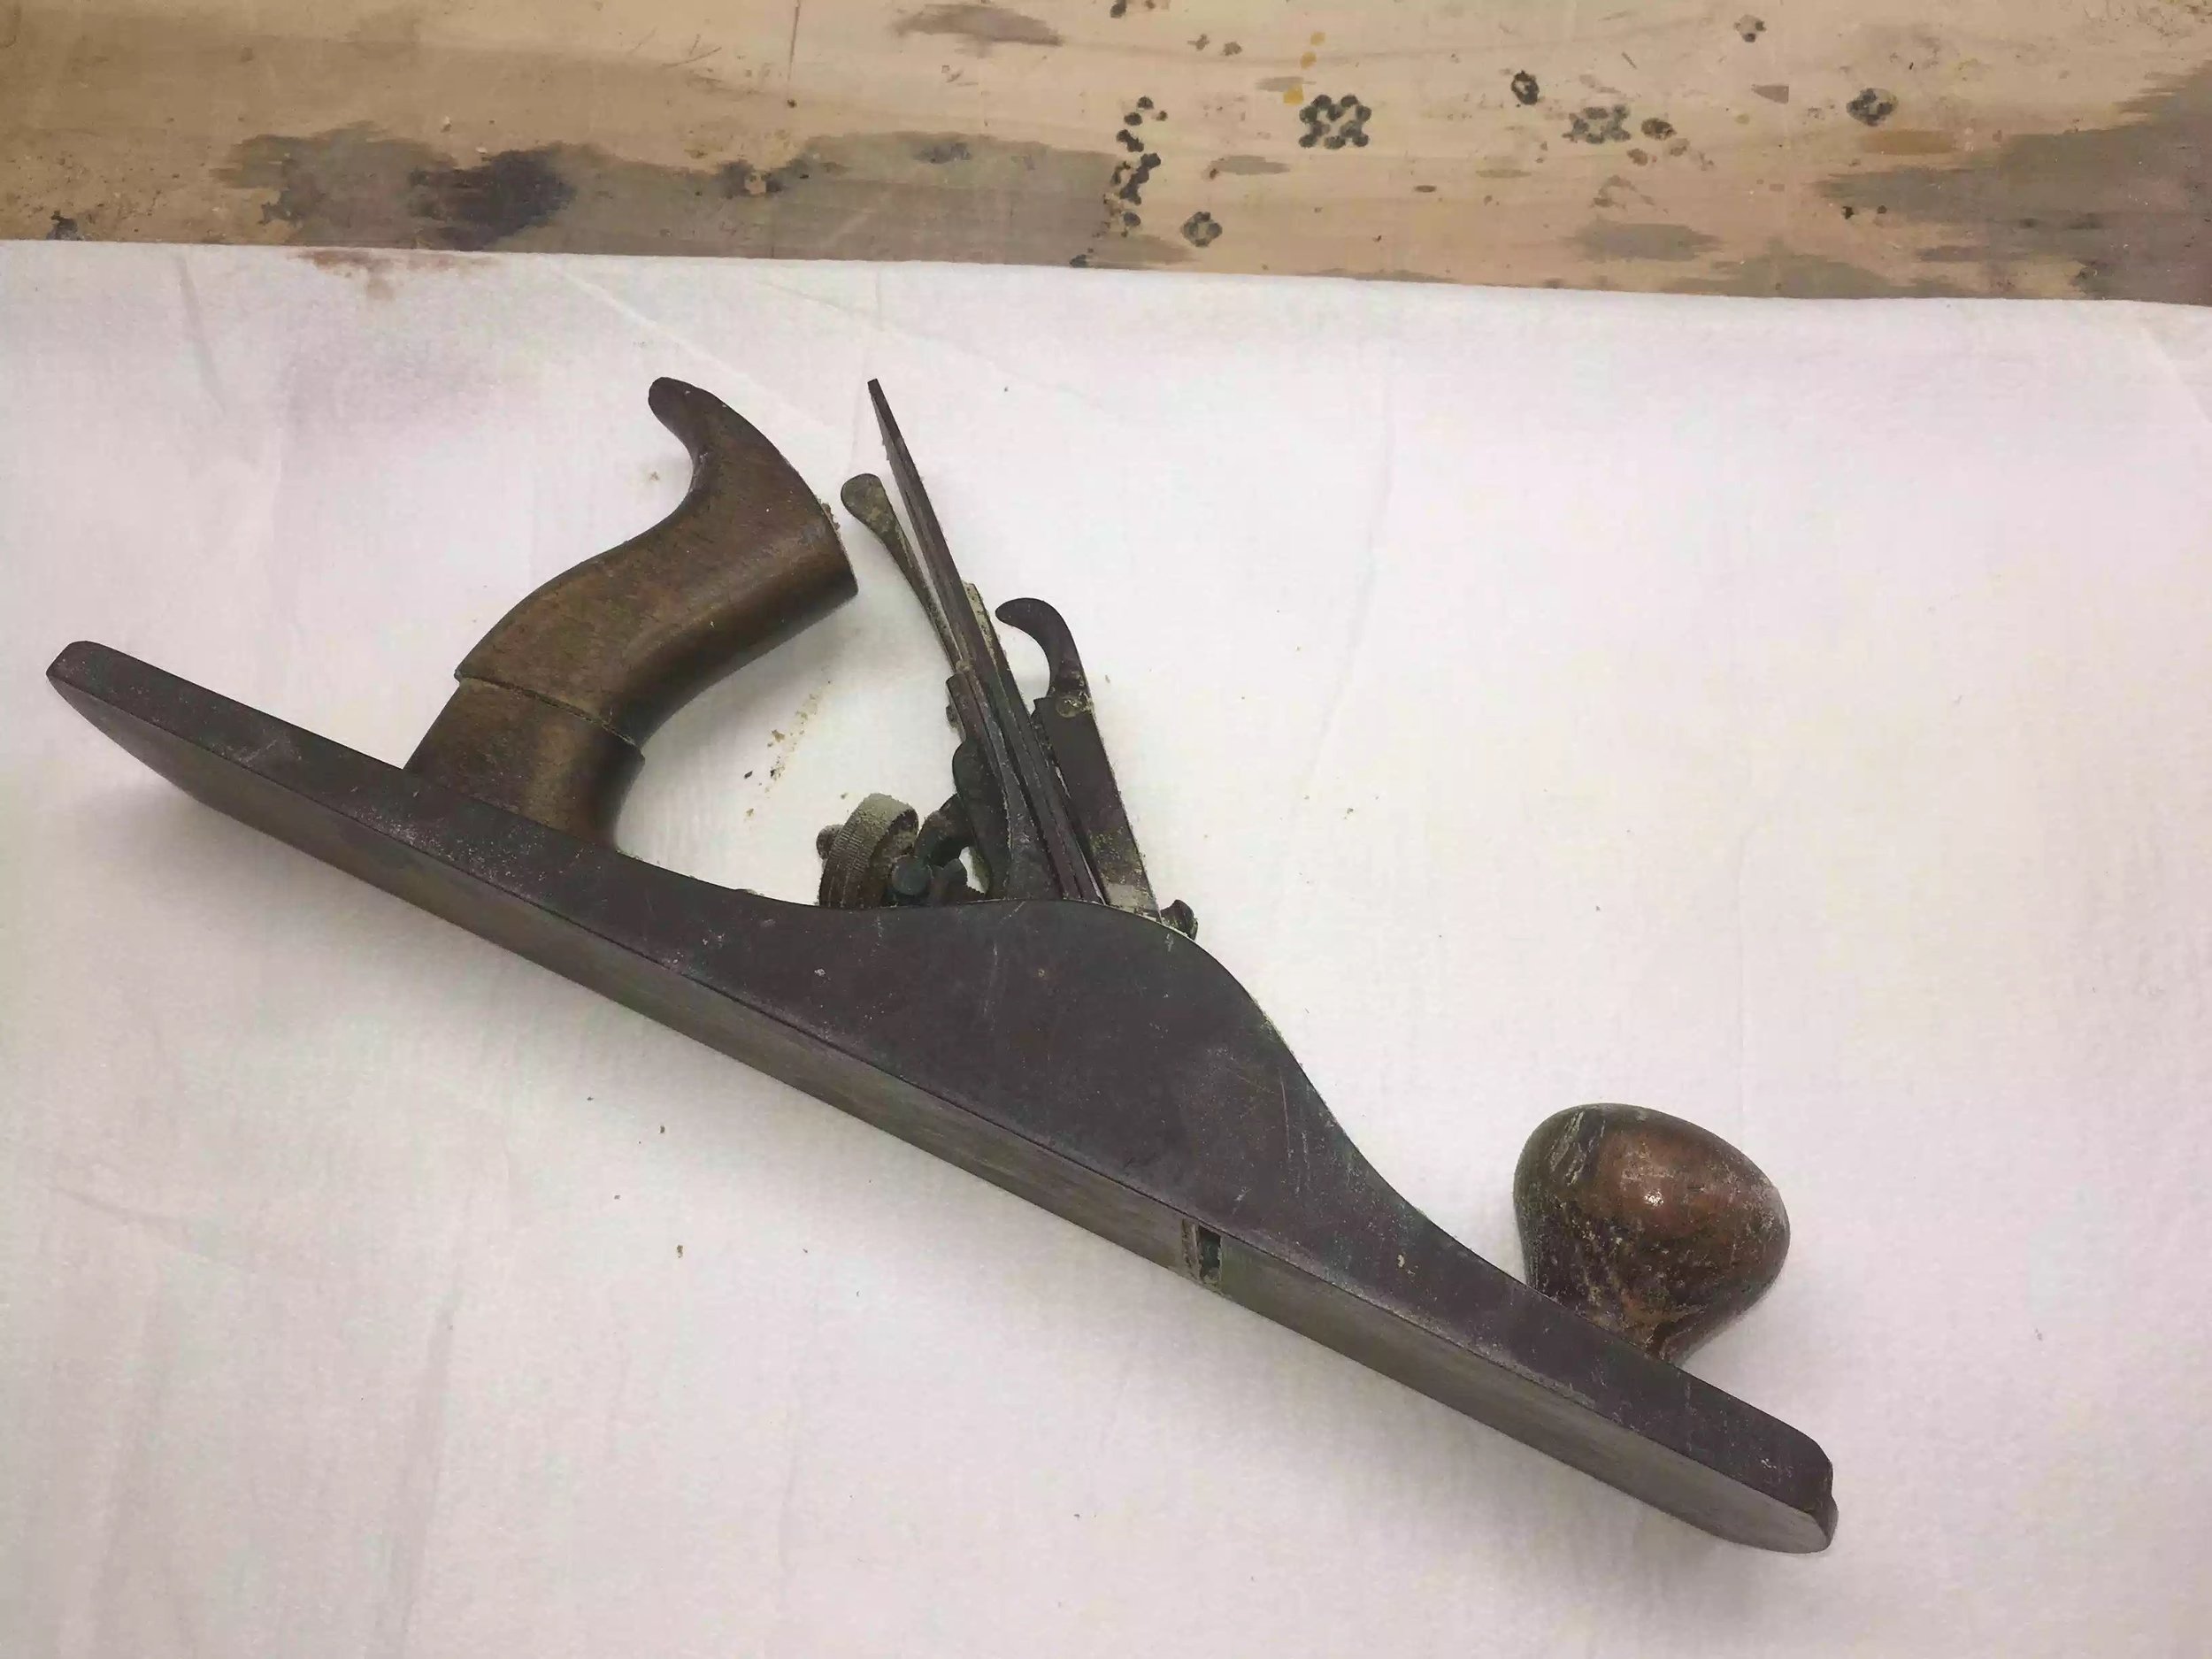
The 2nd hand plane for restoration is a #5 hand plane, this plane is in very bad shape with a lot of surface rust and a broken tote (back handle), I also think a previous owner tried restoring it at some point because I feel like he/she used parts from other planes because after looking up all the parts for this plane I didn’t recognize some of the plane parts, primarily the frog and other solutions were improvised with common parts. The plane was also broken on the side which went right through the side and also on the underside of the plane near its mouth. A repair was attempted by brazing the crack and I am not too sure how strong the weld is.

So although I am excited to start rehabbing the plane I am unsure at how good I can get it looking and performing.

Plane Problems

  1. A crack on the plane side that has been brazed.

  2. The frog doesn’t sit flush with the plane bed

  3. Severe rust and a little pitting

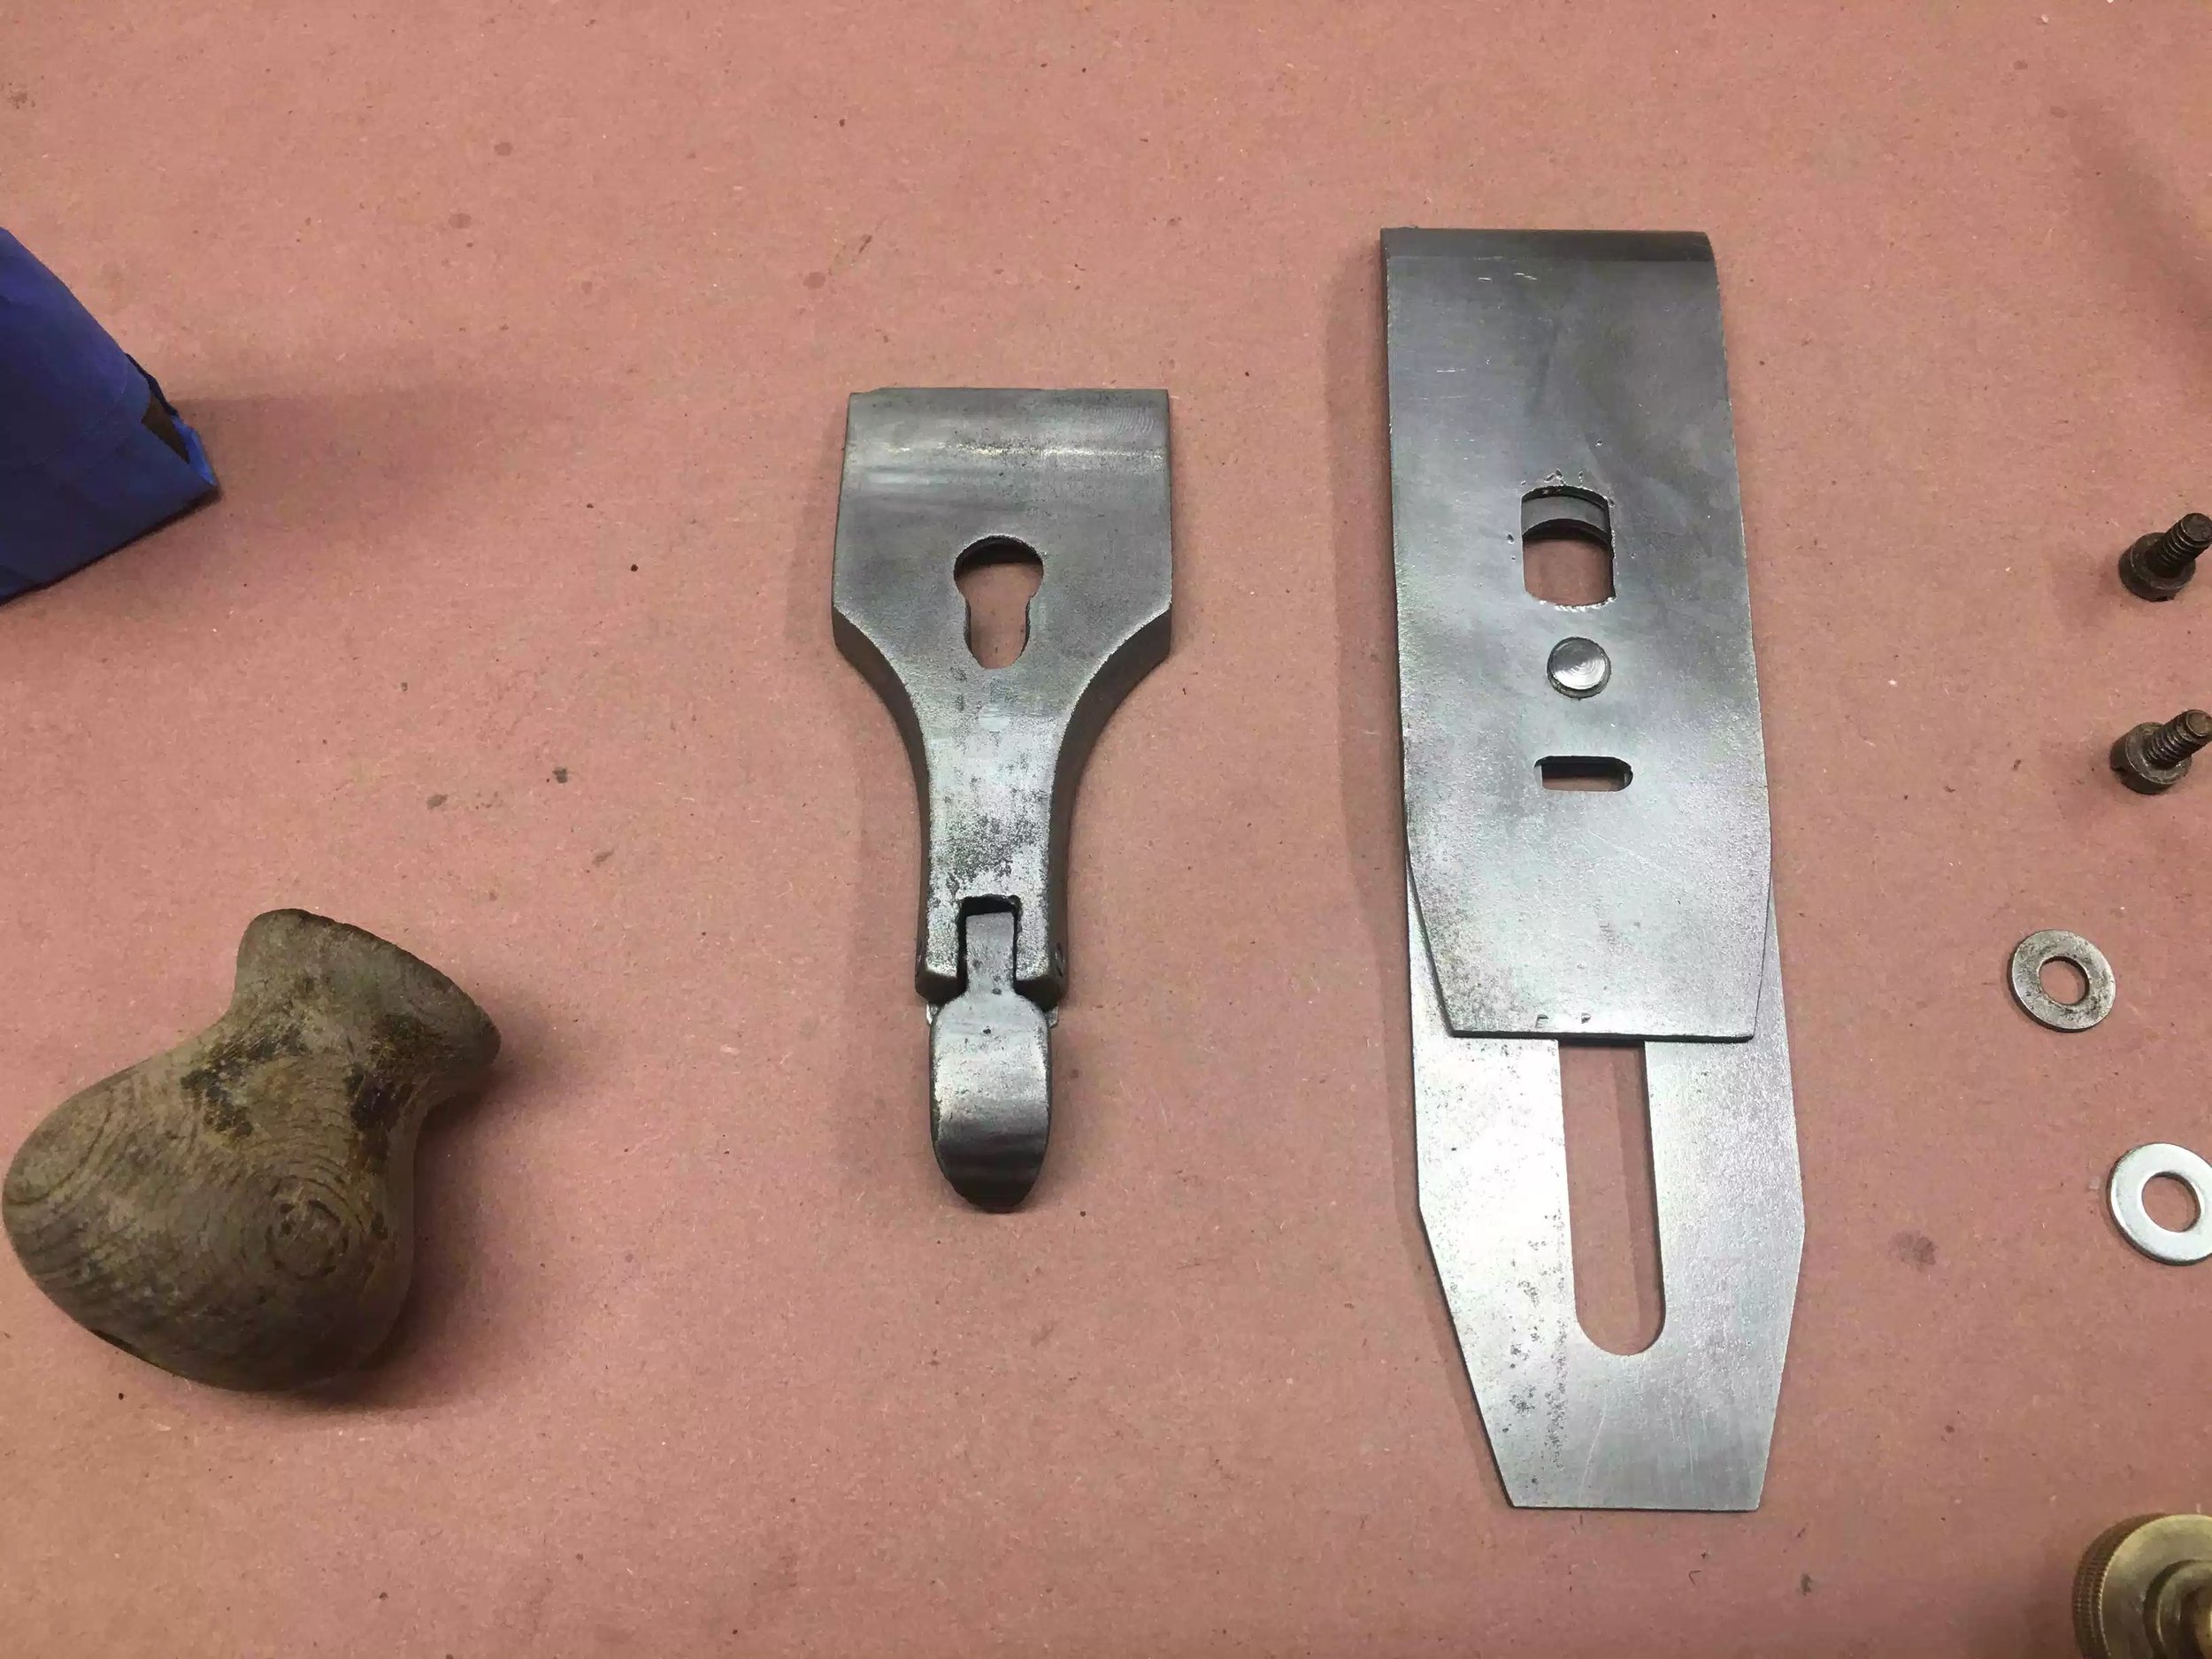
  4. Chip Breaker has broken edges

  5. Lever Cap has broken edges

  6. Broken tote

  7. Sole needs to flattened

  8. Plane blade needs to honed

This #5 is in really bad shape, I am hoping I can pull this off

This #5 is in really bad shape, I am hoping I can pull this off

FIRST THINGS FIRST: RUST REMOVAL

I am using the same method as the last time, I took the plane apart and put all the parts in a white vinegar bath and left it soak over the weekend and again the results speak for themselves, I also need neutralize the white vinegar so as that the parts didn’t rust when I removed them from the solution, I did that by soaking the parts in a water and baking soda.

Look at the color of the vinegar , that should tell you how rusty this plane is.

Look at the color of the vinegar , that should tell you how rusty this plane is.

So after I left the parts in the vinegar over the weekend I took them out today and using several rust removal methods I cleaned up primarily today. My 3 methods were

  1. Used a wire wheel in my drill press to remove most of the rust

  2. Used various grits of sandpaper to primarily remove the rust and also to flatten the sides and the plane bottom

  3. Used steel wool to remove the rust in places I couldn’t reach with the drill press and wire wheel

  4. Tomorrow I will do some more as I want the sides looking a little more polished, but below you can see some of the results of today’s cleaning exploits


Plane Tote

Although I didn’t take any pictures I worked on the plane tote (handle) I used my wire brush in the drill press to remove all the old finish and I also used regular wood glue to glue the two parts together, I used the the mounting screw to keep everything aligned while the glue set in a clamp .

NEXT:

Tomorrow I need to polish the plane sides and work on flattening the base of the plane and if I have time I will work on grinding down the lever cap so as that it sits flush on the chip breaker.

Until next time