Today I went out shopping for most of the materials I needed for the build which included.
- (1) 4' x 8' x 3/4" Birch Plywood
- (1) 4' x 8' x 1/4" plywood
- 4' section of 1" x 2" Oak
- (5) 22" full extension drawer slides
- I had (4) 3" casters so I didn't need to but them
- A box of 1-1/4" pocket hole screws
HERE IS WHAT I DID YESTERDAY
- Cut the main pieces of the cabinet (Top, Bottom, Sides)
- Prepared the base to receive pocket holes
- My Pocket Hole Jig
- Cabinet assembly time
- Adding the Cleats
- Main Carcass finished
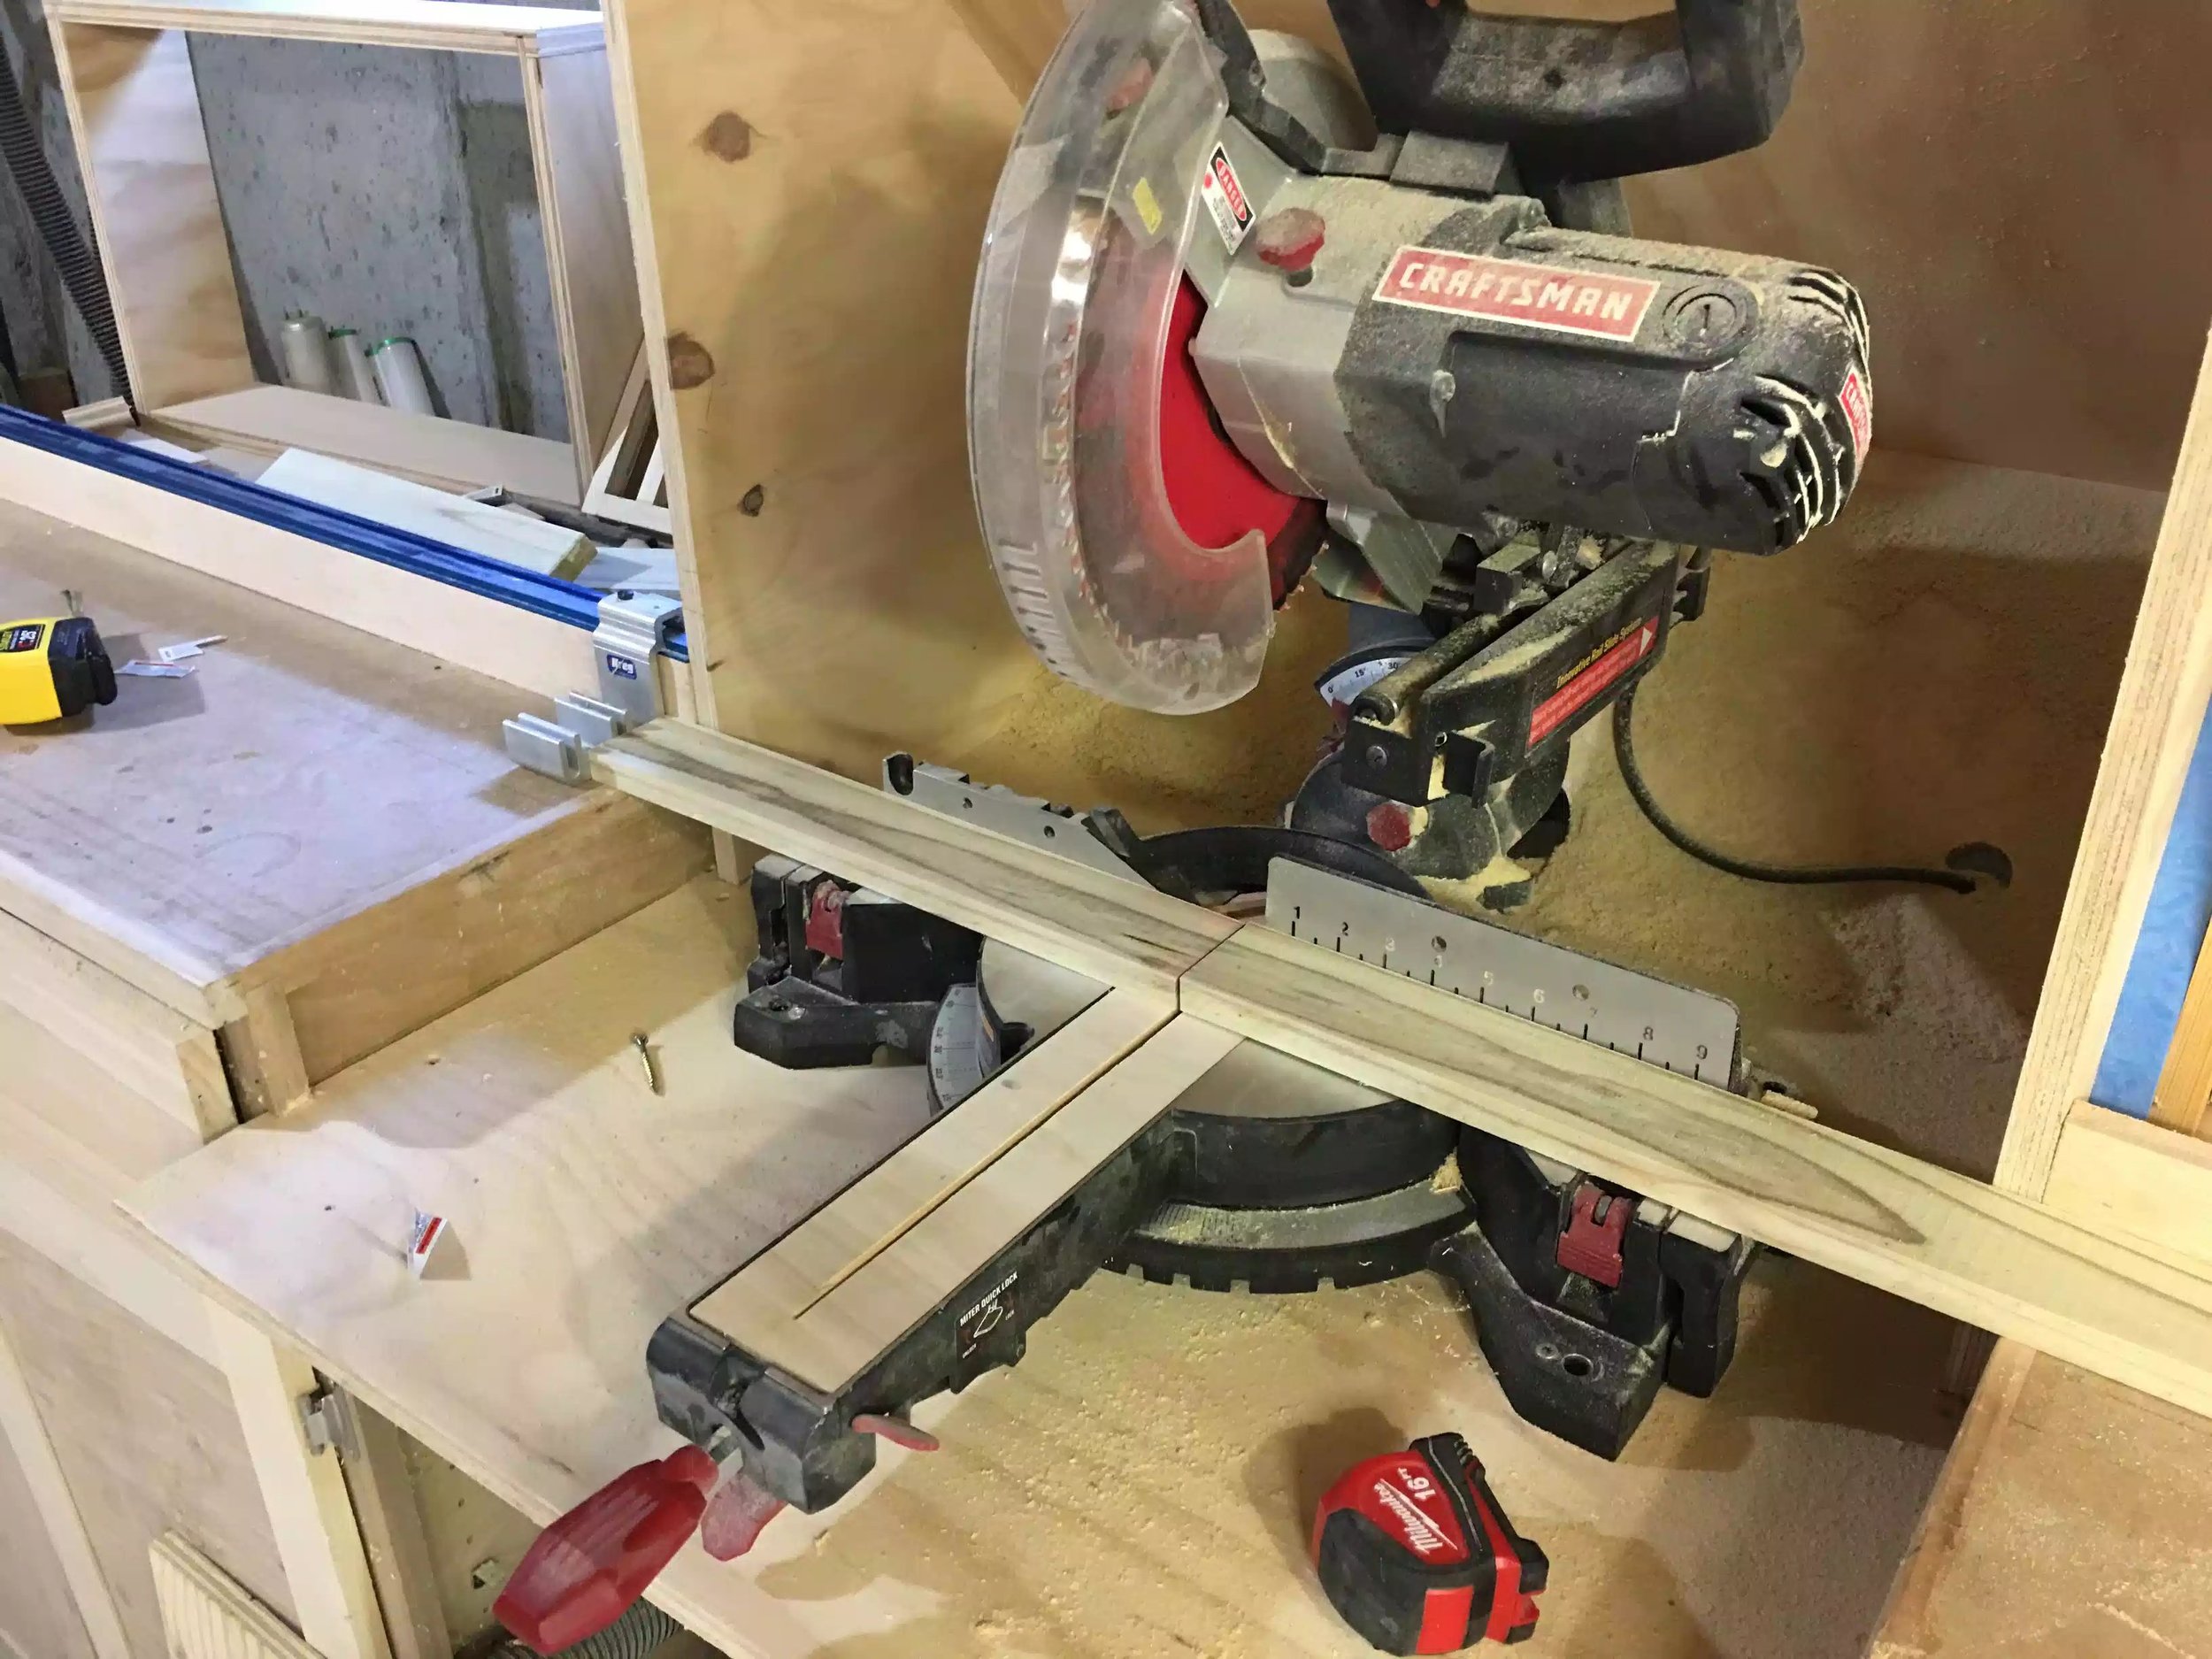
CUTTING THE MAIN CABINET
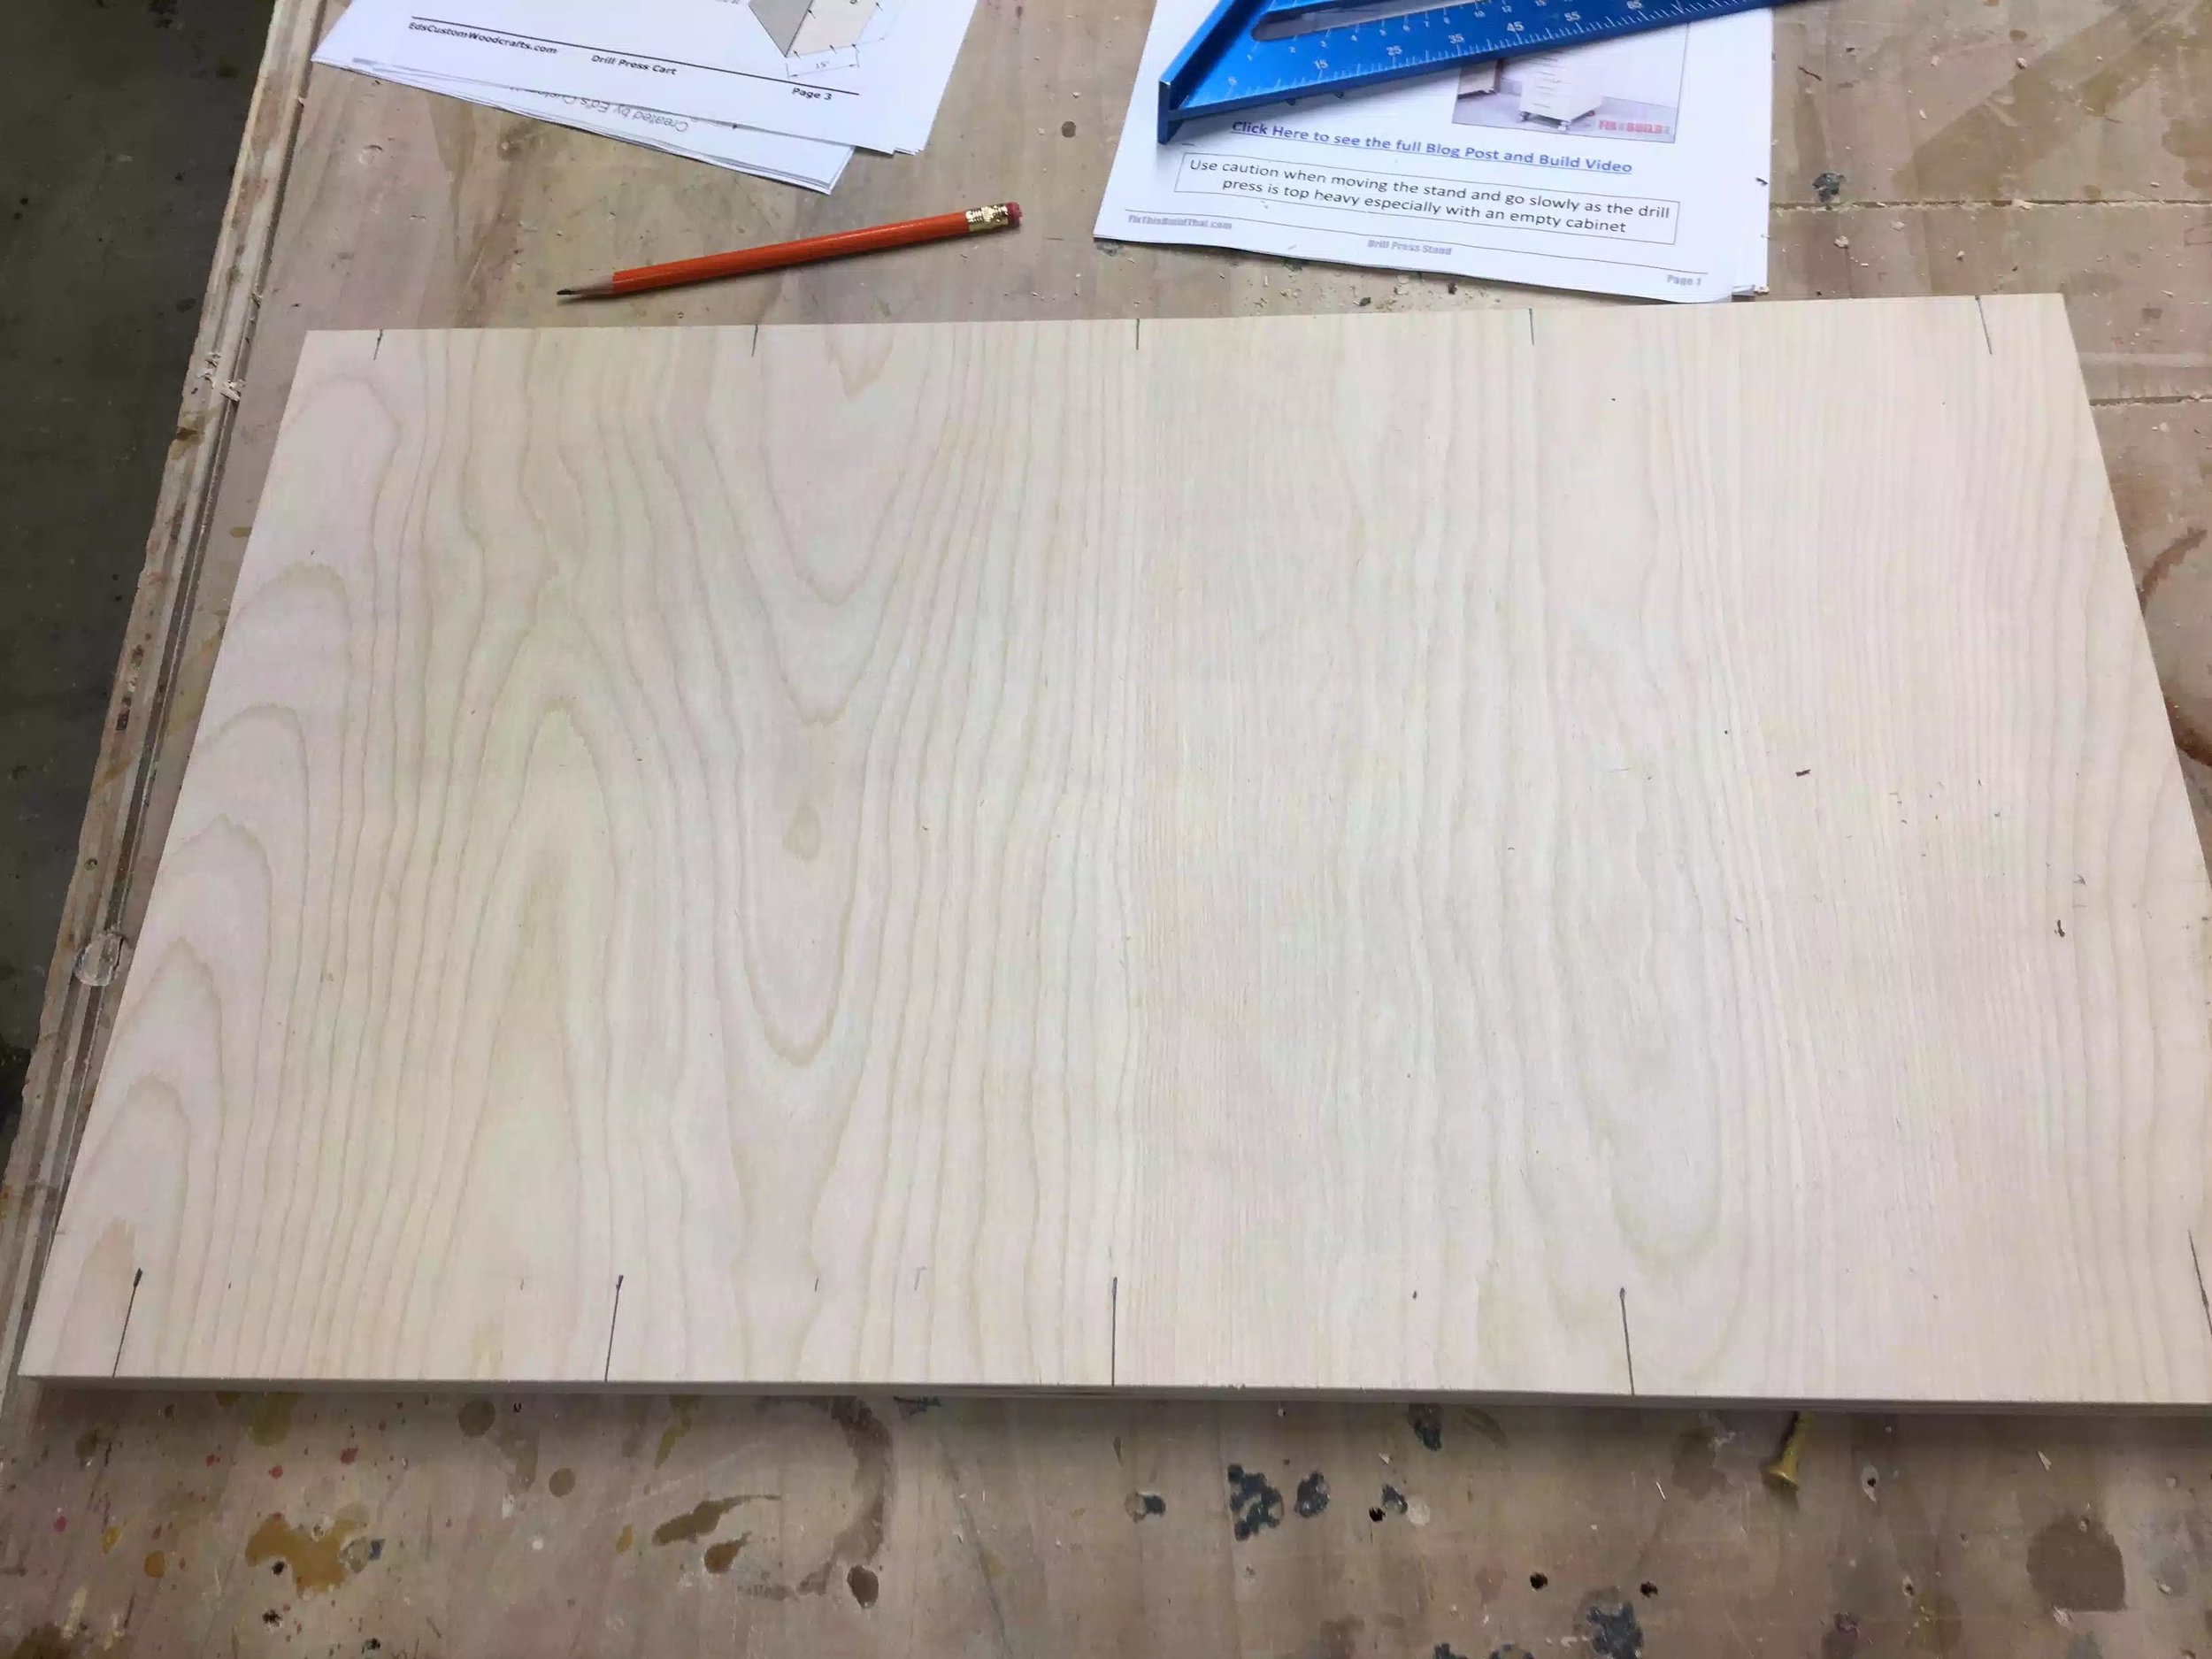
Using my plans , I used my table-saw with a brand new 80 tooth blade to cut the sides, top and bottom pieces to size. Having a new blade in the table-saw left me with a beautiful edge to the birch plywood. So i laid them out on my out-feed table and used blue tape to label them and to orient them in the way I wanted them to be on the final cabinet. I like using this method because when you are done you just peel the table and don't have to worry about sanding out pencil marks.

Here are the sides of the cabinet, using the painters tape to label them.
PREPARING THE BASE
The main method of joinery in this project is pocket hole screws and the way the cabinet is designed the base is very important because all the screws will be added on the bottom side of the base that way you don't see the screws. I used my Kreg pocket hole jig to accomplish but more about that later.
The base will side inside the left & right sides and I will be running 5 pocket screws from either side of the base, Sorry that I didn't take any pictures of the finished base after the pocket holes have been inserted but I will come back and edit the pictures when I am back in the shop.
I spaced the pocket holes 1" from each end of the base and then every 5 inches, I also added glue to strengthen the butt joint. Below are some pictures of me using my pockwet hole jig in inserting the pocket holes.
In this picture I drew lines representing where I want to place the pocket holes. The lines are drawn on each long side

Although I didn't take a picture of the finished pocket holes here is a image from the plans showing you how I placed them

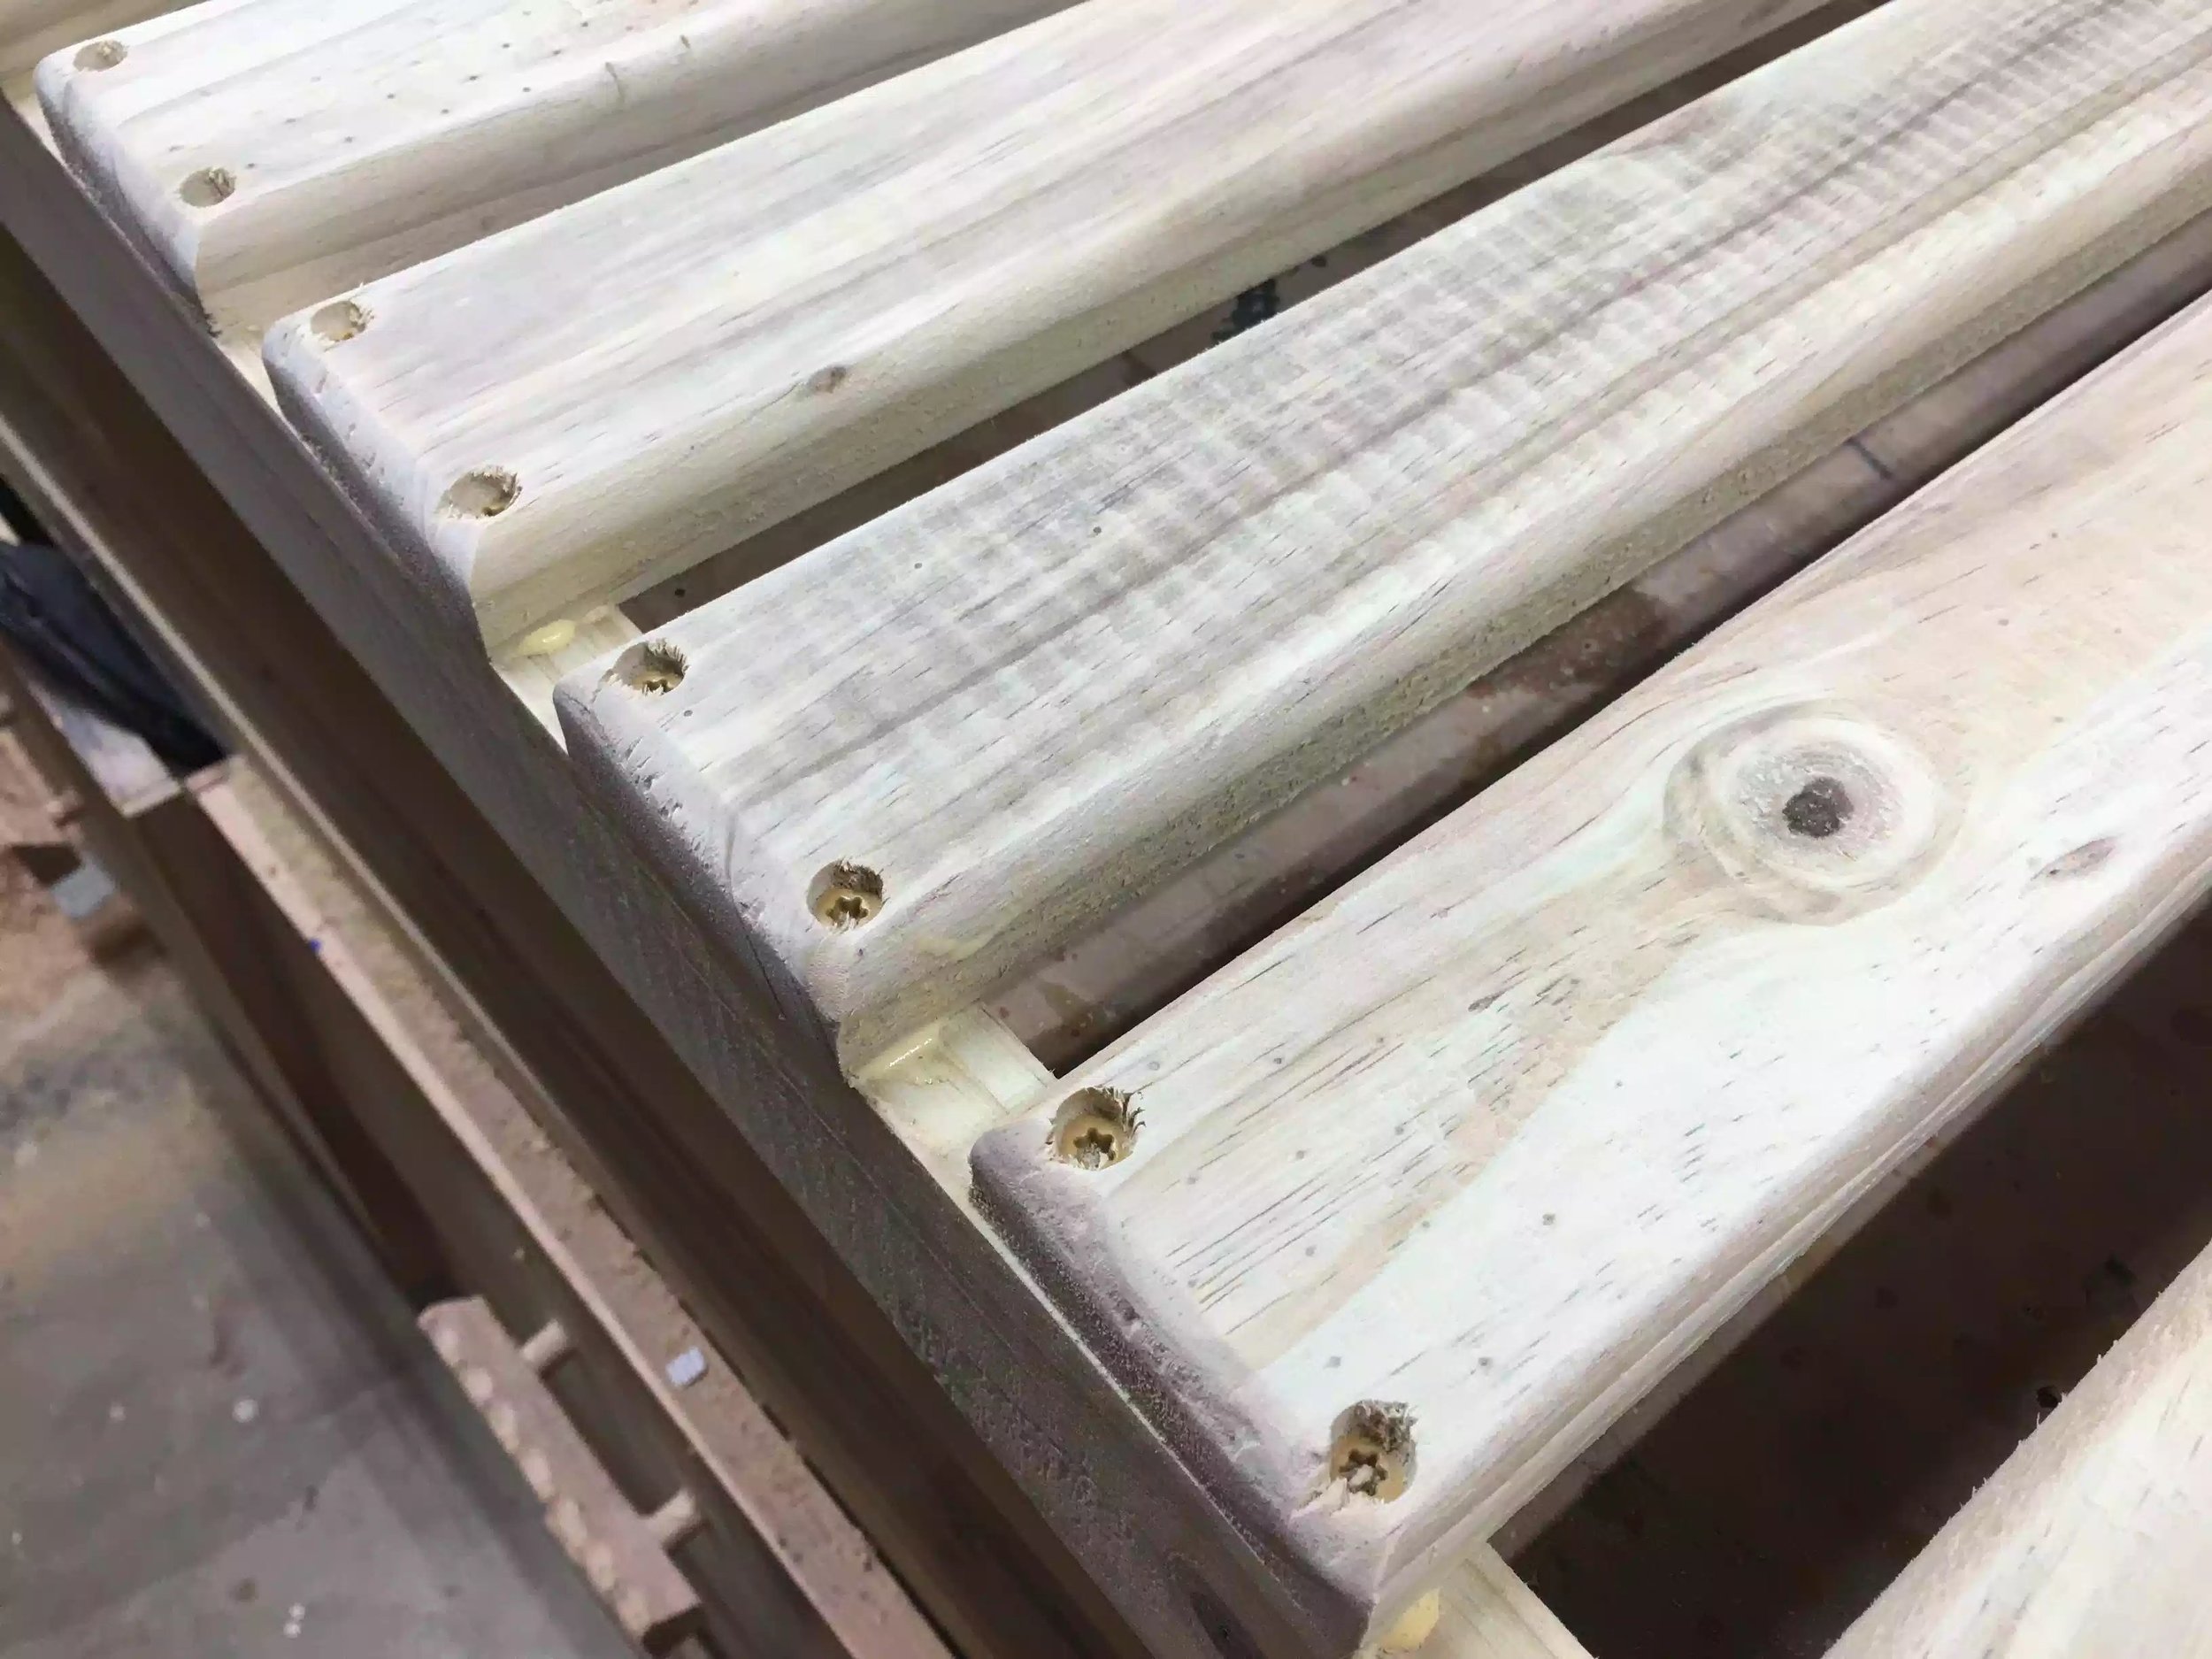
Here is another angle of the base, screws have just been added.

In this picture I am getting ready to drill the pocket holes with a special drill bit that drills a tapered hole to receive the screw.

Here you can see the actual base of the cabinet being clamped together getting ready for the pocket hole screws to be inserted.
MY POCKET HOLE STATION
Before I move on to the next phase of the project I wanted to show you my pocket hole station and you use it.My version of the Kreg pocket hole jig is the K4 there are other versions of the jig one cheaper and another more expensive
My workstation has 2 main functions
- Affords me a platform to lay long work-pieces on and don't need to worry about the long work-piece from moving around while I am drilling the pocket holes.
- It also has a decent amount of storage for all the accessories that you build up over time owning this jig.
I made my station out of 3/4" plywood scrap I had lying around, I built two compartments into it that lets me store all my Kreg clamps and screws
Below are several pictures of the jig itself housed on the workstation I made.

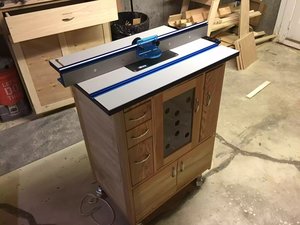
Here is the complete workstation, the jig sits flush with the compartments that sit on the left and right of the jig where I store my accessories. The workstation also has a lip on the front that allows me to clamp the workstation to my bench.

Here is another angle of the pocket hole station, its very important that every tool has its place.

Here are the 2 compartments that I store all the accessories for the jig.

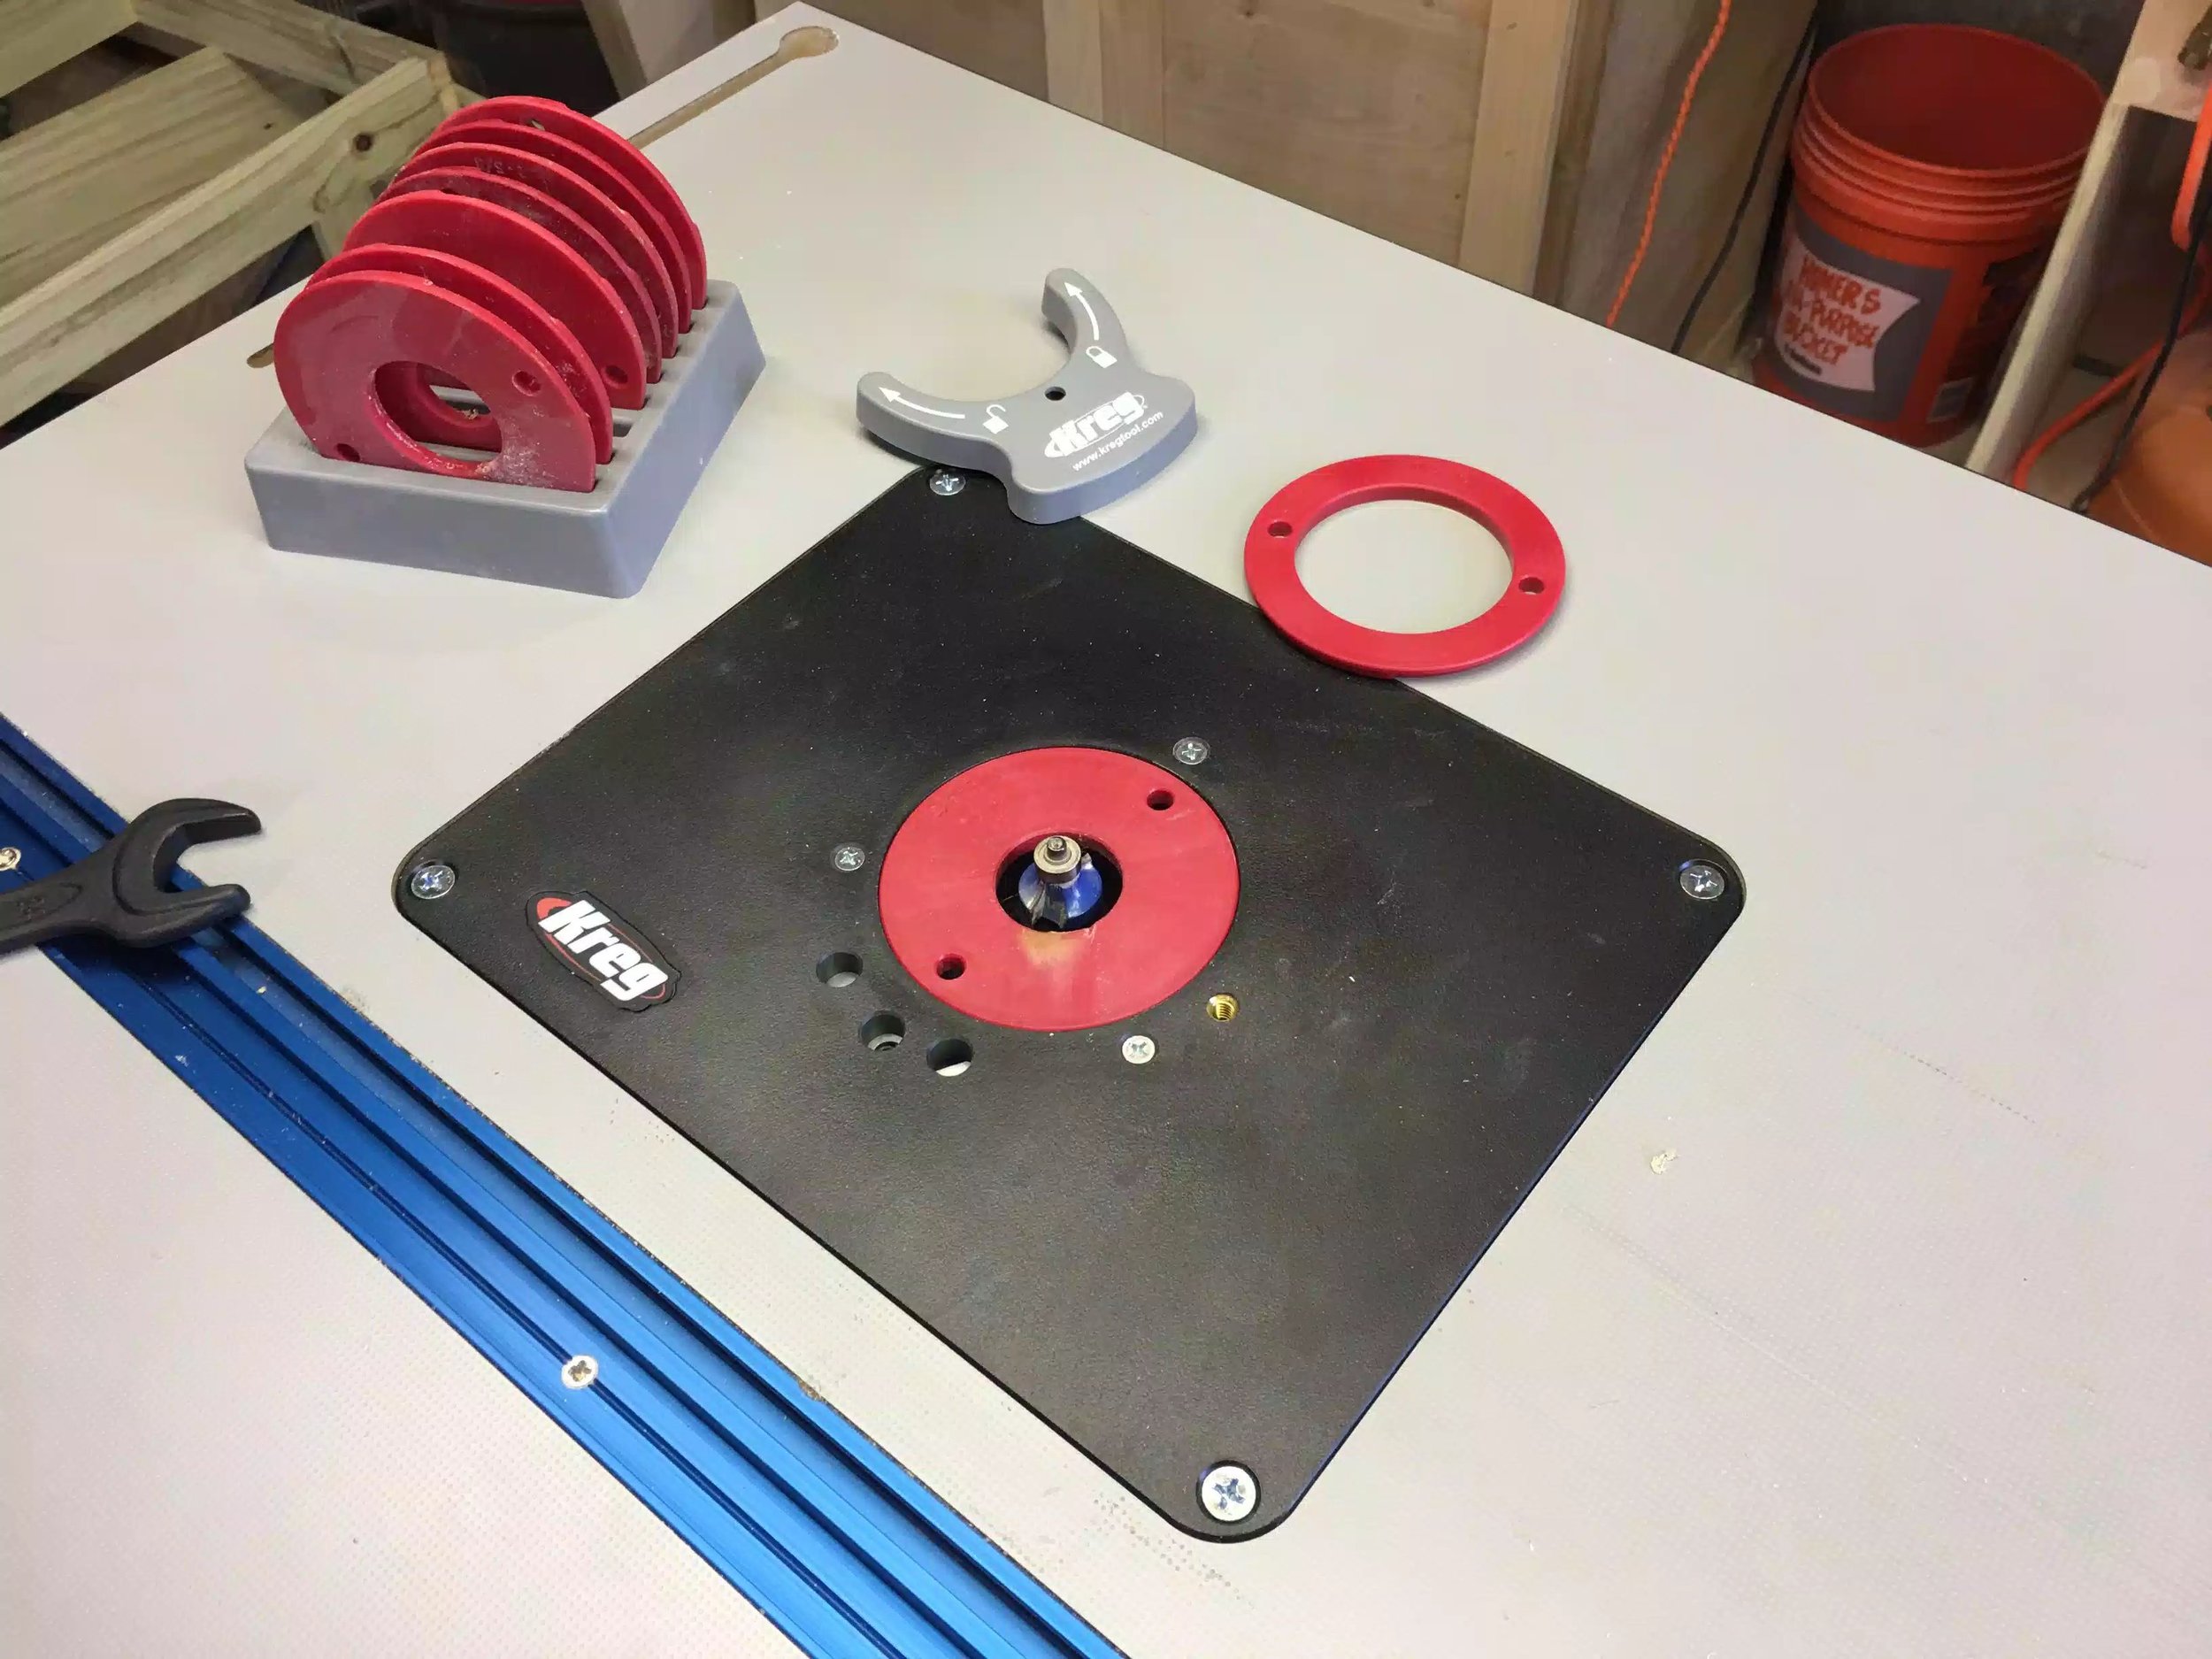
Here is a close-up of the jig, you can see the measurement actuation's, these measurements refer to the thickness of the work-piece you are working on, the stepped drill bit can be seen that has a depth stop collar that needs to be set before you start drilling the pocket holes. Finally you can see the clamping mechanism to hole the work-piece in place.

Here is a side view of the jig, the jig has a movable insert block that you need to move that worls in accordance with your stock thickness.

Here is the main reason I designed and made this jig , it can support long work-pieces
CABINET ASSEMBLY TIME
So now that my main pieces of the cabinet were prepared and the base has its pocket holes its time to screw these parts together.
I basically set the base in between the left & right sides (as if the cabinet was resting on its back and the base was vertical) and using some clamps to keep things aligned and making sure that everything was square I added glue to the left and right sides of the base , tightened the clamps and screwed the locket hole screws home.
Below you can see an image of where the clamps need to be
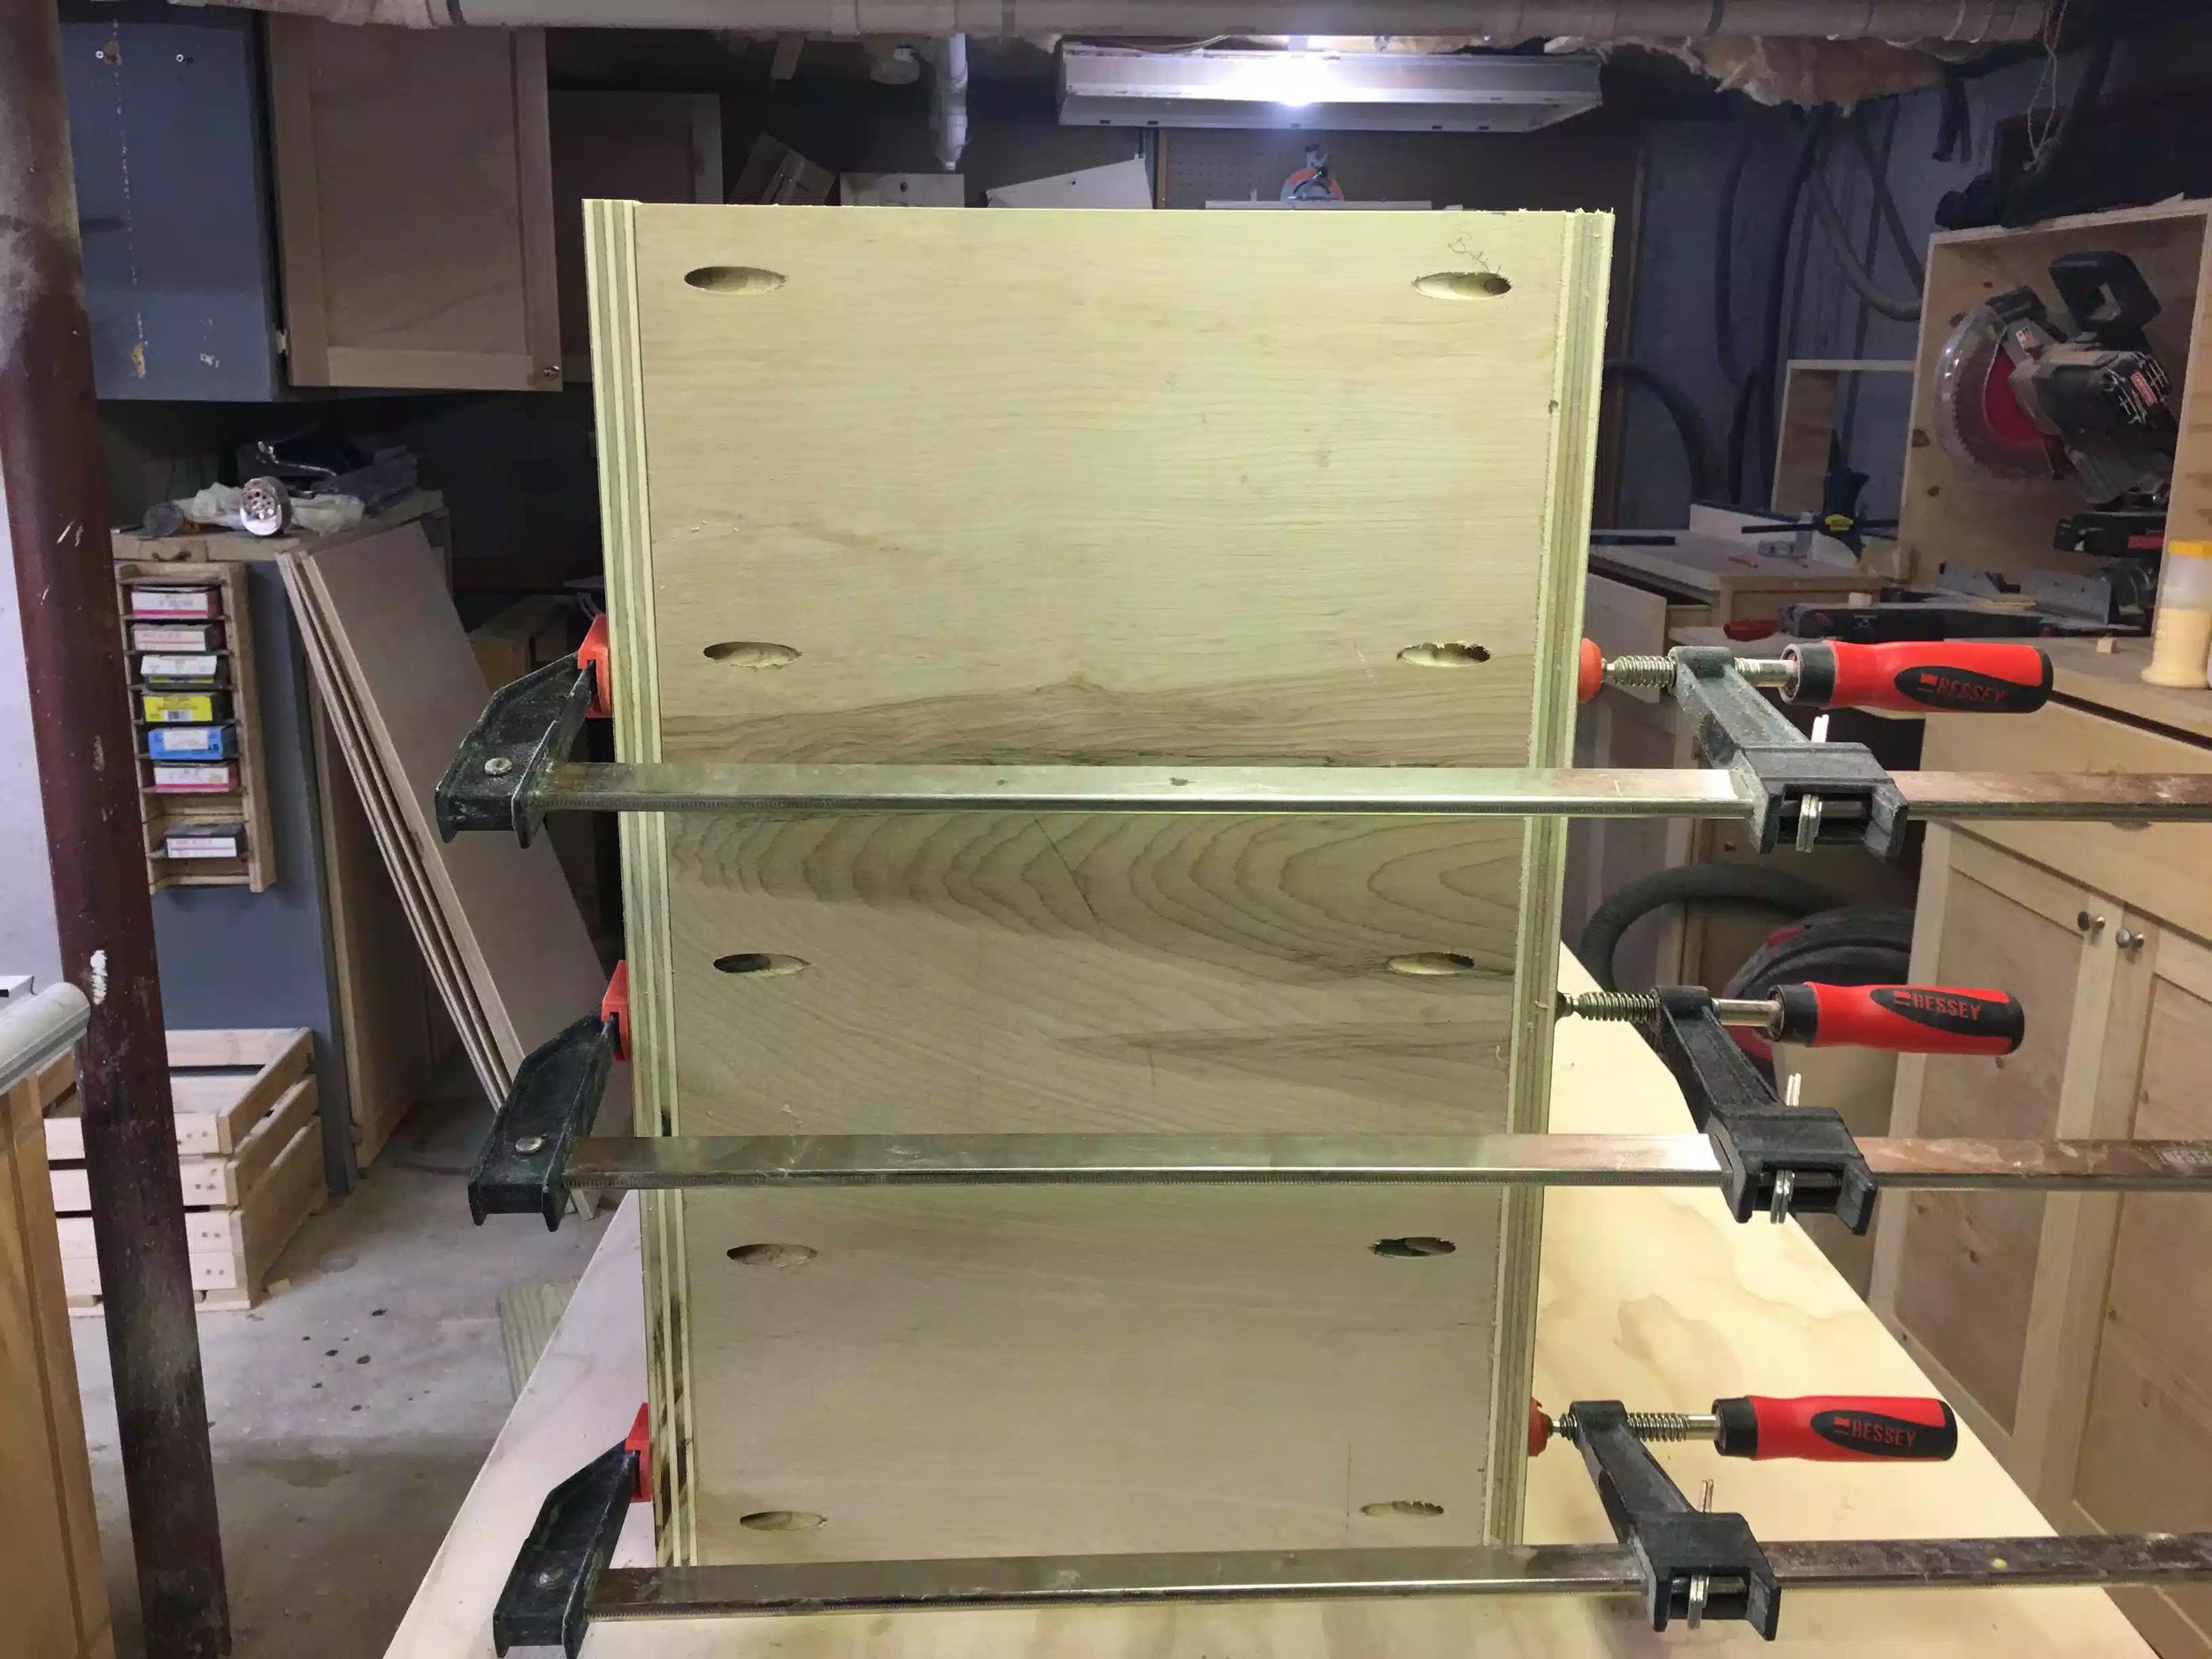
Clamps in place
ADDING THE TOP CLEATS
In order to keep everything square before actually adding the top , I needed to add 2 cleats on the front & back of the cabinet, making sure that the cleats are flush to the top, front & back of the cabinet and again I am using pocket hole screws to secure them to the cabinet, these cleats also gives a place to secure the top once that is made.

The cleats have two pocket holes on each side .
MAIN CABINET CARCASS ALMOST COMPLETE
So that is as far as I got, the main body of the carcass is almost complete, I still need to add the plywood back which I will do next.

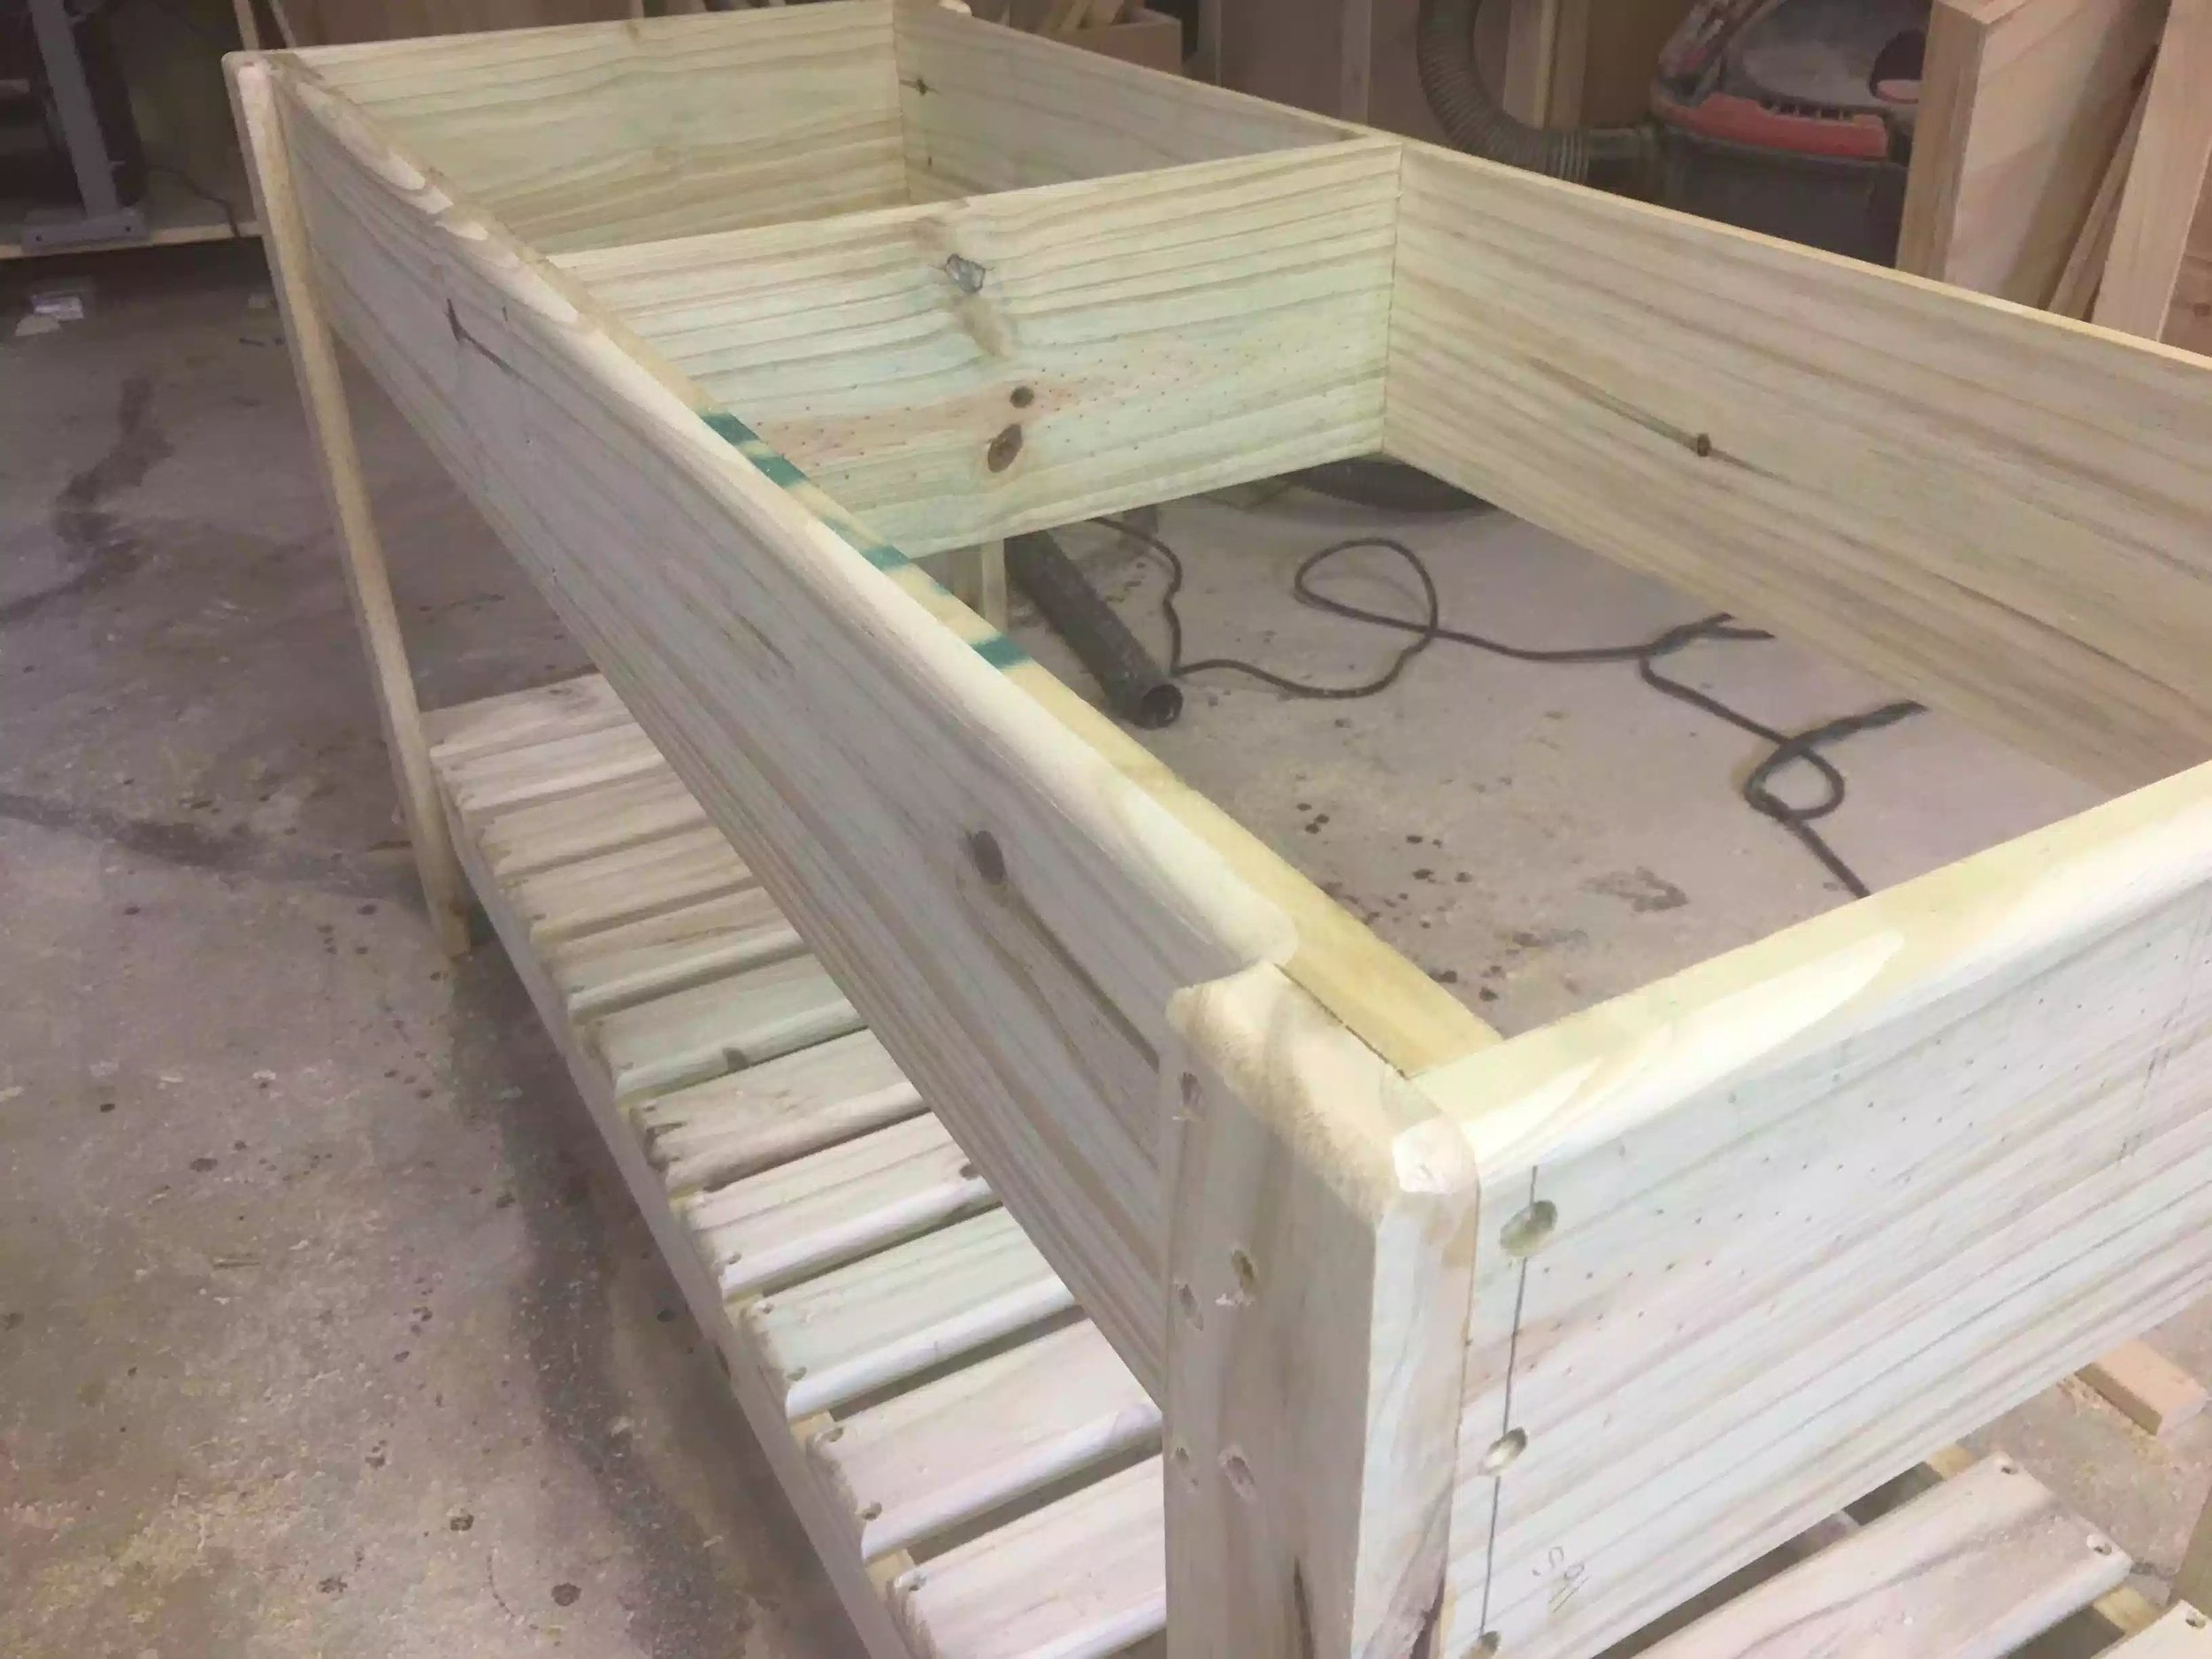
Here you can see the front side of the cabinet, this is where I will be installing the 5 drawers.

Here is the top view of the cabinet

Here is a frontal shot of the cabinet, this is definitely going to be lower than my old cart, that's a good thing.
NEXT:
- Cutting the back panel to size
- Making the drawers
- Installing the drawer full extension drawer slides
- Making and adding the top
- Adding the casters
- Seriously thinking about making my own drawer handles and using my Kreg drawer jig
- Applying a finish
Until next time take care