

This morning I basically finished construction on the water table, all that I needed to do was build and attach the bottom shelf, but there was a lot more to that part than anything so far here is what I needed to do.
- Crosscut the slats for the shelf
- Pre-drill and countersunk the slats to receive the screws
- Dry fit slats to frame
- Added a round over to the slats
- Glued & Screwed the slats
- Attach the whole shelf assembly to the table
- Construction Phase complete
CROSSCUTTING TIME
First I needed take all my 1x3 and cut them to size on my miter saw station, using a stop block on the chop saw to cut all 16 pieces to final size, below you can see a picture of my miter saw.
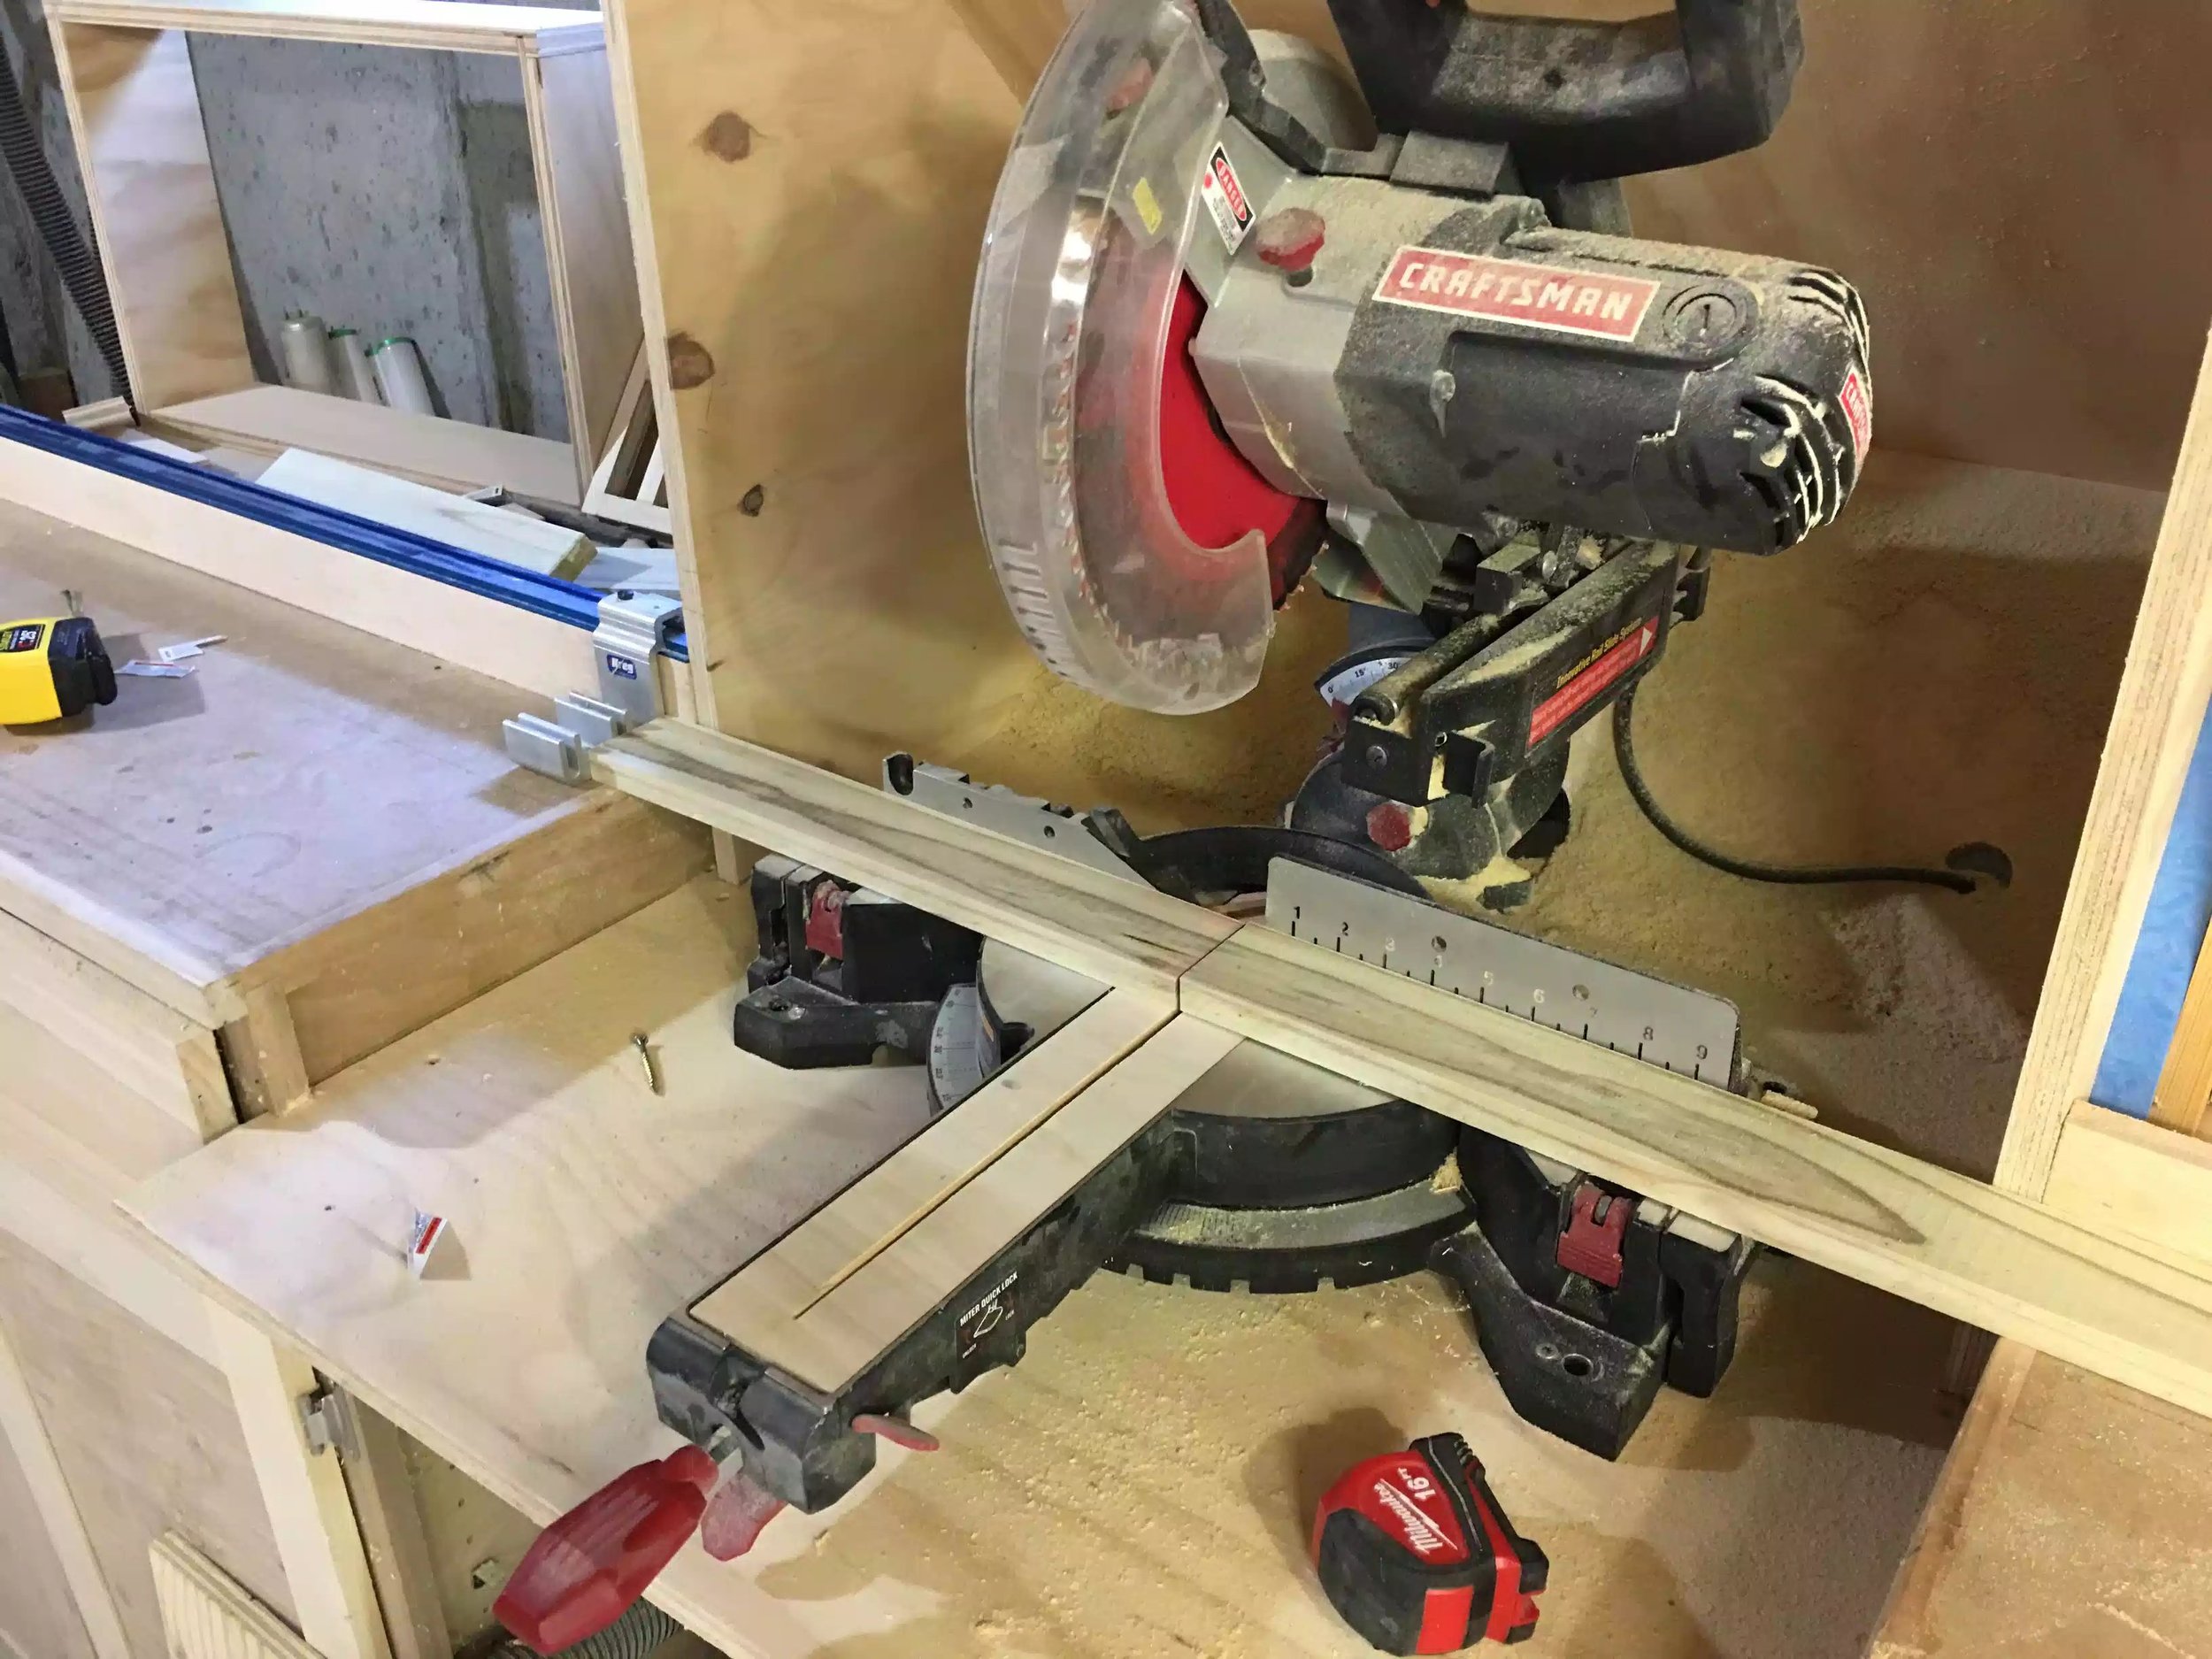
Here you can see the chop saw set-up using my kreg production stop that was on my top-trak on the miter saw station, this is a dream for doing repetitive cross-cuts
COUNTERSINK TIME
So now that I have all my slats cut I wanted to bury the screws beneath the surface of the wood, I was adding 4 screws per slat so that was a lot of holes to drill so I brought all the slats over to the drill press and using my home made drill press table I set up another stop block and prepared the countersinking bit for a lot of repetitive cuts.

Here is the drill press and table with the stop block clamped to my fence. I marked the pieces 3/8" from each face as they were being drilled in 3/4' thick frames.

Here is another view of the slats being prepared on the drill press.

All the slats are drilled
DRY-FIT SLATS
I needed to determine what the spacing was for each slat so I lay out all the slats and experimented with the best spacing and I arrived at using a 3/4" space between each of the slats, you will end up with a slight larger space on the second-last slat from the end maybe 7/8" but I was OK with that.

Here is slats being spaced out evenly by 3/4"
ROUTER TIME
I was very excited for this step because I recently purchased a new Router from Bosch and I had only installed it in my router table last night so today was the first time I used it, and it didn't disappoint. Anyway I installed a round-over bit in the router as I was using it to apply a profile around 3 edges of each slat and it came out great, took any sharp edges and turned them into soft rounded edges, a necessity for anything that you make for children.
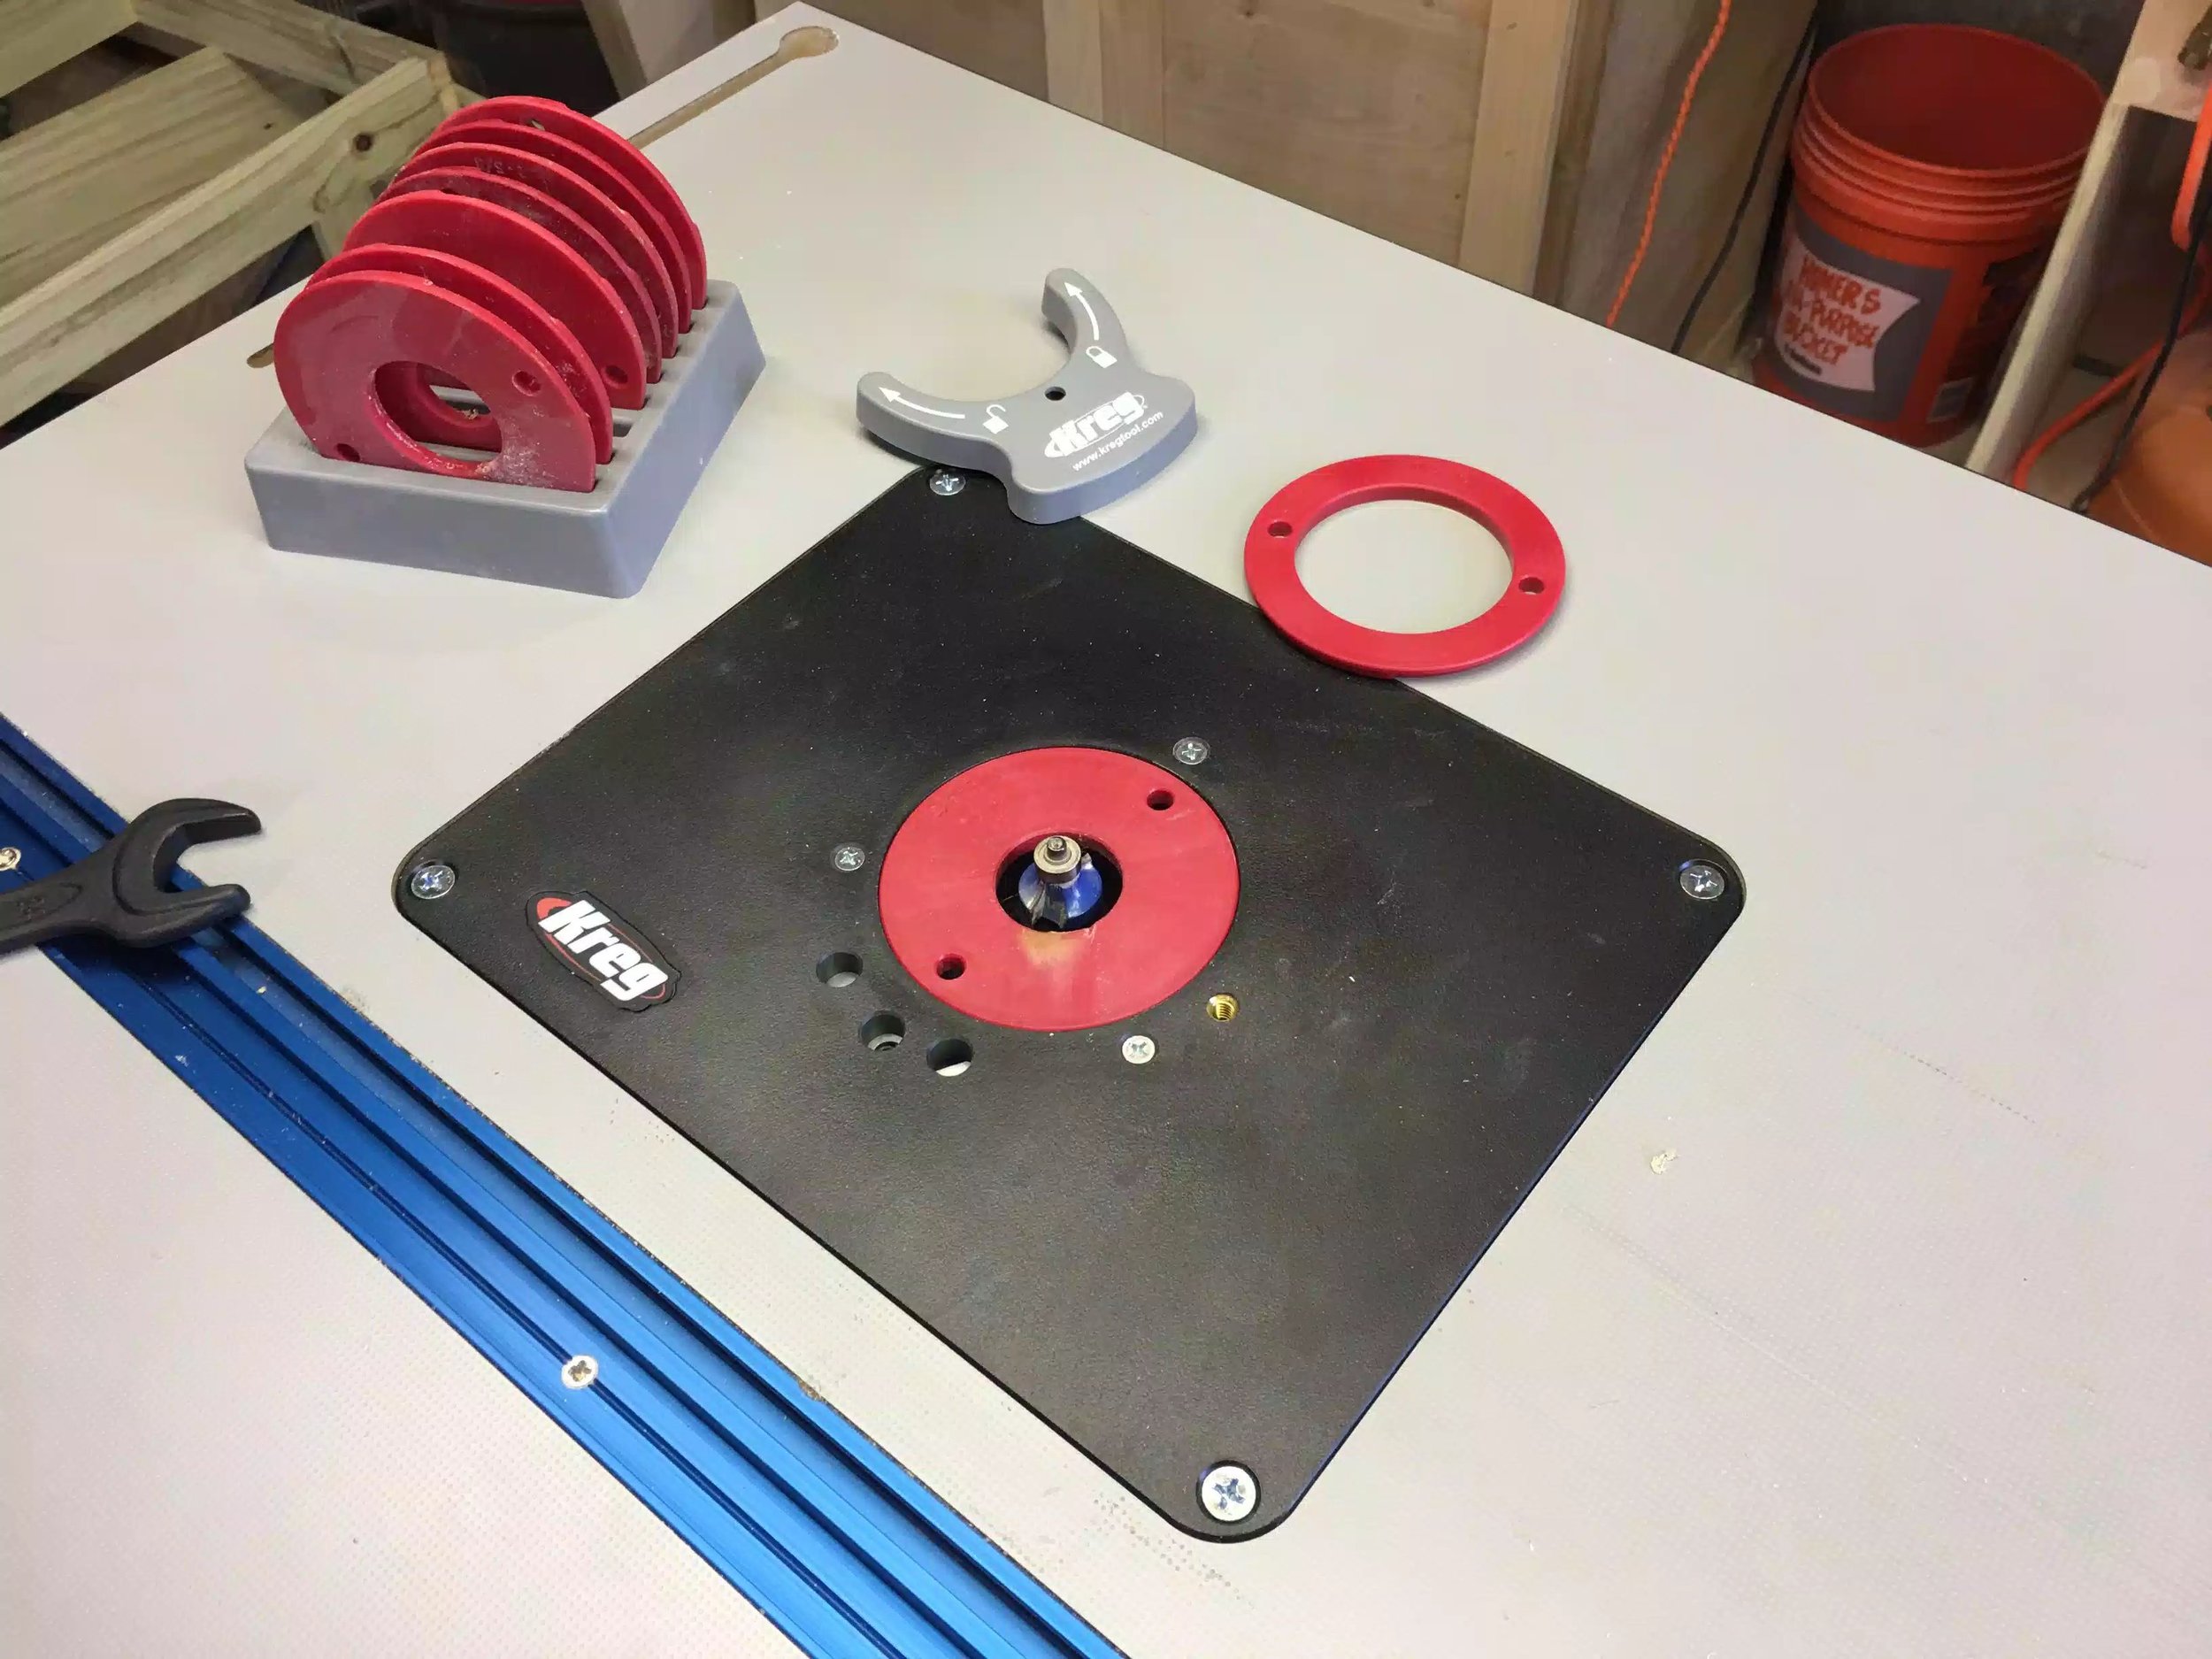
Here is my router table top, I just inserted the round over bit

Here is the router under the table, its really powerful and has an awesome feature that let's me adjustments in bit height from the top of the table
Here is a close-up of the rounded edges, although this pic was taken as I was securing them to the frame.
SECURING THE SLATS
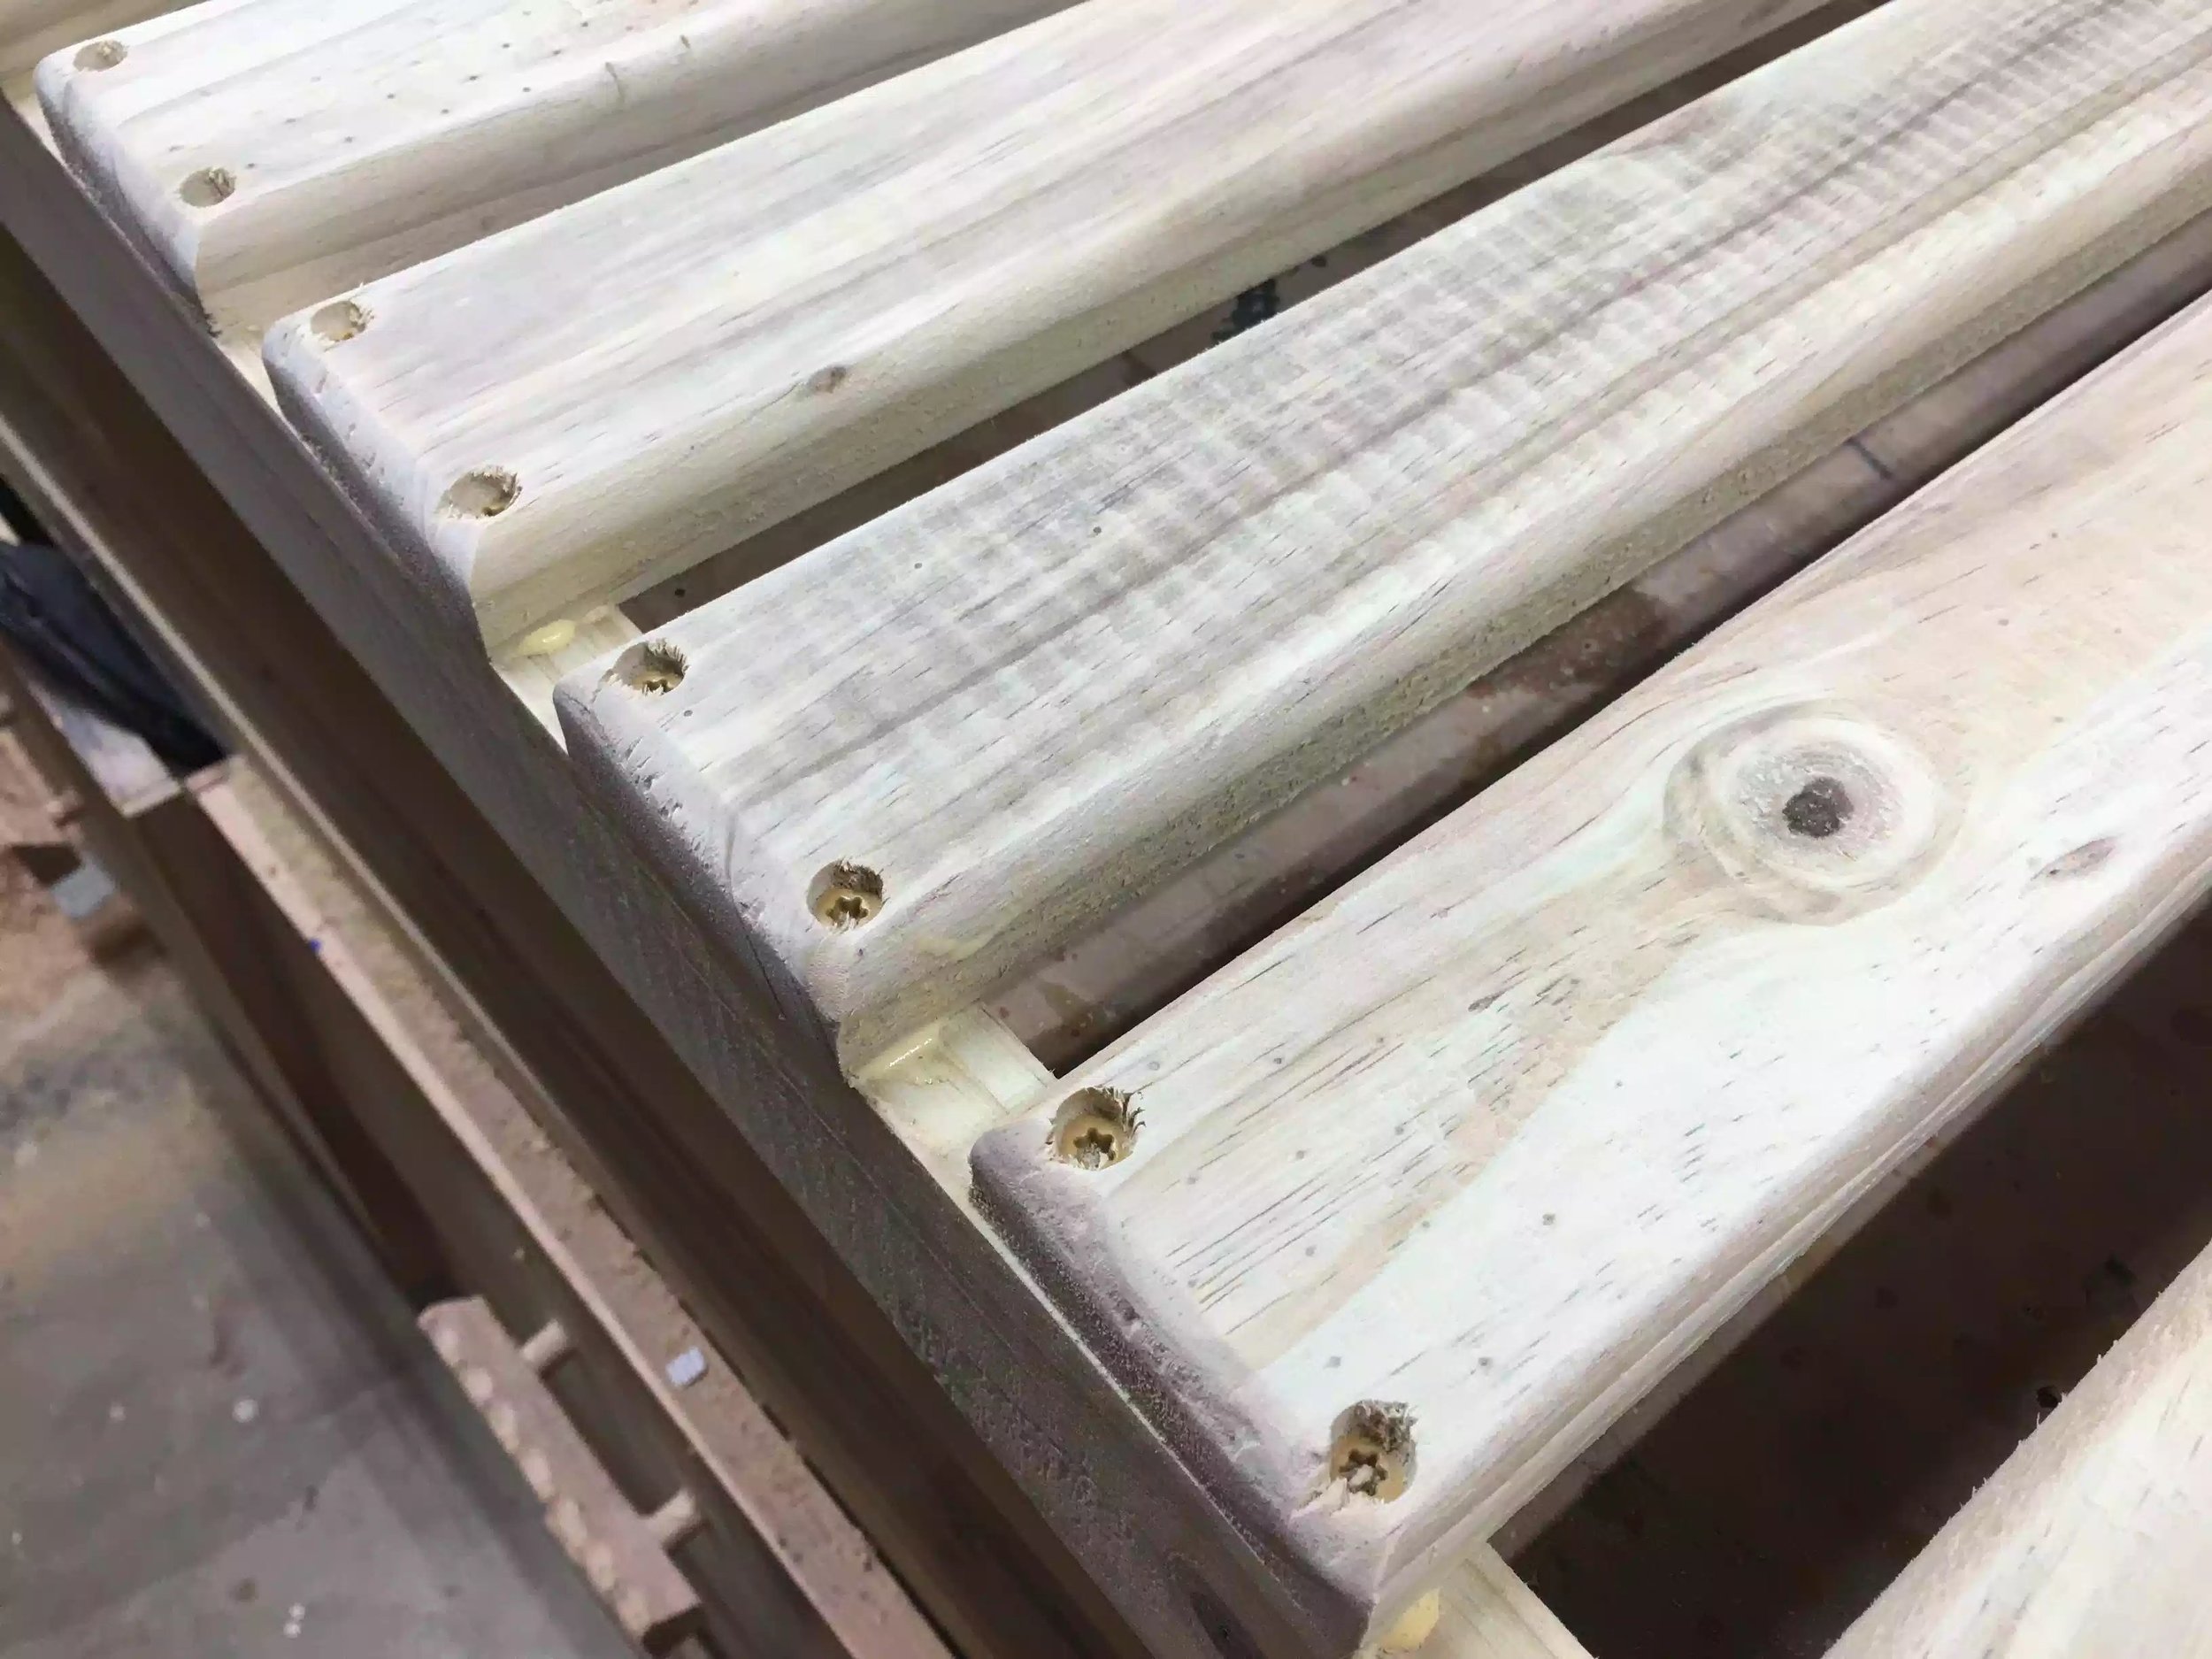
So now that all the slats were milled it was ready to secure them to the frame, I used Titebond wood glue and 1 1/4" exterior screws to secure the slats in position. I used a 3/4" thick piece of wood as a spacer and just glued and screwed each piece until the shelf was finished. After the slats were installed I sanded the shelf with 220 grit sand paper in my orbital sander.

Here is the spacer I used to space each slat while I glued and screwed each slat to the bottom frame

Shelf finished. Looks nice I am wondering should I finish it maybe a spar urethane on it
ATTACHING THE SHELF
Now that the bottom shelf is complete I needed to attach it to the legs, because the bottom shelf fits inside the legs and screwed, I needed to devise a method of resting the bottom shelf assembly in place to screw into the screws. So to achieve this I cut spacers to act as ledges for the shelf to rest on temporarily and screw them home.
Below are the pictures depicting the method I used, pictures are always vetter at describing something than words so here you are, please remember that the table is upside down in these pictures.

Here is the spacer clamped to the leg with a clamp, I added 1 of these assemblies to each leg, they are resting on the bottom edge of the top frame

Here are all 4 spacers clamped to the legs

Finally here is the bottom shelf assembly turned upside down and resting on the spacers , all that was left was to screw them home
CONSTRUCTION & BUILD COMPLETE
Adding the bottom shelf completed the build phase of this project and it looks great, I still need to sand the whole unit down to 220 grit sandpaper, I was going to paint the unit but because it is pressure treated it doesnt take kindly to paint as the wood is still very moist and probably will remain that way for some weeks/months.
Below are some of the pictures of the unit completely assembled and it looks great

Here is the assembled water table, looks great and I am sure my son will get plenty of enjoyment out of it

You can see the containers that the water will go into, just a suggestion but I might adjust the dimensions of the table by a little and possibly use a thicker piece of wood for the divider because I can not get the lids on the containers easily as they bump into each other
NEXT
- Sand the entire unit smooth
- I will add the round over detail to the front of the top frame, thinking about adding the round over to the edges of the legs on the non tapered sides