

After working on projects for the Home Office over the last couple of months I decided to turn my attentions to my 5 year old son, he has been waiting patiently for a new water table. He had a plastic one last summer that has been around for years and it fell apart on him, so I decided to make him.
I came across this project online and the plans were already made for it so I decided to make it for him. I came across it on Ana White.com and she has plans available for it, I really like this design as it is very simple and anybody can make it with very little tools and/or experience. I also like the shelf on the bottom that you can store all the toys that come with having little ones that play on the deck.
WHAT I DID TODAY
- Went to Home Depot to buy Supplies
- Made the top frame
- Made the bottom frame
- Attached the legs
SHOPPING TIME
Materials needed for this build are
- (1) 1x6x12 Pressure Treated lumber
- (5) 1x3x8 Pressure treated lumber, I needed to buy 1x4's because my home depot doesnt carry them
- Exterior grade woodscrews 1 1/4" #8
- Exterior Grade wood glue
- 2 Tupperware containers
TOP FRAME
The top frame consisted of 2 pieces of the 1x6 for the front and back of the top frame, 2 sides of 1x6 and a center divider that divides the top frame up so as that the containers can fit inside, you need to very precise or the containers will not fit. I used glue and screws to secure the sides to the front and back pieces.

Here you can see the top frame
BOTTOM FRAME
The bottom frame is very like the construction off the top frame , except the boards are smaller and there is no center divider, this part is what forms the frame for the bottom shelf, I will be adding slats across the frame and securing it under the top frame. I used the same joinery method of butt joints and secured screws throught the sides into the ends of the front and back pieces.

Here you can see the bottom frame, Like I said I will be adding slats across this frame as this is what makes the bottom shelf in the unit.
THE LEGS
The plans call for 1x3's to be used for the legs, 2 legs are positioned on the front and back. I also added a little taper on the inside of each of the legs to add some visual appeal, I used my jigsaw and just gang cut two at a time.
The legs are then secured into the top frame , I forgot to mention every screw that I have inserted into this build so far and going forward will be counter-sunked so as that you cant see them. In the past I have plugged holes that I have inserted screws into but I am not going through this process anymore as they eventually fall out because of the weather we get up here in the North East.

Here is what the leg assemblies look like from above them, I am very seriously thinking about rounding these edges over with a router so as that he doesn't hurt himself
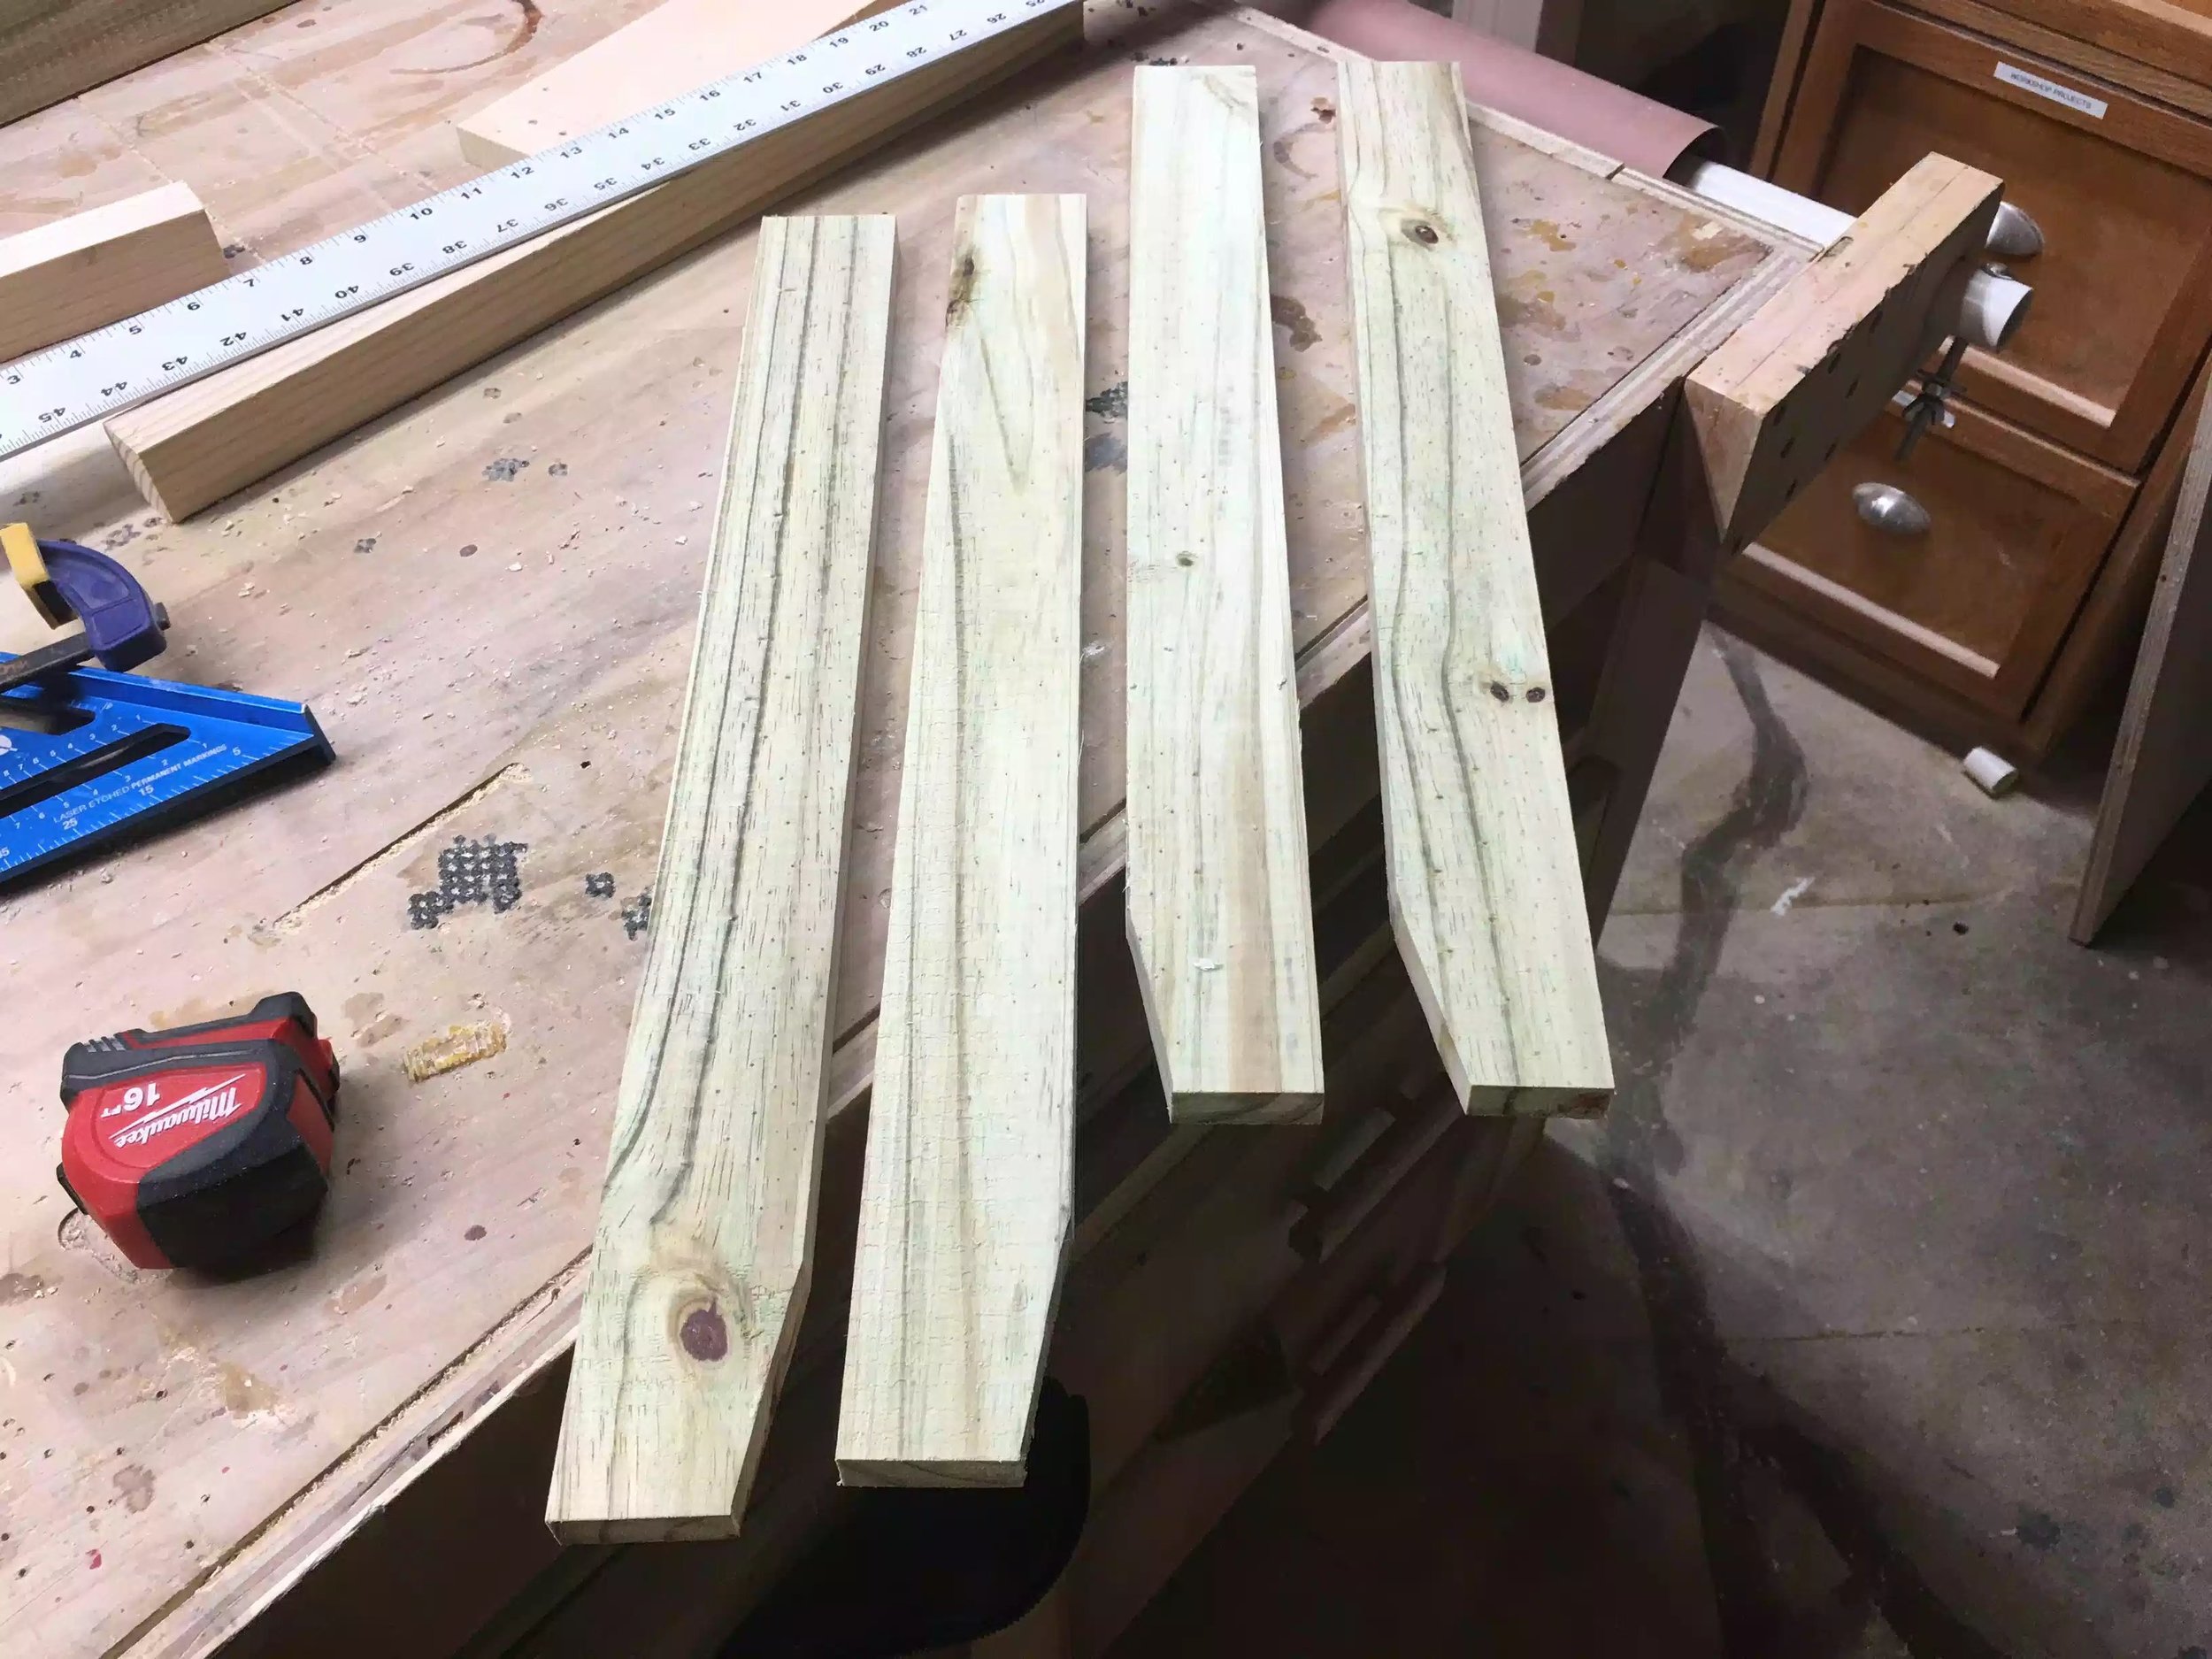
Here are the legs milled and tappered.

Here is a picture of the legs attached to the top frame.
AN OVERVIEW OF TODAY'S TASKS

Here is as far as I got today the top frame and legs made and atatched.

Here you can see how the legs are attached, and I also wanted to see how the containers fit, they do but barely, I followed the cut-list but the conmtainers are tight
NEXT:
- Attach bottom frame
- Add shelf slats
- Add some round over detail using my router