So today marked the second day of the project and before I could get started on a side project and that was a Pipe Clamp glue-up jig and I created its own blog entry and you can find it in the link below.
TODAY’S EVENTS INCLUDED
Started to clean up the dried flight blanks that I did yesterday
One more glue-up
PIPE CLAMP GLUE-UP JIG
I wont go into too much detail on this as I created a project blog detailing the build, but I will say this. After yesterday’s glue-up I was very frustrated both during and after . Glue-ups need a good system and a little rehearsal because my system was flawed it didn’t matter how much planning went into it, it would never be a pleasant experience.
I had researched making this some time ago but it was always put on the long finger and put onto my to-do list, which I never got to do. But because this project had a lot of different parts in gluing it up I tried a method that didn’t work and decided before I move one more step in the current project I needed to get this done.
Anyway the project is super easy and if you have scrap plywood lying around it will not cost anything to make. Its basically a jig that has a front & back with 2 two sides. It can be broken down and stored away when not in use.
Below is the finished image of the jig, but [please feel free to go over to the blog entry for more details, the link is below)

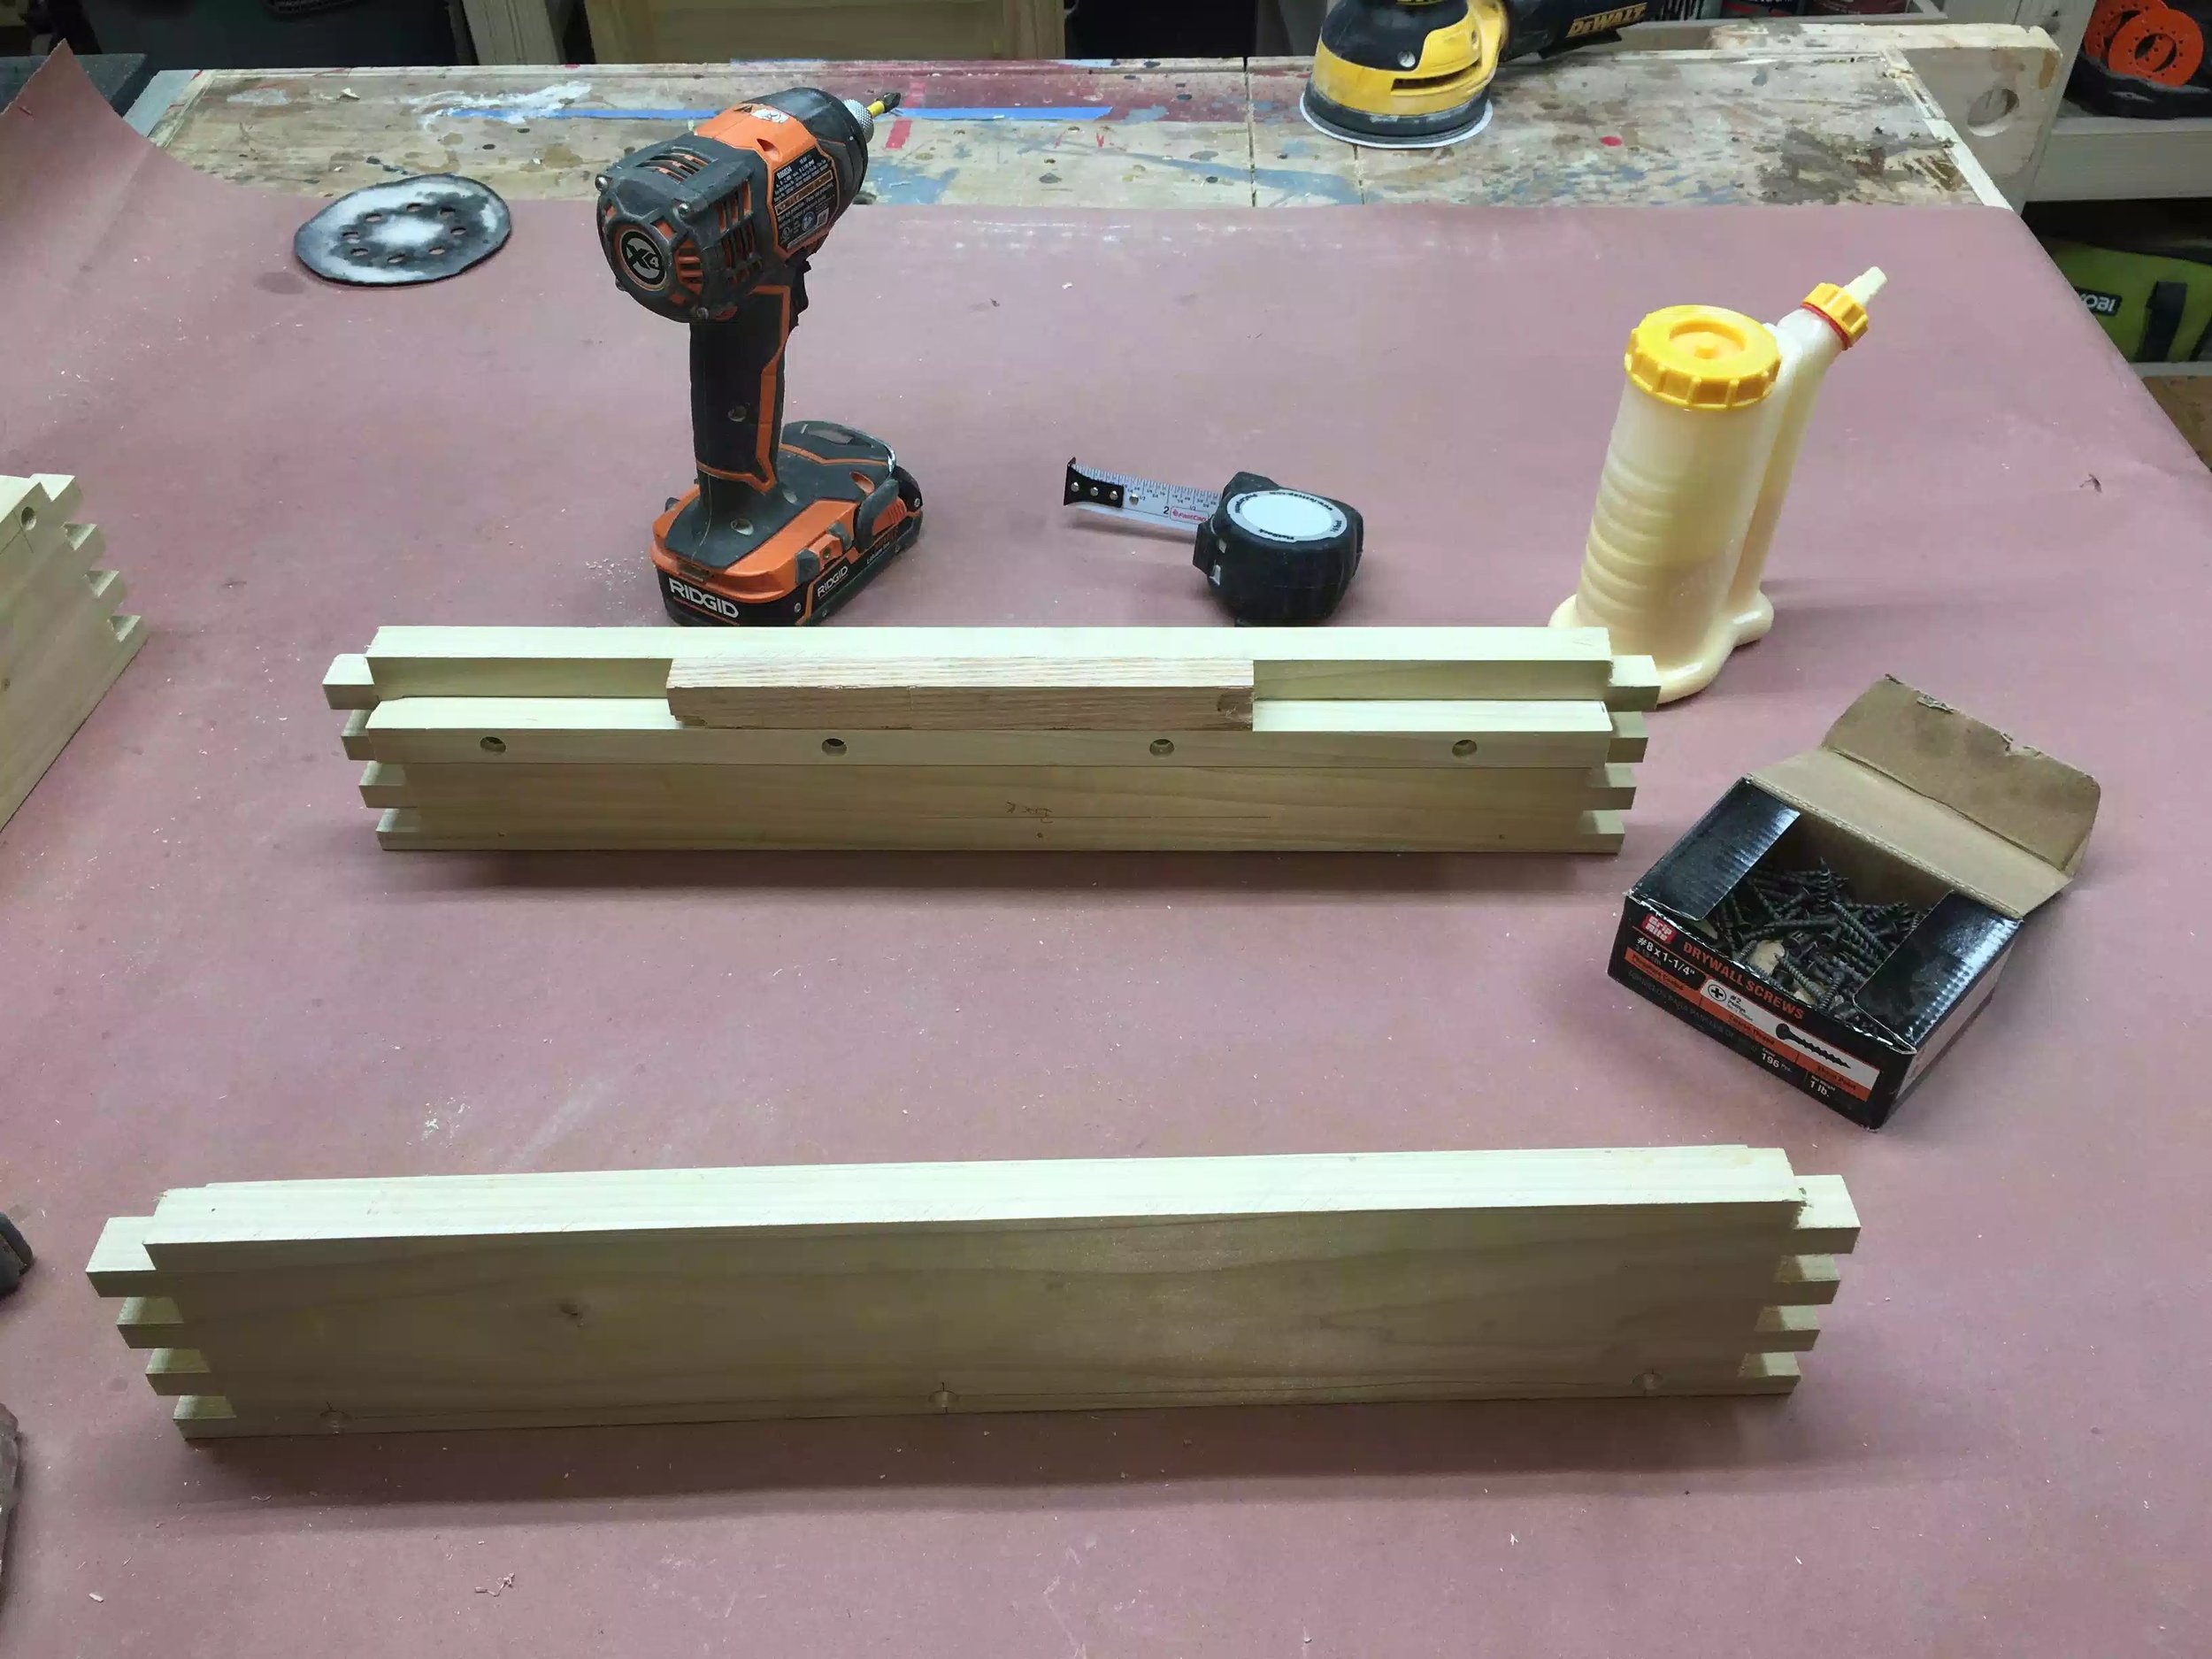
Here is the finished clamping jig
BLANK CLEAN-UP
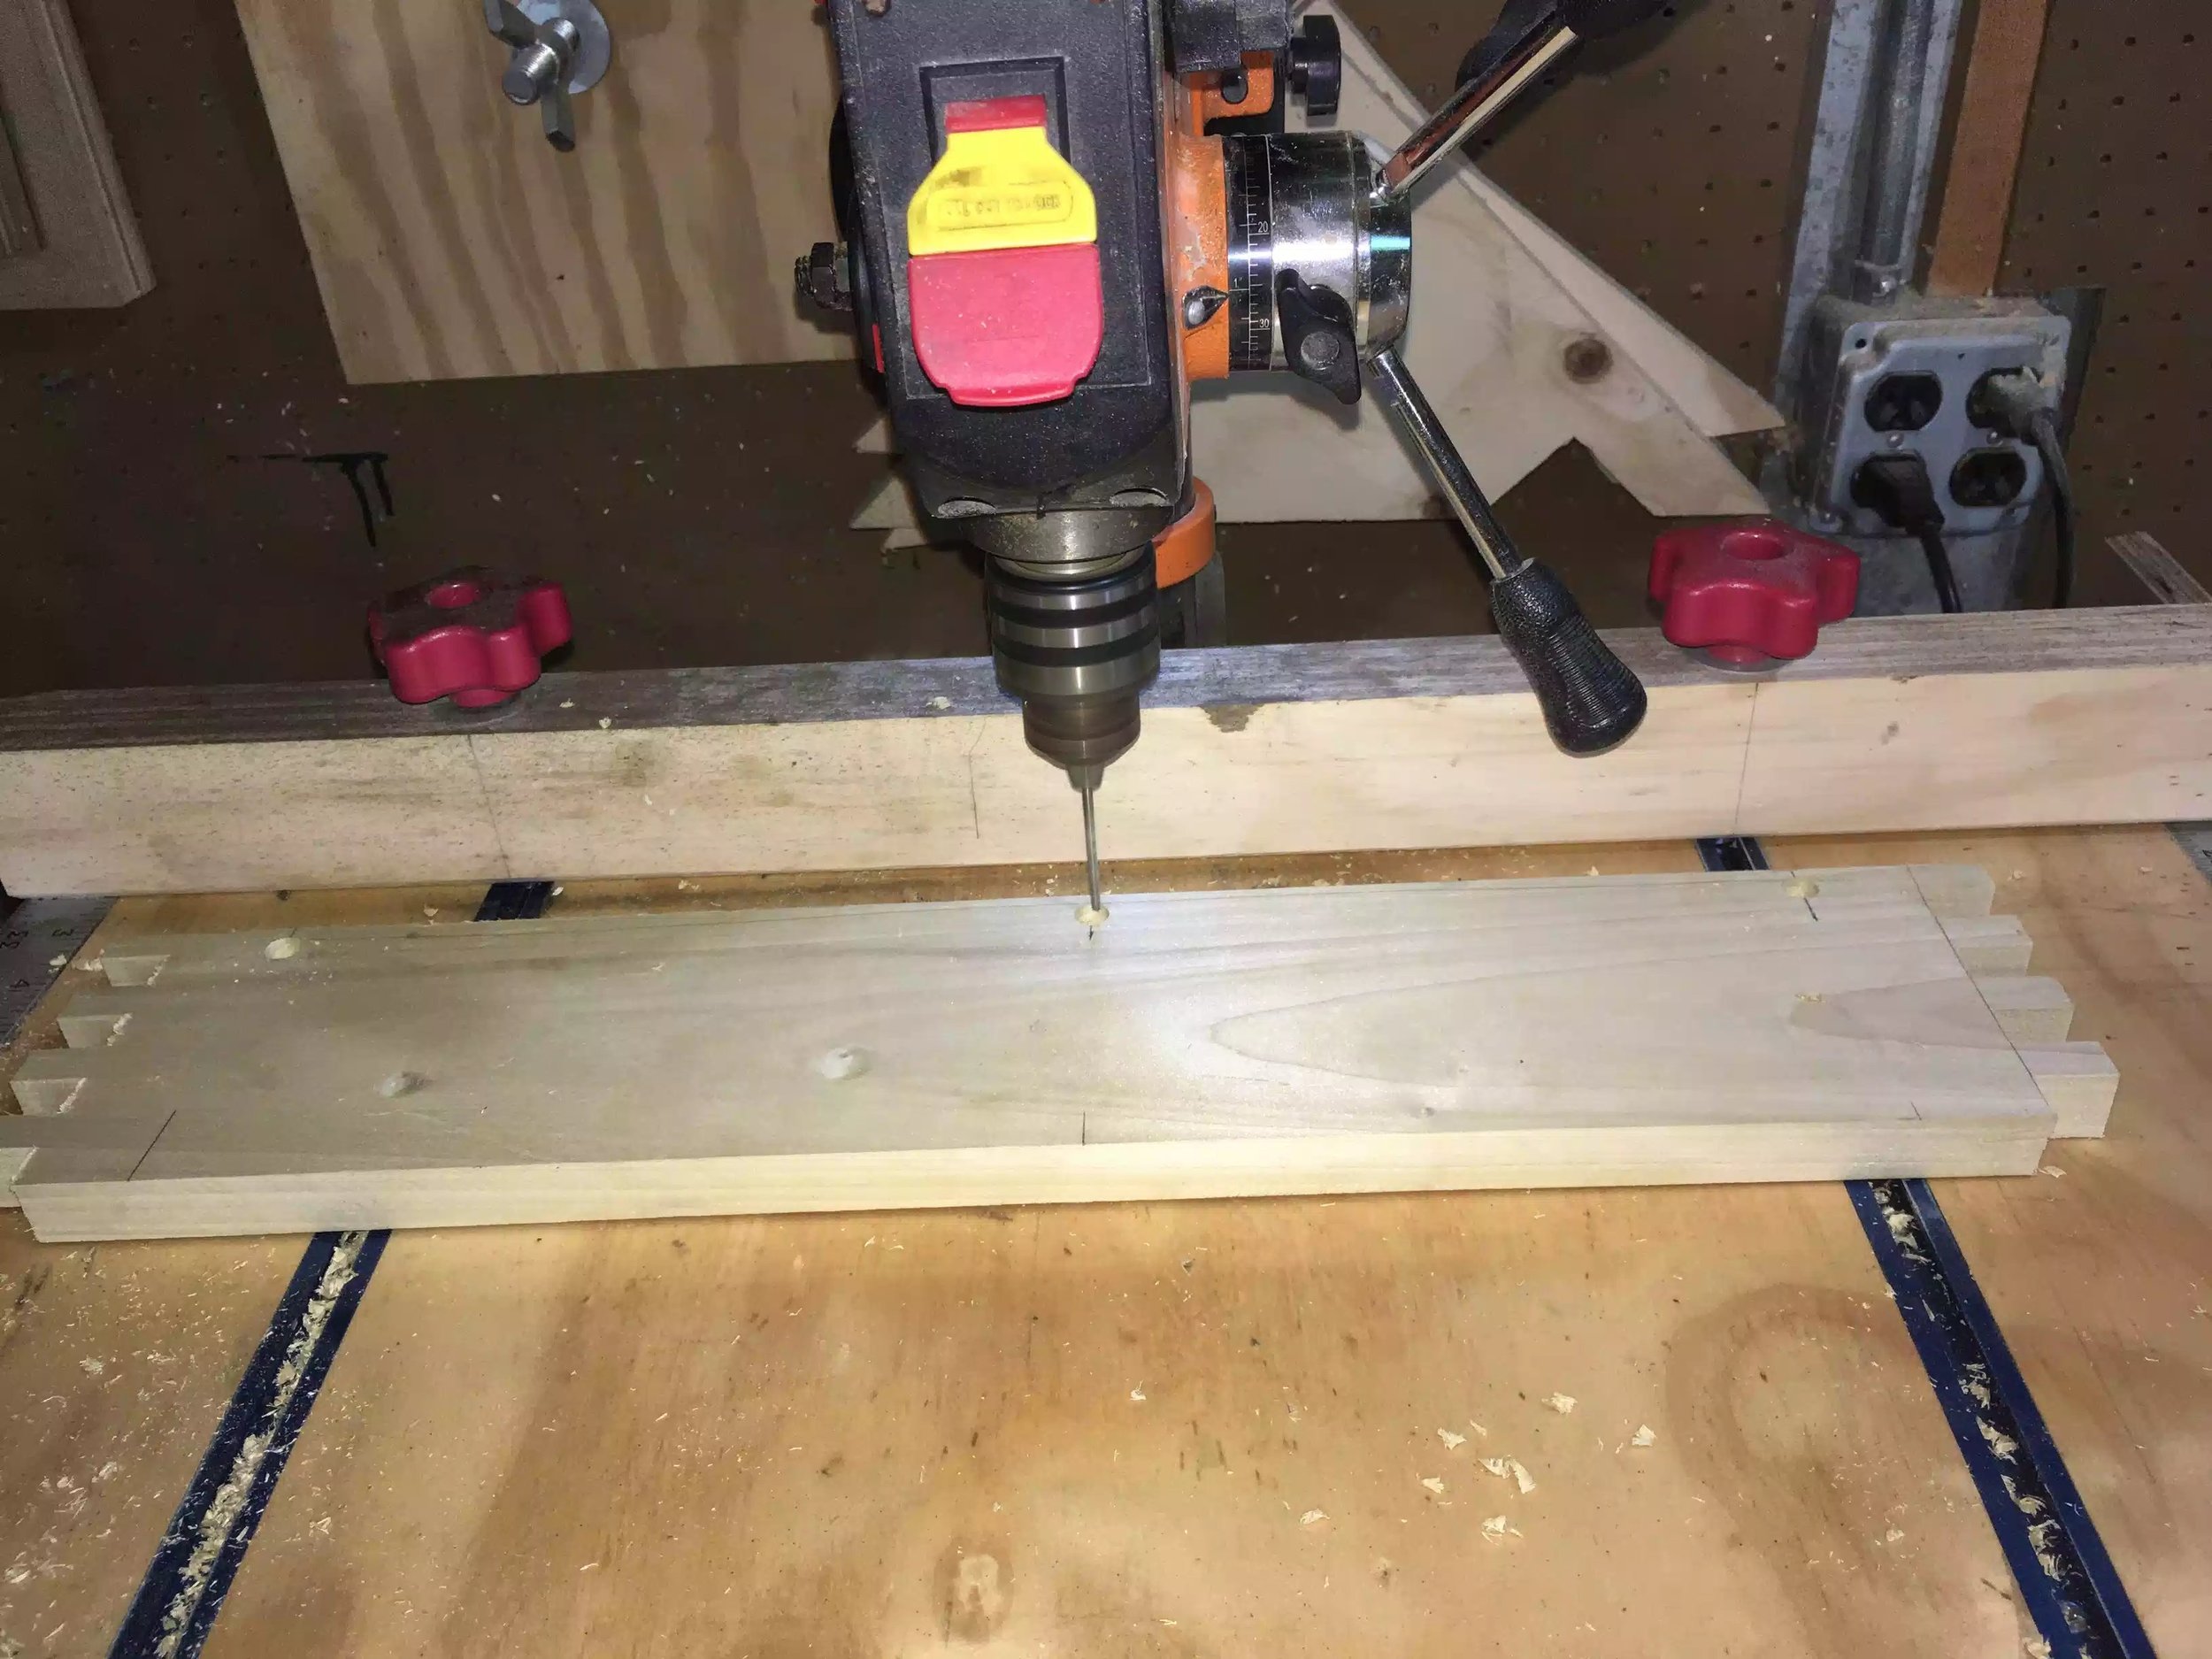
The boards needed a good bit of clean-up , and the blanks developed a bow in the middle so I tried to address this by turning the 5’ sections on there sides and trying to level it by running it through the table-saw blade, I really dont recommend doing this as it unsafe. But since I don’t have a planer or joiner I had to try something. It came out OK but tomorrow I will need to use my belt sander with some course paper to true the face up a little more.
Below you can see how I left it today

Here is the blanks as I left them today, I have some wood burn to clean up and then start turning these in beer flights, the fun stuff.
ONE FINAL GLUE-UP
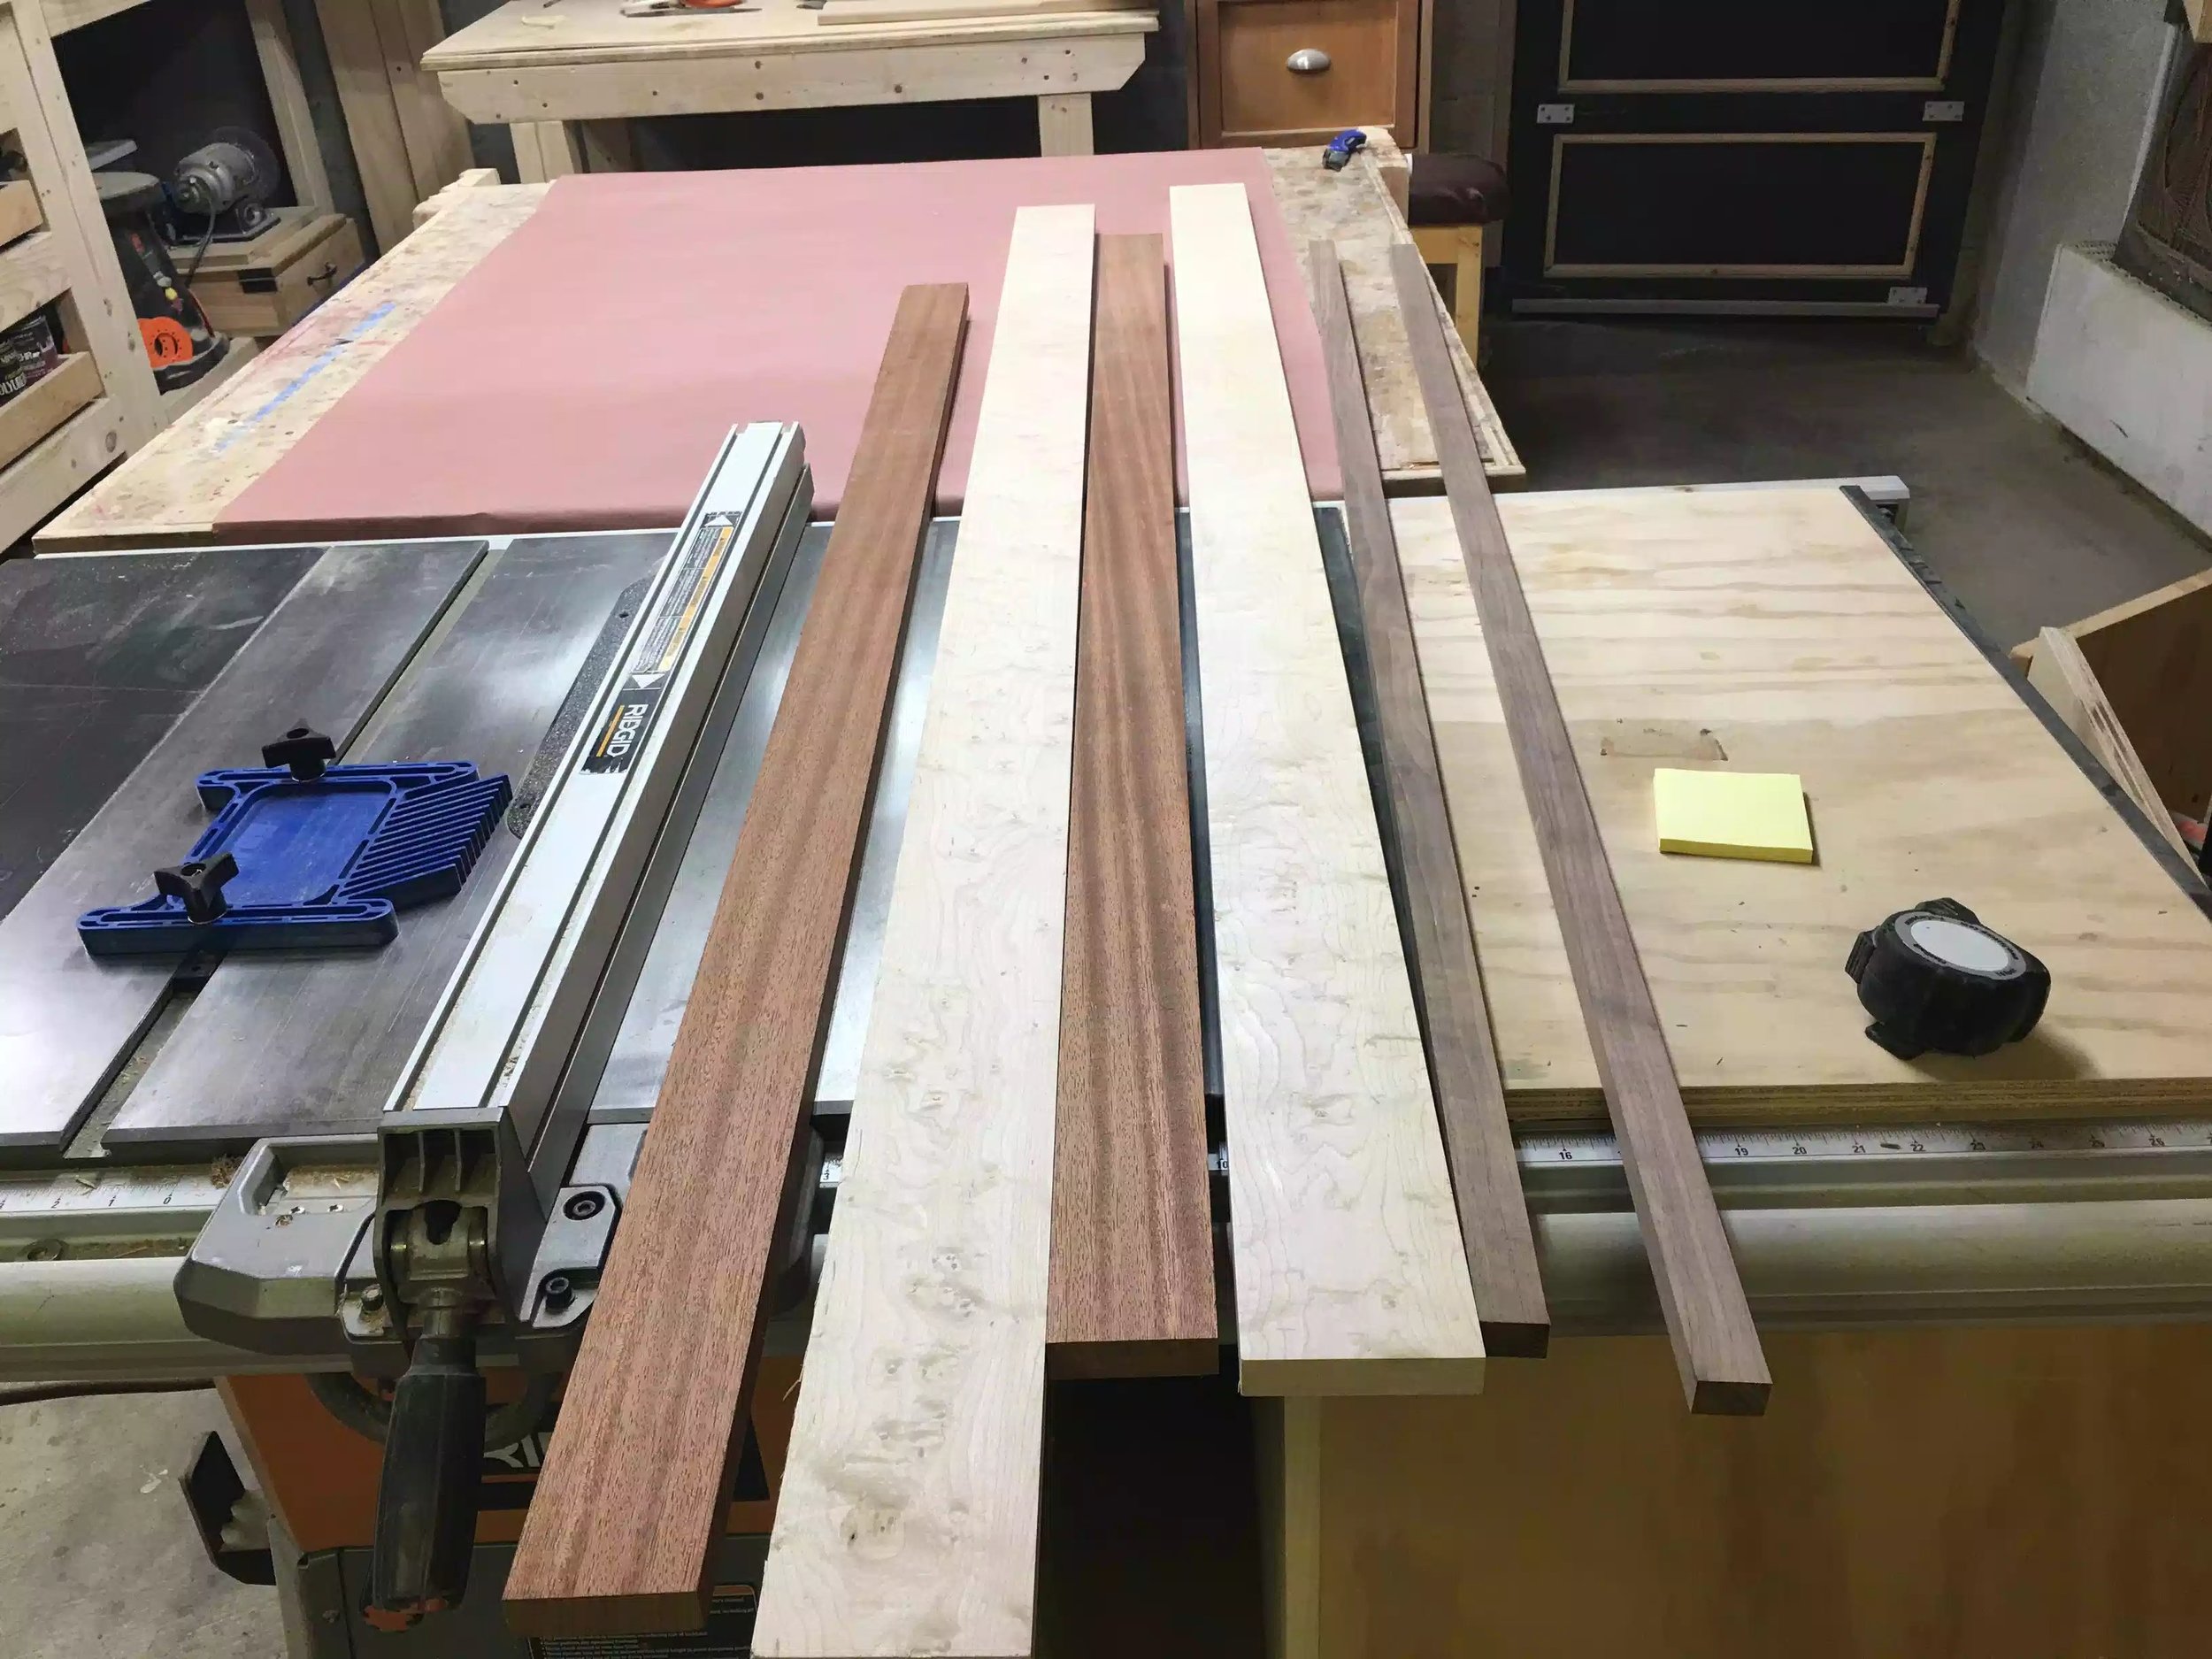
The last thing that I wanted to get done today was to glue-up that final blank that I could luckily make after realizing that I had enough scrap pieces left from yesterday, I came up with a flight that is a little narrower but had maple & sapele woods that I could turn in another 2-3 flights.
Another bonus was that I could get to use the new glue-up jig that I just made and man o man was it a much better experience and hopefully will result in a much flatter glue-up than yesterday’s.
You can see some pictures below.

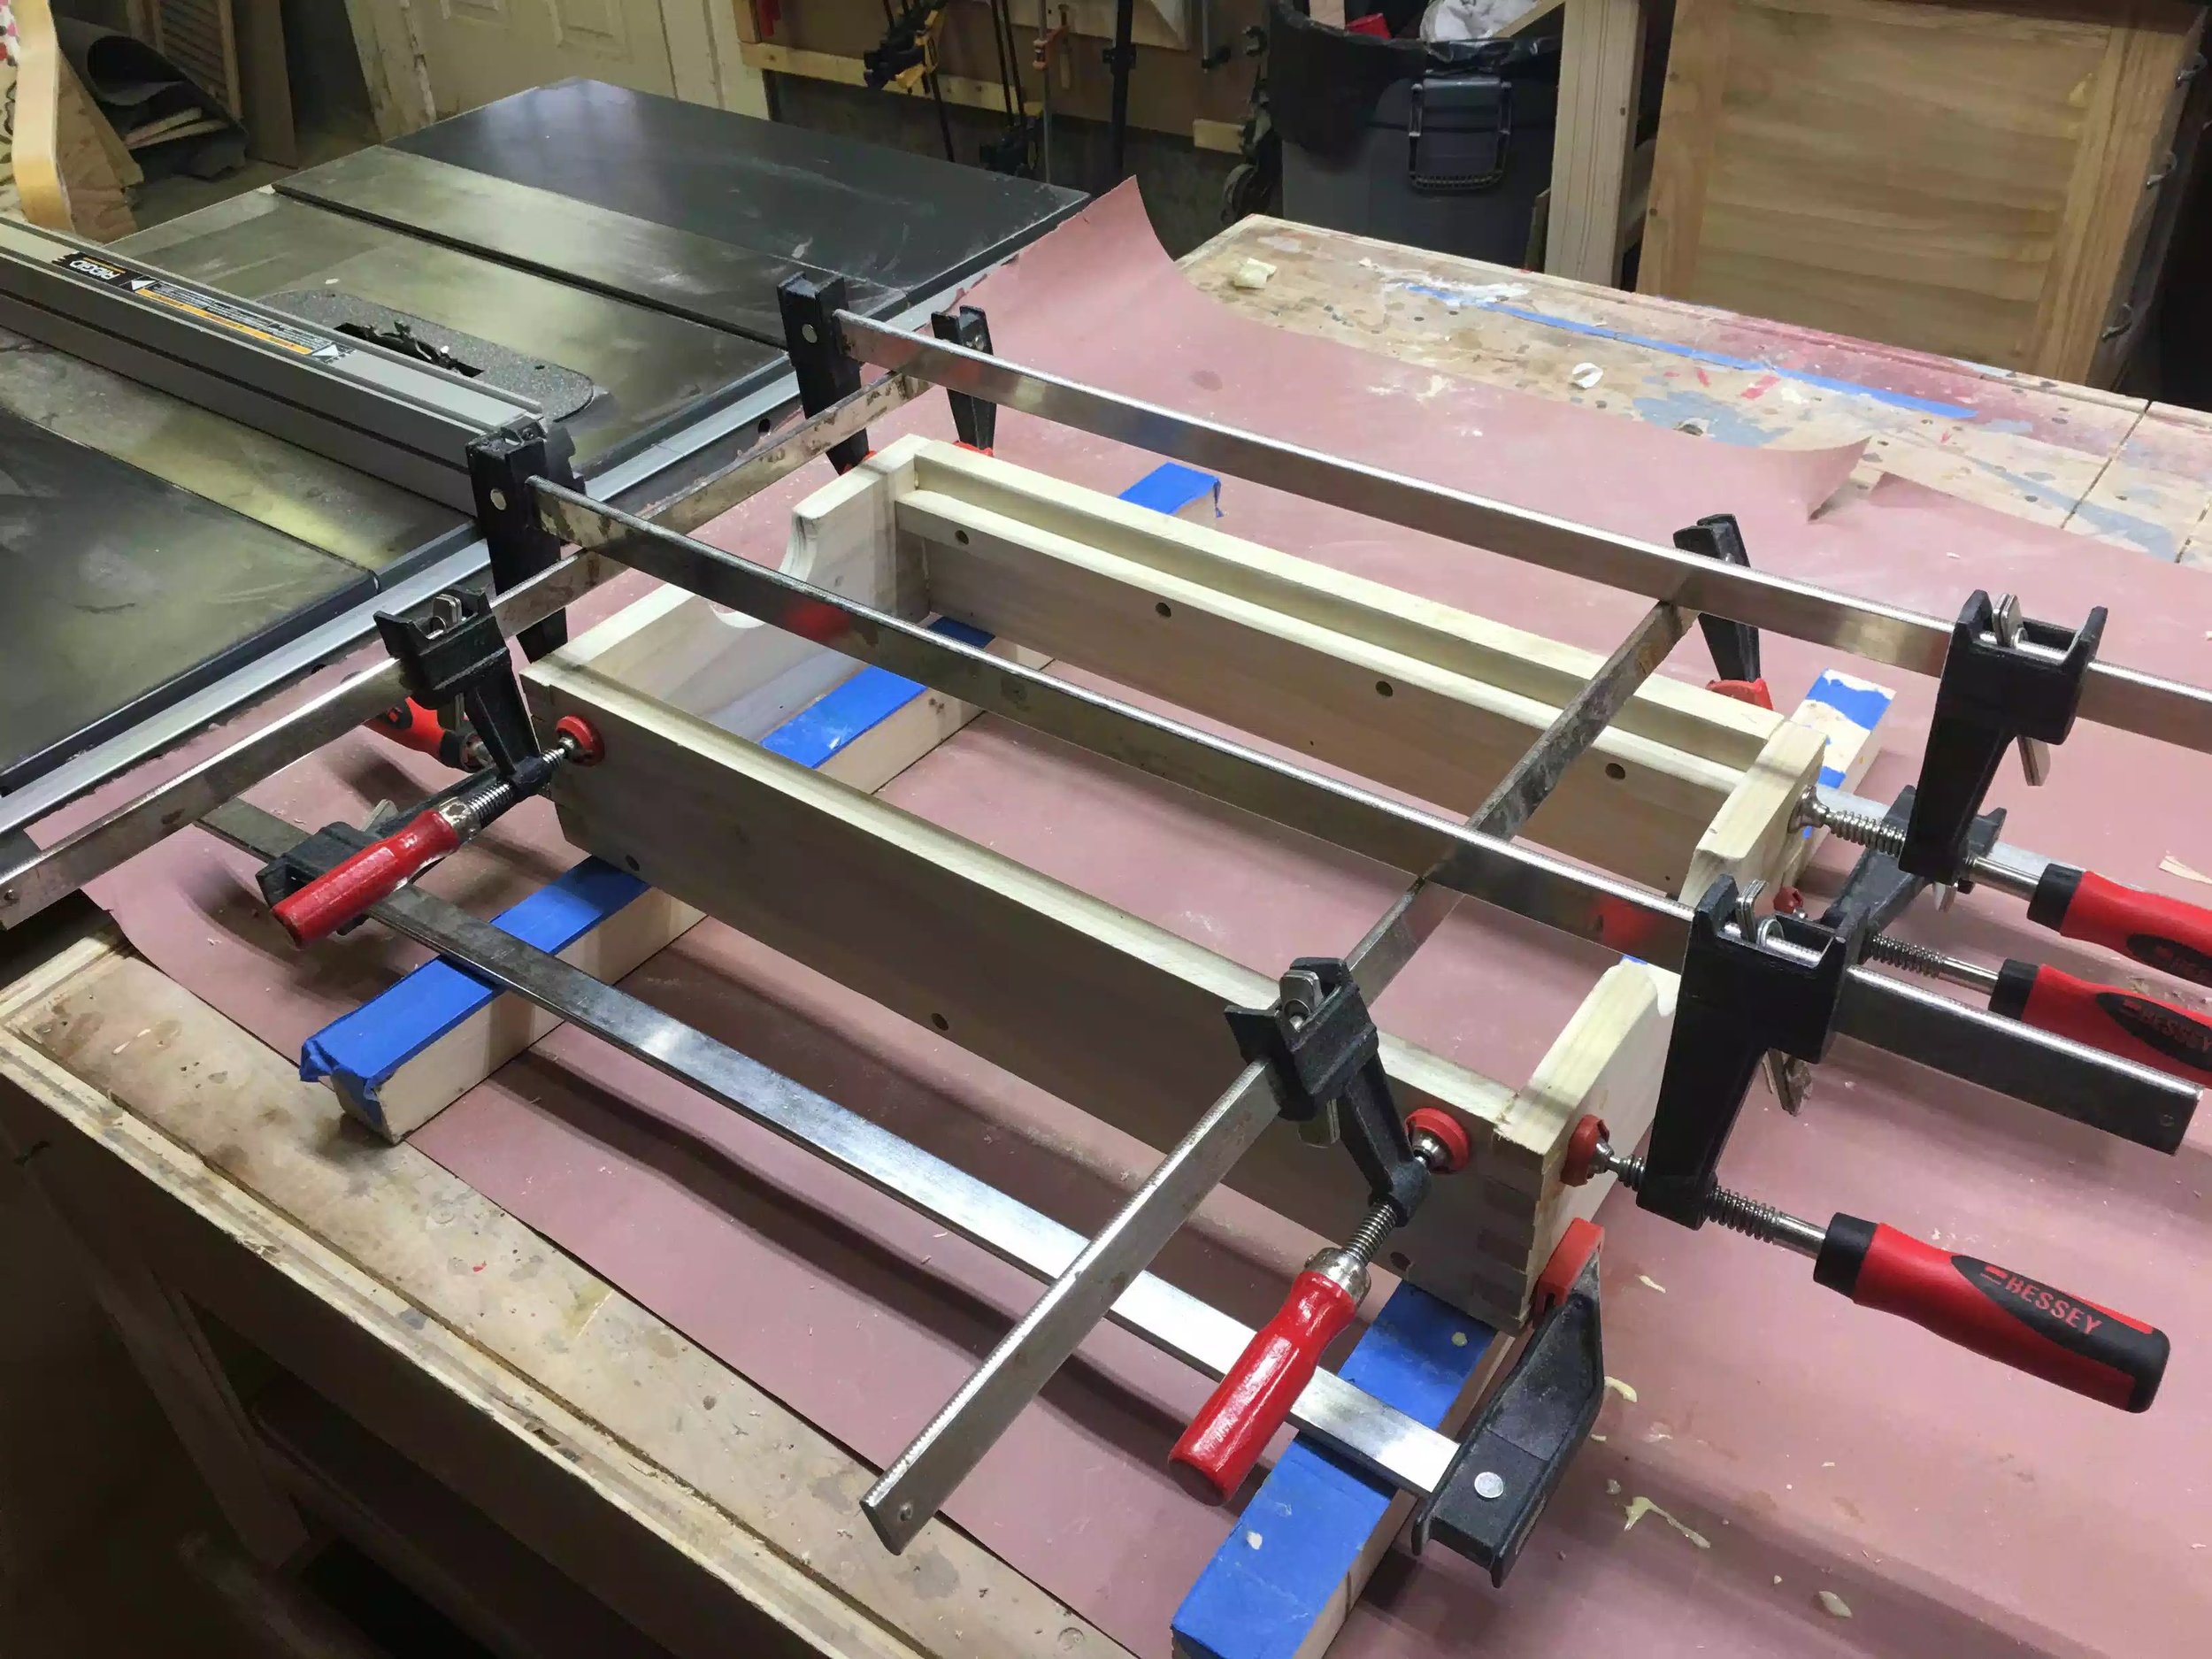
Here you can see the different design in the clamping jig. Most of the blank is maple with 2 contrasting Sapele pieces on each side.

The jig worked an absolute charm

Another picture of the jig in action.
Well that is what I got done today, thanks for tuning in and I’ll catch you again later.
NEXT……..
Clean up the blanks with some sanding and make sure they are true and flat
Hopefully I can start cutting the blanks up so as that I can move onto the next step, layout.