So today I started making the craft beer flights and boy was it a messy start, mainly because I needed to do pretty big glue-ups. They were not widest glue-ups but they sure were plenty long, anyway more about that later.
Today’s Events Included:
Ripping all the wood on the table-saw
My Designs
Glue-up Prep
Glue-Up
Ripping the wood
So I needed to take all the wood and cut them to the dimensions that I made on my plan, I ultimately wanted a 4-1/2” wide flight and using 3 species of wood which were Sapele, Maple and Walnut. So I needed to take these boards and cut them into smaller strips.
so I installed a rip blade in my table-saw and also placed a feather-board in place so as that the wood piece would move while I was ripping it.
Here is the table-saw set up I made with the feather-board in place
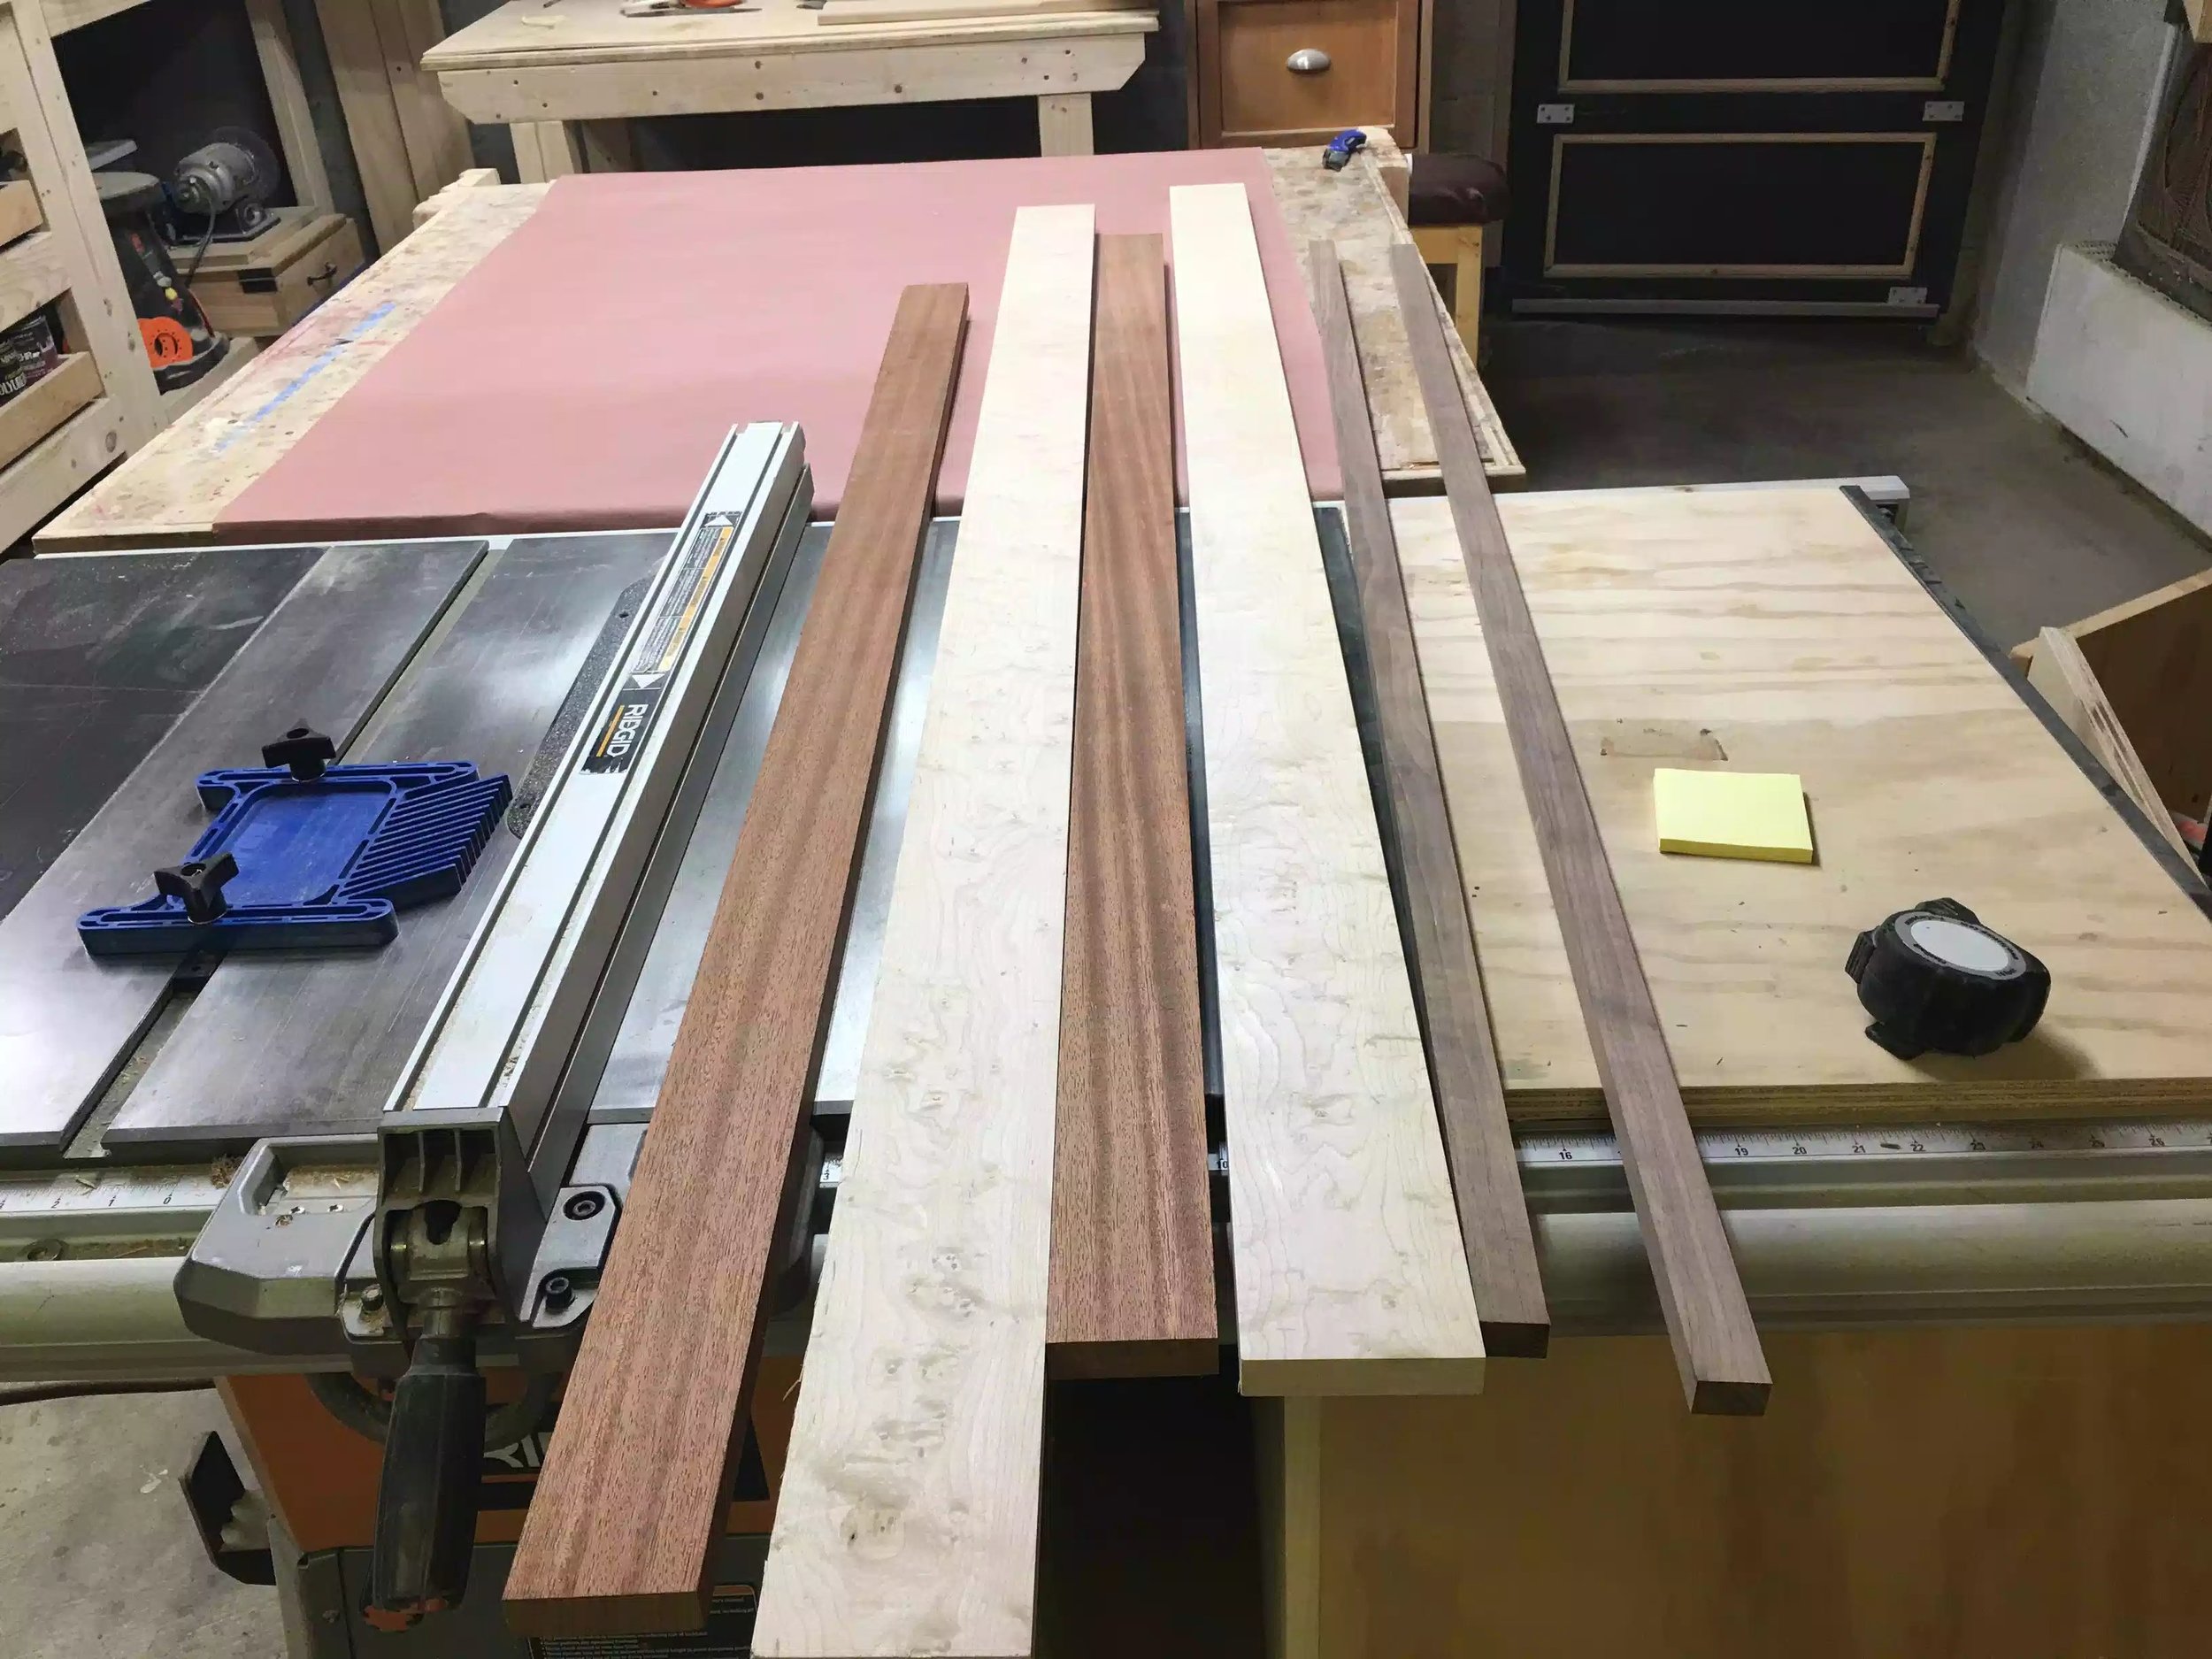
Here is the 3 species of wood that I will be ripping.
Here are all the pieces ripped and came out great as there was no burn marks on the wood as I used a rip blade.
Here is another close up of the boards that were just ripped.
My Designs
So here is the design I came up with I really like the contrasting woods and should come out great, I was lucky enough to make another design by some of the leftover off cuts that I had.
Since I had more maple and sapele left over I could make this design as well its really nice as well. So what started out as making 6 flights I will be able to make 8-9.
Glue-Prep
The glue-up was going to be a little complicated because I wanted to glue up three 5 foot sections all at one time. I wanted a system where I would clamp all three together with dividers between each of the glue-ups and that way I would not need a ton of clamps, but that turned out to be not the most efficient way and I didn’t get one of the glue-ups done. I was using Titebond II and the open time was not long enough to fit in 3 glue-ups so I just did 2.
I really dislike the method I used and really need to rethink my process, I use 3 pieces of plumbing white pipe on top of wooden risers as you can see in the picture below, and the dividers that I used to separate each glue-up were different heights so I couldn’t use clamping cauls, I will know more tomorrow after the glue has set but I think I am going to have a fair bit of surface sanding because I don’t have a planer.
I also had to make a trip to the local big box store to purchase more clamps as the clamps I had were too short so I got the Bessey Pipe Clamps and a couple of 24” black pipe pieces. After I finished for the day I started researching better clamping set-ups If my shop was a little bigger I would just make a clamping table but since that is not possible I found another method which is portable and can be broken down and stored away when not in use. I think I am going to make this tomorrow and probably make a few different rail sizes depending on what size clamps I will be using at any specific time.
As you can see its a front and back rail with stretchers on either side, he notched out half circles to accommodate the pipe clamps, The stretchers are help together using a half-lap joint and when not in use can be just pulled up and the jig can be stored away.I think I will make mine the same but I will add different sized stretcher depending the size of clamps I will be using, they usually range from 12” - 36”. Click here for the website I found this on.
Here are the white PVC pipe that I have nesting in some scraps, but didn’t work great because the scraps kept falling over.
The idea of the white pipe was that it gave the work-piece a flat surface to sit on, and it also afforded me to add height to the glue up so as that I could place clamps on the bottom and top surfaces of the work-piece.
Here is the final pieces with all the glue applied, I will not be doing this again. But we live and learn.
I really do like the patterns on the flight and think they will be really nice when finished.
That’s all I got done today and thanks for reading.
NEXT
Build the pipe clamp glue-up jig… I might need to get some plywood but I am not sure if I have enough scrap to get this done.
If I have enough time I need to do some surface sanding on the 2 glue-ups I got done today and I would like to get the other glue-up completed hopefully using the new jig.


