finished

CRAFT BEER FLIGHTS : FINISHED

So for the last couple of days I have been busy applying all the coats of poly 3 in total and sanding between each coat then finally I burnished each flight with very fine steel wool to remove that sheen that always appears when you use oil based polyurethane.

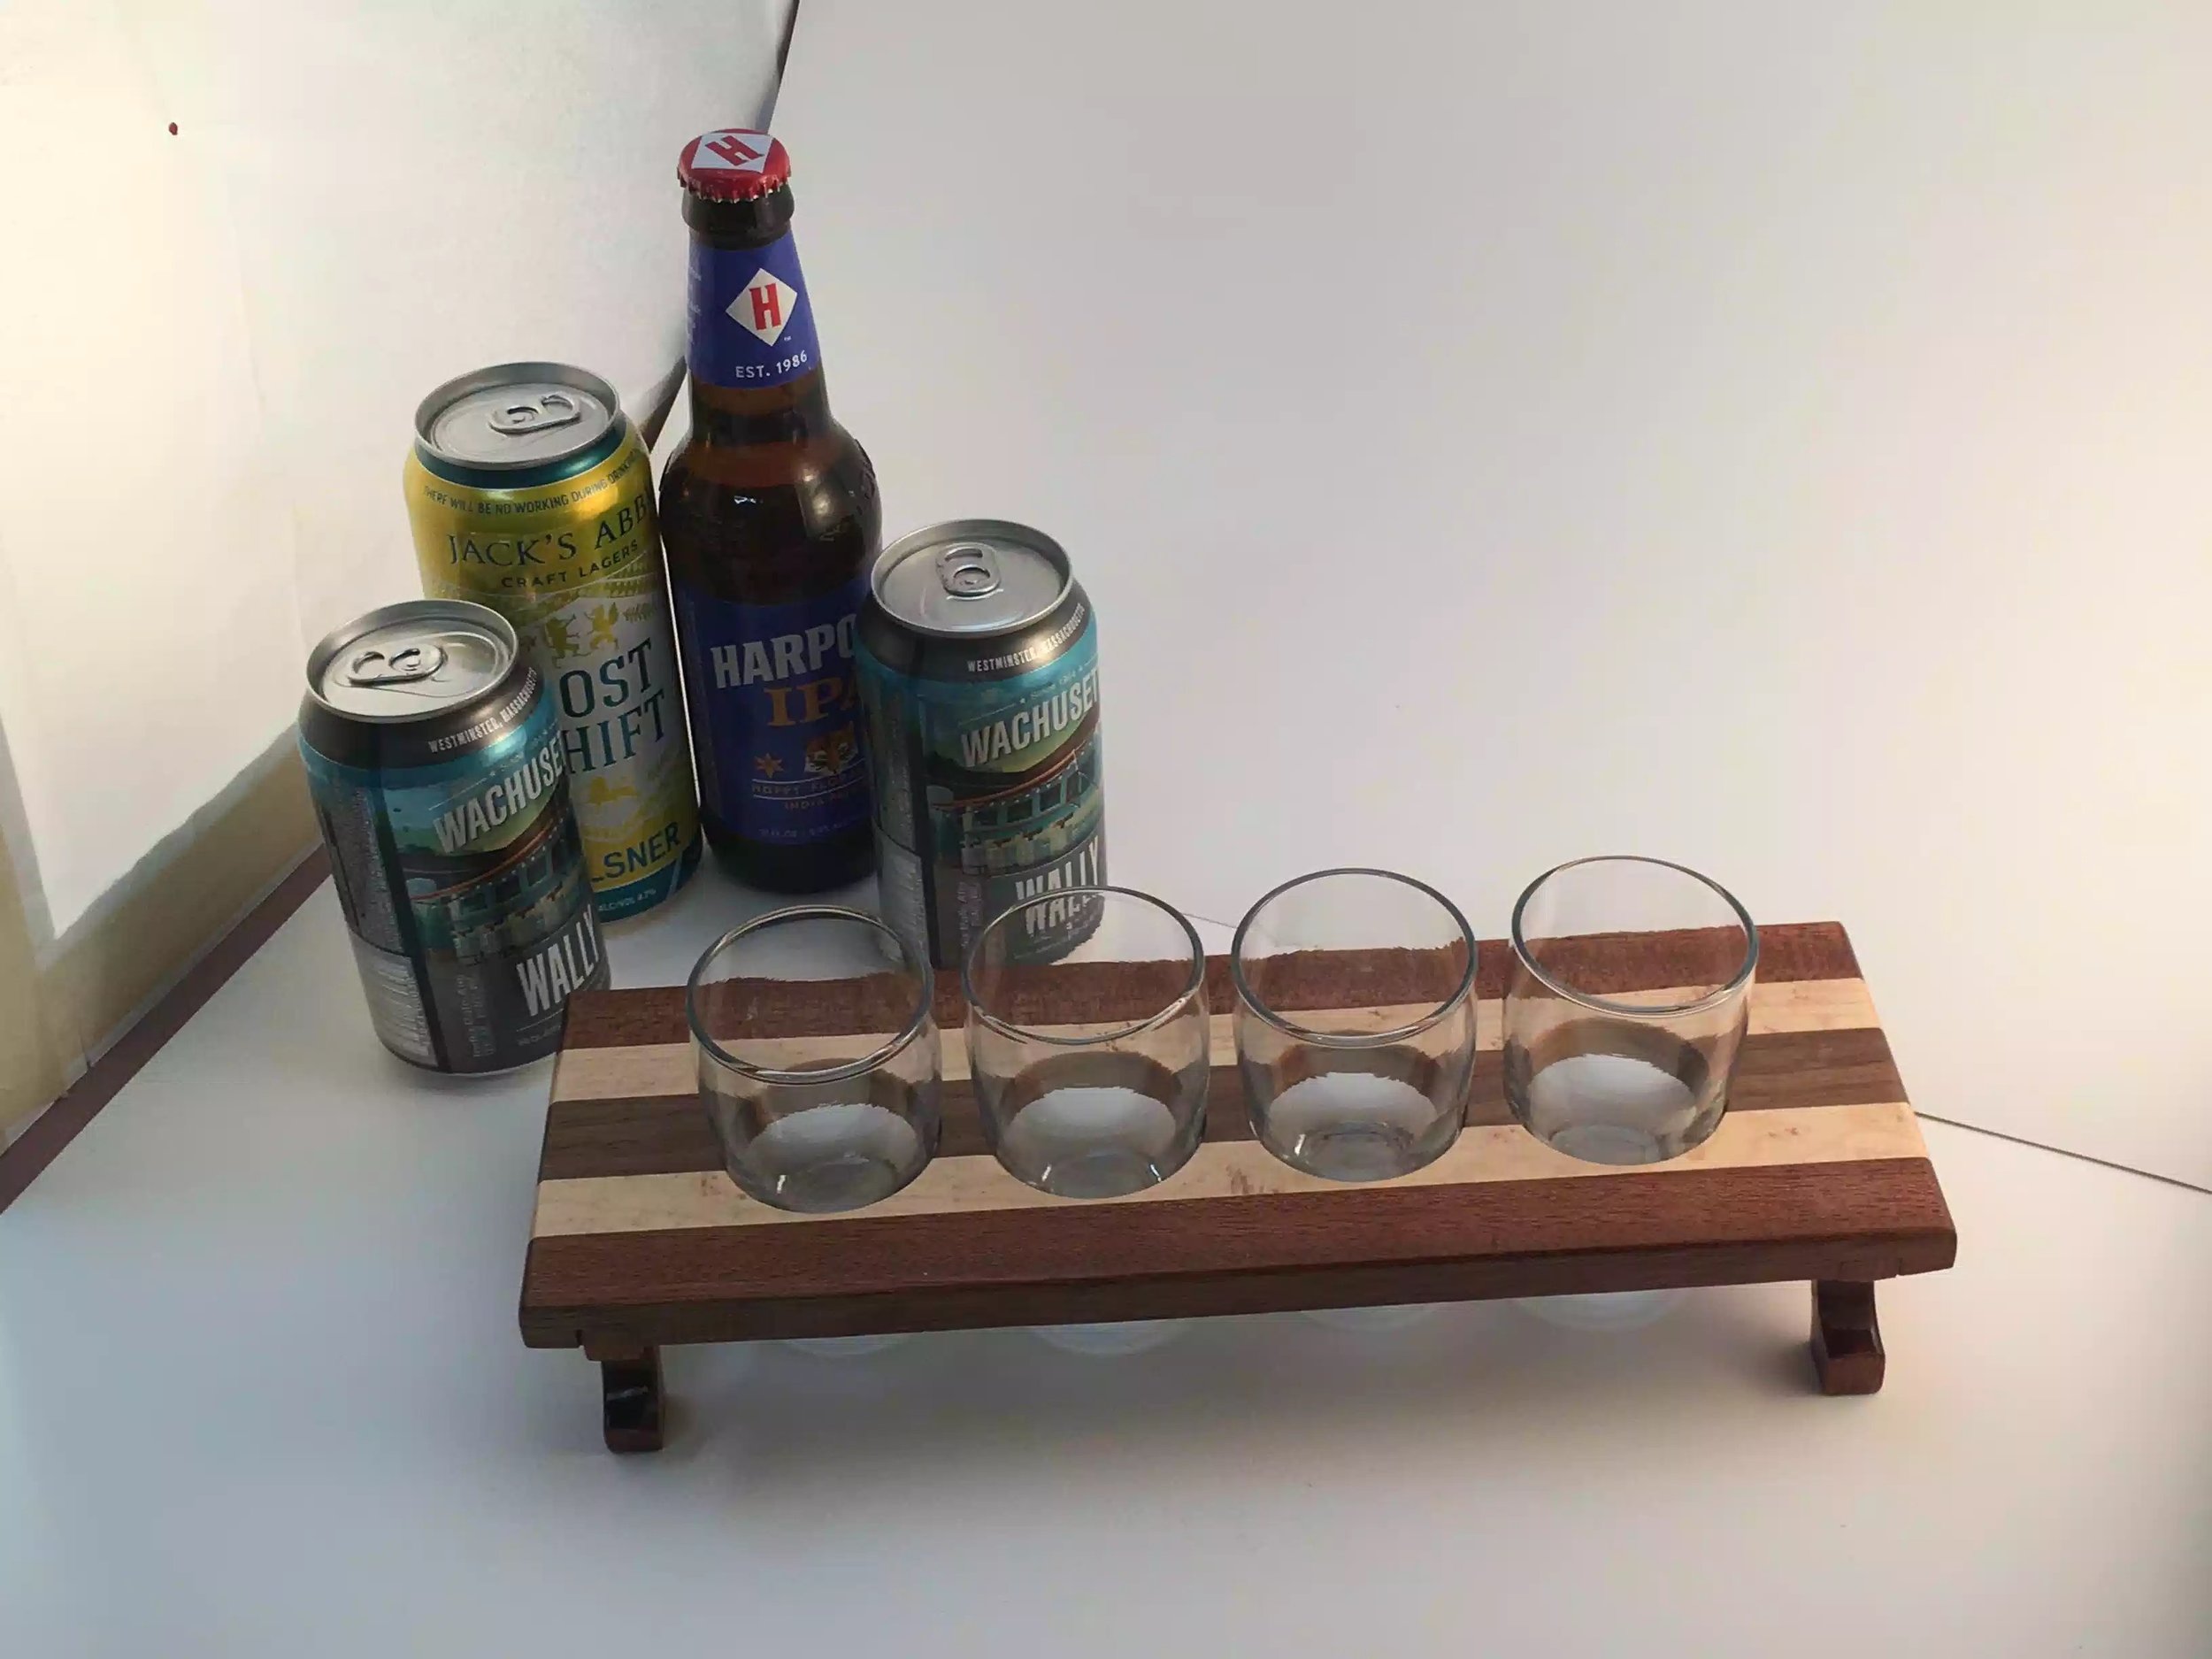
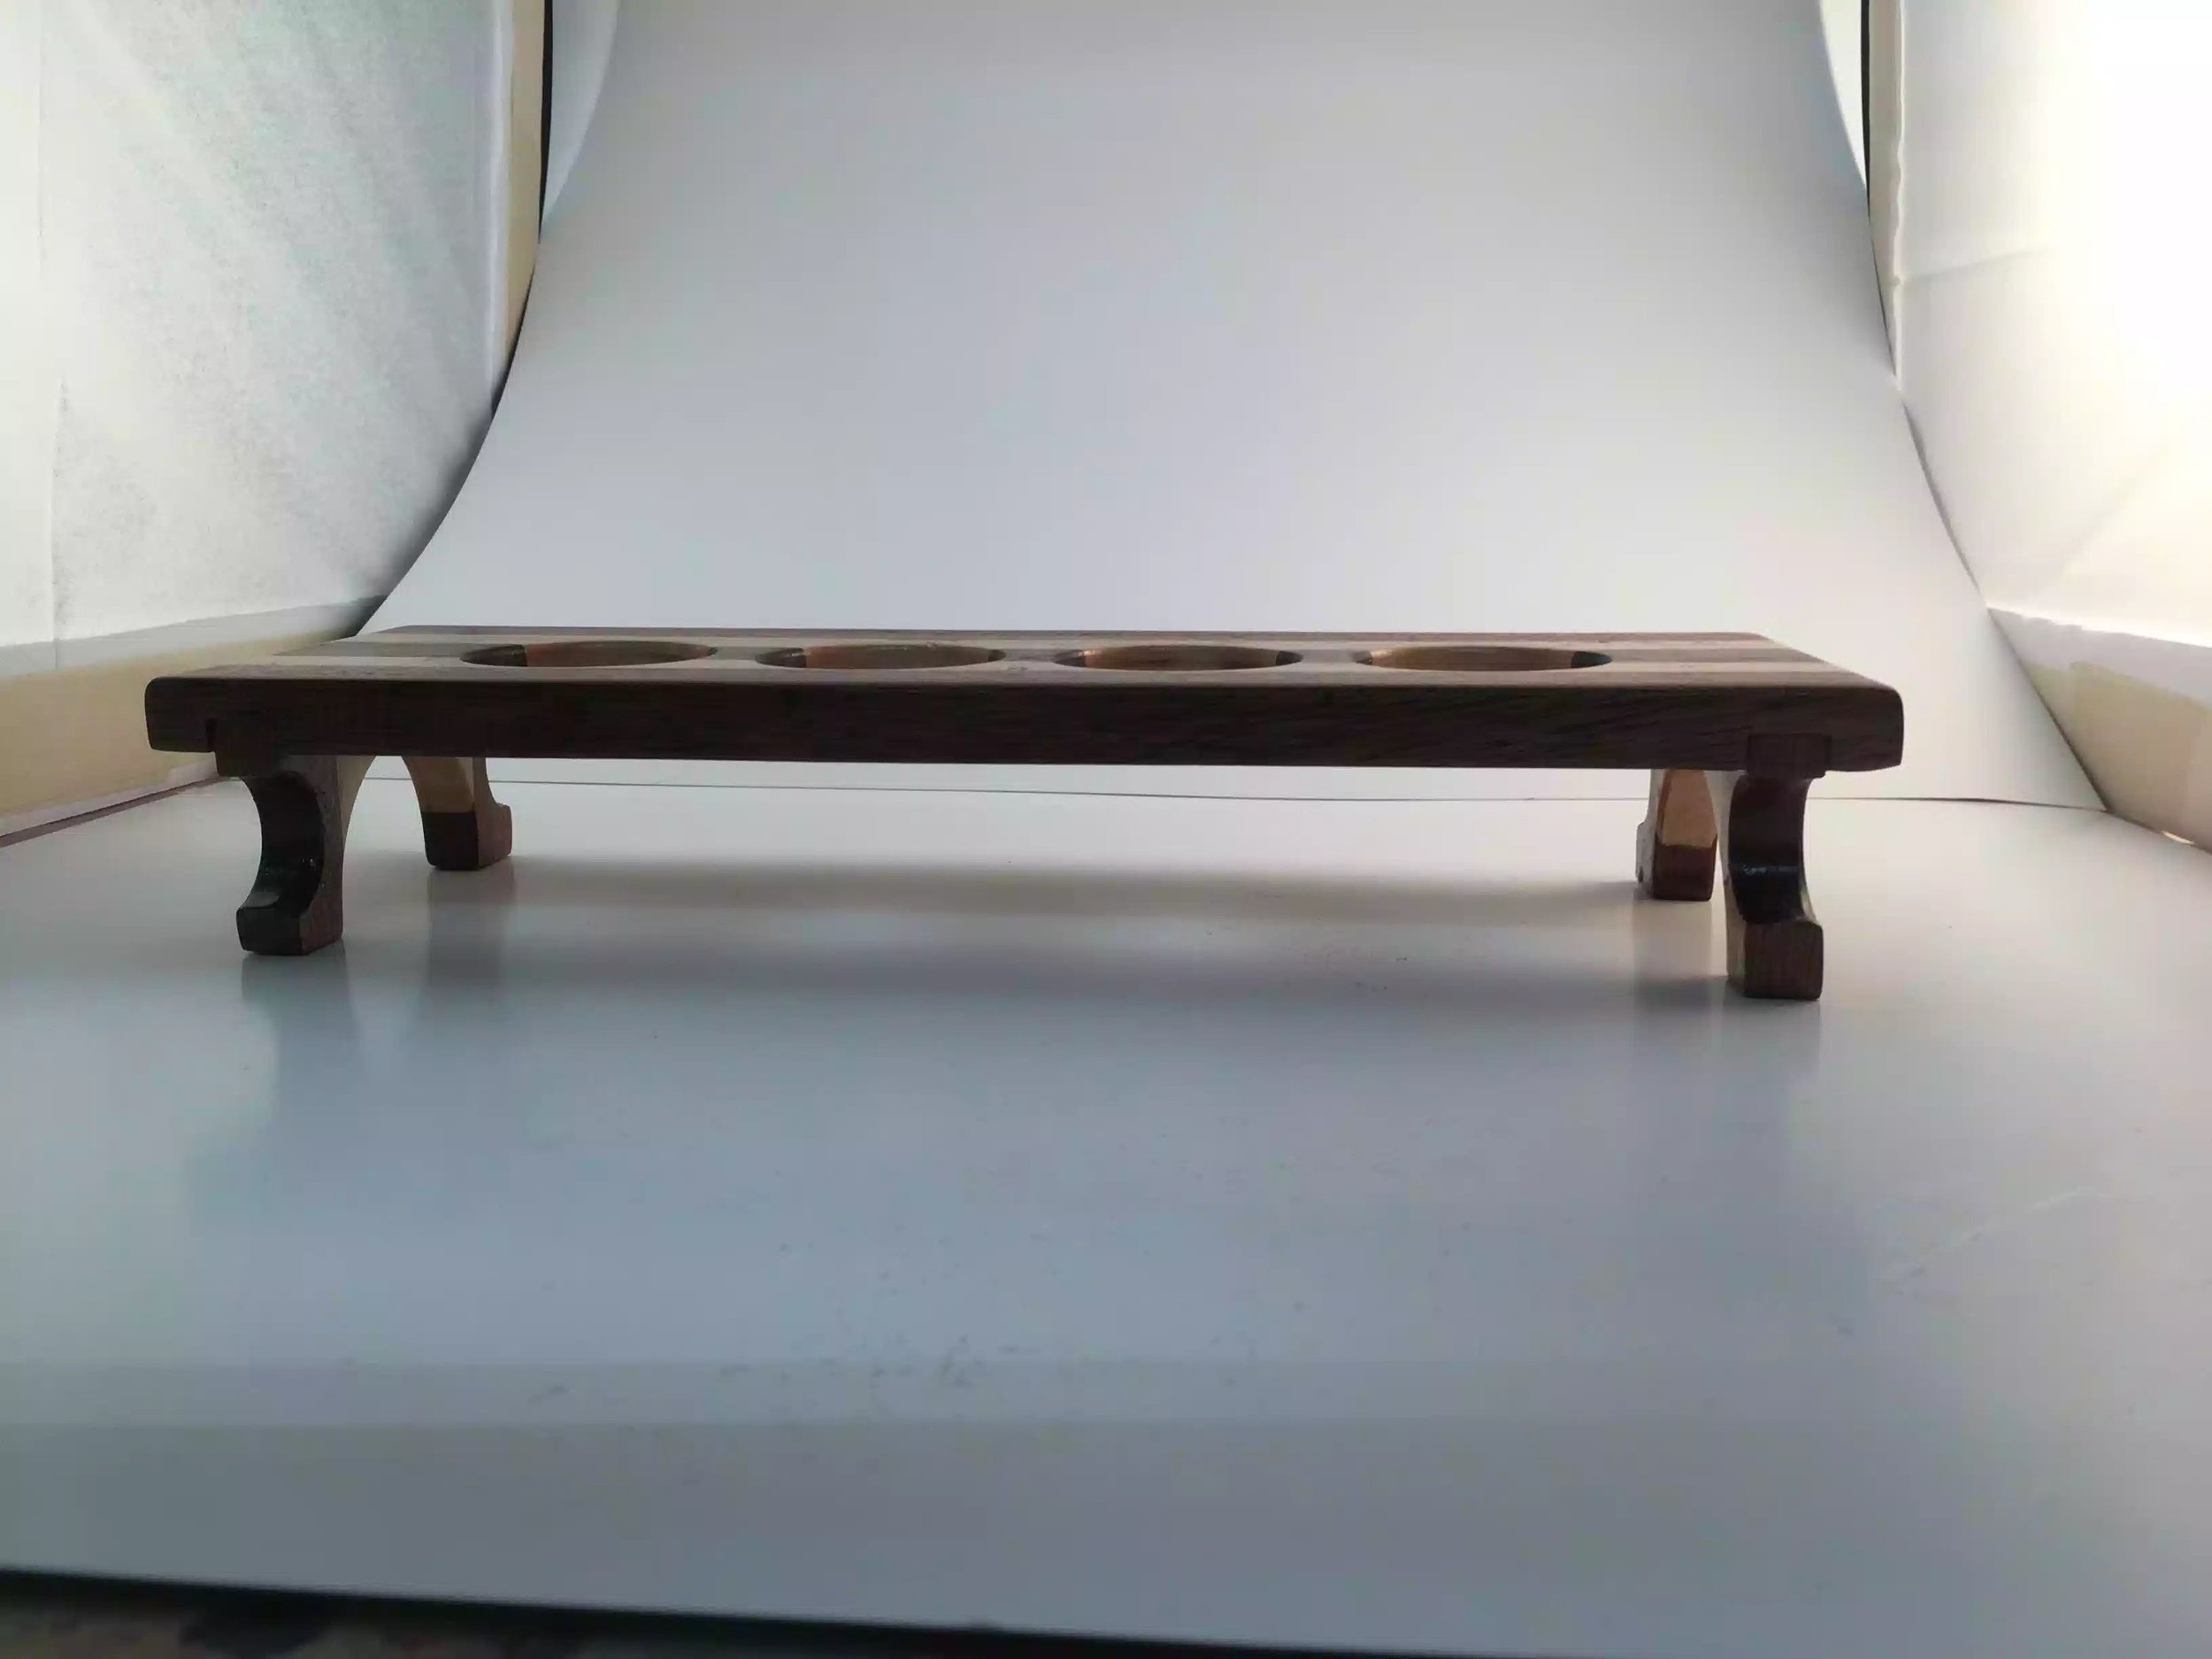
But today I finally got to take some pictures of the finished flights. I really enjoyed this project and loved working with all the types of woods that made up this project.

Below are some pictures that I took and one more thing I take such terrible pictures of my crafts I have actually starting using some photo editing software to see if I can improve my pictures to a degree that matches the woodworking craftsmanship that goes into make items such as these. The pictures I take for selling purposes are terrible and want to improve them. I purchased Paint-shop Pro 2019 and its a real learning curve for me having never used editing software again so I am studying and practicing and the picture directly below is a result of what I have learned so far.

Here is my efforts using PaintShop Pro 2019. Not bad but I have a long way to go.

Here is my efforts using PaintShop Pro 2019. Not bad but I have a long way to go.

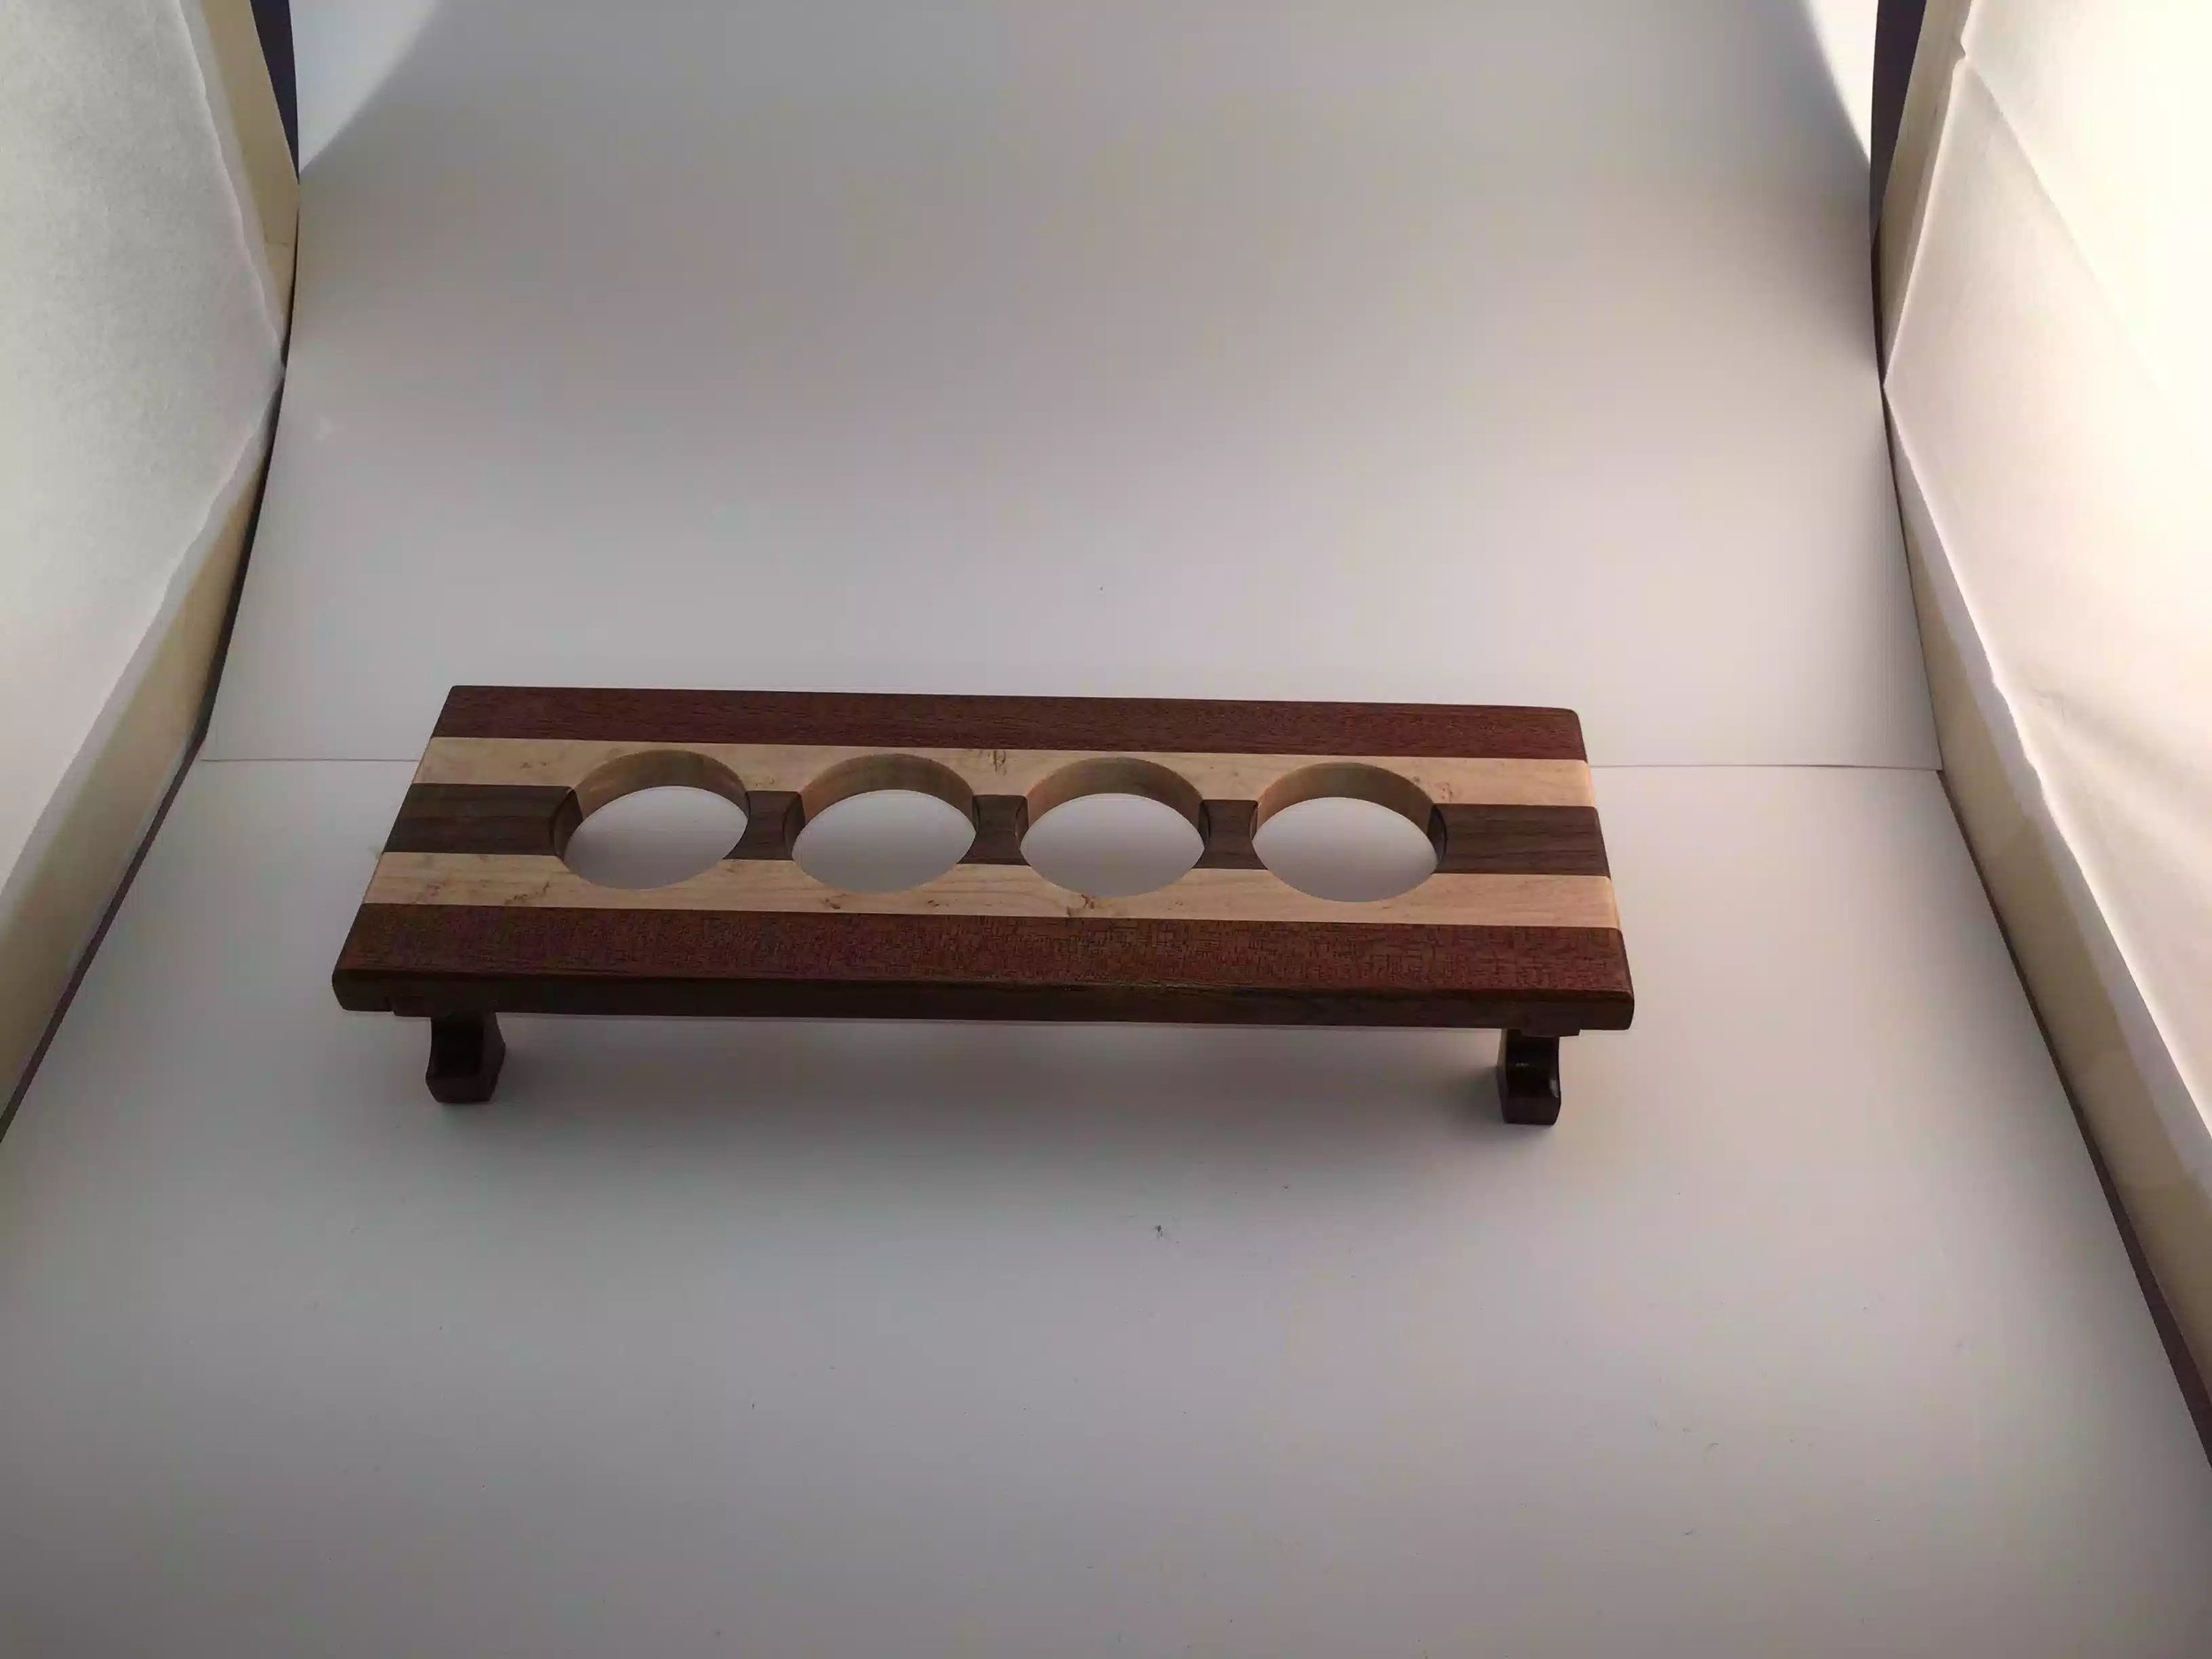
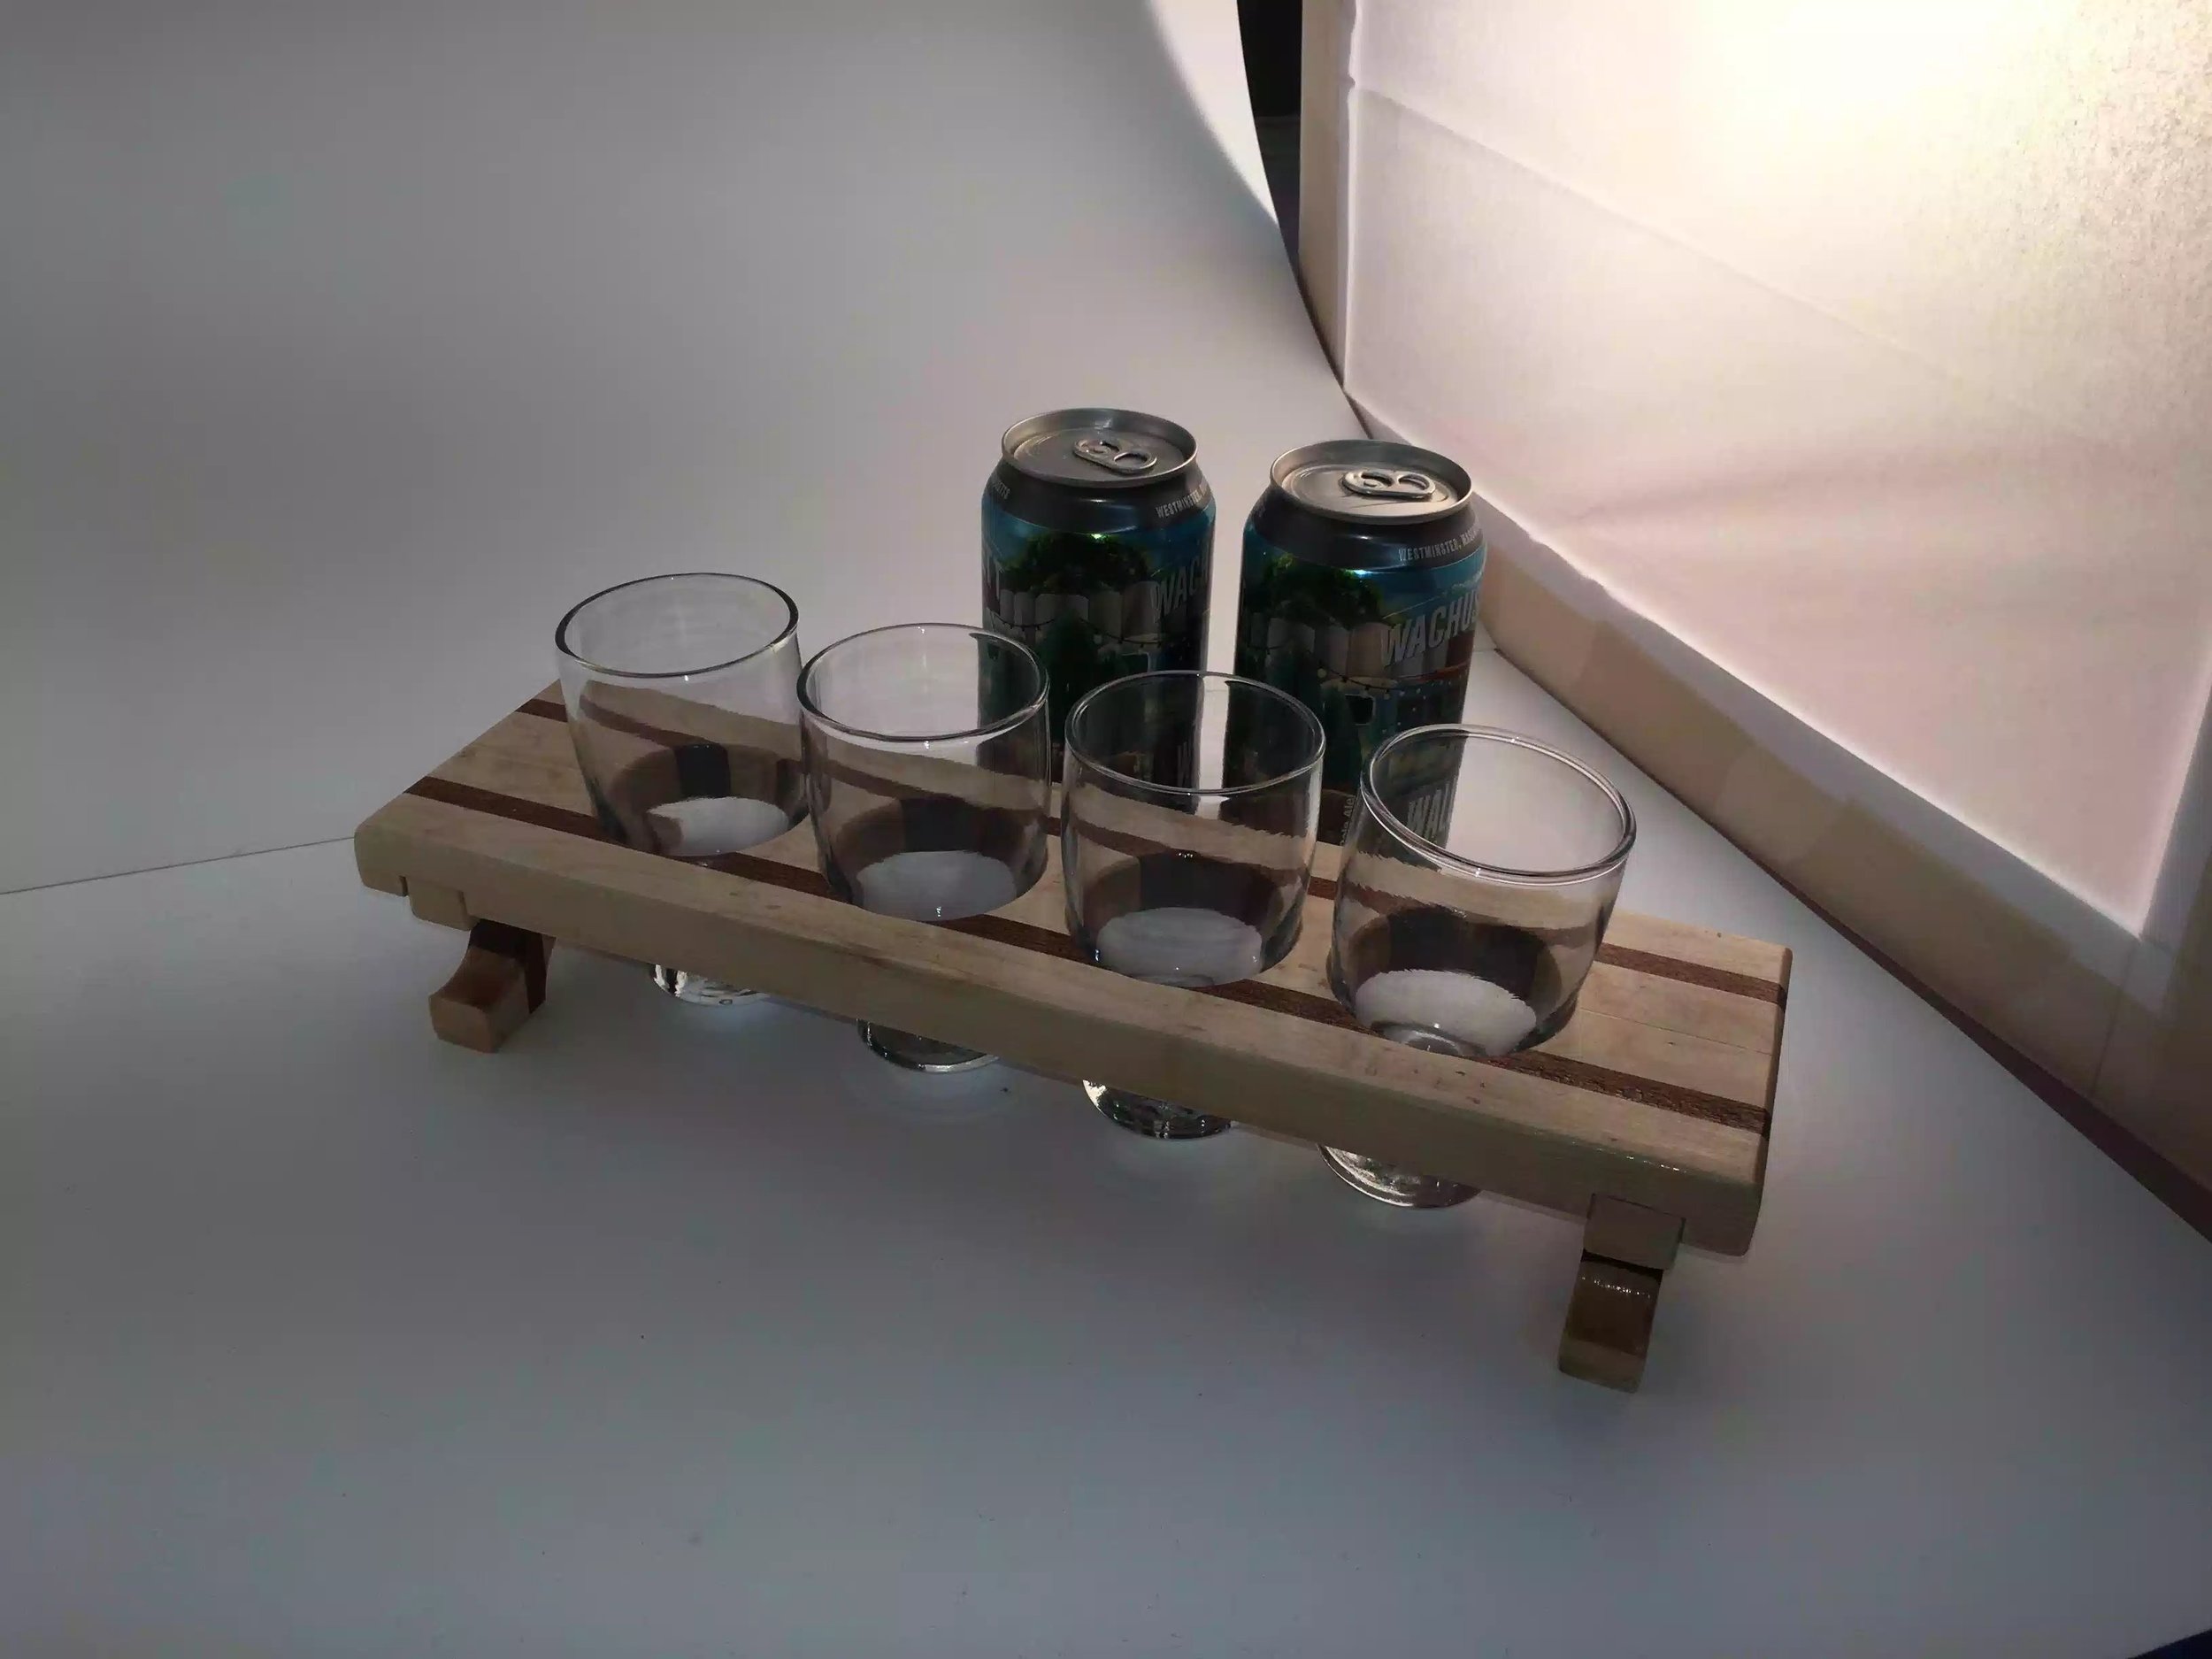
Here is one style that I made using Maple and Sapelle woods

Here is one style that I made using Maple and Sapelle woods

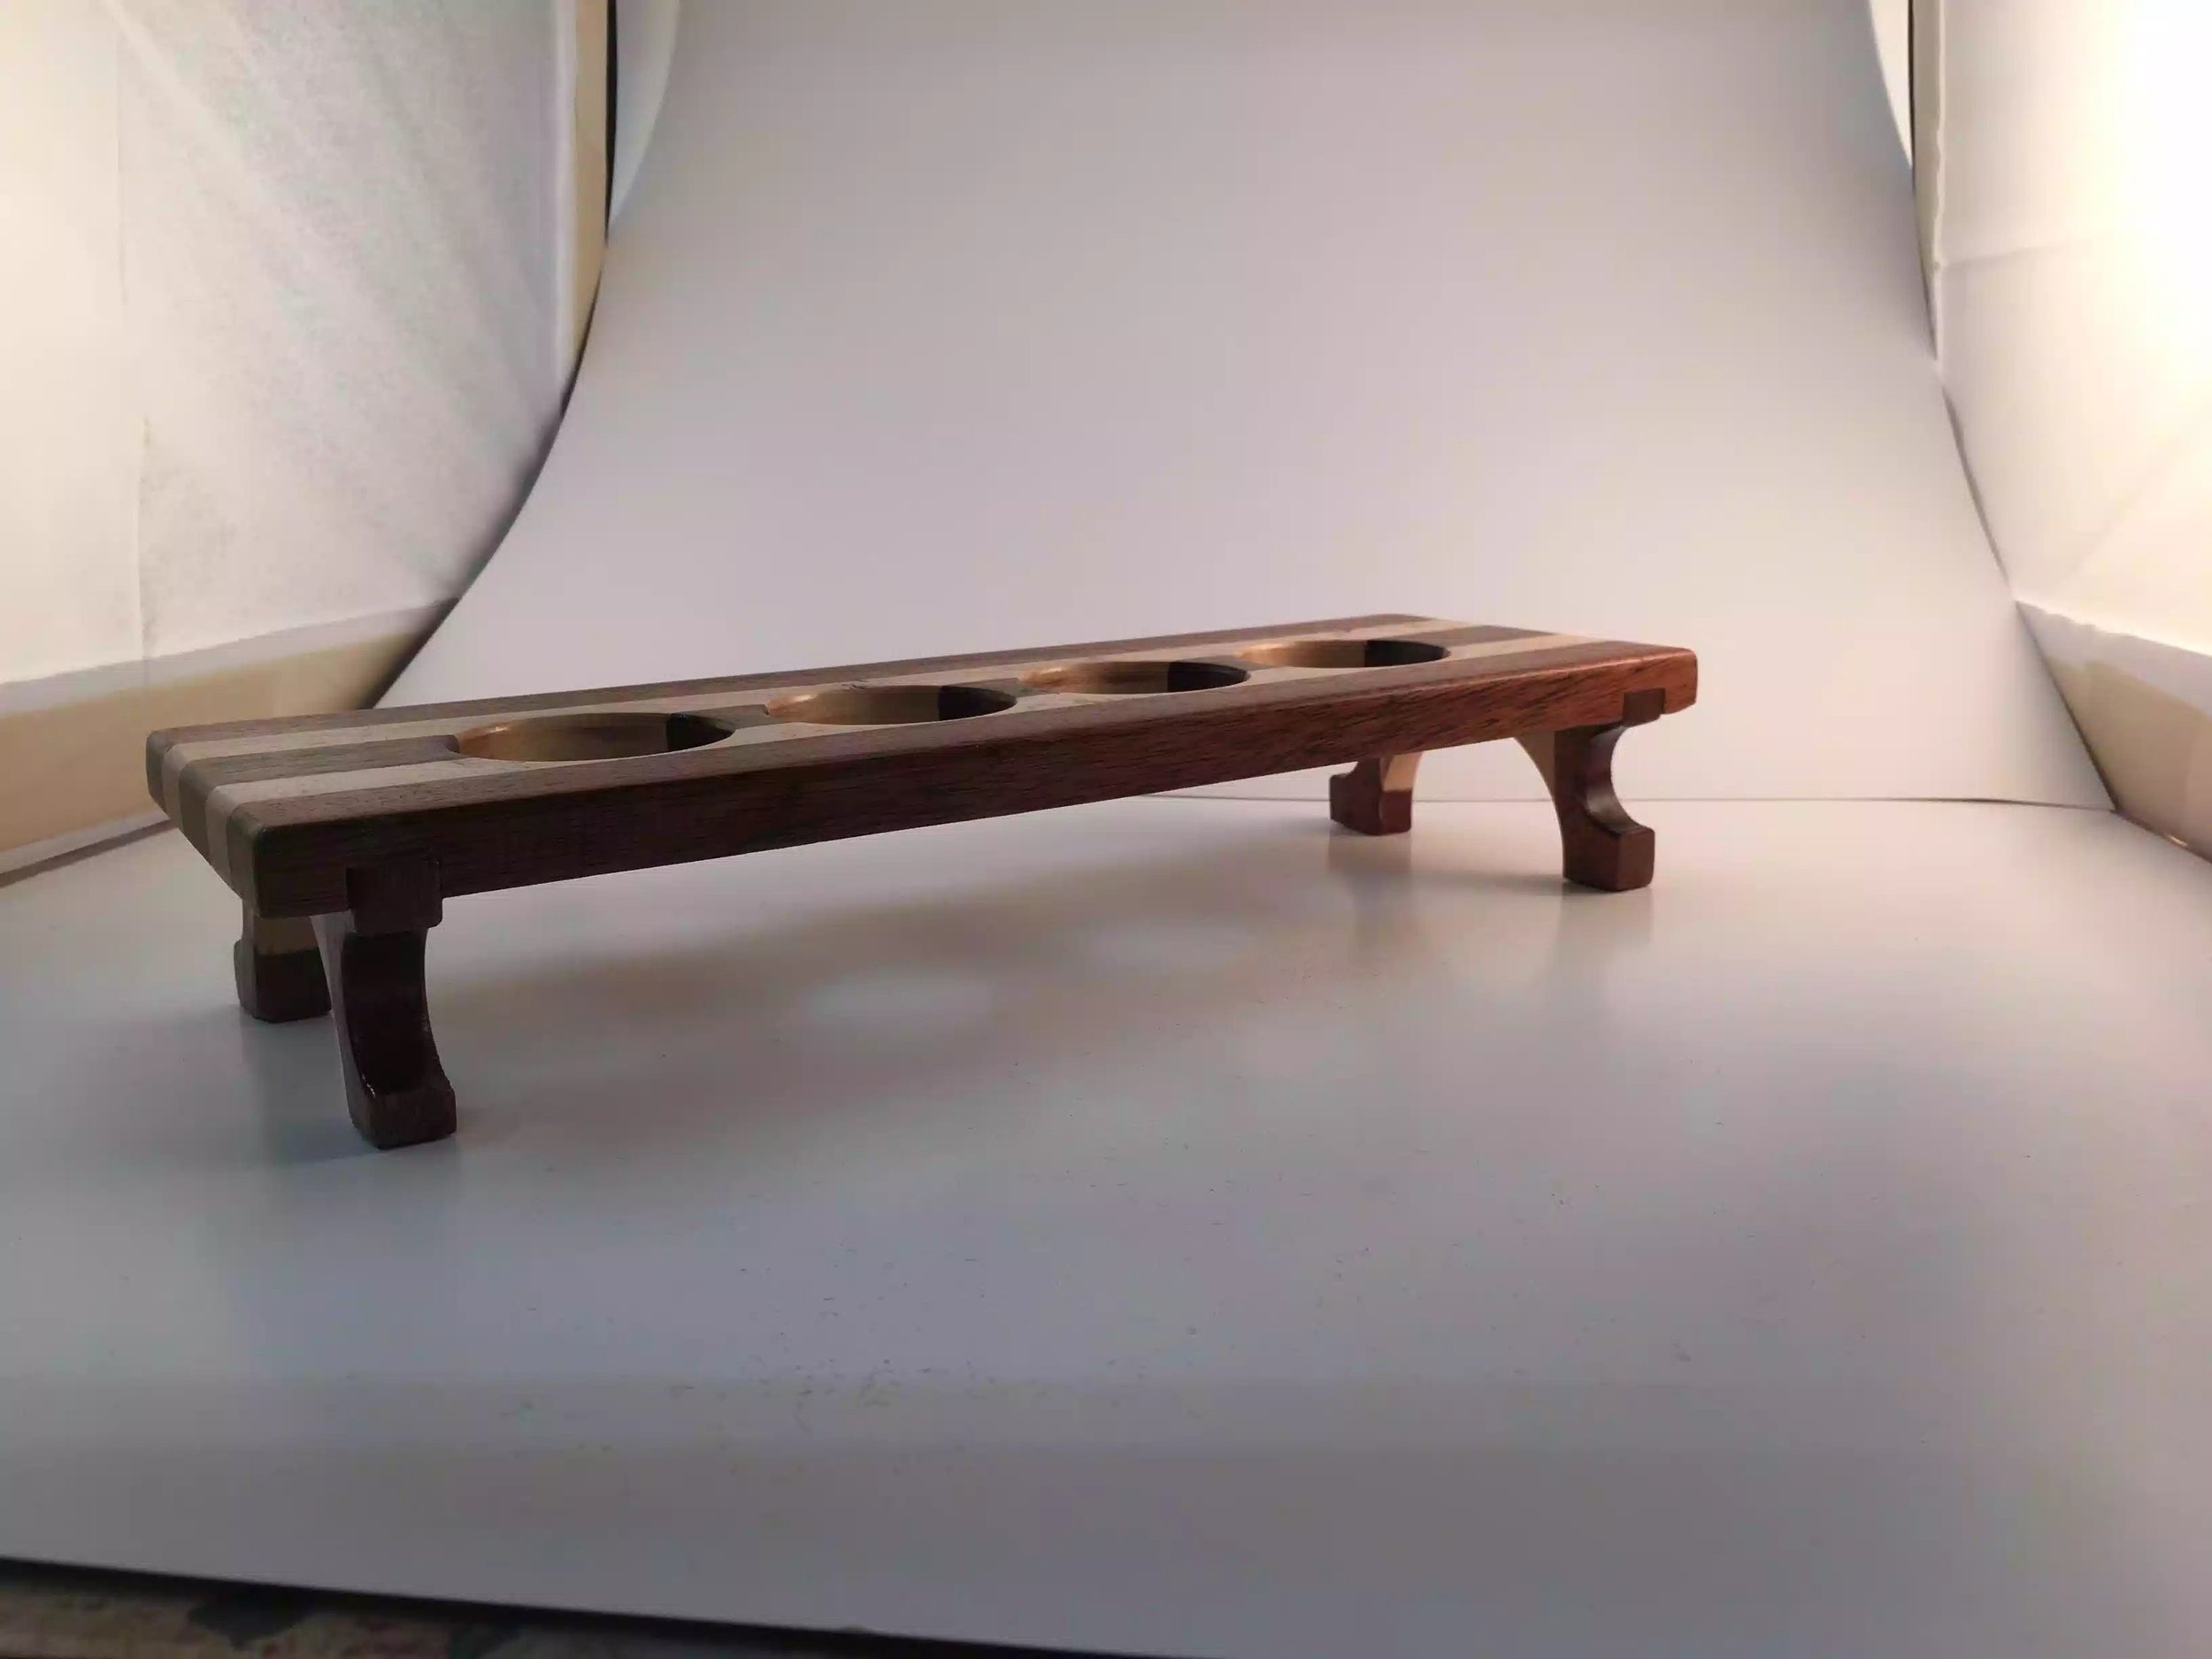
Here is the other style I made using Sapelle, Maple and Walnut

Here is the other style I made using Sapelle, Maple and Walnut

CRAFT BEER FLIGHTS : PICTURE COMPILATION

In the coming days I will be making these Craft Beer Flights available for purchase in my shop, I will let you all know when that is.

I will be taking a break for the month of December for the holiday period so I dont have any more projects on the books until the new year, I am going to be doing my anuual shop cleaning and trying to reorganize my shop for 2019.

Until the new year have a safe and happy holiday’s.

Portable Sharpening Station : All Finished

Today I finally got to finishing this project all I needed to do was to add wooden plugs to the countersunk screw holes for the base and apply a urethane finish to the entire sharpening station.

MADE THE WOODEN PLUGS

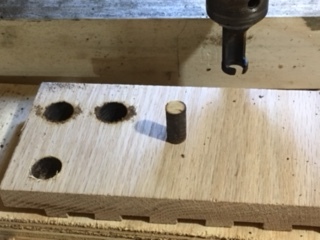
I usually have some oak dowels lying around the shop but for the life of me couldn’t find any so I needed to make my own which is very easy. I used a 3/8” plug cutter in my drill press and since I had some oak scraps lying around from this project I used it. Below you can see some pictures of the process.

Step 1 : Cut the plugs on the drill press

Step 2. Added some glue and hammered the plugs into place

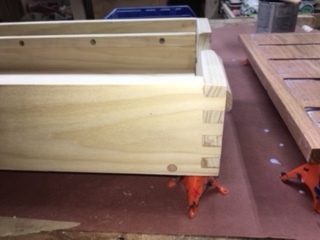
Step 3. Was to flush cut the plugs to the surface.

Cutting the plugs on the drill press.

Cutting the plugs on the drill press.

Here is a close up of the plug cutter.

Here is a close up of the plug cutter.

Here is the protruding plugs that needed to be flush cut.

Here is the protruding plugs that needed to be flush cut.

Finally using my flush cutting saw, I trimmed the excess off.

Finally using my flush cutting saw, I trimmed the excess off.

APPLYING THE FINISH

Now that everything was done all that was left was to apply a finish, the finish I wanted to use was Minwax Poly-Crylic but by big box store didn’t have any so I choose an alternative water base polyurethane and I applied 3 coats.


Here is the last of the 3 coats, applied to the top, still wet.

Here is the last of the 3 coats, applied to the top, still wet.

Here is a before picture , this is before I applied the finish.

Here is a before picture , this is before I applied the finish.

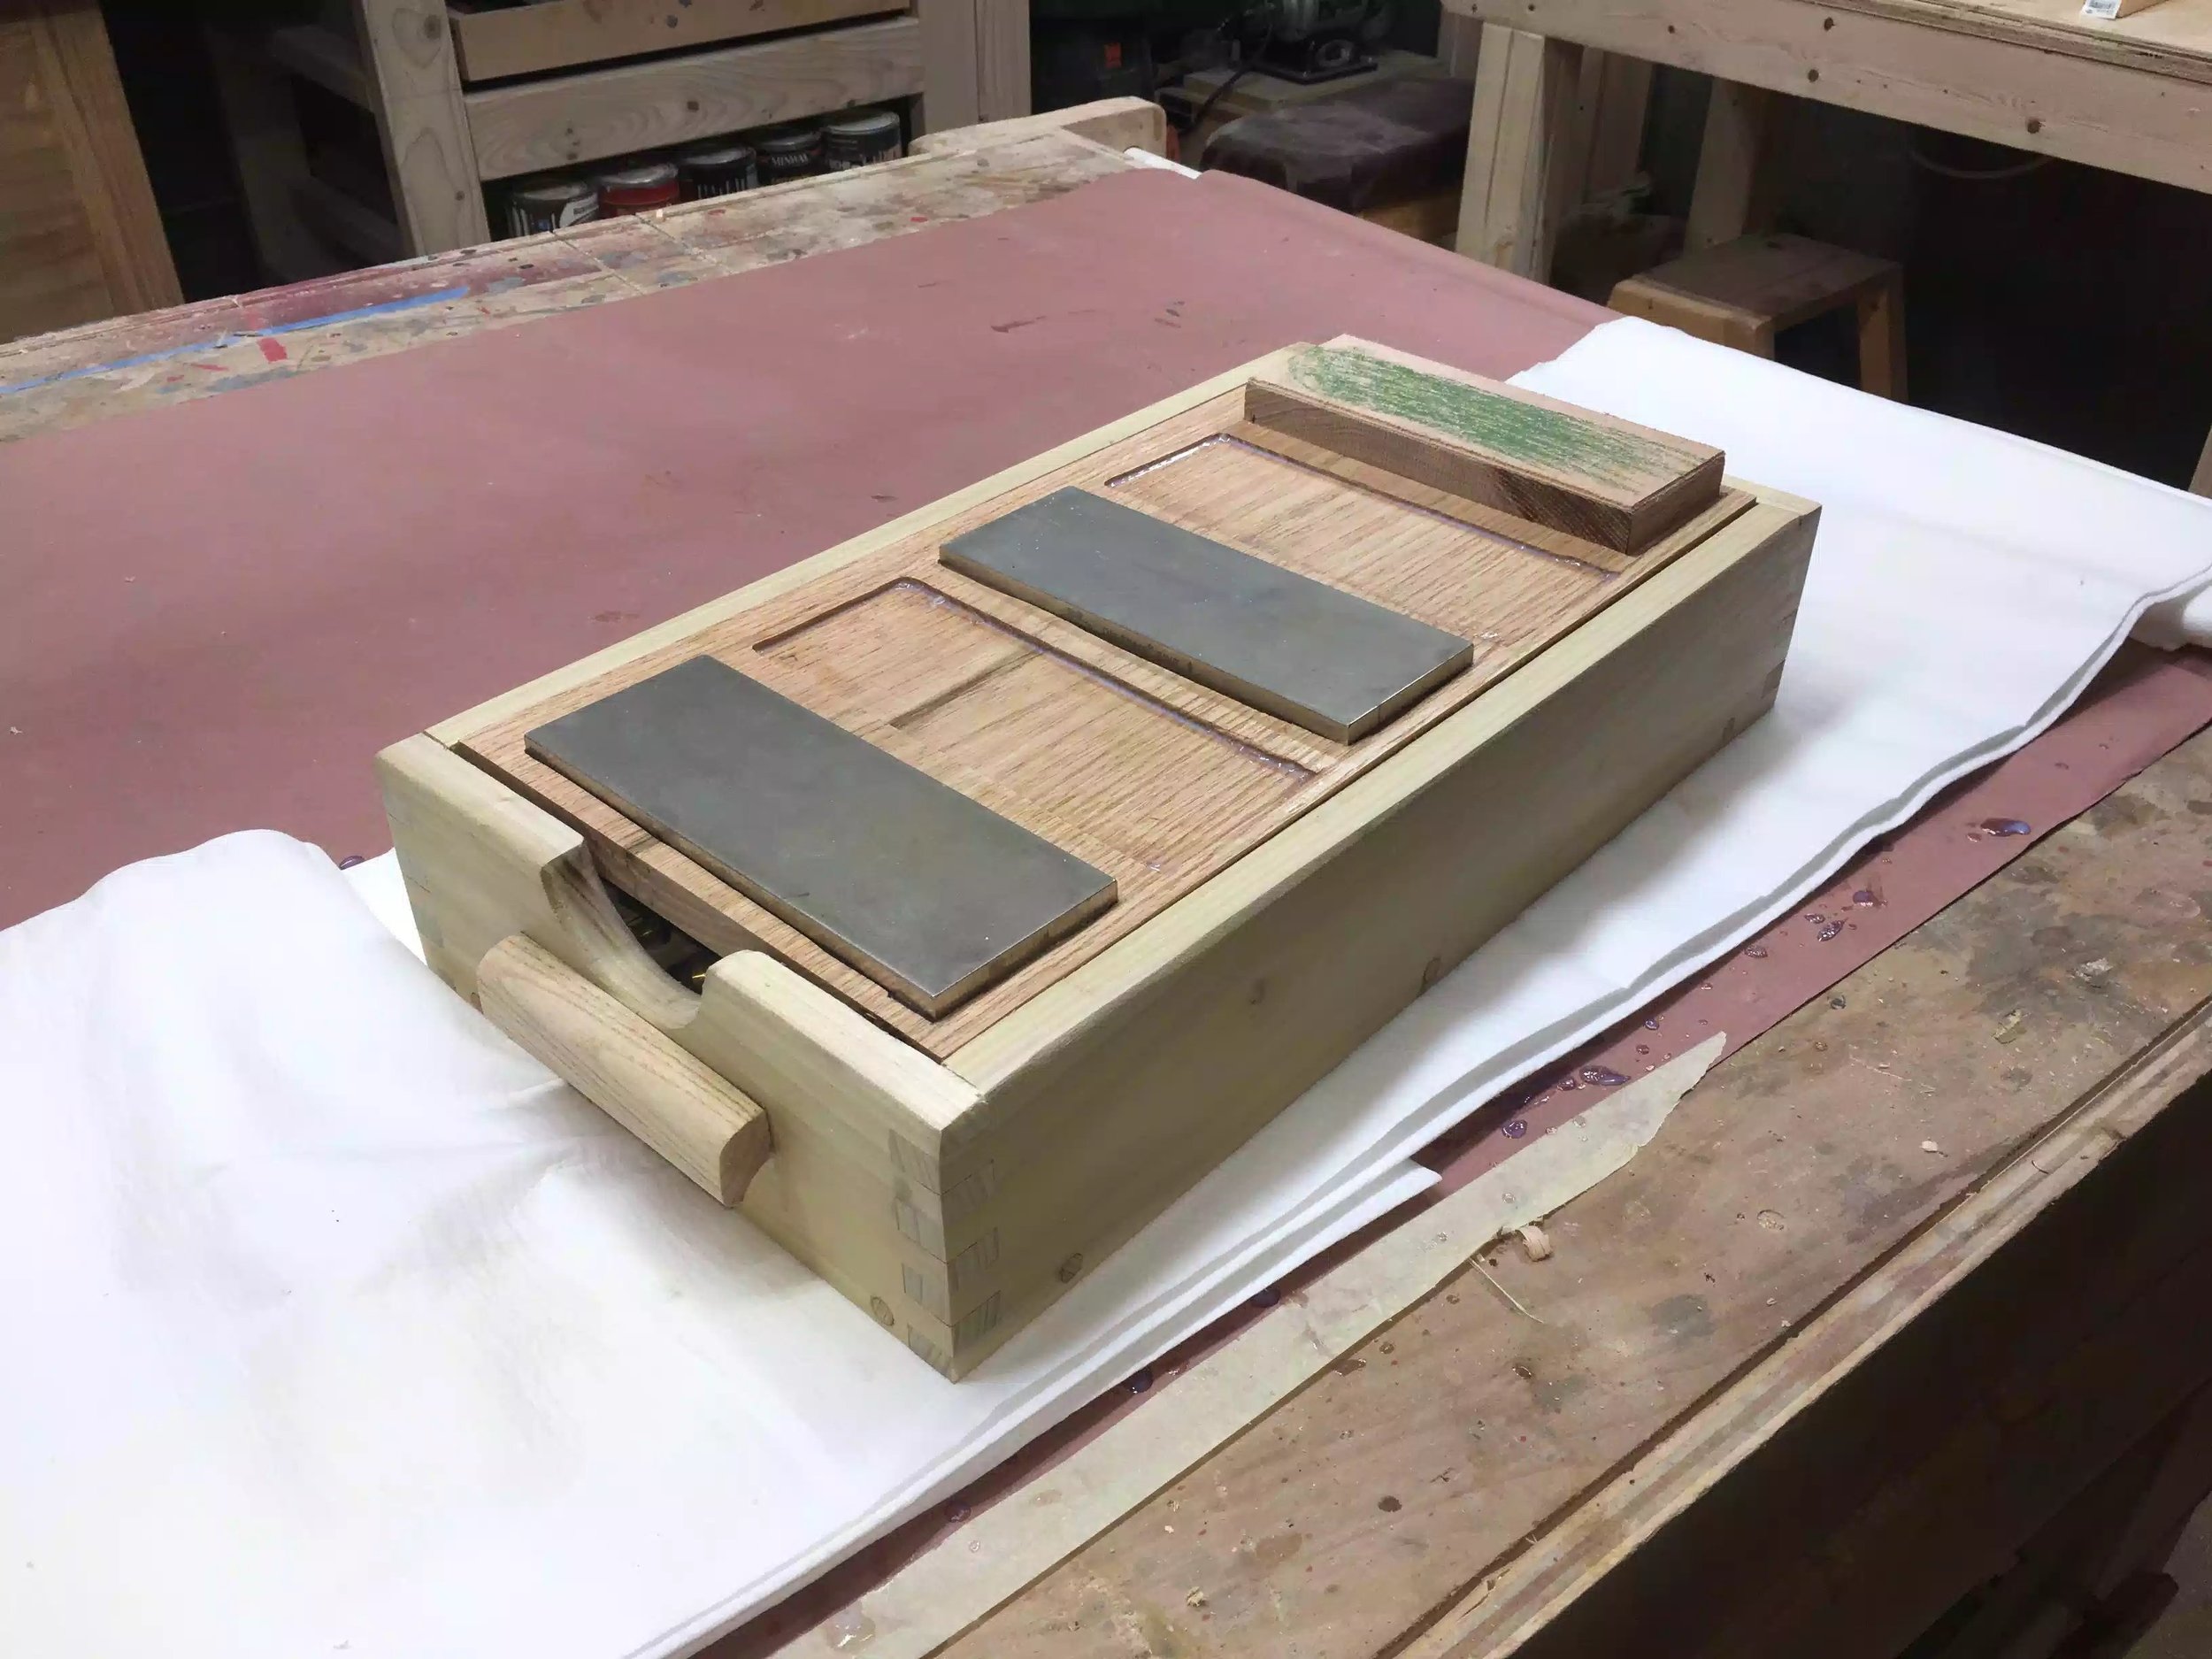
This is after the finish has been applied, I love how the box joints pop.

This is after the finish has been applied, I love how the box joints pop.

ALL FINISHED

All that is needed now is to wait for the finish to dry, but here are some final pictures. I love how handy this station will be and I should have made it a long time ago, everything that I need to sharpen my tools is now in one place just the way I like it.

This concludes my blog on this project, I hope you have enjoyed reading about this project as I have enjoyed making it. I will be releasing plans for this in my shop as soon as I have a chance in putting them together.

Until the next time I’ll catch you later.

This station is a very comfortable height for me to work on, although I might have gone over-board in its design it is extremely functional.

This station is a very comfortable height for me to work on, although I might have gone over-board in its design it is extremely functional.

Here is my Veritas MKII honing jig being put to good use.

Here is my Veritas MKII honing jig being put to good use.

I really like the contrasting oak plugs that I used and also really enjoyed making the pulls, which I made from solid ash.

I really like the contrasting oak plugs that I used and also really enjoyed making the pulls, which I made from solid ash.

I really love having everything that I need right at my finger tips.

I really love having everything that I need right at my finger tips.

DRILL PRESS CART: ALL FINISHED

After a week of fleeting moments in the shop I have finally finished the drill press cart and I have to say that it  looks awesome and even more importantly that that it makes more room and floor space available in that ugly corner of my shop.

SHOPPING LIST

  • Full sheet of 3/4" birch plywood (not baltic birch)
  • A half sheet of 1/4" plywood
  • I purchased some ash hardwood to use for the table top edge banding and I also used the leftovers to make my own drawer pulls that I am very happy about.
  • 3" casters @4
  • 22" full extension drawer slides @5
  • Finished it in polycrylic.

JOINERY

Since this was a shop project I didn't use any fancy joinery for the case I simply used pocket holes and 1-1/4" pocket hole screws to join the case parts together along with glue.

FEATURES

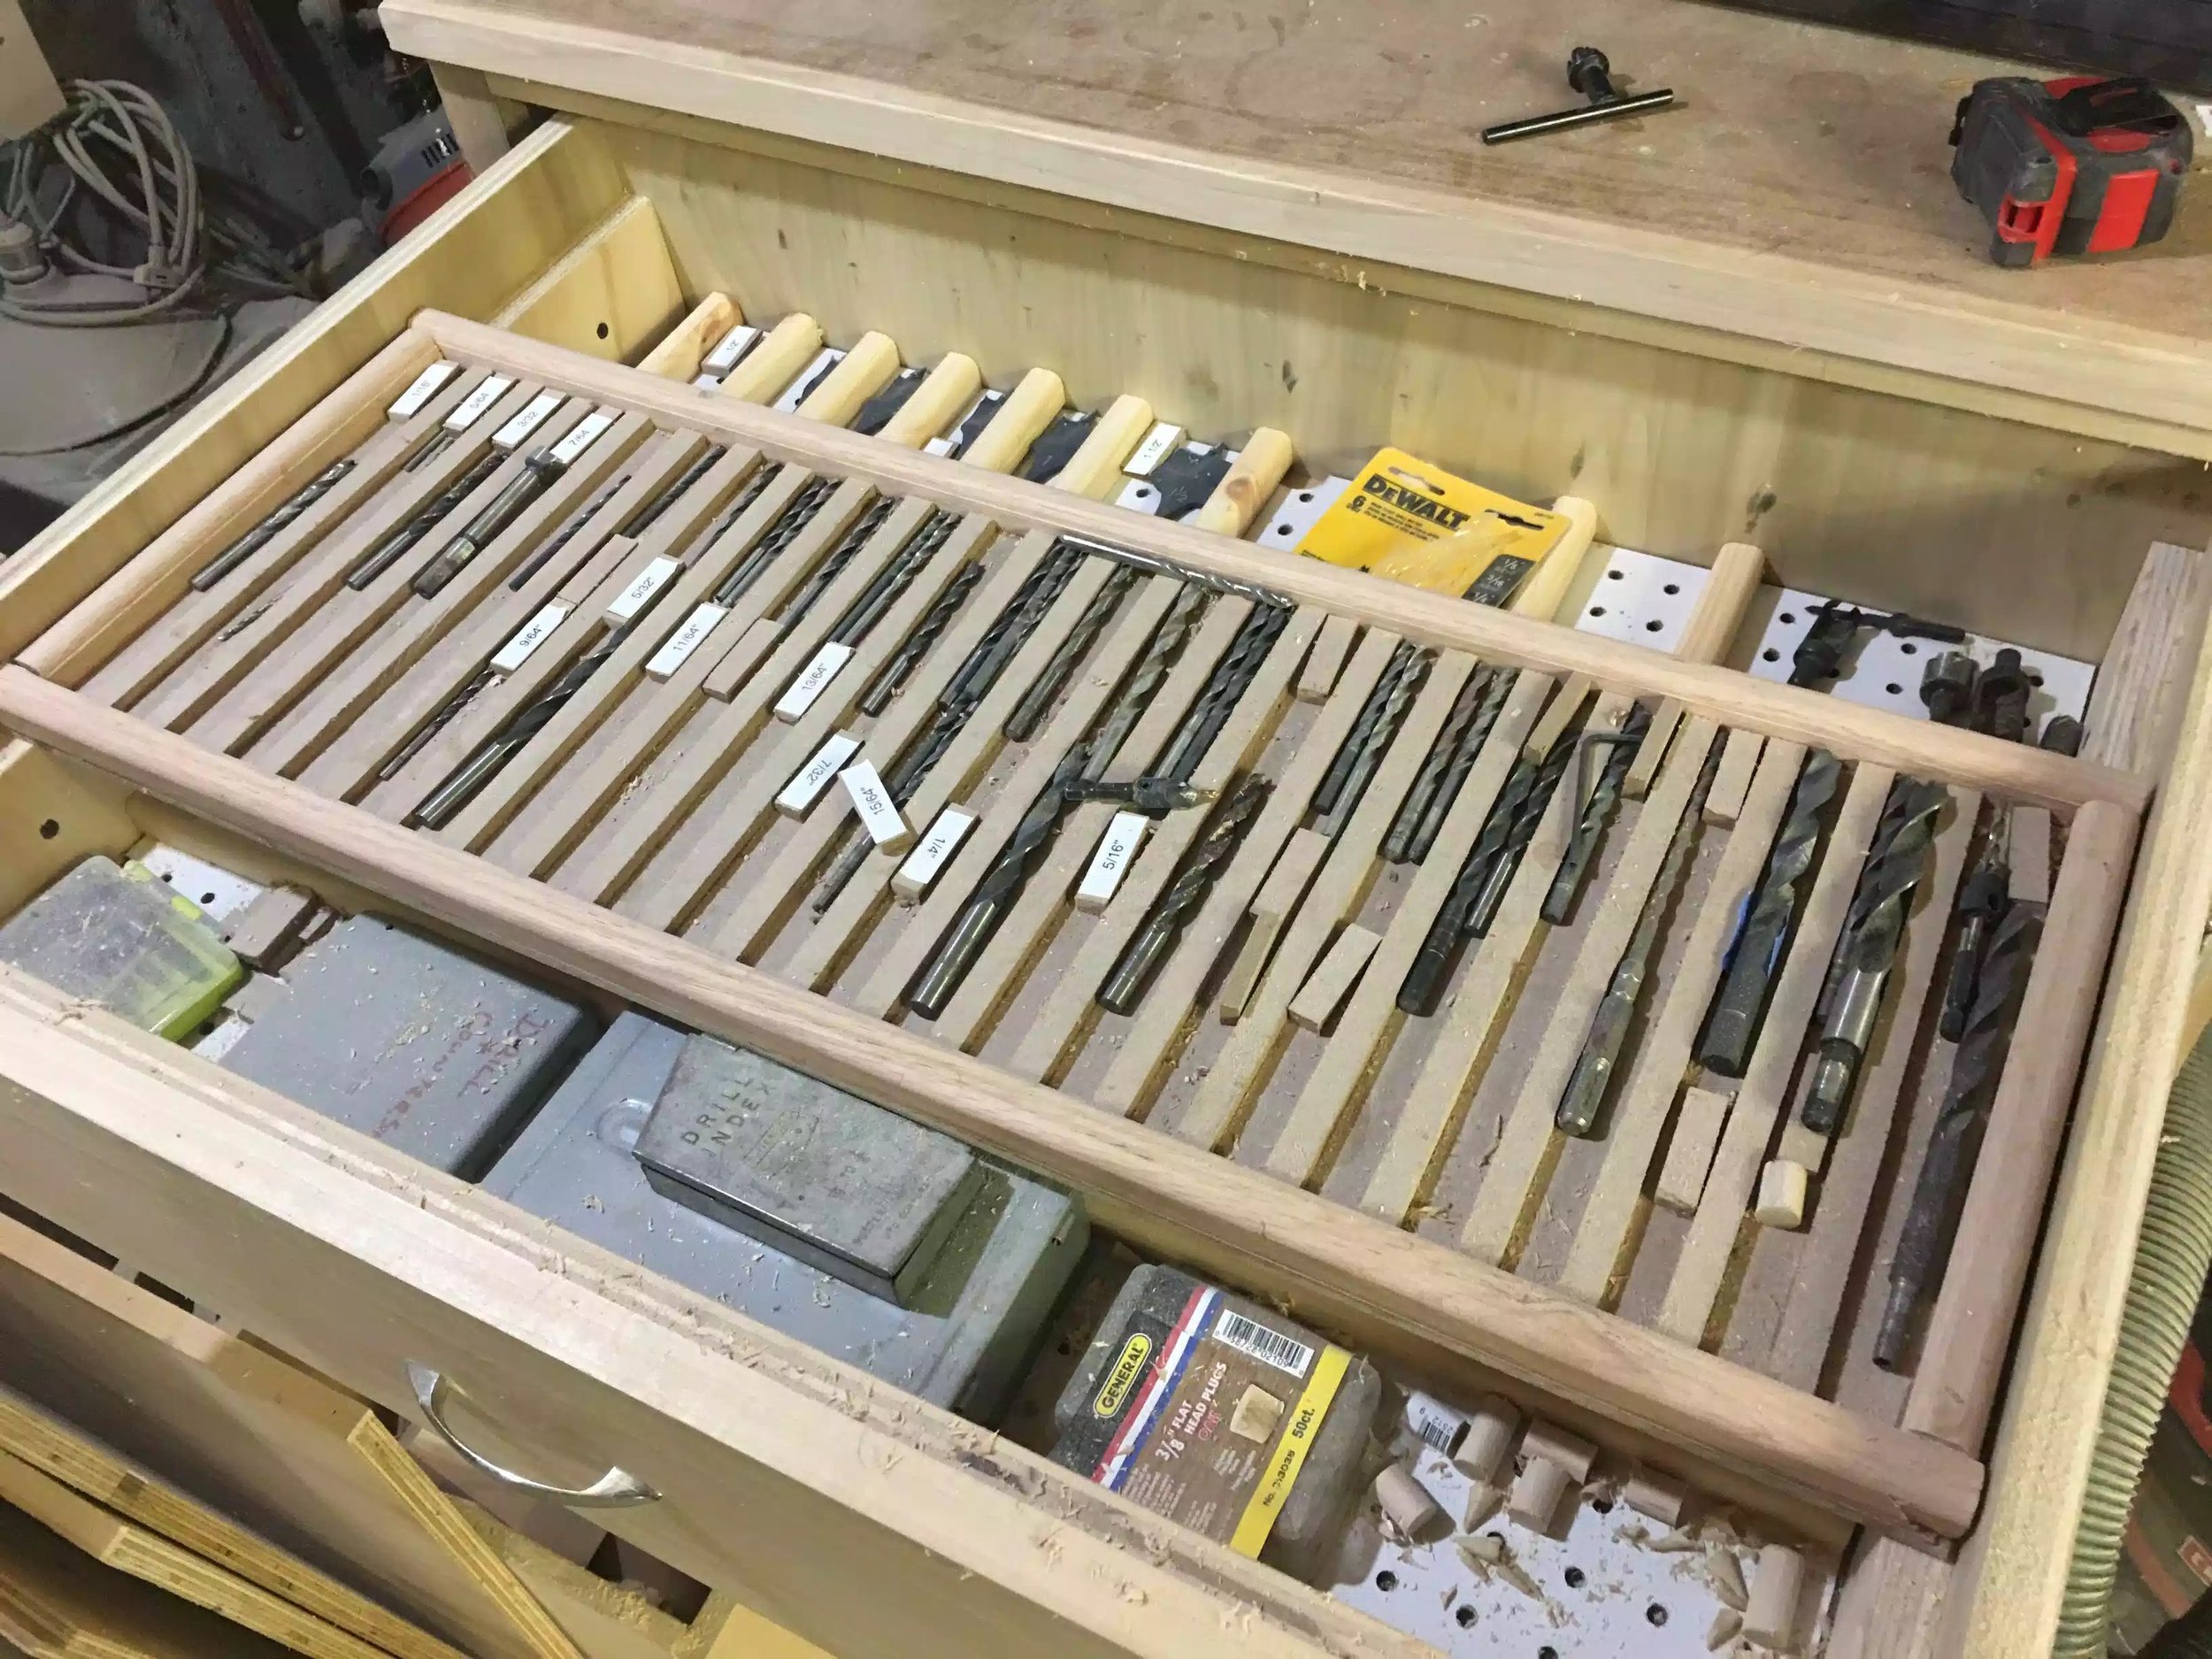
  • 5 full extension drawers which gives me ton of stroage
  • 34" x 22" x 16" 
  • The whole cart is portable which in my opinion is a must in any wood-shop.
  • I made my own drawer pulls out of ash which was a very fun project.

If you would like to make this cart , I have plans available in my shop.

Here is a frontal picture, I have to say that the pulls look great.

Here is a frontal picture, I have to say that the pulls look great.

Here is my drill press in its new home, I also made a the drill press table in a previous project.

Here is my drill press in its new home, I also made a the drill press table in a previous project.

Here she is in her new home.

Here she is in her new home.

image-3121.jpeg
image-3136.jpeg
Lots of storage

Lots of storage

I need to finalise where everything will be stored, but since I have 5 drawers I can put each type of drill bit in its own drawer.

I need to finalise where everything will be stored, but since I have 5 drawers I can put each type of drill bit in its own drawer.

This is what I am moving away from, it worked well for a time but the drill press cart keeps everything I need around the drill press and not a random drawer on the other side of the shop.

This is what I am moving away from, it worked well for a time but the drill press cart keeps everything I need around the drill press and not a random drawer on the other side of the shop.

image-3204.jpeg

Until next time take care.