

This morning I got busy finishing up the cabinet carcass by installing the back. After that I turned my attentions to start making the 5 drawers.
HERE IS WHAT I GOT DONE TODAY
- Attached the back panel
- Started making the drawers
- Cut all parts to final size on table-saw using my crosscut sled.
- Pocket hole time
- Are the drawers square
- Assembly time
- Drawer boxes complete
ATTACHED THE BACK PANEL
To get started with wrapping up the cabinet carcass I needed to rip a 1/4" thick sheet of plywood to its final dimensions, after that was done I lay it on the back of the cabinet and drew a reference line 3/8" for the outside edge so I cut center my screws used to secure the back panel, which adds a lot of rigidity, then added glue to the back of the cabinet carcass and started screwing the panel in place, I also left the panel a little oversize so as that I could flush trim the panel to the cabinet, this is just a little trick I picked up if the cabinet is not 100% square.

Here I am getting ready to rip the back panel to size on my table-saw

Here you can see the over-sized panel screwed and glued to the back of the carcass, I came back with my palm router and using a flush trim bit I finished flushing the back panel to give the back panel that finished look, even if the cabinet is not exactly sqaure.

Back all secured, I usually plug the screw holes but because the back is only 1/4" thick I don't have enough meat to add the plugs without blowing through the back panel, its only a shop
MOVING ONTO THE DRAWERS
I didn't have enough time to complete the drawers but I did make all 5 drawer frames I will need to come back and add the bases to them.
There are 5 drawers in total and there are 3 different sizes to them. The drawer construction is very basic using only pocket holes and glue and securing the bases with glue and brad nails. I found this concept online on I like to Make Stuff.com and it makes for a quick drawer assembly with very little fuss about joinery, perfect for a shop project.
First Up: Cut all the parts to size
Following my cut-list I cut all the drawer parts to size on the table-saw, then using my crosscut sled I cut them to final size

Here is my table-saw cross-cut sled with a stop block set-up on the fence.

Here is the front of the cross-cut sled

Here are all the drawer parts cut to size (accept the bases)

Another view of the drawer parts cut to size
POCKET HOLE TIME
Now that all my drawers front,backs & sides are all cut I needed to add pocket holes to join the box together, I only placed pocket holes on the front and back of the drawer as they would be covered with drawer false fronts later, these fronts and back would be screwed into the sides of the drawer.

Here is the Kreg Pocket hole jig in action, I didnt bother setting up my dust collection on this

Here is all the pocket holed parts completed.
IS EVERYTHING SQUARE??
I am almost ready to start gluing up and assembling the drawer frames but before I do I need to make sure that everything is at right angles to each other or square, so to do this I do two things I take diagonal measurements and if they are the same then I know they're square, I also use a machinest square in the corners and make sure they are also at right angles.

I use the machinist at the bottom and top of all corners, if I don't see daylight I know they are good, so I am looking good here

Top of the corner is also looking good, off we go to assembly!!!
DRAWER ASSEMBLY TIME
Since there are no fancy joinery techniques being used on this assembly I basically make the drawer my placing the front / back pieces in between each of the sides, use some clamps to tighten things up after applying glue to the edges of the front / back of the darwer and screw the 1-1/4" pocket hole screws into the screw hole I had already prepared.

A clamp on the front and back of the drawer is enough to keep everything alighned.

Sometimes I use a little scrap block and hammer if the pieces are out of alignment just a little

The pocket hole screws use a special sqaure bit that you put into your driver and then drive the screws home.
DRAWER BOXES ALL COMPLETE
The drawer boxes are all complete I just need to add the bases to them, below you can see all five drawers assembled and I will return to them when I get a chance.
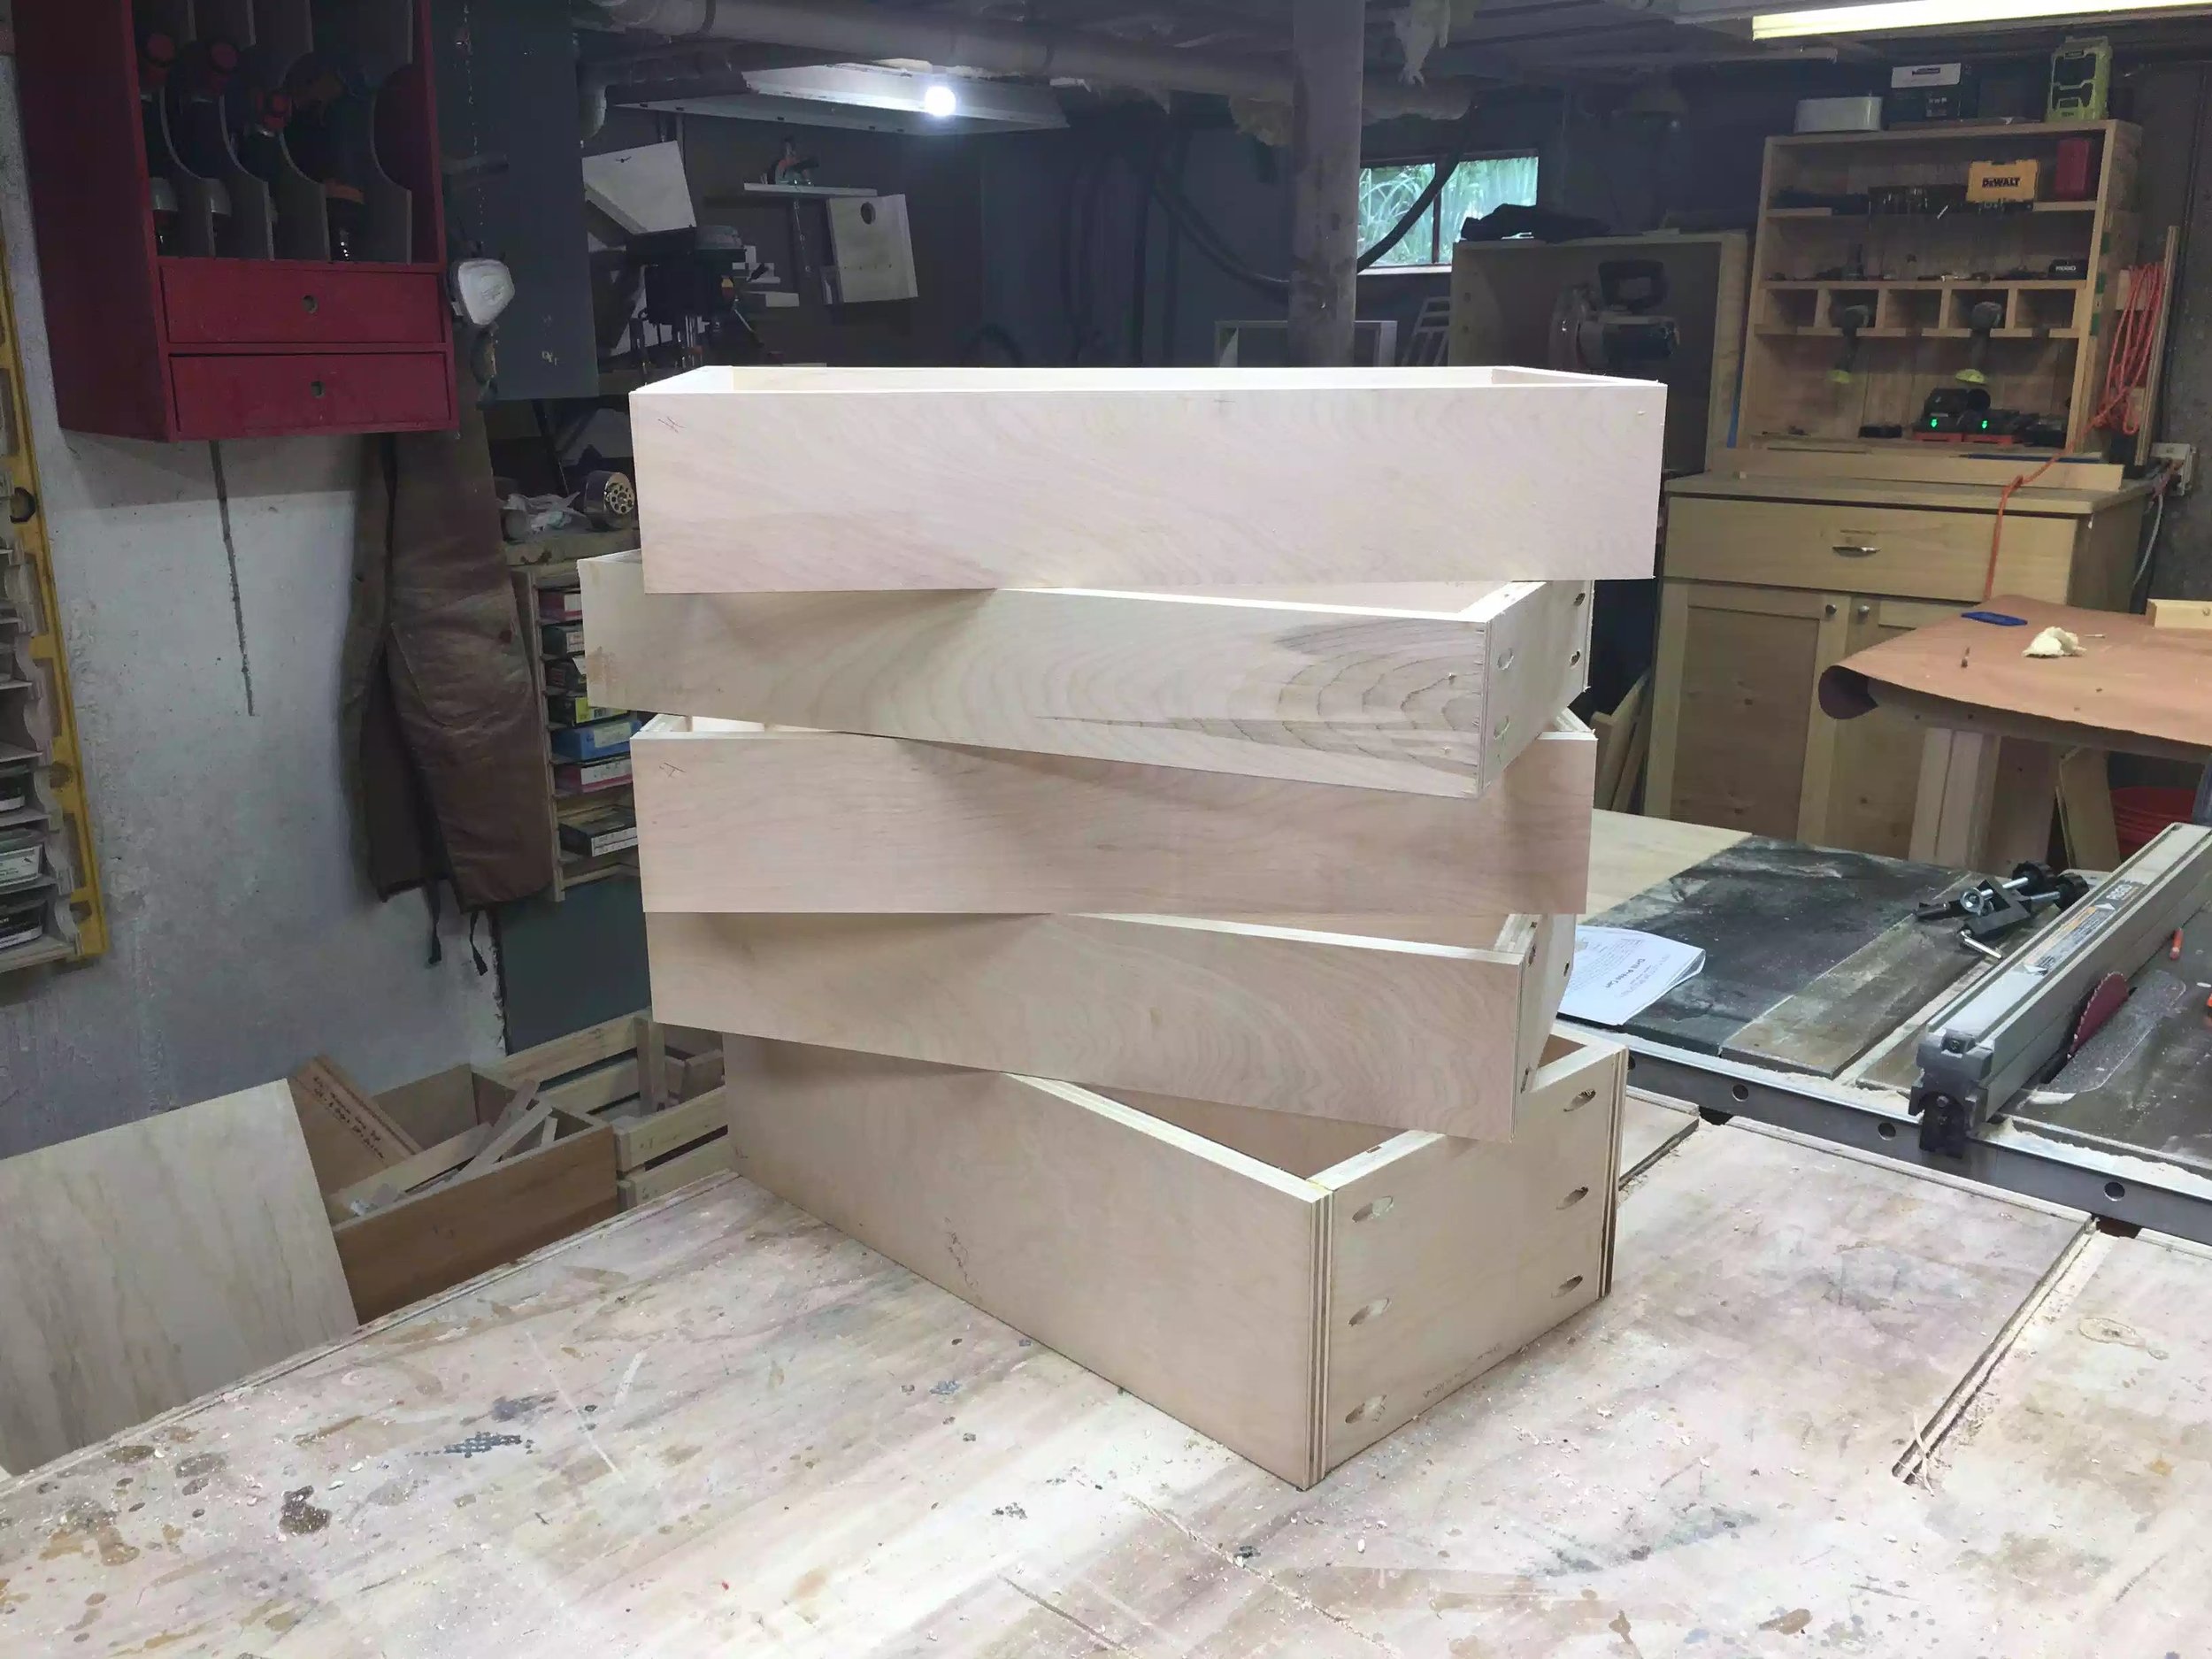
This birch plywood is nice I really like the color of the wood laminate, but I will be honest I bought the expensive plywood although its not cabinet grade (its a grade b) I found a lot of voids in the plywood.

I am not a hug fan of pocket holes because of how they look, but I will be hiding these with false fronts, the jig has its pros & cons for sure.
NEXT
- Put the drawer bottoms on
- Install drawer slides
- Make top
- Install casters
- Apply finish