After a week of fleeting moments in the shop I have finally finished the drill press cart and I have to say that it looks awesome and even more importantly that that it makes more room and floor space available in that ugly corner of my shop.
SHOPPING LIST
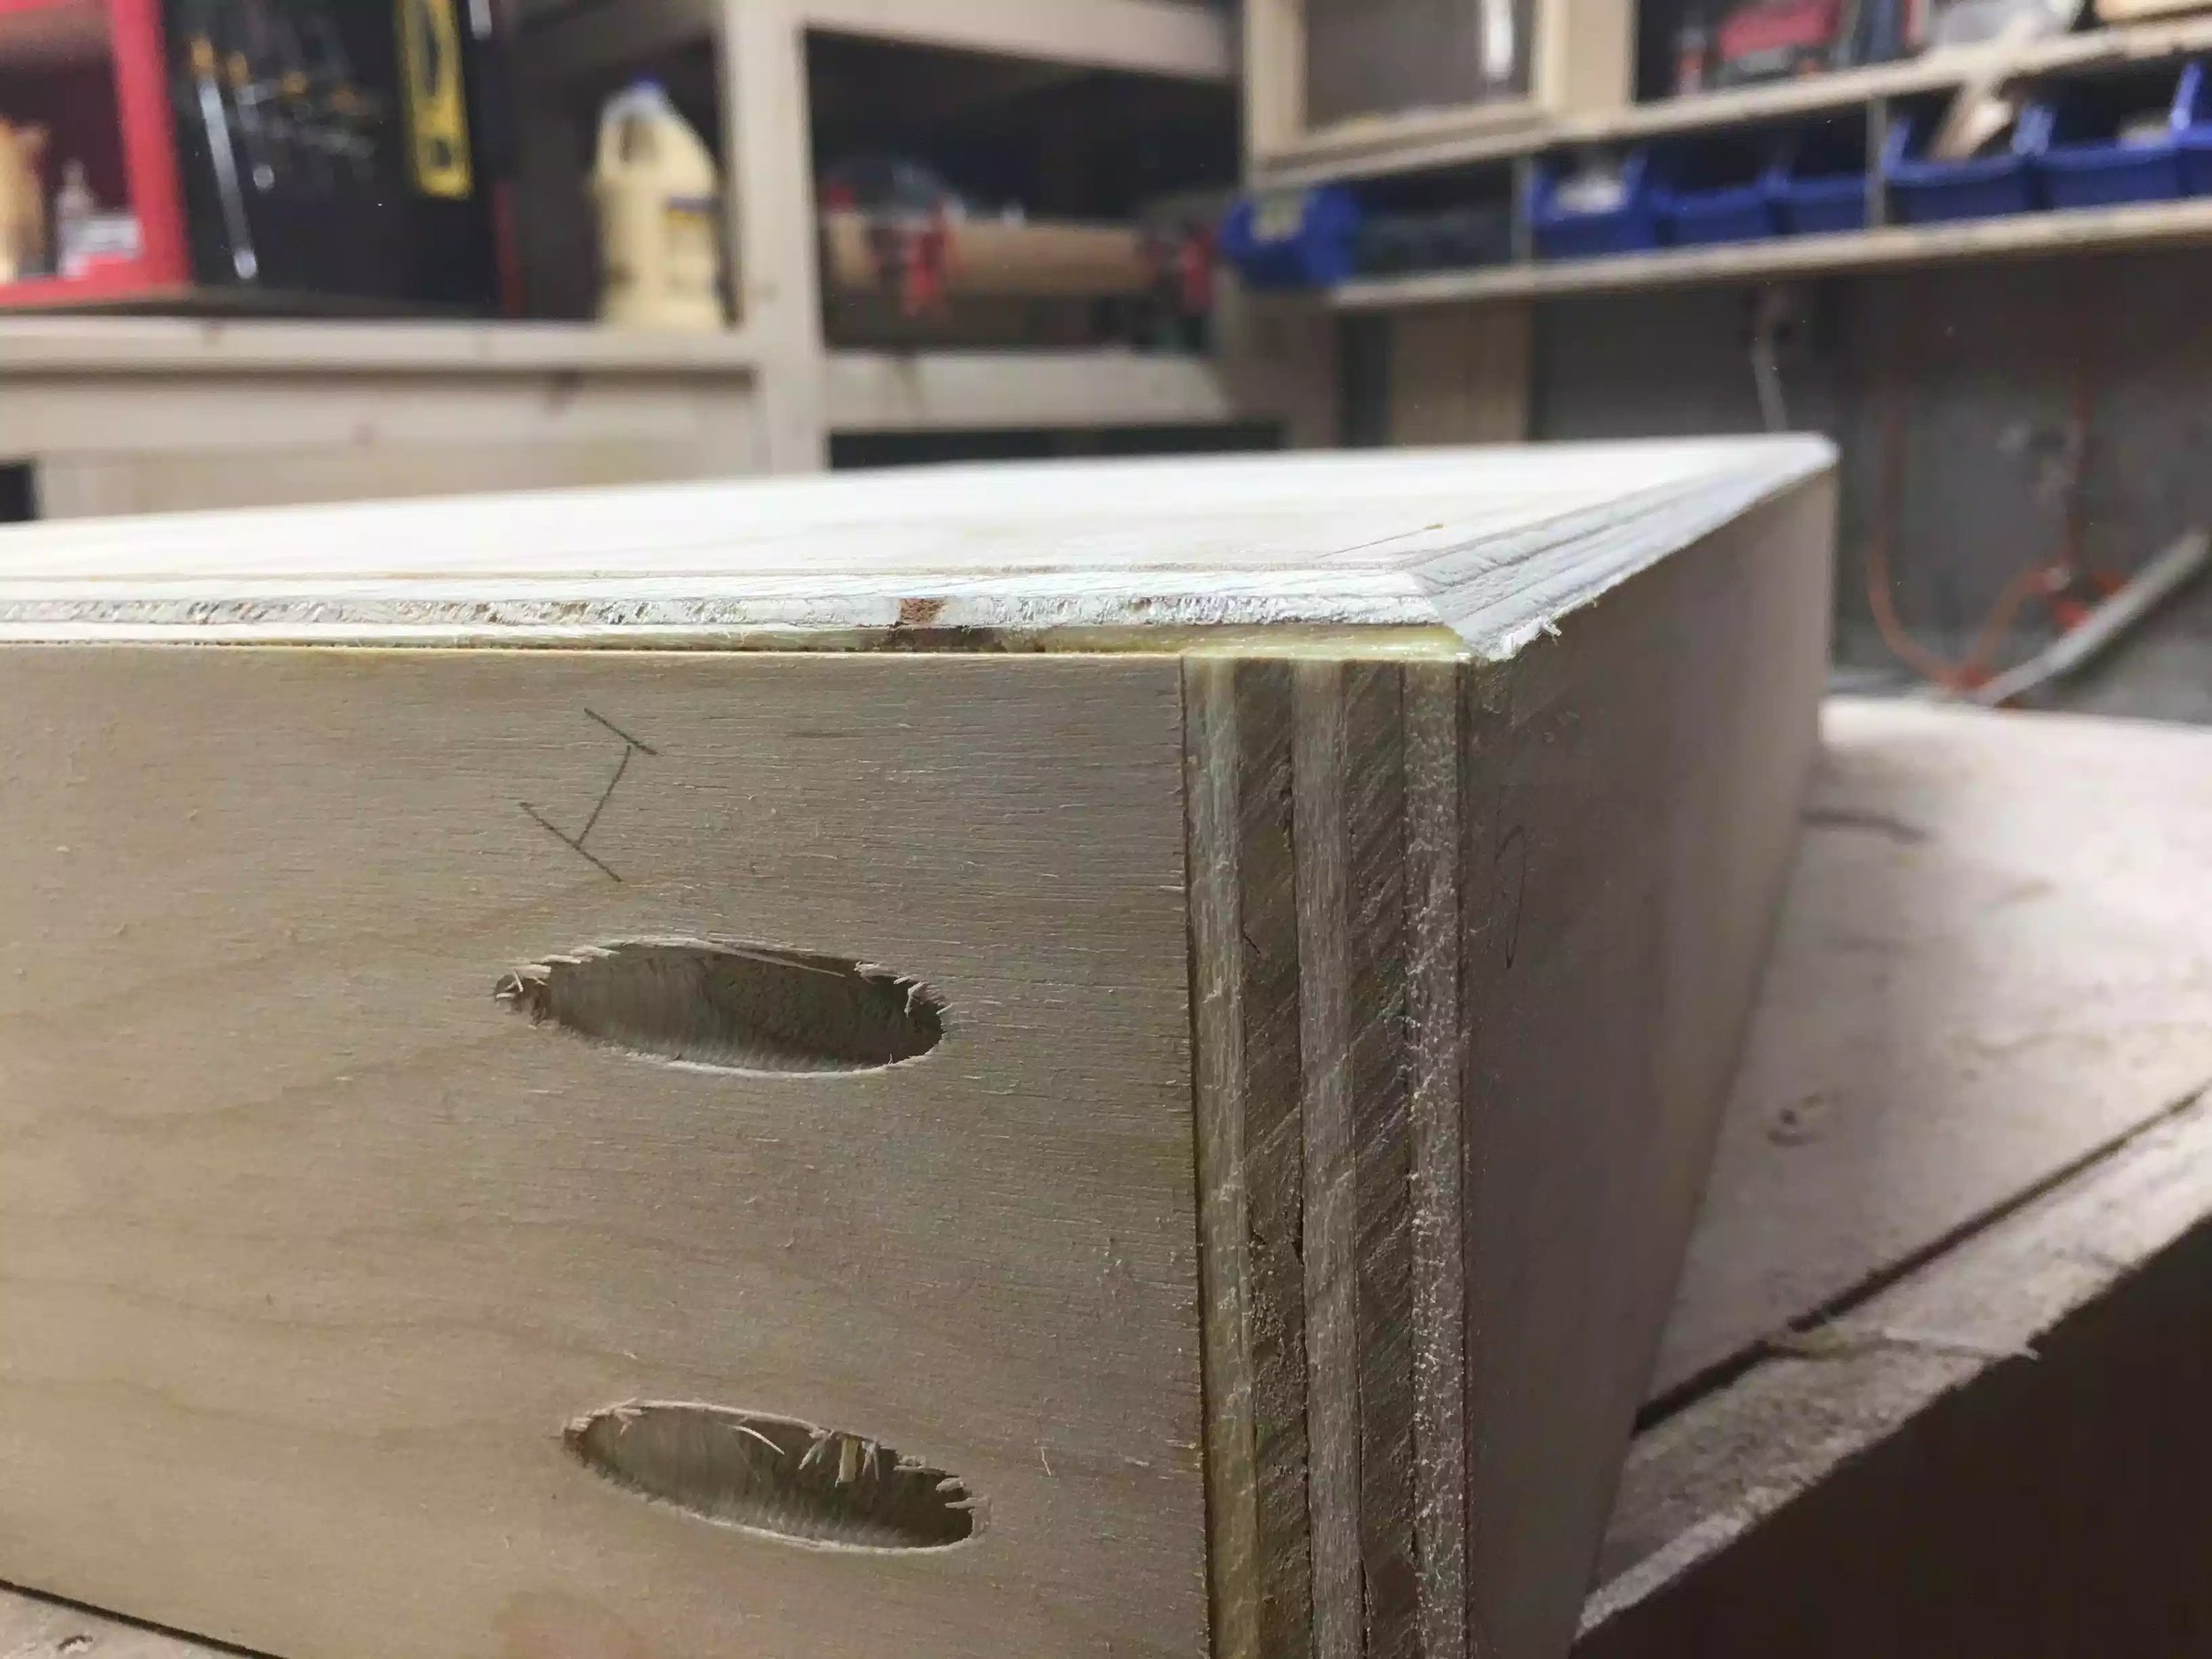
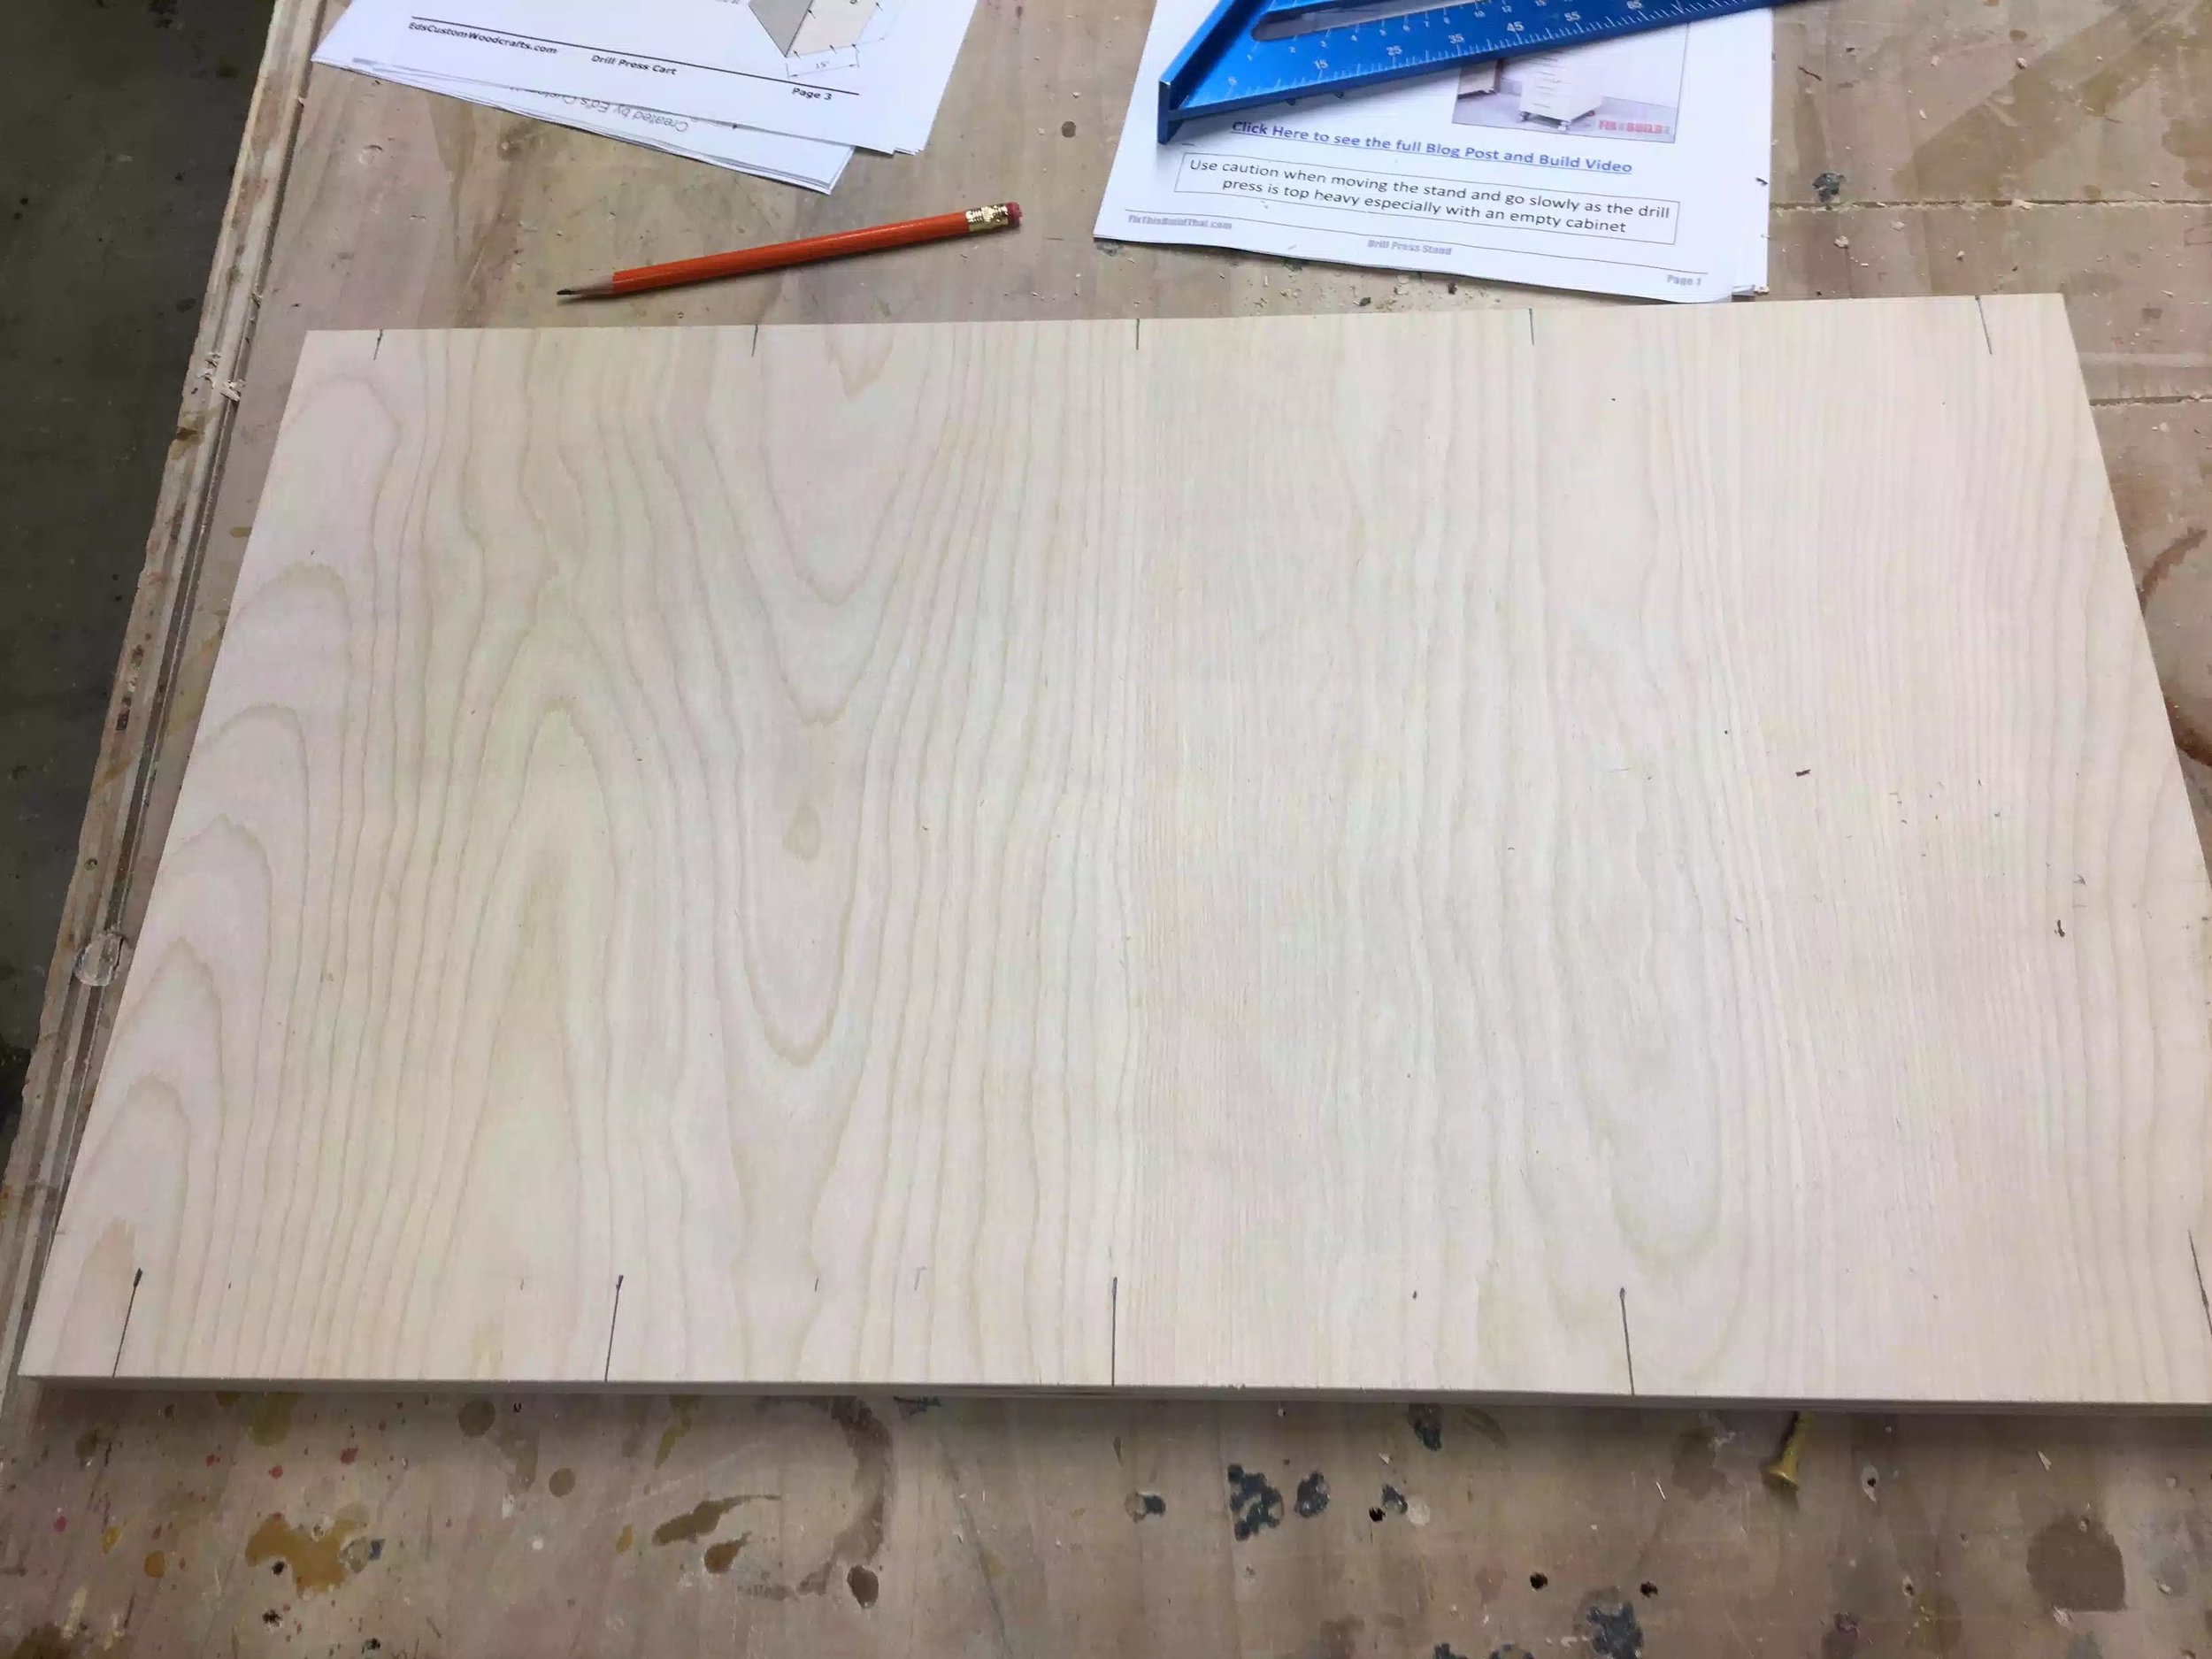
- Full sheet of 3/4" birch plywood (not baltic birch)
- A half sheet of 1/4" plywood
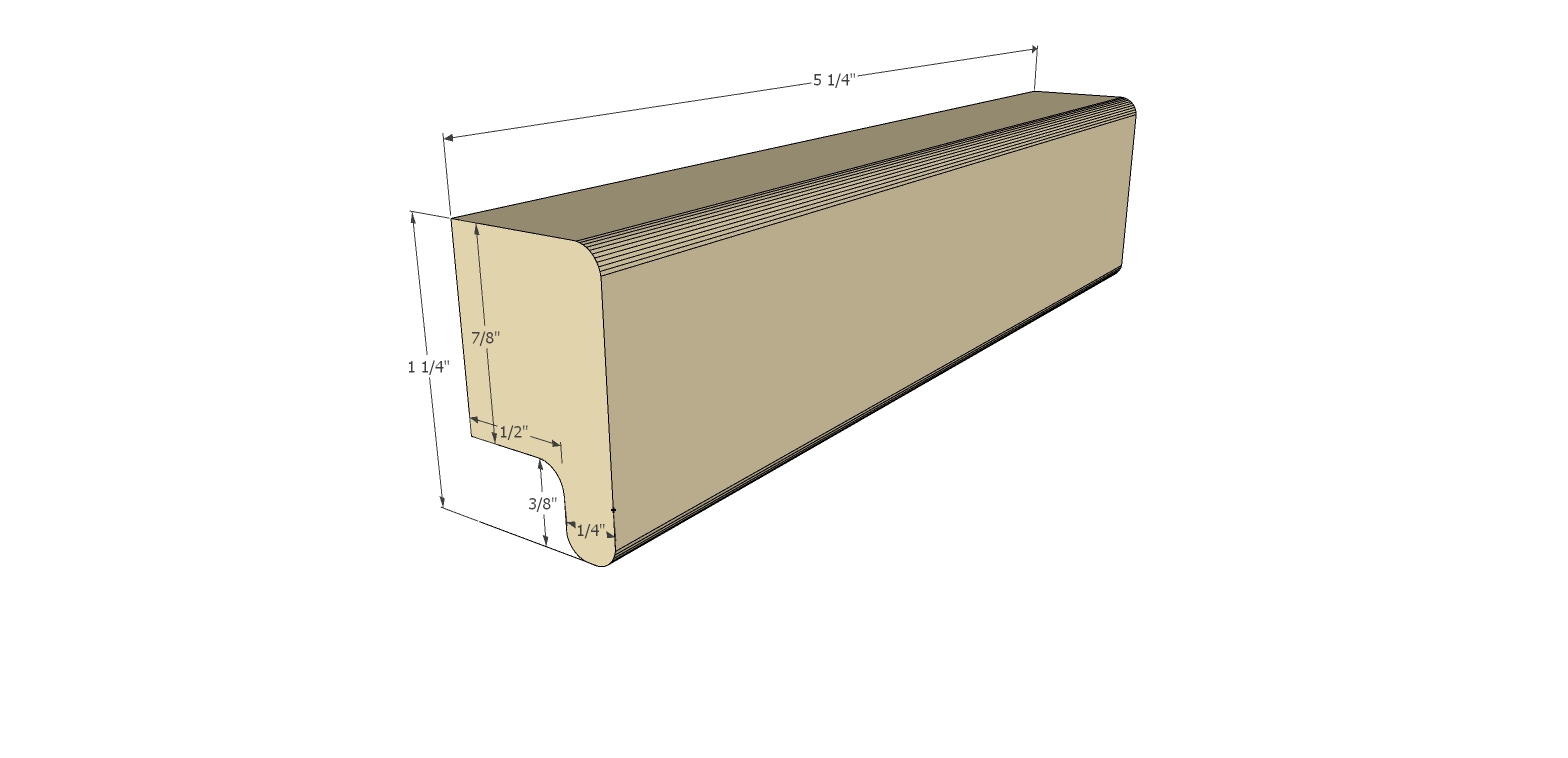
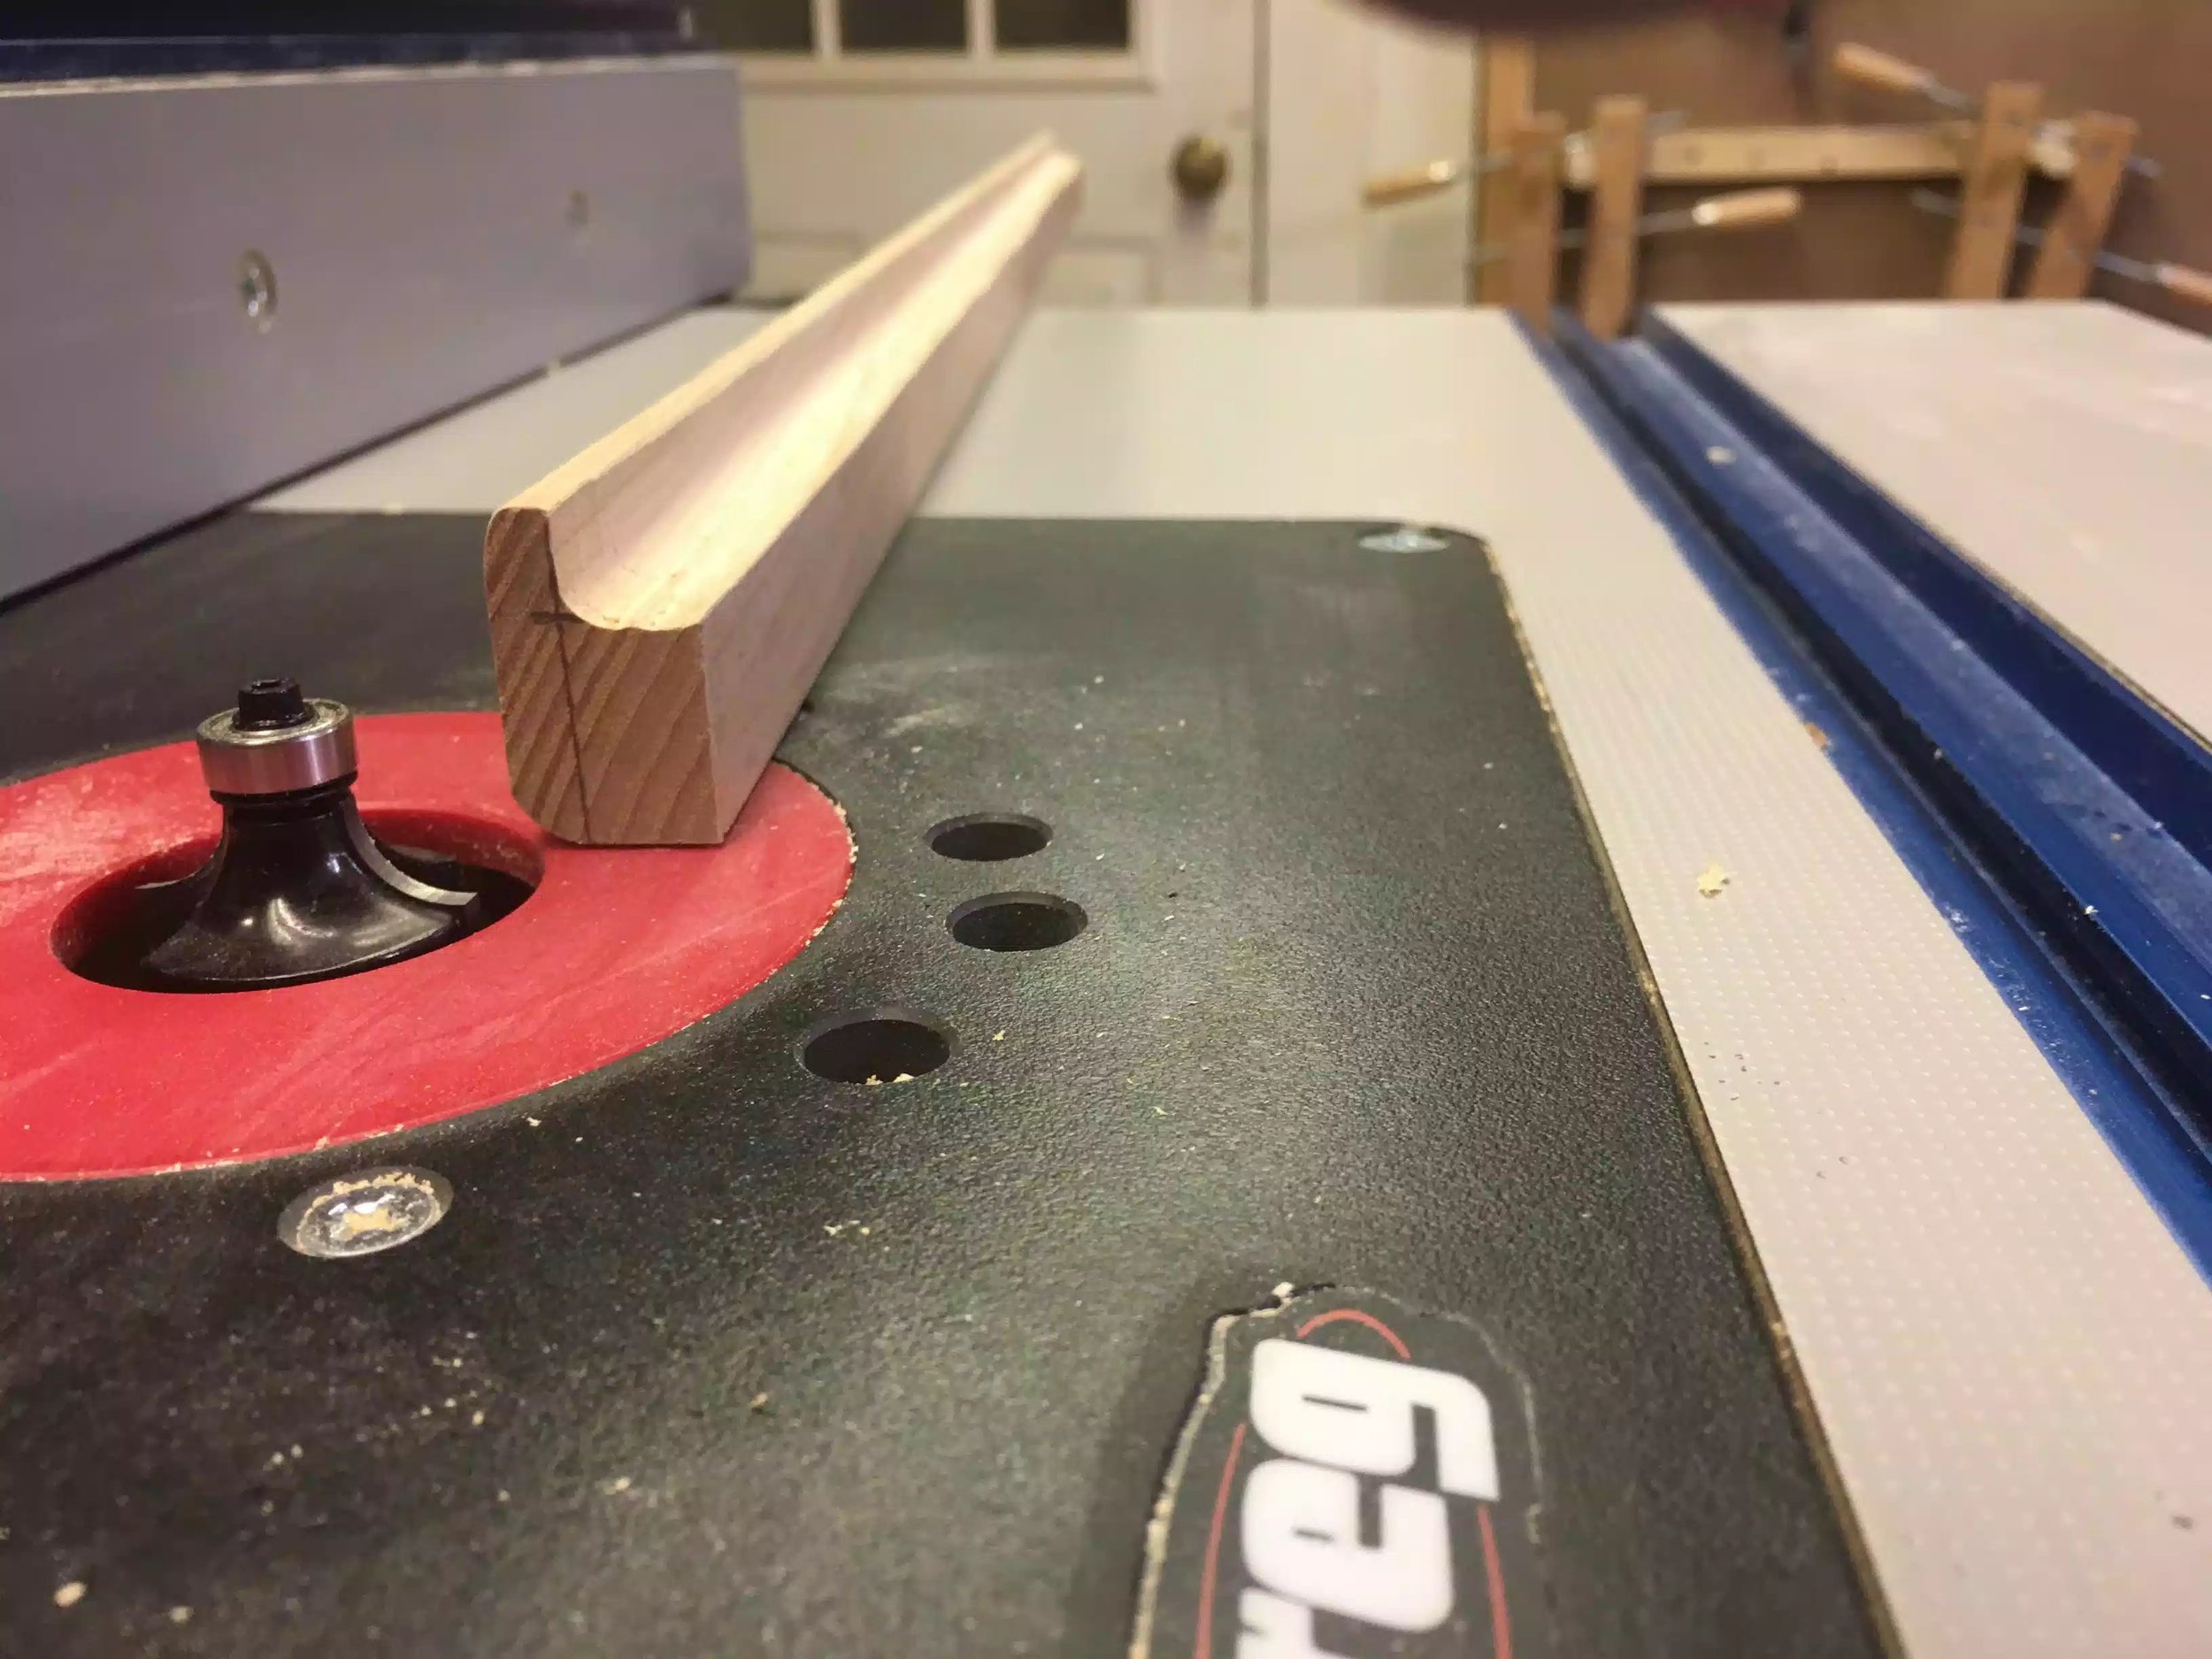
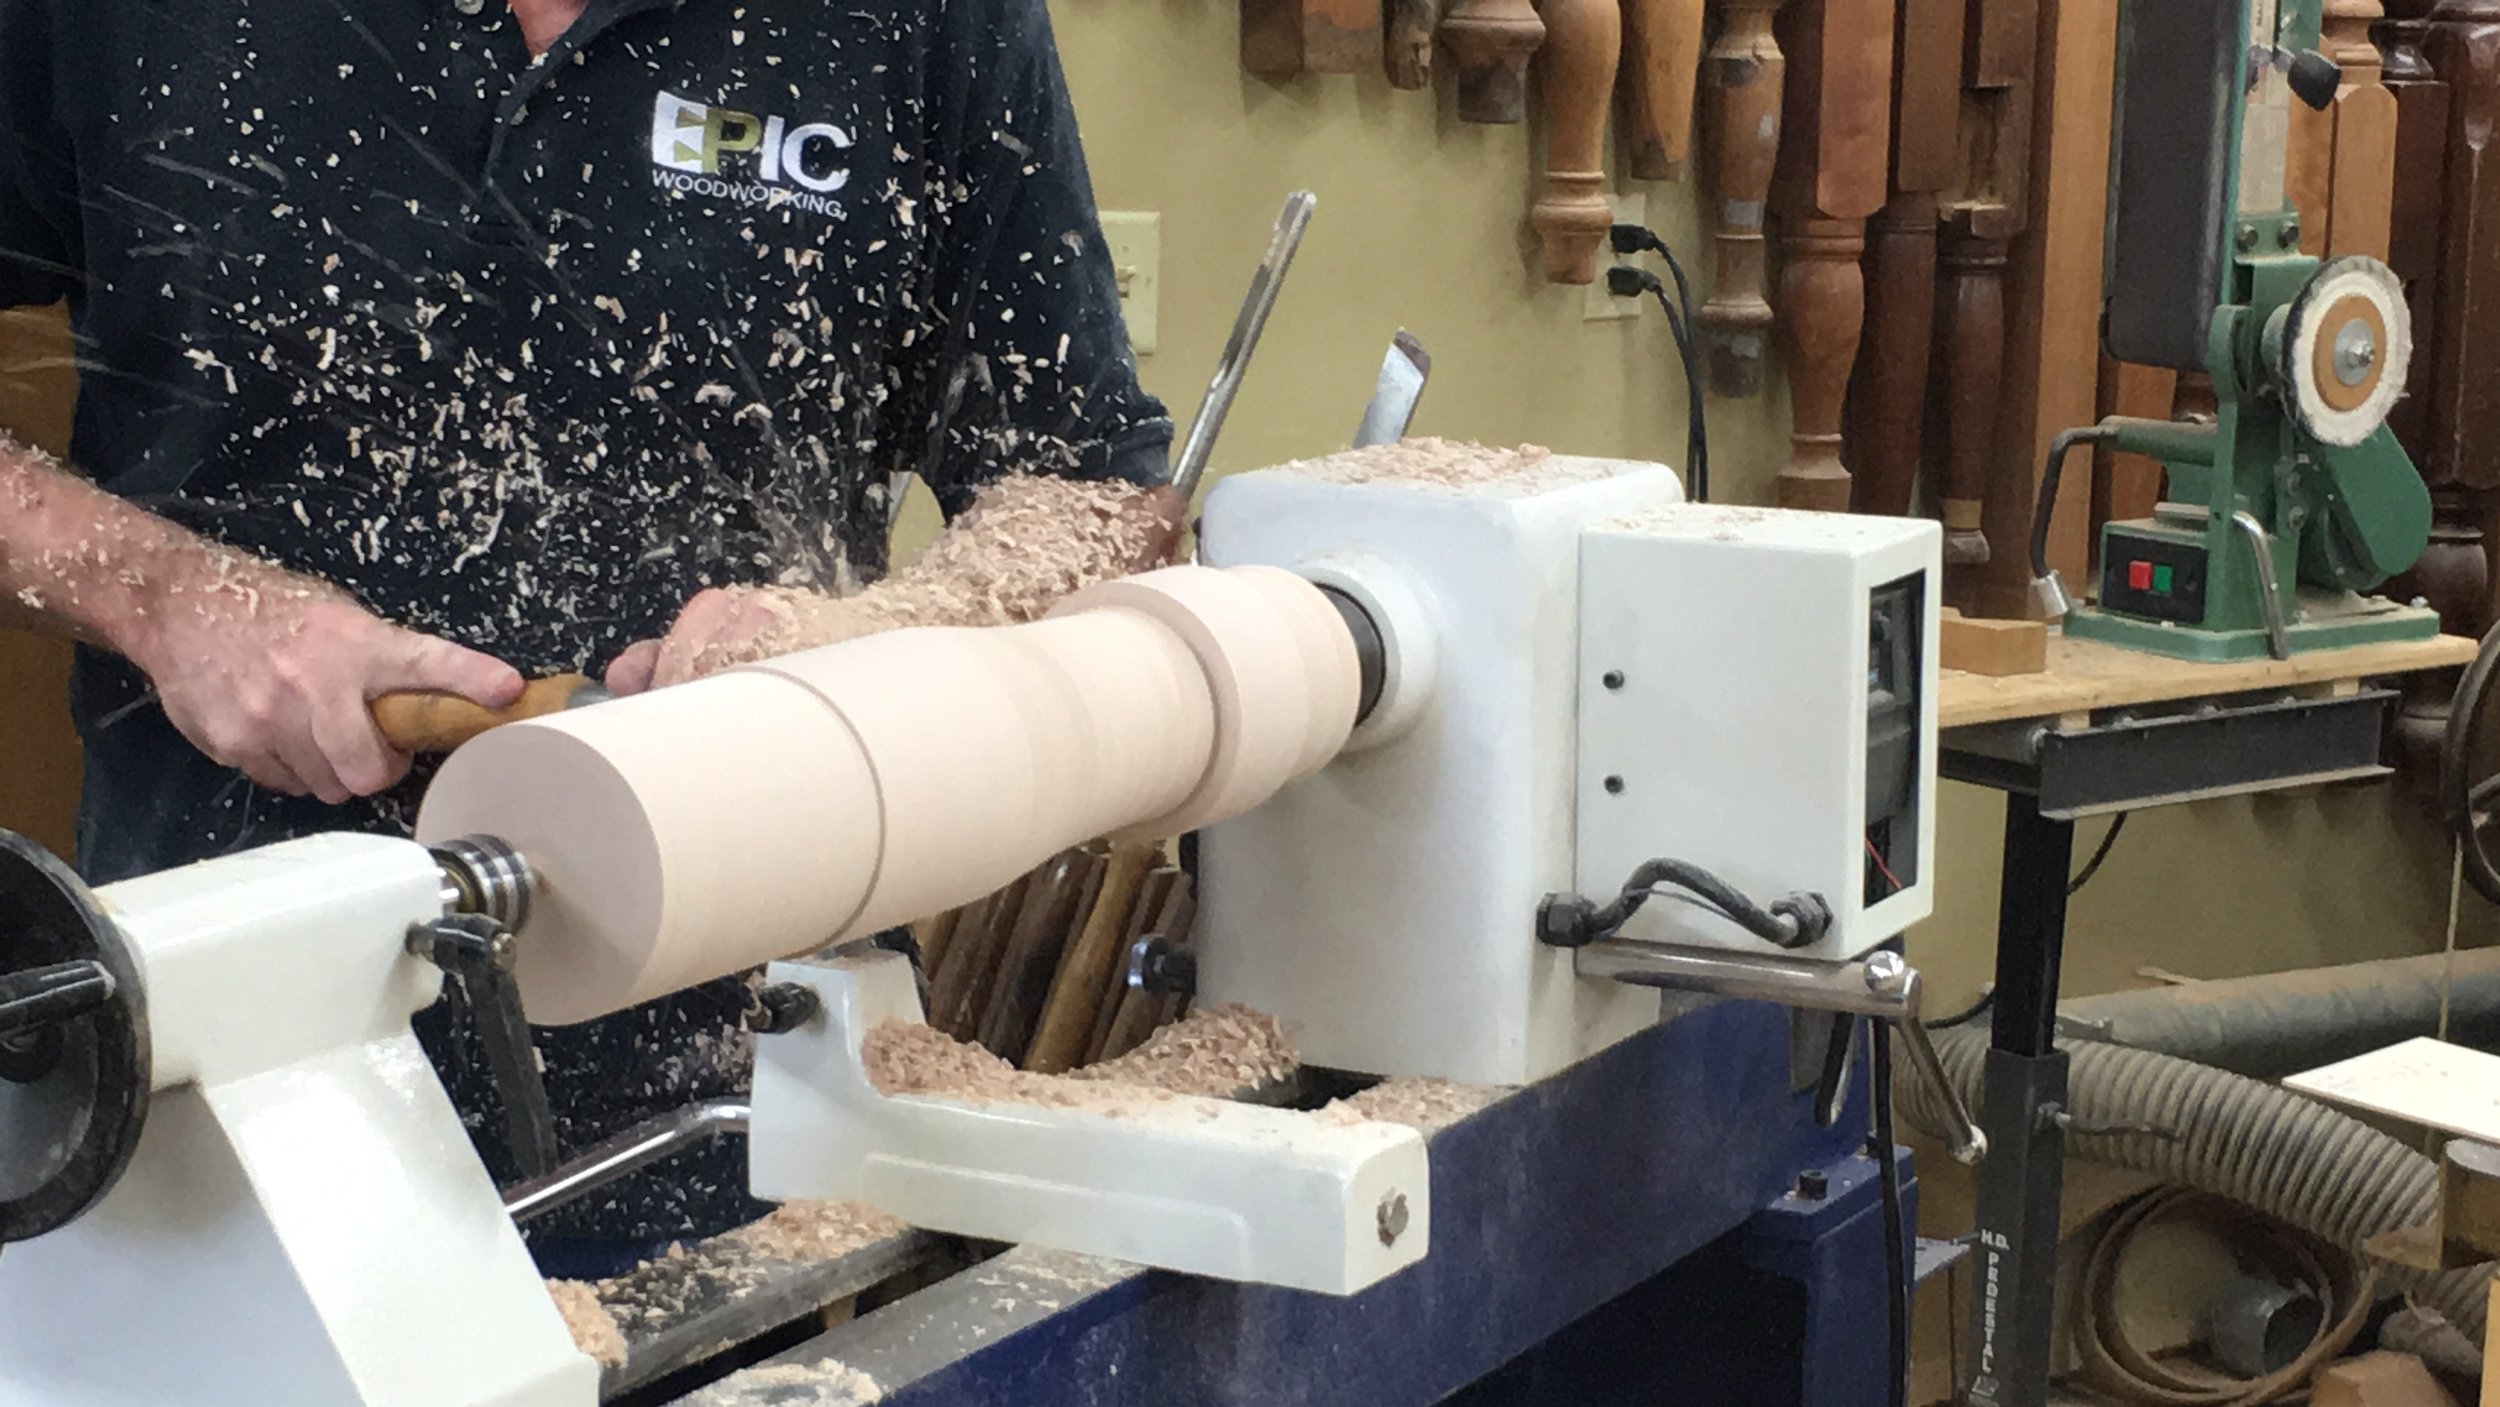
- I purchased some ash hardwood to use for the table top edge banding and I also used the leftovers to make my own drawer pulls that I am very happy about.
- 3" casters @4
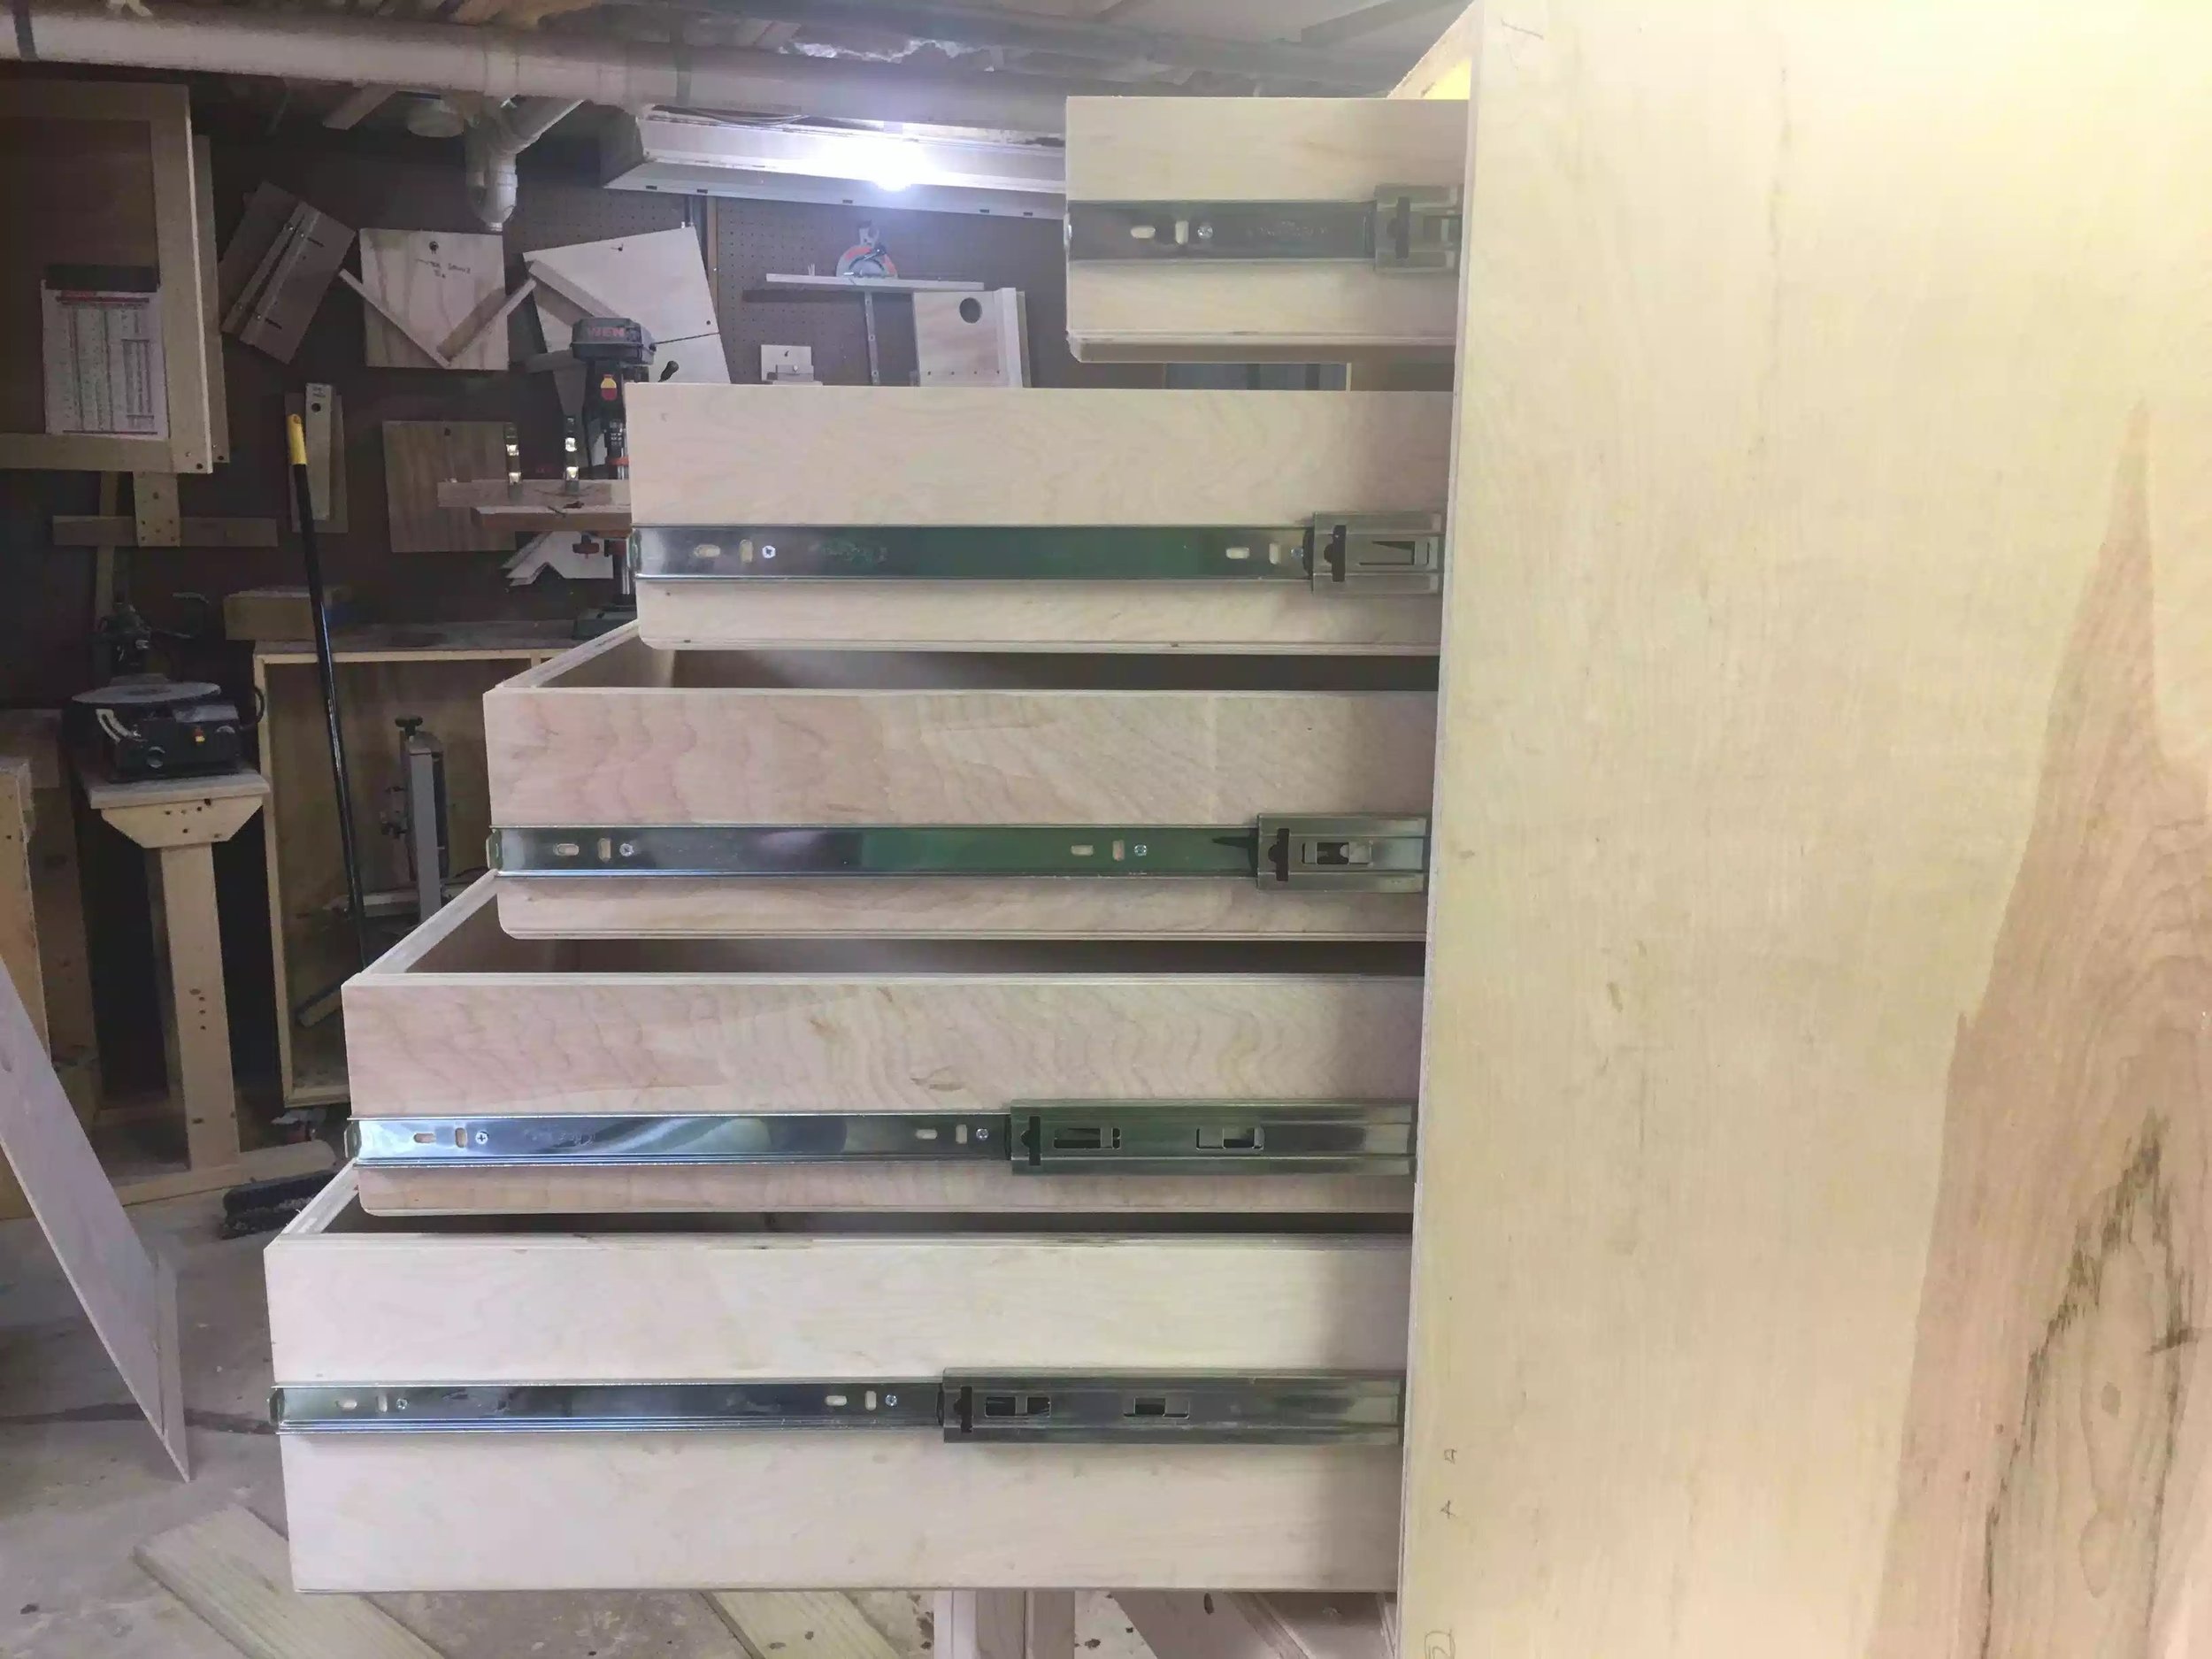
- 22" full extension drawer slides @5
- Finished it in polycrylic.
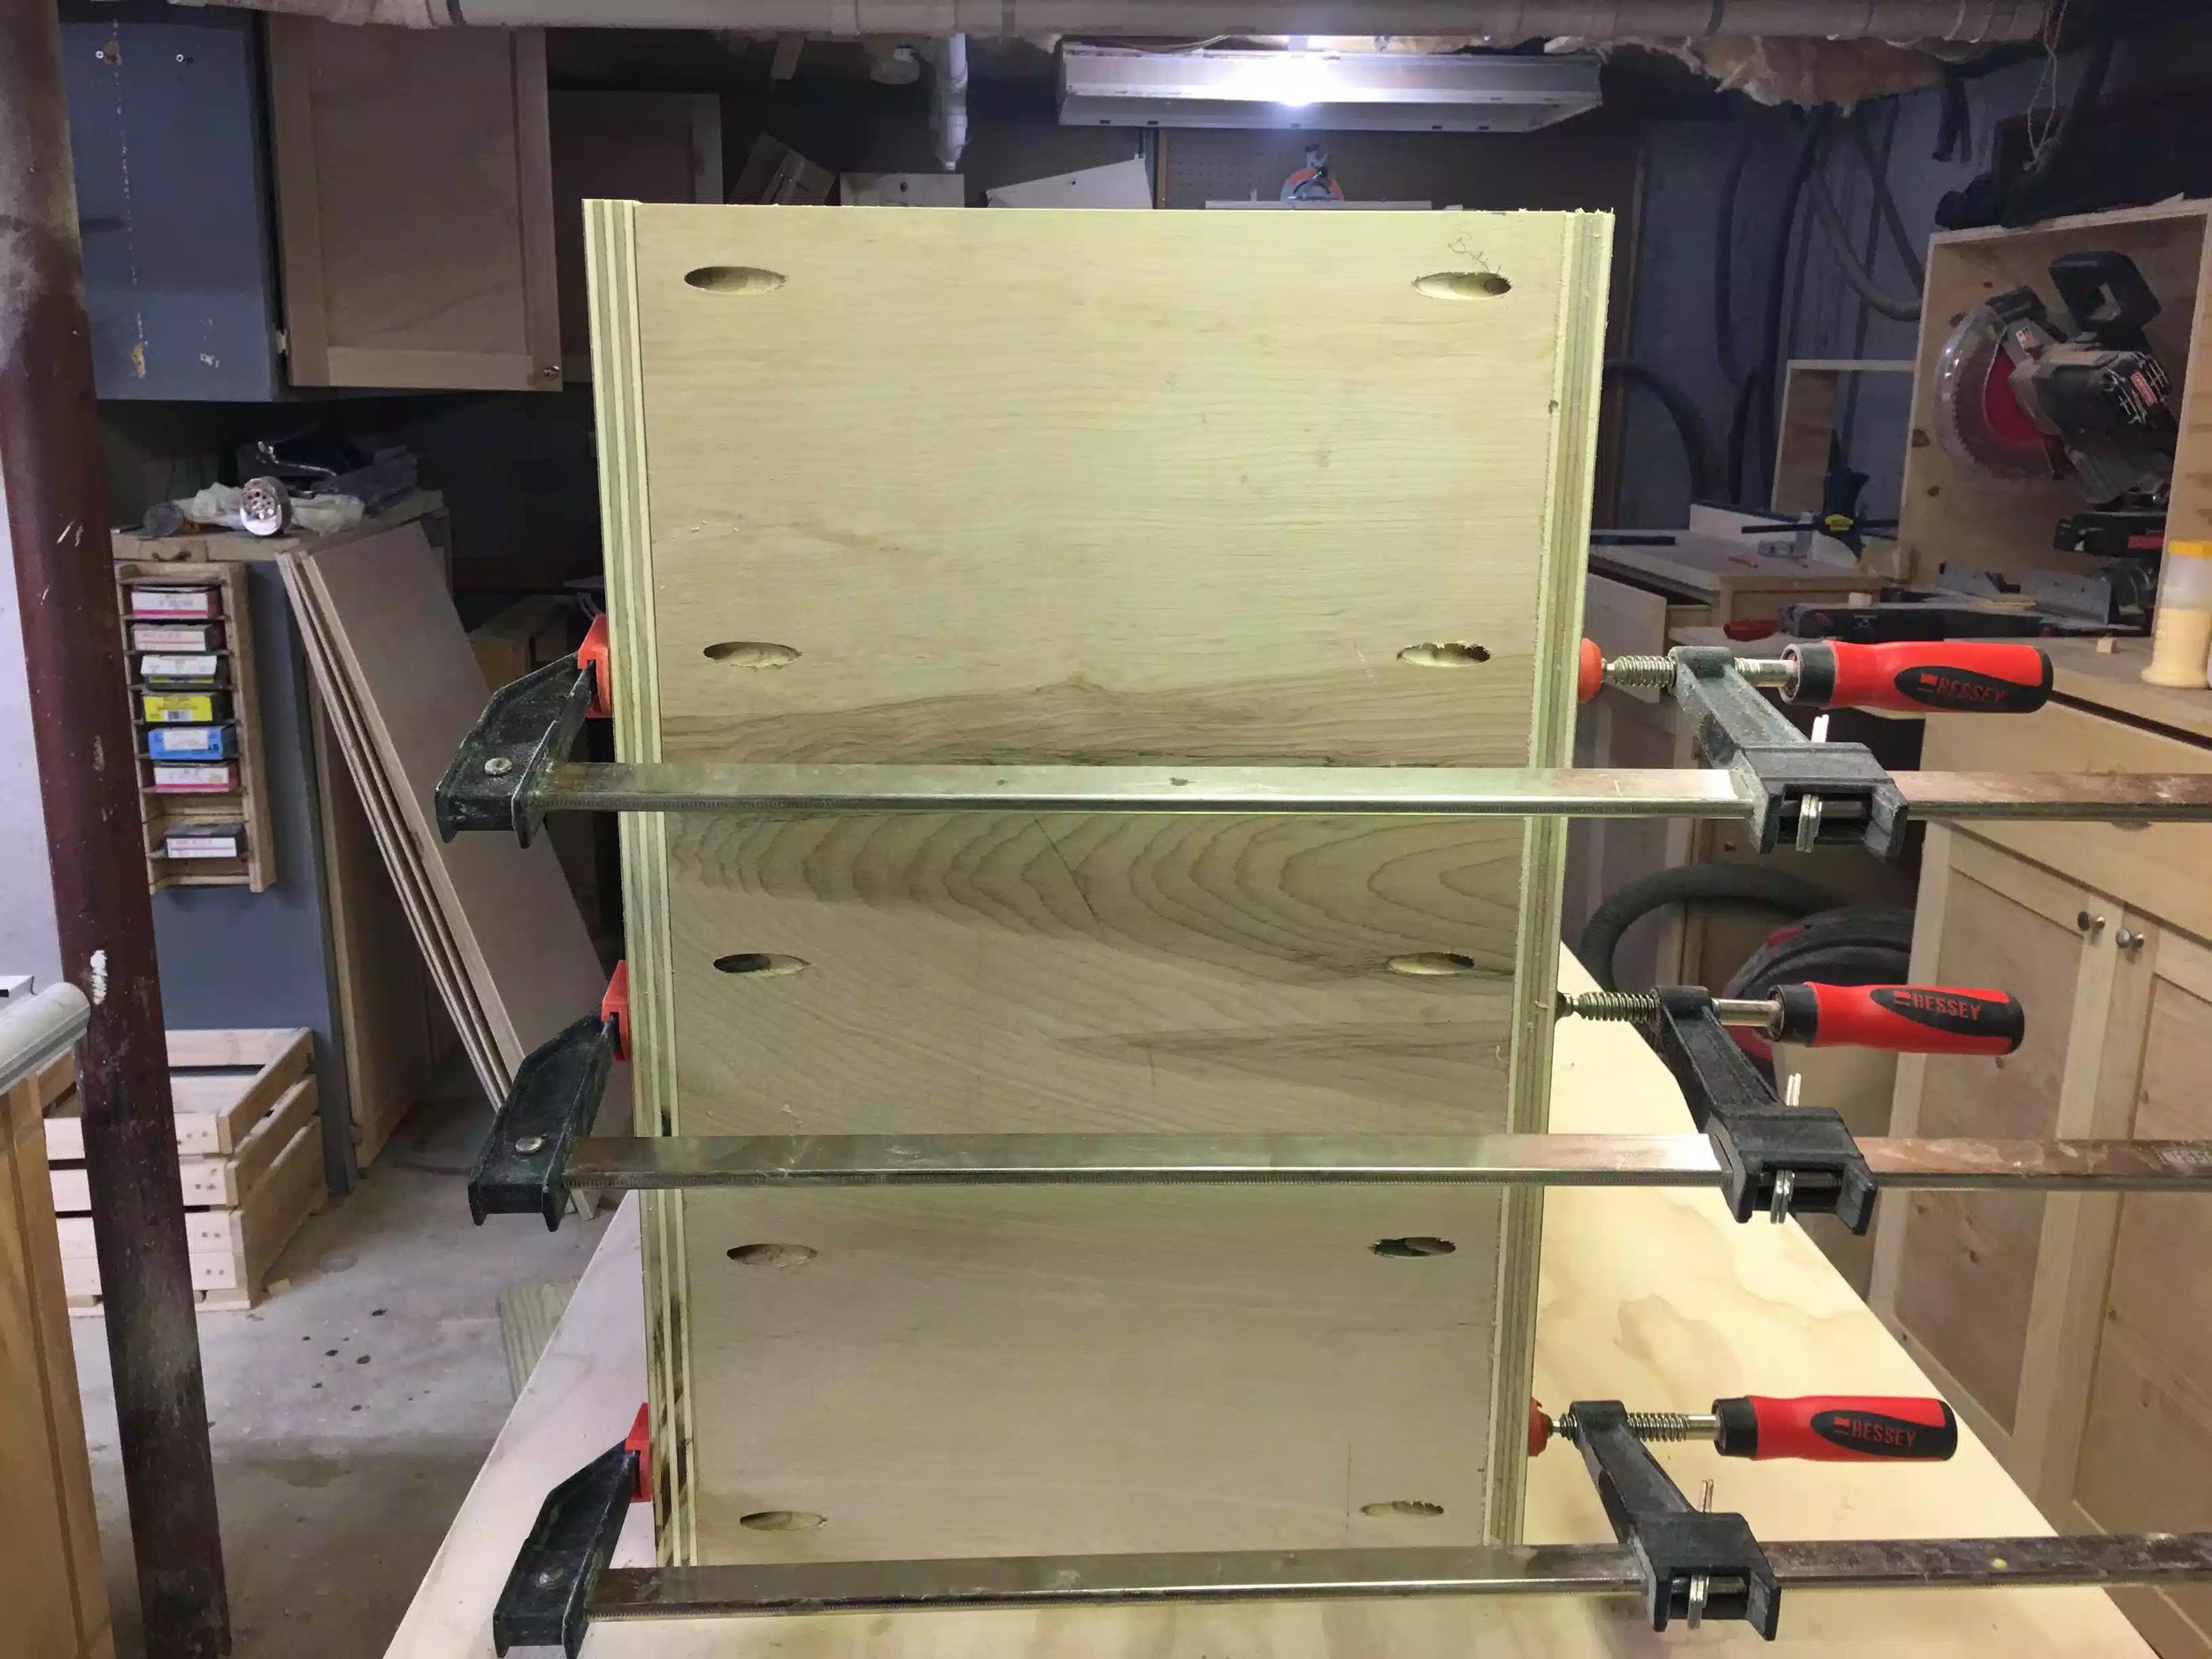
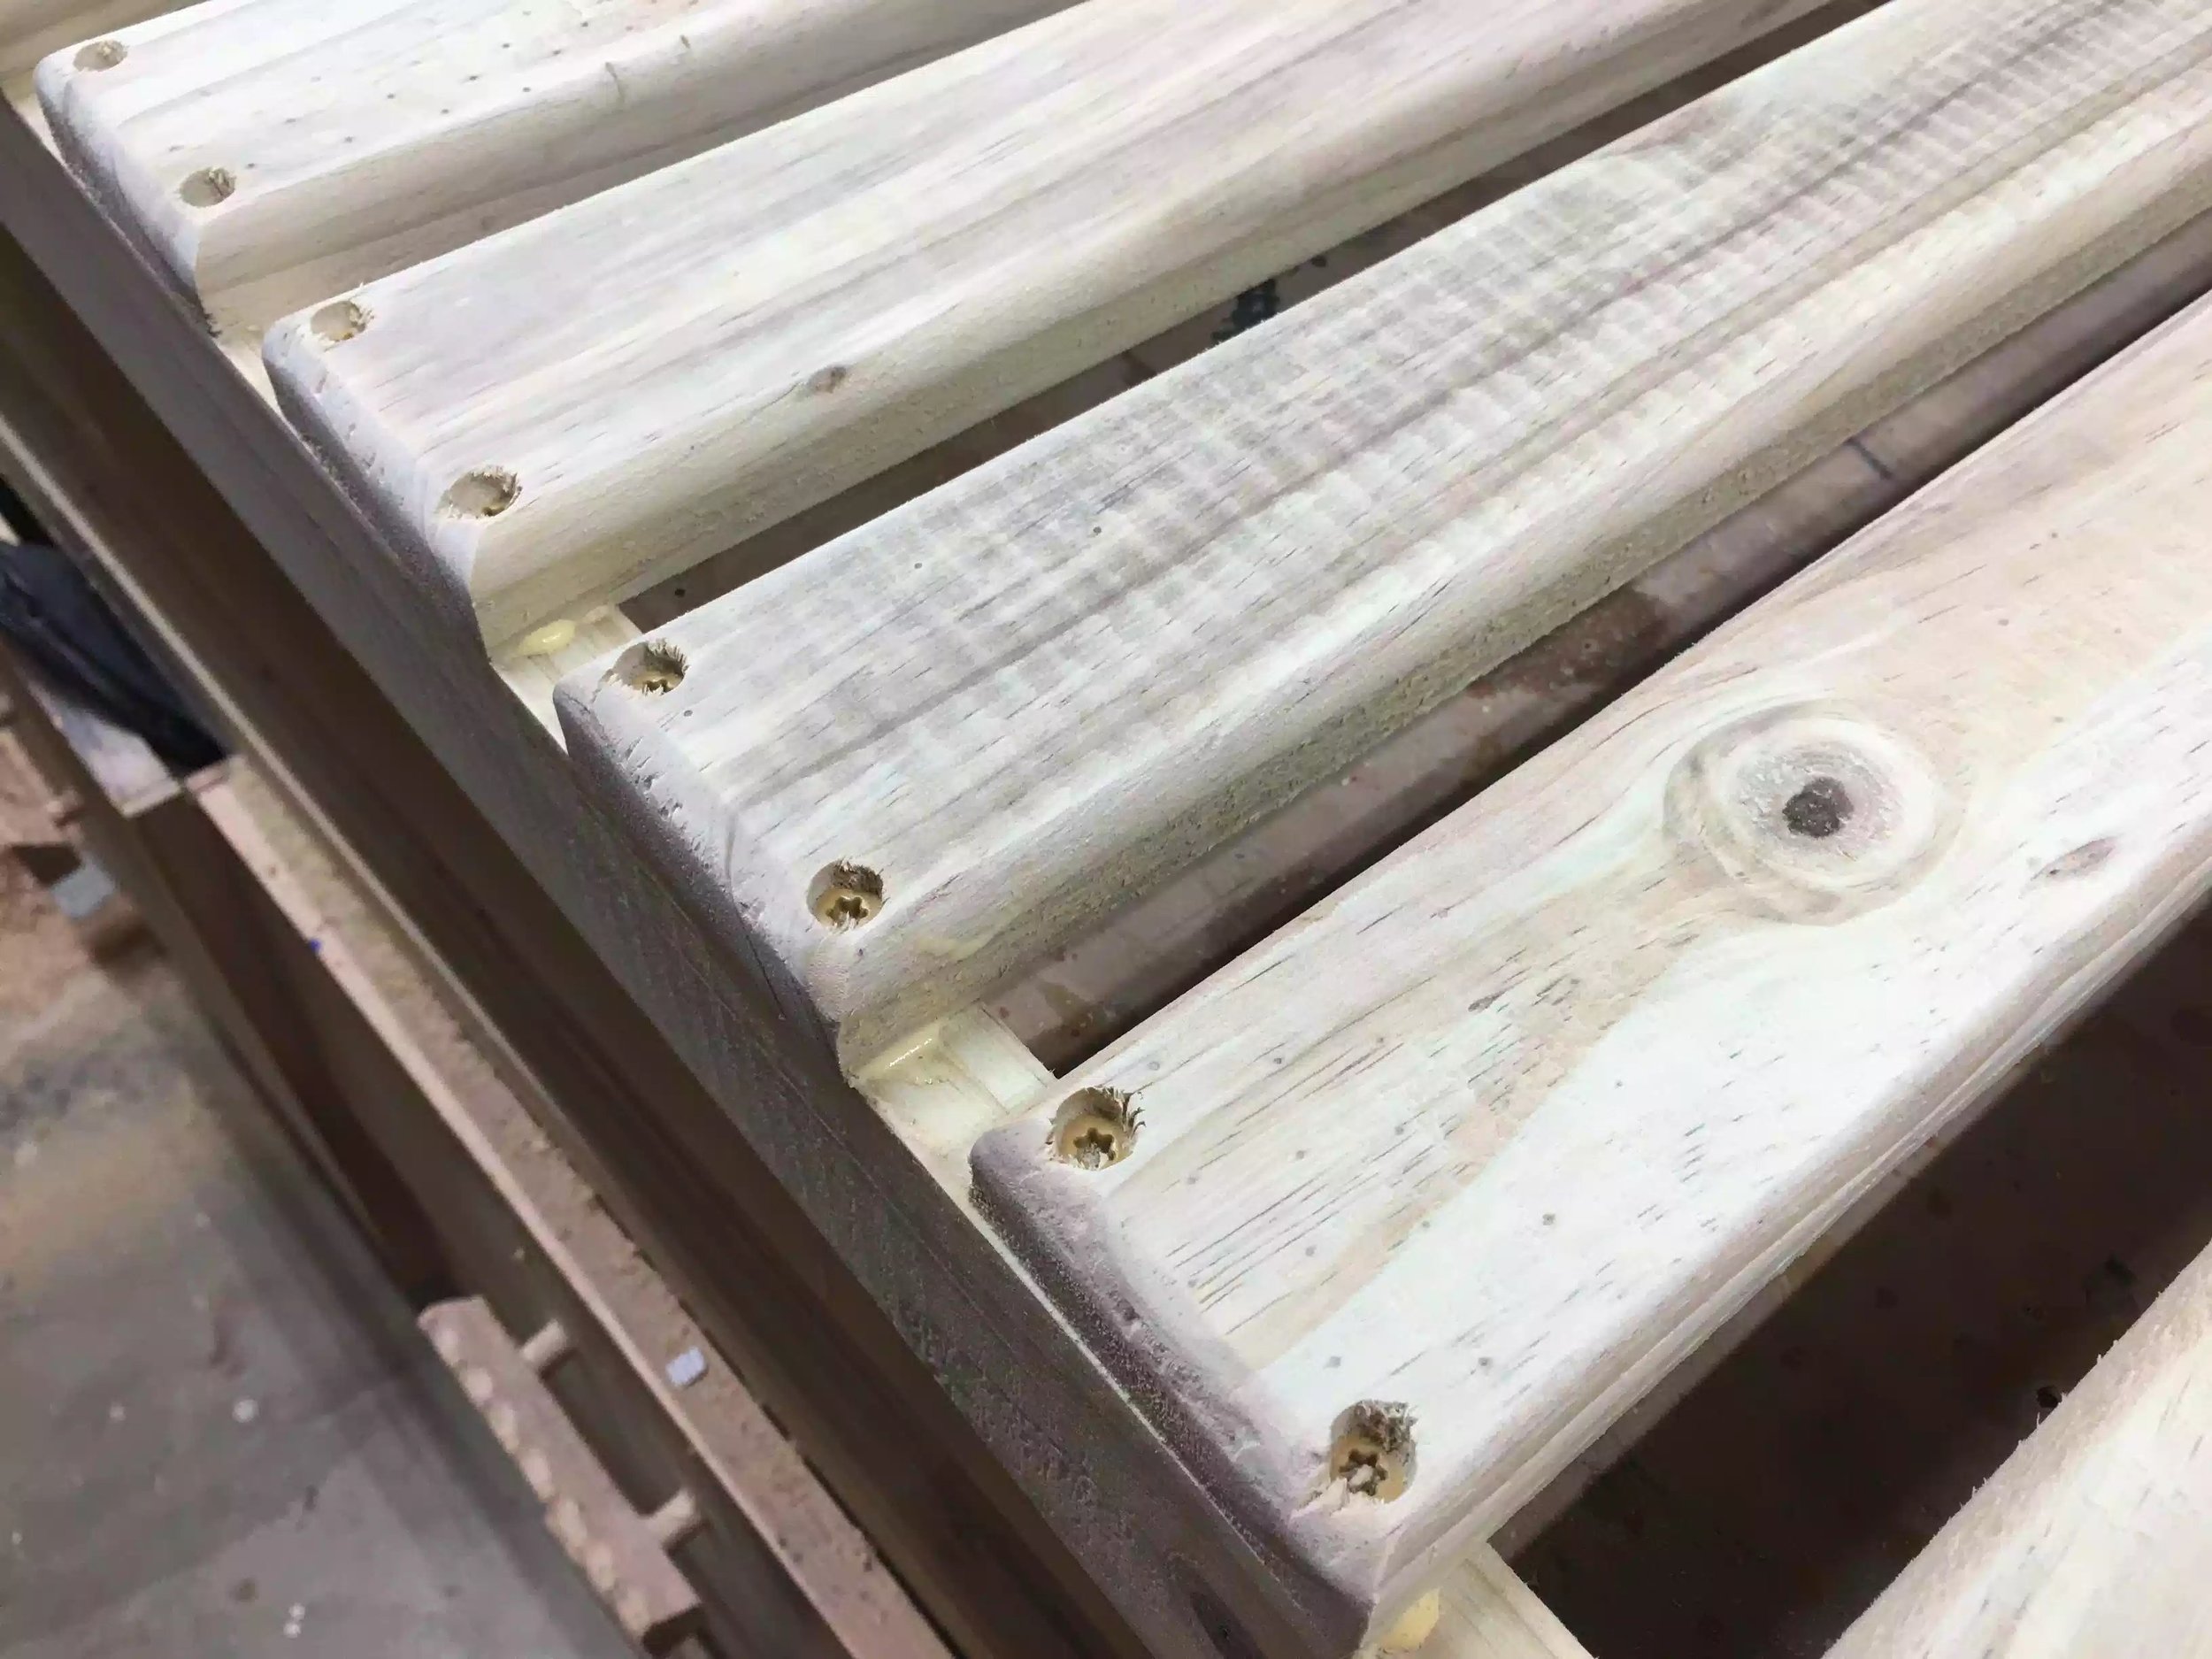
JOINERY
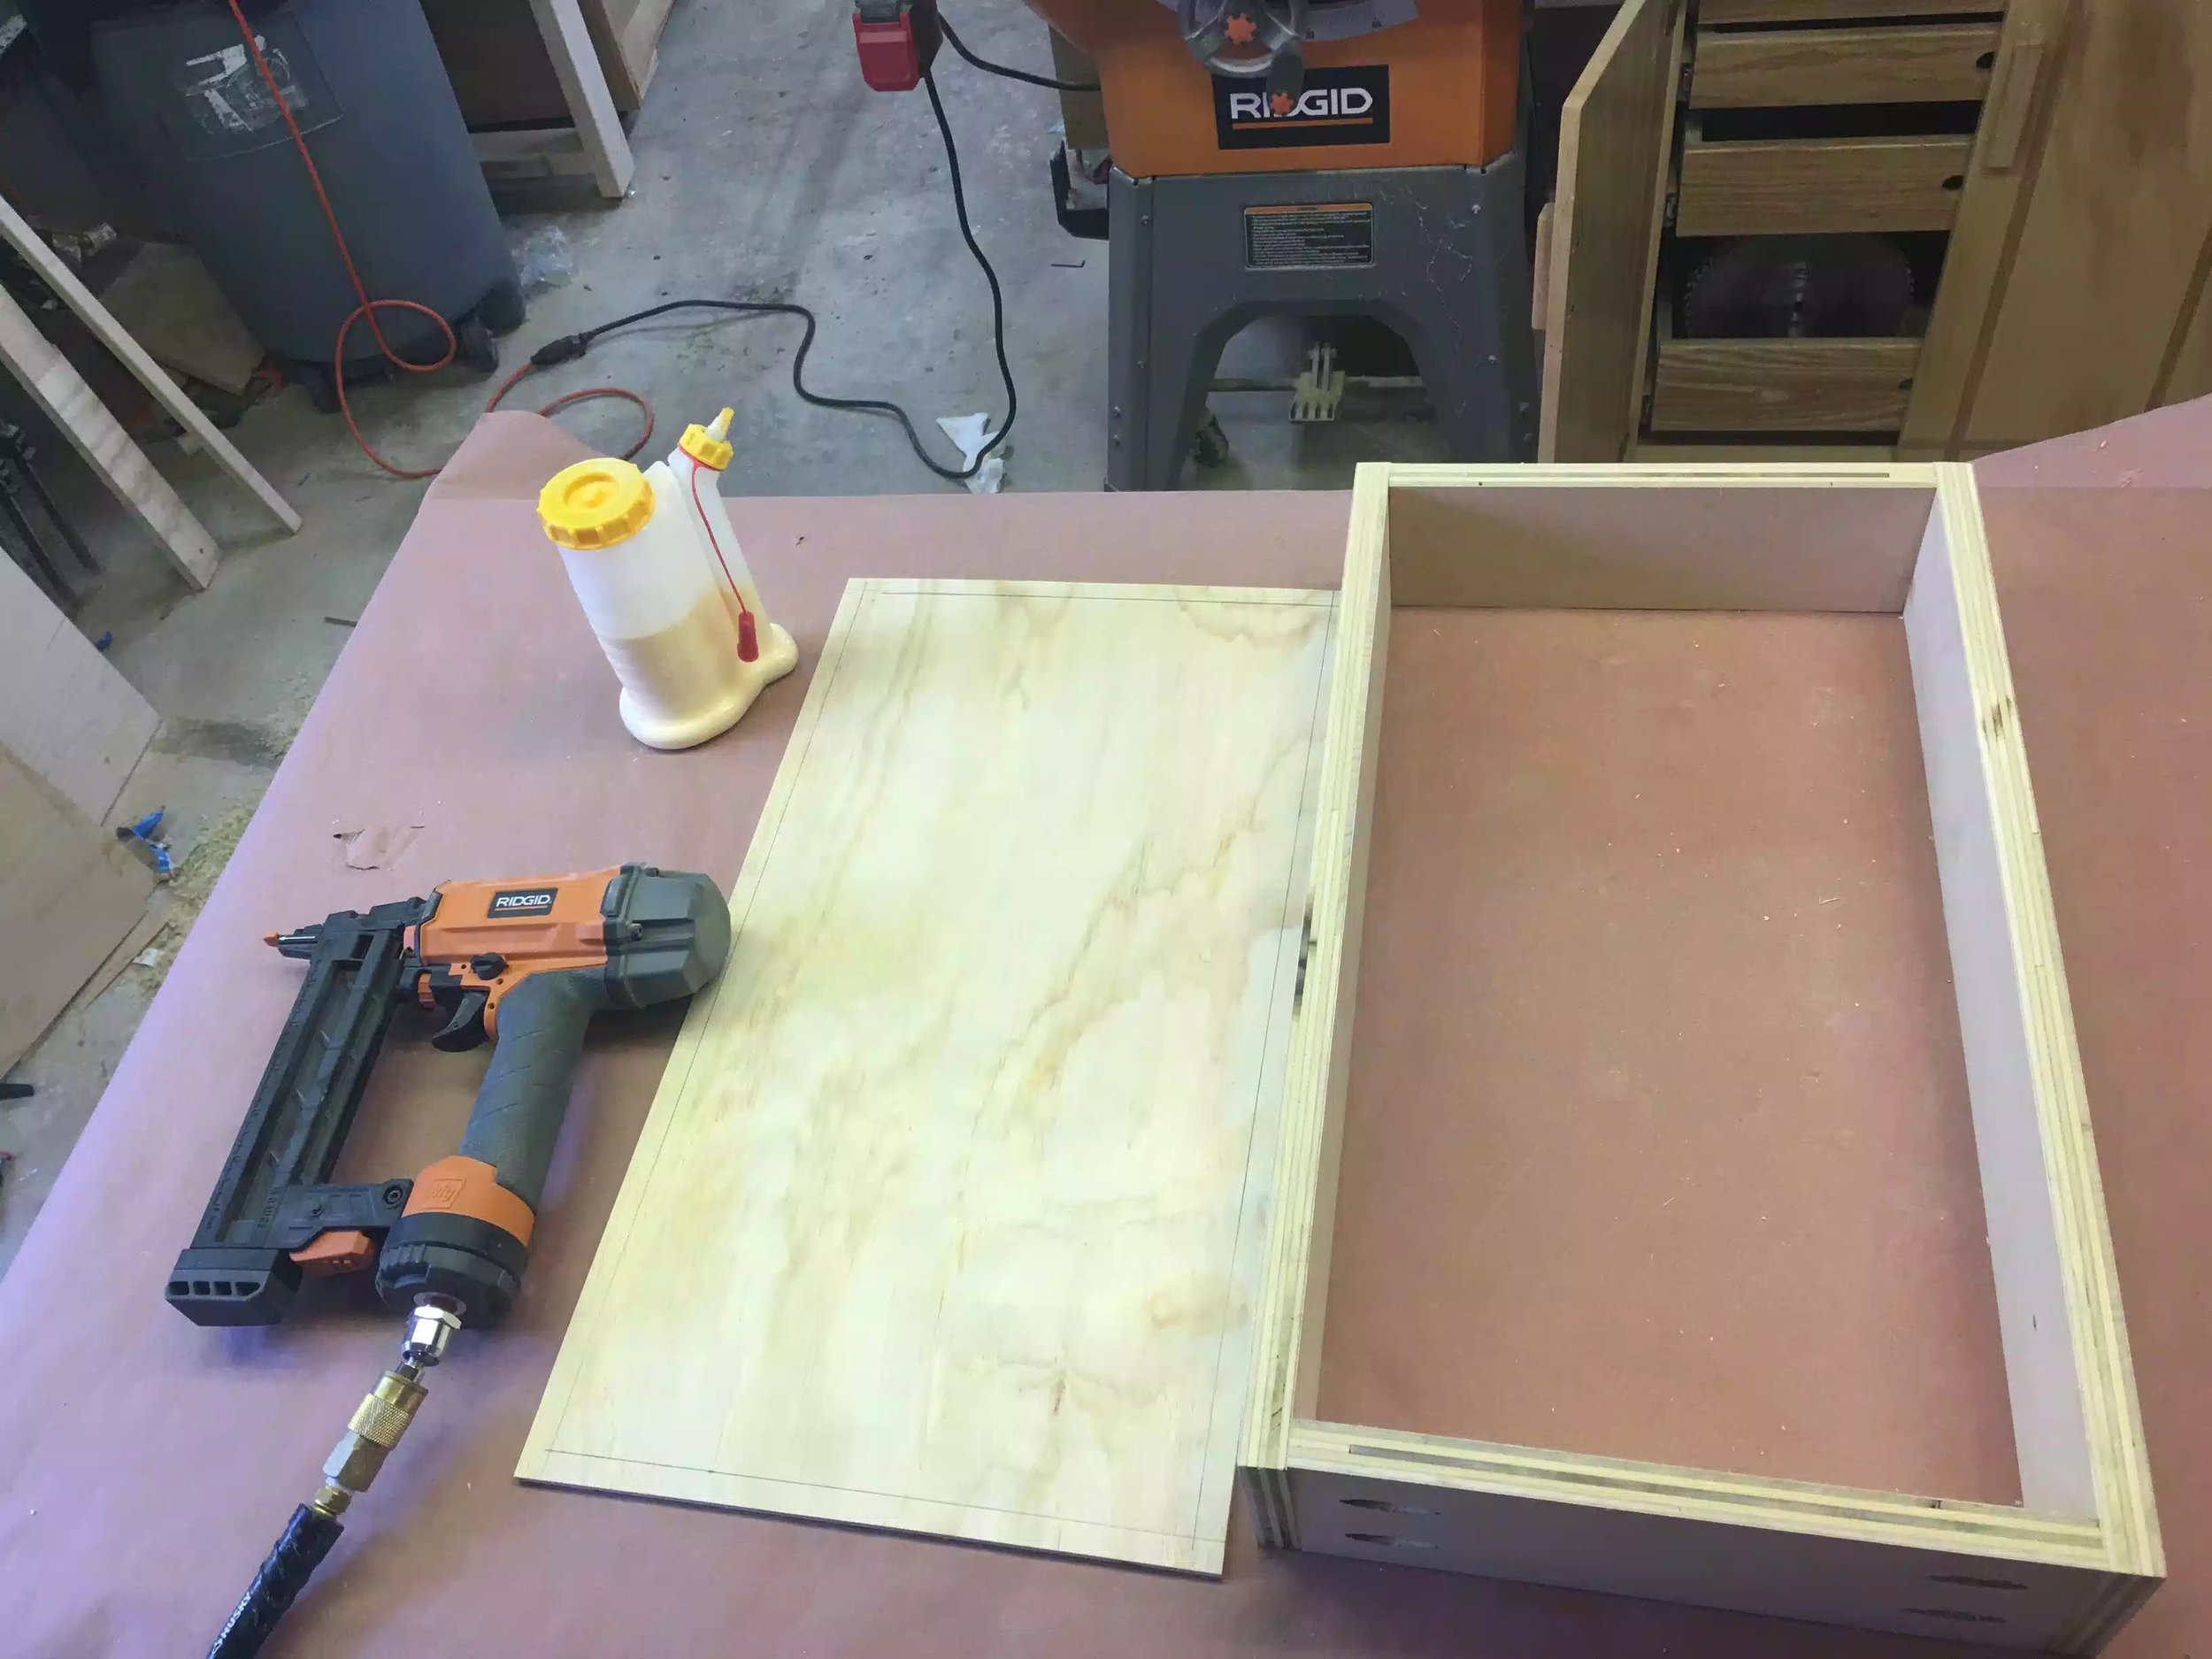
Since this was a shop project I didn't use any fancy joinery for the case I simply used pocket holes and 1-1/4" pocket hole screws to join the case parts together along with glue.
FEATURES
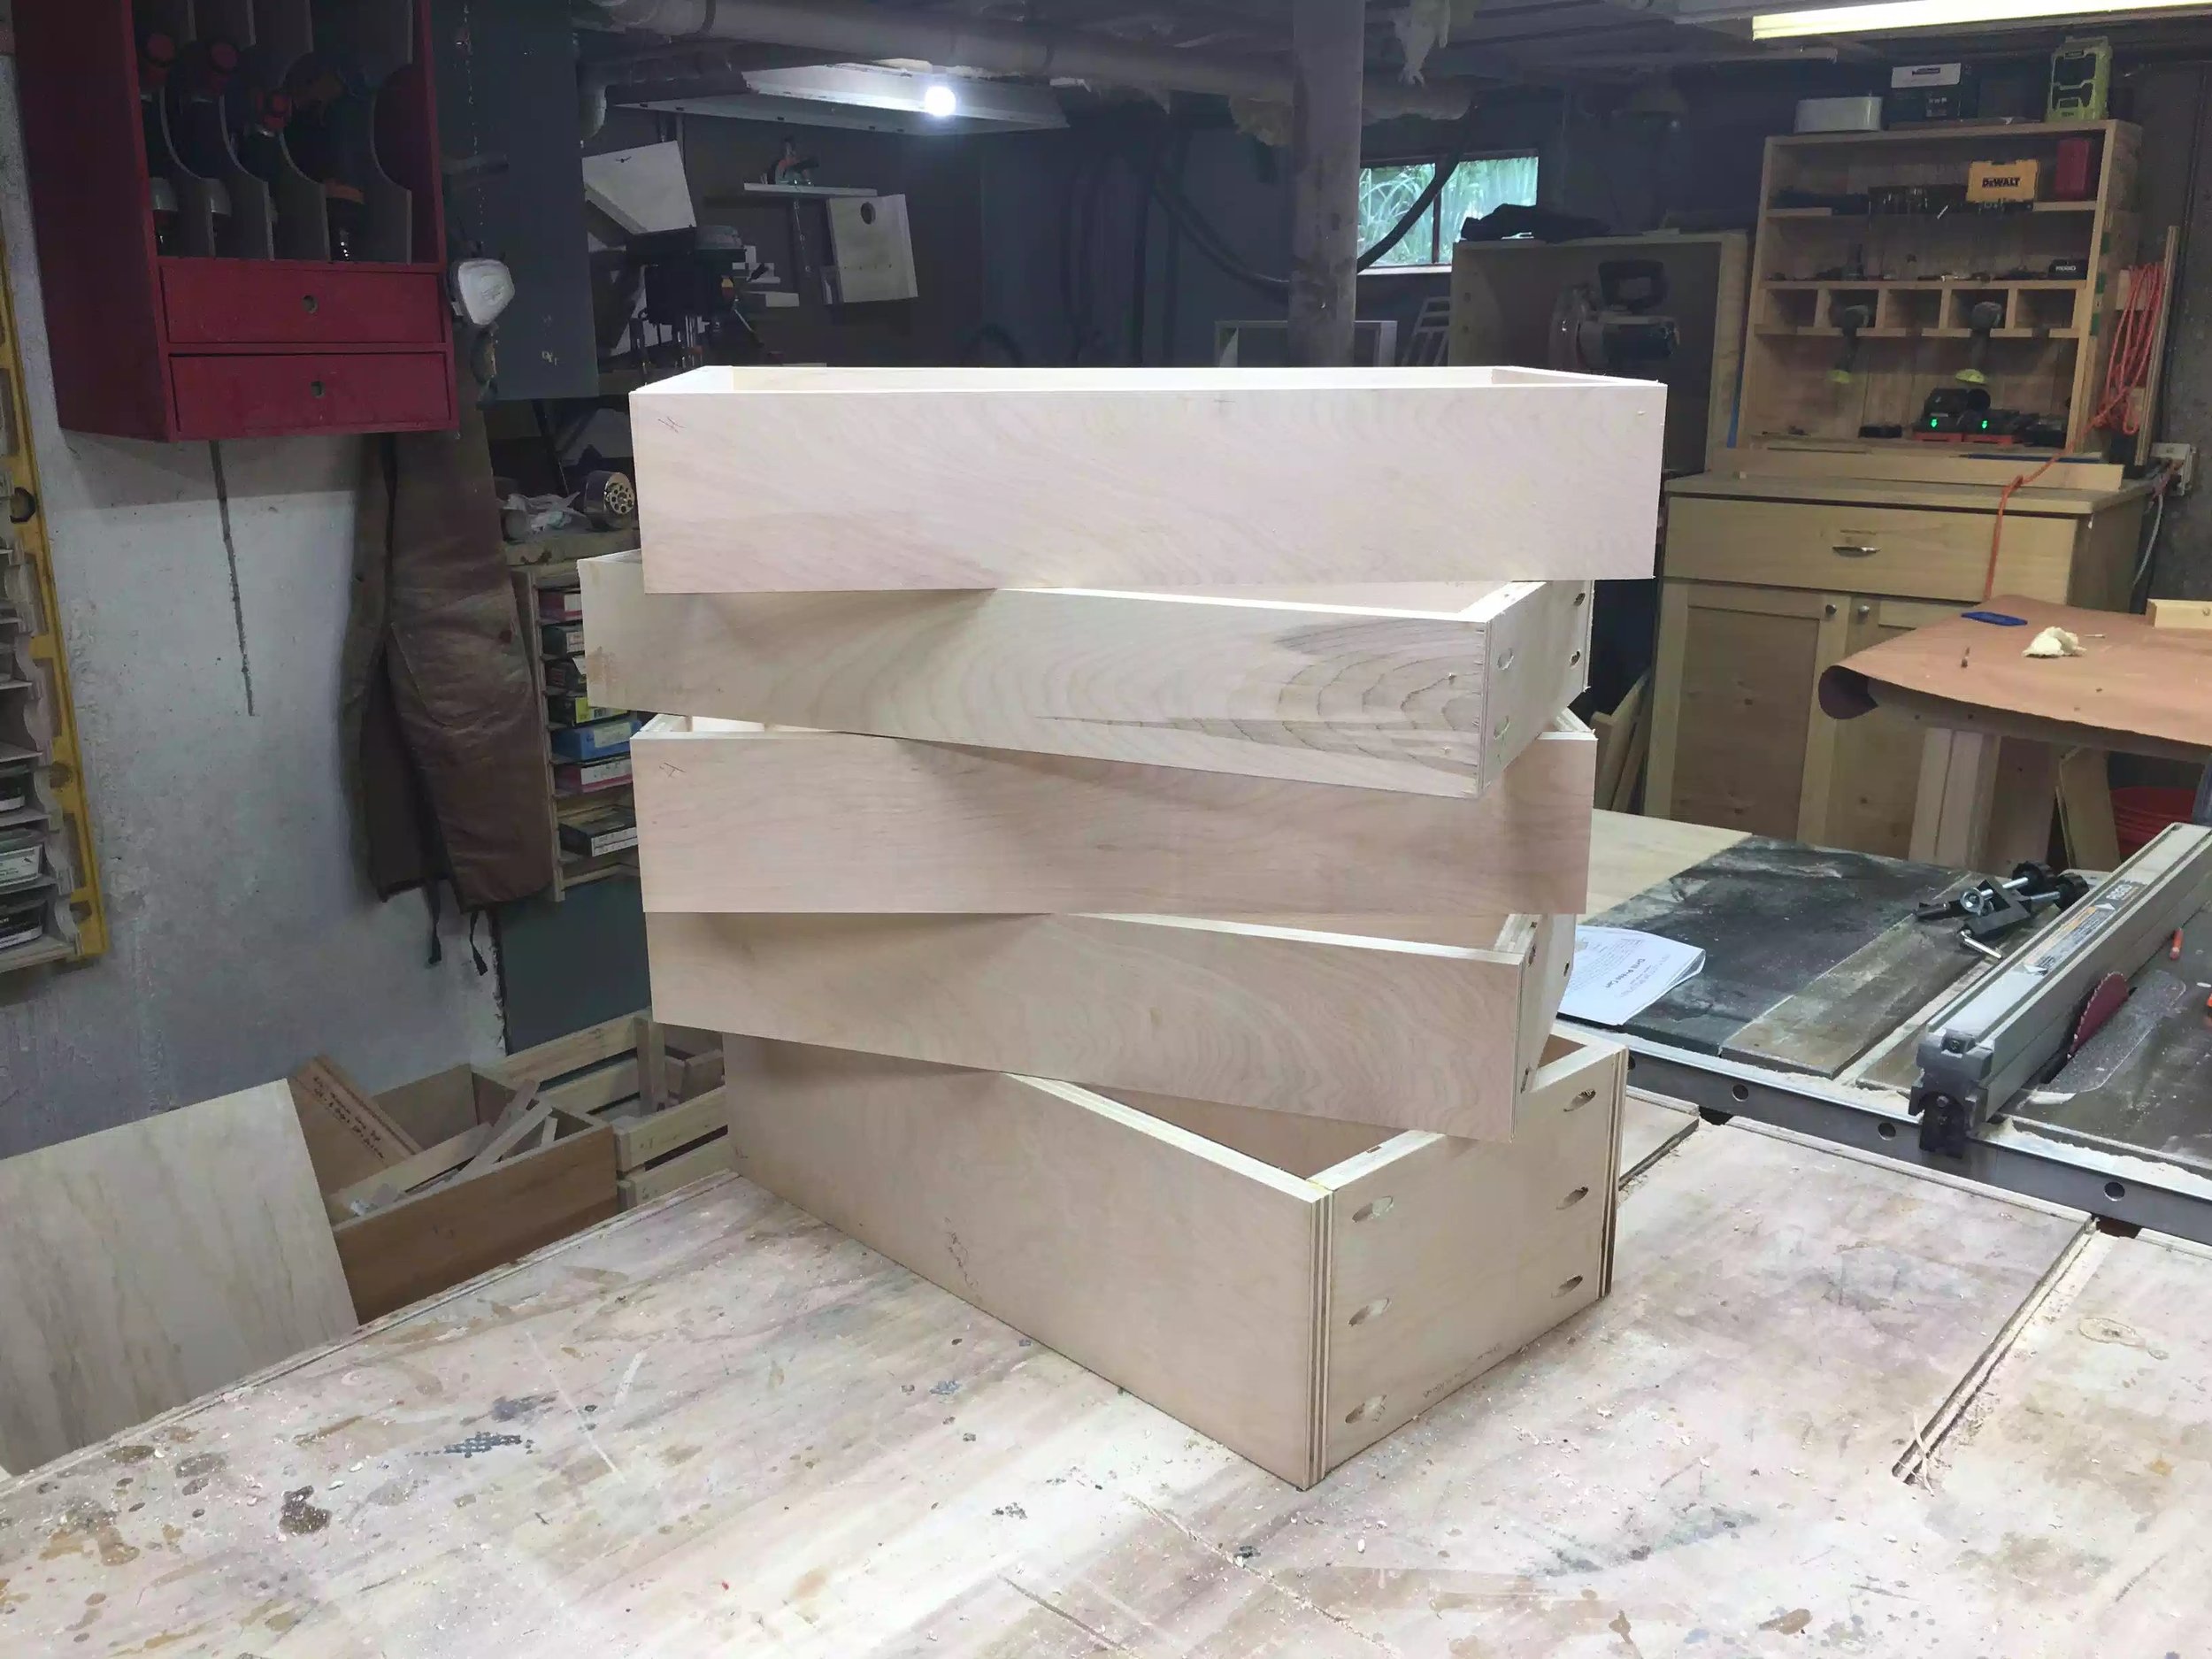
- 5 full extension drawers which gives me ton of stroage
- 34" x 22" x 16"
- The whole cart is portable which in my opinion is a must in any wood-shop.
- I made my own drawer pulls out of ash which was a very fun project.
If you would like to make this cart , I have plans available in my shop.

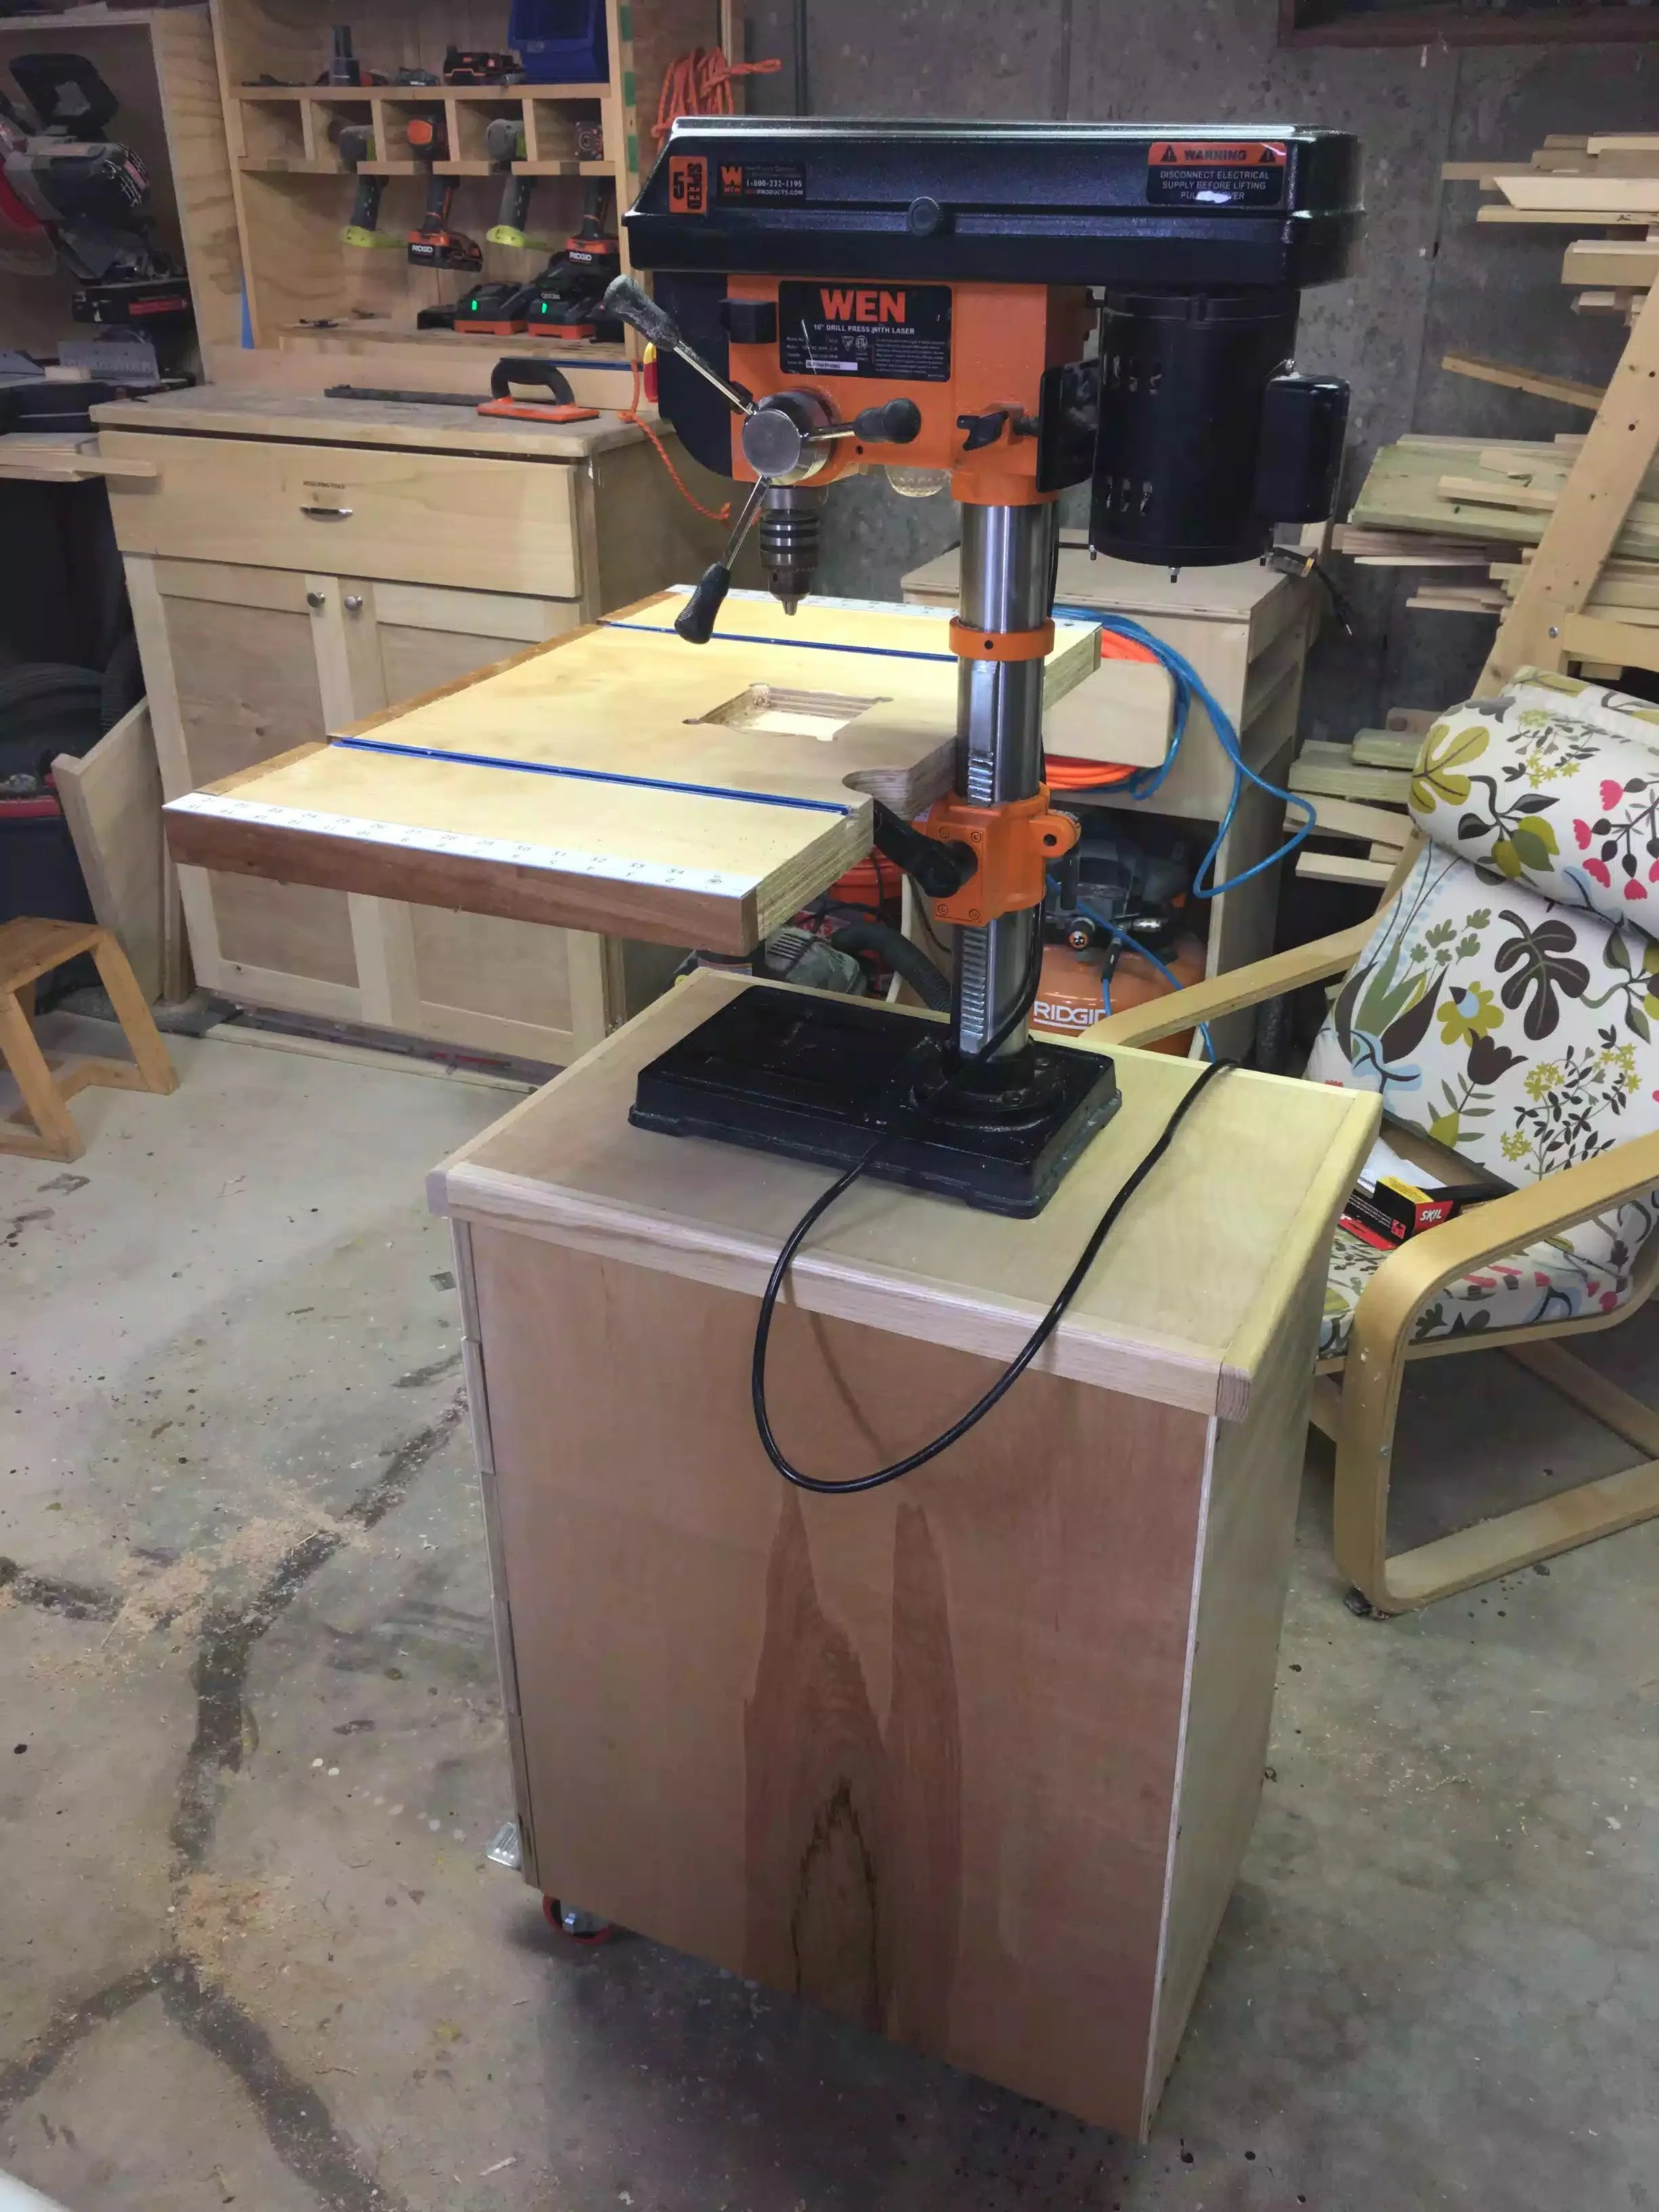
Here is a frontal picture, I have to say that the pulls look great.

Here is my drill press in its new home, I also made a the drill press table in a previous project.

Here she is in her new home.


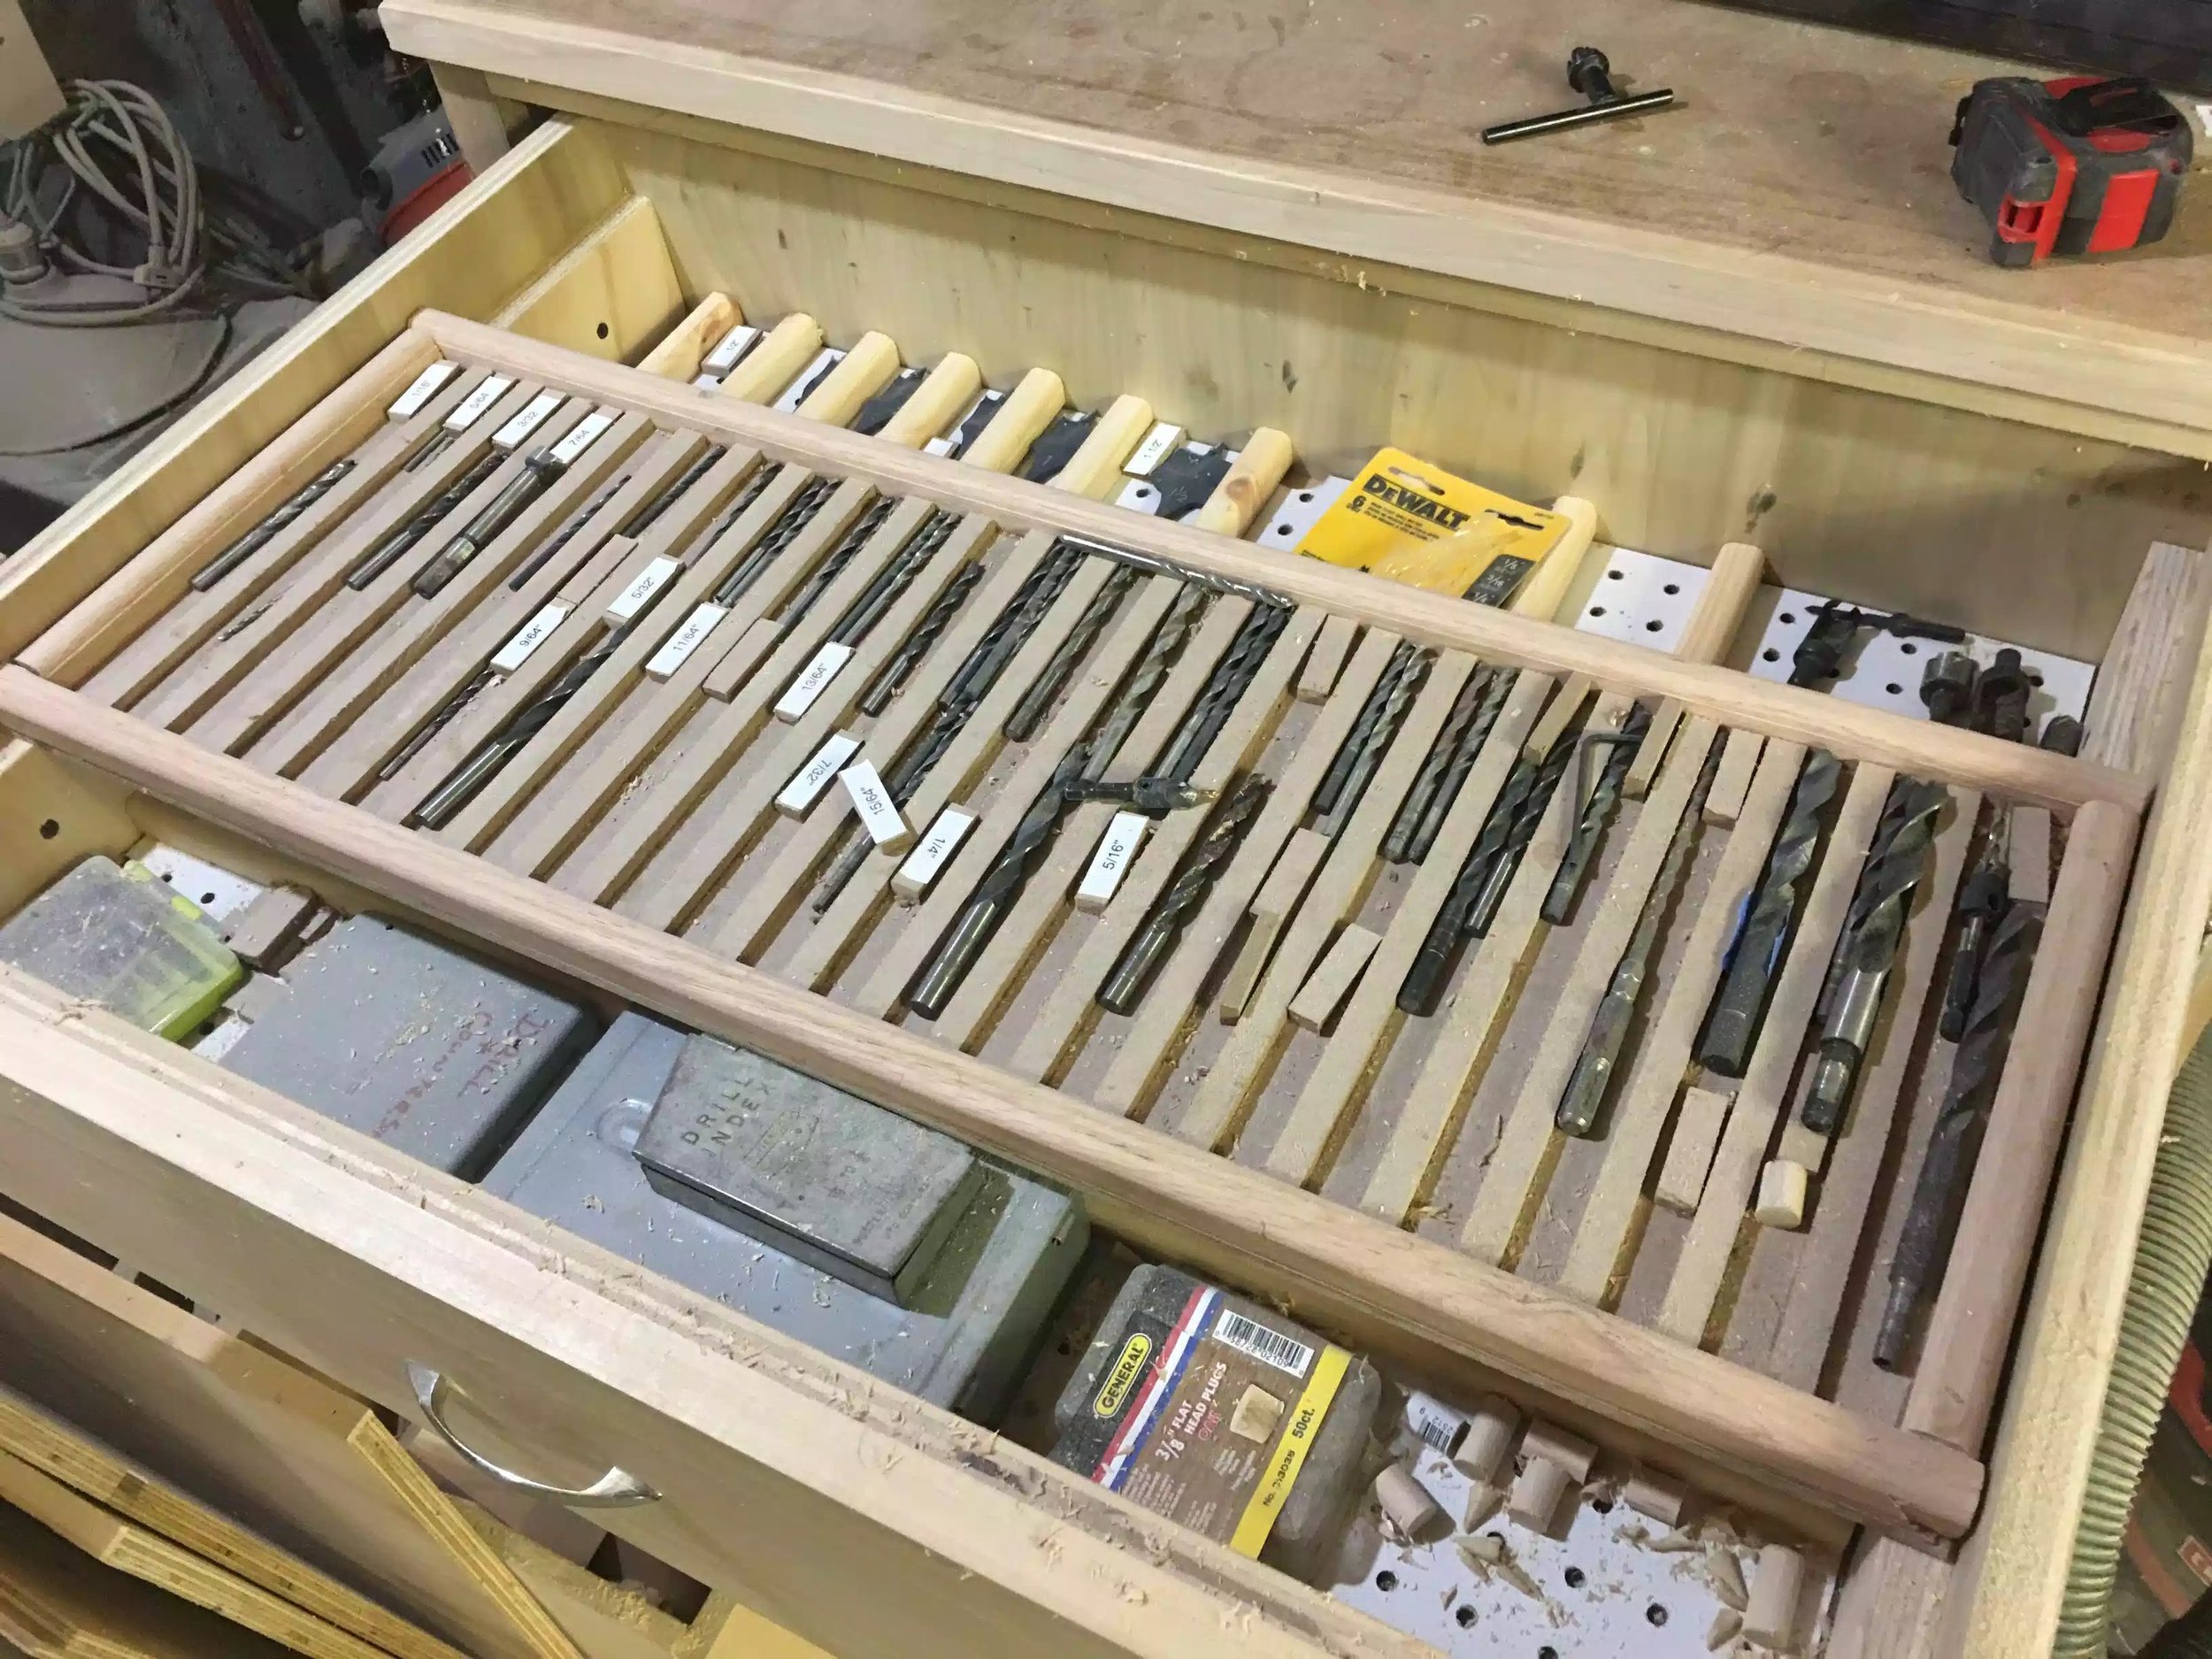
Lots of storage

I need to finalise where everything will be stored, but since I have 5 drawers I can put each type of drill bit in its own drawer.

This is what I am moving away from, it worked well for a time but the drill press cart keeps everything I need around the drill press and not a random drawer on the other side of the shop.
Until next time take care.