Project: Console Table

Console Table : All finished

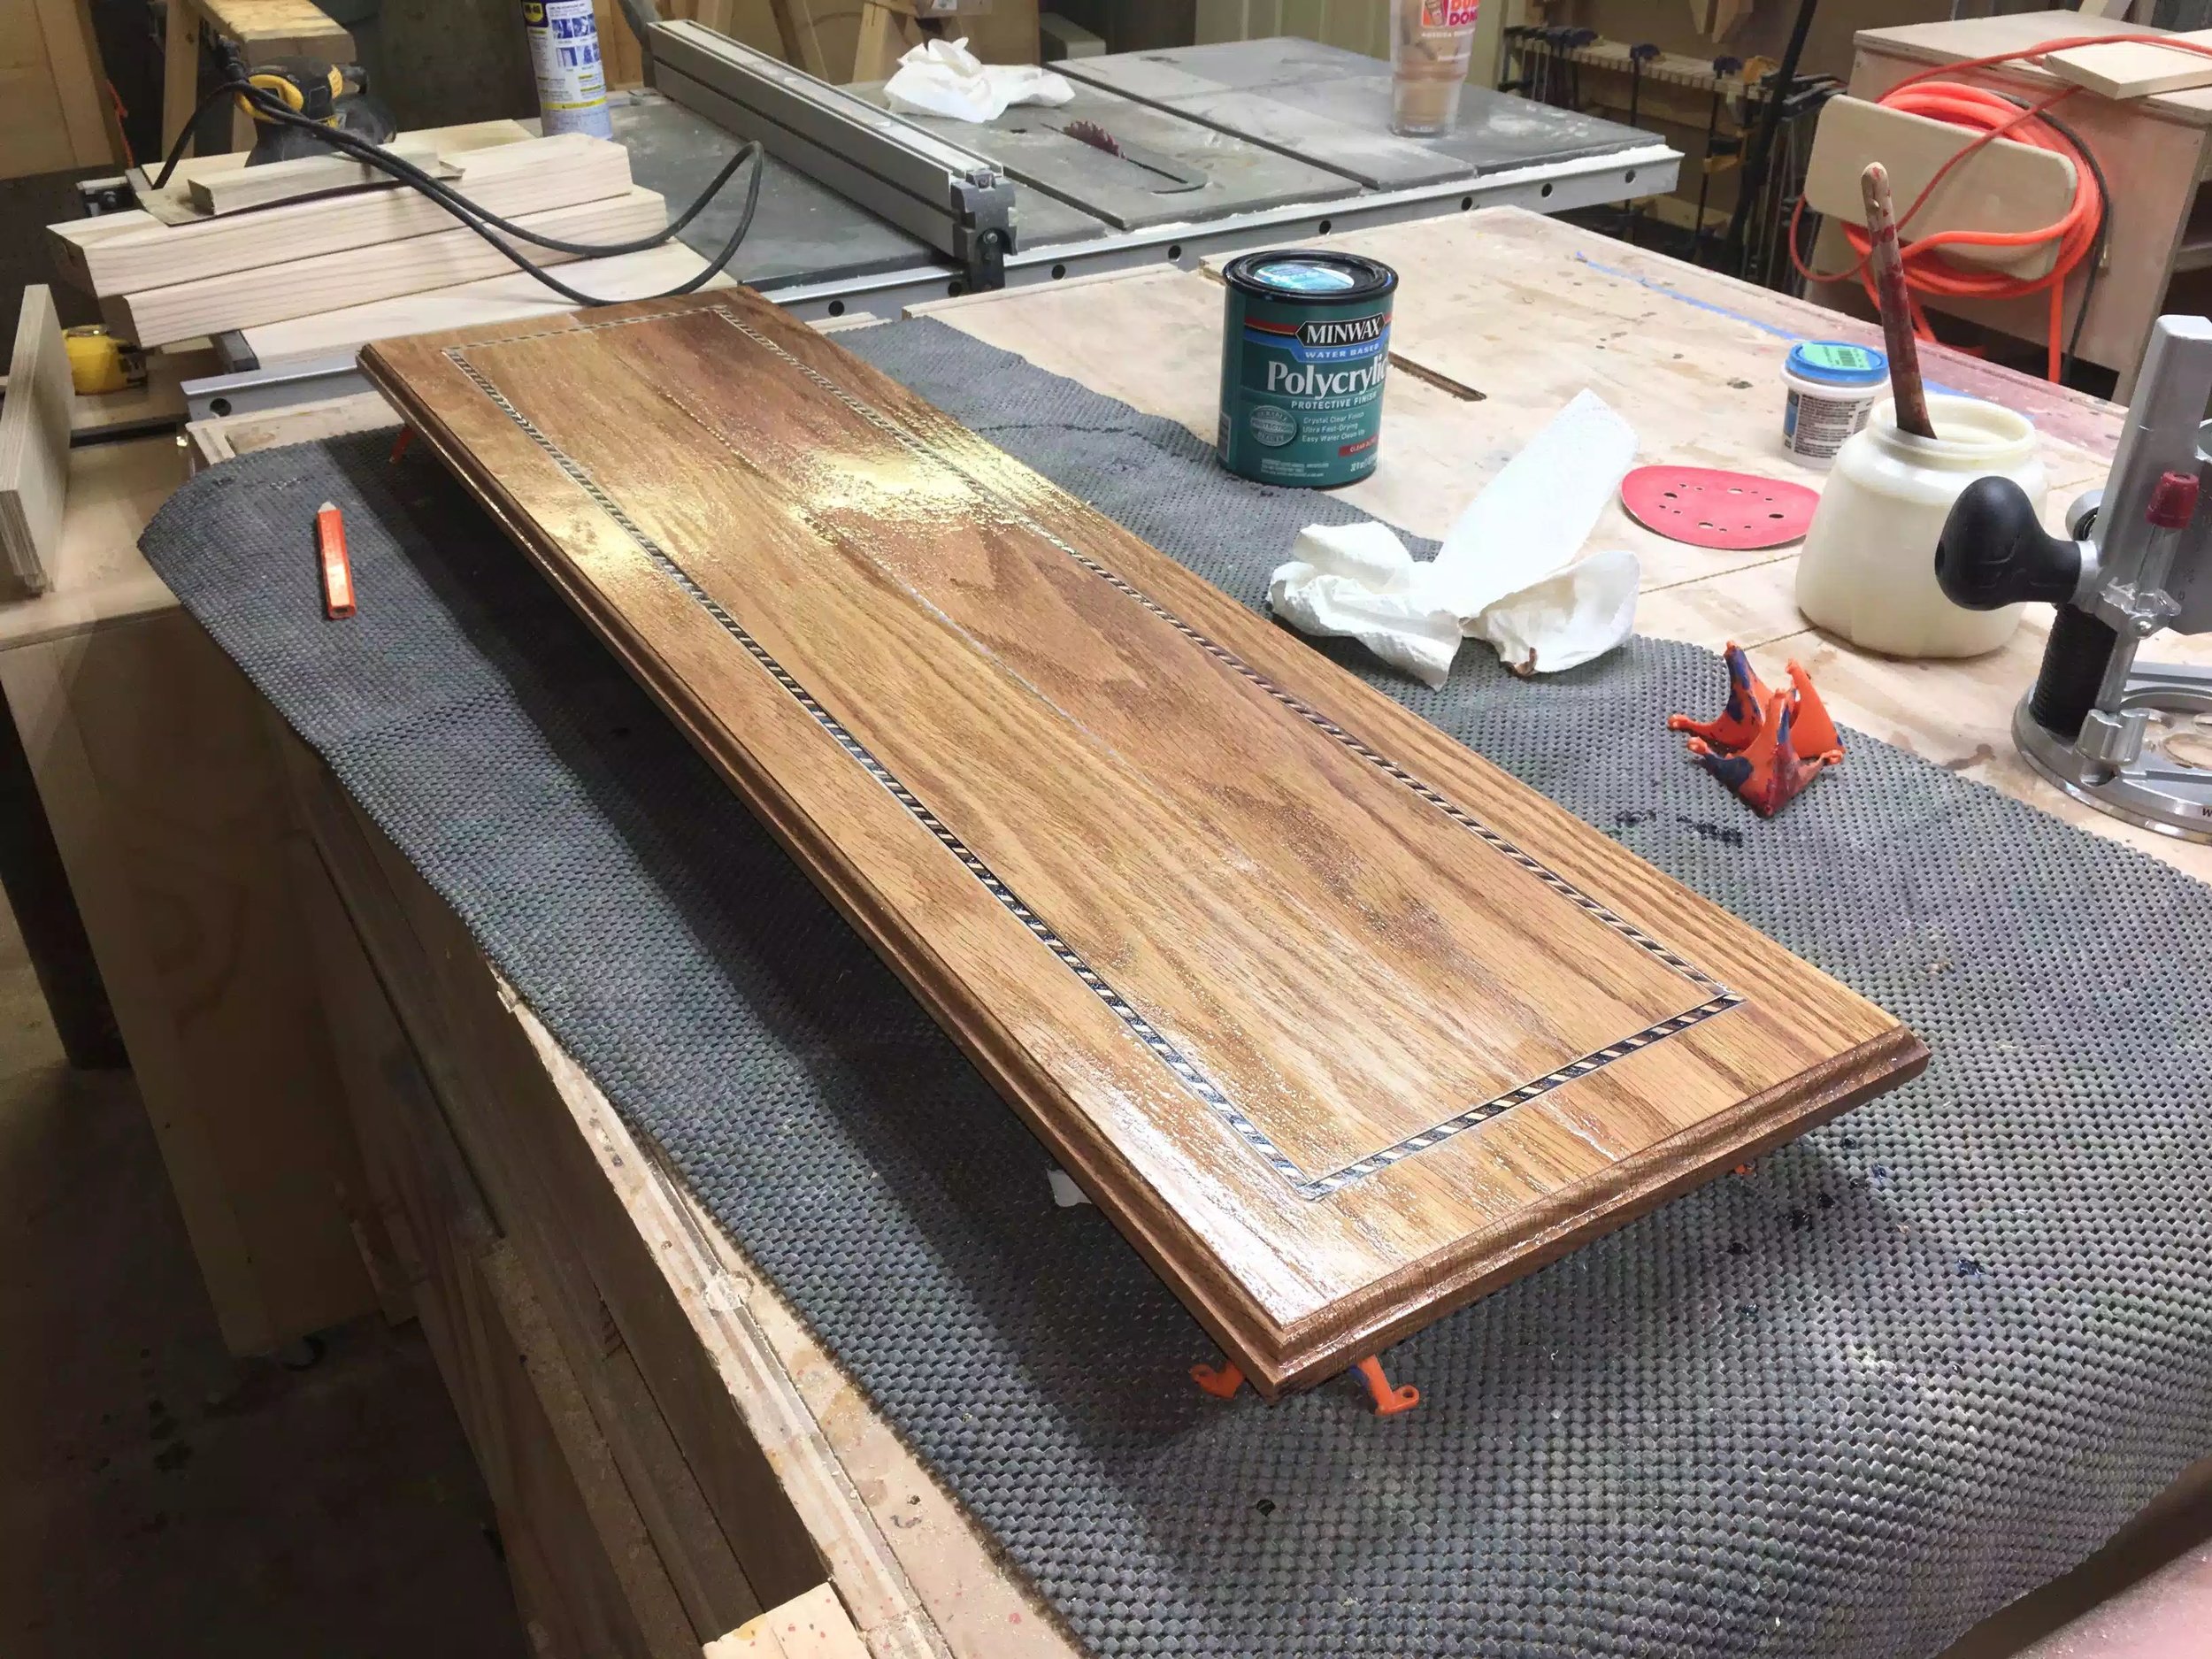
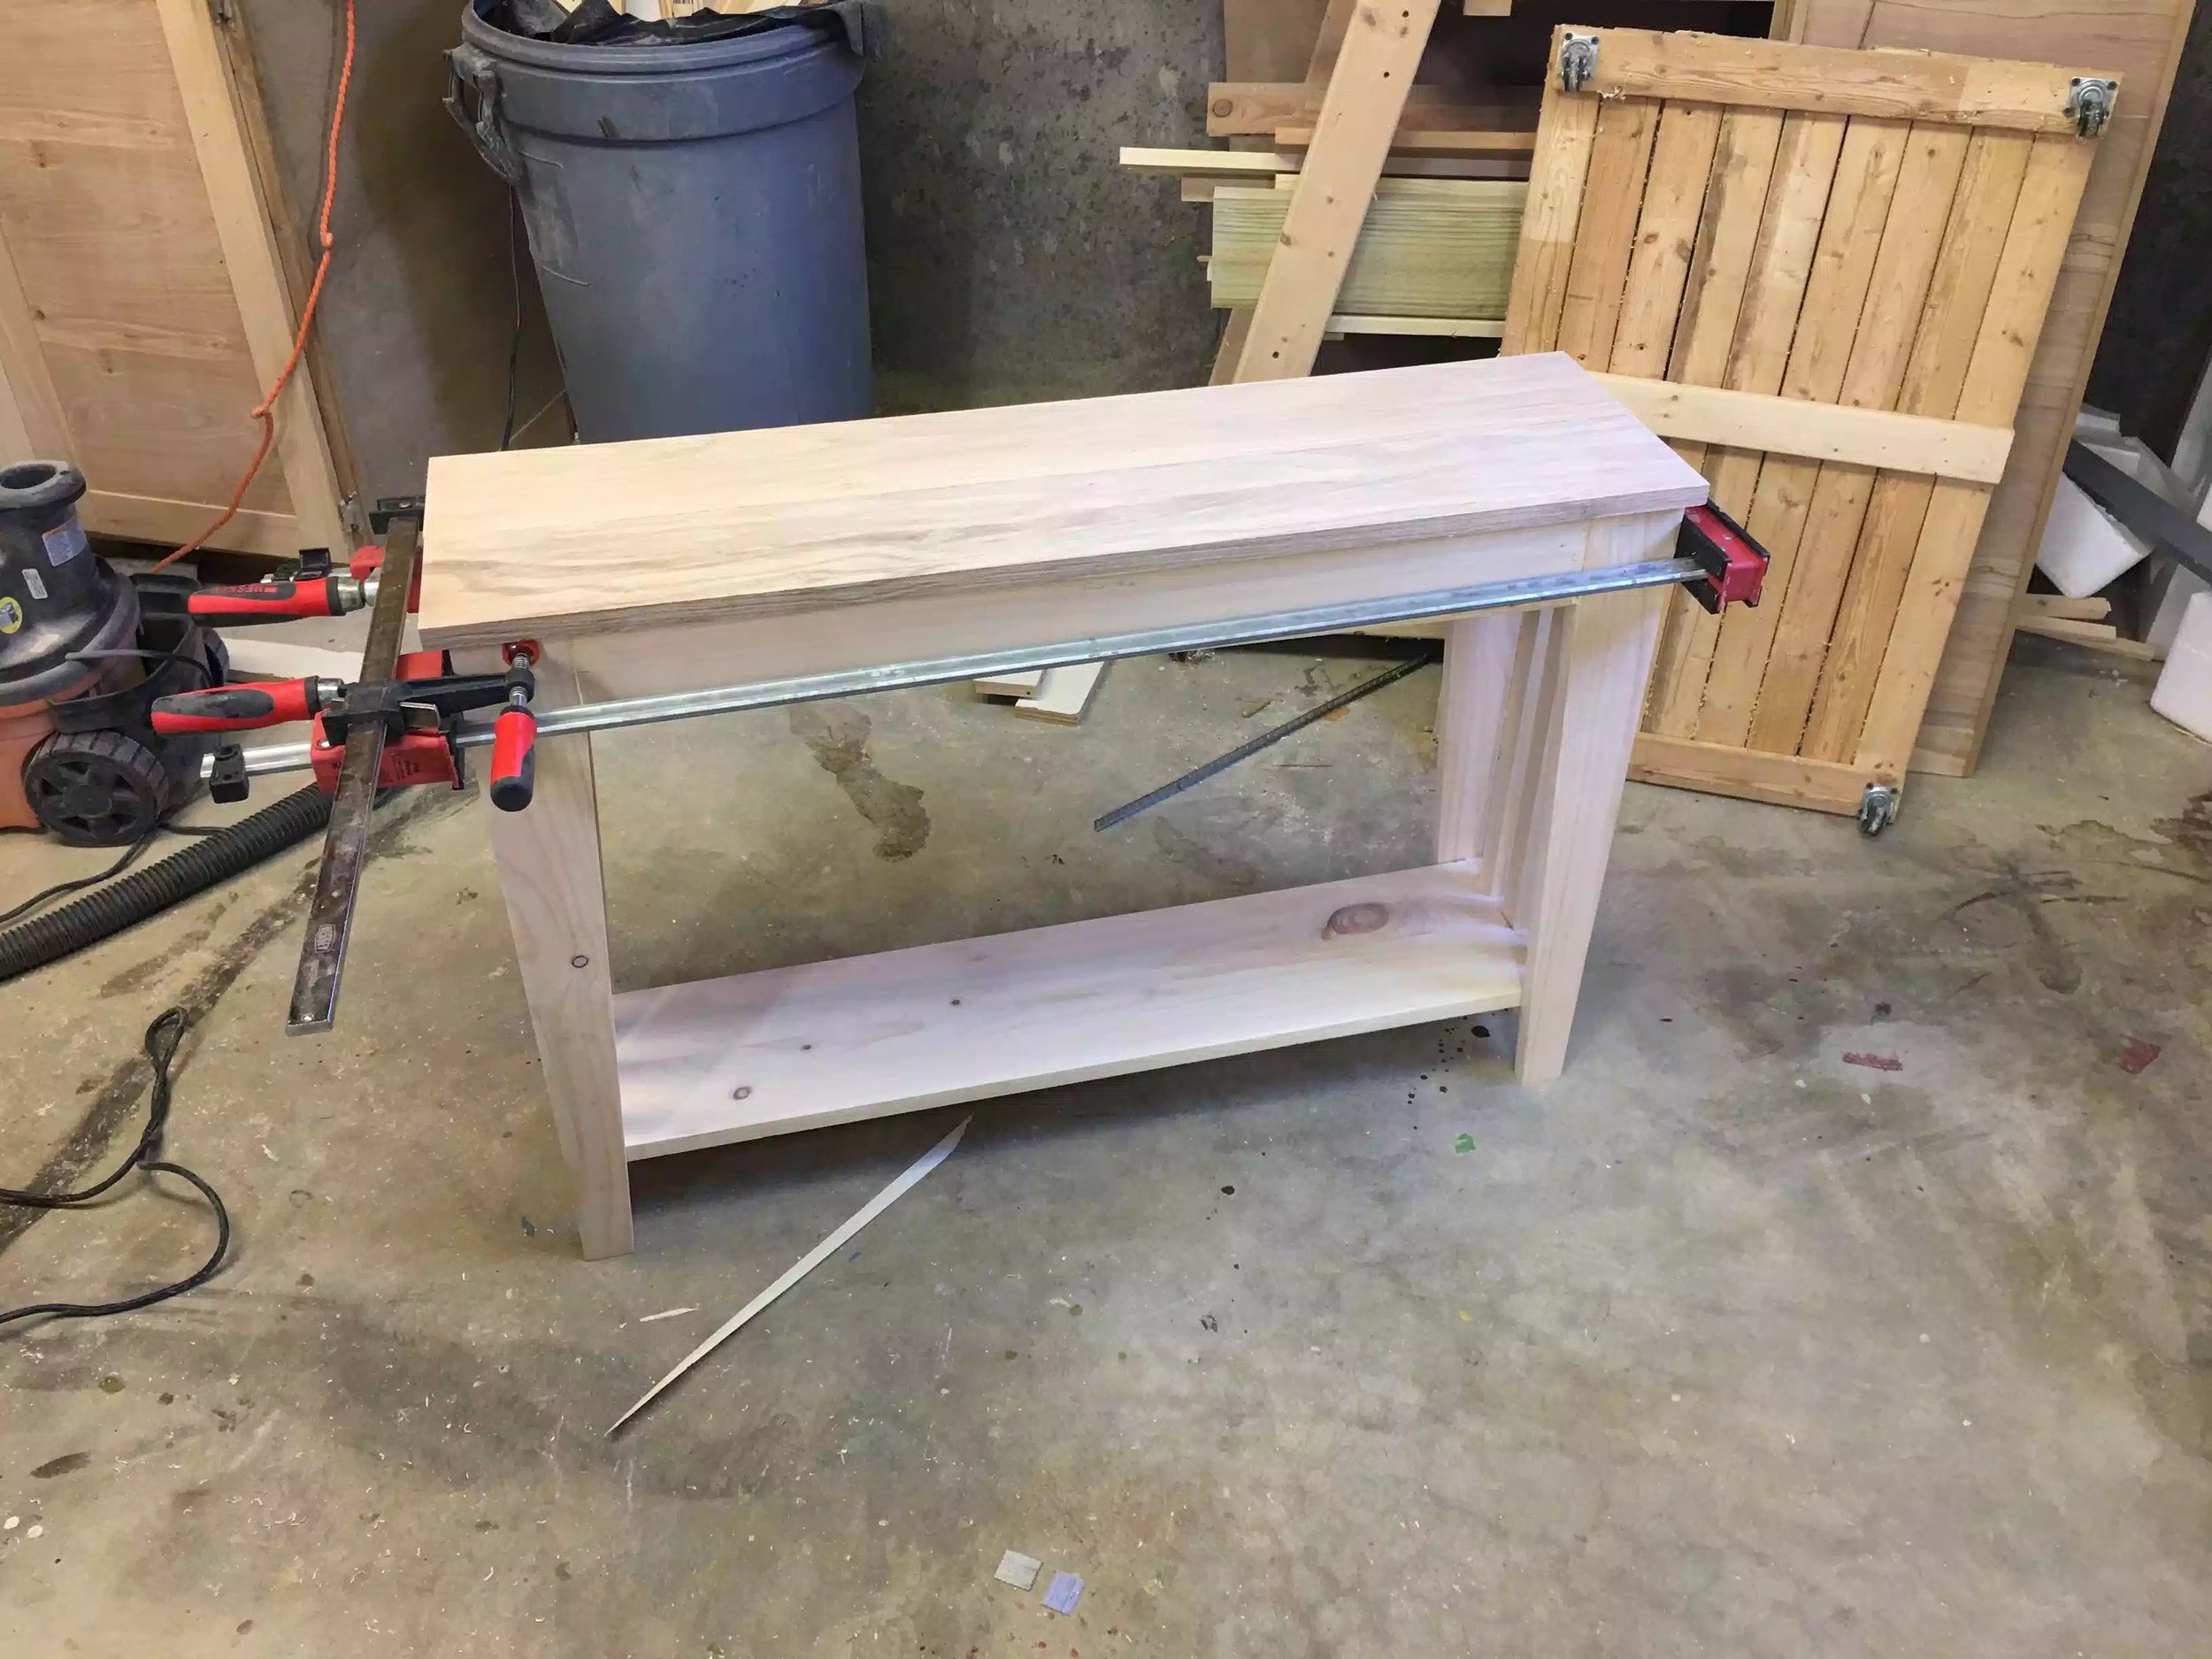
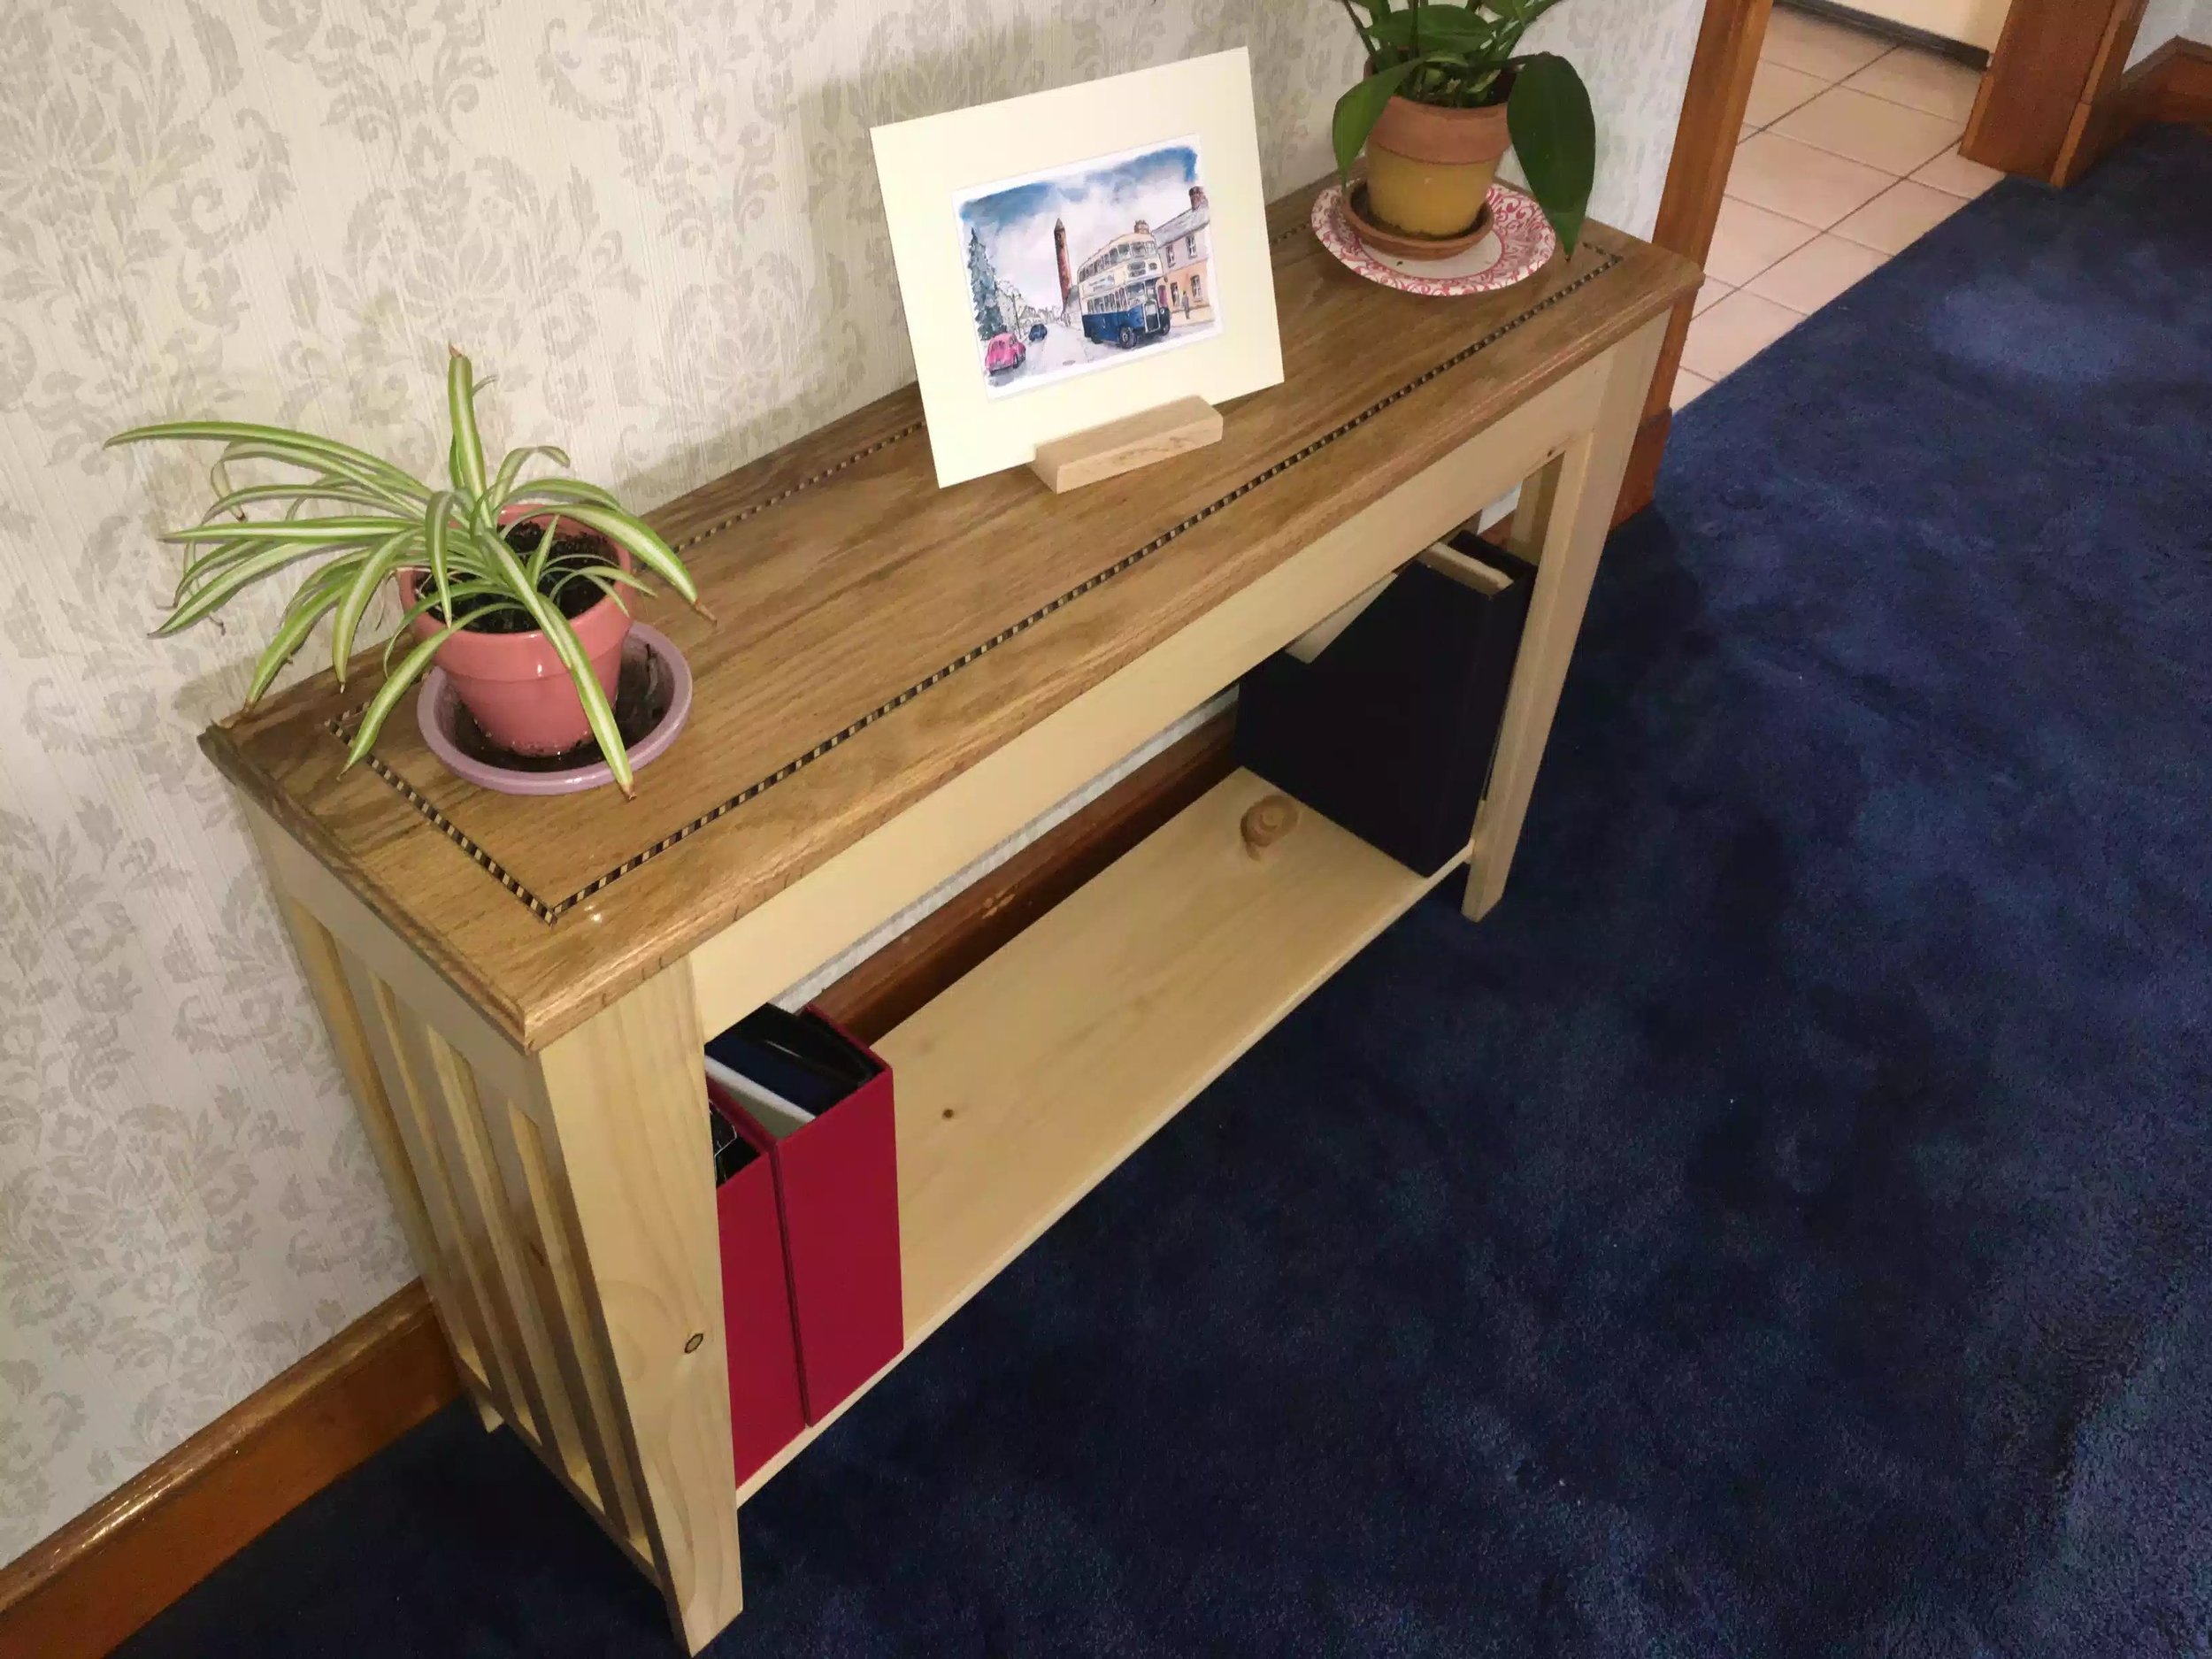
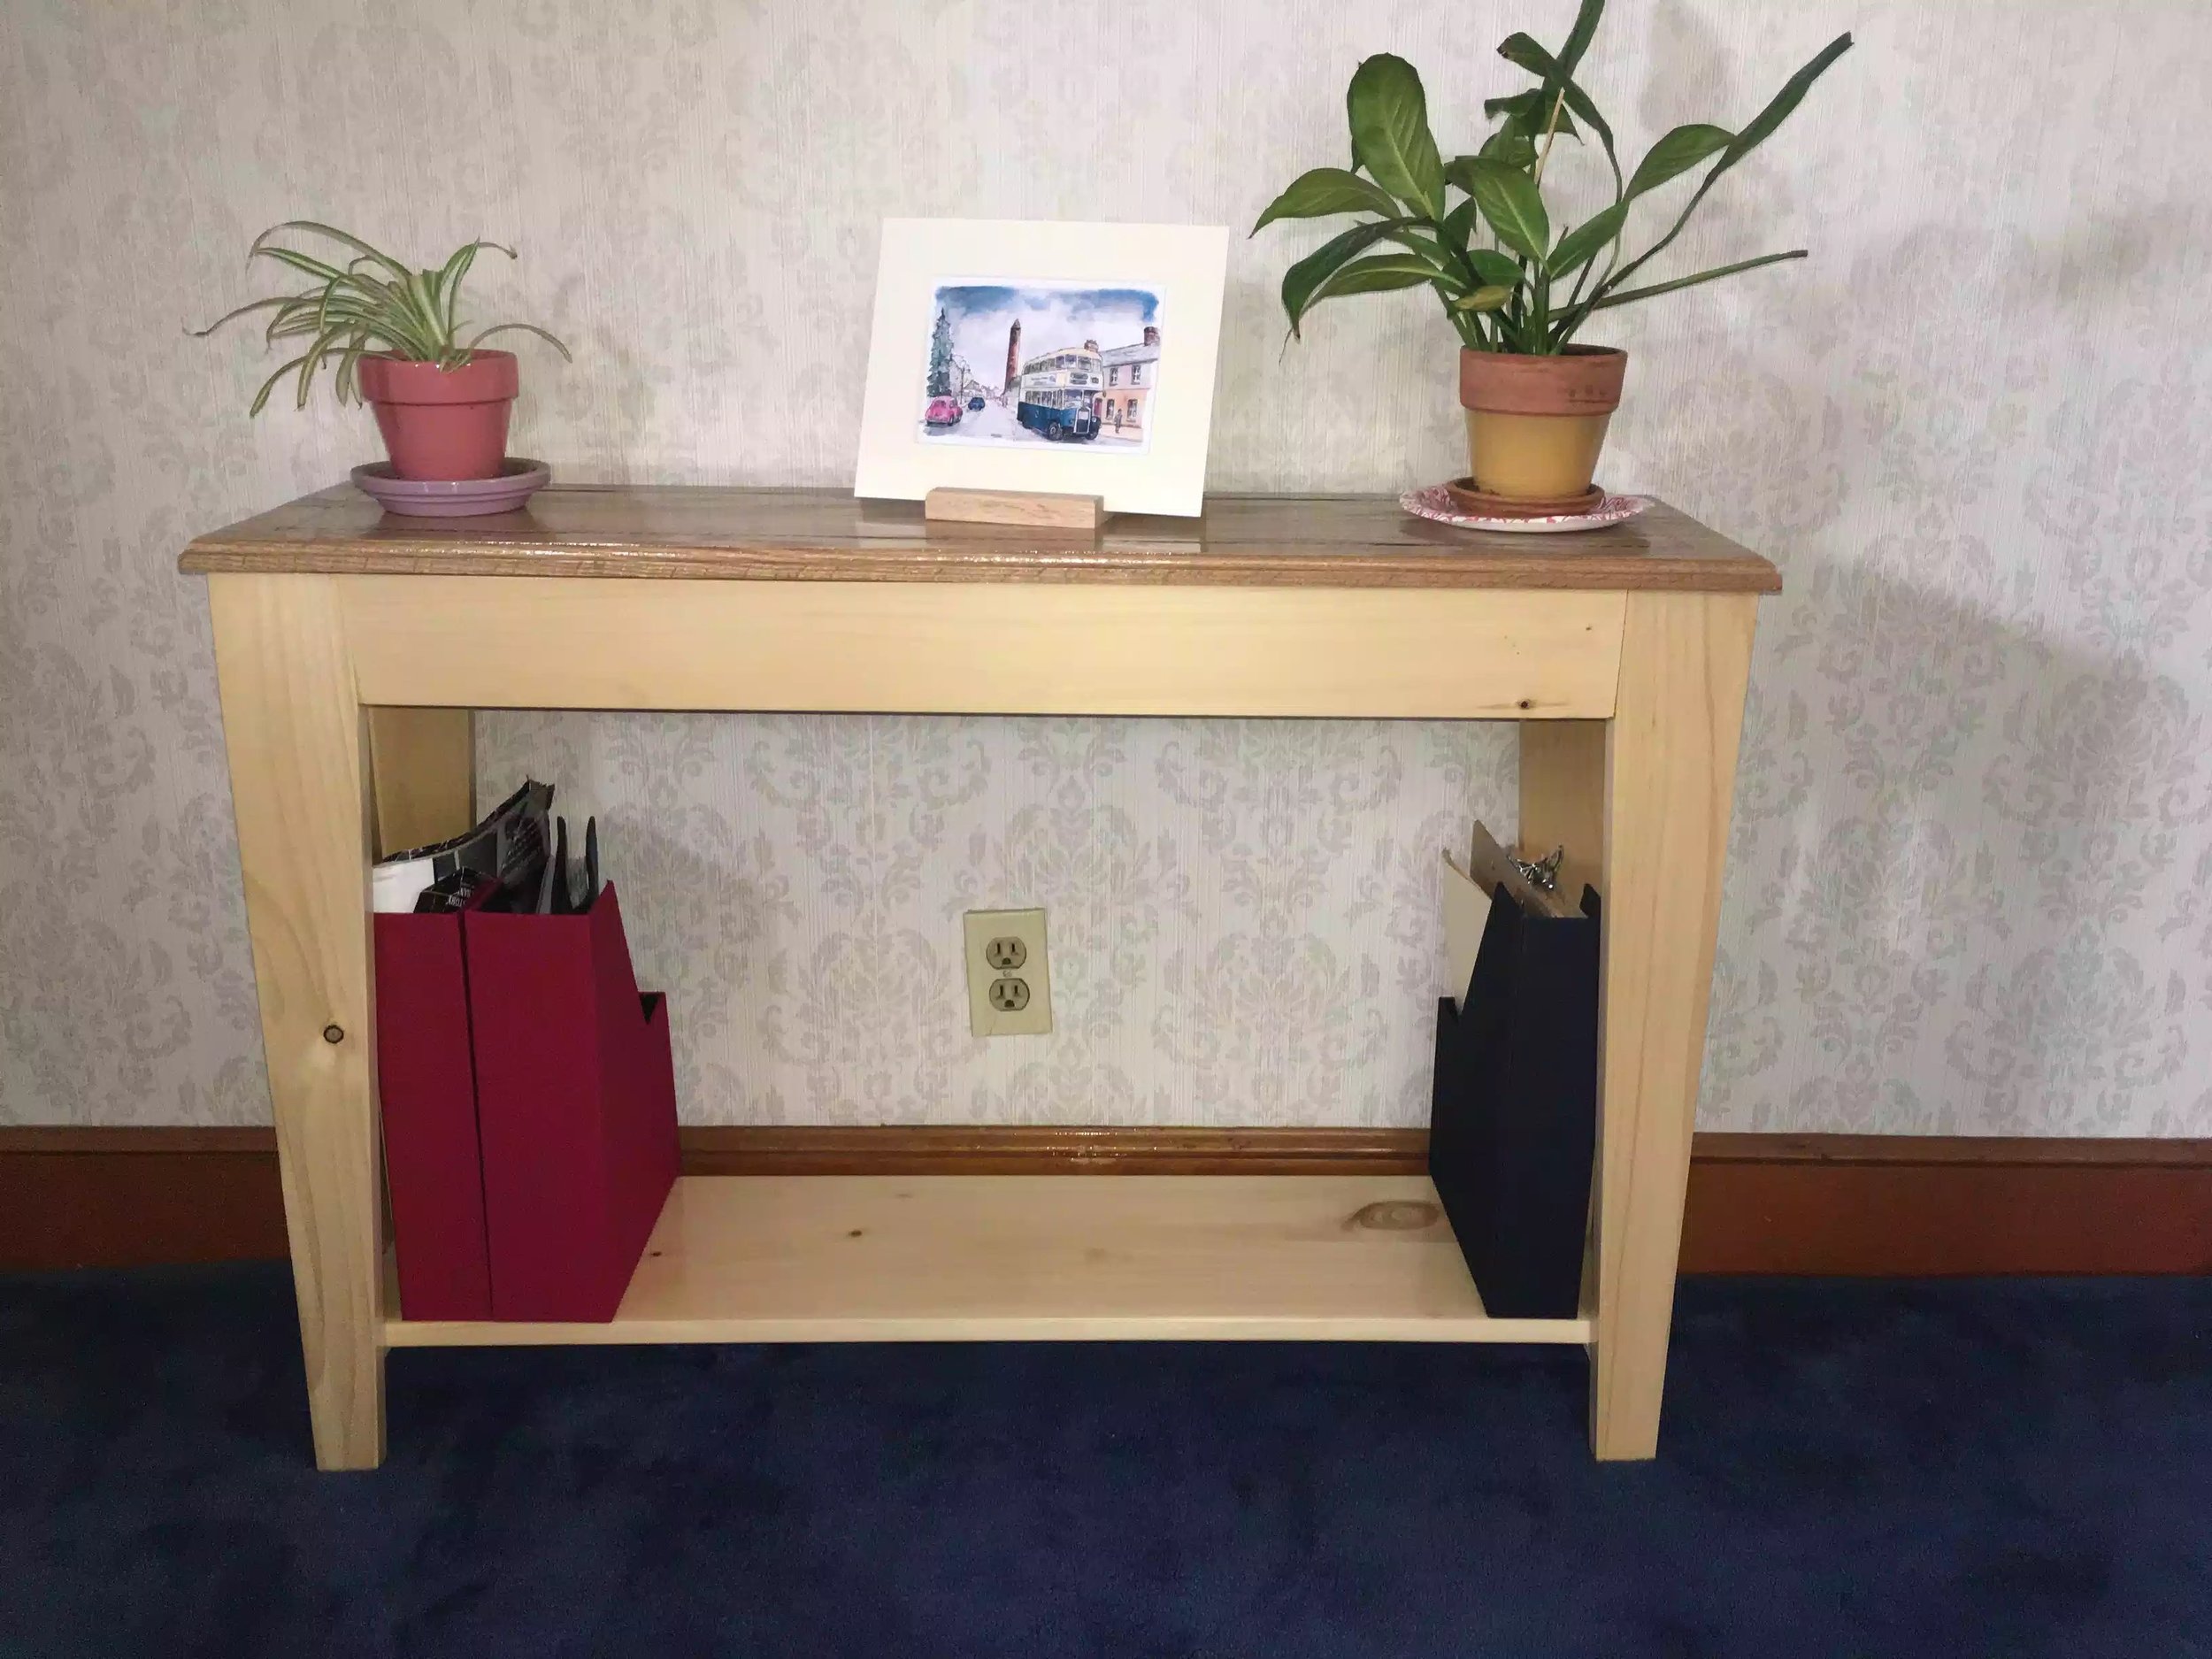
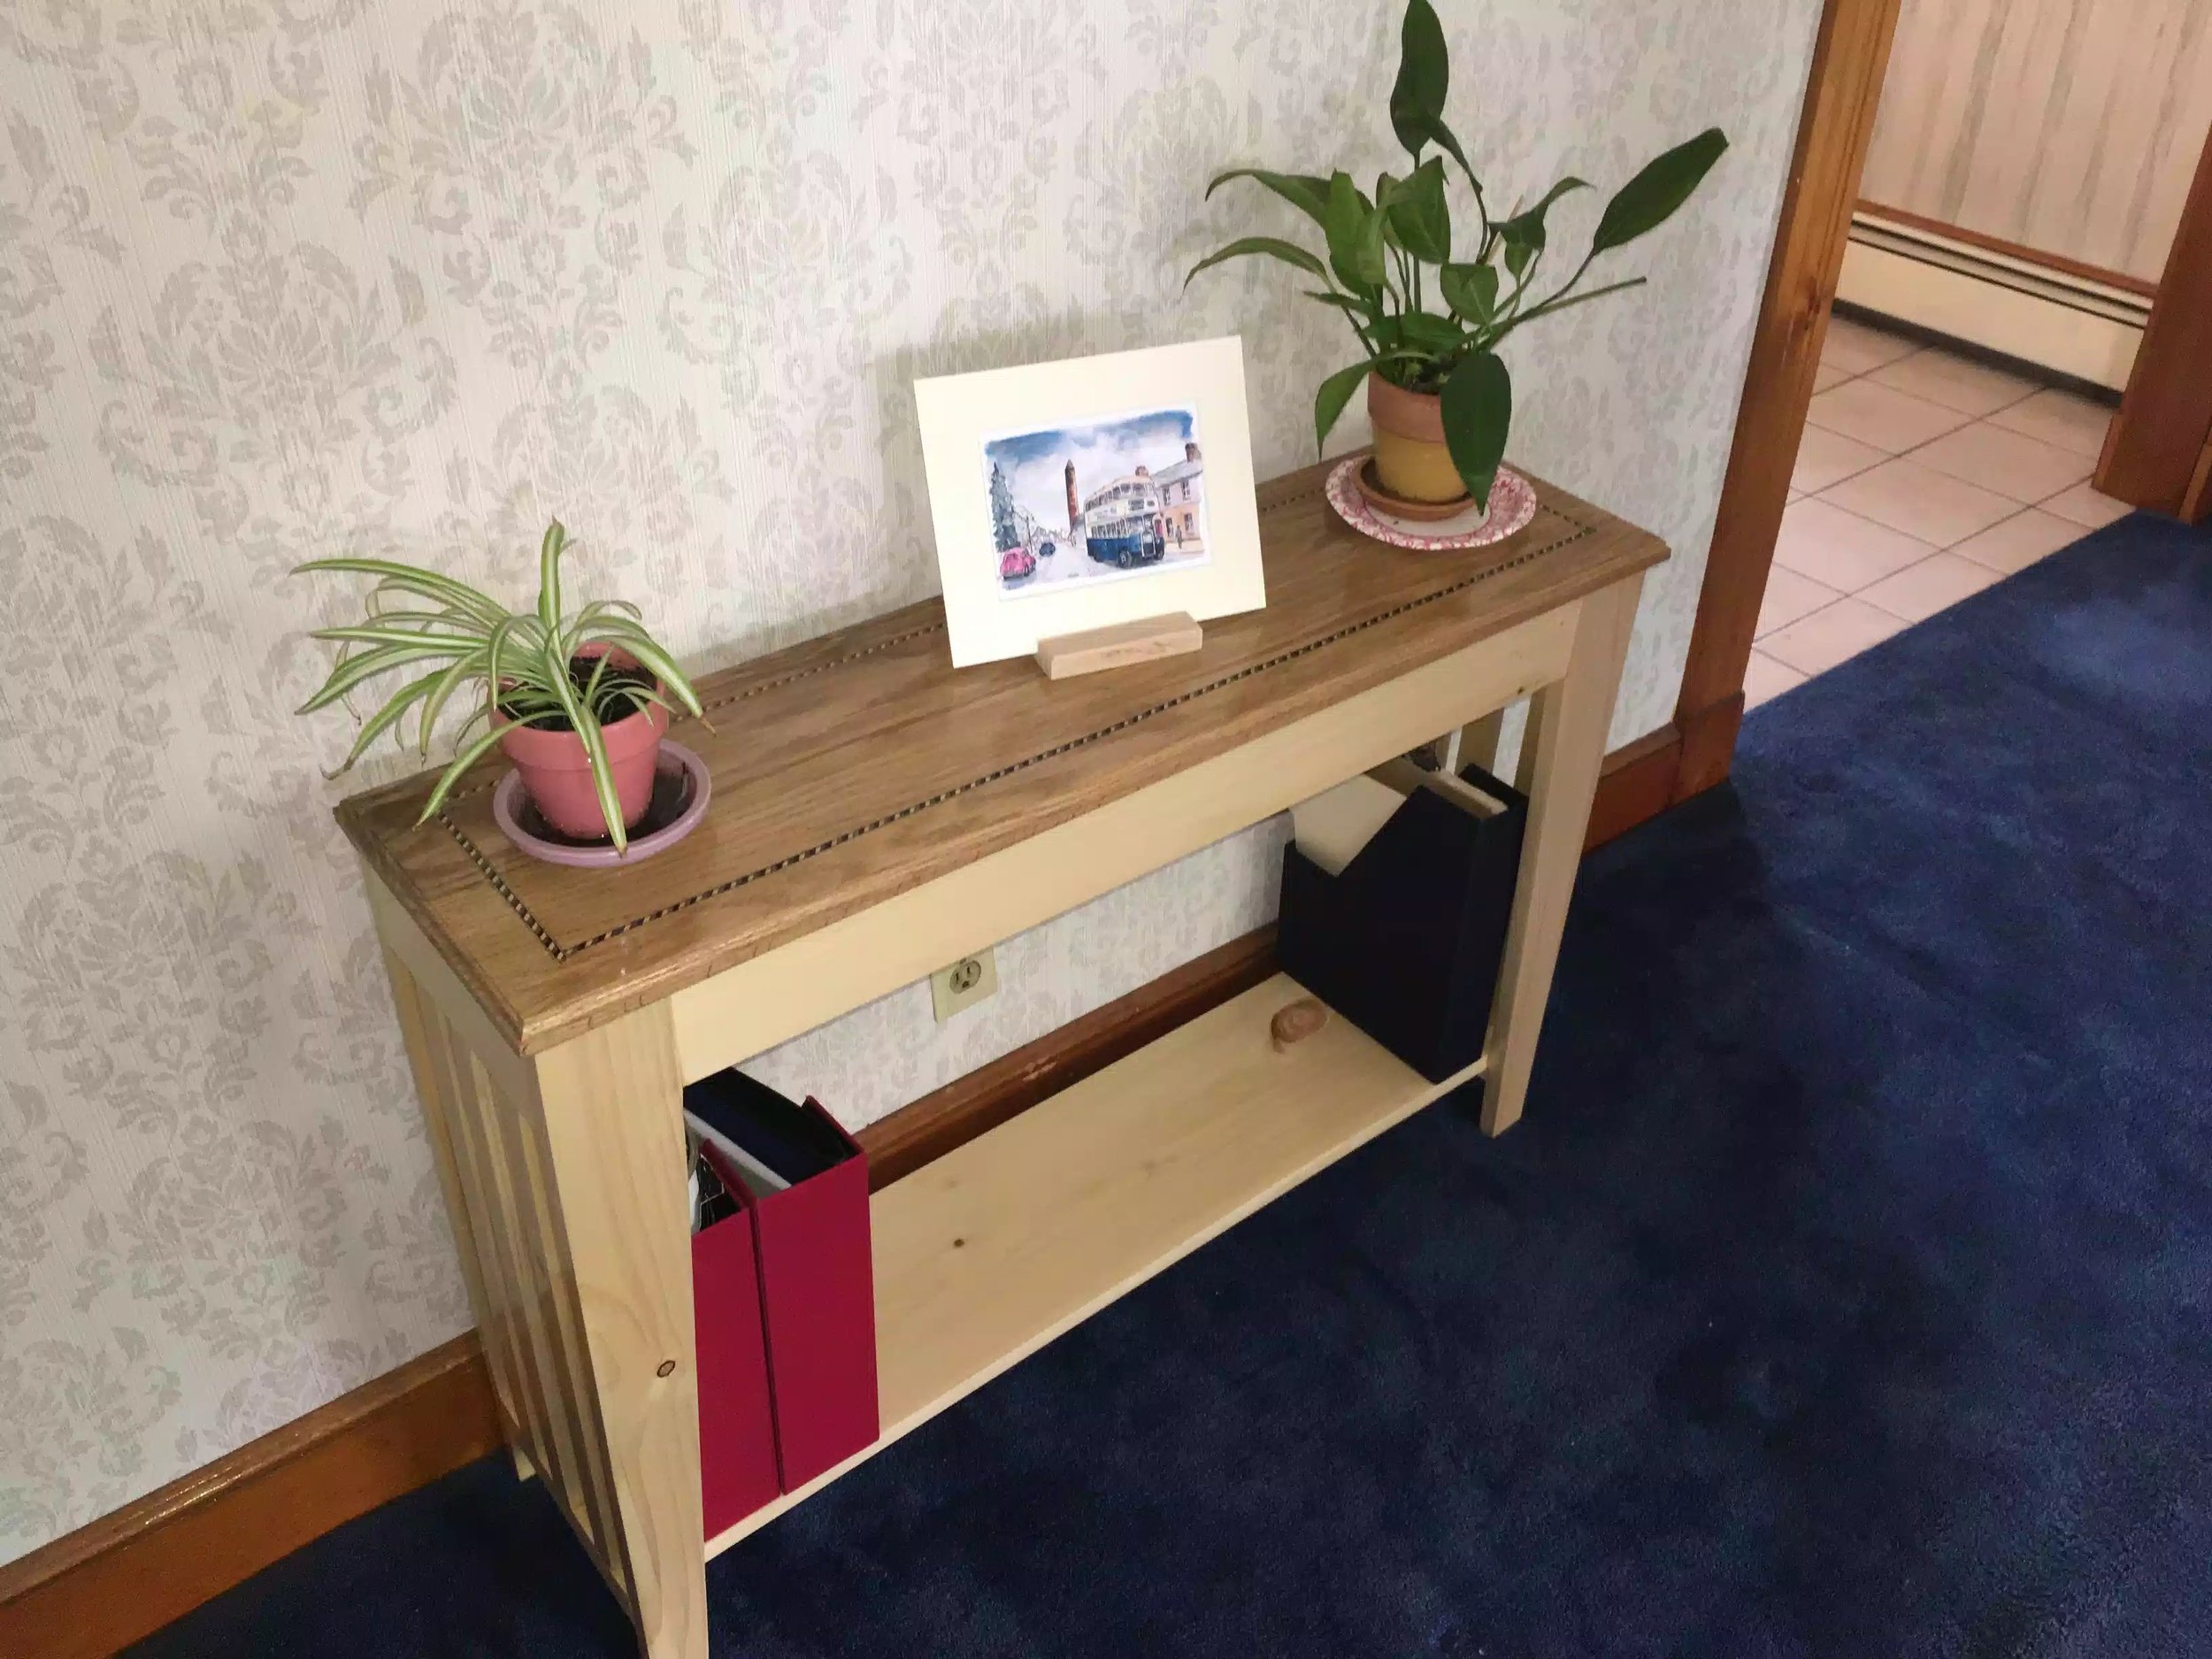
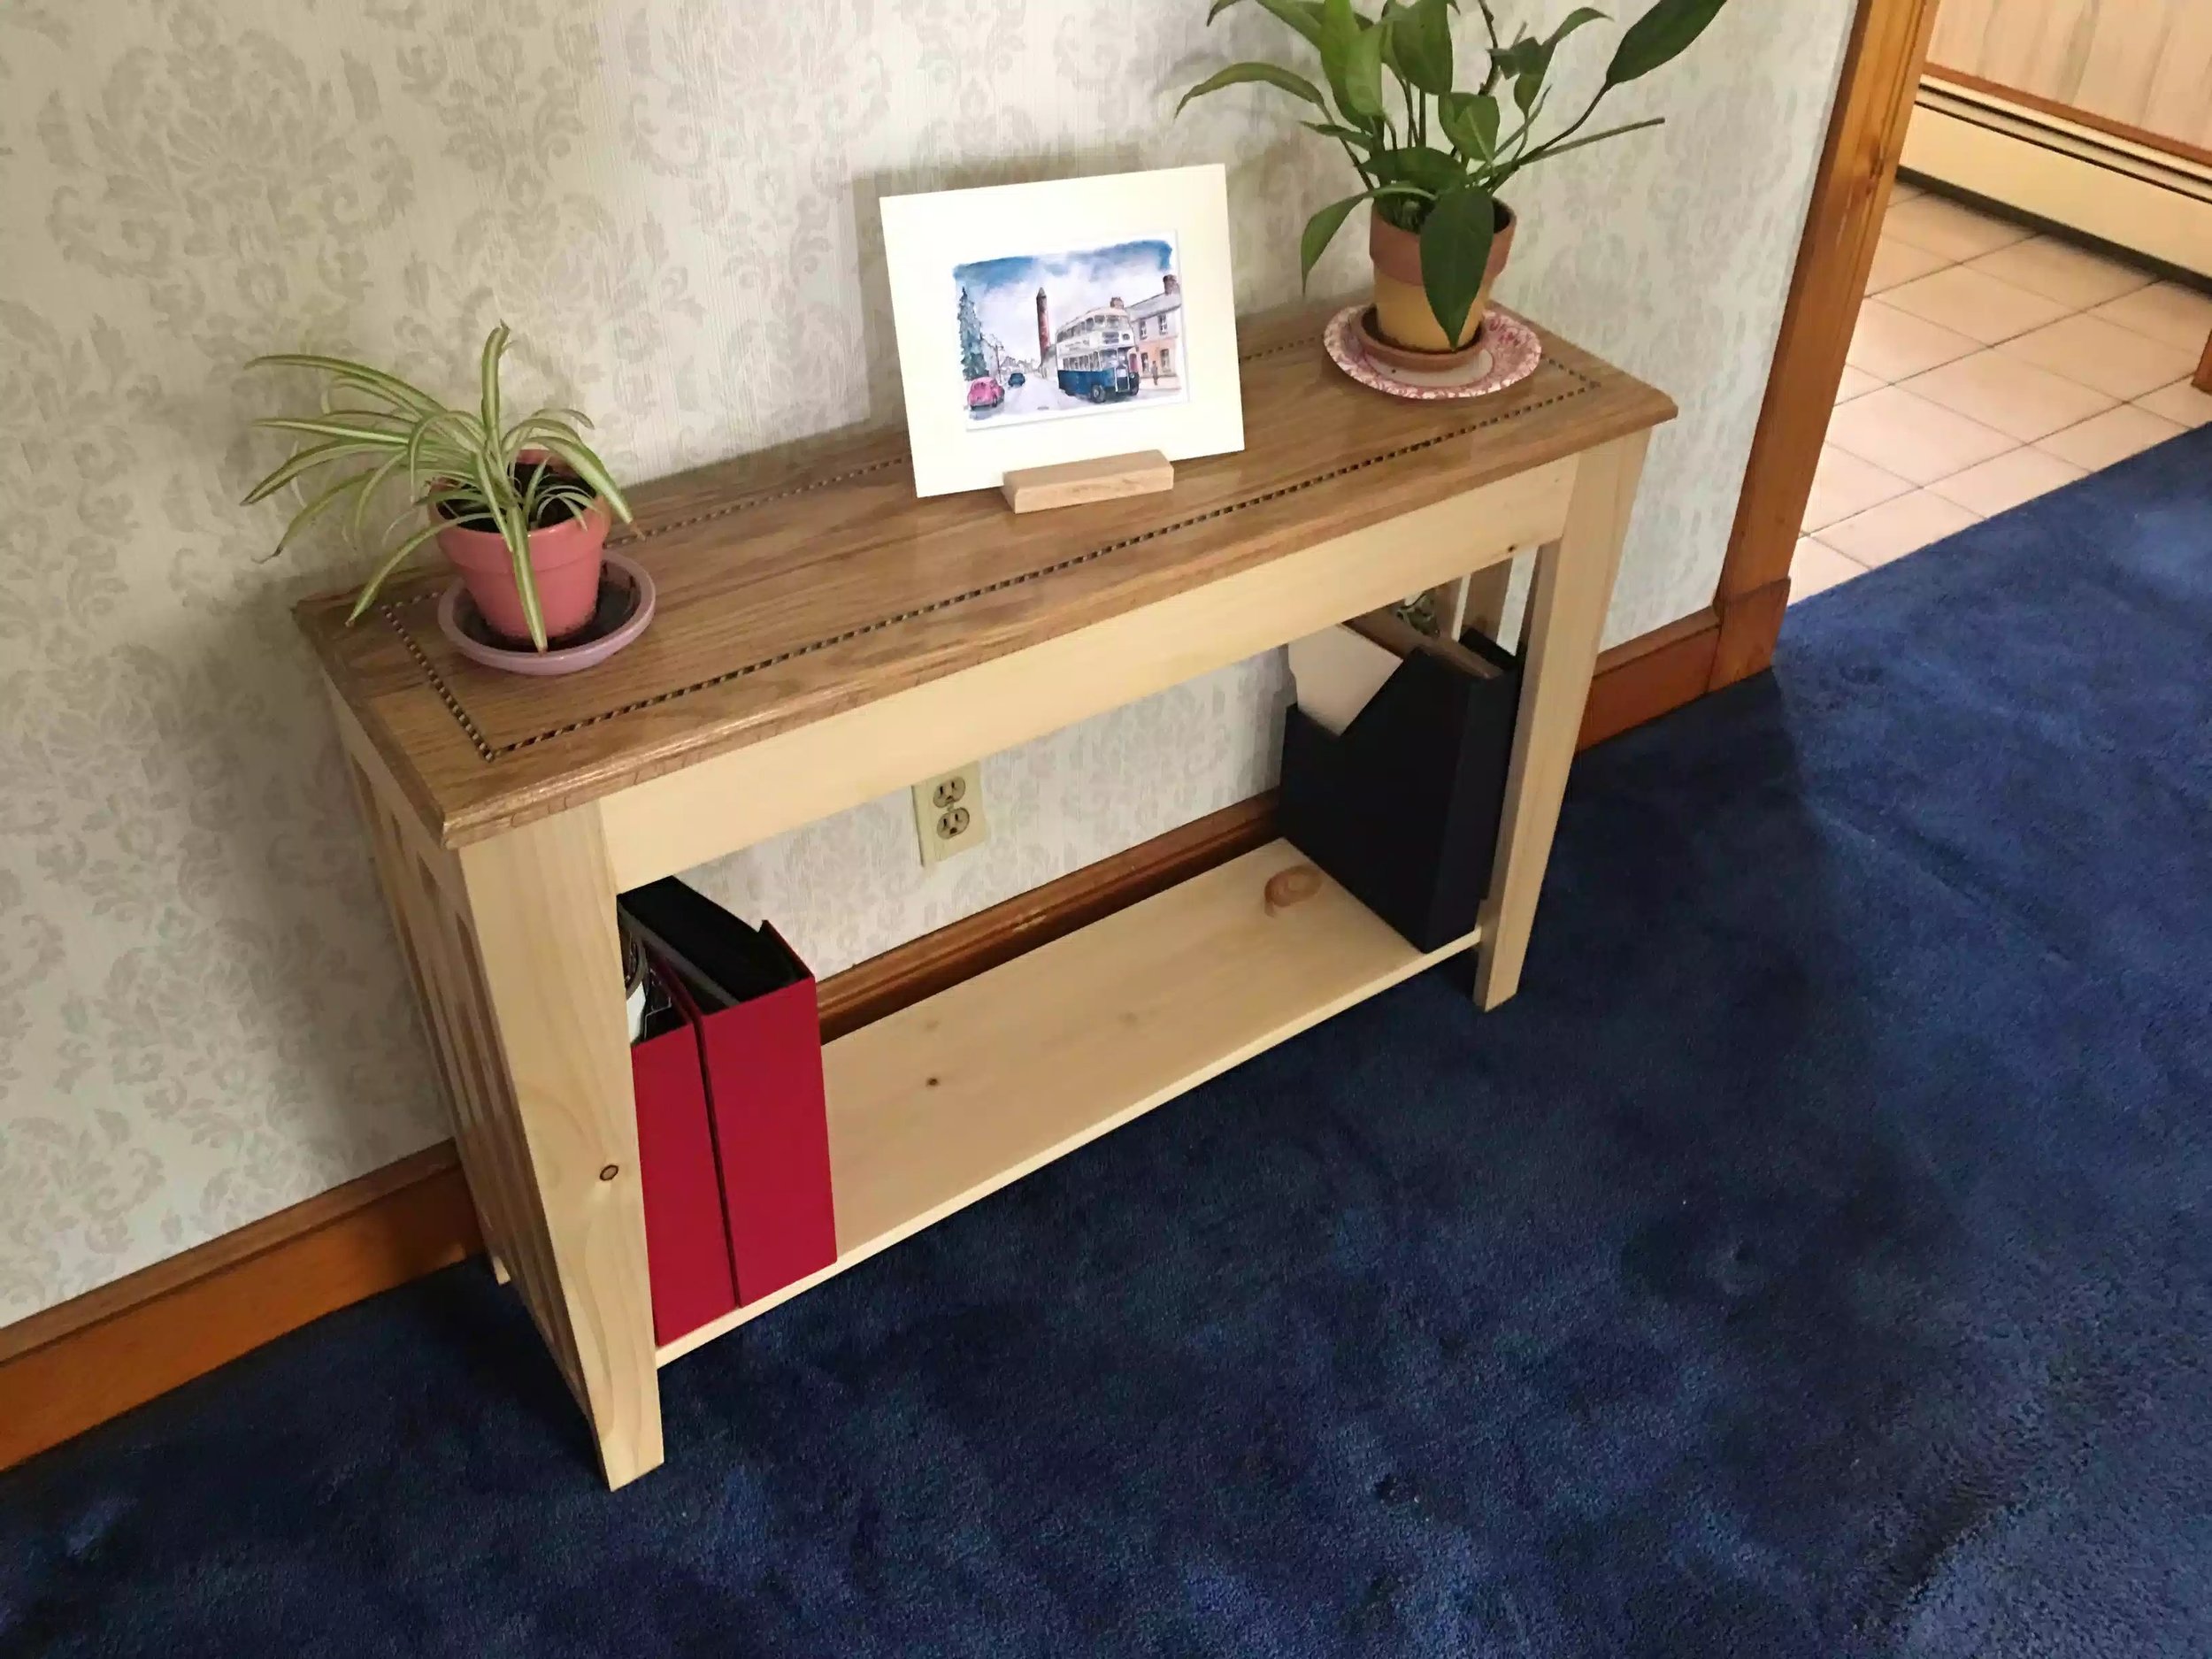
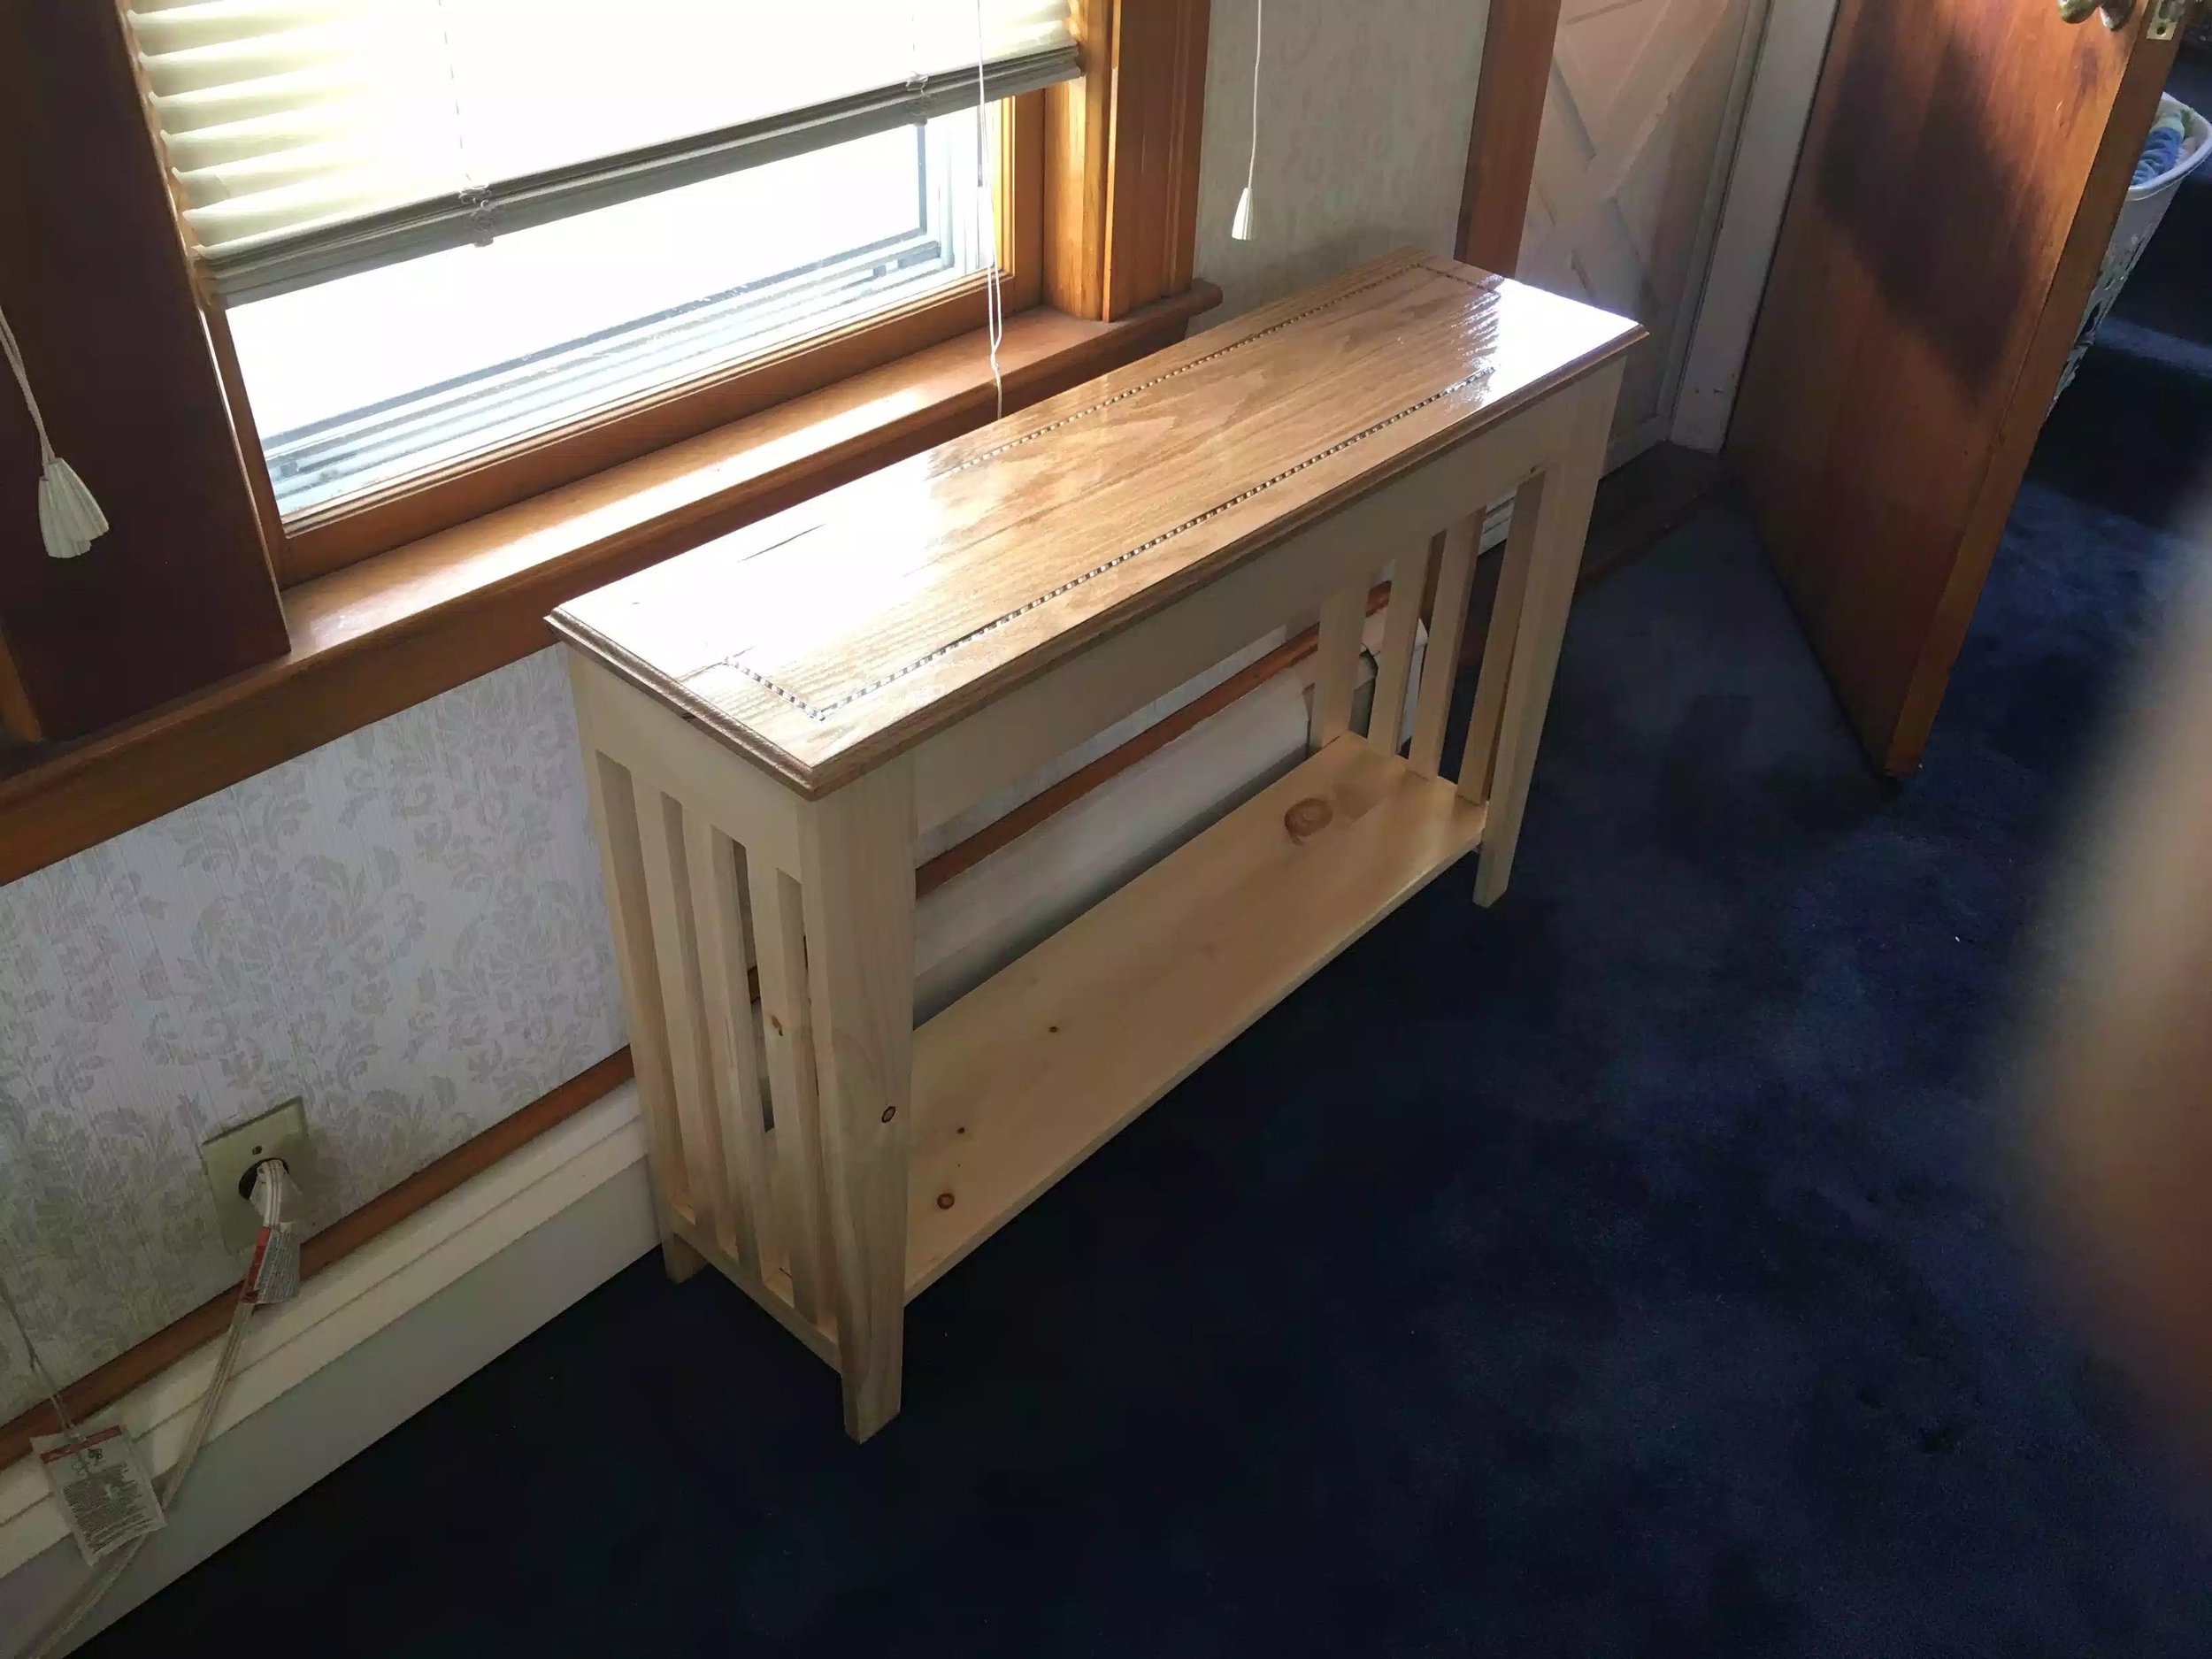
I know that it has been a few days since my last post and that is simply because I was applying the finish to the table and that takes a little while. I added 3 coats of a Poly-Acrylic from Minwax.

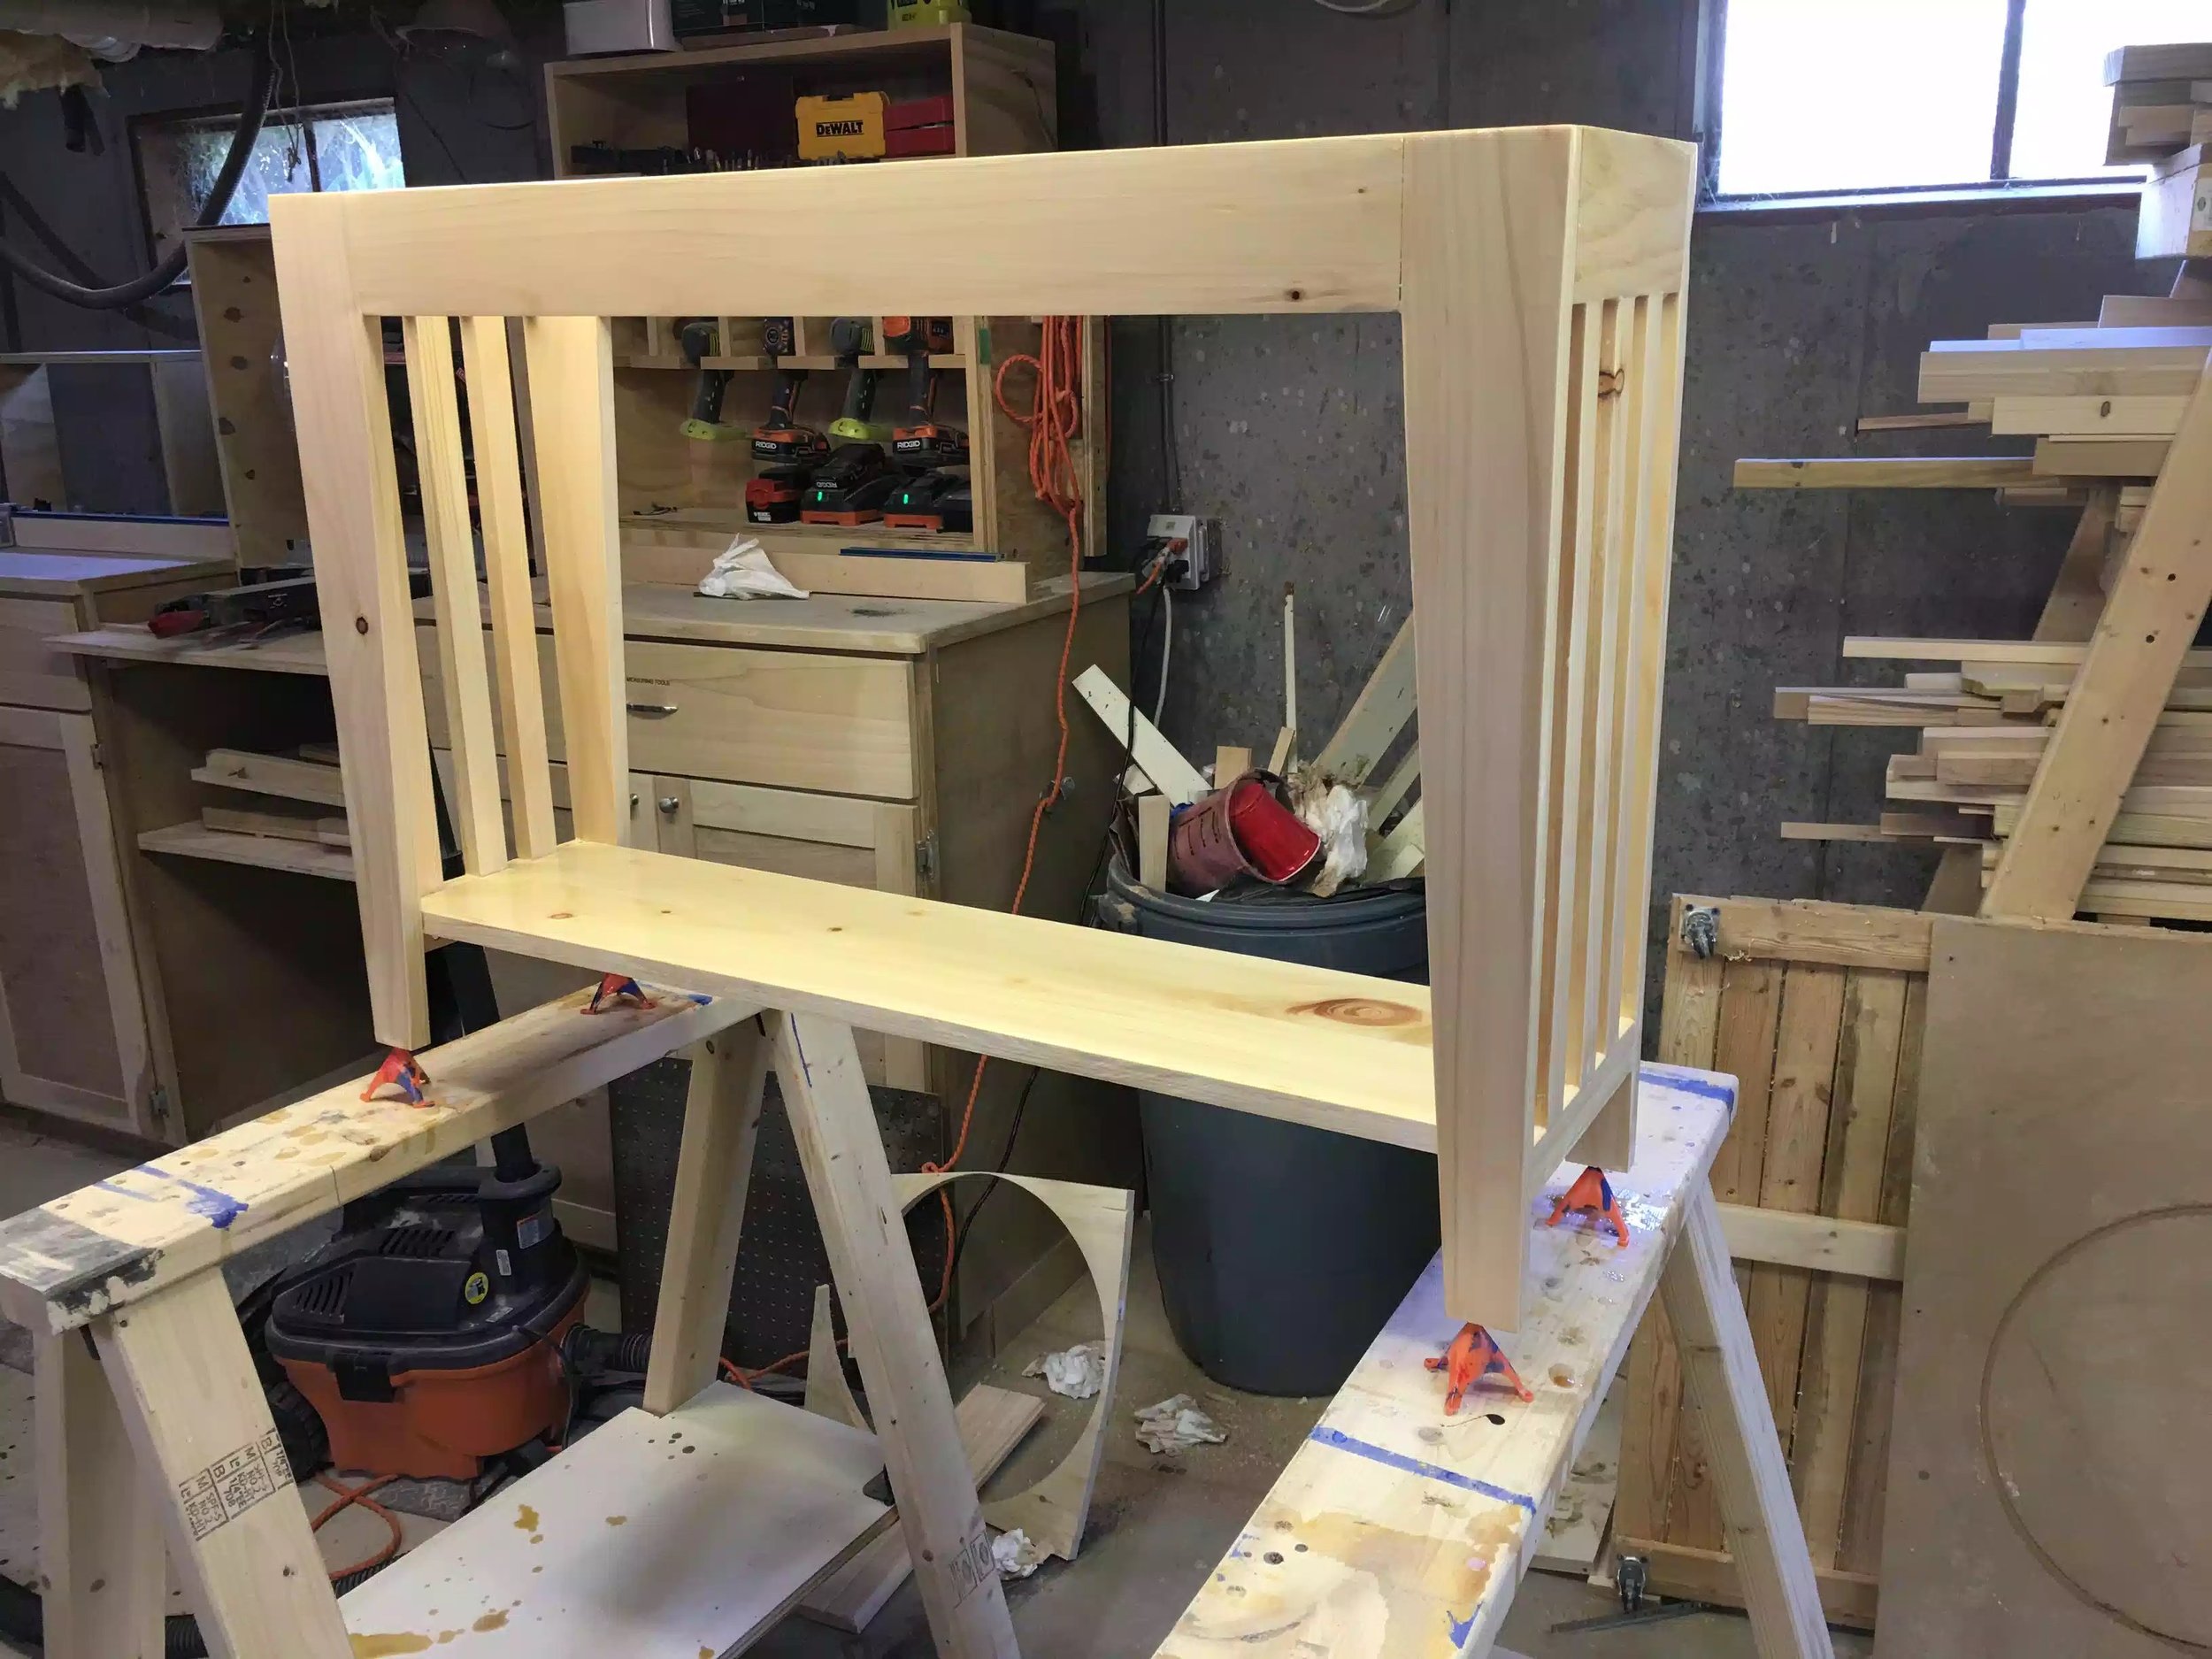
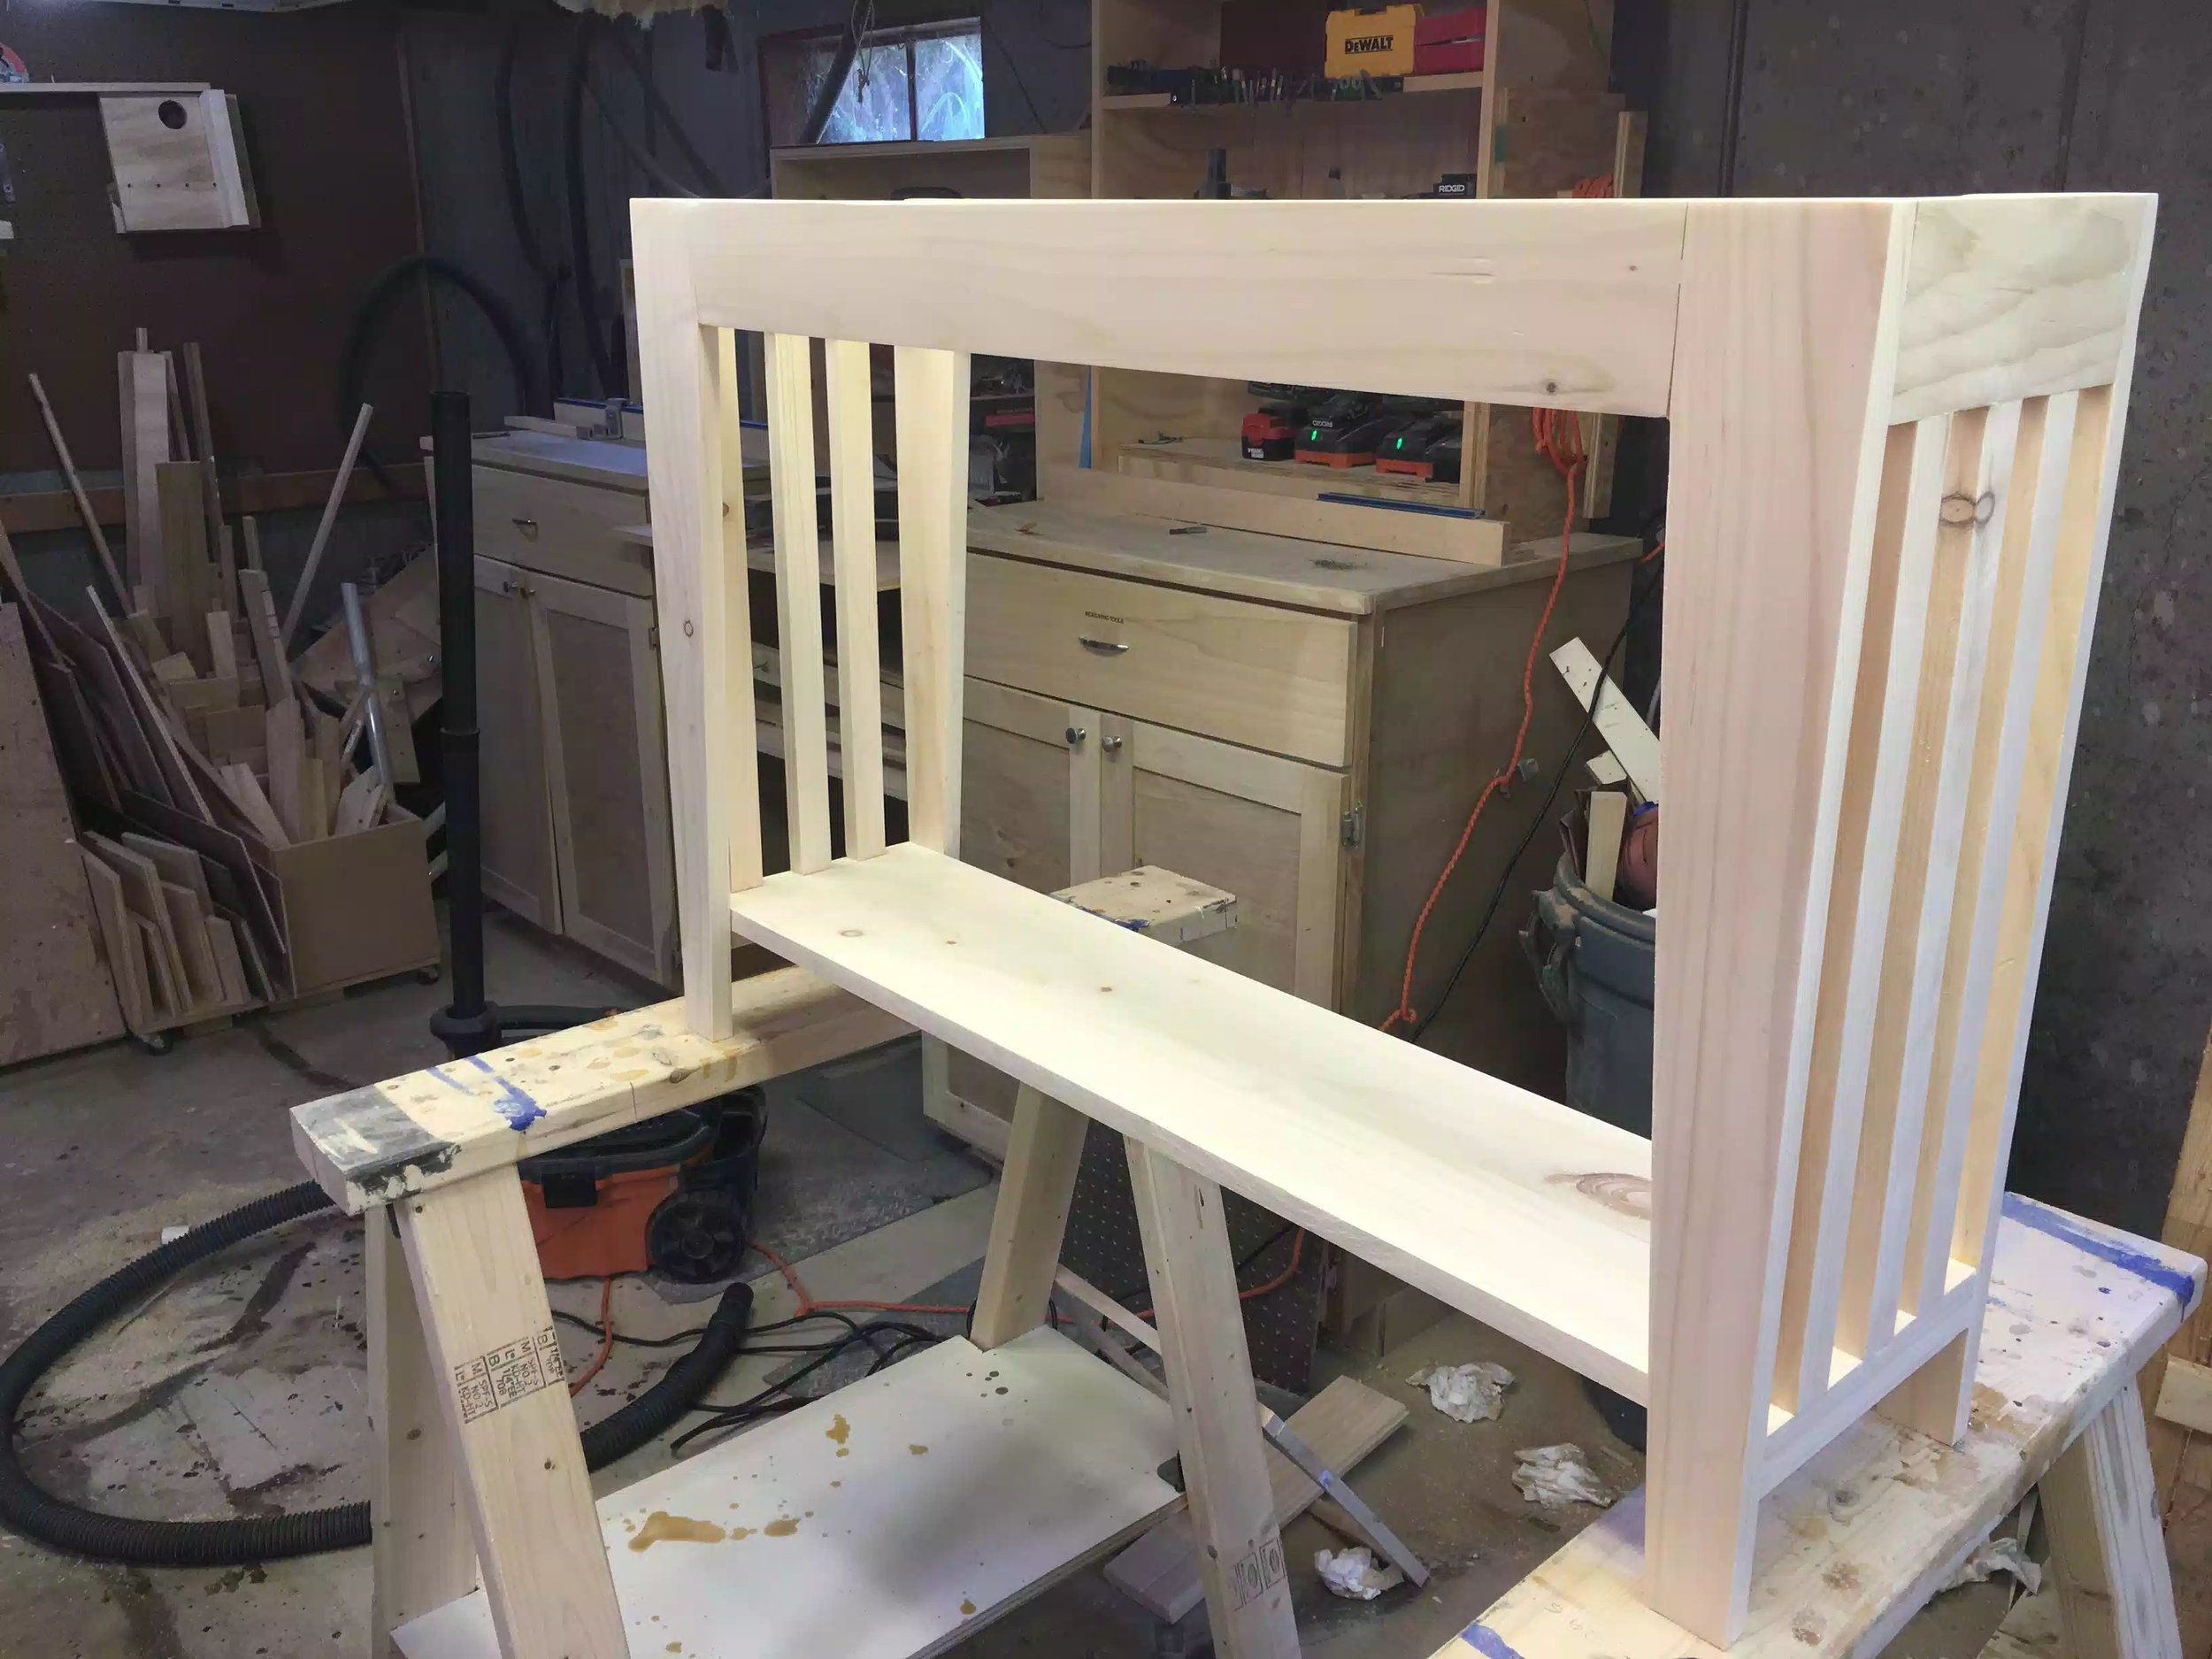
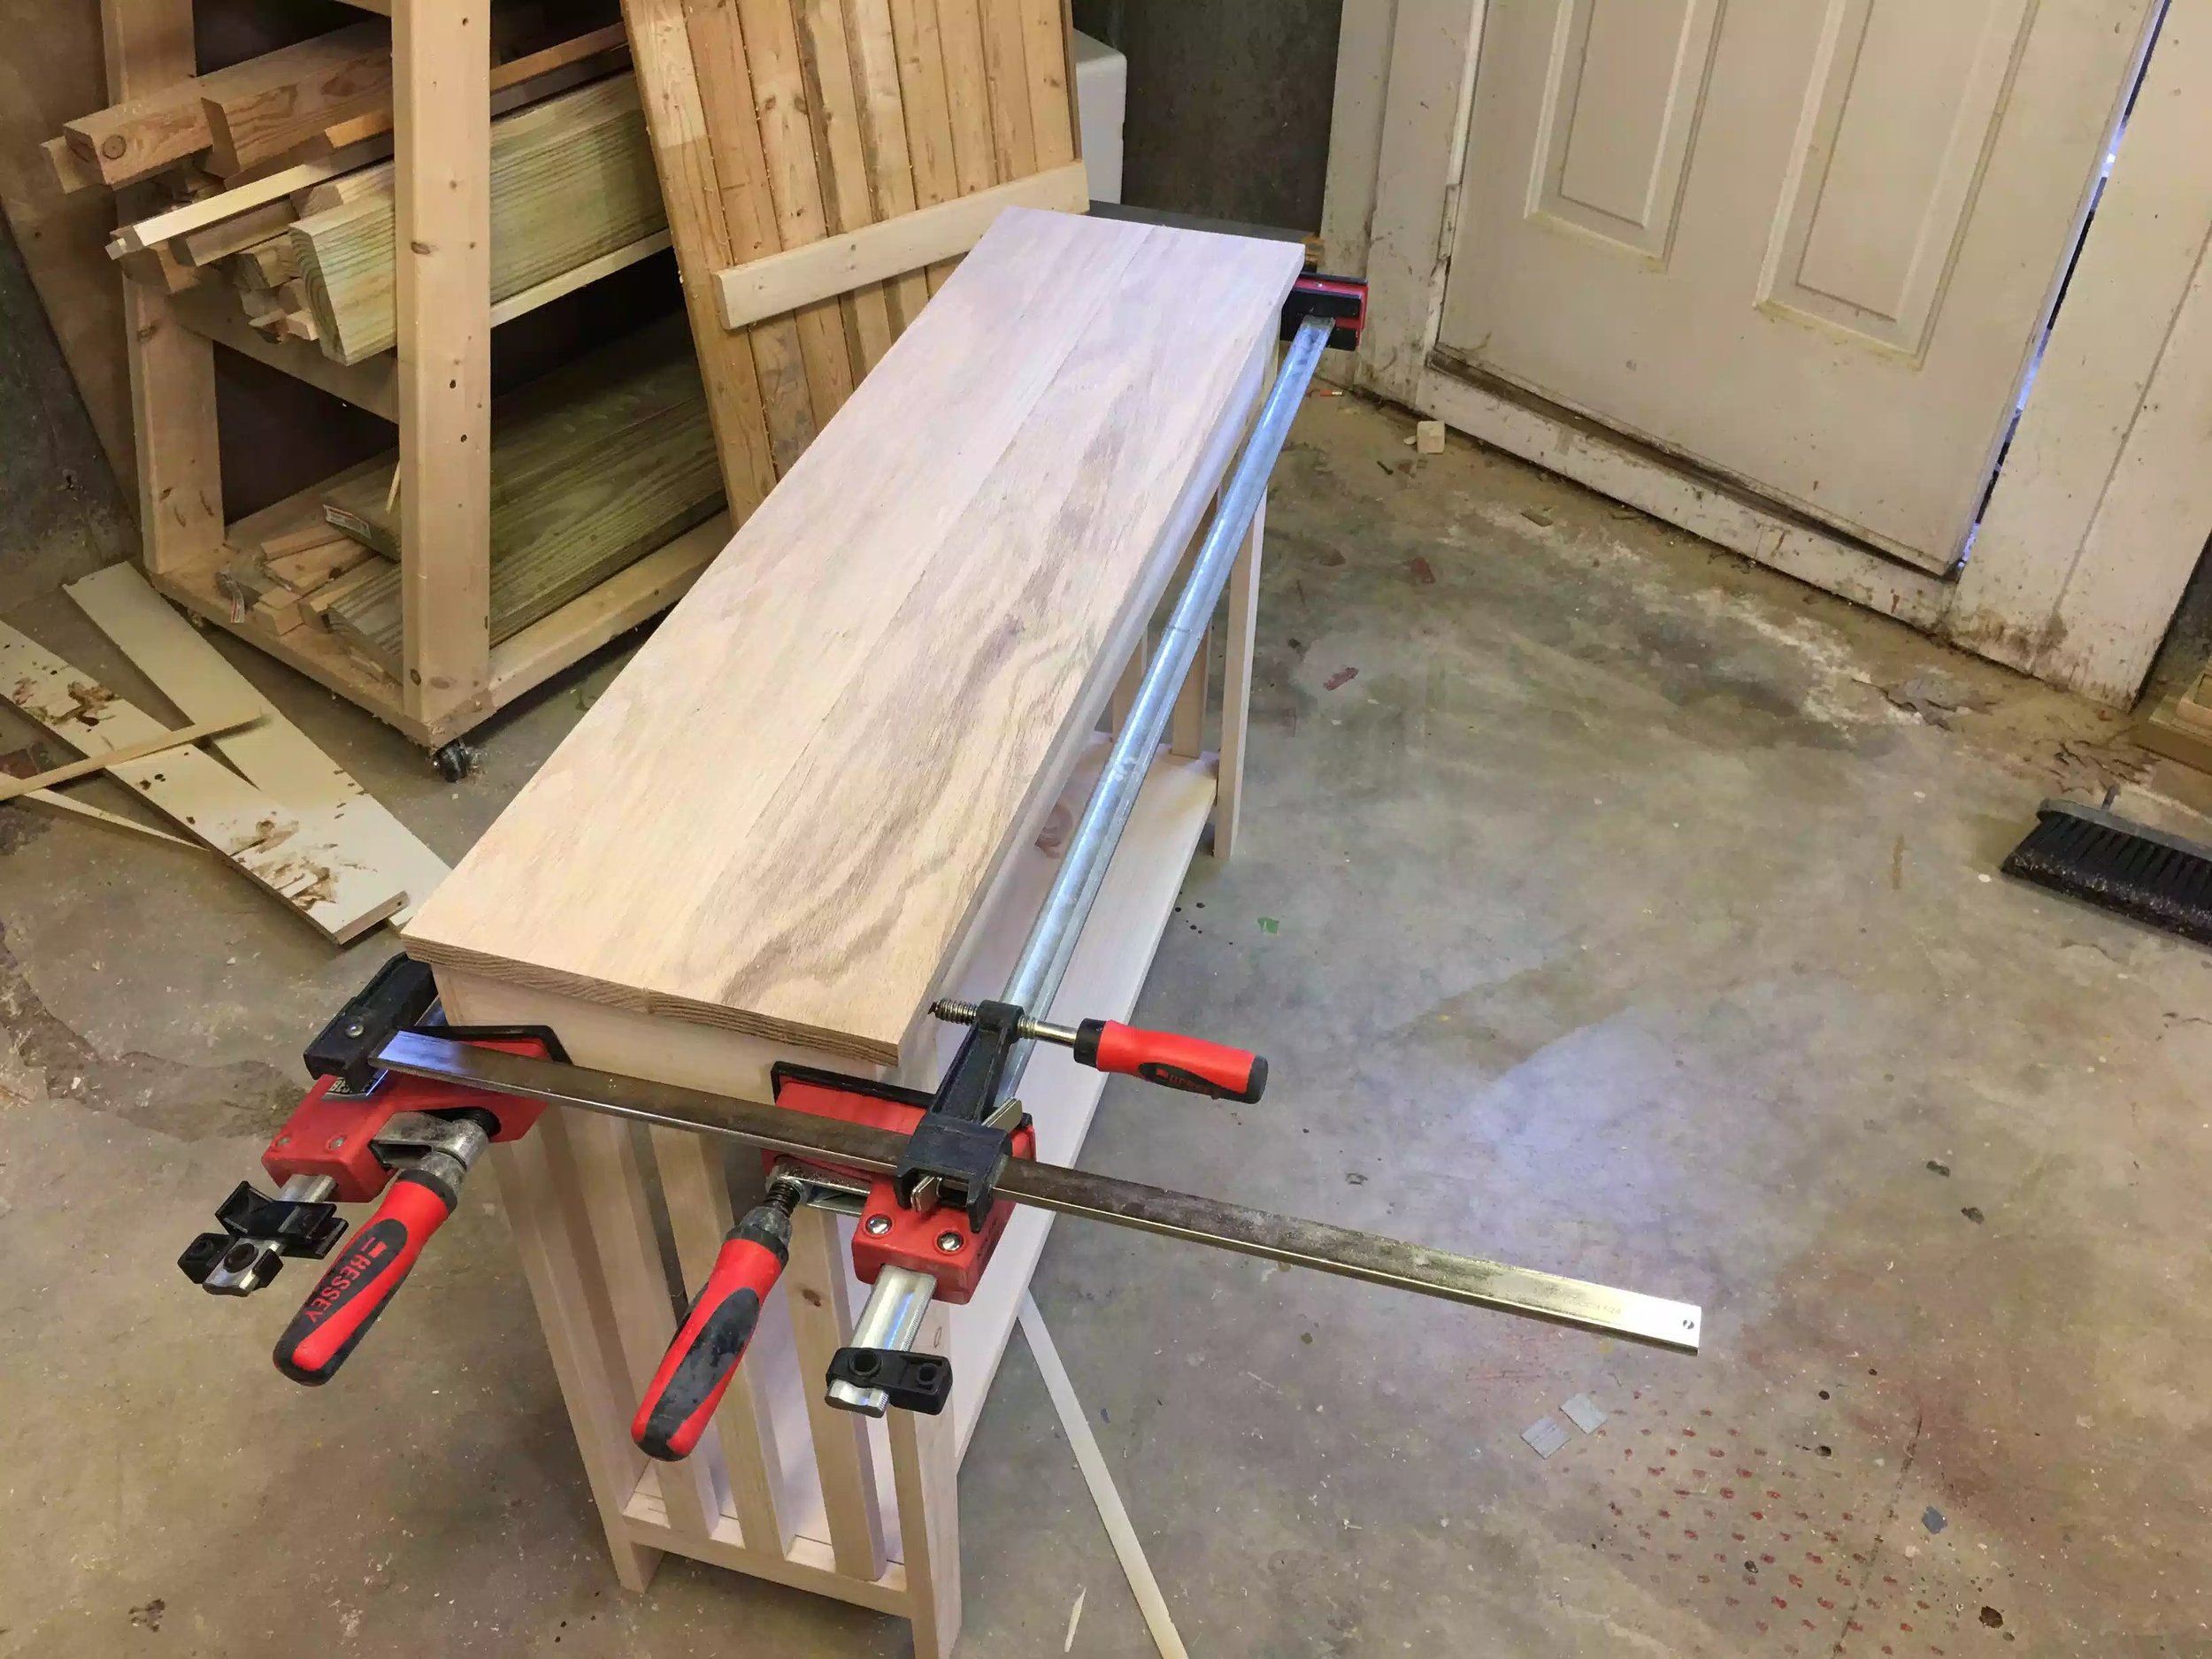
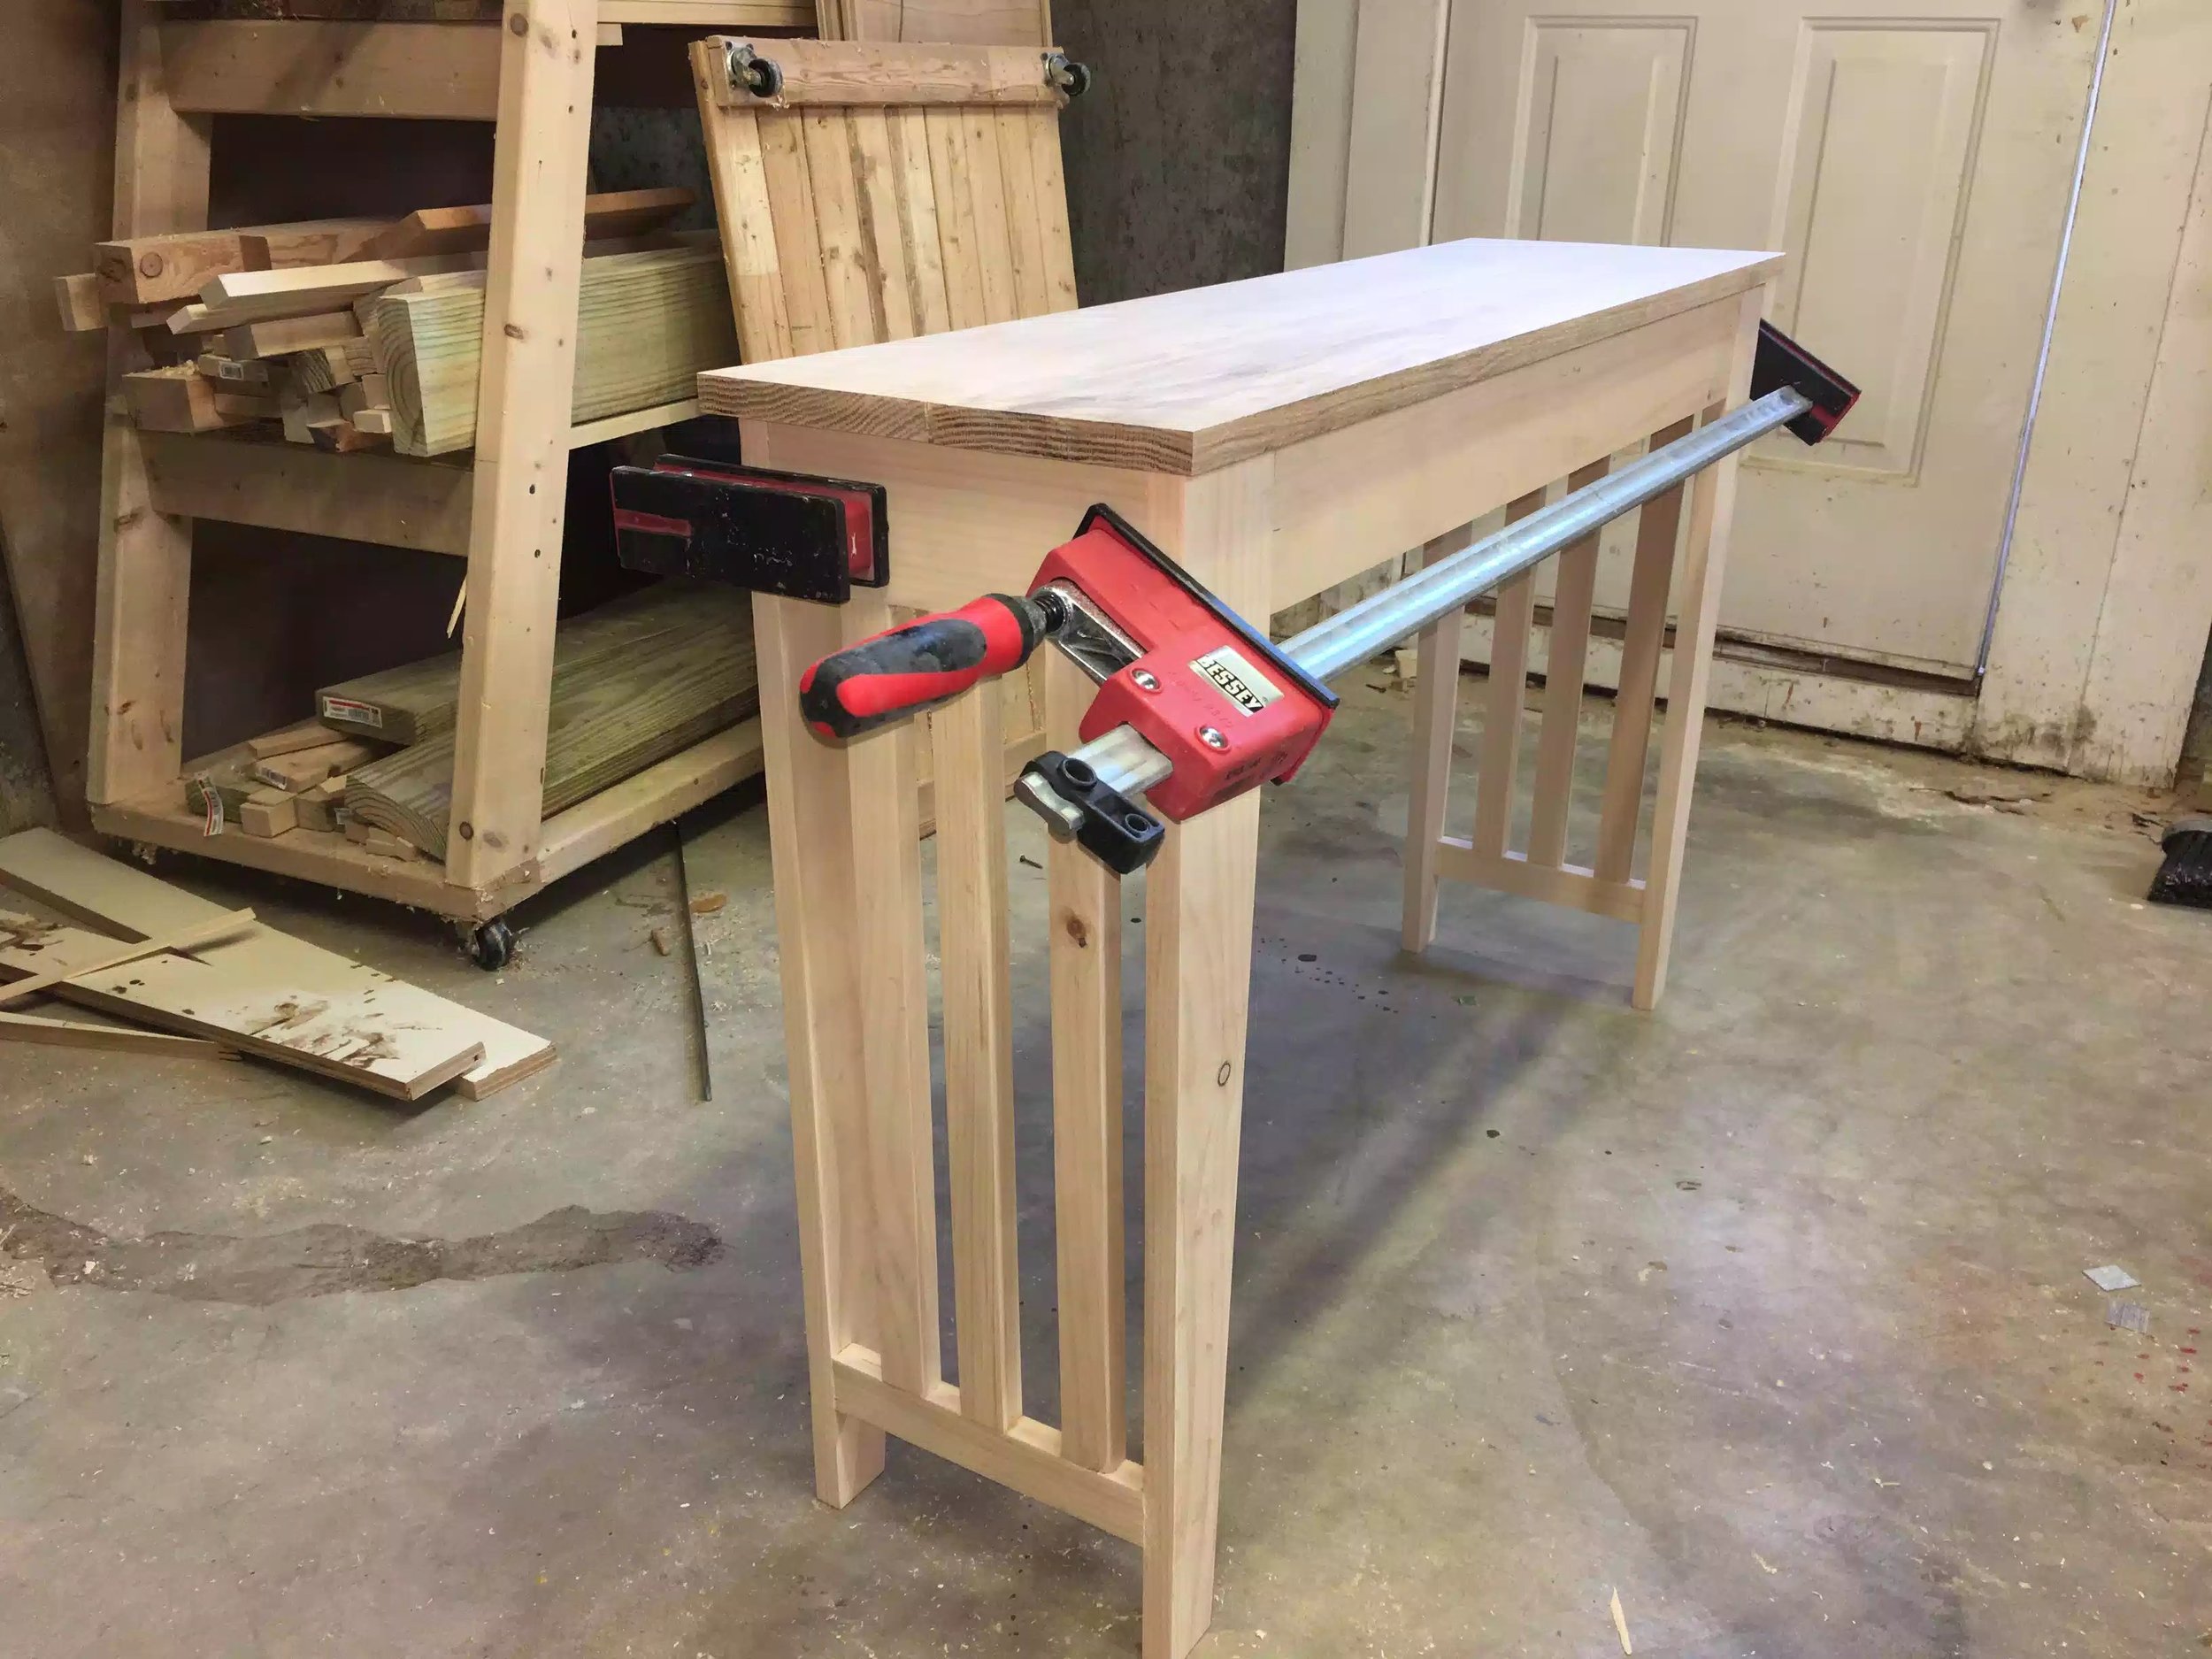
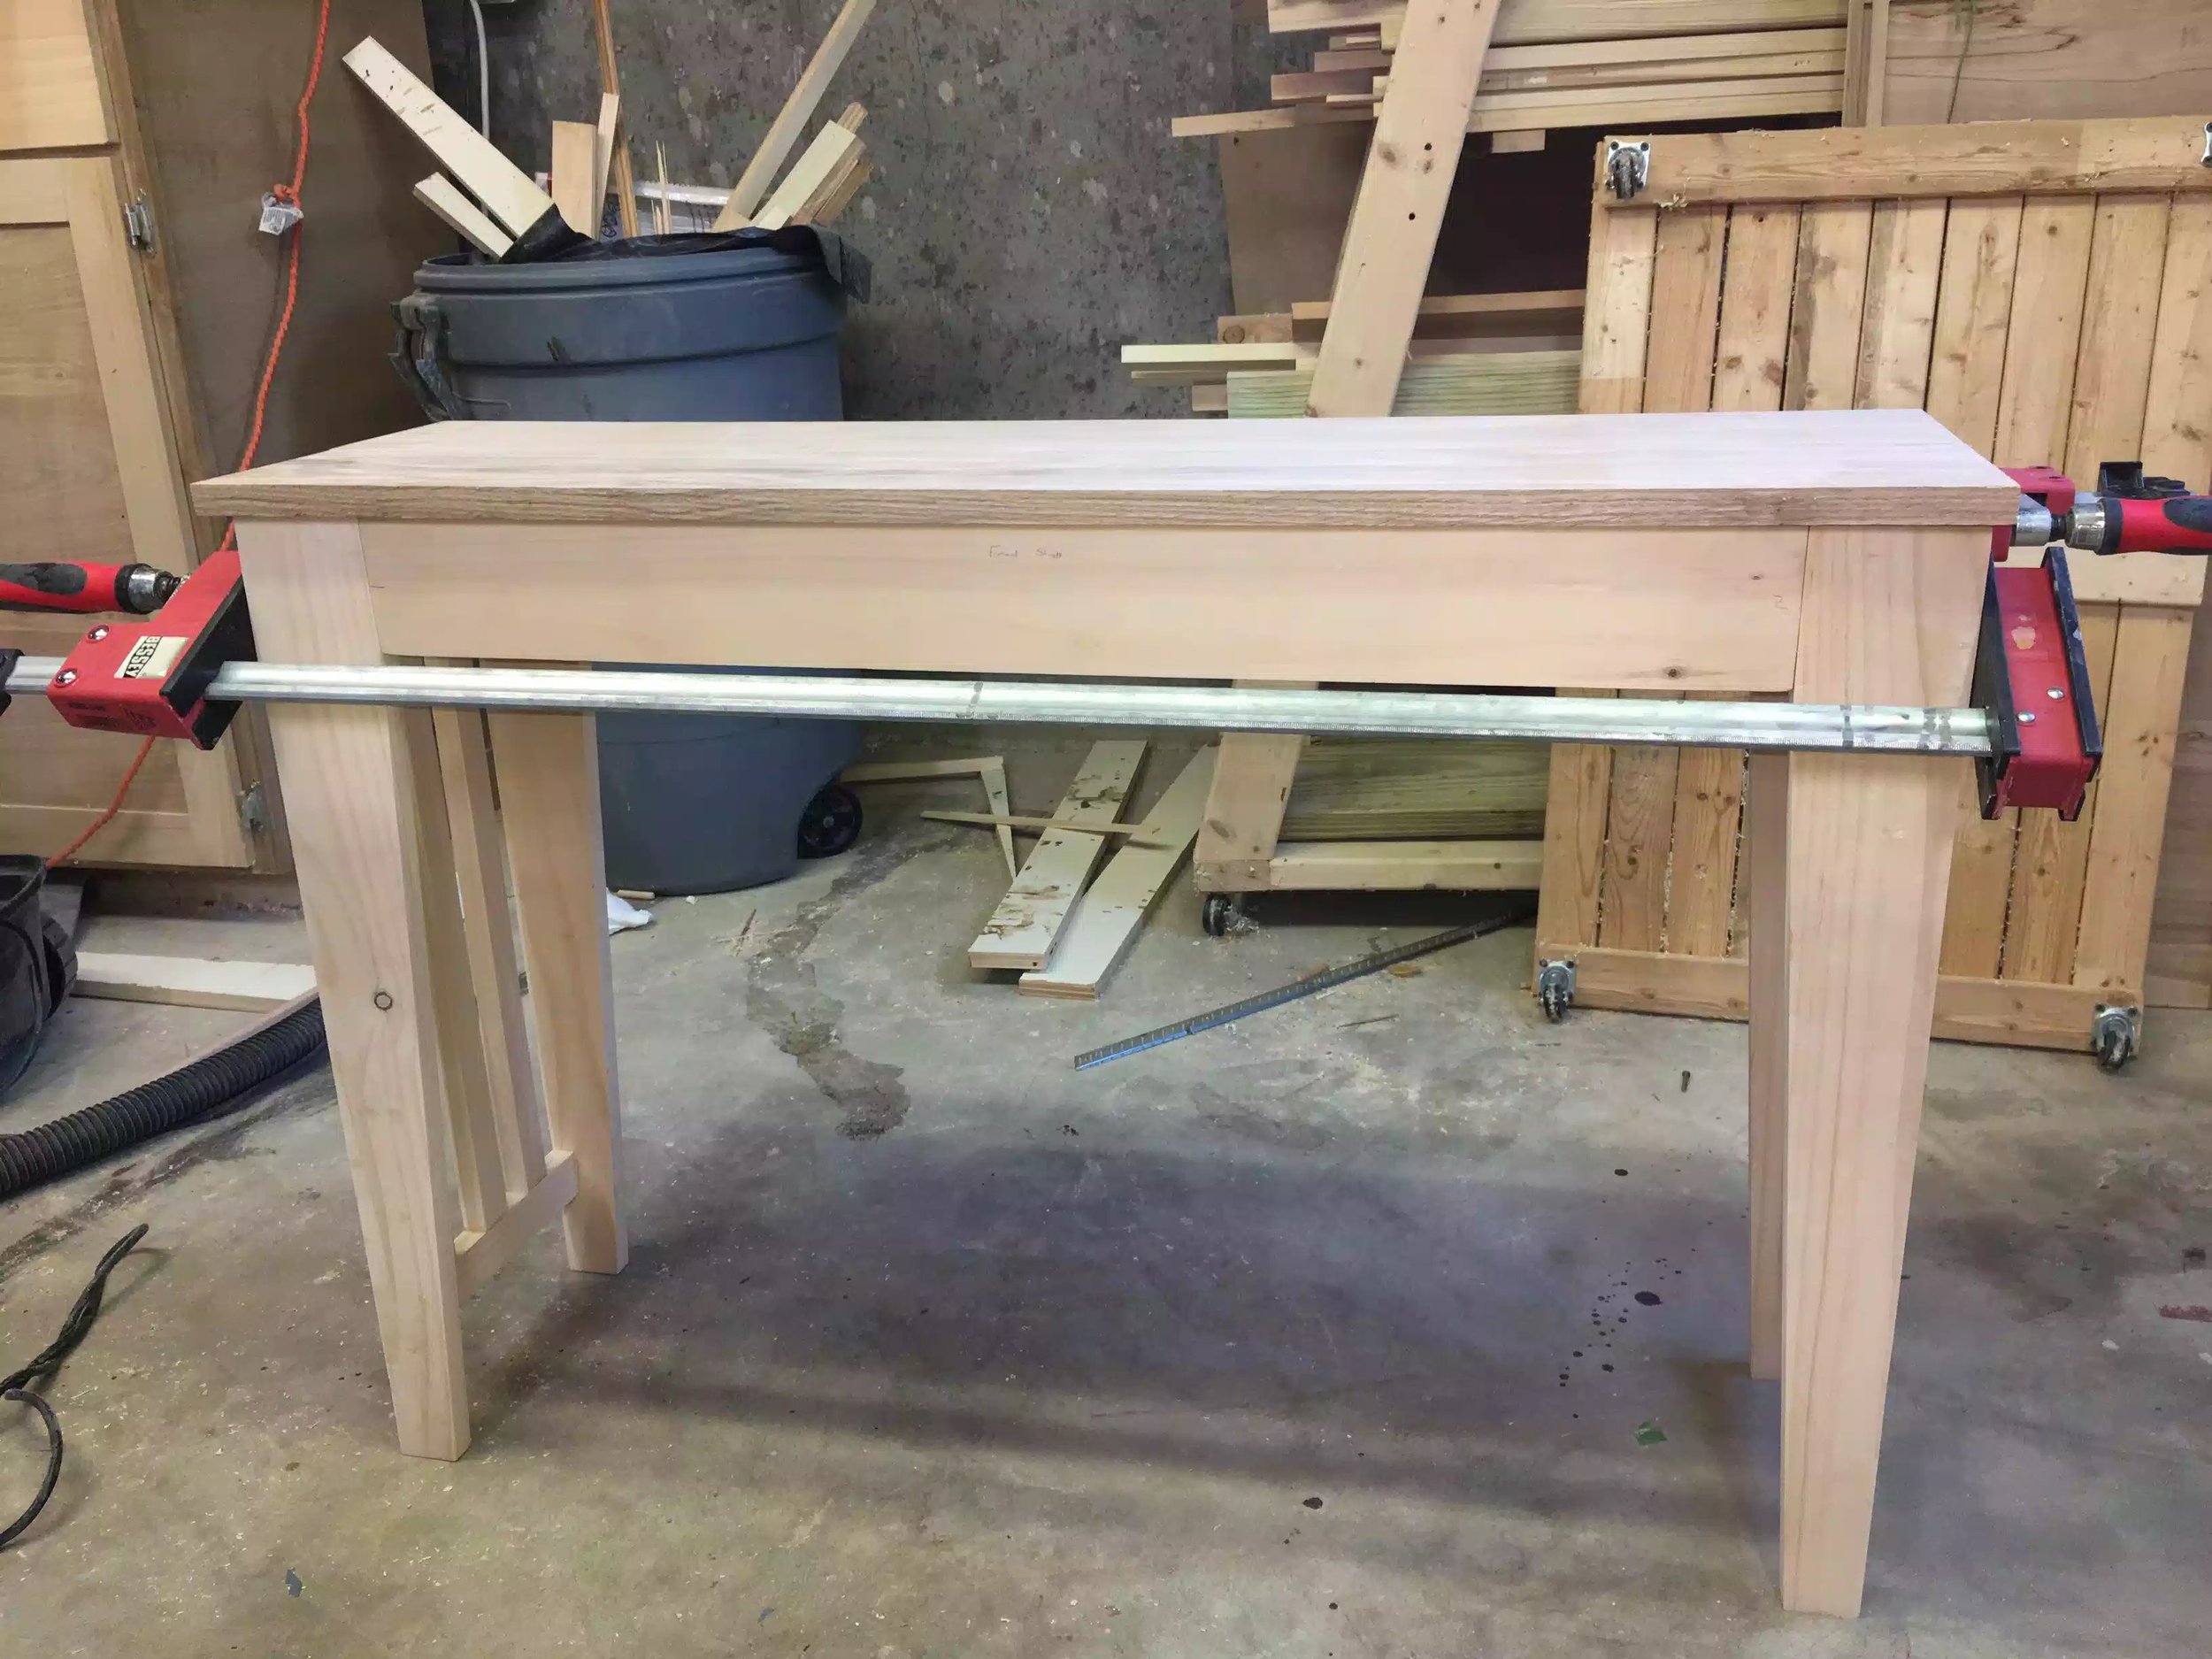
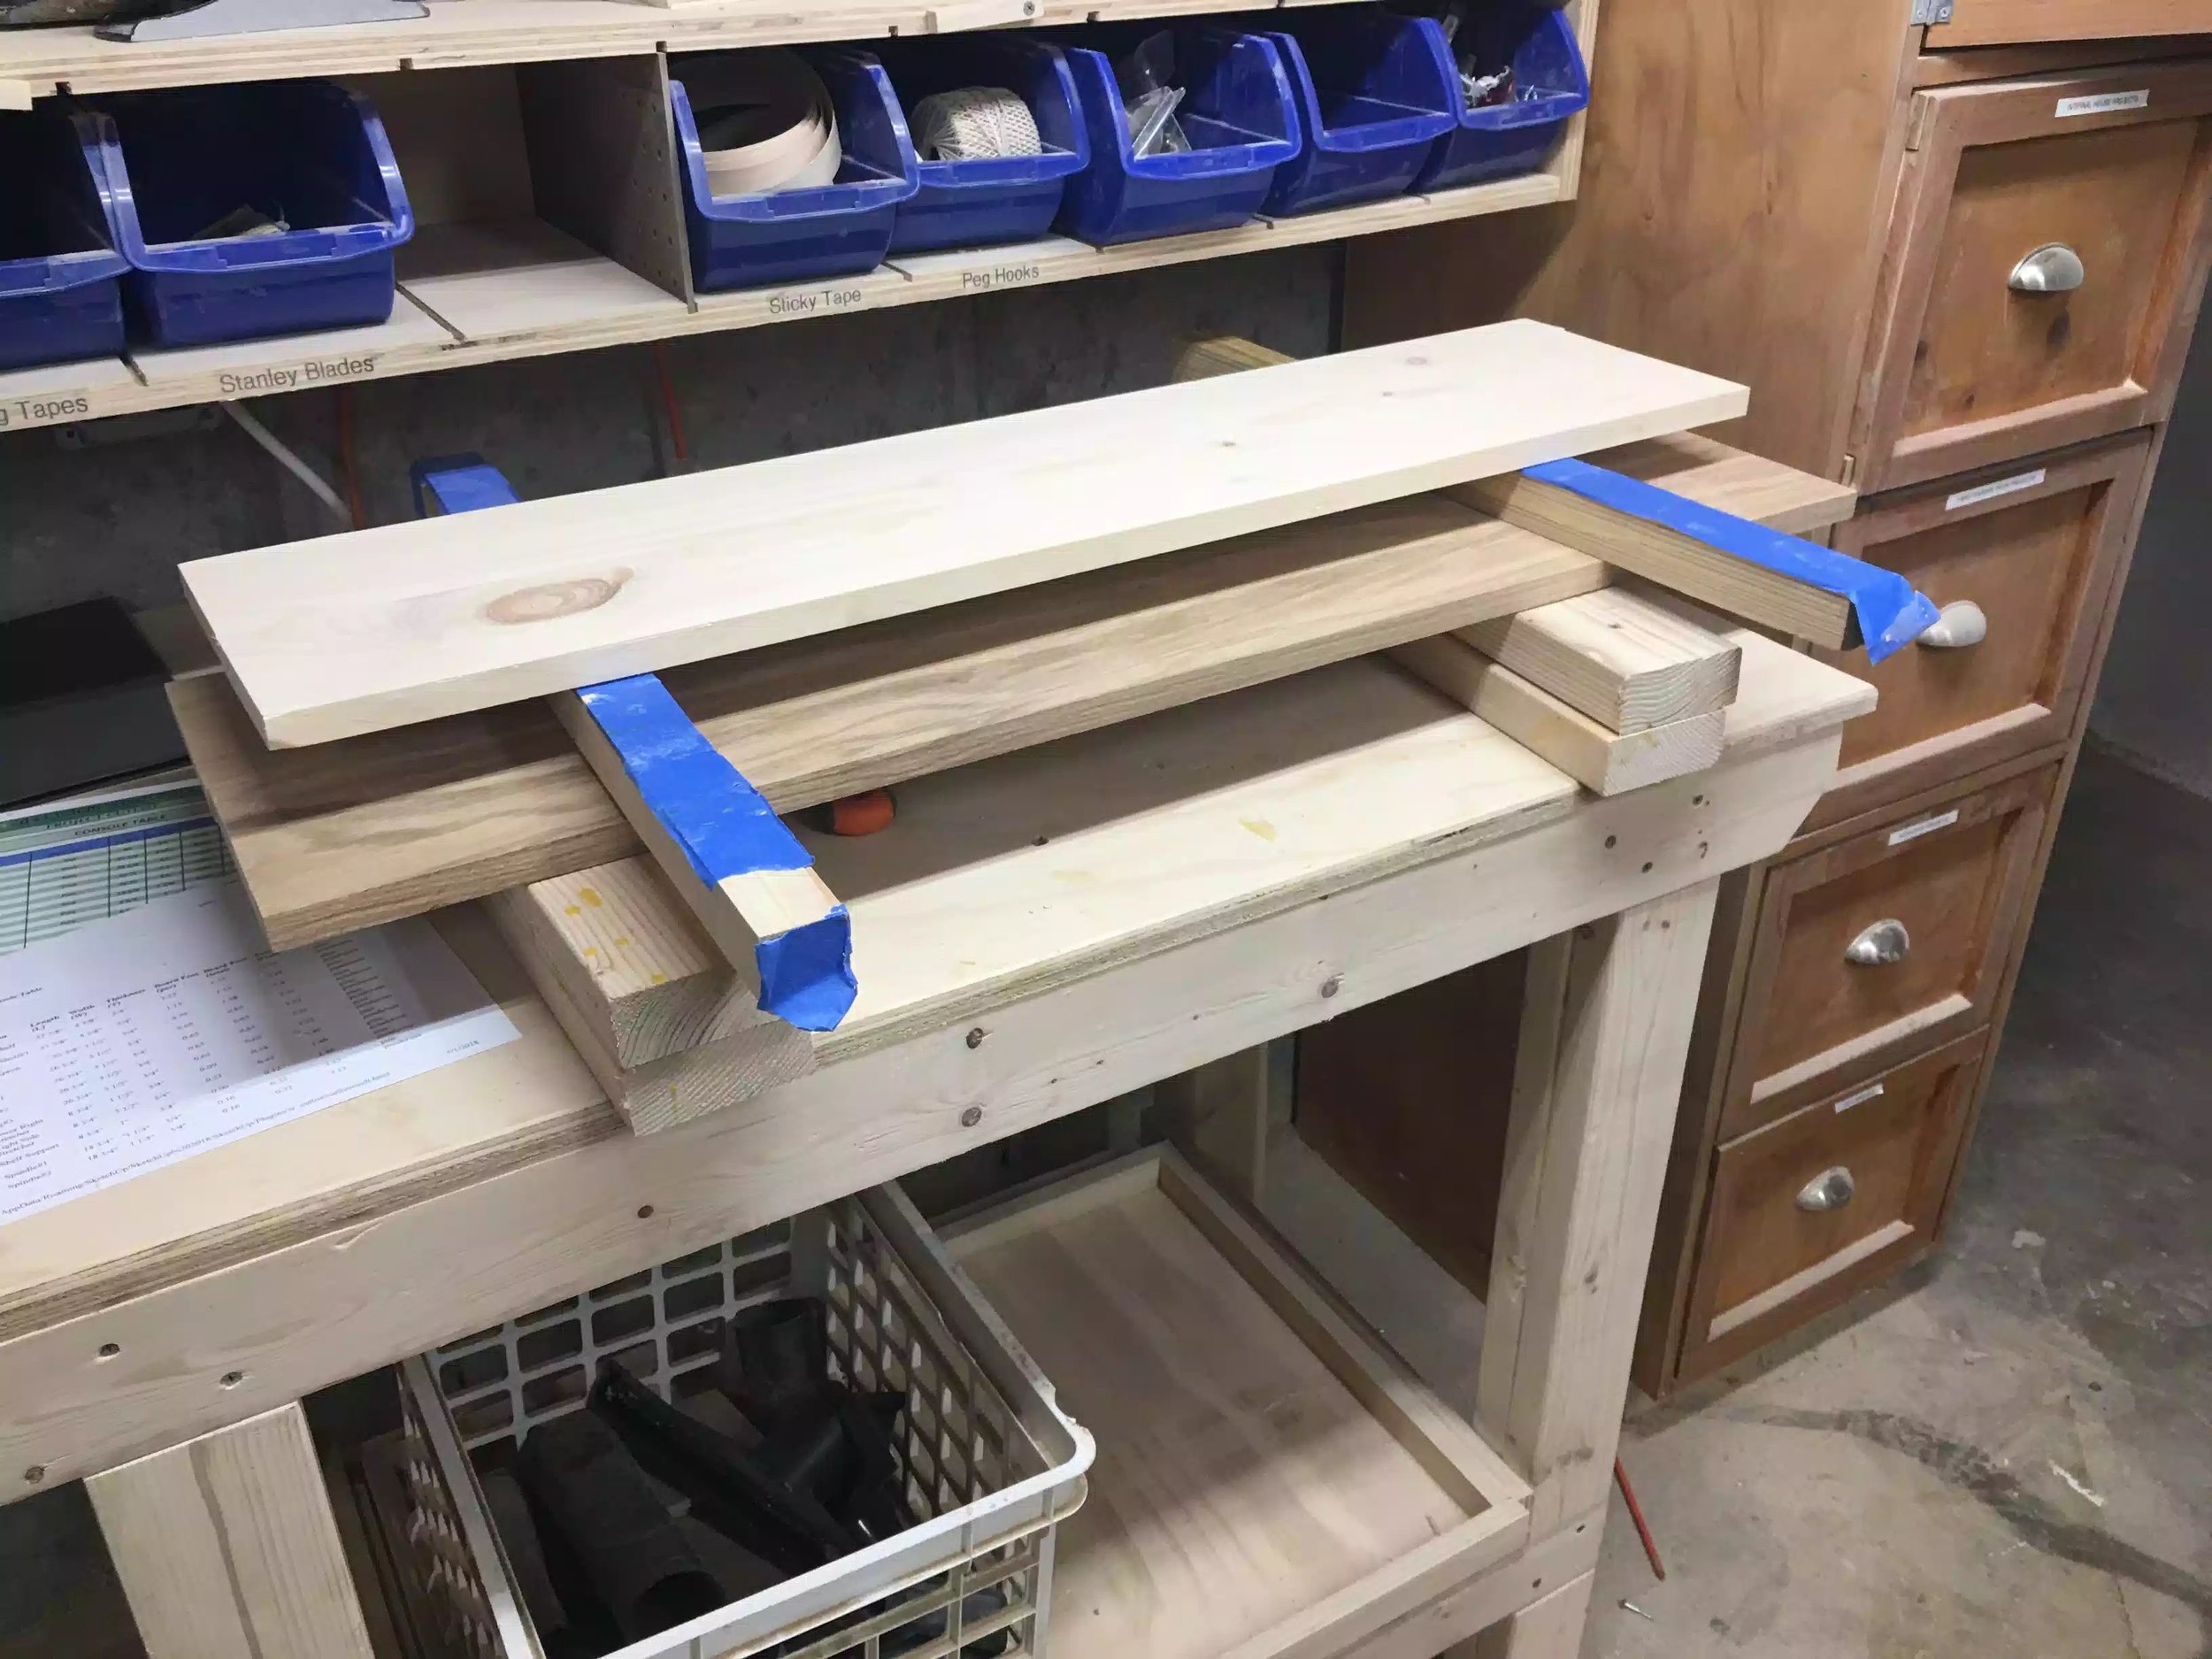
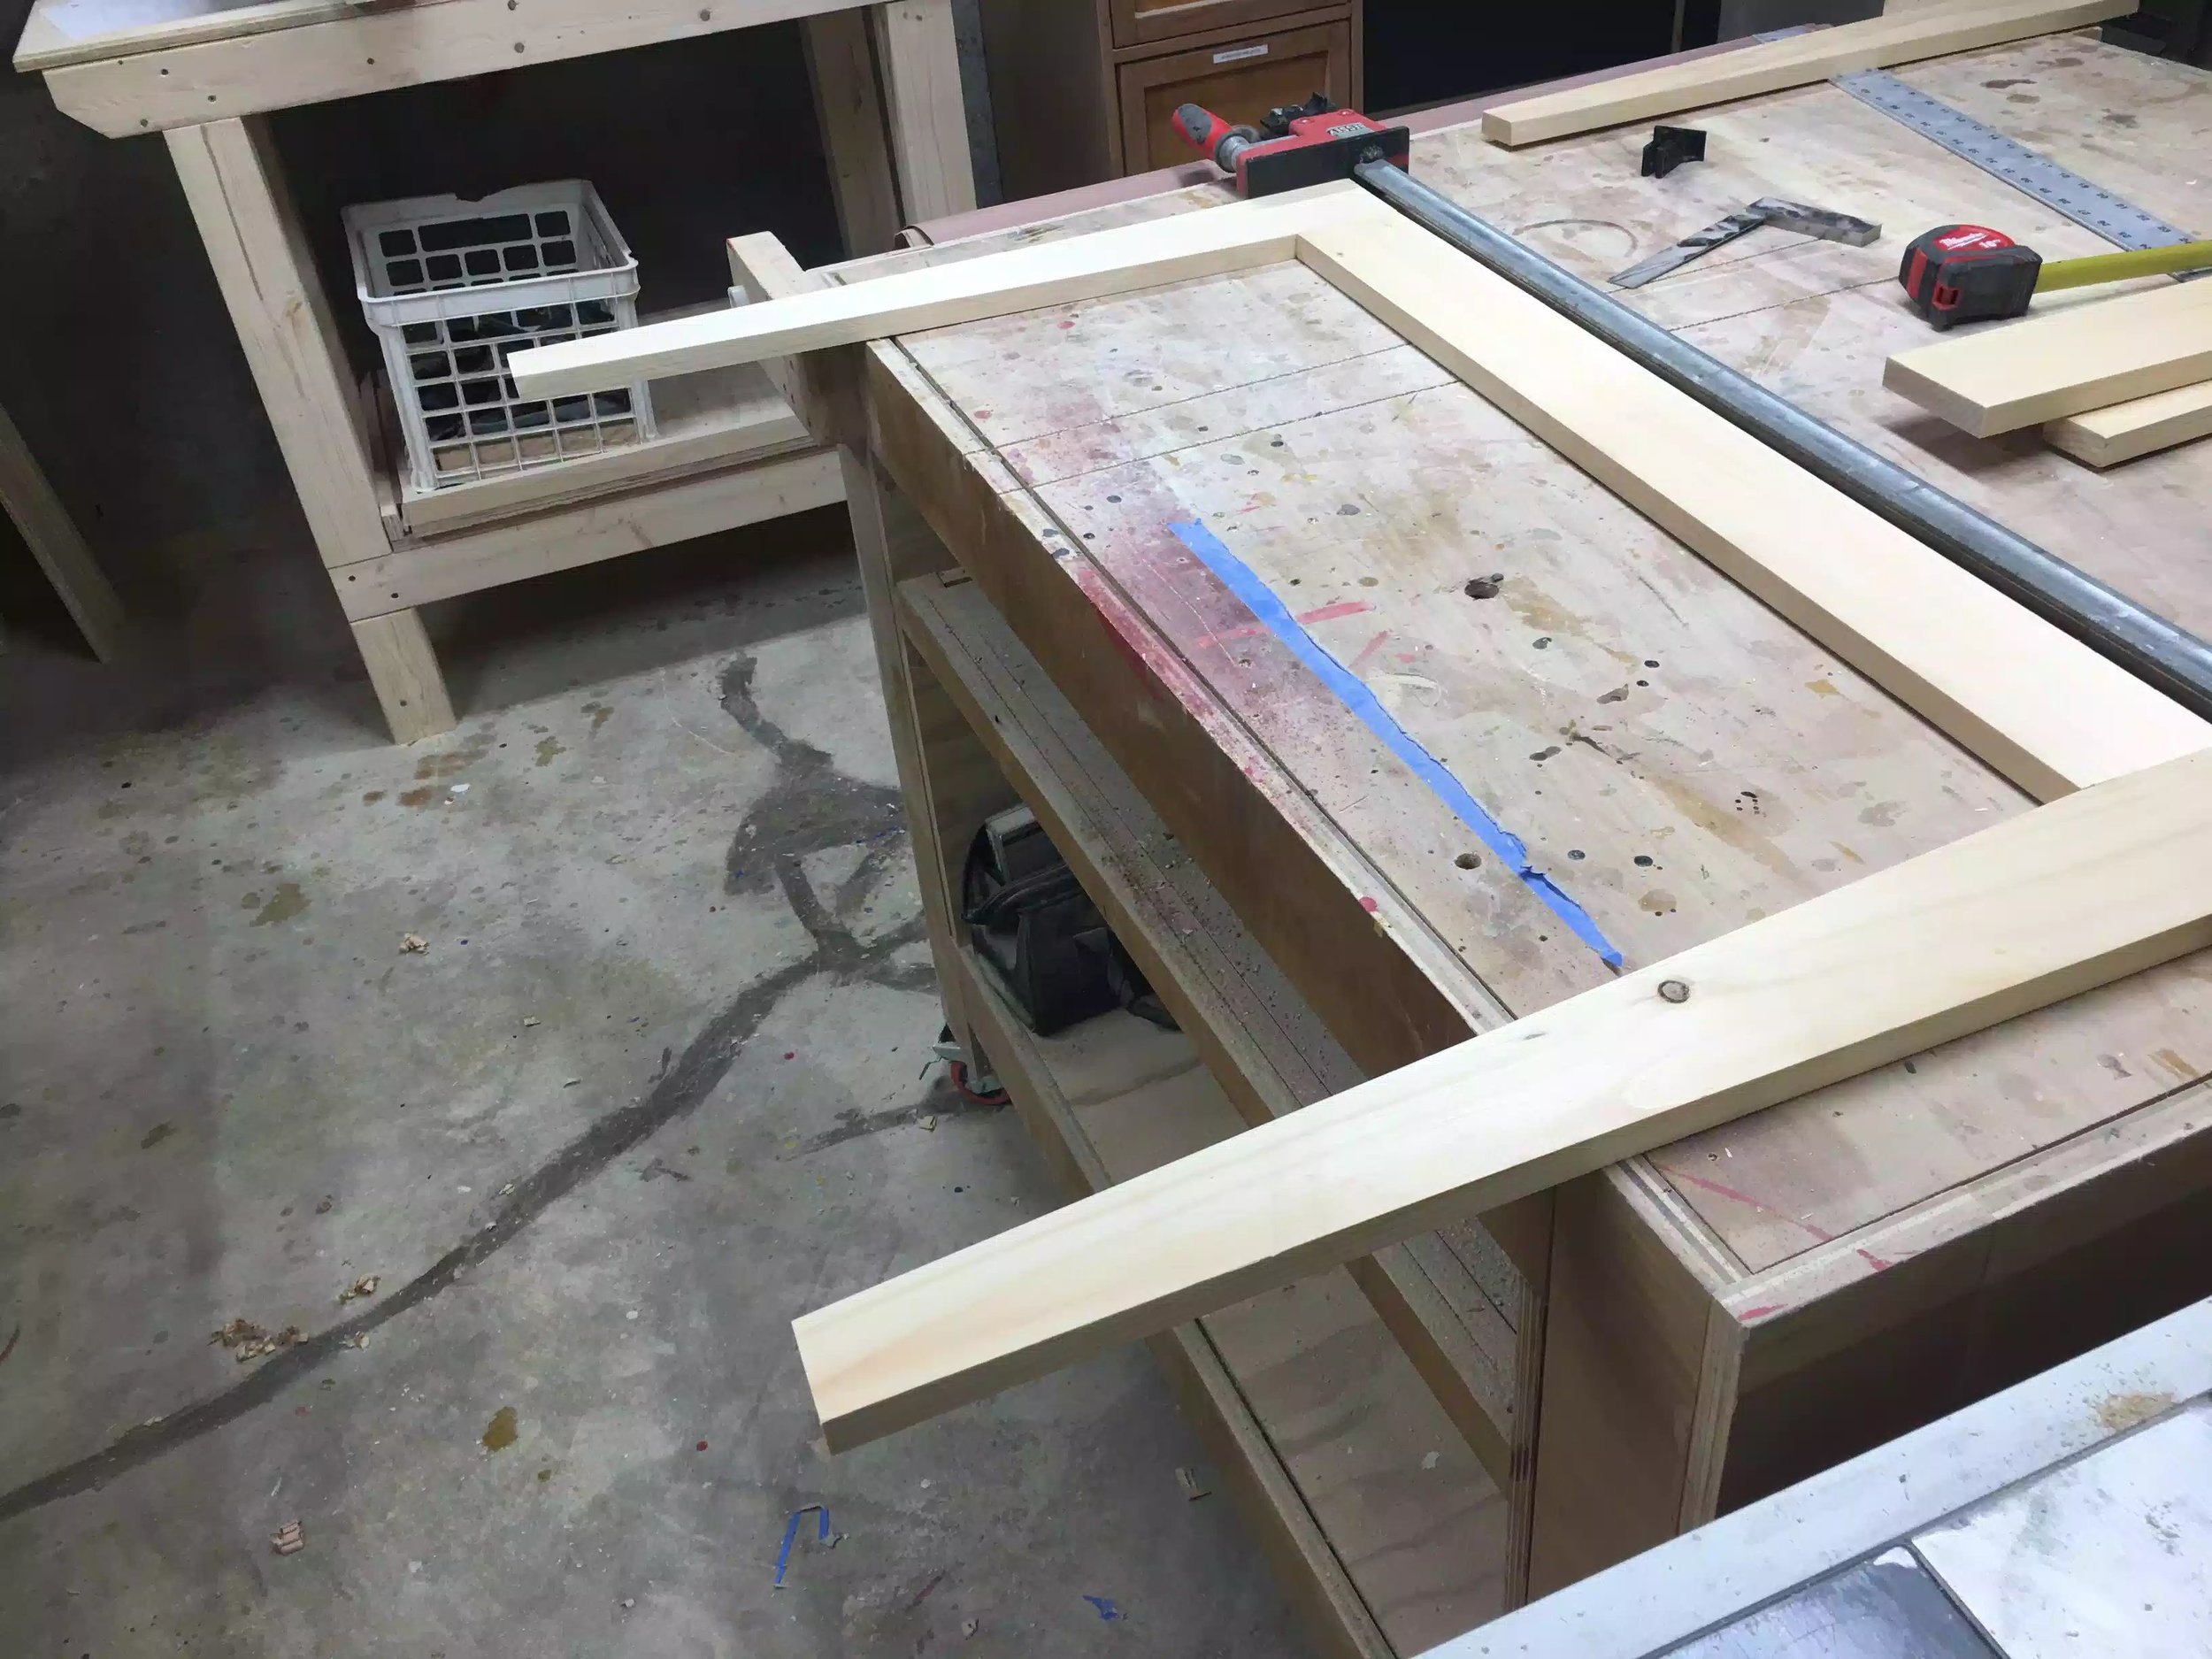
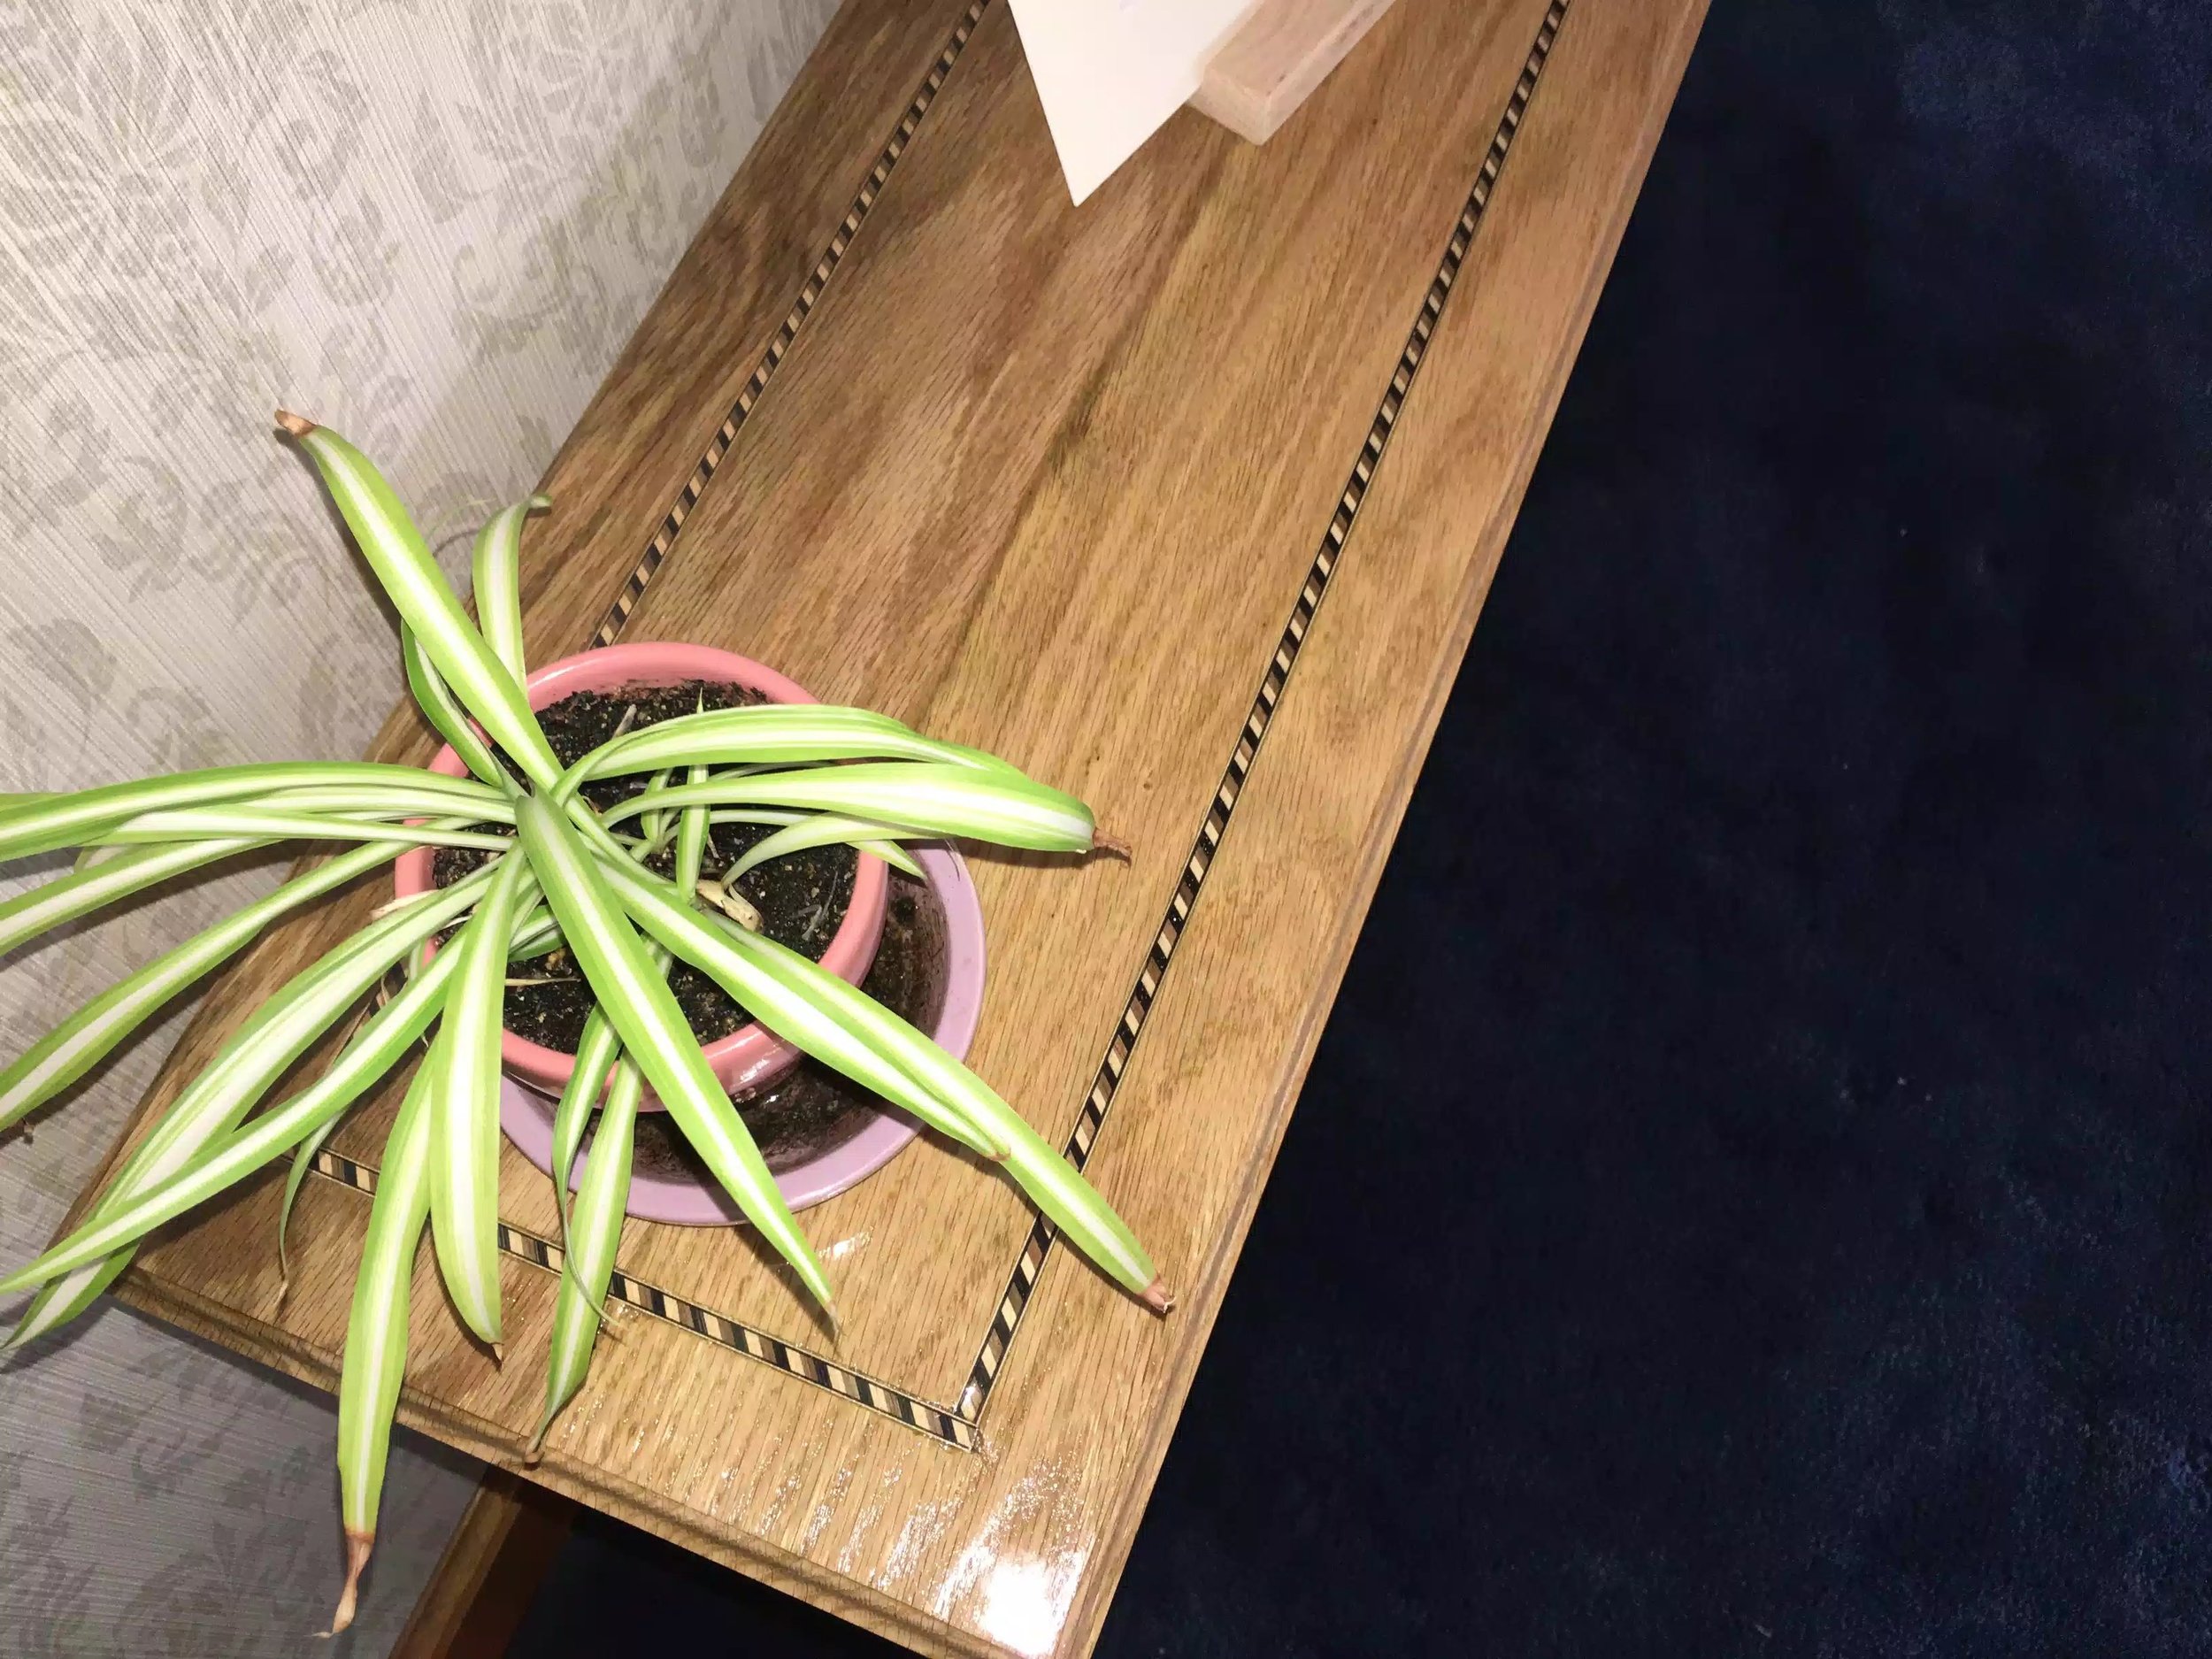
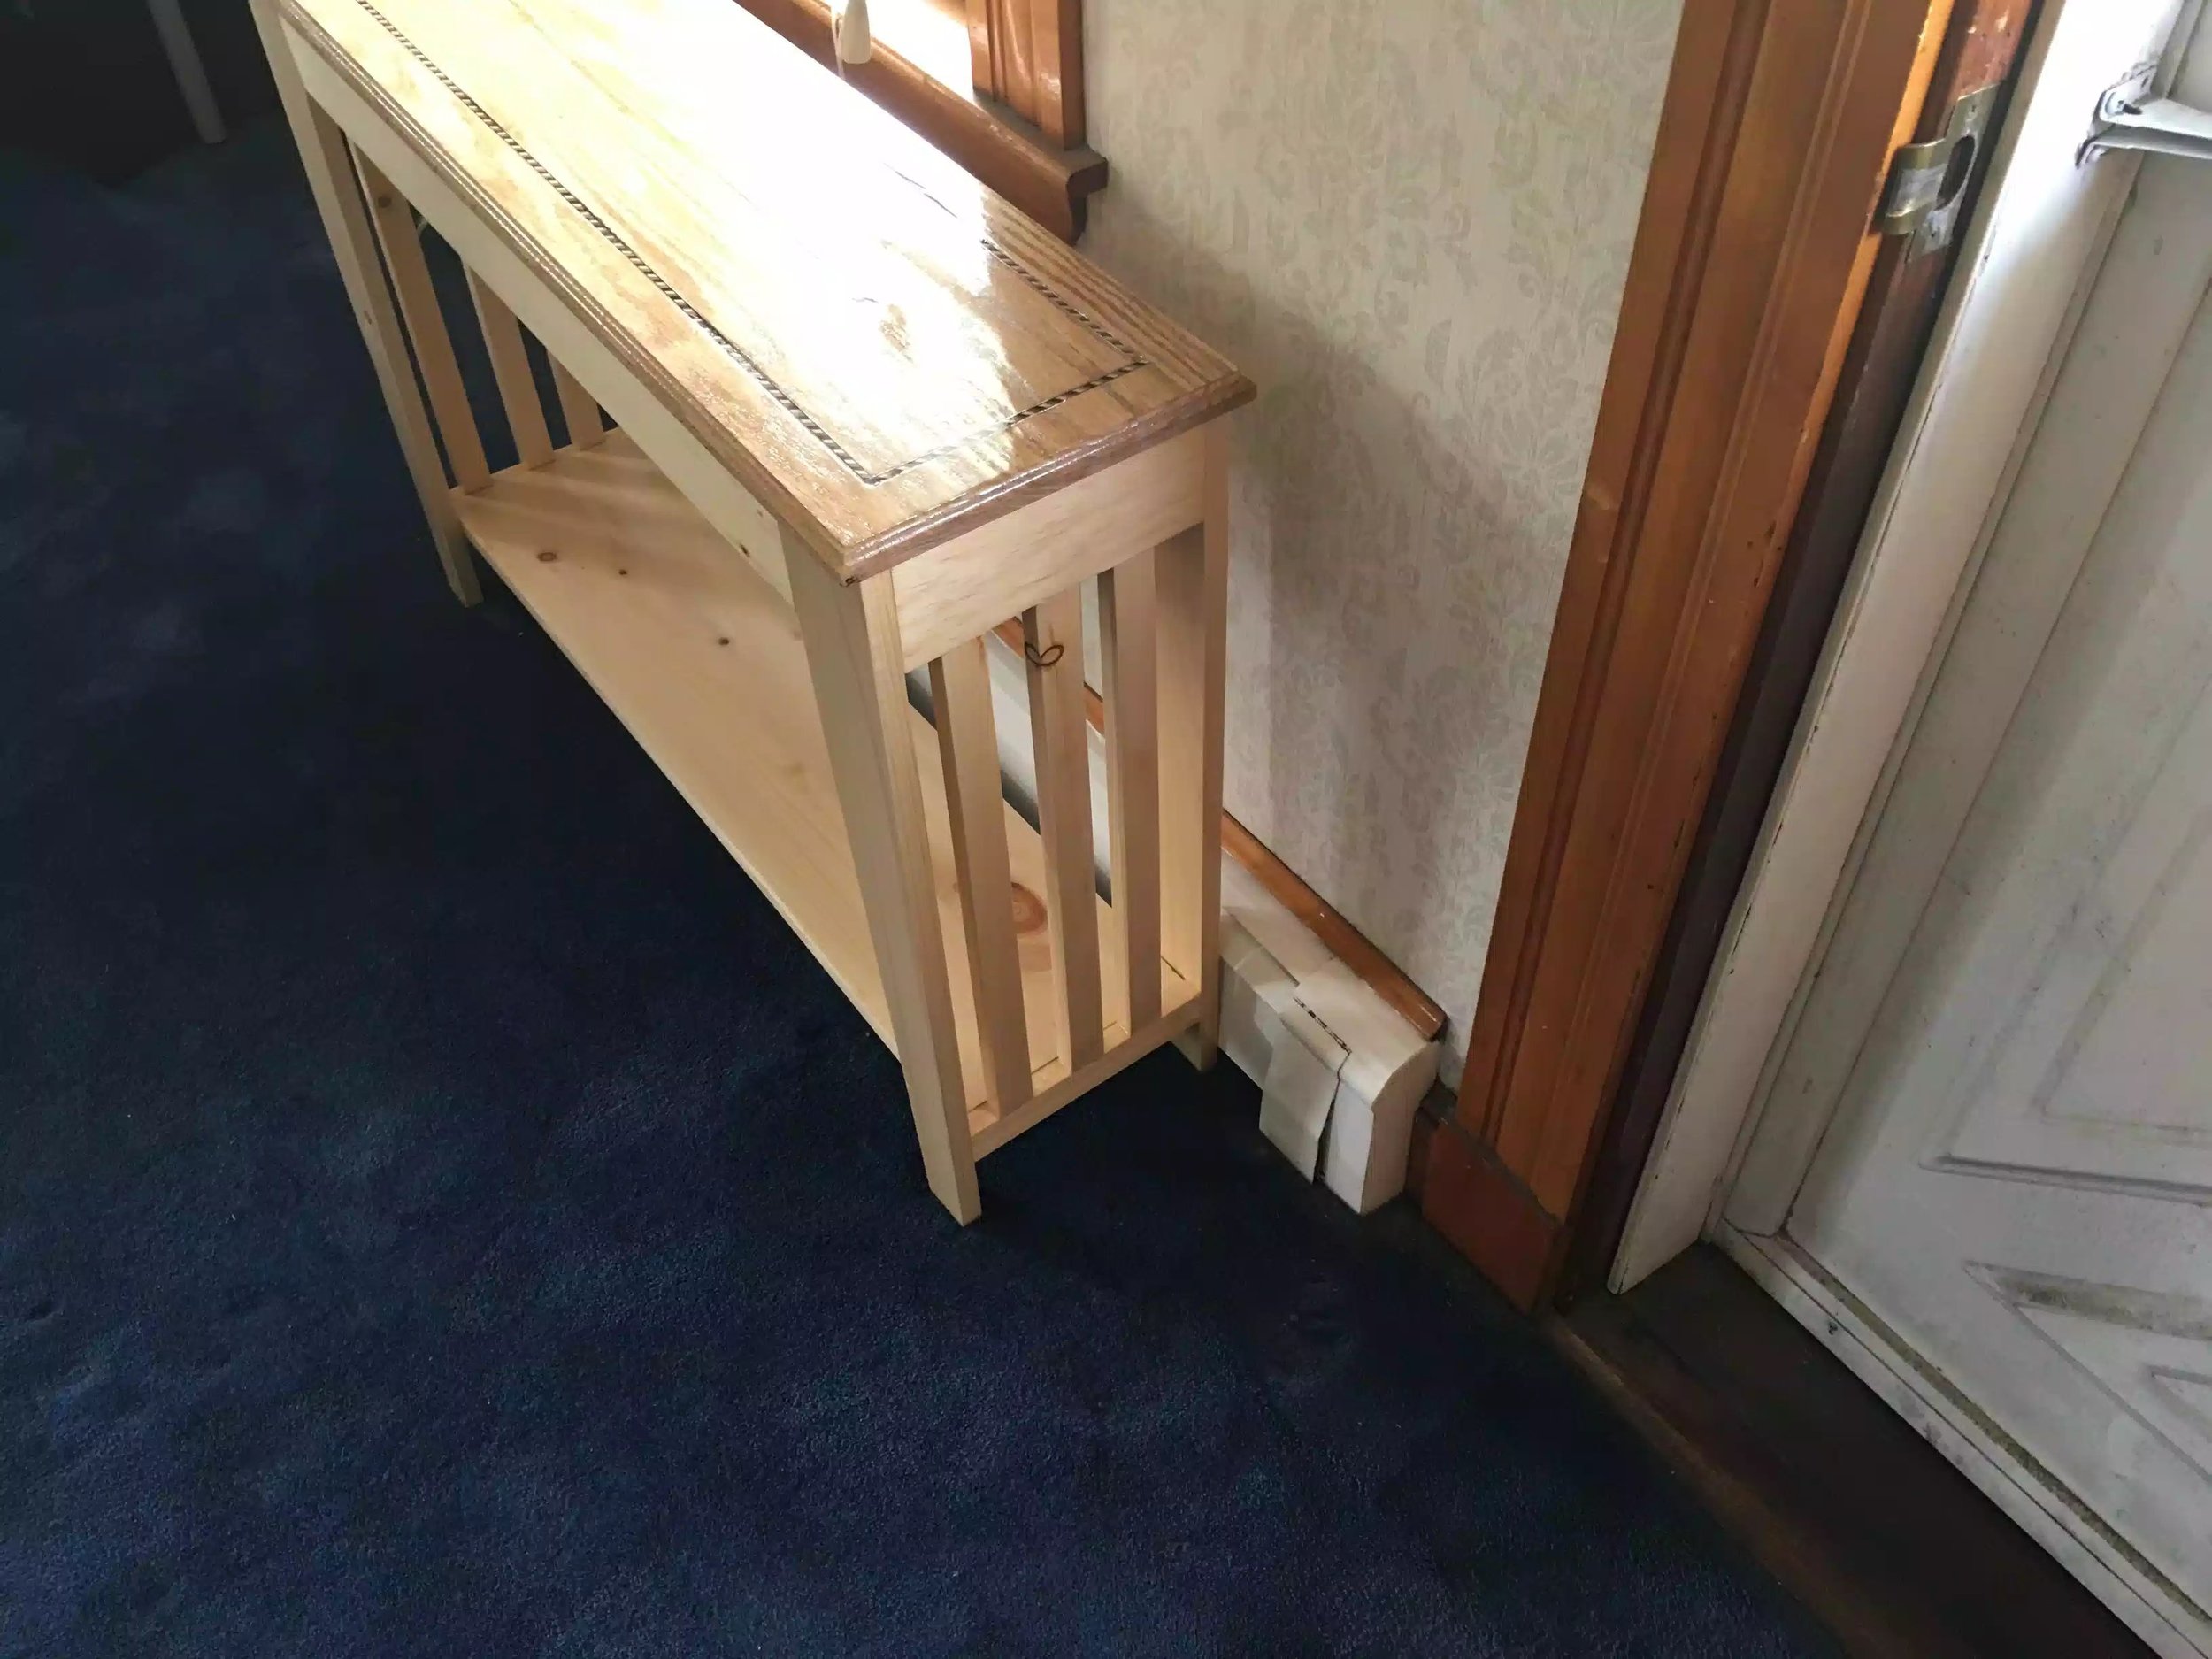
I thought it would work out better to finish the table top separate from the base and so that is what I did.

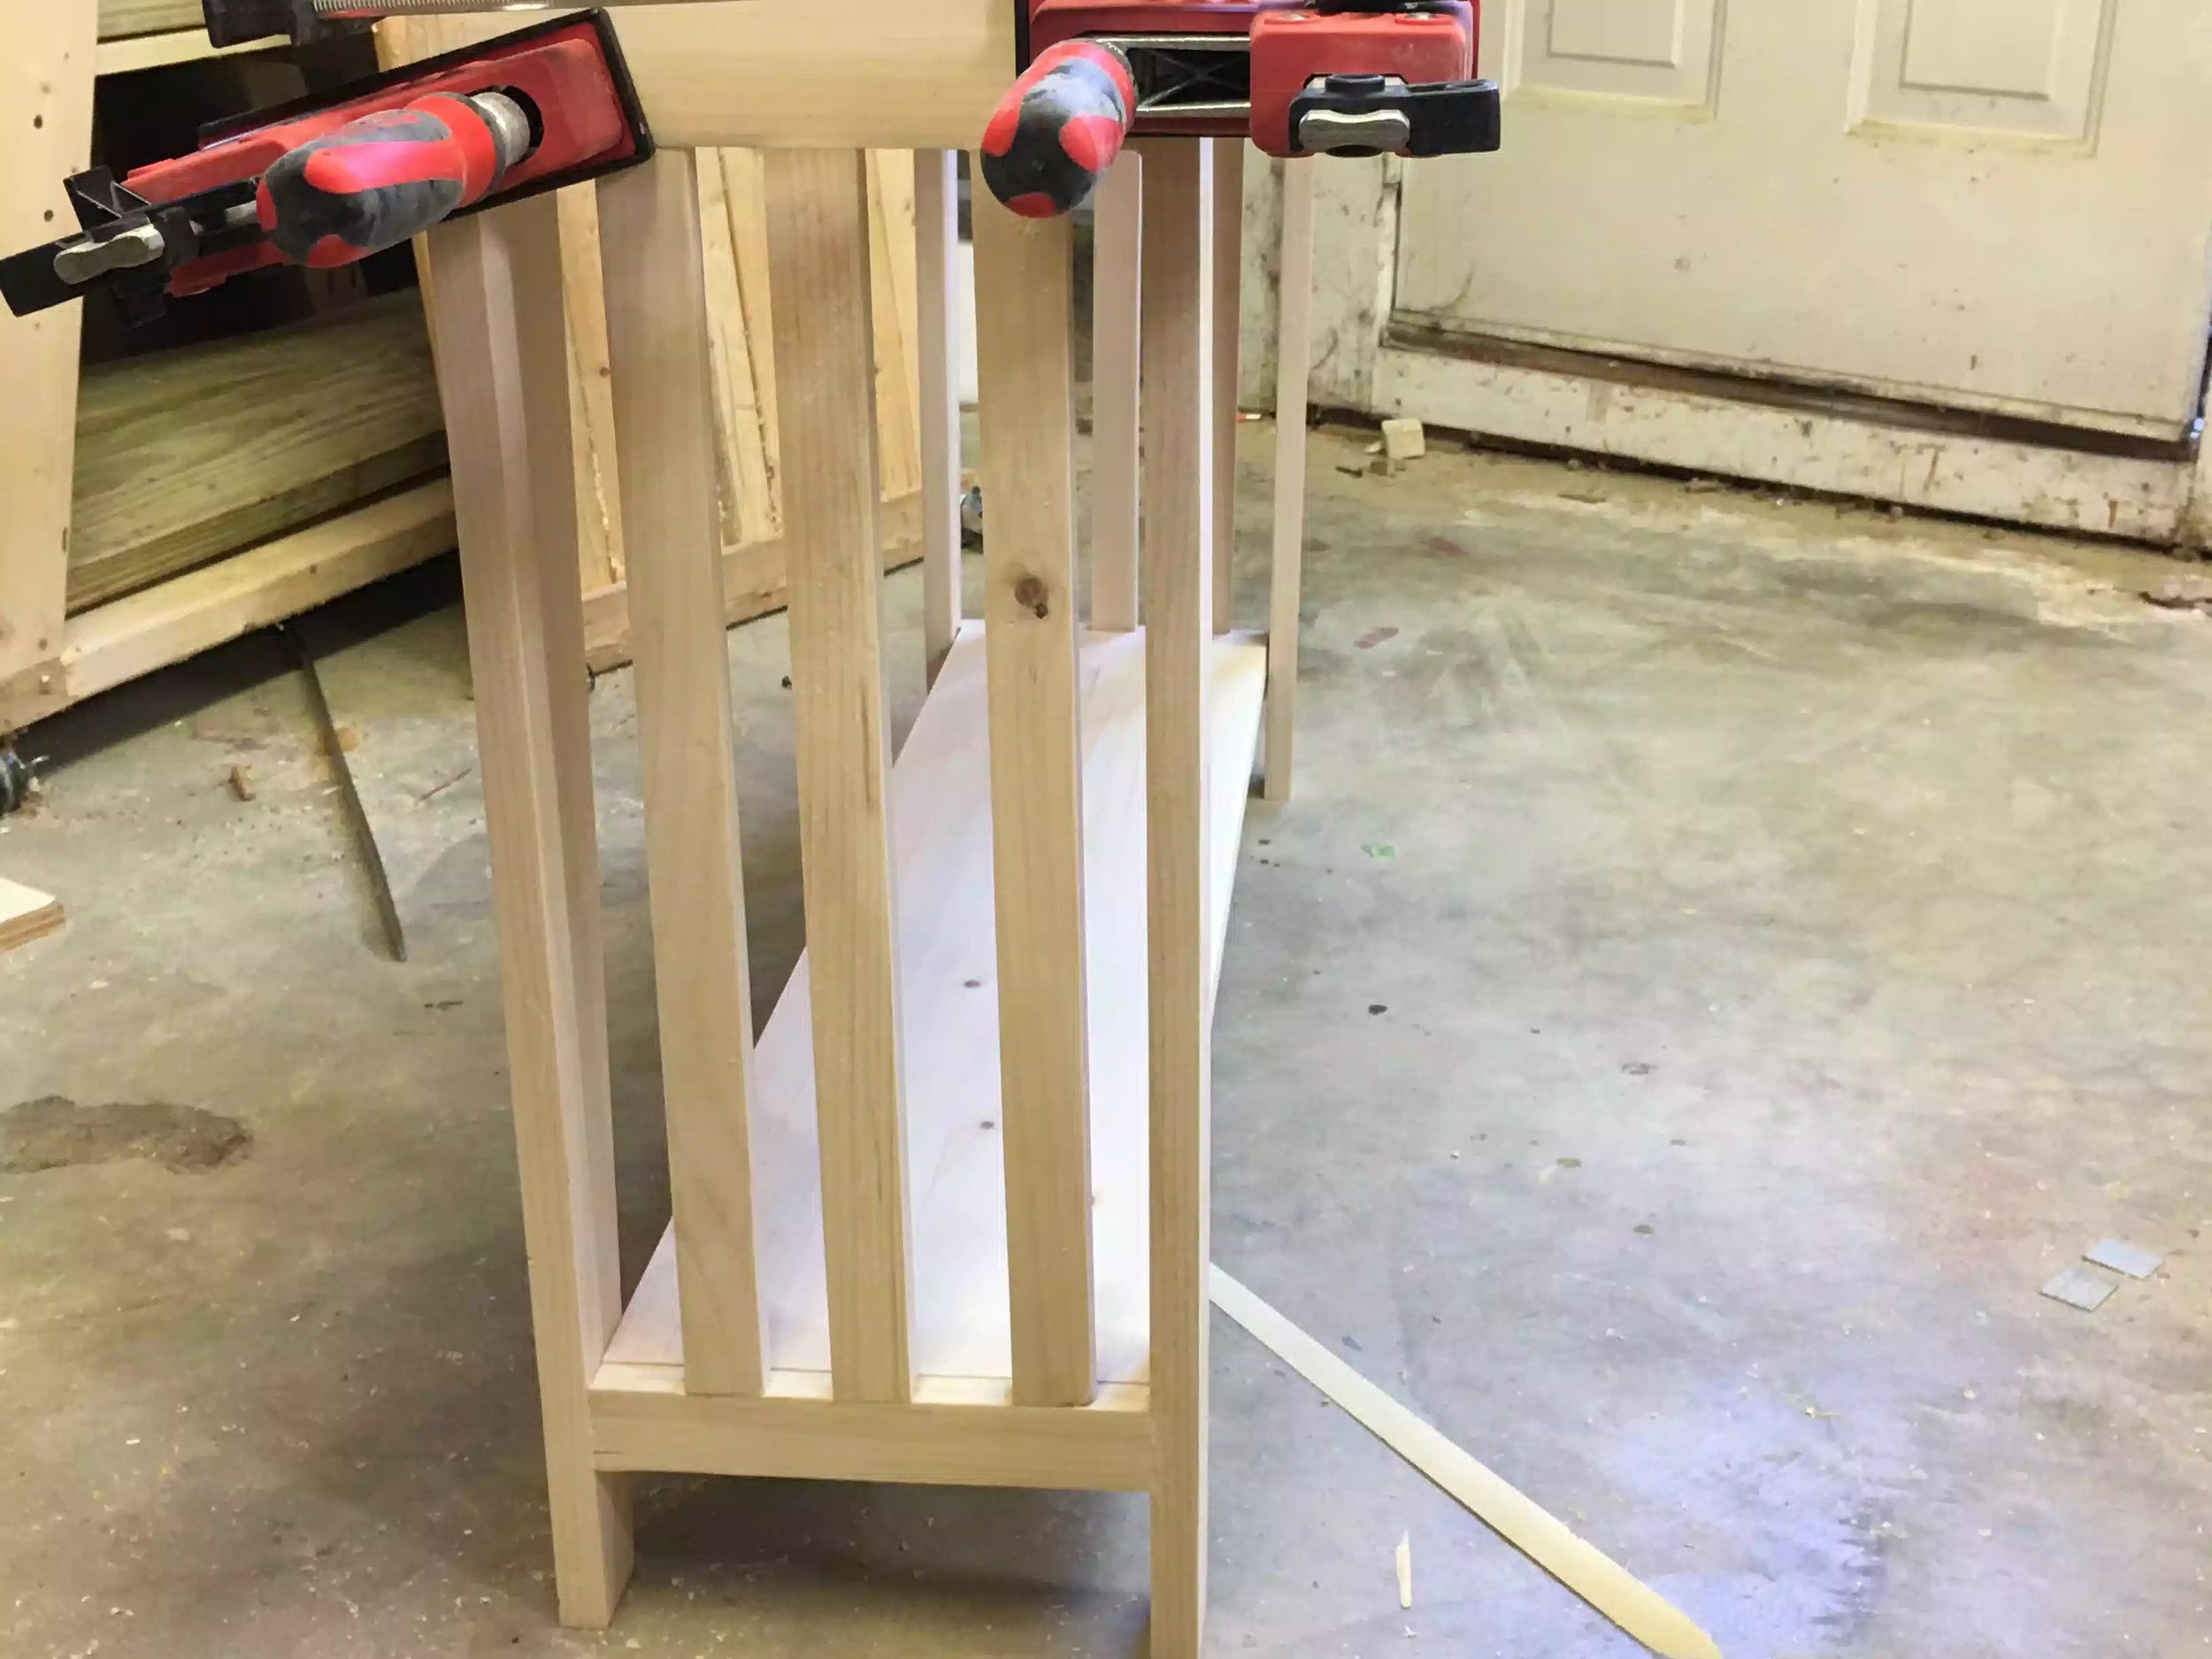
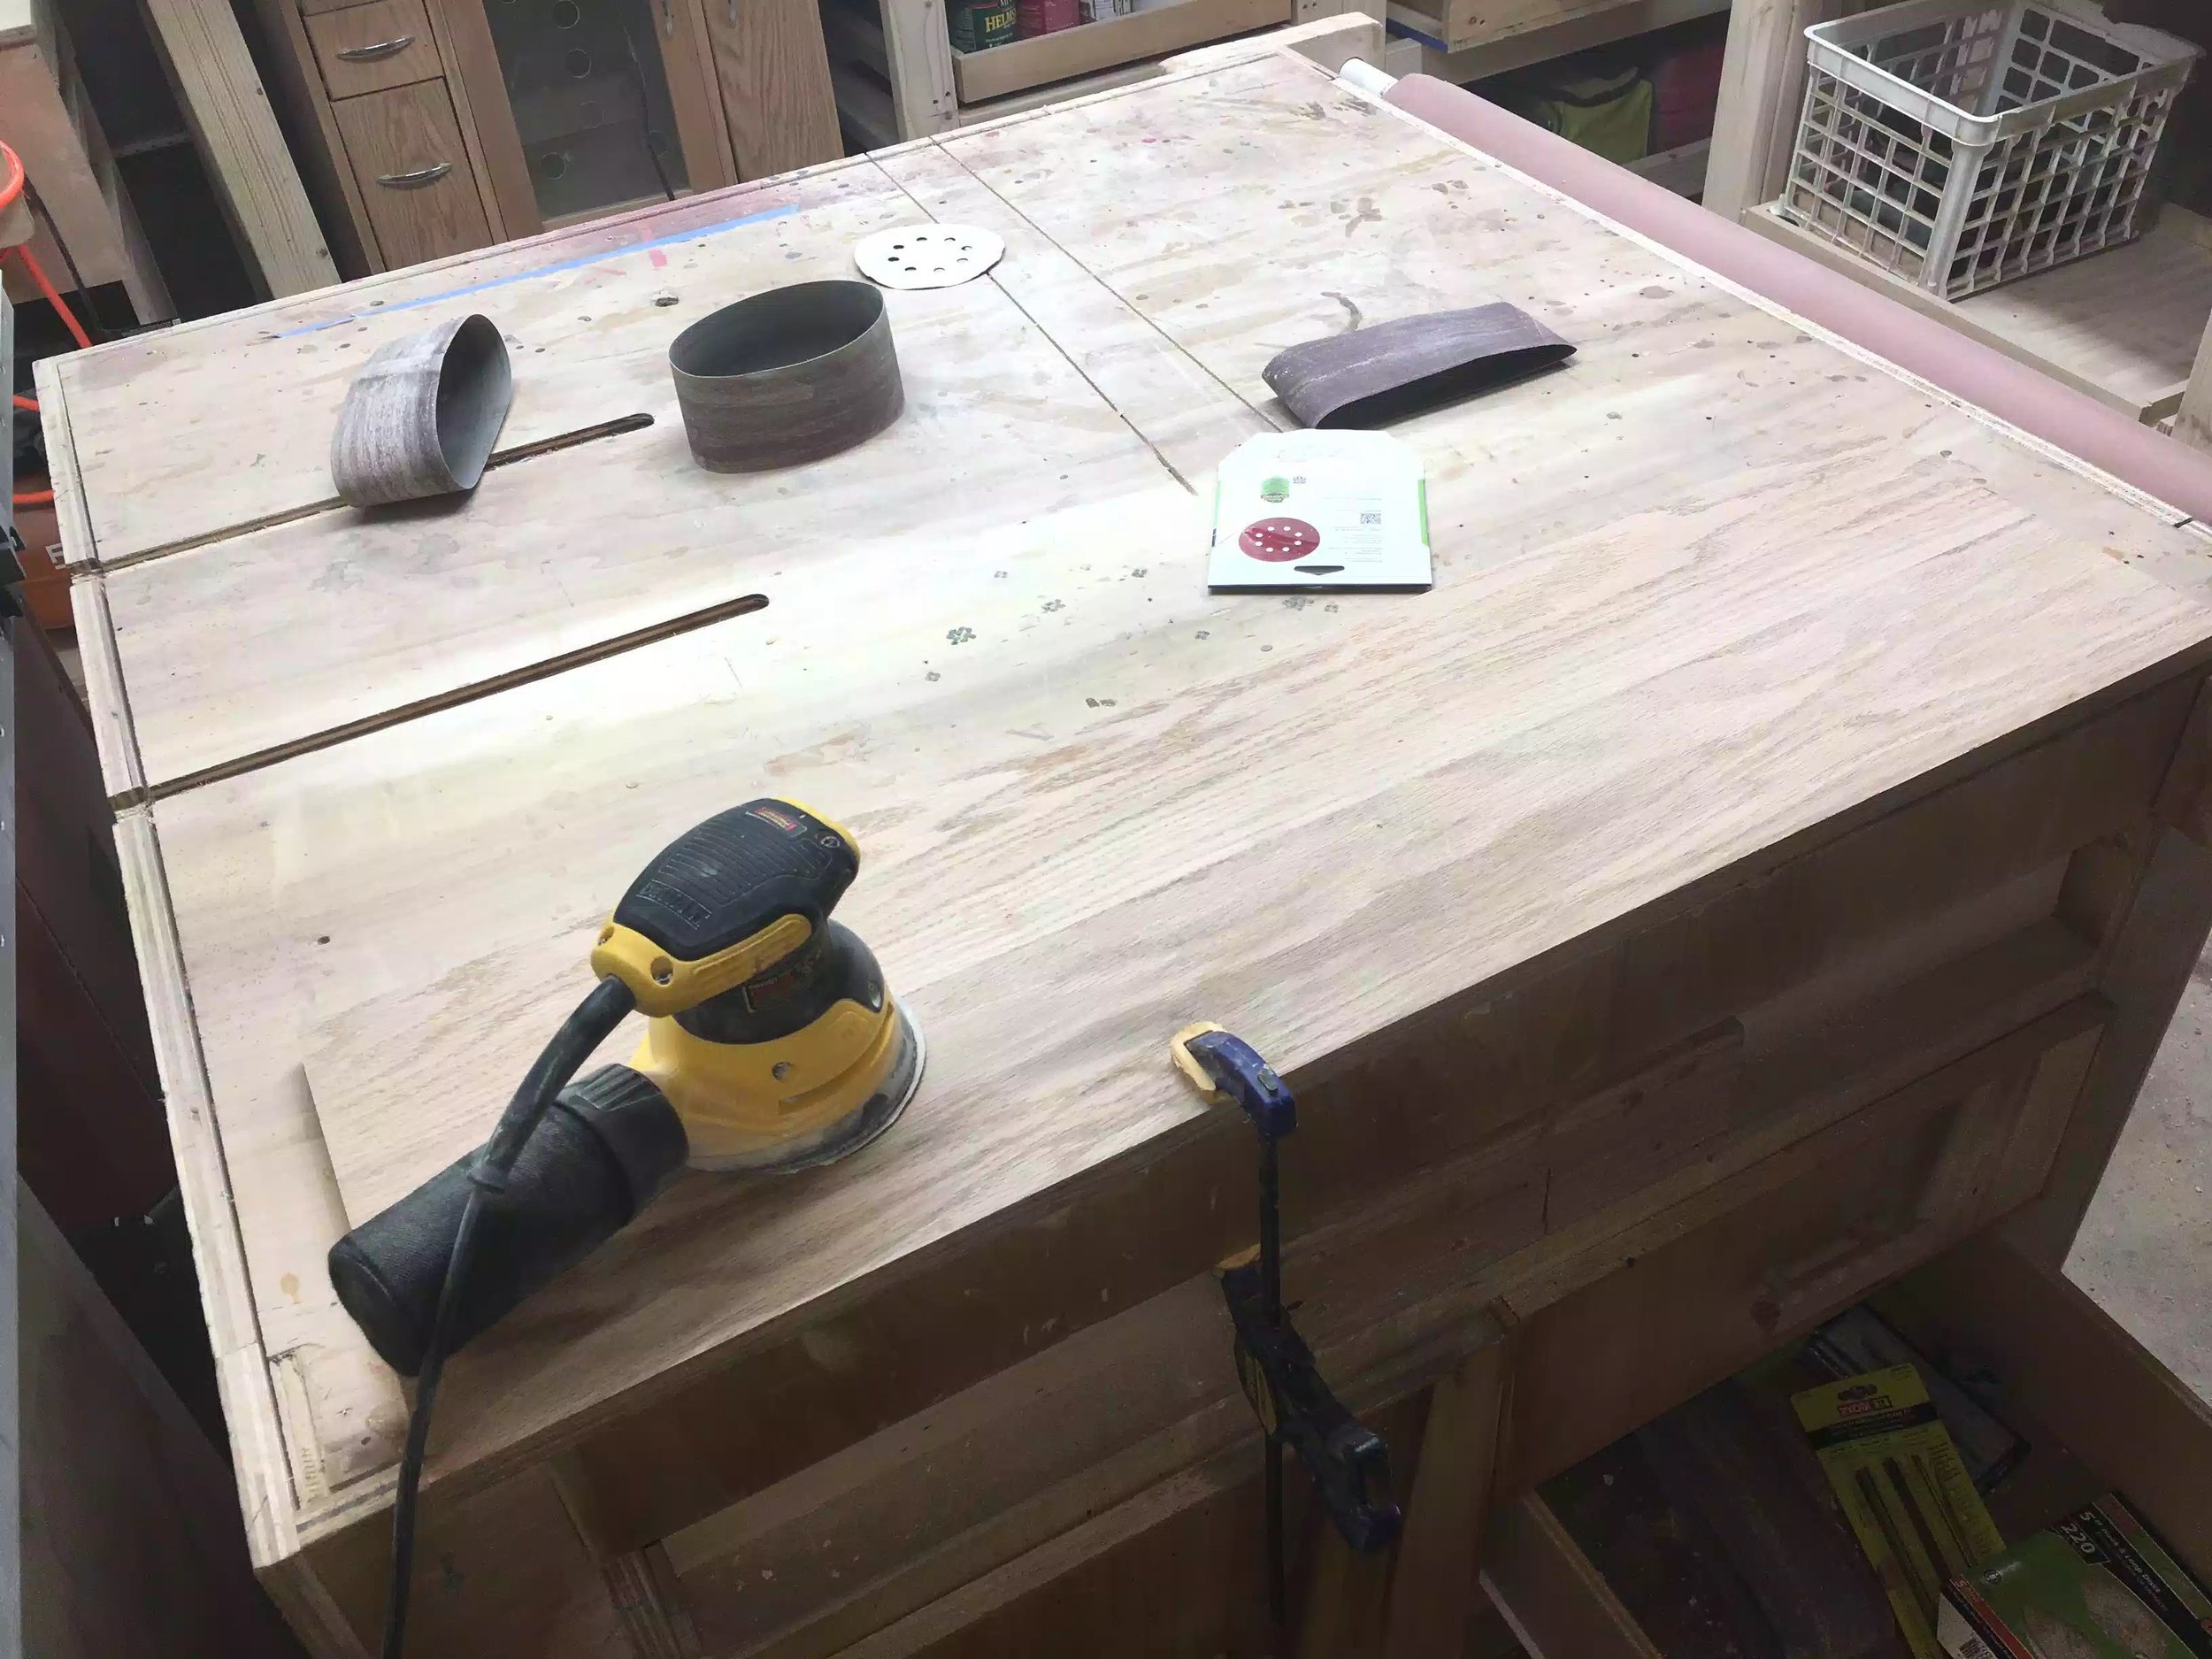
I applied 3 coats and sanded in between each coat with 220 grit sand paper. It took about 4 days for me tocomplete the finishing on the unit. I am so glad I used the poly-acrylic which is a water based finish, this unit will be a lot easier to wipe down when it gets dusty.

Thanks for following my blog , talk again soon, with a new project

If you would like plans for this project you can get them by clocking the link below

Console Table (Day 7)

Well today started off to be an exciting day because this was the first time I ever attempted putting an inlay into a project.

I went to Woodcraft and purchased some 1/4" wide inlay, this stuff is exspensive but the results speak for themselves.

So this is what I got accomplished today:

  • Marked my solid oak table top to where I wanted the inlay to go
  • Set up my handheld plunge router using a edge guide (first time using an edge guide and it wont be the last)
  • Completed cutting the grooves that the inlay will fit into
  • Inset the inlay into the oak top and glued it in.

Notes on today's Progress;

  • In theory inlay shouldn't be as difficult as you would think but because this was my first time and I had a faulty depth stop on my router it came out OK, perfect no but I can live with the results.
  • I used a 1/4" diameter spiral router bit but the bit didn't provide as much clearance as I thought so i had to do a second pass widening the groove. Going forward when I do inlays again i will need to use a router bit that is hair wider than the inlay in today's case I should of use a 5/16" diameter bit instead of the 1/4" one. I tried sanding away the clearance to fit the inlay but it just didn't work.

Tomorrow

  • I will be cleaning up the inlay and removing the tape that I used to keep the inlay in position while the glue set, 
  • I will also be using my router to add a profile to the tabletop... ill probably add a chamfer to the underside of the table top and if I can Ill add a ogee profile to the top.
  • If there is enough time I will start doing a final sanding on the entire table and preparing it for a finish.

You can see the tabletop all finished with the inlay and ogee profile I applied using my router table and it looks awesome. I sanded the top with 3 grits 80,150,220 grit paper and it came out so smooth so it is already for the poly-acrylic finish.

Below you can see me staging the unit for finishing, I decided to finish the top and the unit separately and then fixing the top after everything is done.

Console Table (Day 6)

So today I finally have what looks like a finished project but it isnt, you can see the form of the table and by the end of the day it will be a console table, structurally anyway.

Here is what I did today:

  • Sanded down the sides because the glue had set overnight and needed to be cleaned up, I contemplated routing a profile on the spindles, but decided against it because I like the clean lines of the tapered legs especially where they meet the top and bottom side stretchers.
  • Attached the bottom shelf cleats to the support the shelf, I positioned the cleats low enough so as that you would not seed the shelf's end grain as it sits flush with the bottom stretcher
  • Glued and clamped the front & back long stretchers, I am waiting for that to set overnight.

Here is what's left:

  • I'm actually thinking of adding an inlay to the solid oak top, I was looking at the table today in its natural form and thought to myself that its missing something, so I decided that I will add a border inlay into the top. It will look awesome and its something that I have never done before.
  • I also need to use my router to add a profile to the top, I'm thinking of adding a chamfer to the underside of the top and maybe adding either a chamfer to the top face of the board or a ogee profile
  • Sand the entire project
  • Add a finish, I might just go with a poly-acrylic

Console Table ( Day 5)

So today I finally arrived at the glue-up phase for the sides anyway.. below is what I accomplished 

  • finished layout on the dowels for the bottom stretchers to be mated into the bottom of all the legs
  • Did a final dry fit to figure out where best to put the clamps ( never have enough clamps) 
  • Finally glued up the left and right sides which encompassed the following parts
  1. attached all the spindles into the top and bottom stretchers on both the left and right sides  
  2. attached the center section of the sides (spindles and side stretchers ) into the front and back tapered legs
  • I am waiting for the glue to set and tomorrow I will be attaching the front and back wide front stretchers among other tasks 

I should have a some what competed project tomorrow and all I need to do is attach the bottom shelf clear supports and work on the oak top which I will be routing an ogee profile around the top  

Console Table (Day 4)

Before I go into the days activities you might be wondering why this project is taking an age to finish and to be honest I maybe only really get to spend like 2-3 hours a day and maybe 4 days a week in the shop. Since this project is for my house and not a paying customer I am taking my time and that’s why I like doing projects for my house, as there is no time restraints on finishing it.

Two more thing that I have noticed with this project because of the dowel joinery I can’t seem to glue up and single part of the project as I need to reference components within the sections of the table eg the sides .. since I still need to use a leg to reference the dowels from that part into the upper stretcher 

Dowel joinery is not quick at least with the jig I am using  

Anyway today I accomplished the following:

  • Laid out the dowels for the side stretchers
  • Did a dry assembly on the 2 sides attached to the back and front stretchers  


Day 4: Console Table Build Pictures

Console Table (Day 3)

Tapered Leg Fix

Tapered Leg Fix

So today I started the dowel joinery on the legs and wide front and back stretchers . 

To be honest the dowel joinery is taking me longer than expected especially when measuring where to place the dowel holes and aligning them to their mating pieces in today’s case the wide stretchers  .

So all I got done today was the front and back sections of the table below you can see some pictures of today’s activities.

One last thing , yesterday I tapered the legs so trying to secure the legs on my bench was cumbersome but I remember seeing online a trick that basically putting the offcut beside the tapered component thus making all the edges 90° to each other made securing the legs on the bench a lot easier when laying out my 3/8” dowel marking that you can see in some of the picture slideshow.

Console Table Project (Day 2)

DAY 2: Of the project saw me accomplish these steps:

  • Cut all table parts to final size using my miter saw and table saw

  • Make by Solid Oak and Pine panels

  • Made a taper jig to use on the legs

  • Tapered the legs

image-65199.jpeg

Below you will see a slideshow of some of the pictures of the glue-up, finished tapering jig, and the finished tapered legs

PROJECT : CONSOLE TABLE (DAY 1)

I am in the middle of converting one of the rooms in my house into a home office for my wife , and she asked me to make something that could store flowers so I came up with a Console table  

This picture is phase one I am making the solid oak table top using my new Milescraft Dowel Pro Jig


IMG_1149.JPG

This benchtop bench is really coming in handy

IMG_1148.JPG

This is just the back view of the tabletop boards there not going to be glued up until a little later today