Well today started off to be an exciting day because this was the first time I ever attempted putting an inlay into a project.
I went to Woodcraft and purchased some 1/4" wide inlay, this stuff is exspensive but the results speak for themselves.
So this is what I got accomplished today:
- Marked my solid oak table top to where I wanted the inlay to go
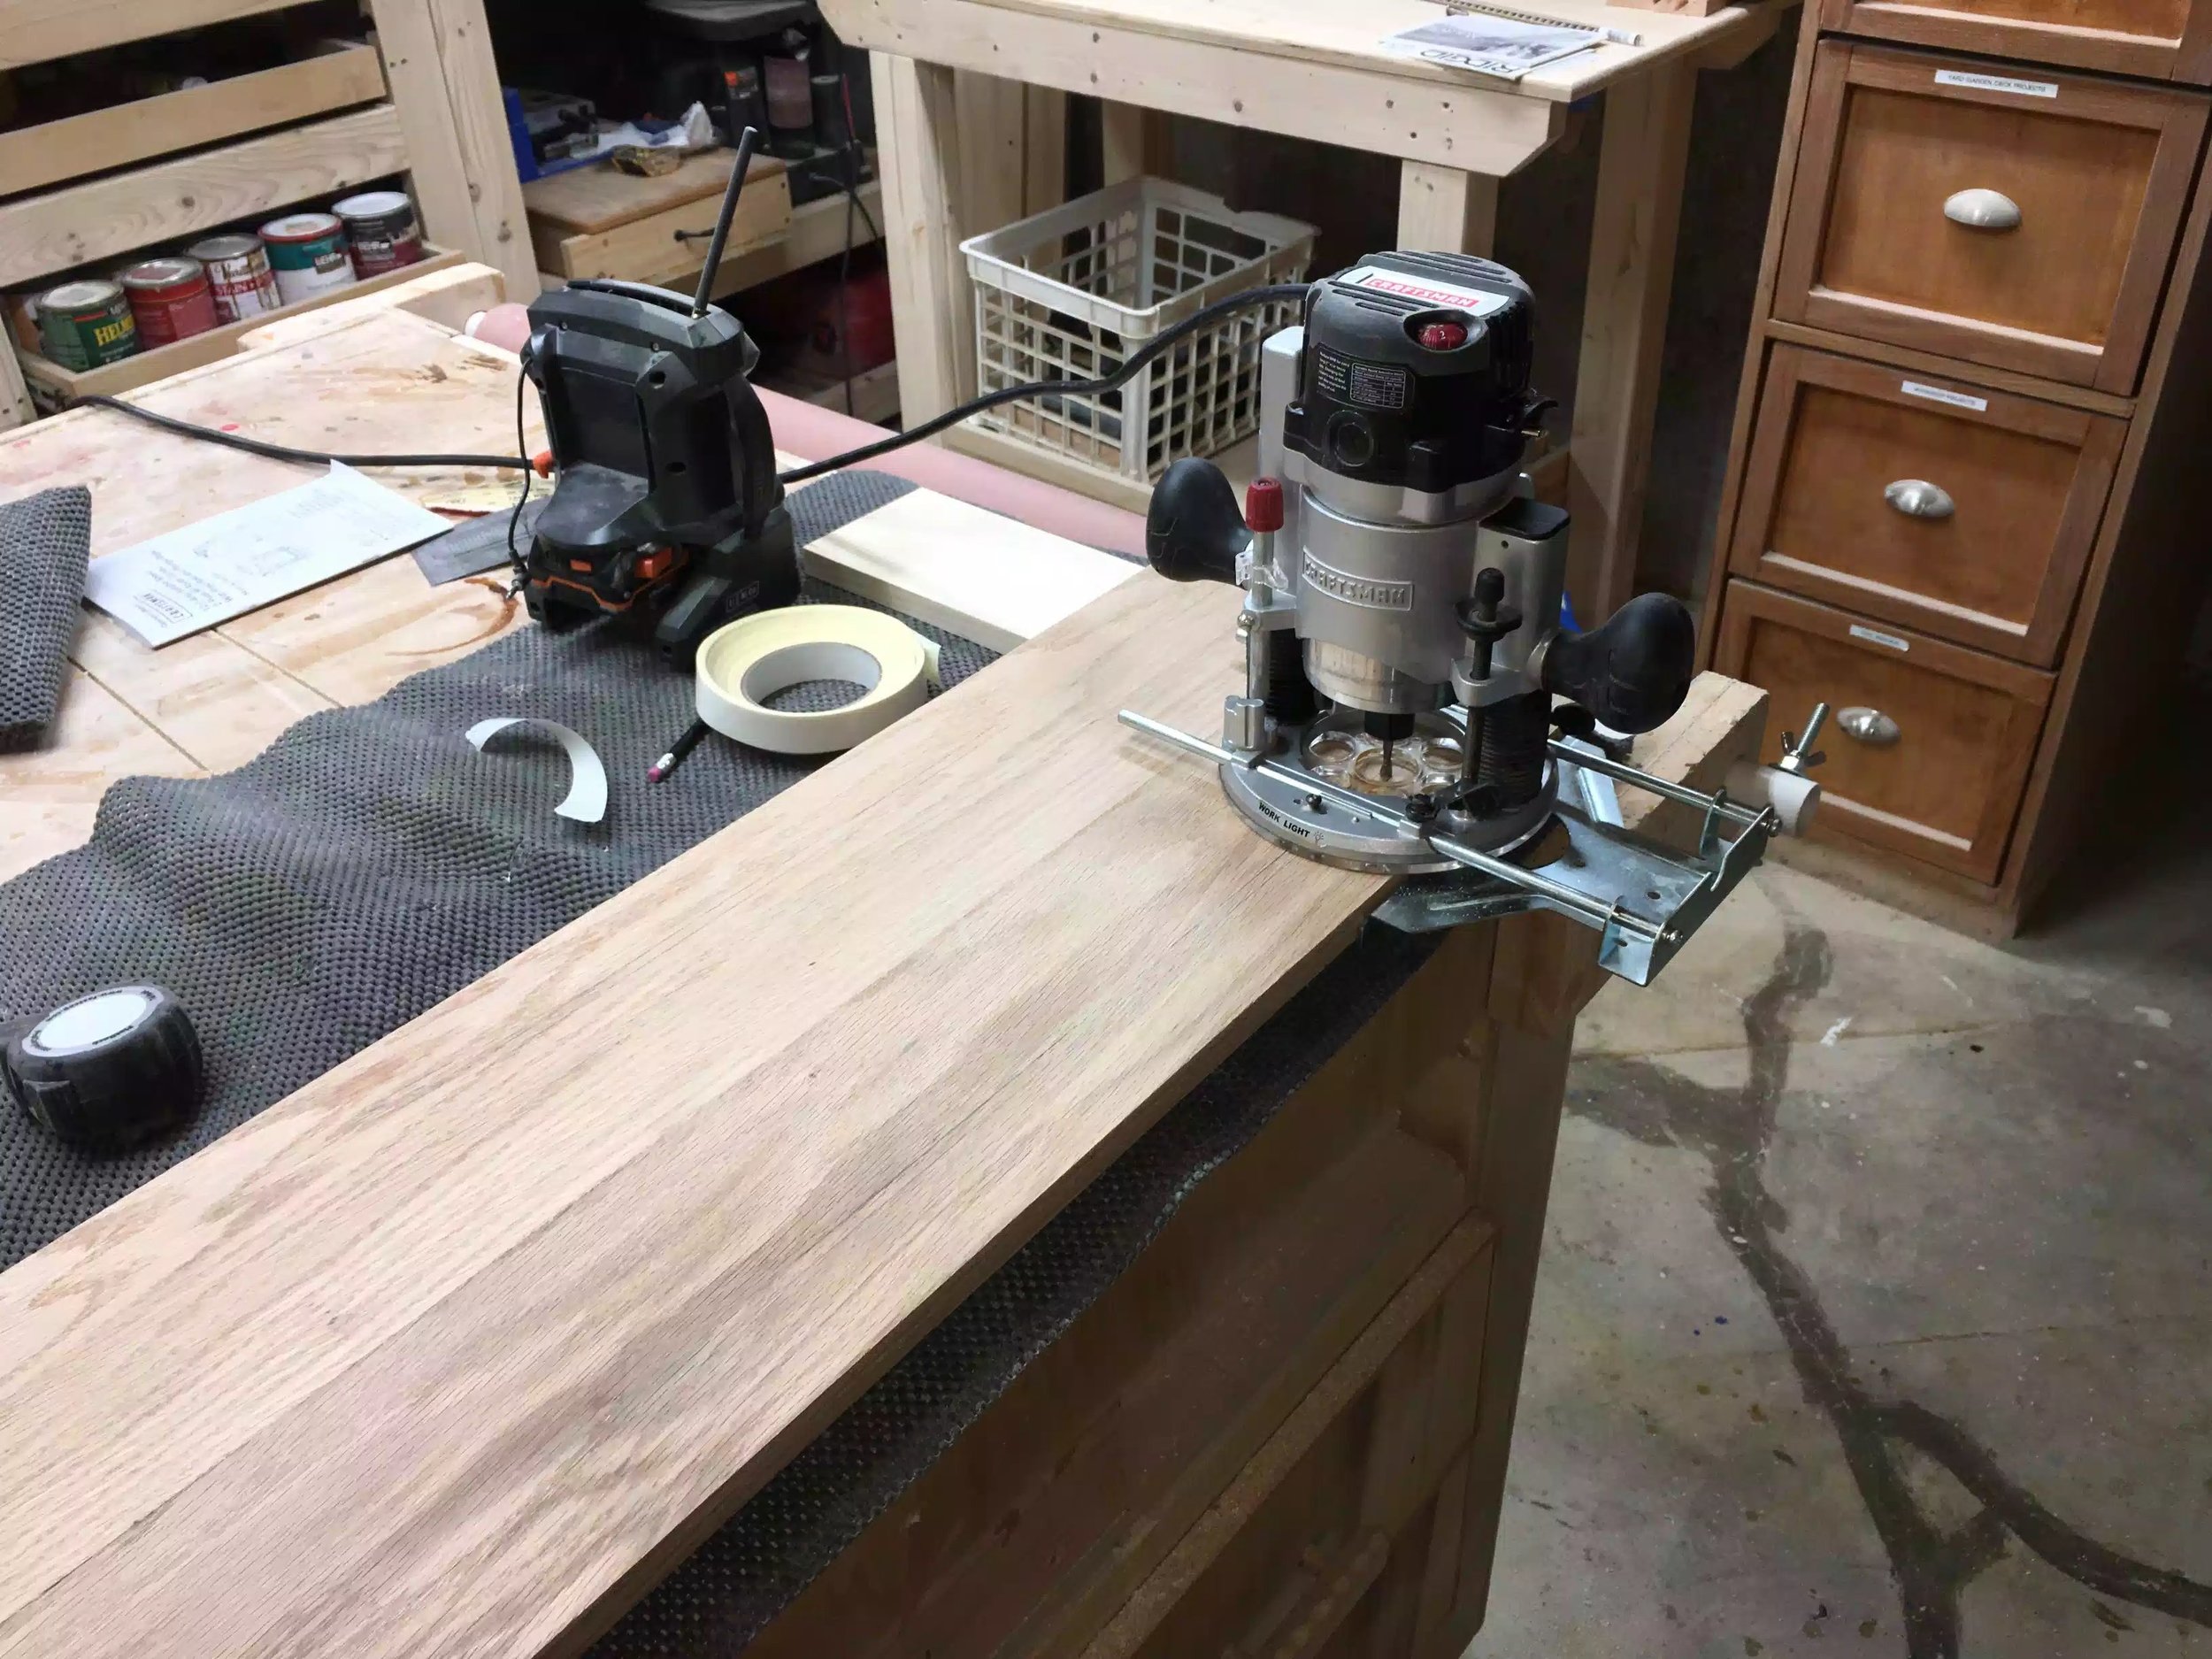
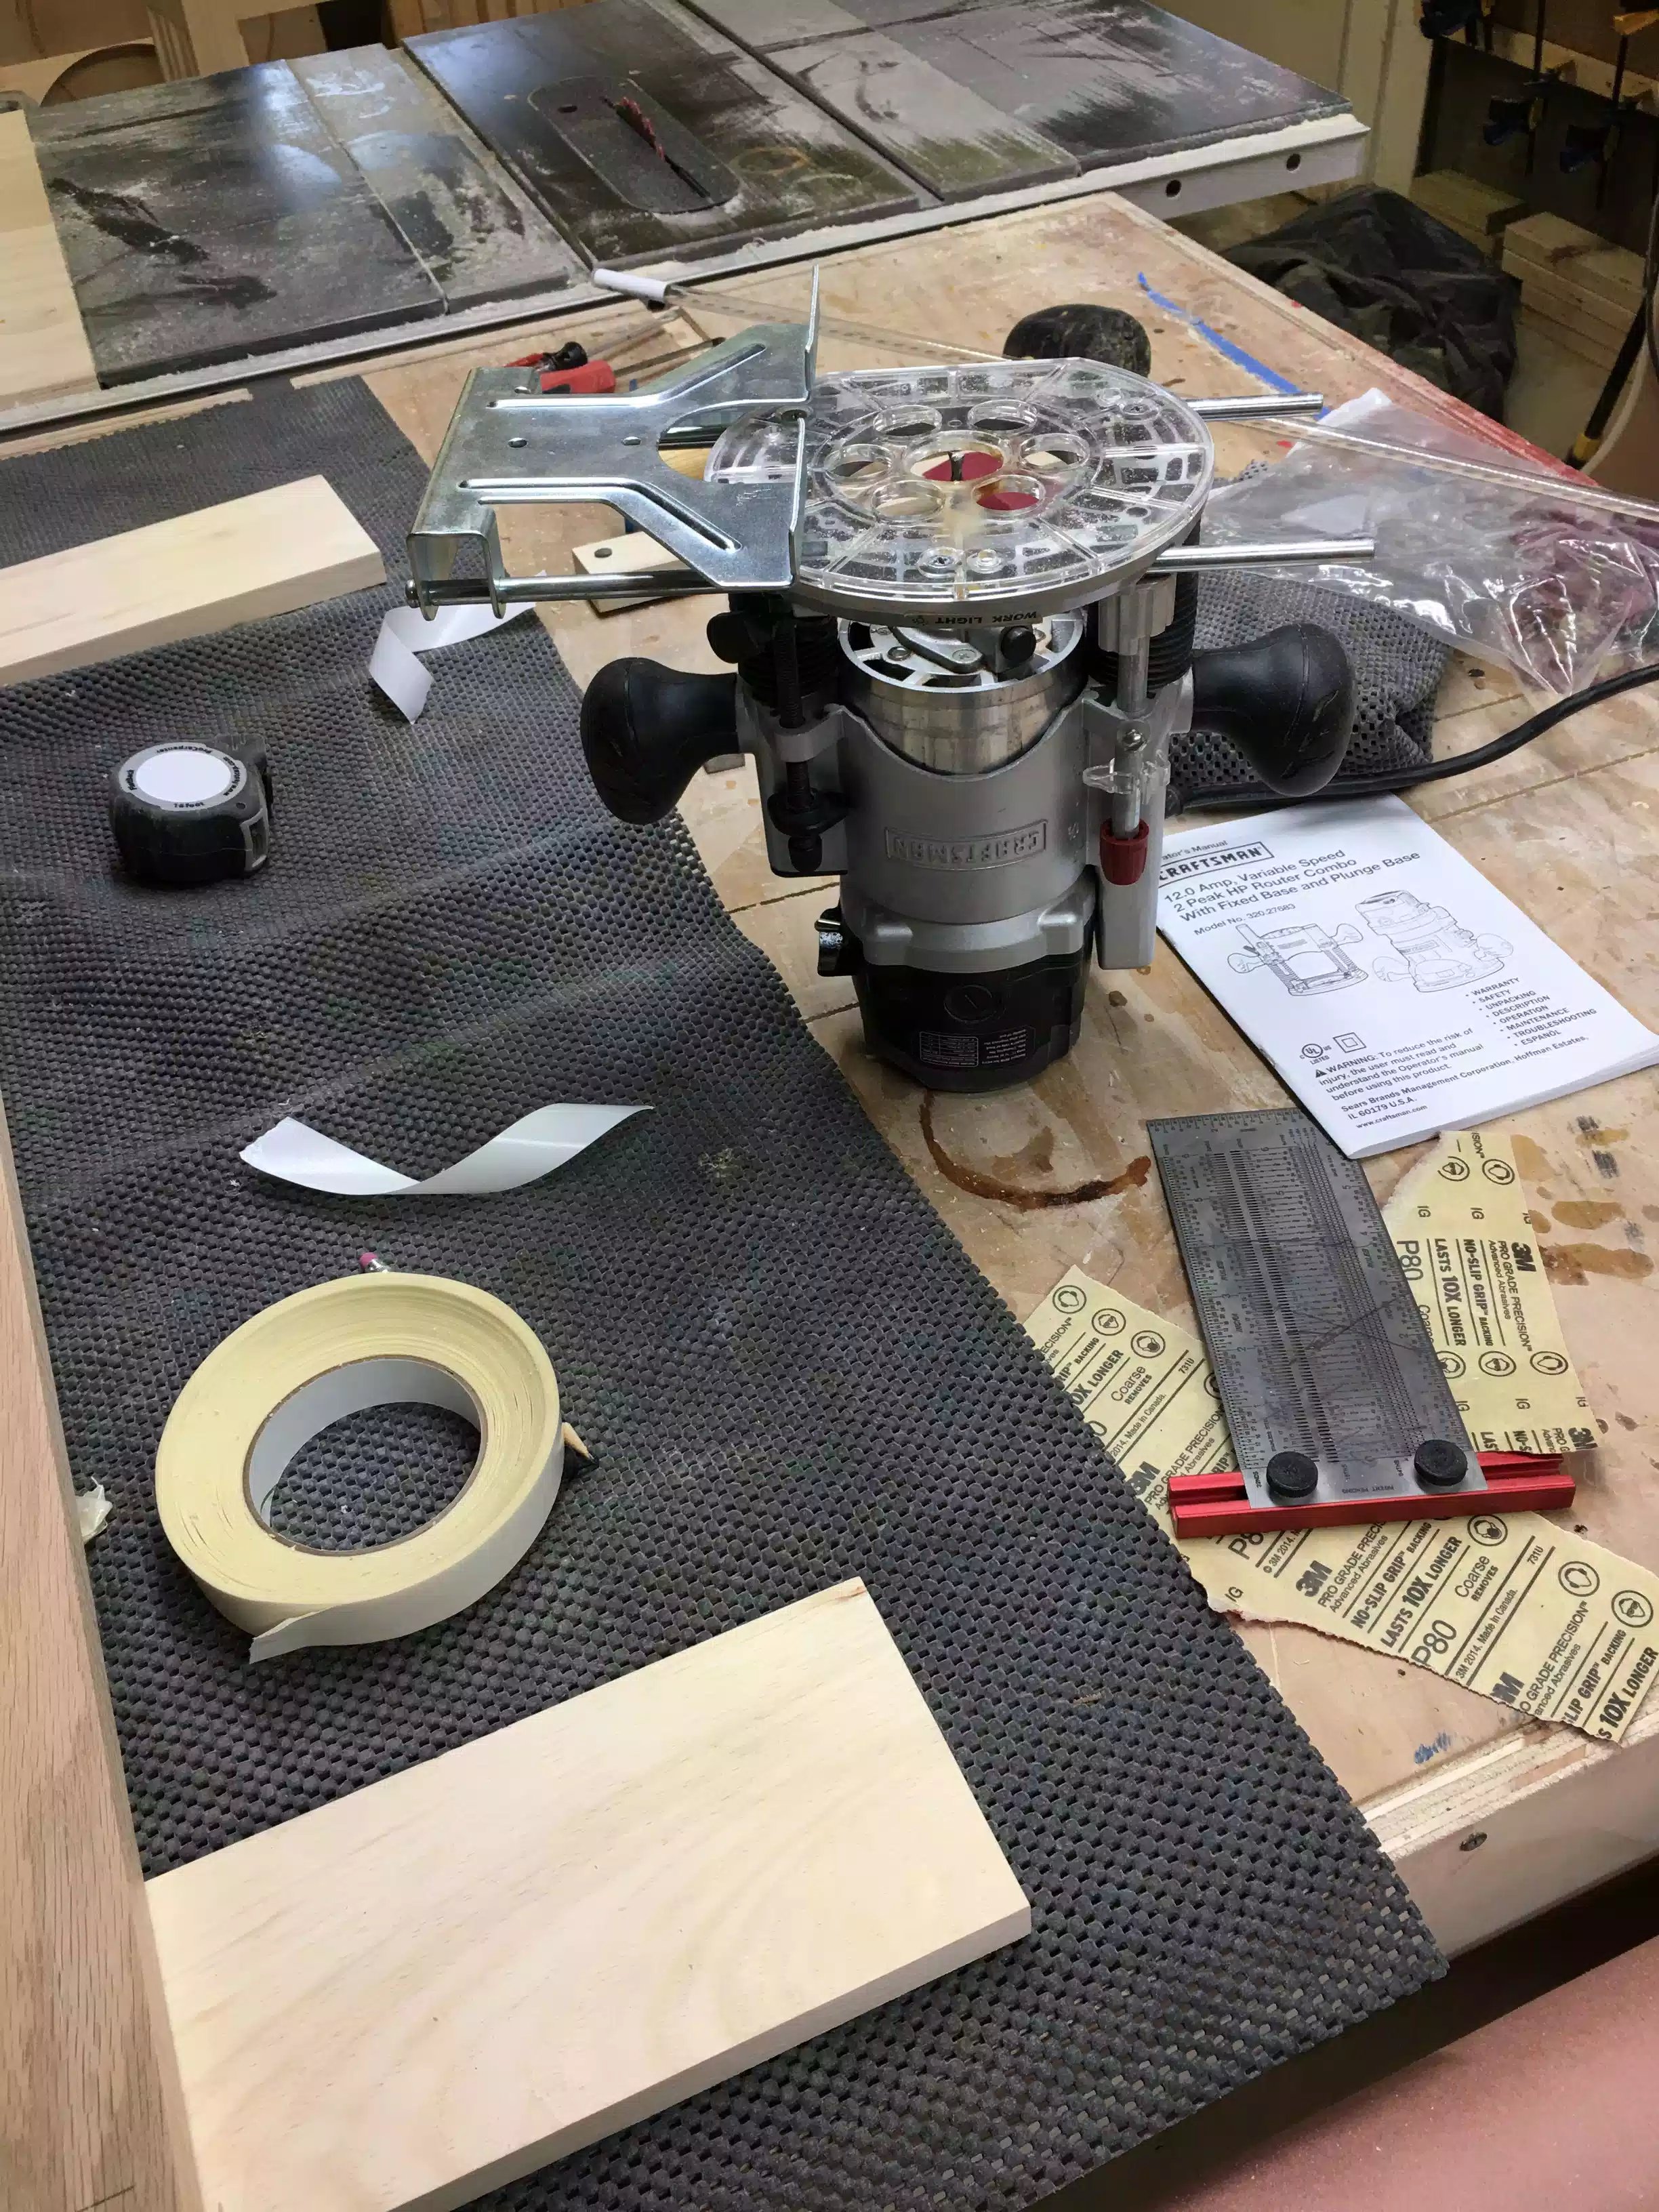
- Set up my handheld plunge router using a edge guide (first time using an edge guide and it wont be the last)
- Completed cutting the grooves that the inlay will fit into
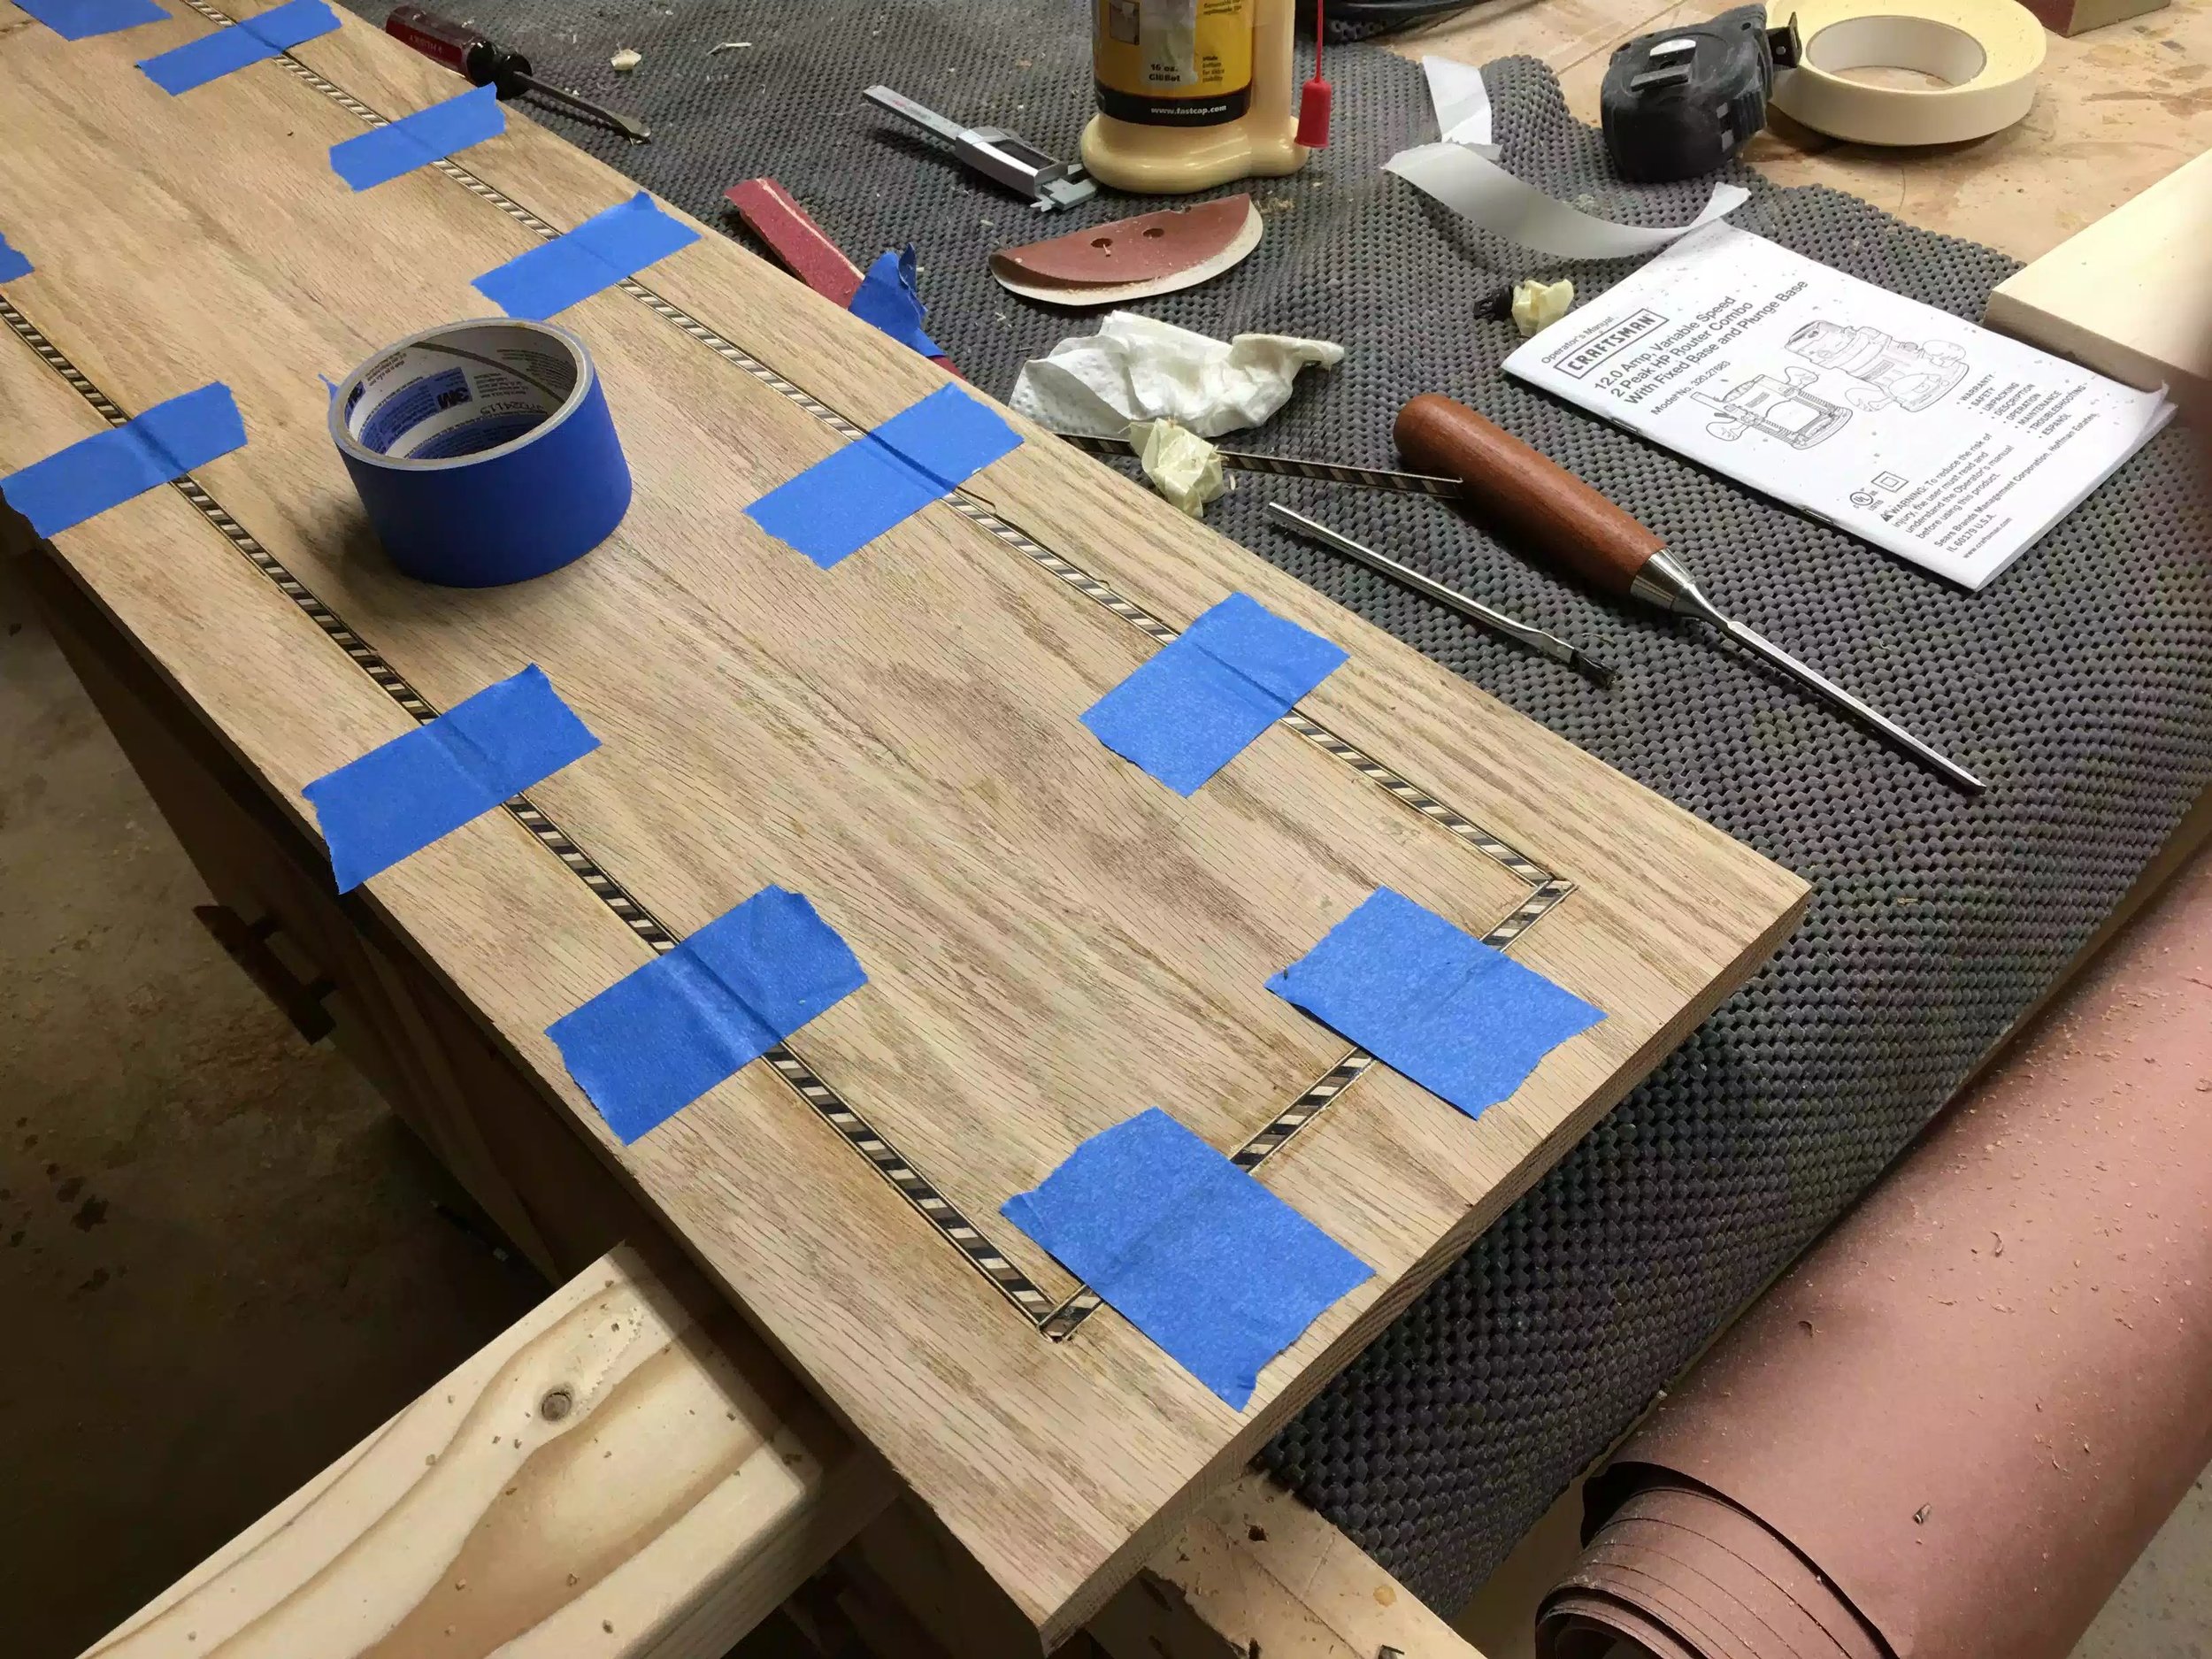
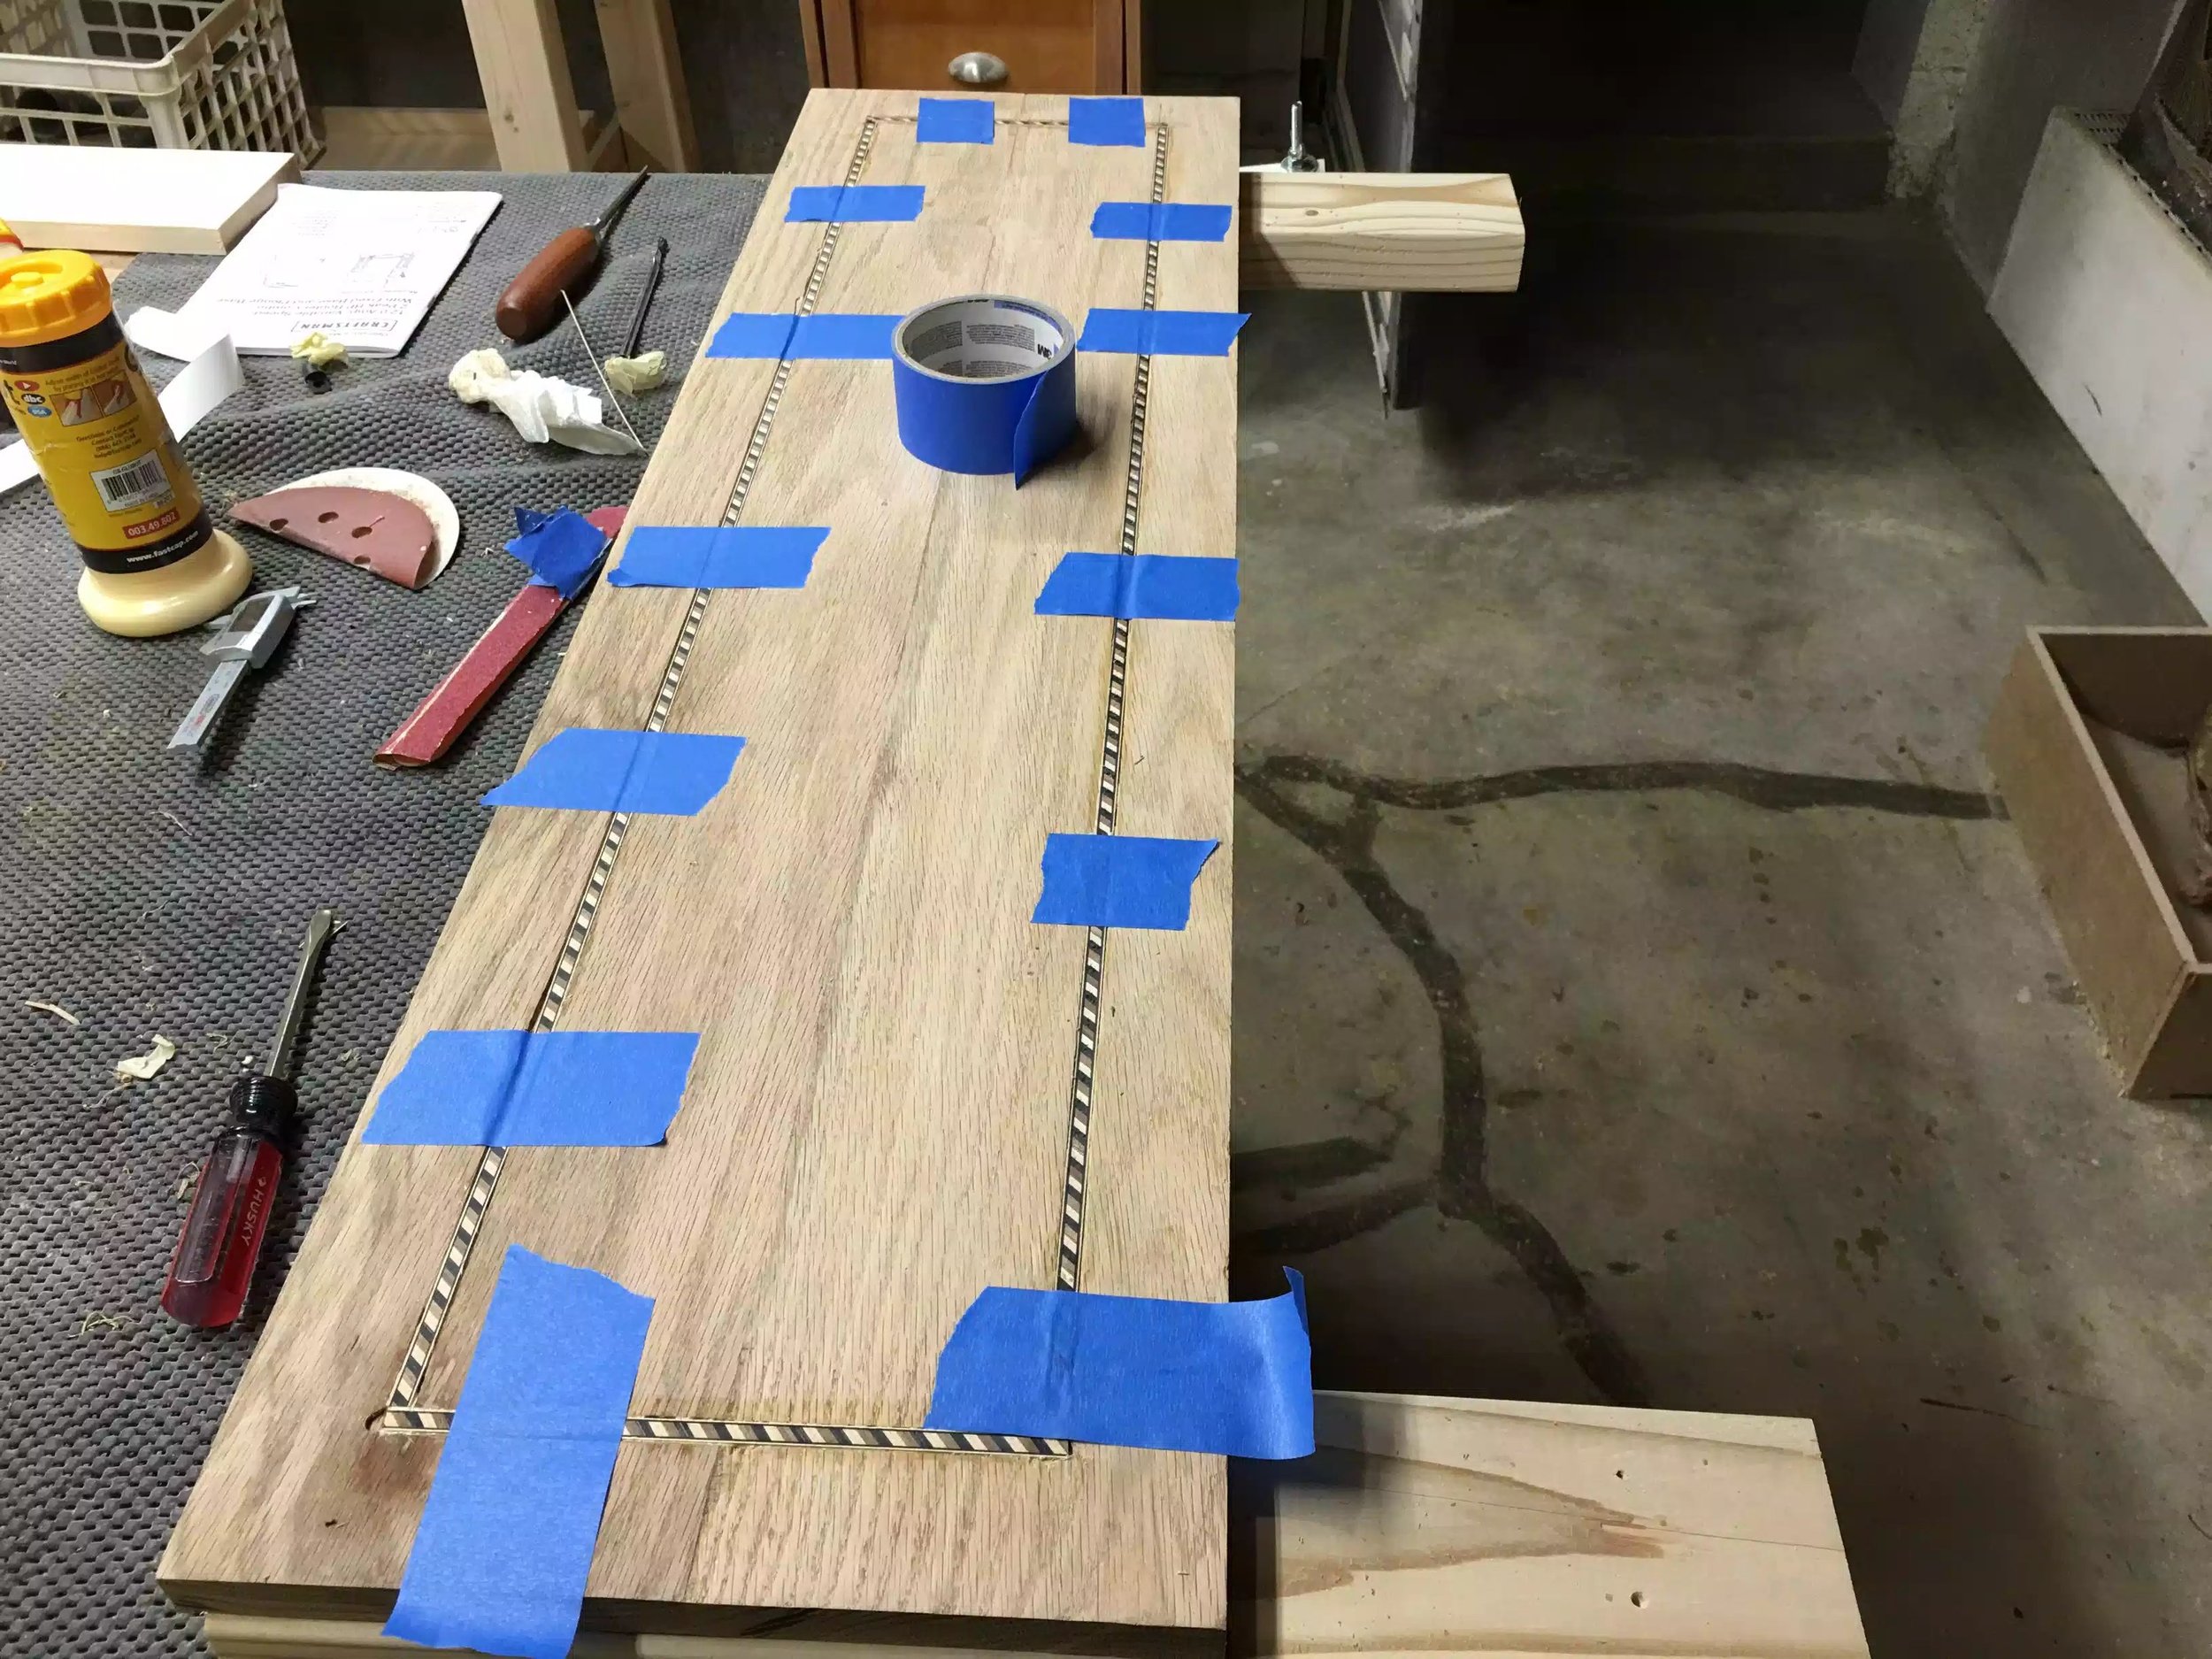
- Inset the inlay into the oak top and glued it in.
Notes on today's Progress;
- In theory inlay shouldn't be as difficult as you would think but because this was my first time and I had a faulty depth stop on my router it came out OK, perfect no but I can live with the results.
- I used a 1/4" diameter spiral router bit but the bit didn't provide as much clearance as I thought so i had to do a second pass widening the groove. Going forward when I do inlays again i will need to use a router bit that is hair wider than the inlay in today's case I should of use a 5/16" diameter bit instead of the 1/4" one. I tried sanding away the clearance to fit the inlay but it just didn't work.
Tomorrow
- I will be cleaning up the inlay and removing the tape that I used to keep the inlay in position while the glue set,
- I will also be using my router to add a profile to the tabletop... ill probably add a chamfer to the underside of the table top and if I can Ill add a ogee profile to the top.
- If there is enough time I will start doing a final sanding on the entire table and preparing it for a finish.

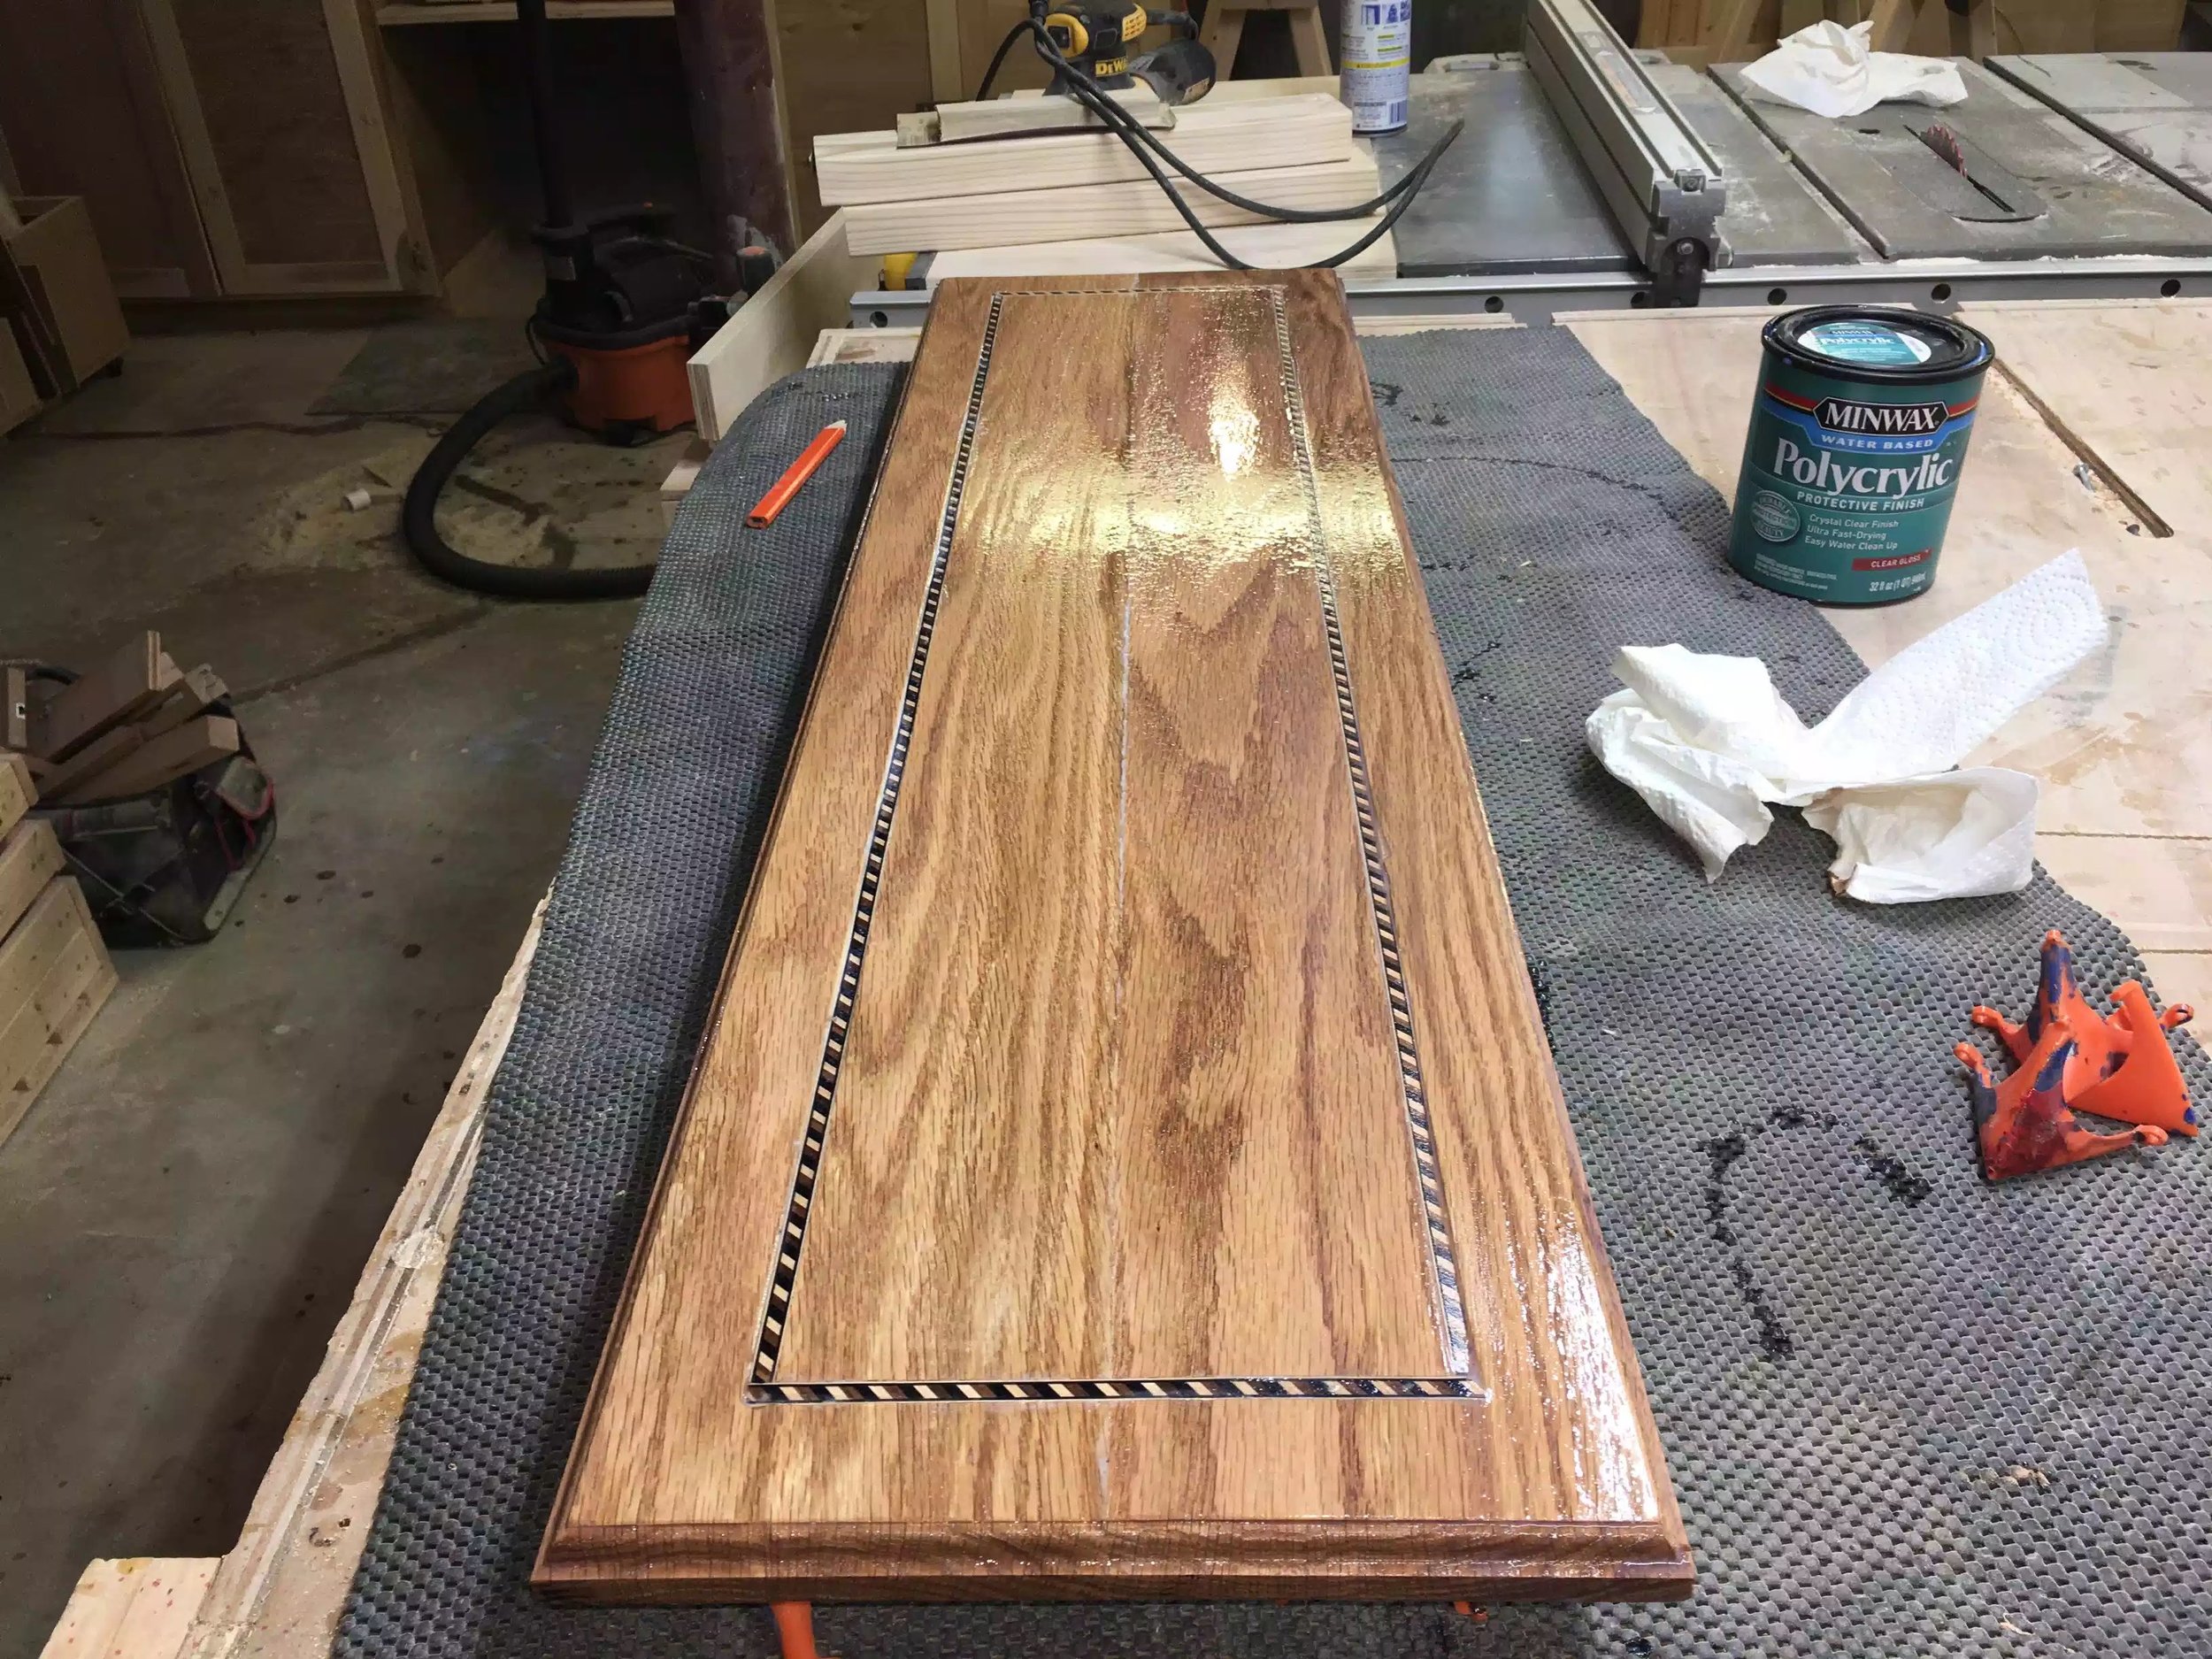
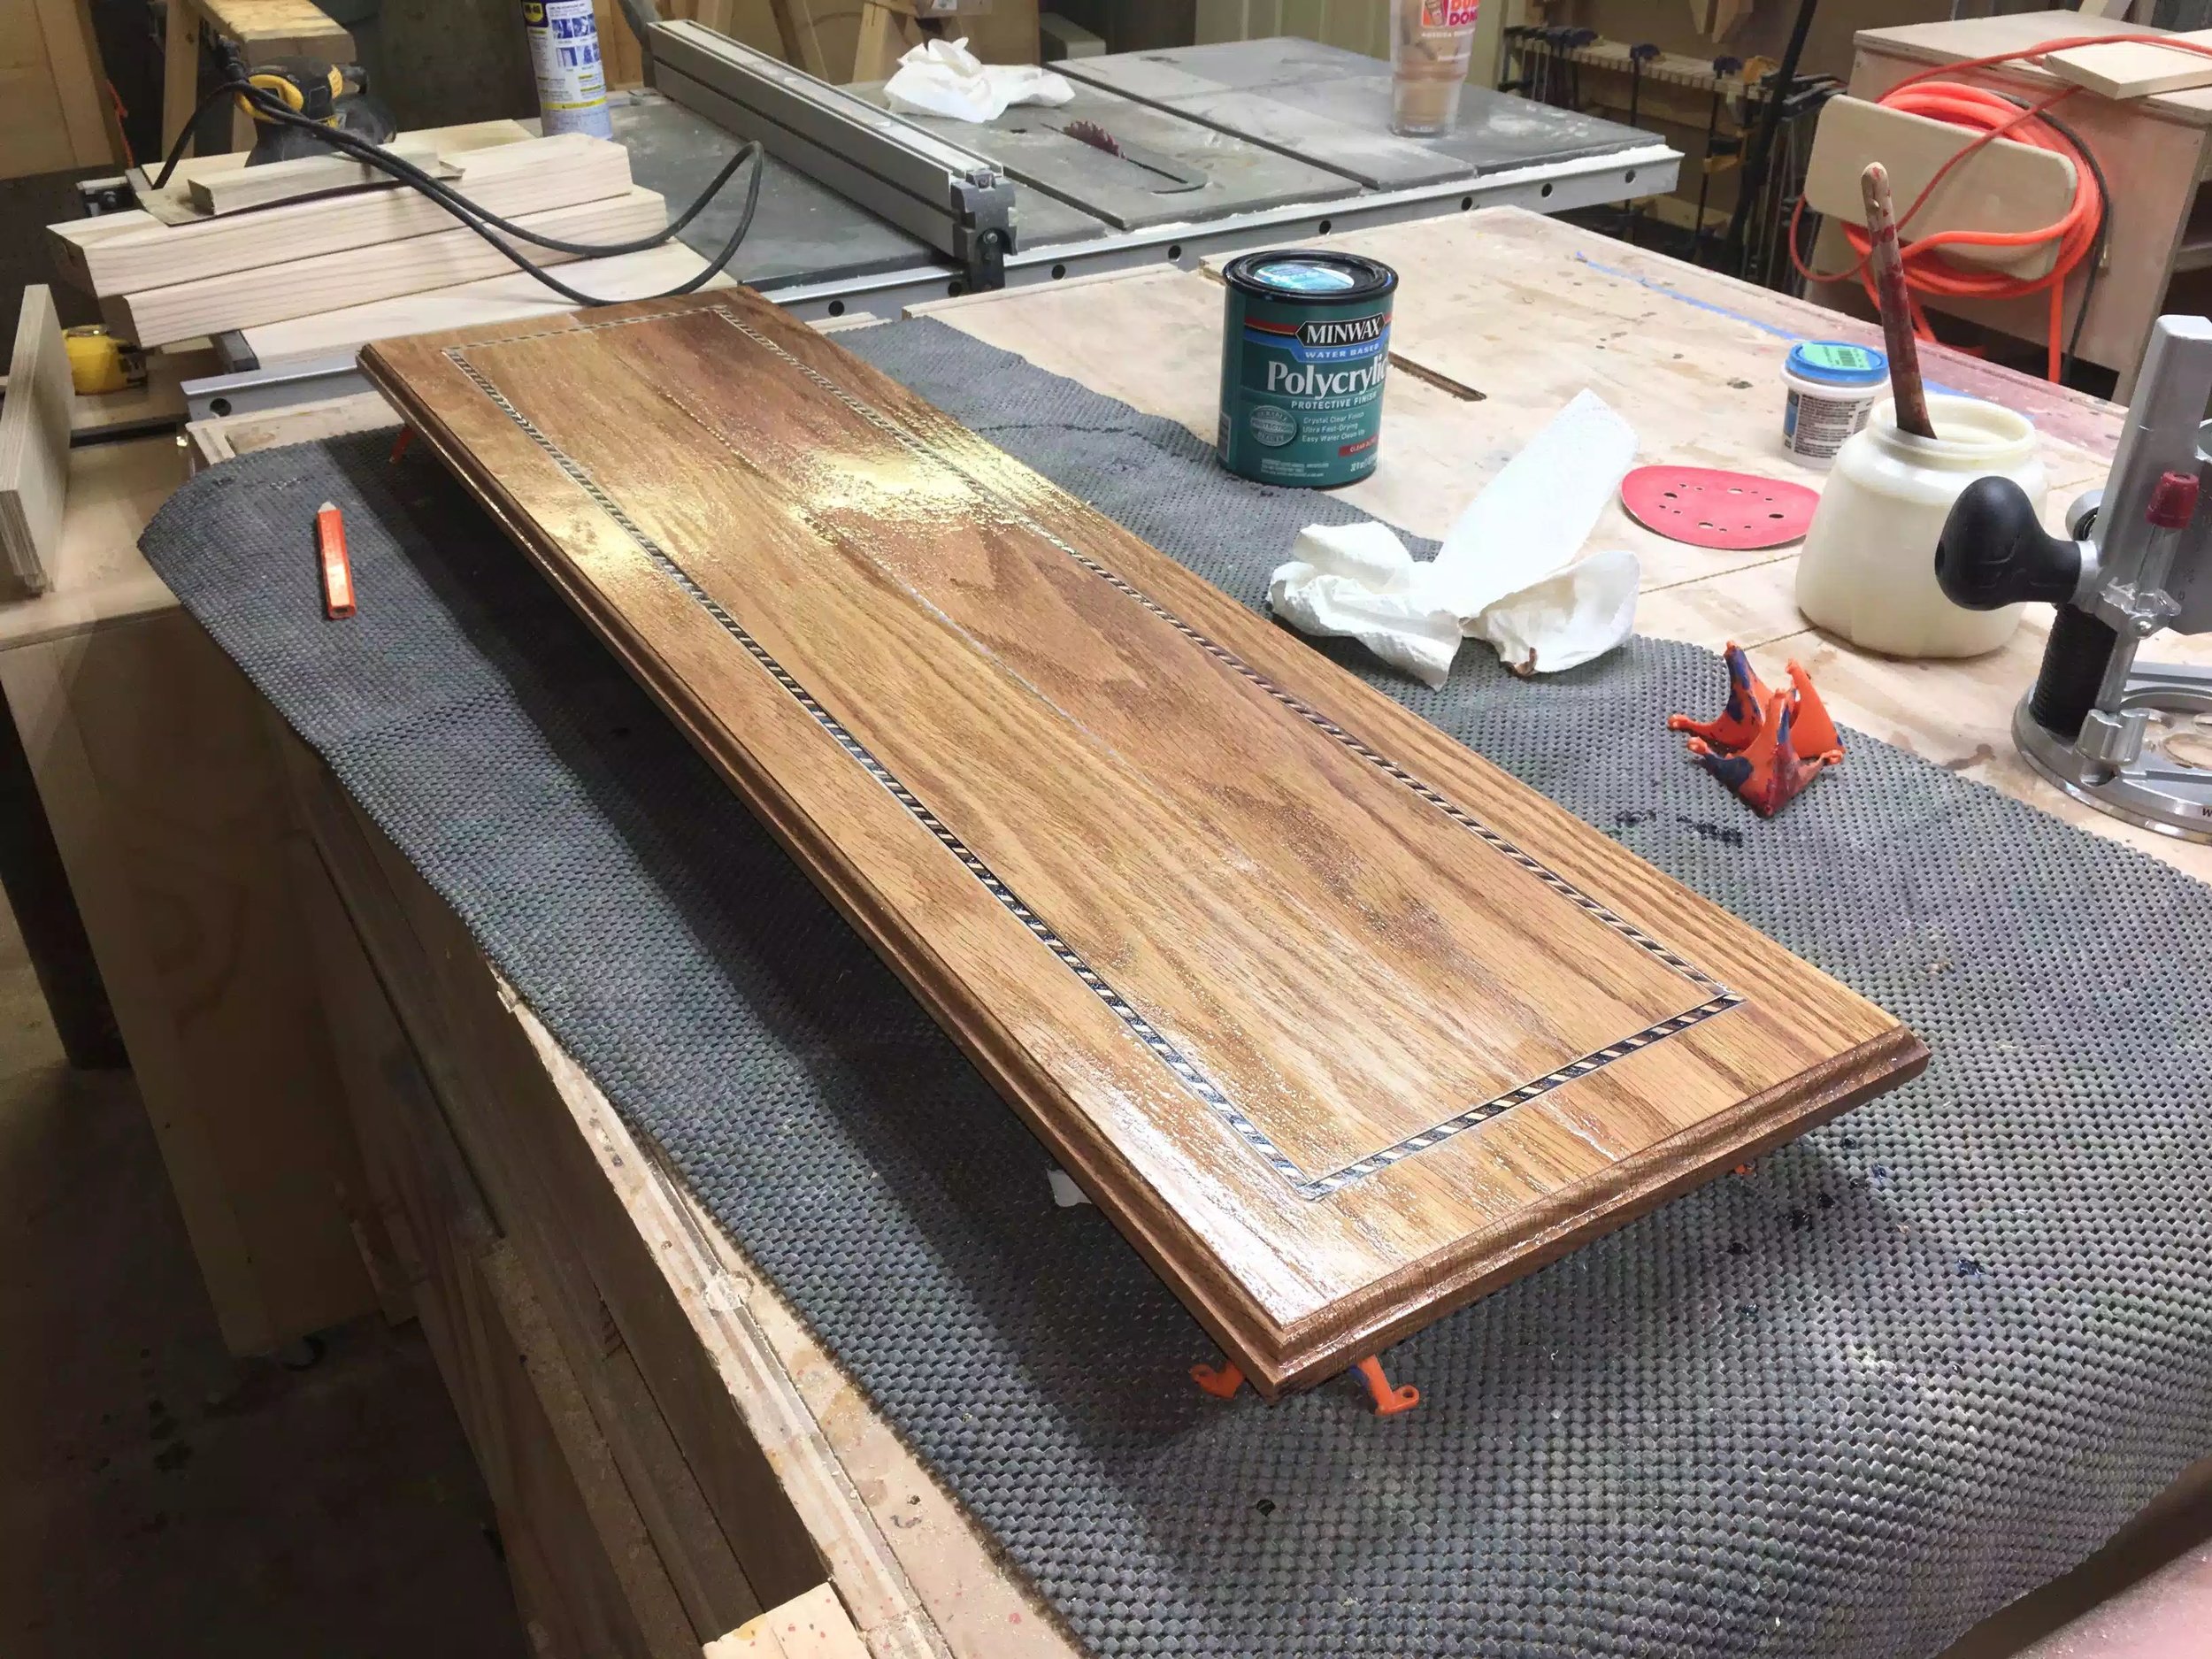
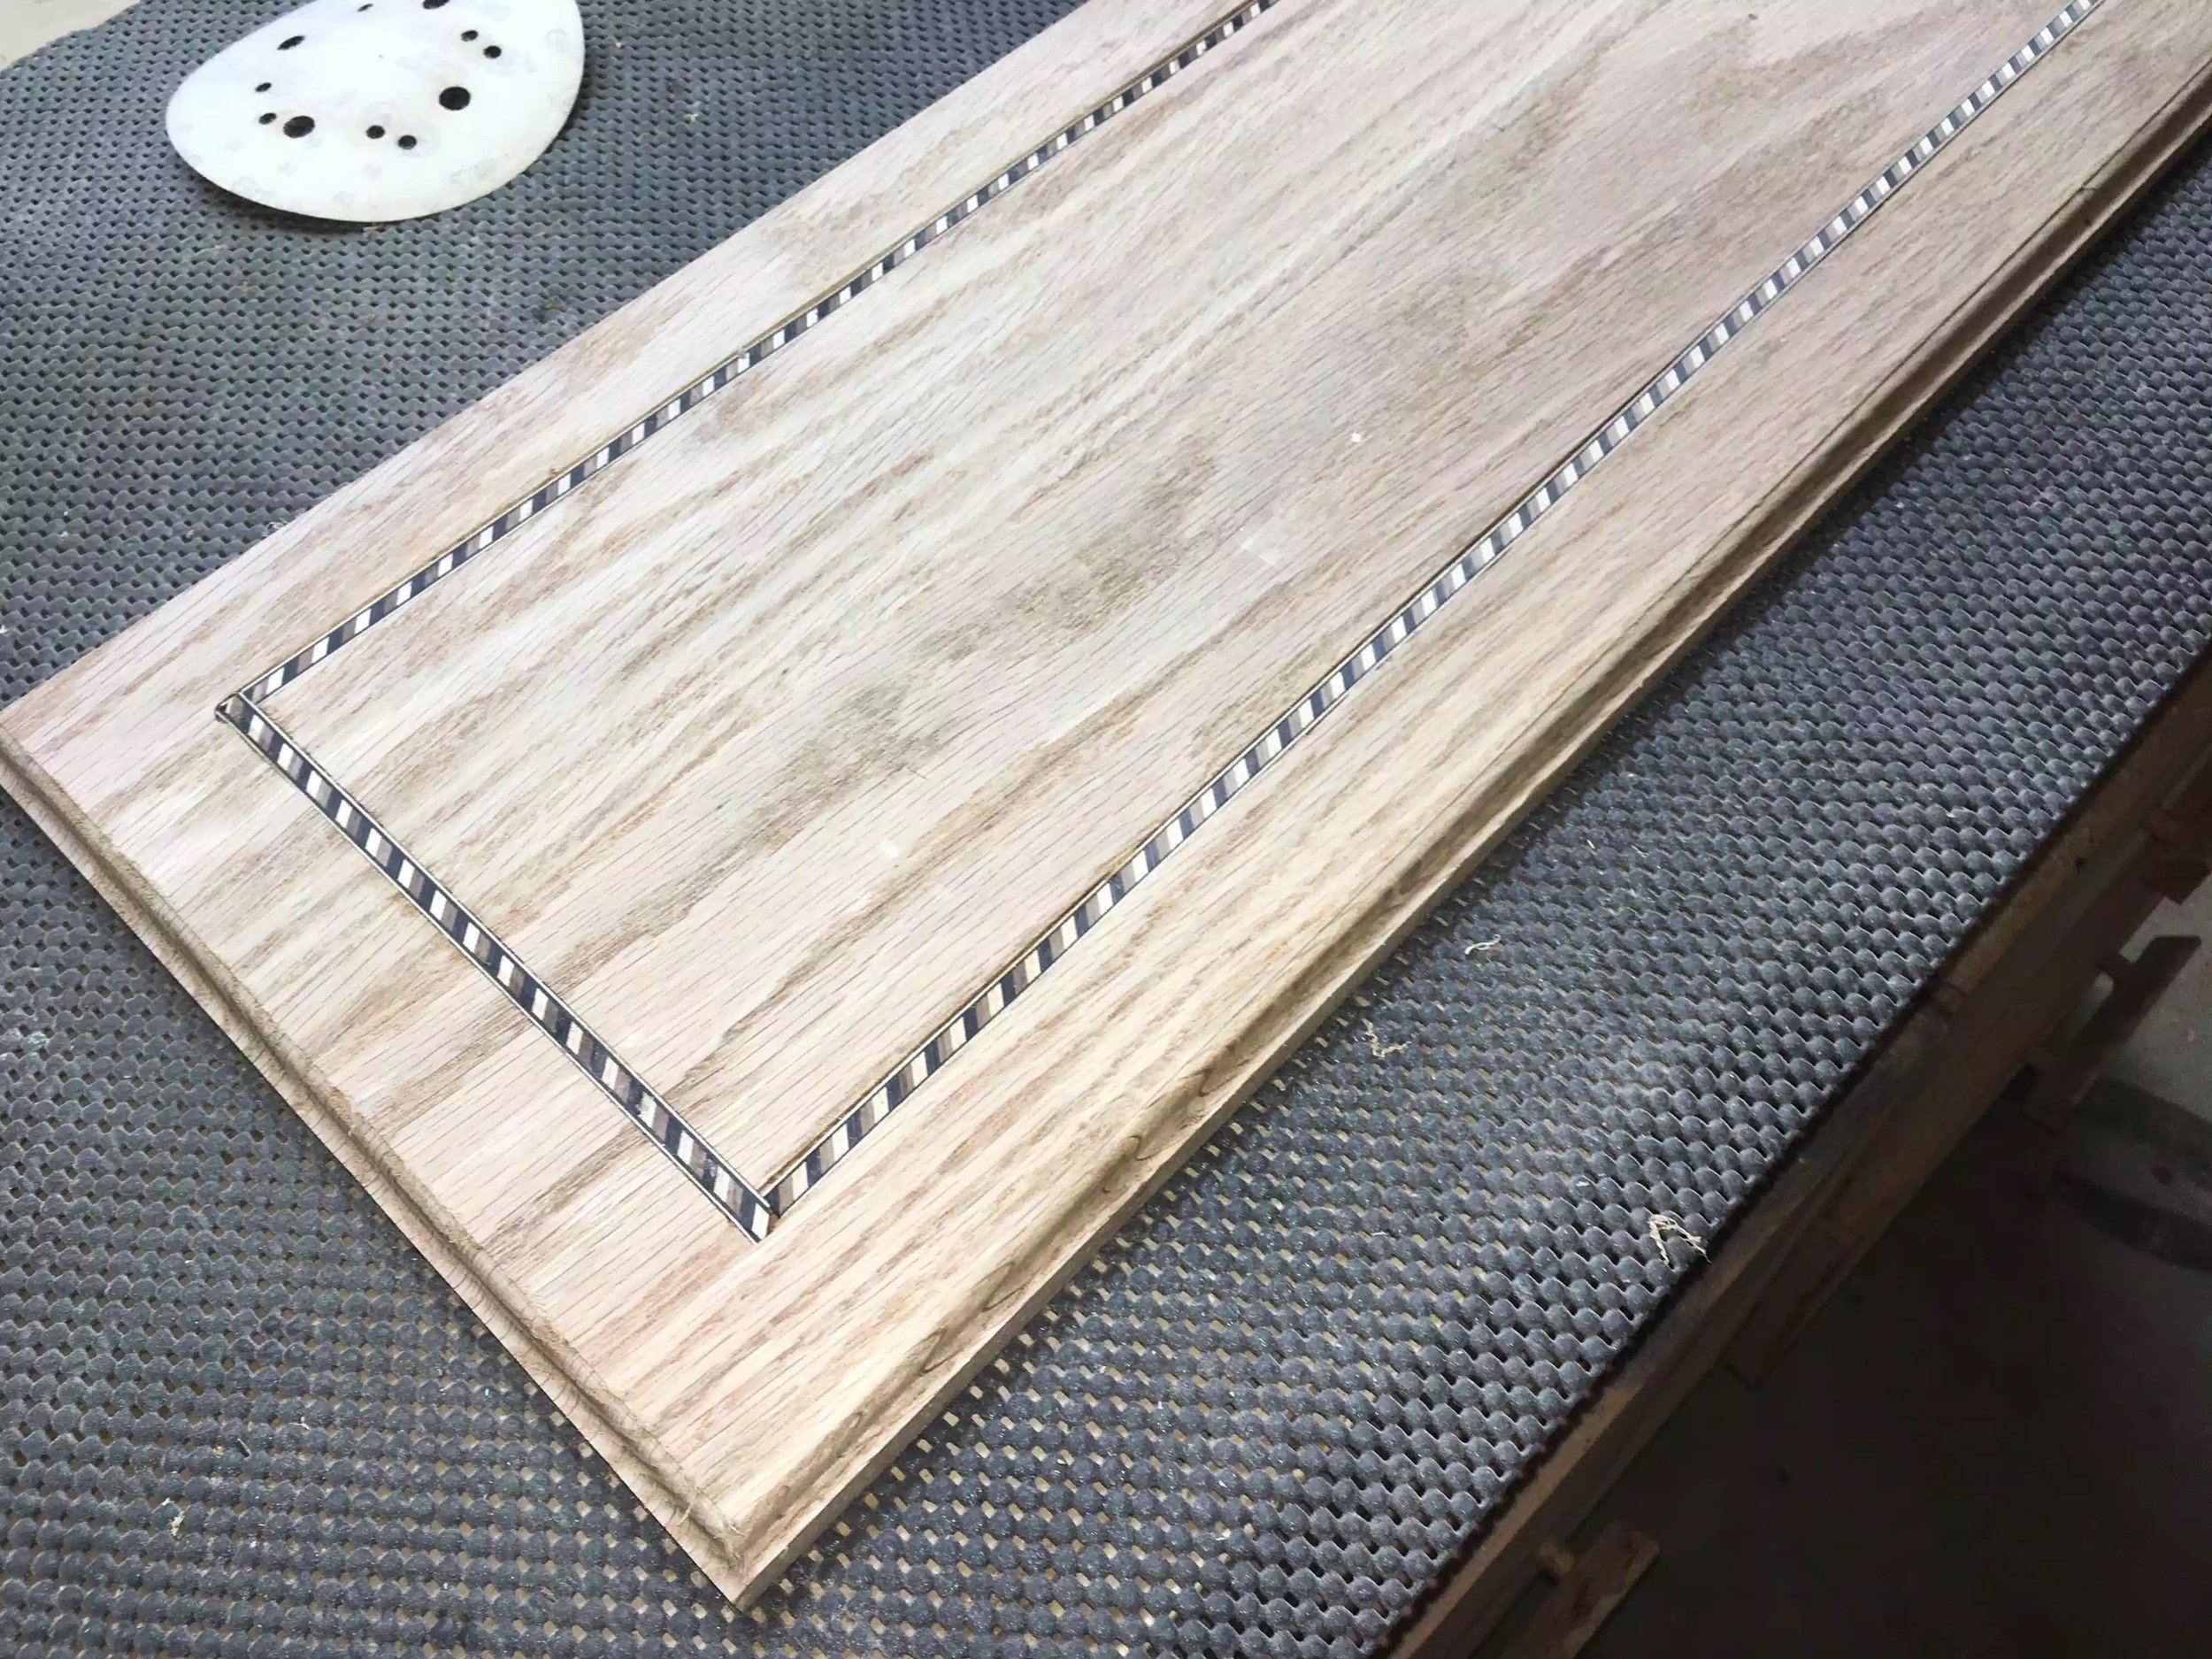
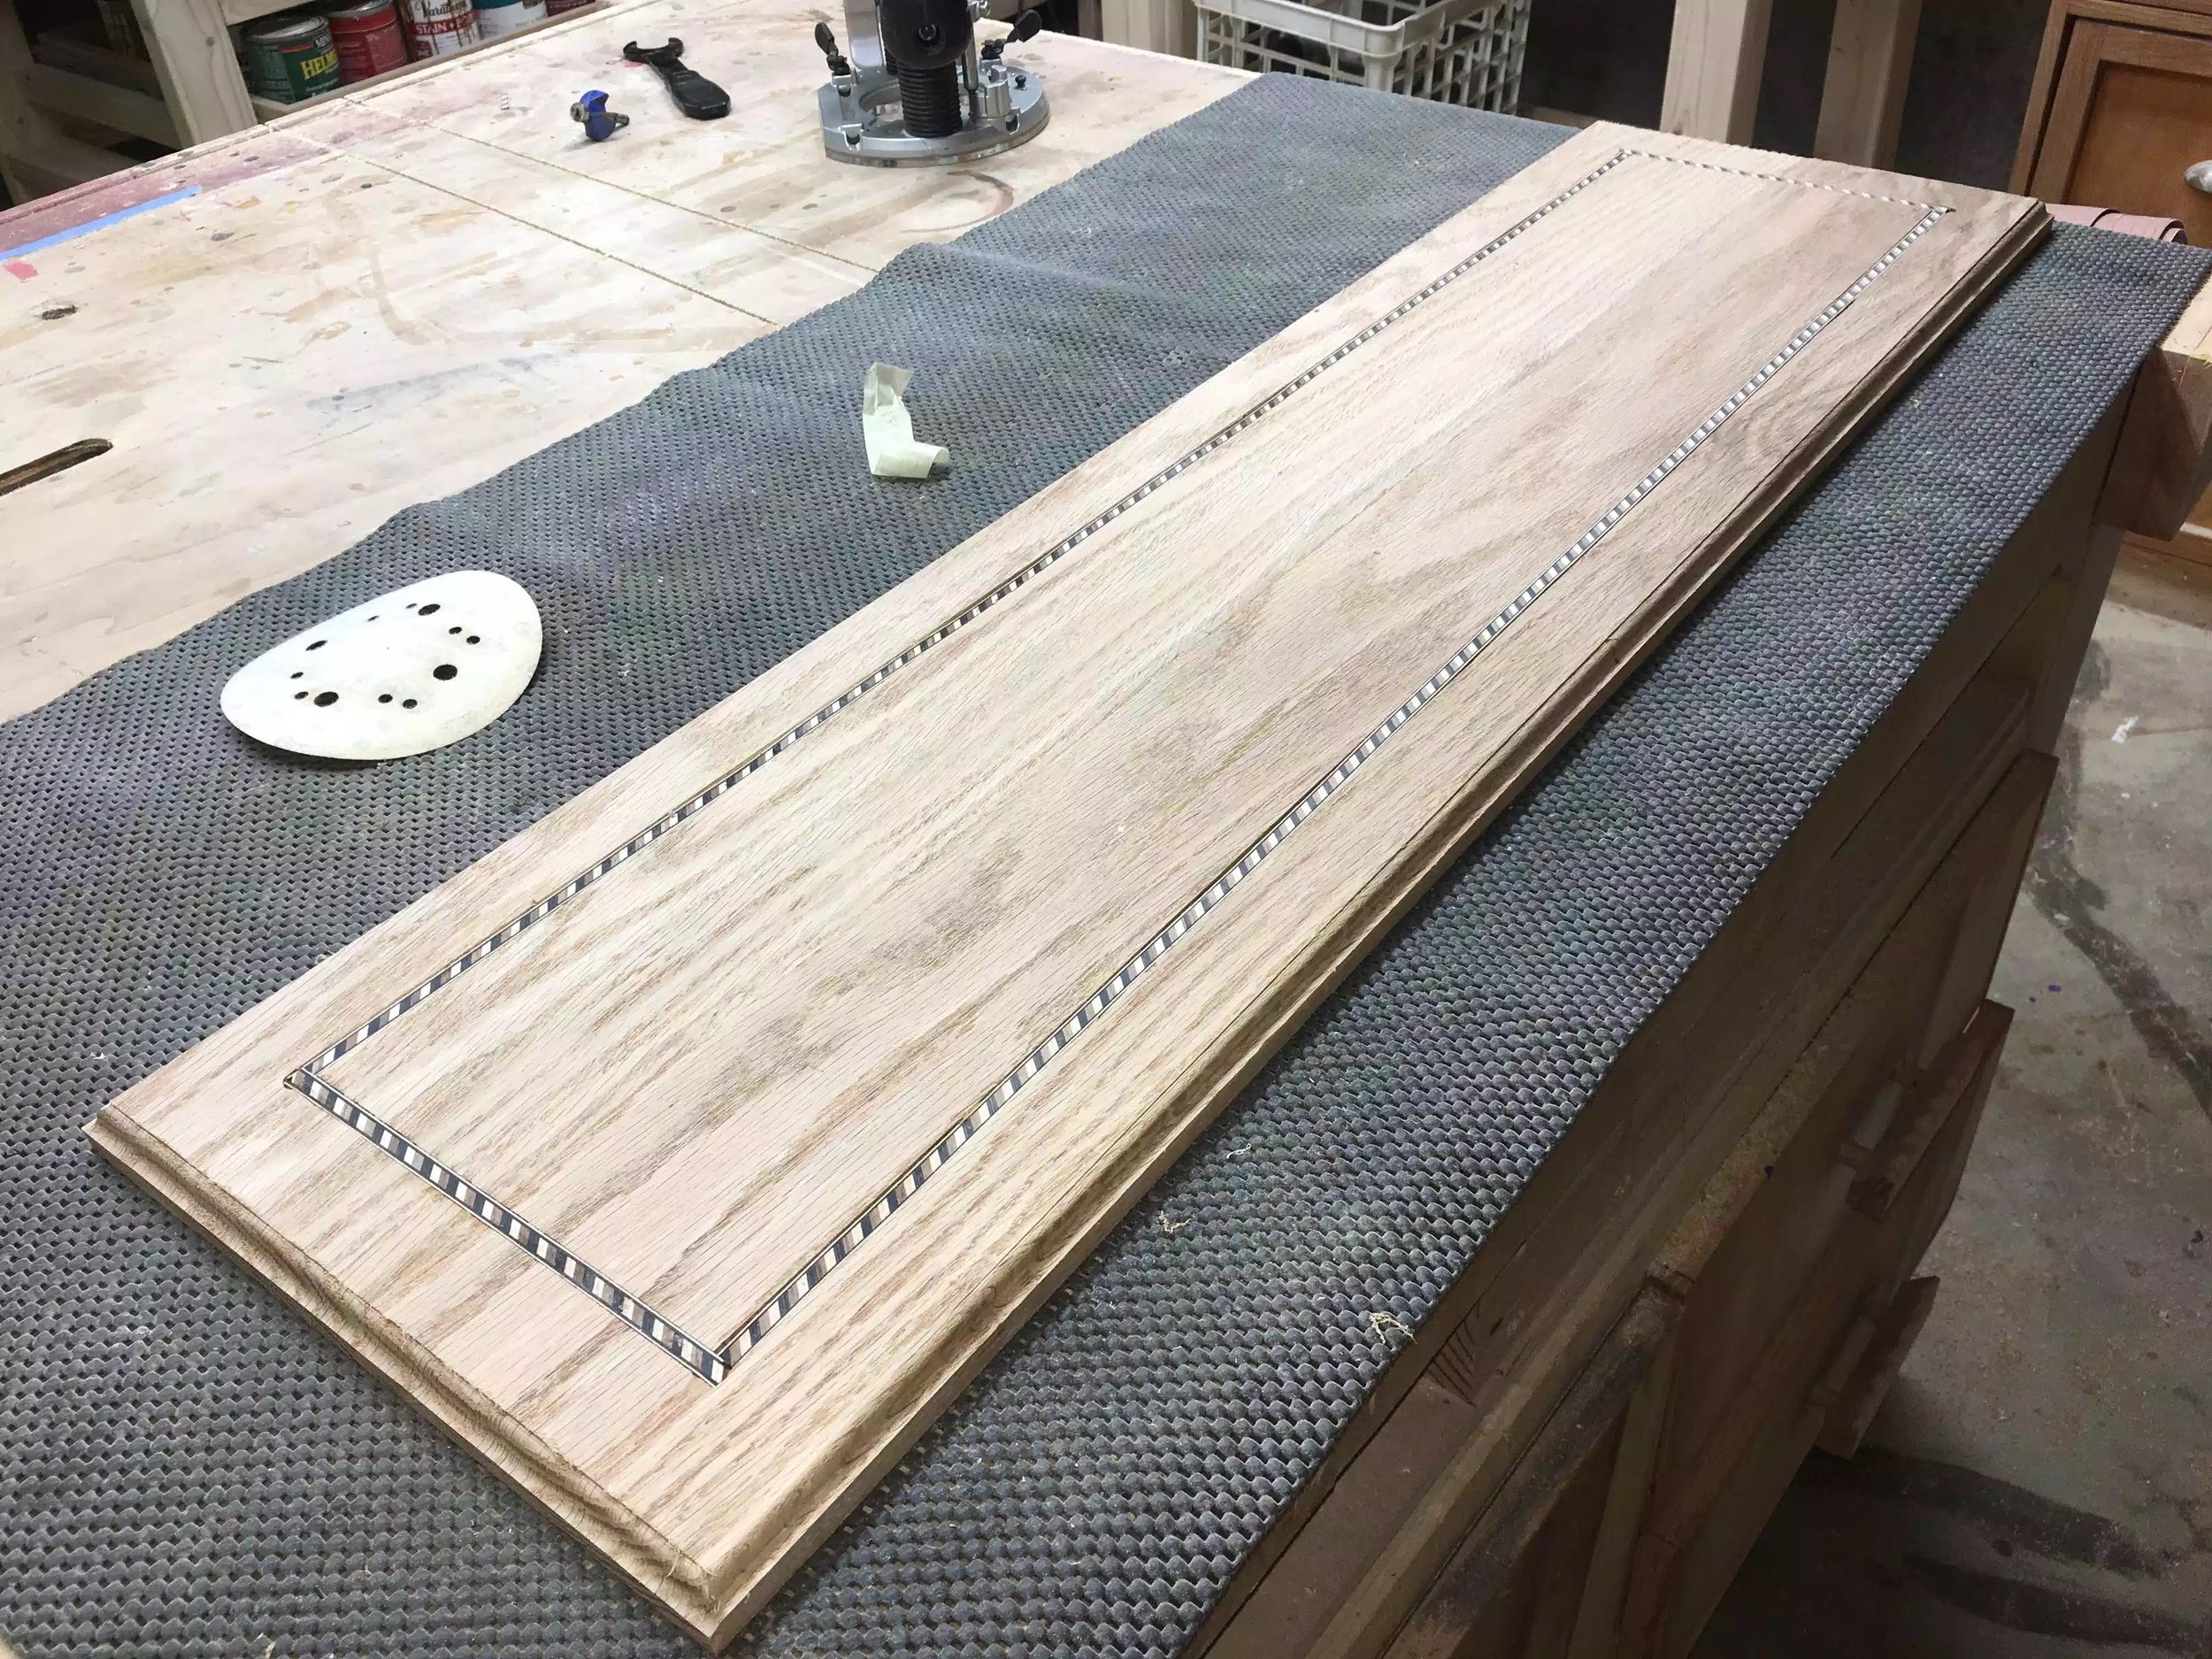
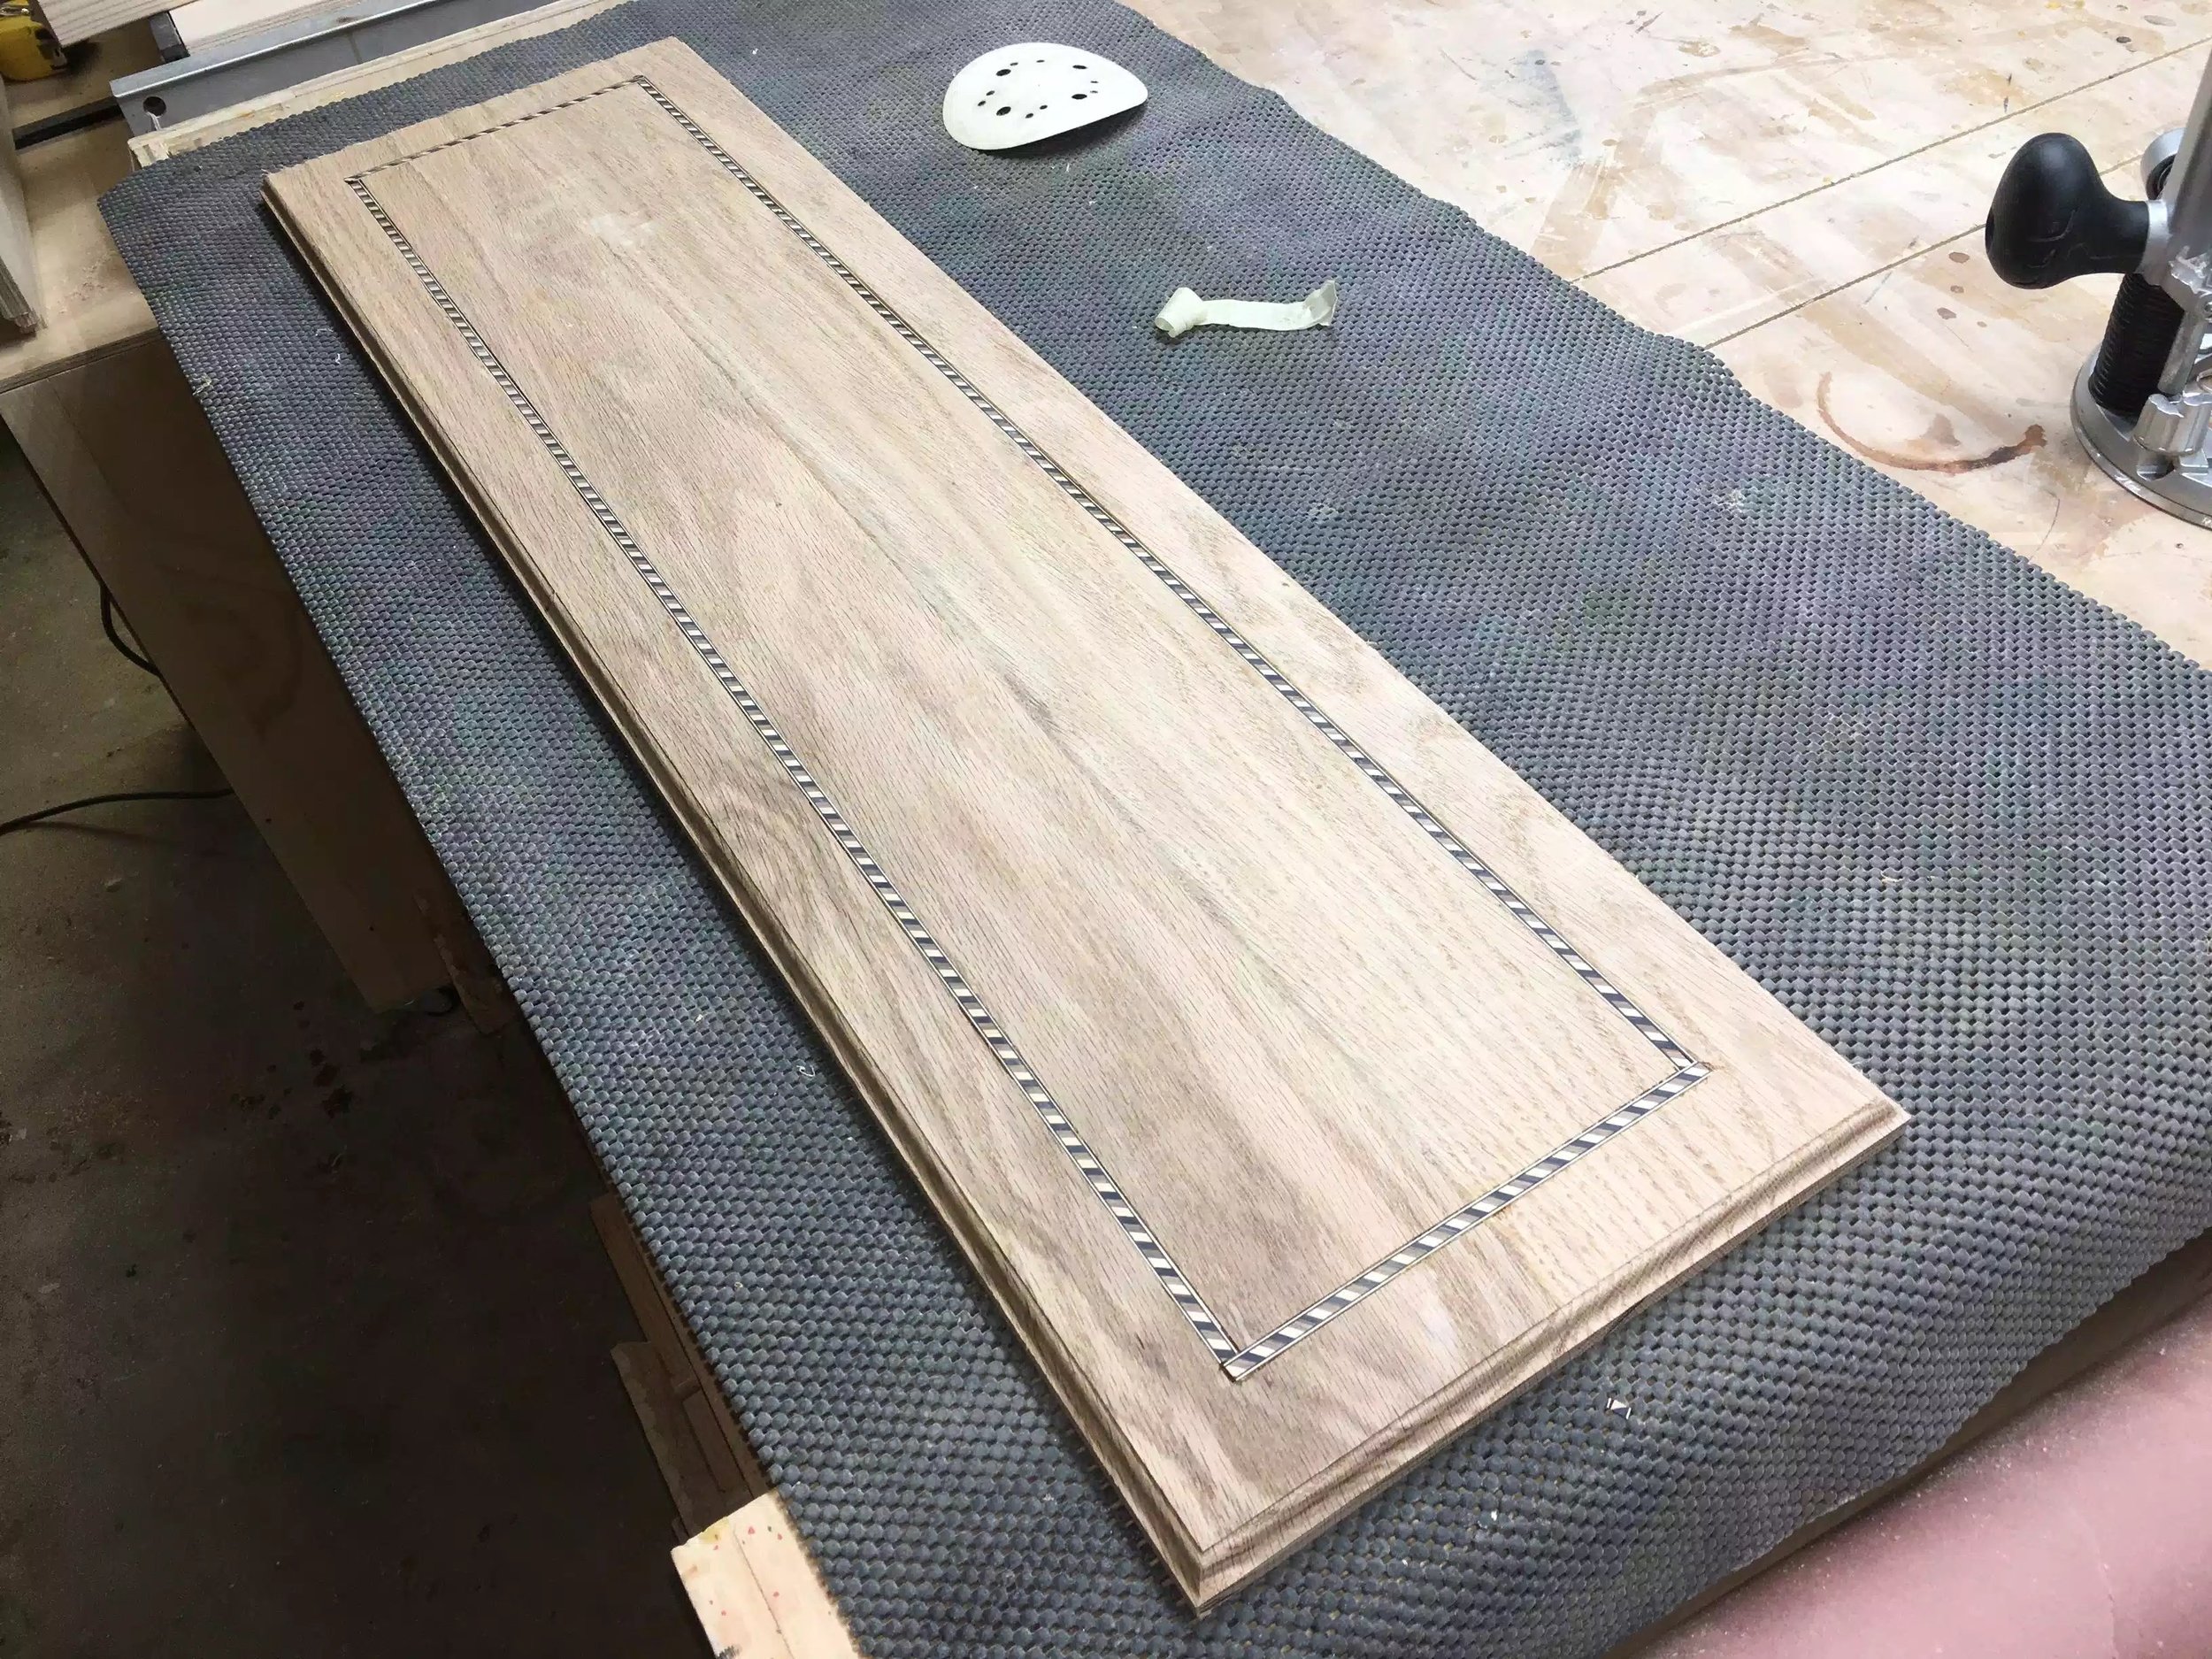
You can see the tabletop all finished with the inlay and ogee profile I applied using my router table and it looks awesome. I sanded the top with 3 grits 80,150,220 grit paper and it came out so smooth so it is already for the poly-acrylic finish.
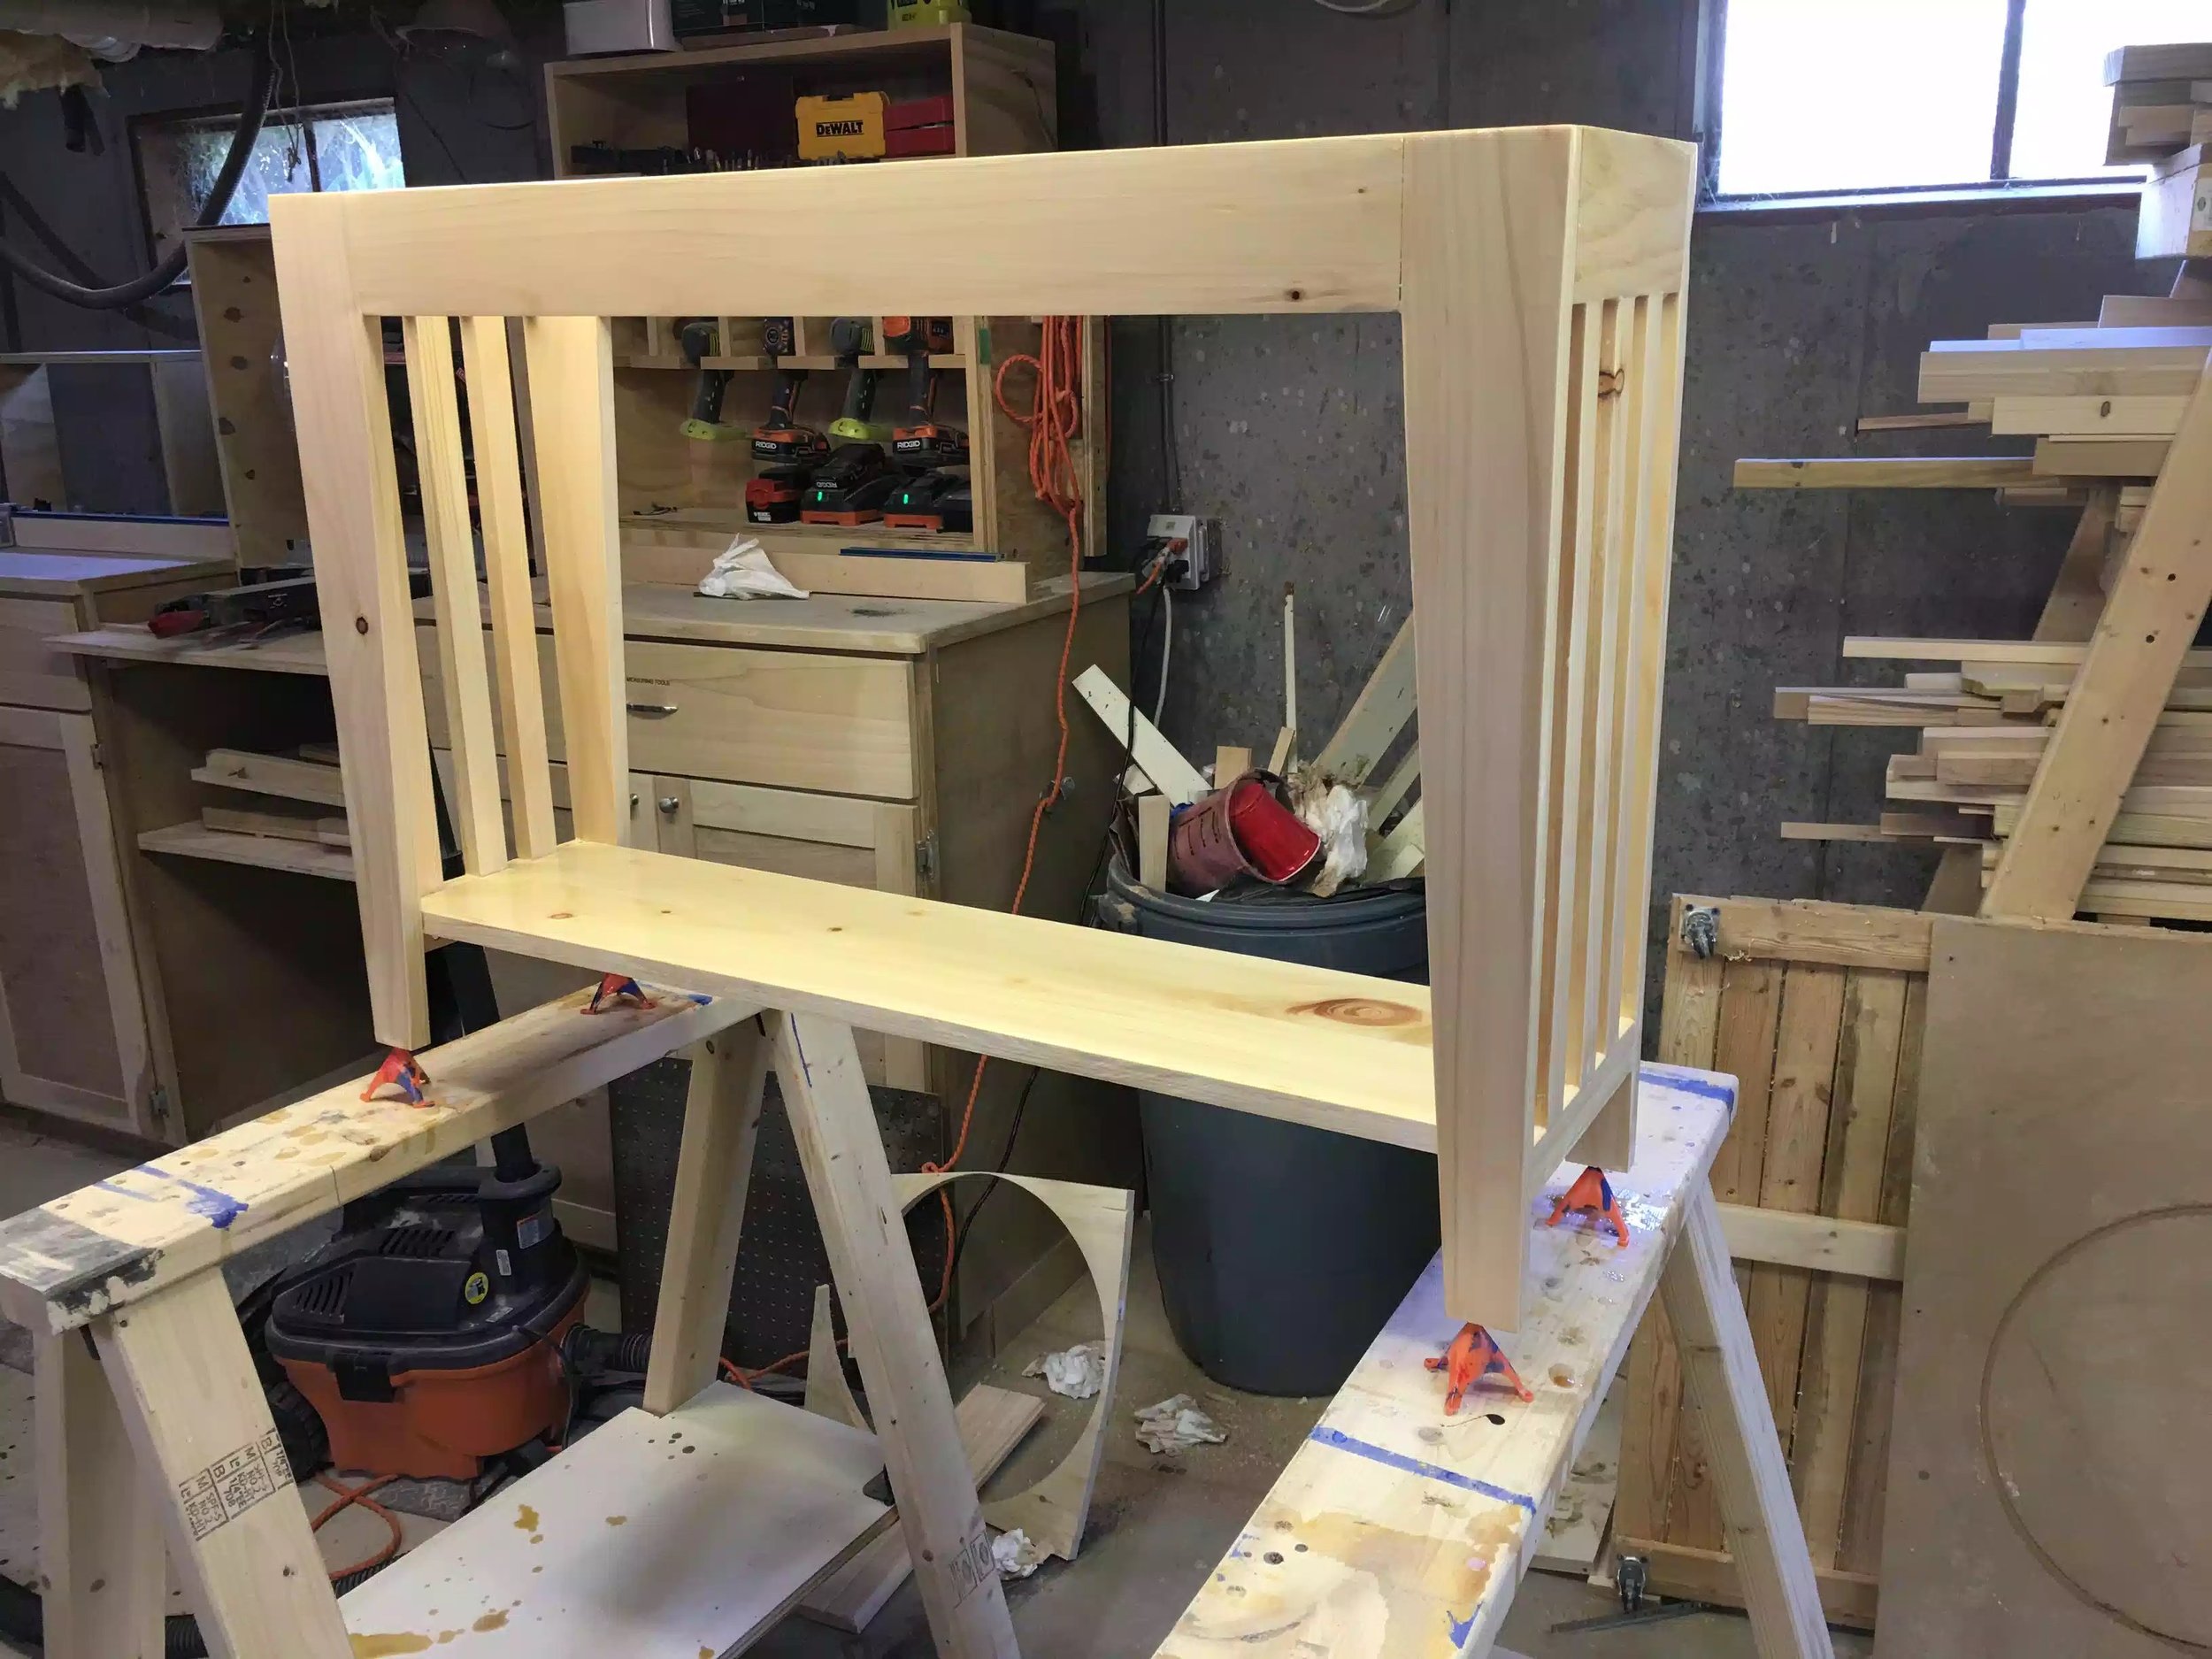
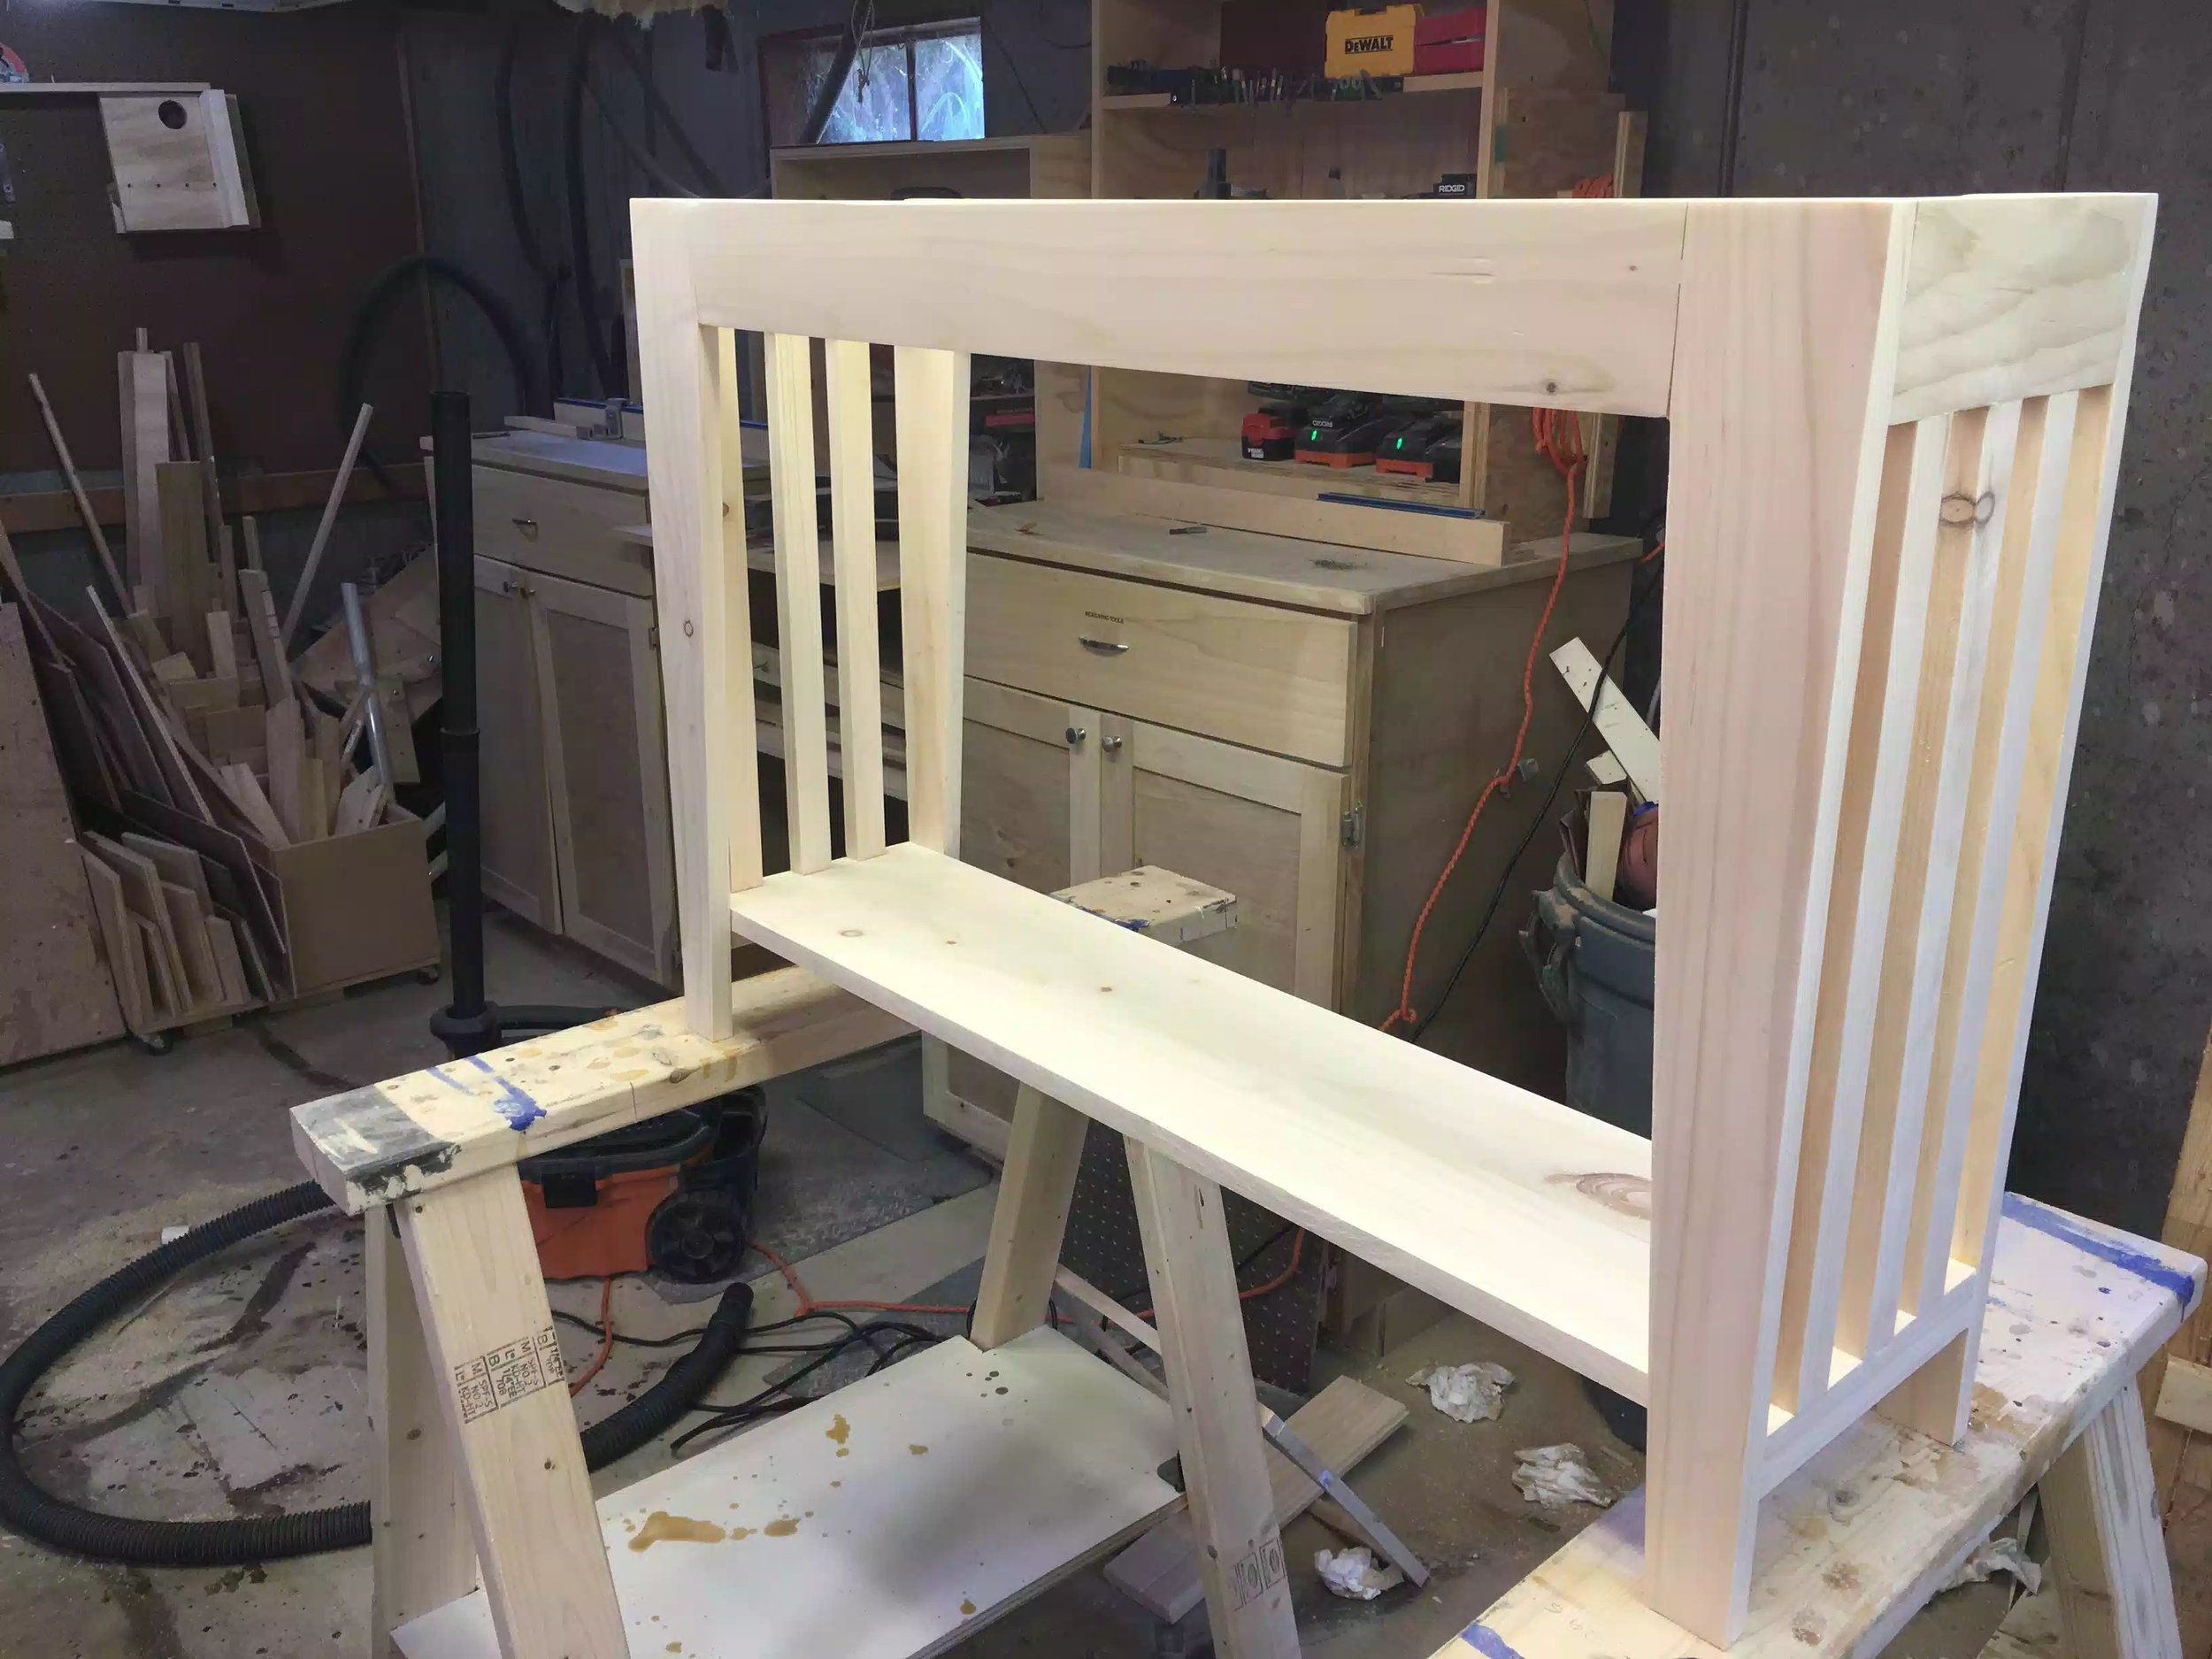
Below you can see me staging the unit for finishing, I decided to finish the top and the unit separately and then fixing the top after everything is done.


