


So I needed a little project to keep me busy and I needed to use up some scrap wood that I had lying around. I was sitting at dinner one night and noticed that all the trivets looked terrible and some were even broken, so I went on YouTube and finally found an easy way to make them using a table-saw and dado stack.
THE PROCESS
The Wood
Miter Saw
The Trivet blanks
A little Layout
Cutting the Grooves
Adding a Round-Over on the Router Table
A lot of sanding
All finished
THE WOOD
Since I wanted to use up some scrap that I had around I used a piece of 1x8 poplar that I could get about 9 trivets out of. I wish I had some 1x8 oak as that would of been a nicer trivet, but maybe in the near future I will make some trivets for Christmas presents.

Here is the piece of poplar that I used.
THE MITER SAW
Usually I use the miter saw a lot for a project but I only wanted to cross-cut the board to around 18” as I wanted to do a trial run making 3 trivets and see how they turned out.

Crosscutting the board at my miter saw station.
TRIVET BLANKS
So after cutting the piece I took it from the miter saw to the table-saw and ripped the board to its final width.
I took out my cross-cutting sled because I usually get more accurate cuts from it and set-up a stop block and cross-cut the board into 3 blanks that were exactly 6”x6” square

Here is my cross-cutting sled is not fancy but it’s dead on accurate. You can also see the stop-block which is nothing more than a scrap of plywood clamped with the sled fence.

Here is the 3 blanks all dimension-ed and ready to be turned into trivets.
A LITTLE LAYOUT
I needed to do a little layout on one of the trivets to make sure all my dimensions were correct, so I took it to my bench and drew some layout lines where I was removing wood.
Measure over 3” to find the center of the blank and strike a line, then measure 3/16” to the left & right of that line so as to center the 3/8” dado stack to the work-piece.
Finally measure 3/8” on the wood thickness (as it is half of 3/4”wood thickness) so as that I new where to position the dado stack in the table-saw
Now that I had marked up one face I needed to turn the board 90° and do the same on that side that is what creates the waffle pattern I am going for.

Here are my layout lines on one of the edges. All the “x” represent where the grooves will be run.

Here you can see the dado stack measuring up-to the 3/8” line on the blank edge.
CUTTING THE GROOVES
Here is where it will get tricky in how to explain this process. Using a 3/8” thick dado stack in the table-saw I needed to cut the 7 grooves on each of the marked faces which will give me the waffle pattern design that I want. This is my first time making trivets lets alone doing repetitive groove cuts in such a small pirce of wood, but I am happy with the results, practice makes perfect. One more thing I experience a lot of tear-out doing this and it left a decent amount of sanding after.
Here is my attempt at detailing the step by step process.
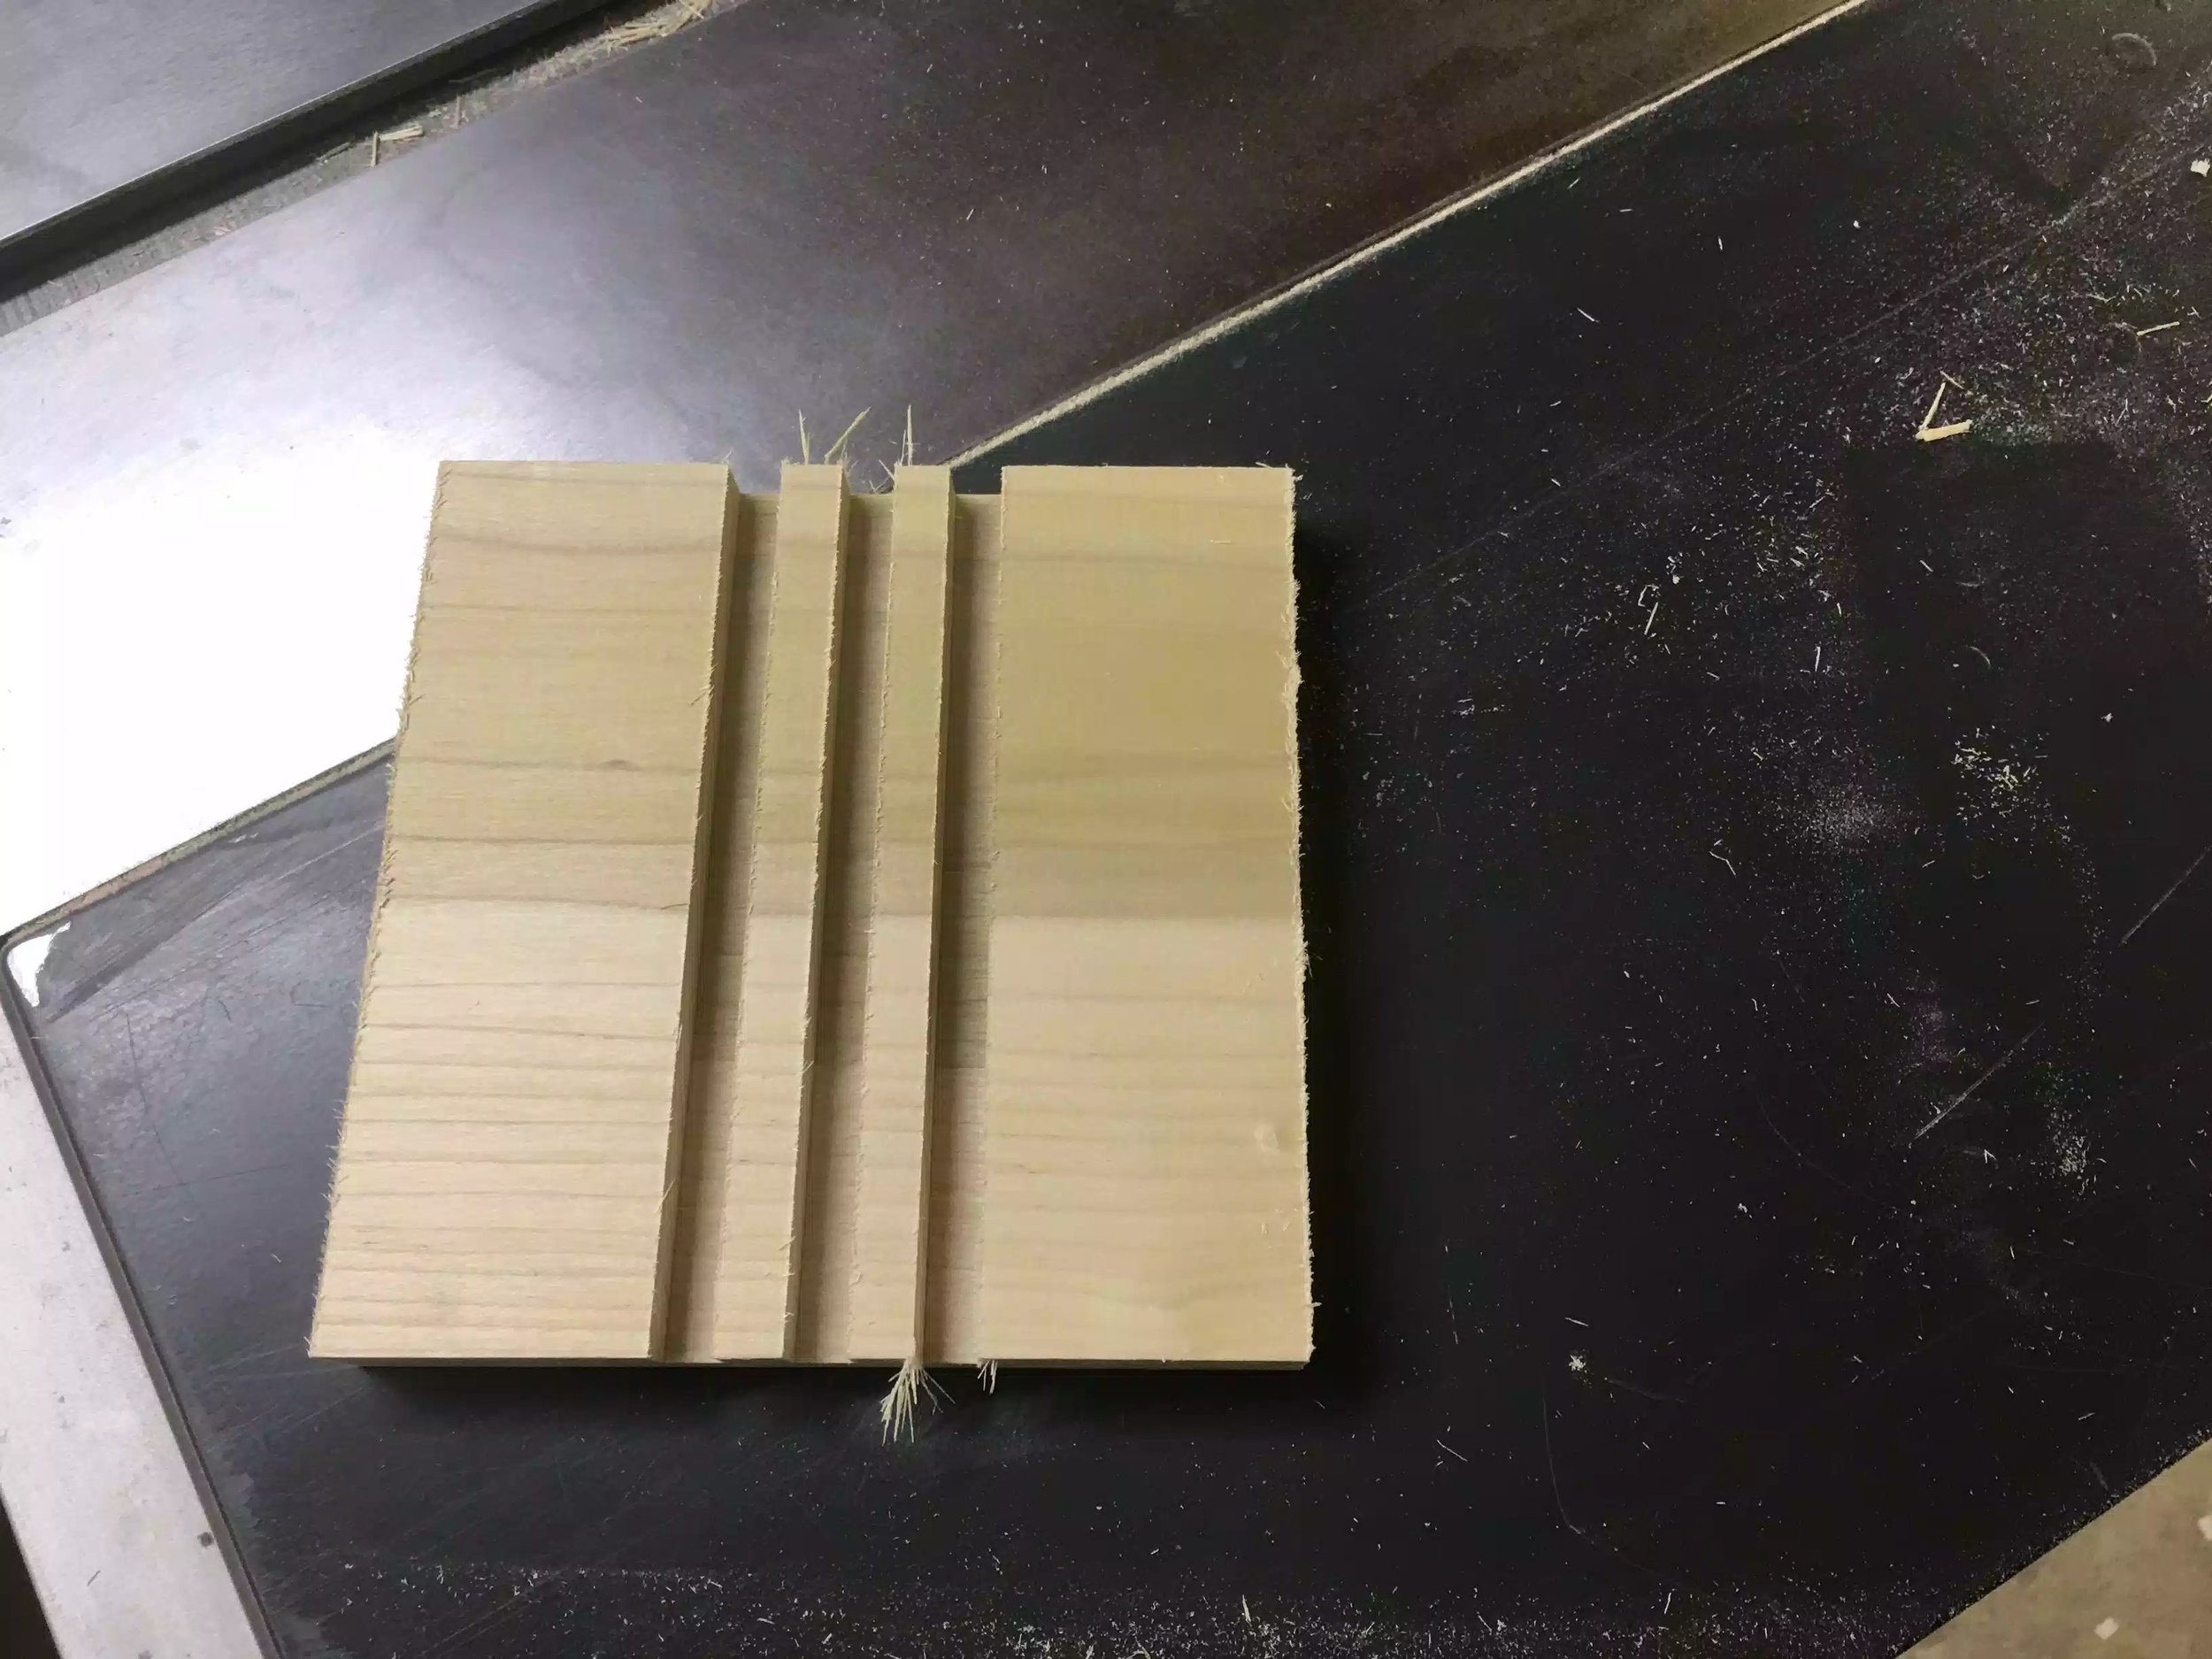
STEP 1. With my 3/8’ wide dado stack center on the work-piece I run it through the blade, which results in a centered groove. As you see in the following pictures some of the cuts are made with the grain and others against it which is what makes the waffle pattern.

Using my center-line I ran the stock through the 3/8” wide dado stack

Here is the center groove
STEP 2: The goal of the next couple of steps is make grooves on one side of the blank with equal spaces between each groove.
Using the groove that I just made in the center, I re position that groove on the blade and use a spacer block which is 3/4” and position it beside the cut groove and line my table-saw fence against the spacer block and then move the work-piece over until it reached the rip fence. This step can gut 2 groves either side of the center by simply turning the workpiece 90° after each cut.

Here is the spacer block against the fence, when I remove the spacer block and move the work-piece against the fence it will center the next 2 grooves.

Here you can see the work-piece butted up to the fence and ran through the blade, once this is done I rotate the piece 90° to get the other groove.
This is what you should have, 3 grooves equally spaced.
REPEAT STEP 2 UNTIL YOU GET ALL 7 GROOVES DONE ON ONE SIDE OF THE WORK-PIECE.

After repeating step 2, two more times you should have this. 7 grooves all running in the same direction, and for the most part equally spaced.

Here is a edge view of what your work-piece should look like.
STEP 3: Now we turn our attention to the other side of the work-piece and create 7 grooves that go in from the other side than the ones we just did, this will reveal the waffle pattern.
Using the center line on this side, run it through the blade which is still at 3/8” wide & 3/8” high, you might need to make a couple of passes until you remove enough material to reveal one groove where you can see the waffle pattern below. After this step you should have what looks like below

Waffle pattern coming to life after cutting the center groove.
As we did in Step 2 above we need to repeat that process to define all remaining 6 grooves using the spacer block and the rip fence method I used in Step 2. You should now have a work-piece with the waffle pattern visible, although in rough shape because of all the tear-out.

With 3 grooves cut, your piece should look like this, only 4 more cuts to make.

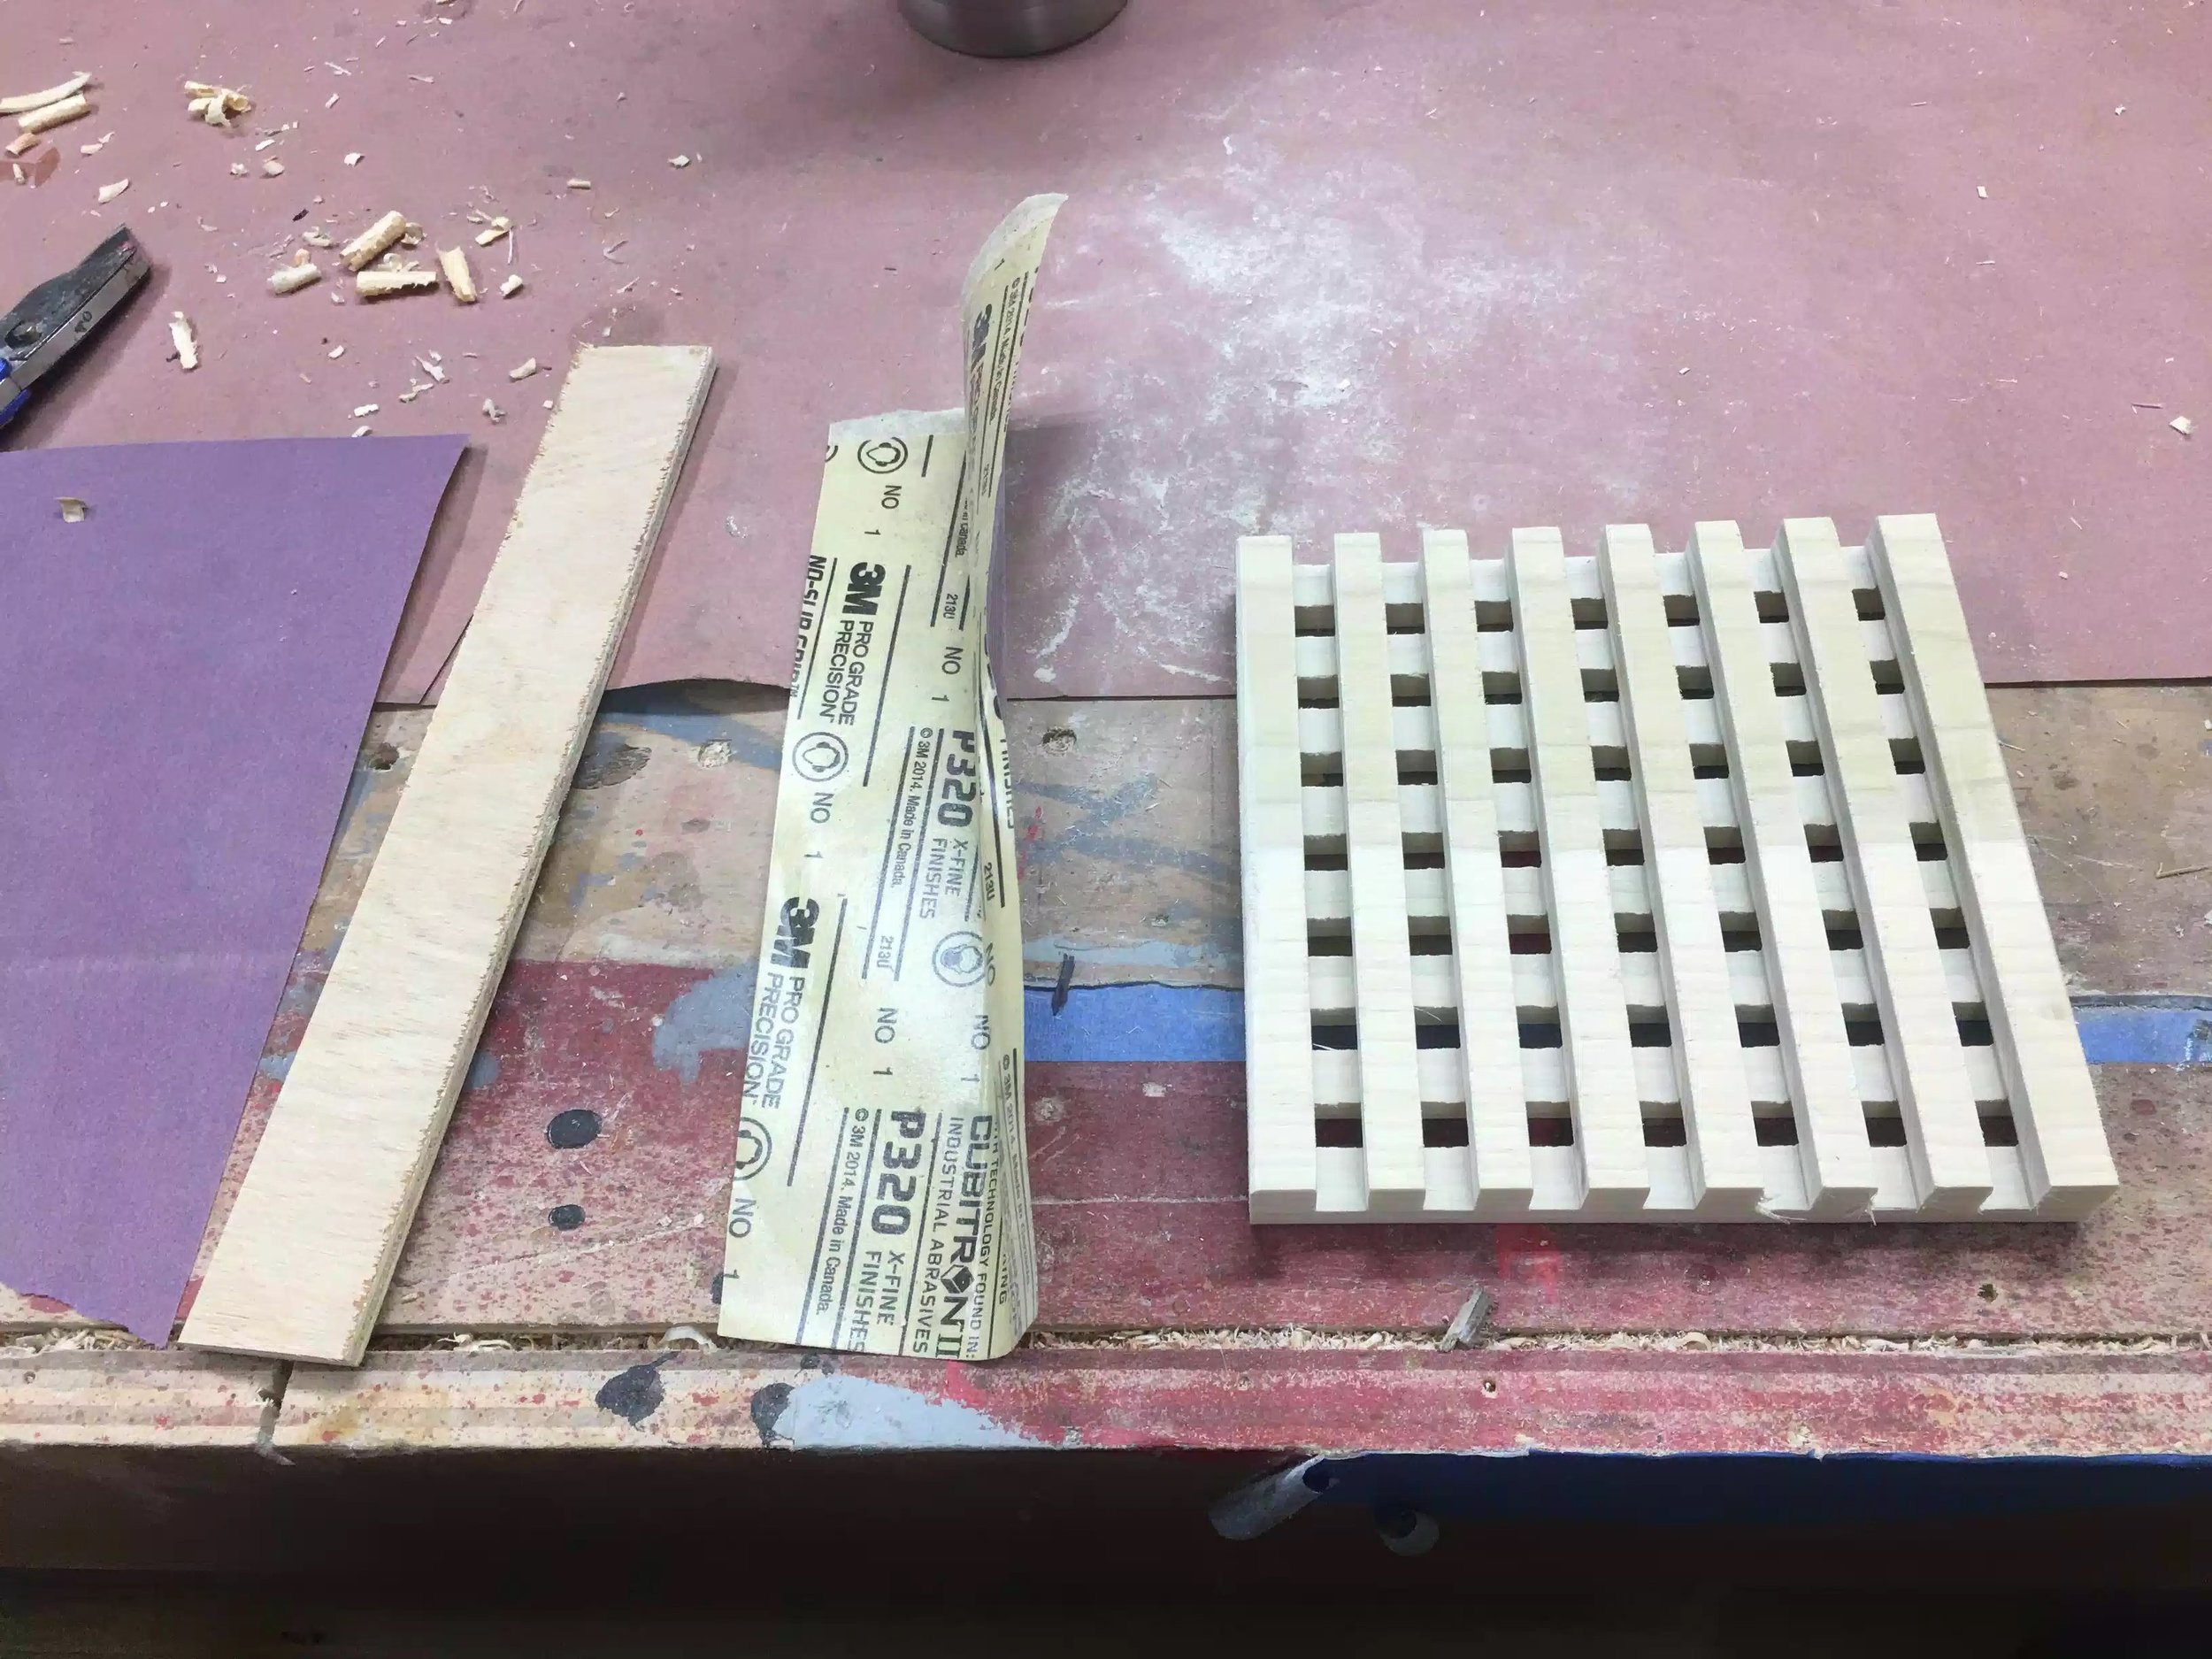
Here is the final waffle pattern, there was so much tear-out that I thought that I was doing something wrong or my dado stack wasn’t sharp. Anyway we clean this up later.
ROUND-OVER AT THE ROUTER TABLE
To remove all the sharp edges on the outside edges of the trivet I used a 1/4” round-over bit in my router at the router table and eased some of the edges.

1/4” round-over profile bit in the router table.

I’m not sure if you can see the round-over profile as it is very small, but it did the trick. I will also be using several grits of sand paper to clean it up more, especially on the inner grooves that the router table cant reach.
A LOT OF SANDING
To be honest the most time consuming part of this project is all the sanding that needed to be done, there was so much tear-out on the inner grooves because the wood was un-supported going through the dado stack that it created a mess, so I used a piece of sand paper and wrapped it around a 1/4” thick piece of plywood to fit inside the grooves, I also used a chisel to remove some of the stubborn wood fibers.
After using the sandpaper I turned to my random orbital sander to sand the top / bottom sides of the trivet to make it inviting to the touch.

Here is what I started with when beginning to use the sandpaper.
Here is my solution to sanding in between the grooves. Some various grits of sand paper finishing with 320 grit and a piece of 1/4” plywood scrap. I wrapped the paper around the plywood and went to town.

Here is the sandpaper doing the trick

Here is the finished trivet, a great improvement over what I had started with.
ALL FINISHED , FOR NOW!!!
Well I set out to make 3 and that is what I got done today, I gave the 3 to my mother in law and she was happy. These make a great little present, and the holiday season is coming up. I must say this was a fun little project and the possibilities are endless with the style options. I am actually thinking of making a jig that I can use with my router to do curved grooves, below is a few pictures of the threesome that I made.

Awesome project and a nice little item at the end.

Whats useful is that you can group them together if you have a large item that your table-top needs protection from.

Well thanks for reading and I hope to catch you again soon. I am in the process of making plans for these exact trivets and I will post them in my store as soon as they are completed.