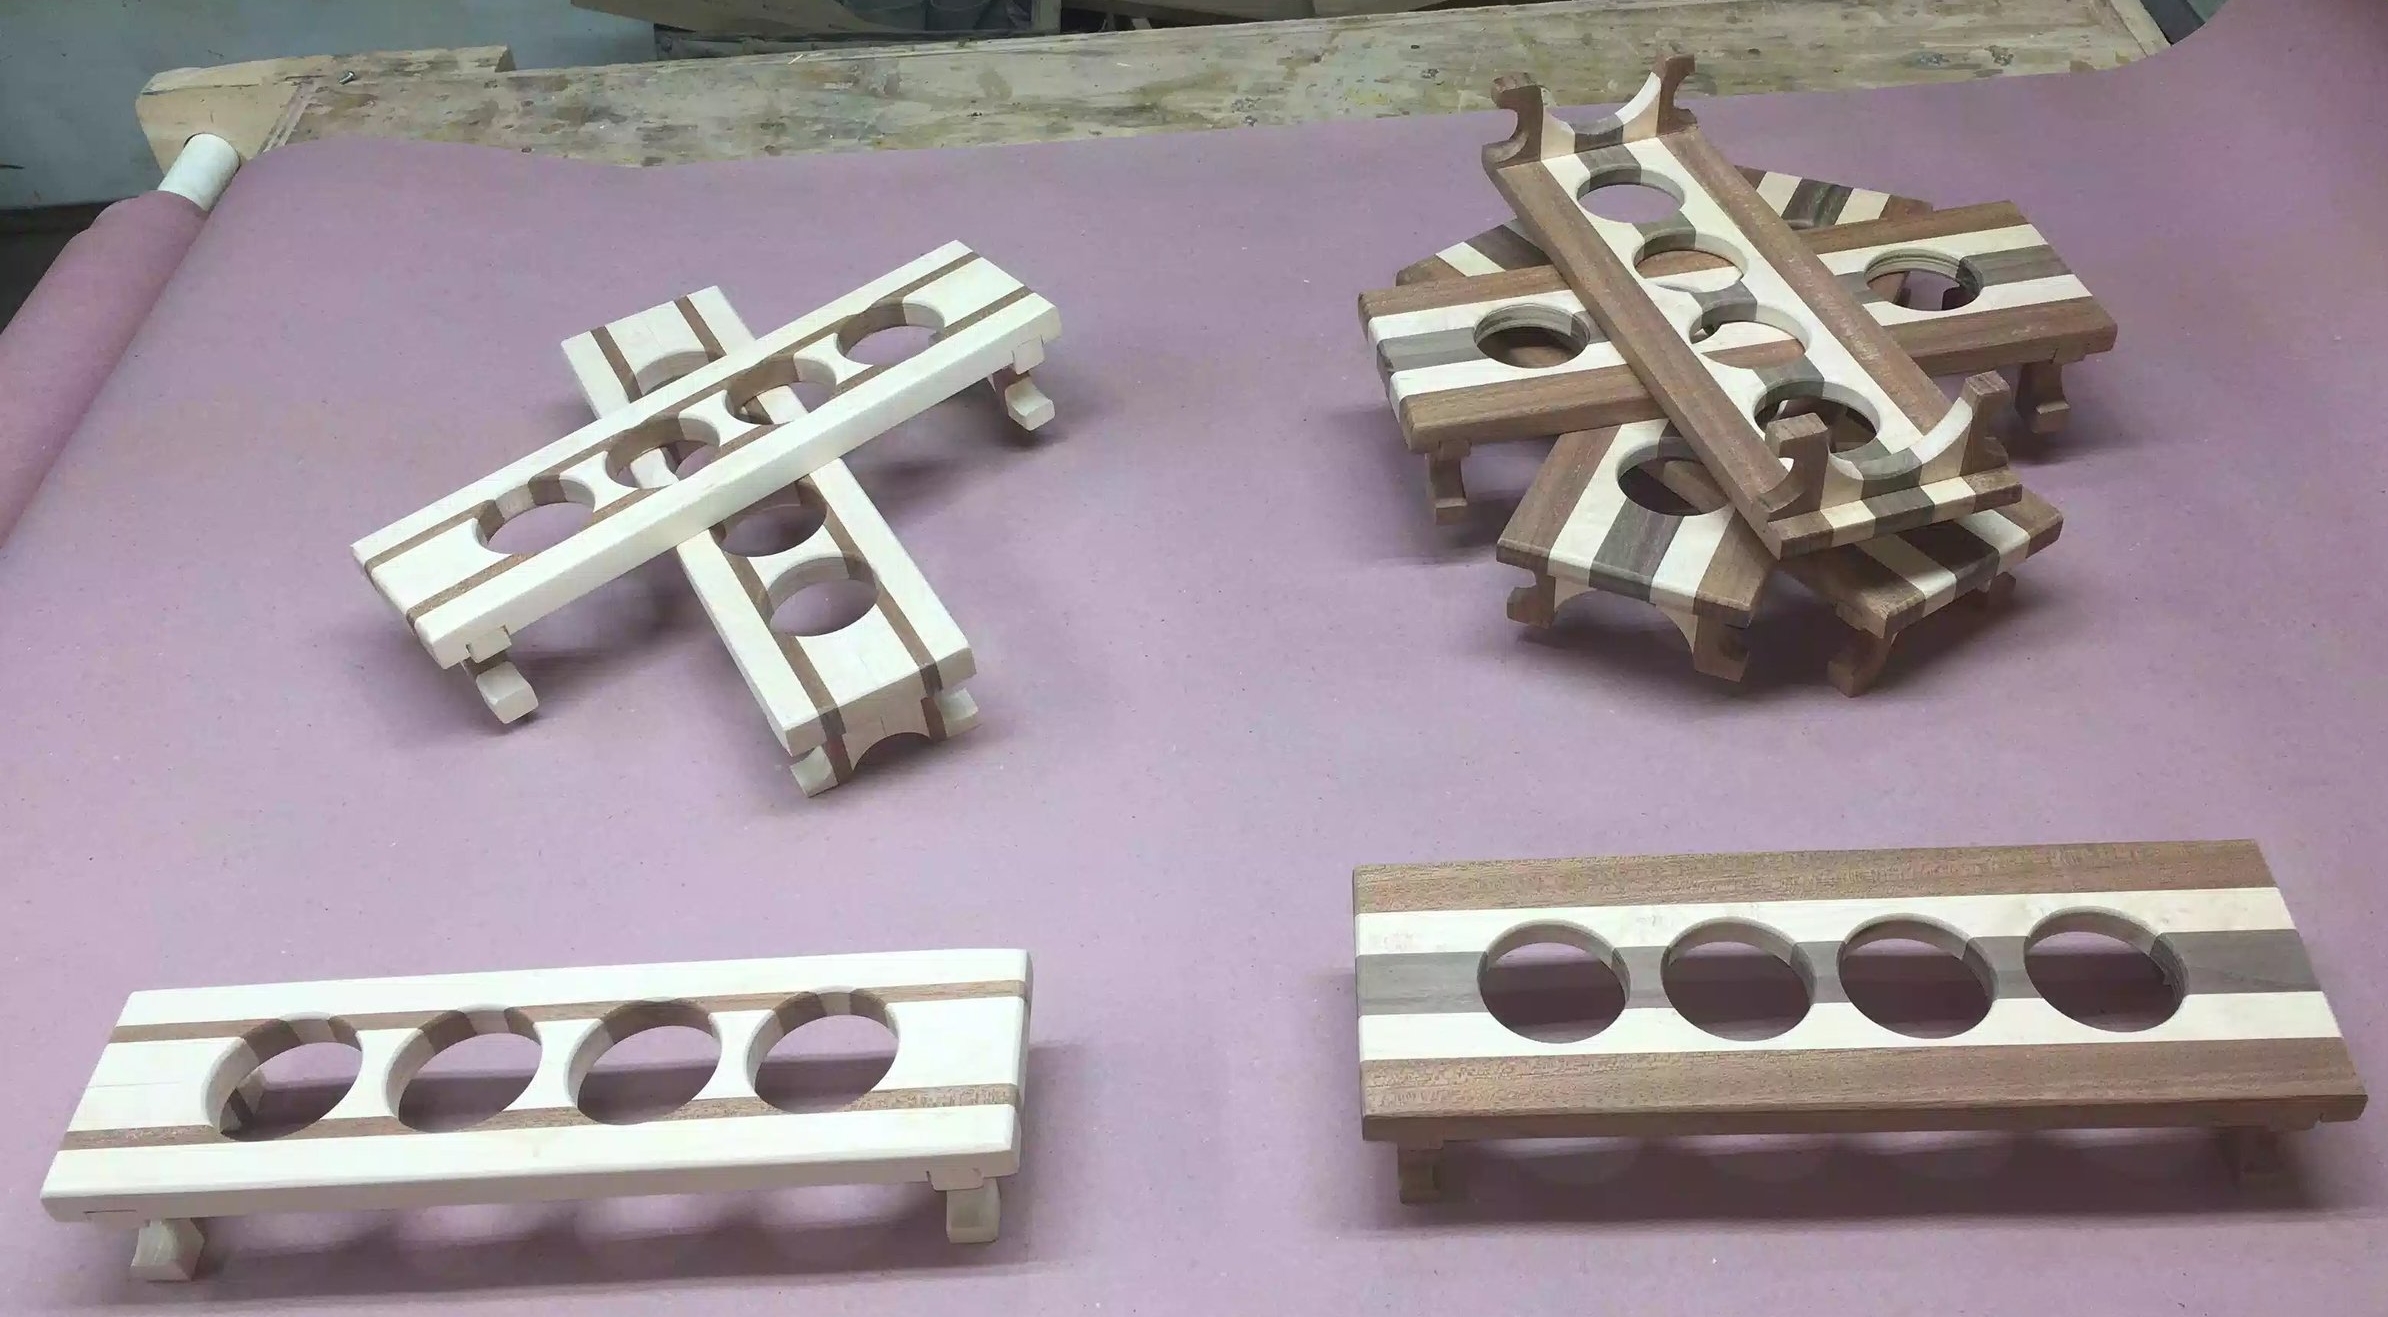
Today was all about prepping for finish and applying finish to the flights. I chose to use a Oil based Polyurethane finish because of its properties to protect from moisture since we are adding beer glasses into the mix.
TODAY’S ACTIVITIES INCLUDED
Finish Sanding
Prep for finish
Before & After
FINISH SANDING
So before I could head into applying the first coat of the finish I needed to smooth all surfaces down so I used my miscellaneous sanding equipment which included:
Belt & Disc Sander
Random Orbital sander
Oscillating spindle sander
I used all these machines to get every surface smooth to about 320 grit.
I used Varathane Oil Based poly on the flights, I usually thin this out but because I need all the protective properties I didn’t this time.
Here are both styles of flights all sanded I have to say that I really love both and especially love all the contrasting woods I used.
Here is a close up the Maple & Sapele style
Here is the other style of flight with Sapele, Maple & Walnut
PREP FOR FINISH
So now that all my sanding was completed I needed to ready my work bench for some finishing work. I made my own finishing stands as the store bought ones were a little expensive, so I used some scrap plywood and and screws. They are super easy to make and whats also handy about them is that you can make a lot of different sized stands and they can be stacked as well. I have put some pictures below.
Here is a few stacked, makes storage easy. As you can see on one I have screws protruding through the top, this is what your work piece sits on while applying the finish.
Here is the top side of the stand, I used a forstner bit to drill a recess into the top that way the screw protrudes and allows each stand to sit onto each other.
Here are the stands in action, these are cheap and can be batched out how many you need and all you need is some scrap plywood and screws.
Next I needed to lay out all my flights onto their respective stands and go about applying the finish, as I said before I used an oil base polyurethane but I also used a foam disposable brush as I feel I get really nice finish using them.
Here are all the flights laid out on the rosin paper that I use to protect the work surface.
BEFORE & AFTER FINISH
Next I needed to add the finish and below you can see a few before and after pictures of the flights.
Before Finish
After finish, although the finish is still wet in this picture I really like how the finish brings the flight to life. I will probably use 2/3 coats sanding between each coat.
BEFORE FINISH
AFTER FINISH WOW… the finish as you can probably tell is still wet but really love the 3 contrasting woods especially the Sapelle on the outside edges.
Here is the how I left the flights today.
NEXT
I need to apply at least one more coat of poly and then I need to determine whether to add any more coats, I don’t want the wood to feel like plastic
Then they will be ready for sale.
Well that’s all I have for today, to be honest I am not going to document every coat I apply to the flights so the next post regarding this project will be the wrap up post, until then
Take Care & Thanks for reading
PS: I do need to start my monthly newsletter for November so if you would like to be added to the subscribers list please click here


