


Here is a layered view of the torsion box
Phase 2 of the project deals exclusively with the Torsion box top that will be installed on top of the cabinet base that we made in Phase 1.
A torsion box top is extremely functional in that it’s basically a shallow box with a grid work inside that provides a very flat stable surface to work on.
The torsion box is made with the following materials:
(2) 1/2” thick MDF panels for top and bottom skins
(2) 3/4” thick x 3” high outer frame long pieces
(2) 3/4” thick x 3” high outer short pieces
(1) hardboard sheet (which will make up the replaceable top
HERE ARE THE STEPS
Built some saw horses
Staging area
A little Prep
Assembled the torsion box frame
Installed the torsion grid pieces
Added the skins
Added the hardwood trim (just added)
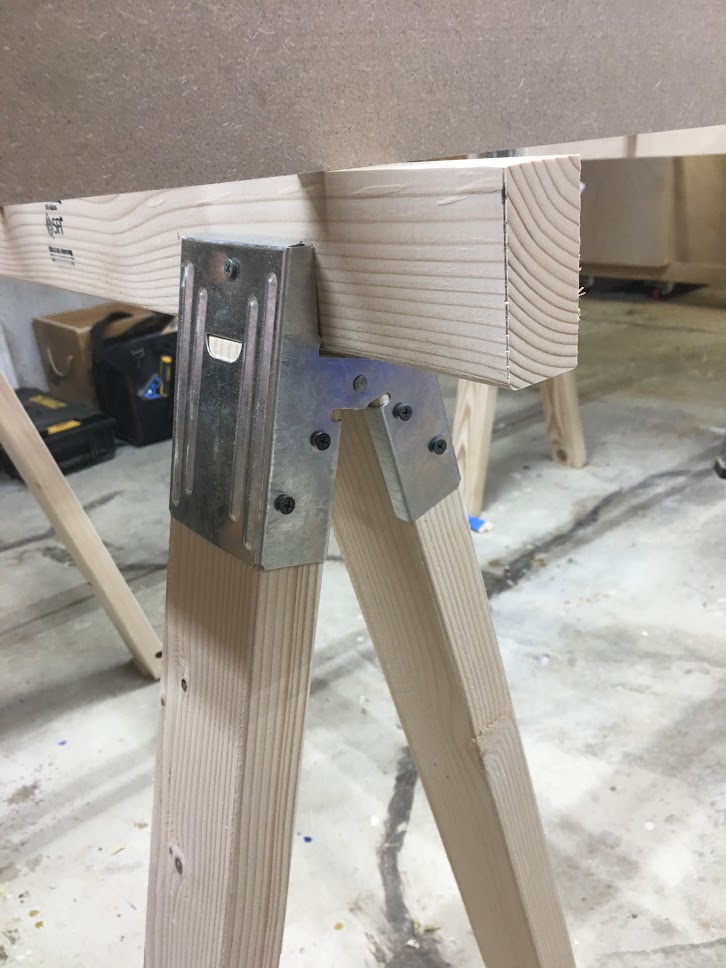
MADE SOME SAW HORSES
In order for me to assemble the torsion box I needed to take down my old outfeed table so as that I had some room to work, but you needed an assembly table to make an assembly table.
So I went to my big box store and got a couple lengths of 2x4’s and I also got some metal saw horse brackets that were really cheap and quick to make into saw horses.

It took about 15 minutes to make these, not bad.
STAGING AREA
So now that my saw horses are made, its time to make my makeshift staging area so as that I can start to assemble the top. Below you can see that I added 4 long work supports this was done to make sure that the MDF sheet that I will be put on this is dead flat, there was no point going through all the trouble of shimming the saw horse legs and make them level If they top that the mdf skin was sitting on wasn’t level.


Everything nice and level
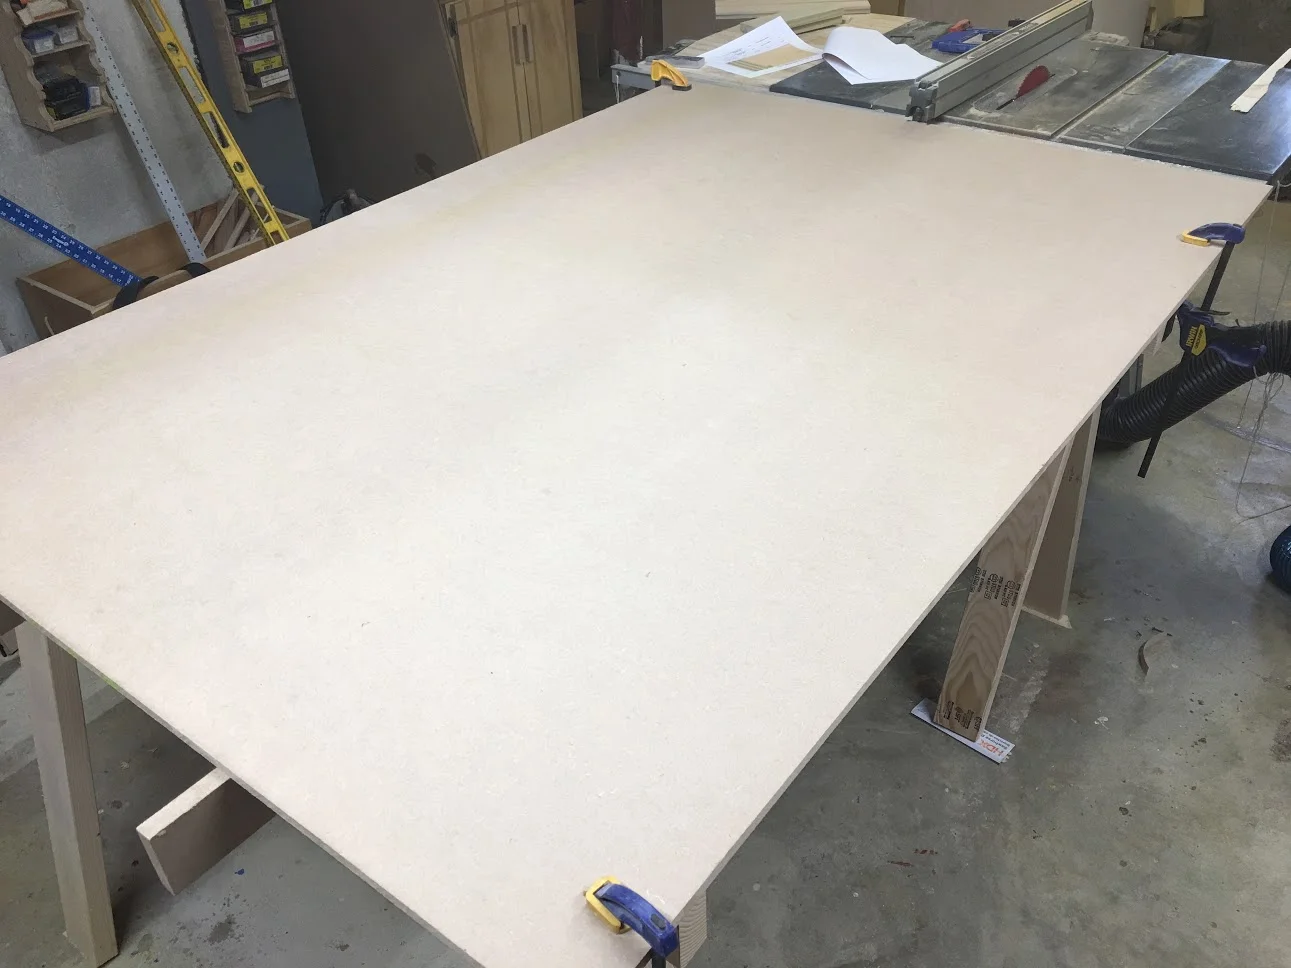
This is the MDF skin that I through up onto the saw horses, this will be one of the surfaces of the torsion box, but for right now it is my temporary assemble table.
A LITTLE PREP
Before I get started making the outer torsion box frame I applied a coating of paste wax to the MDF panel that I will be making the torsion box on so as that glue will not stick to it as this will eventually be the top surface of my top.

TORSION BOX BEGINNING
I broke PHASE II :- Torsion Box Top into the following sections
Torsion Box Frame
Torsion Box Grid
The Skins
The Replaceable Hardboard Top
Solid Wood Trim
THE FRAME
To describe the frame I am referring to the pieces that go around the torsion box grid, as show in the image below, the grey pieces represent the torsion box frame, these pieces wrap the torsion box grid pieces and later in the process I will attaching solid wood trim to them.
These pieces are cut to 2 lengths
Two long pieces for the sides
Two short pieces for the top and bottom of the torsion box.


Here is an image of the frame pieces

I used glue and screws to secure the long frame pieces into the shorter ones.
THE GRID
The grid was the most time consuming part of the torsion box top, mainly because of the number of parts that needed to be cut, glued and brad nailed into position.
The grid consisted off: 45 short grid pieces and 8 longer pieces. There were 9 rows of small grid pieces that measured 7-1/4” wide. My process was simple enough but took a while to complete.
I used a spacer strip to line up all the small grid pieces to try and keep everything aligned but that was not really absolutely necessary your goal is to make it flat and it doesn’t really matter how the grid looked because once the skins go on the grid will never see the light of day again, but it must be flat or it defeats the whole purpose of the torsion box
In the diagram below you can see the long grid pieces (blue) and short grid pieces (magenta)


Here is an image of the grid completed.

I used clamps to keep the mdf panel flat as I was conforming the inner grid to that surface, it does not have to look pretty but it needs to be flat

Here is a close up of the grid
THE SKINS
The skins are what make up the top and bottom surfaces of the toson box, I used 1/2” thick MDF pieces as they are one of the most flat panels you can purchase and they stay flat as well.
Here are the steps I took to install the skins
Applied glue to the tops of the grid pieces that were completed in the last step.
Laid one of the MDF skins on top
Marked out by drawing lines with a long ruler where the long grid pieces were located so as that I could attach the skin into these pieces, almost like clamps until the glue dried.
After the glue had dried after a couple of hours I flipped the torsion box over and added the other skin in the same manner.
I left the skins a little oversize so I came back with my router and flush cut router bit and made the skins flush with the outer frame.

Added glue on top of grid pieces.

Using my drywall framing ruler I draw visible lines to show here my grid pieces were located, that way I could anchor the top with brad nails .

Getting ready to nail the skin in place

After the skin is installed I also added a few screws and then using my router I flush trimmed the top making sure that all edges lines up.. I will be attaching my solid wood trim to the outside of the torsion box by the end of the project.
THE REPLACEABLE HARDBOARD TOP
Now that the torsion box is built it was time to install the hardboard cover, this is only getting screwed into the skin no nails or glue was used because as time goes by the top will be beaten up and I will want to replace it.

Hardboard top installed, just needed to flush trim it and the box is almost finished, I need to go to my lumber supplier and get some red oak for the outside edges of the torsion box.
With the torsion box completed it was time to marry the torsion box with the base cabinets, it was very easily done but help from a friend will be needed as the torsion box is not light.
I moved the torsion box from the saw horses and attached it to the cabinets using screws from the underside of the stretchers that we added in phase one.

Torsion Box attached to the cabinets.

A close up of the cabinet base, the oak will look awesome on the top once I get it, there isn’t any hurry.
ADDED THE SOLID OAK TRIM
I just completed this today and figured I would just add it to my original phase II post … here are the steps I took to completing this final build phase of the torsion box
Cut my solid oak parts to its final dimensions
Layout & Drilling holes
Securing the trim
Time for some dowels
Router Time
Sanding
PARTS
I needed 4 pieces of solid oak, two long pieces for the sides and 2 shorter pieces for the ends. I purchased a total of 20 feet of 1x6 solid oak and ripped it down to its final sizes.

Here are the 4 pieces of oak
A LITTLE LAYOUT
I decided to do a little layout to keep all the screw holes in the same location as yo went around the table, so I used my measuring tape to position the holes and my combination square to mark the center points for the holes. Then just used m drill with a countersinking bit to drill the holes.
Phase 2 is a wrap next up is Phase 3 which will be making the drawers for the cabinet base. I really hope you are enjoying this lengthy project but we are in the home stretch.

Here you can see the lines that I drew to locate where the holes where to go, they are in the same distance apart on all sides.
SECURING THE TRIM
Now that all my holes were drilled I needed to secure the trim , I used a trick that The Wood Whisperer used when installing the trim when you are along and that was to add clamps to the torsion box so as that the trim can balance on the clamps when you need to screw the trim place and it worked great, I also added glue to the back sides of the trim and the torsion box sides.
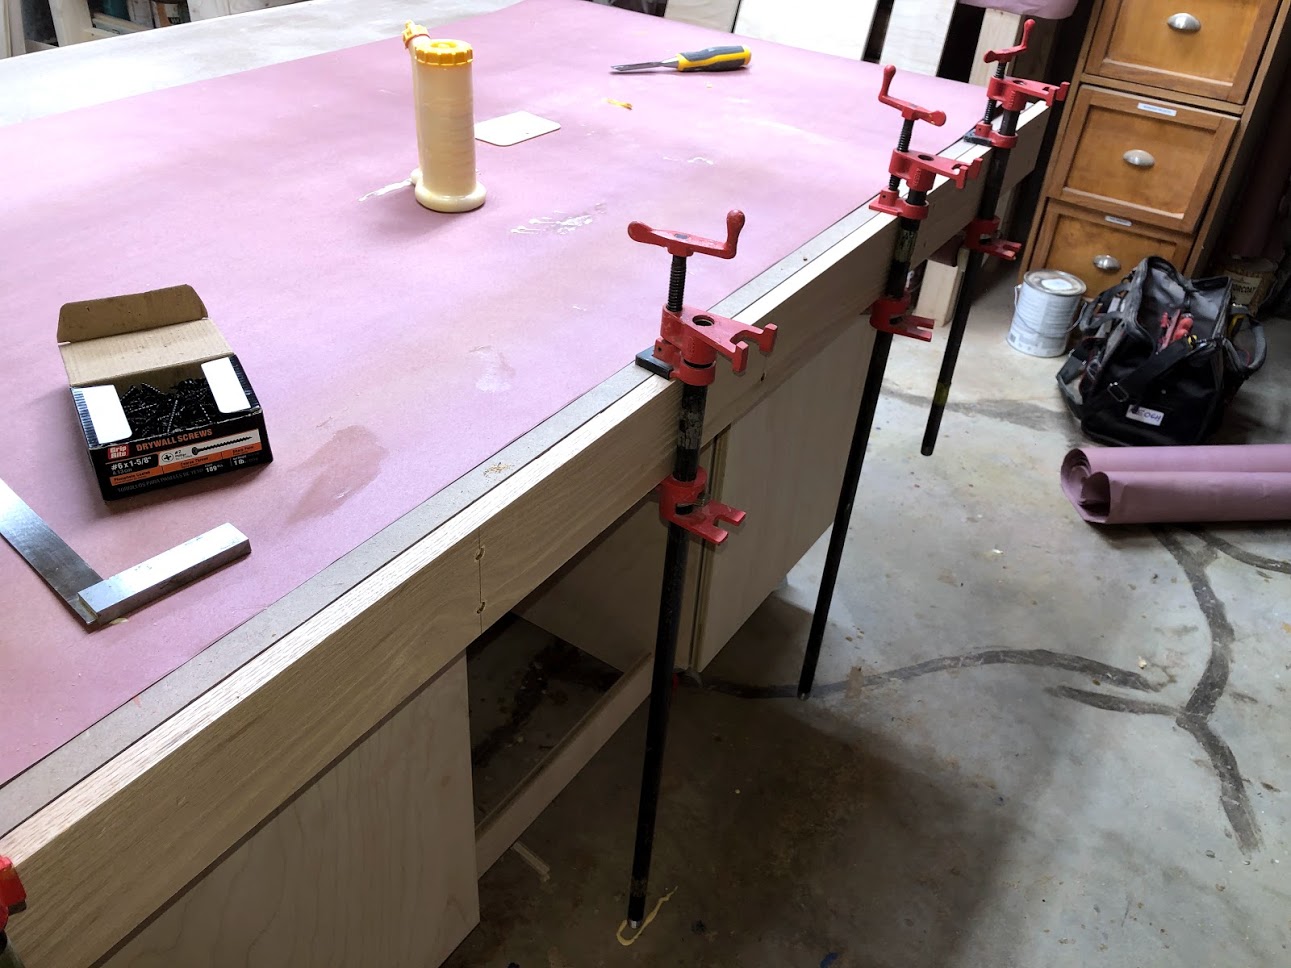
Here you can see the trim balancing on the clamps, just need to add screws.
ADDED DOWELS
I wanted to use a contrasting wood for the dowel plugs so I picked up some walnut dowel rods and chopped them up into little 1/2” plugs. My process for this was very straightforward and I really love how they come out.
I cut the 36” long dowel rod into little plugs
Added glue to the counter-sunk holes and tapped in a dowel, I left the dowel proud so as that I could trim them flush after the glue dried.
Flush trimmed all the dowels and sanded flush

Dowels are flush cut and sanded smooth and really like the look.

Here is the walnut dowel left proud, just waiting for the glue to dry.

I trimmed the excess dowel, but still proud. Need to and them next

Dowels all finished.. look great
ROUTER TIME
I decided to also add a router profile to the trim so as that to remove any sharp edges from the oak, I decided to use chamfer profile bit in my handheld router to this. Really glad that I went with this profile as it also adds a nice characteristic to the trim, I could have used a round-over bit but I thought that would be a little boring.

Finally here is the finished Torsion box with solid oak trim.

Here is the chamfer bit I used on the slid oak trim

Here you can see the chamfered edges, I did this to all outside edges of the oak trim.
All that was left was to sand the trim and break the other edges of the oak trim with 120 grit sandpaper and I called it a day.
I have to say that I really love this torsion box and glad I spent the little extra in choosing solid oak for the trim , the walnut plugs also add a nice look to the top.
NEXT:
Phase III : The drawers