


WHAT I DID TODAY
- Secured the right leg in position
- Cleaned up the wooden plugs
- Sanded the face frames and legs
- Router Time
- Secured the left foot
SECURED THE RIGHT LEG
As I did yesterday I secured the right leg into position today, using the same biscuit slot joinery.

Same as before using the biscuit slots to join the leg piece to the plywood frame.
CLEANED UP THE WOODEN PLUGS
Yesterday I added the wooden oak plugs to cover the the screw heads that I used to secure the legs to the frame in addition to the biscuits.
They were left proud yesterday so today I used my flush trim saw to cut the excess plug off. Below you can see the before and after pictures of the plugs.
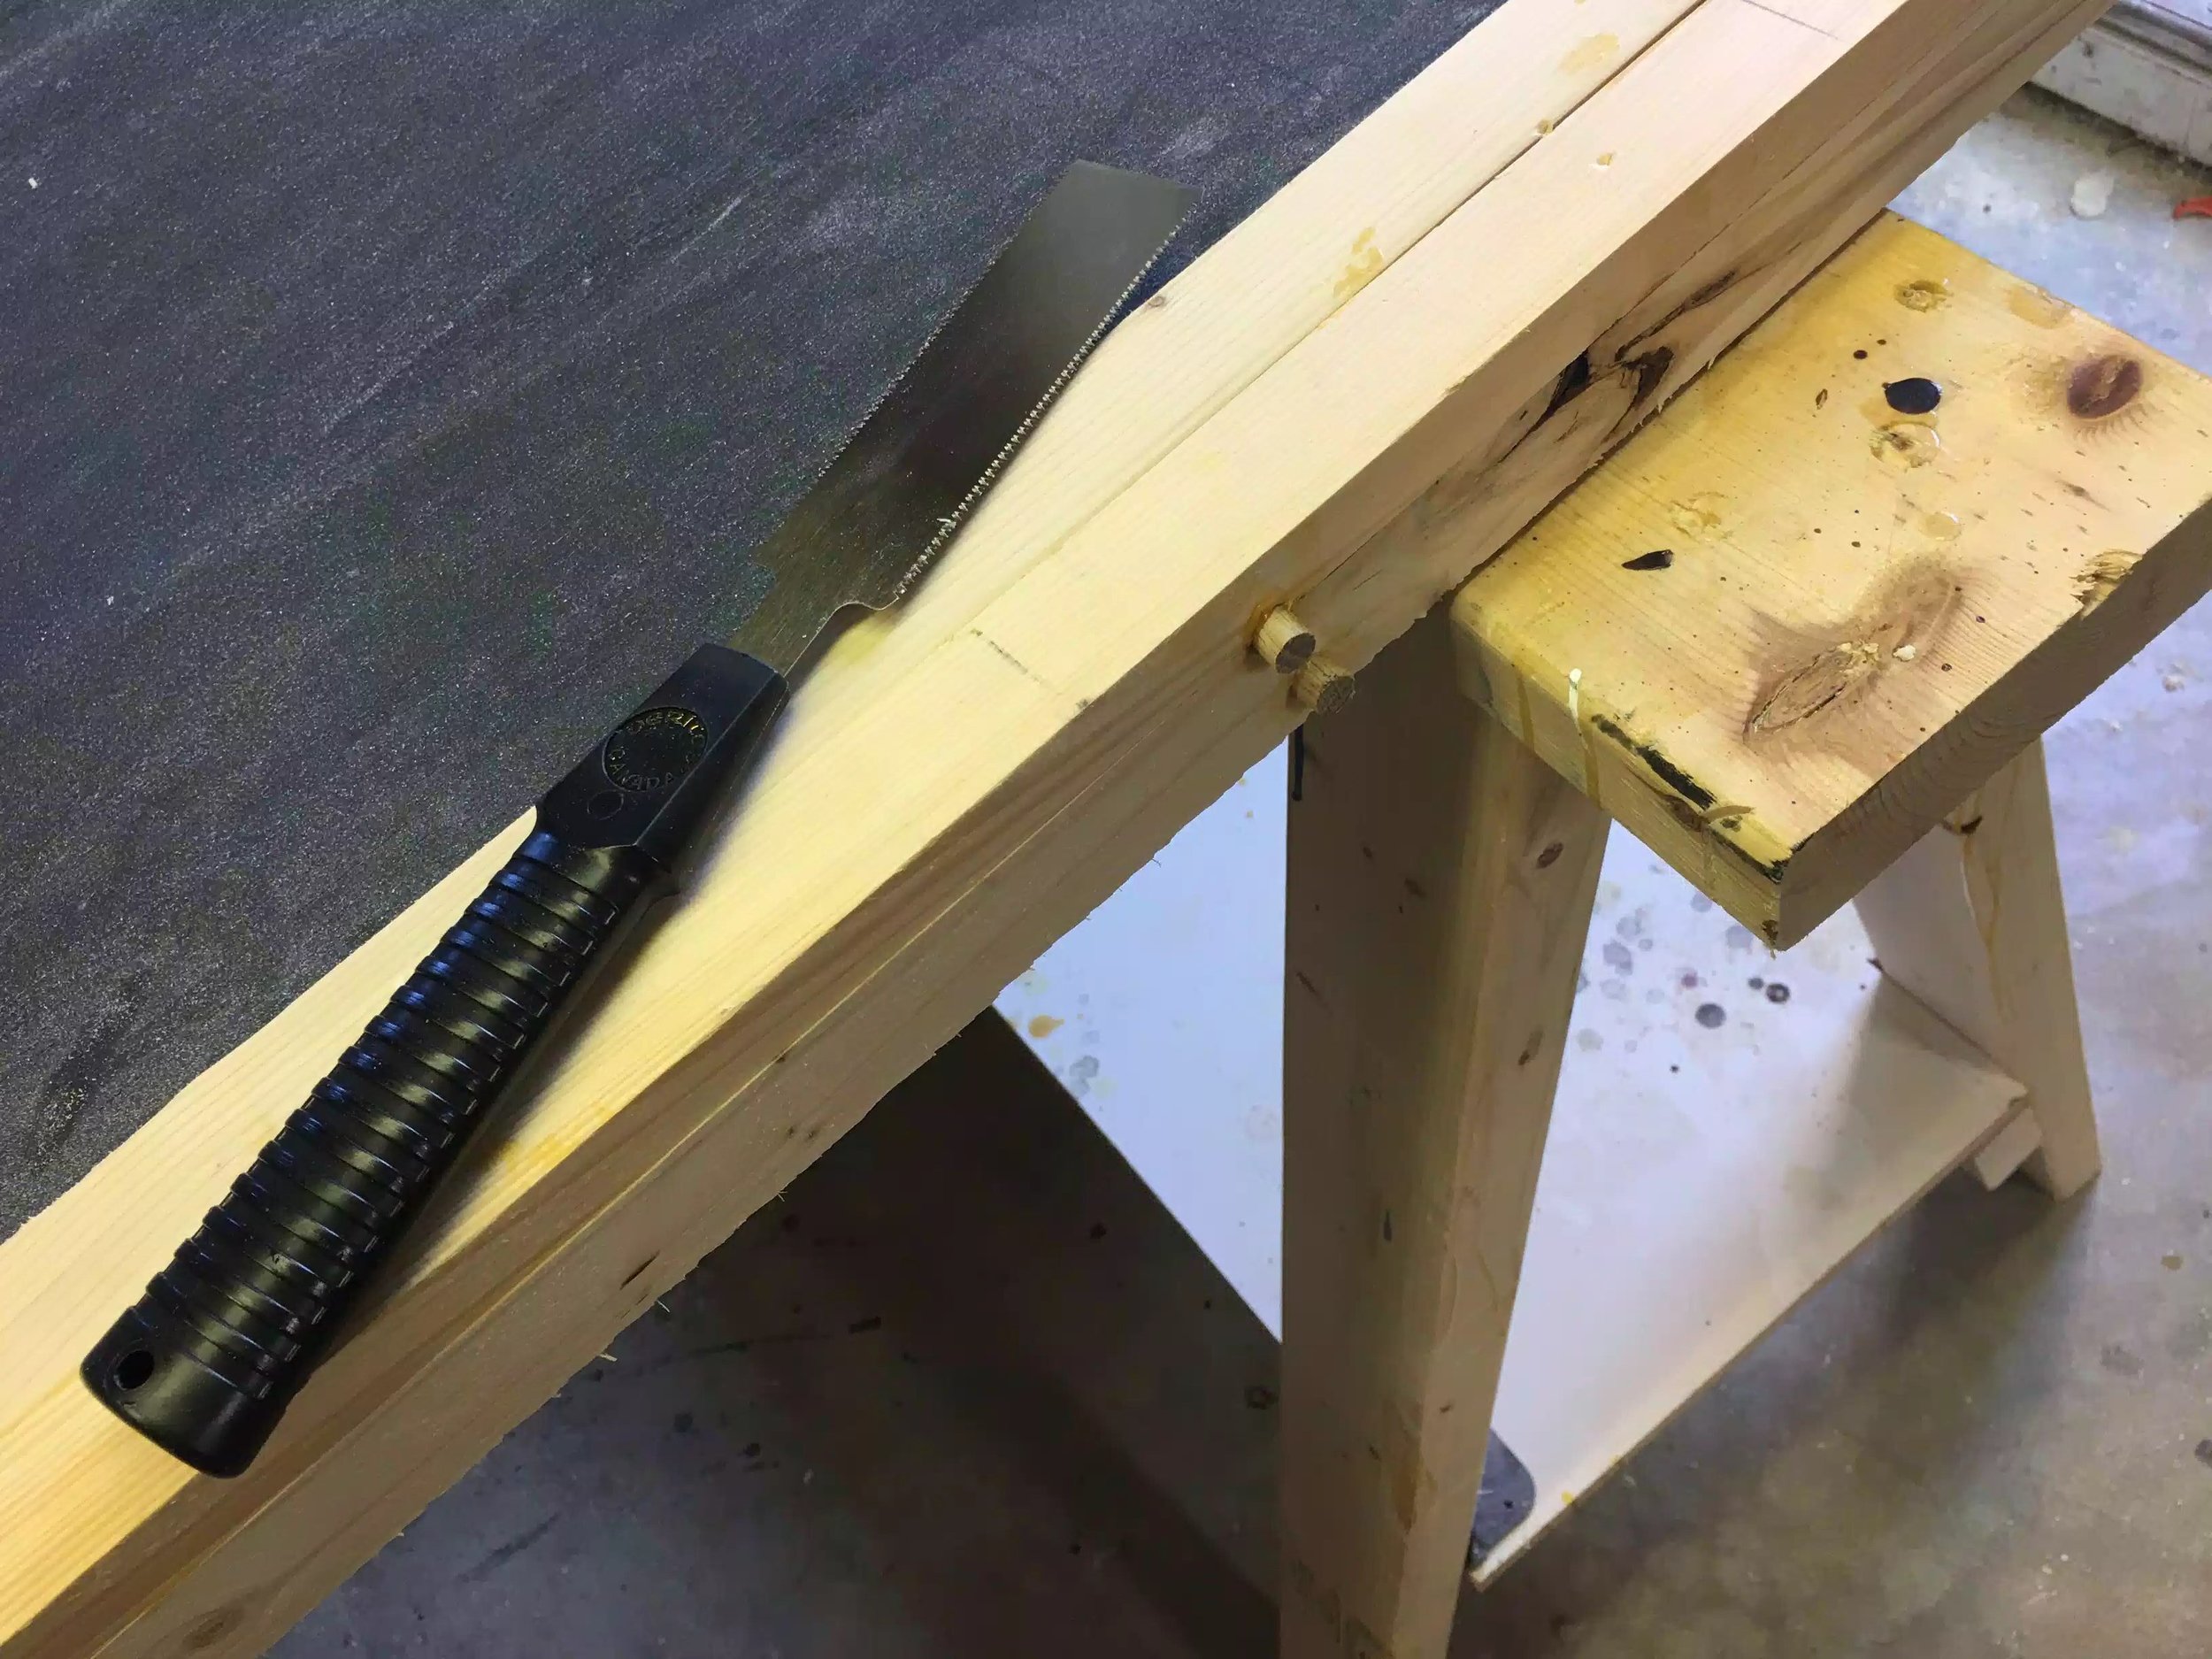
Here you can see my flush trim saw and the proud plugs.

You can see the plugs here after I used my flush trim saw but before sanding them.

Nice and flush
SANDED THE DIVIDER
After flushing up the plugs I decided to sand everything from 80 - 150 grit sand paper using my belt sander and also my orbital sander
On projects this large I usually started with my belt sander with 80 grit to get rid off all the glue squeeze out and after all the glue is gone I use my random orbital sander to really make it smooth using 150 grit and then finally 220 grit sandpaper.
Sorry I didn't take any pictures because its sanding and a lot more of that to come!!!
ROUTER TIME
In order to remove all the sharp corners on the legs and the frame in general I used my Rigid Palm router with a 1 /4" roundover bit in it to curve the edges making it easy on the hands when you need to move the divider about.

Here is my palm router with the round-over bit in the colet.

Here you can see the round-over profile, I had to really zoom to catch this.
SECURED THE FOOT
I needed to secure the foot in place so as that I could determine how long the middle leg needed to be be. All that I needed to do was to apply glue to the mortise and tenon joint and then drill a 3/8" hole through the leg and into the foot in ordered for me to add a dowel rod to add more strength to the joint. It might be overkill but I figured this one part of the entire project needs to be as strong as I can make it because it is what makes the entire divider move able and also keeps it vertical and erect.

Started my marking the midline on the foot so as that I position the dowel through both the leg and foot.

Here you see the tenon and foot, I marked very carefully because if I screwed this up the project would be very diffuclt to undo.

Here is the bored out hole

Here is the dowel passed through the hole I just bored and glued in place.

Here is the dowel flush trimmed , all that was needed now was to add clamping pressure.

I needed to add clamping pressure in place so as that the glue joint was strong on the foot, I needed to get creative because I don't currently own any clamps that can reach 7 feet, so I used the clamp the clamp trick.
So that all I got done today, tomorrow I hop to get the following completed
- Secure the other foot
- Sand the other panel, basically a repeat of todays activities.
Until then Take Care