What I did today
- Cross Stretcher Glue-up
- Prepared Shelves to be attached to each other & Some Router Work
- Attached Bottom shelf to base
- Added Book Barrier to base
- Prepared base for receiving 1st shelf
- Attached all the shelves to each other (except 1)
- Attached all shelves to back legs / back shelf supports
To be honest I didn't expect to get this much done today but sometimes you just hit a groove and bang out a lot of work, I basically expected to get the base, book barrier and some sanding completed but I got so much more completed.
CROSS STRETCHER GLUE-UP
The top cross stretcher is very important because it attaches both sides of the back legs to each other, if you remember in Day 2 I am using a half-lap joinery because it gives me a lot more glue area I am also reinforcing the joint using solid oak dowels.
So get the piece ready I clamped the cross stretcher in position with the legs and drilled a 3/8" hole using my drill bit , applied glue and hammered home the dowls. After the glue dried I cut the dowels flush to the surface and gave the piece a good standing.
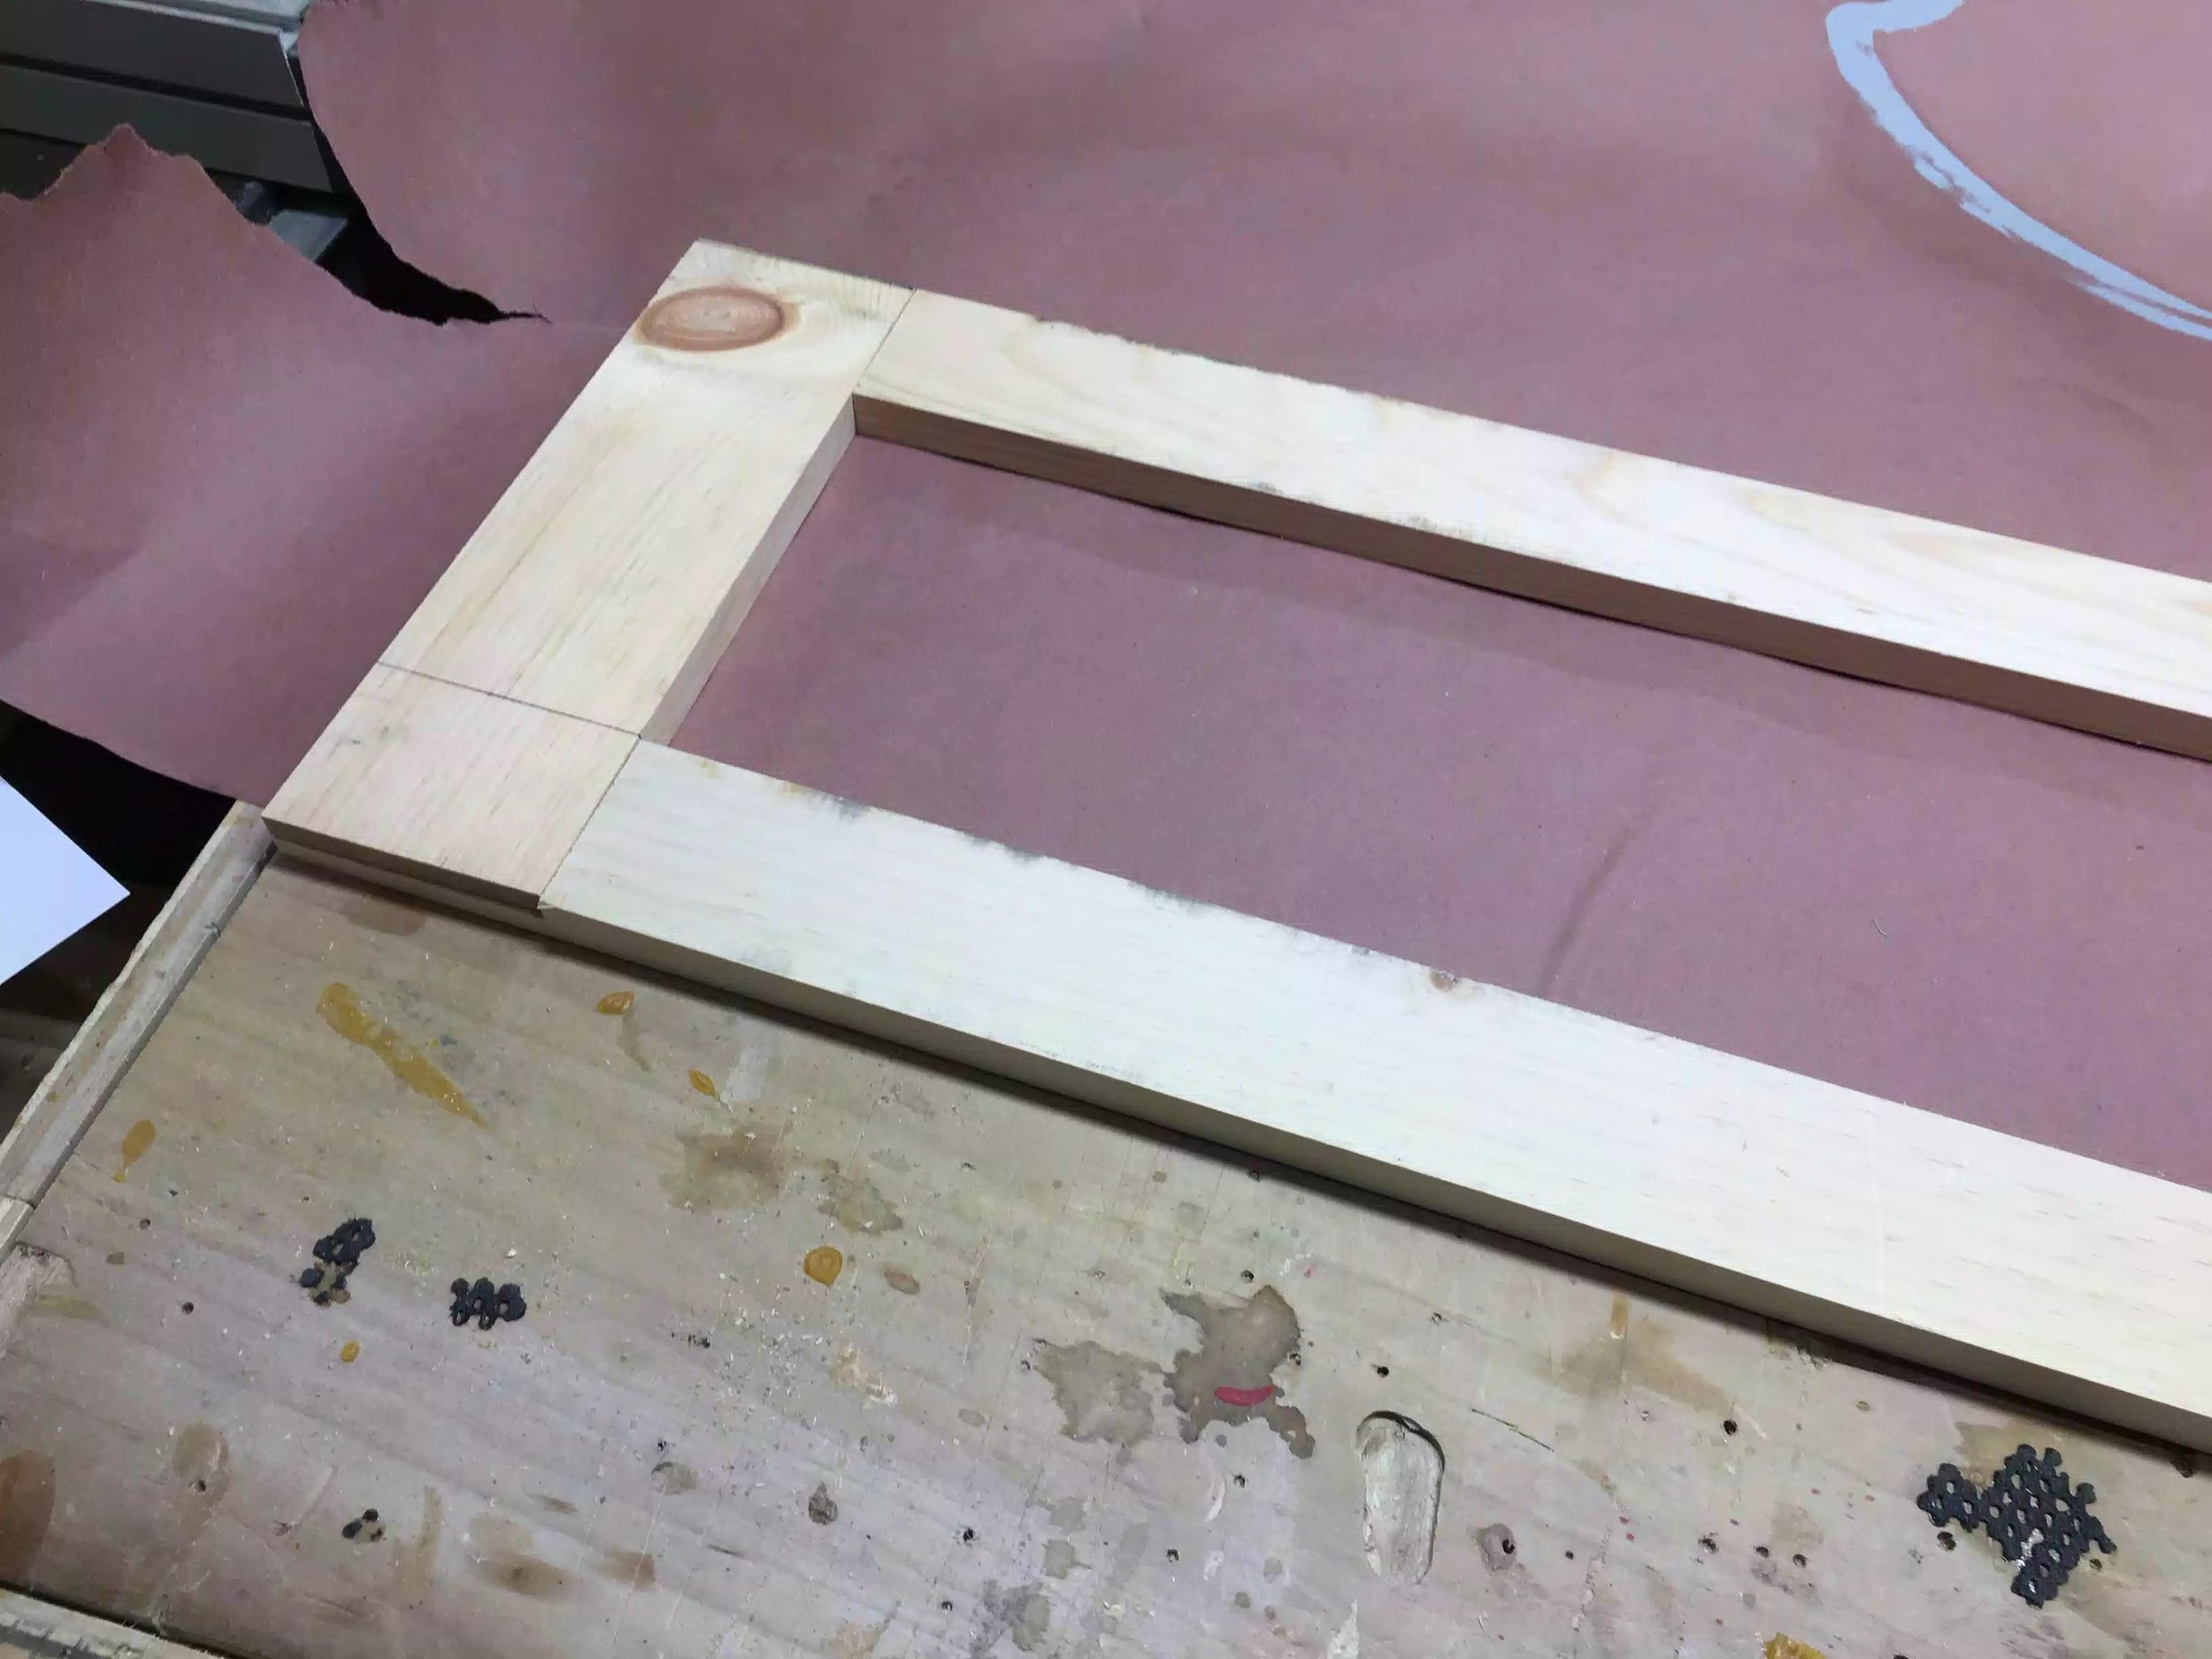
Dry Assembly of the half-lap

In this picture you can see the holes drilled to receive the dowels

Here you can the glue has been apllied and the dowels are in place, just waiting for the glue to drive to cut the dowels flush with the face of the legs

Almost finished, the dowles have been trimmed flush and the excess glue has been reoved, you can see the half-lap joint on the edge. Just need to clean up the joint a little.
PREPARING THE SHELVES
The shelves were already cut to final size and the dadoes were router into the top ends that would ultimately act as the joinery method doe all shelves to fit into each other.
But today I needed to position the counter-sunk holes inside the dadoes so as that I could insert screws to act as clamps as the glue set on the shelves. I also decided to route a roundover profile on the ends of the shelves making them nice to the touch and not be sharp as this end would be interacted a lot with as that is where the books will be stored, I used my palm router to achieve this. The pictures below depict these steps .

I made this little jig to position the holes in the same place because they would be seen I needed them all to be uniform. Its basically a stick the same size as the shelf dado with a whole placed on each end.

Here is the jig in place.

Here is the screw holes positioned, to make sure that countersinked holes were placed in the right position I drilled through holes from the inside of the dado and then flipped the board over and use my countsinking bit.

In this picture you can see I just added the round-over profile to the shelf ends, I used my palm router to achieve this. I will sand all these parts down .
ATTACHING THE BOOK BARRIER TO BASE
When I designed the 3d model of the unit on Sketchup I troule shooted the design and I saw this as a possible problem, when you add books to the bottom shelf there is nothing preventing the books from sliding off since its not being contained by another shelf. So I added this detail in , I already added the dado to house this piece and all that was left was to mill it and I also added a round-over to the top. o attach it I used the same joinery , I added screws from the under side of the shelf and covered them with plugs. I also fpound a piece of solid oak in my scrap bin and decided to use that, I like how it came out and the oak provides a little contrast.

In the picture above you can see the book end in position.

This is the base and the 2 holes on the right hand side are the screw holes keeping the book end in place.
PREPARING THE BASE TO RECEIVE THE 1ST SHELF
In the whole projhect this was the most nevrve racking so far because I needed to secure the shelf in the dado that I already cut buy using screws and dowels.
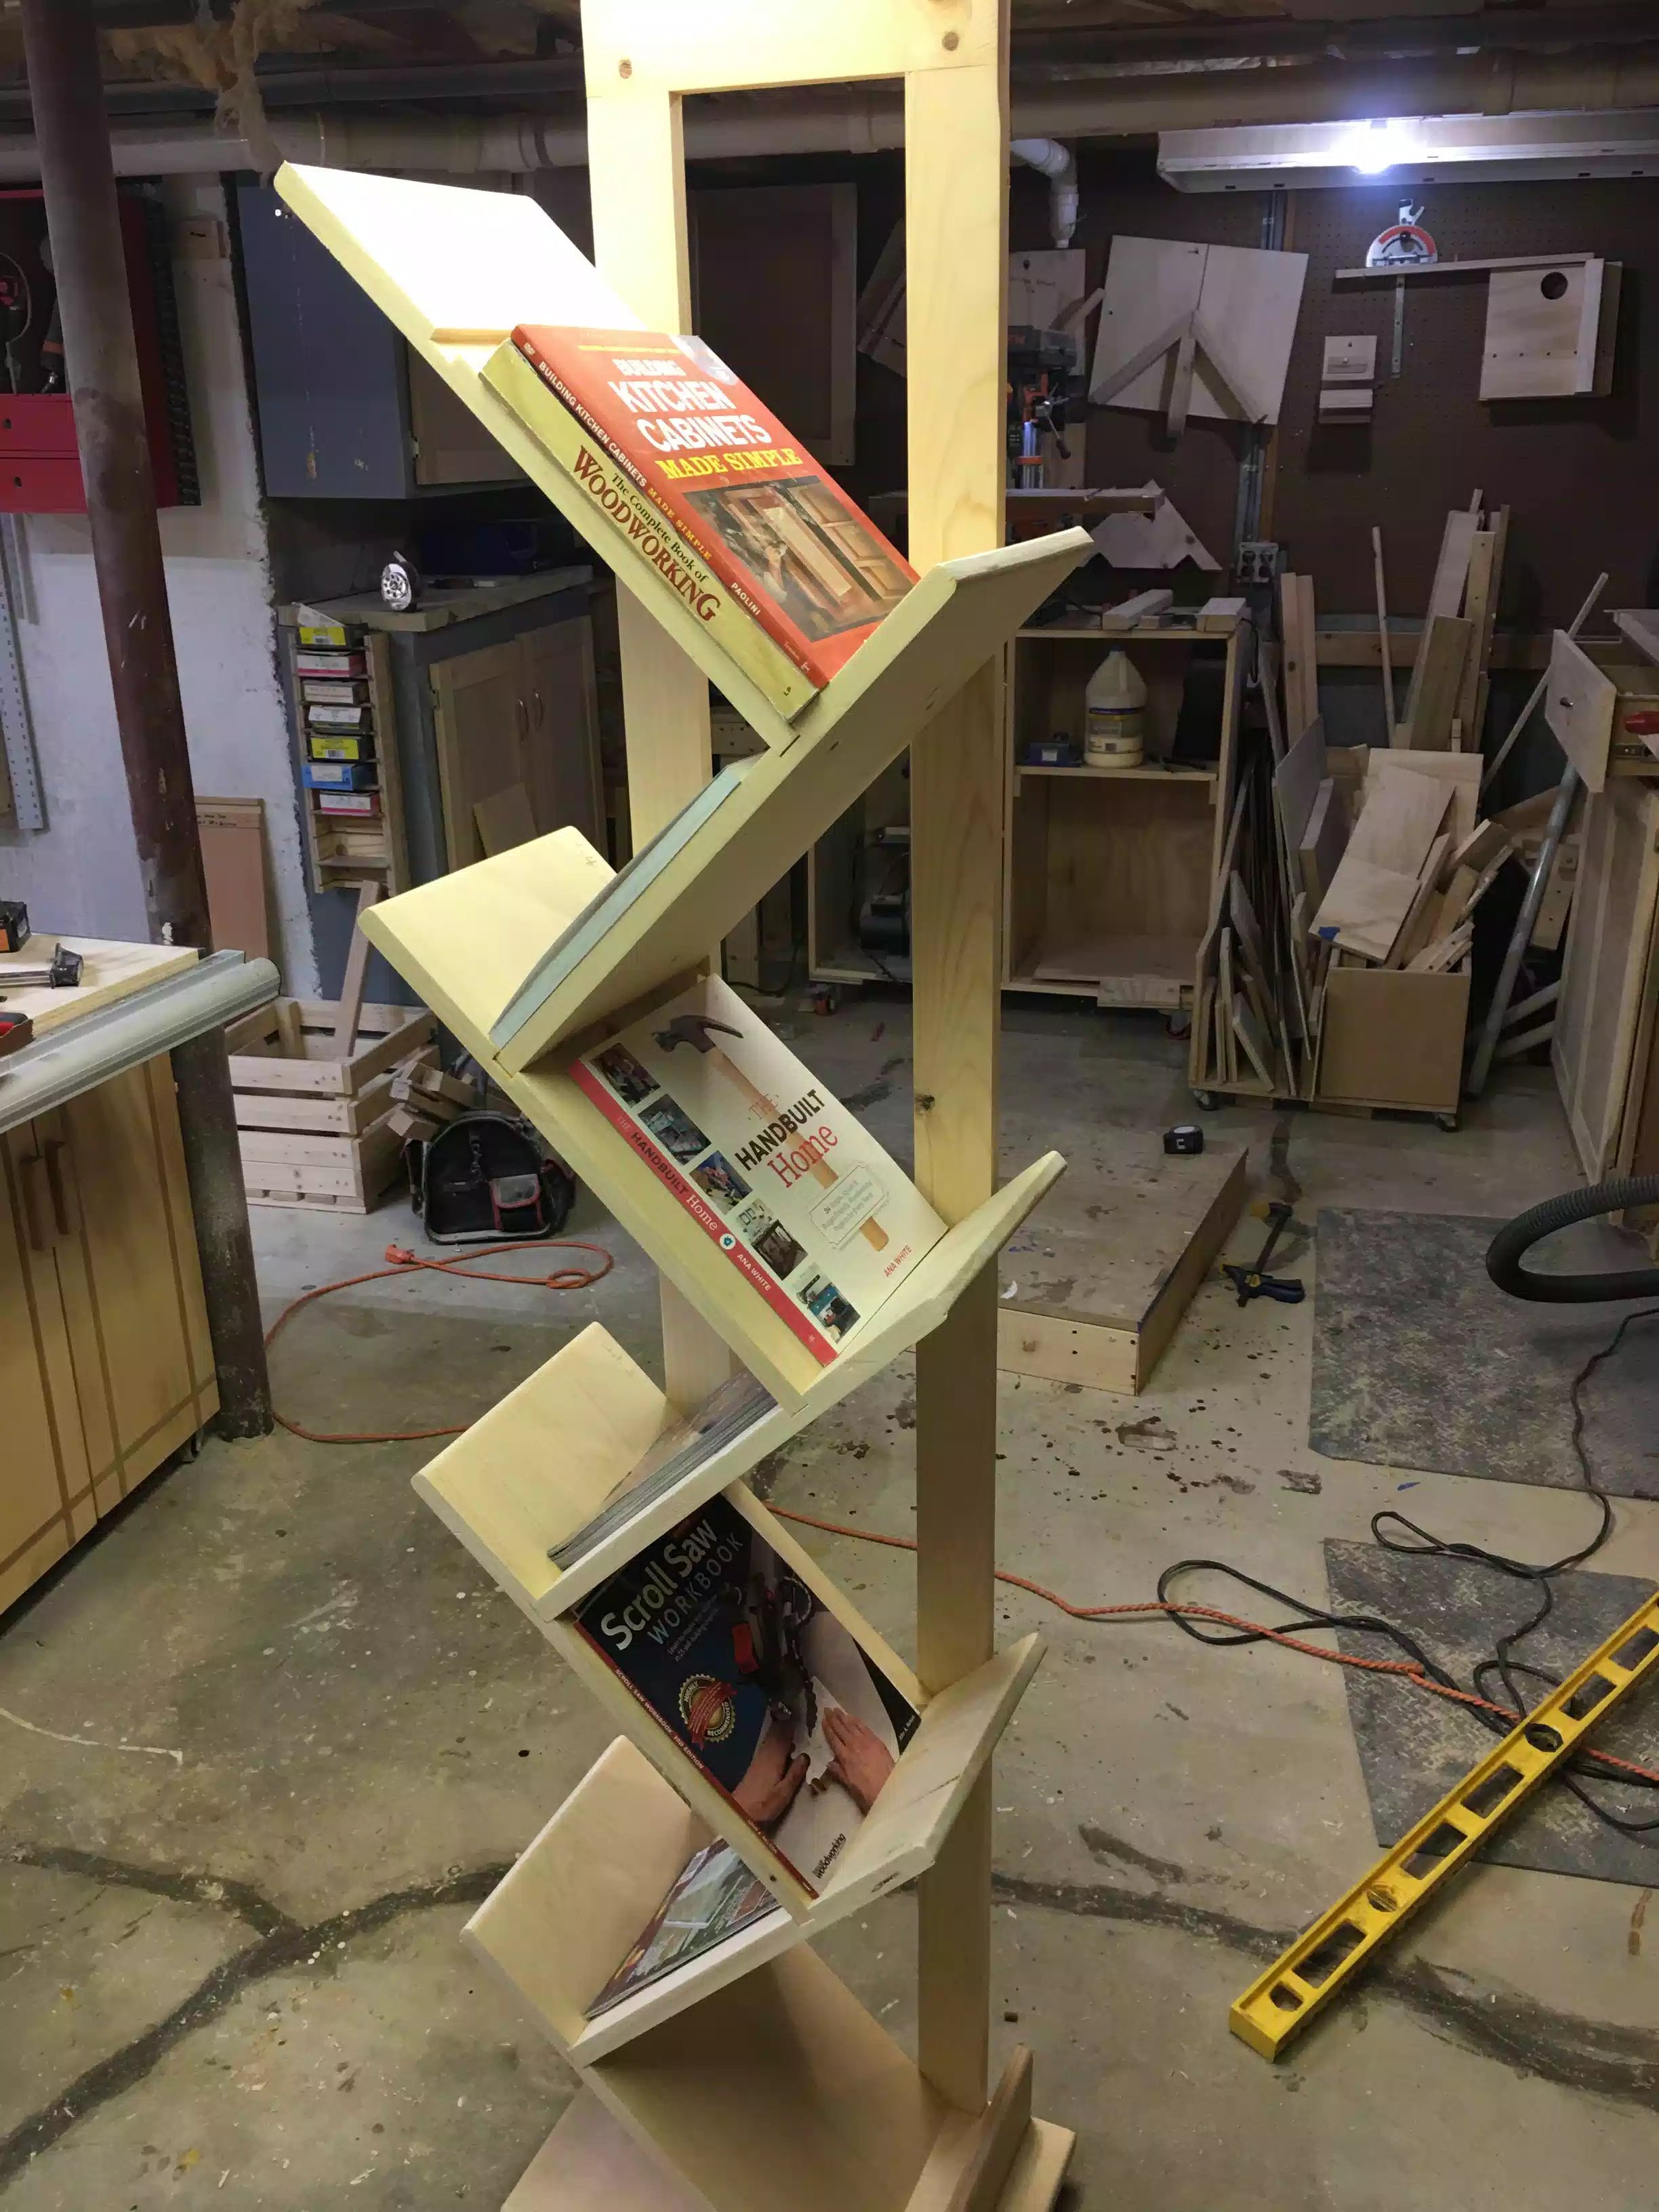
I started by line up the shelf into the dado and finding the thickest part of the 45 degree miter on the shelf I needed it to be thick because I was adding 1 1/4" screws through the base into the shelf and I didn't want to come through the visible face of the shelf. I also wanted to add 1" dowels through the base into the shelf to further secure it in place. To achieve this I used a 3/8" drill bit with a stop collar so as that I wouldn't bust through the face of the shelf and I think it worked out. I did a test on the strength of the joint by adding books onto the shelf and you can see that below.

Here you can see a labeled diagram of the bottom of the base

Bottom Shelf is in place and it didn't fall over, phew!!!!
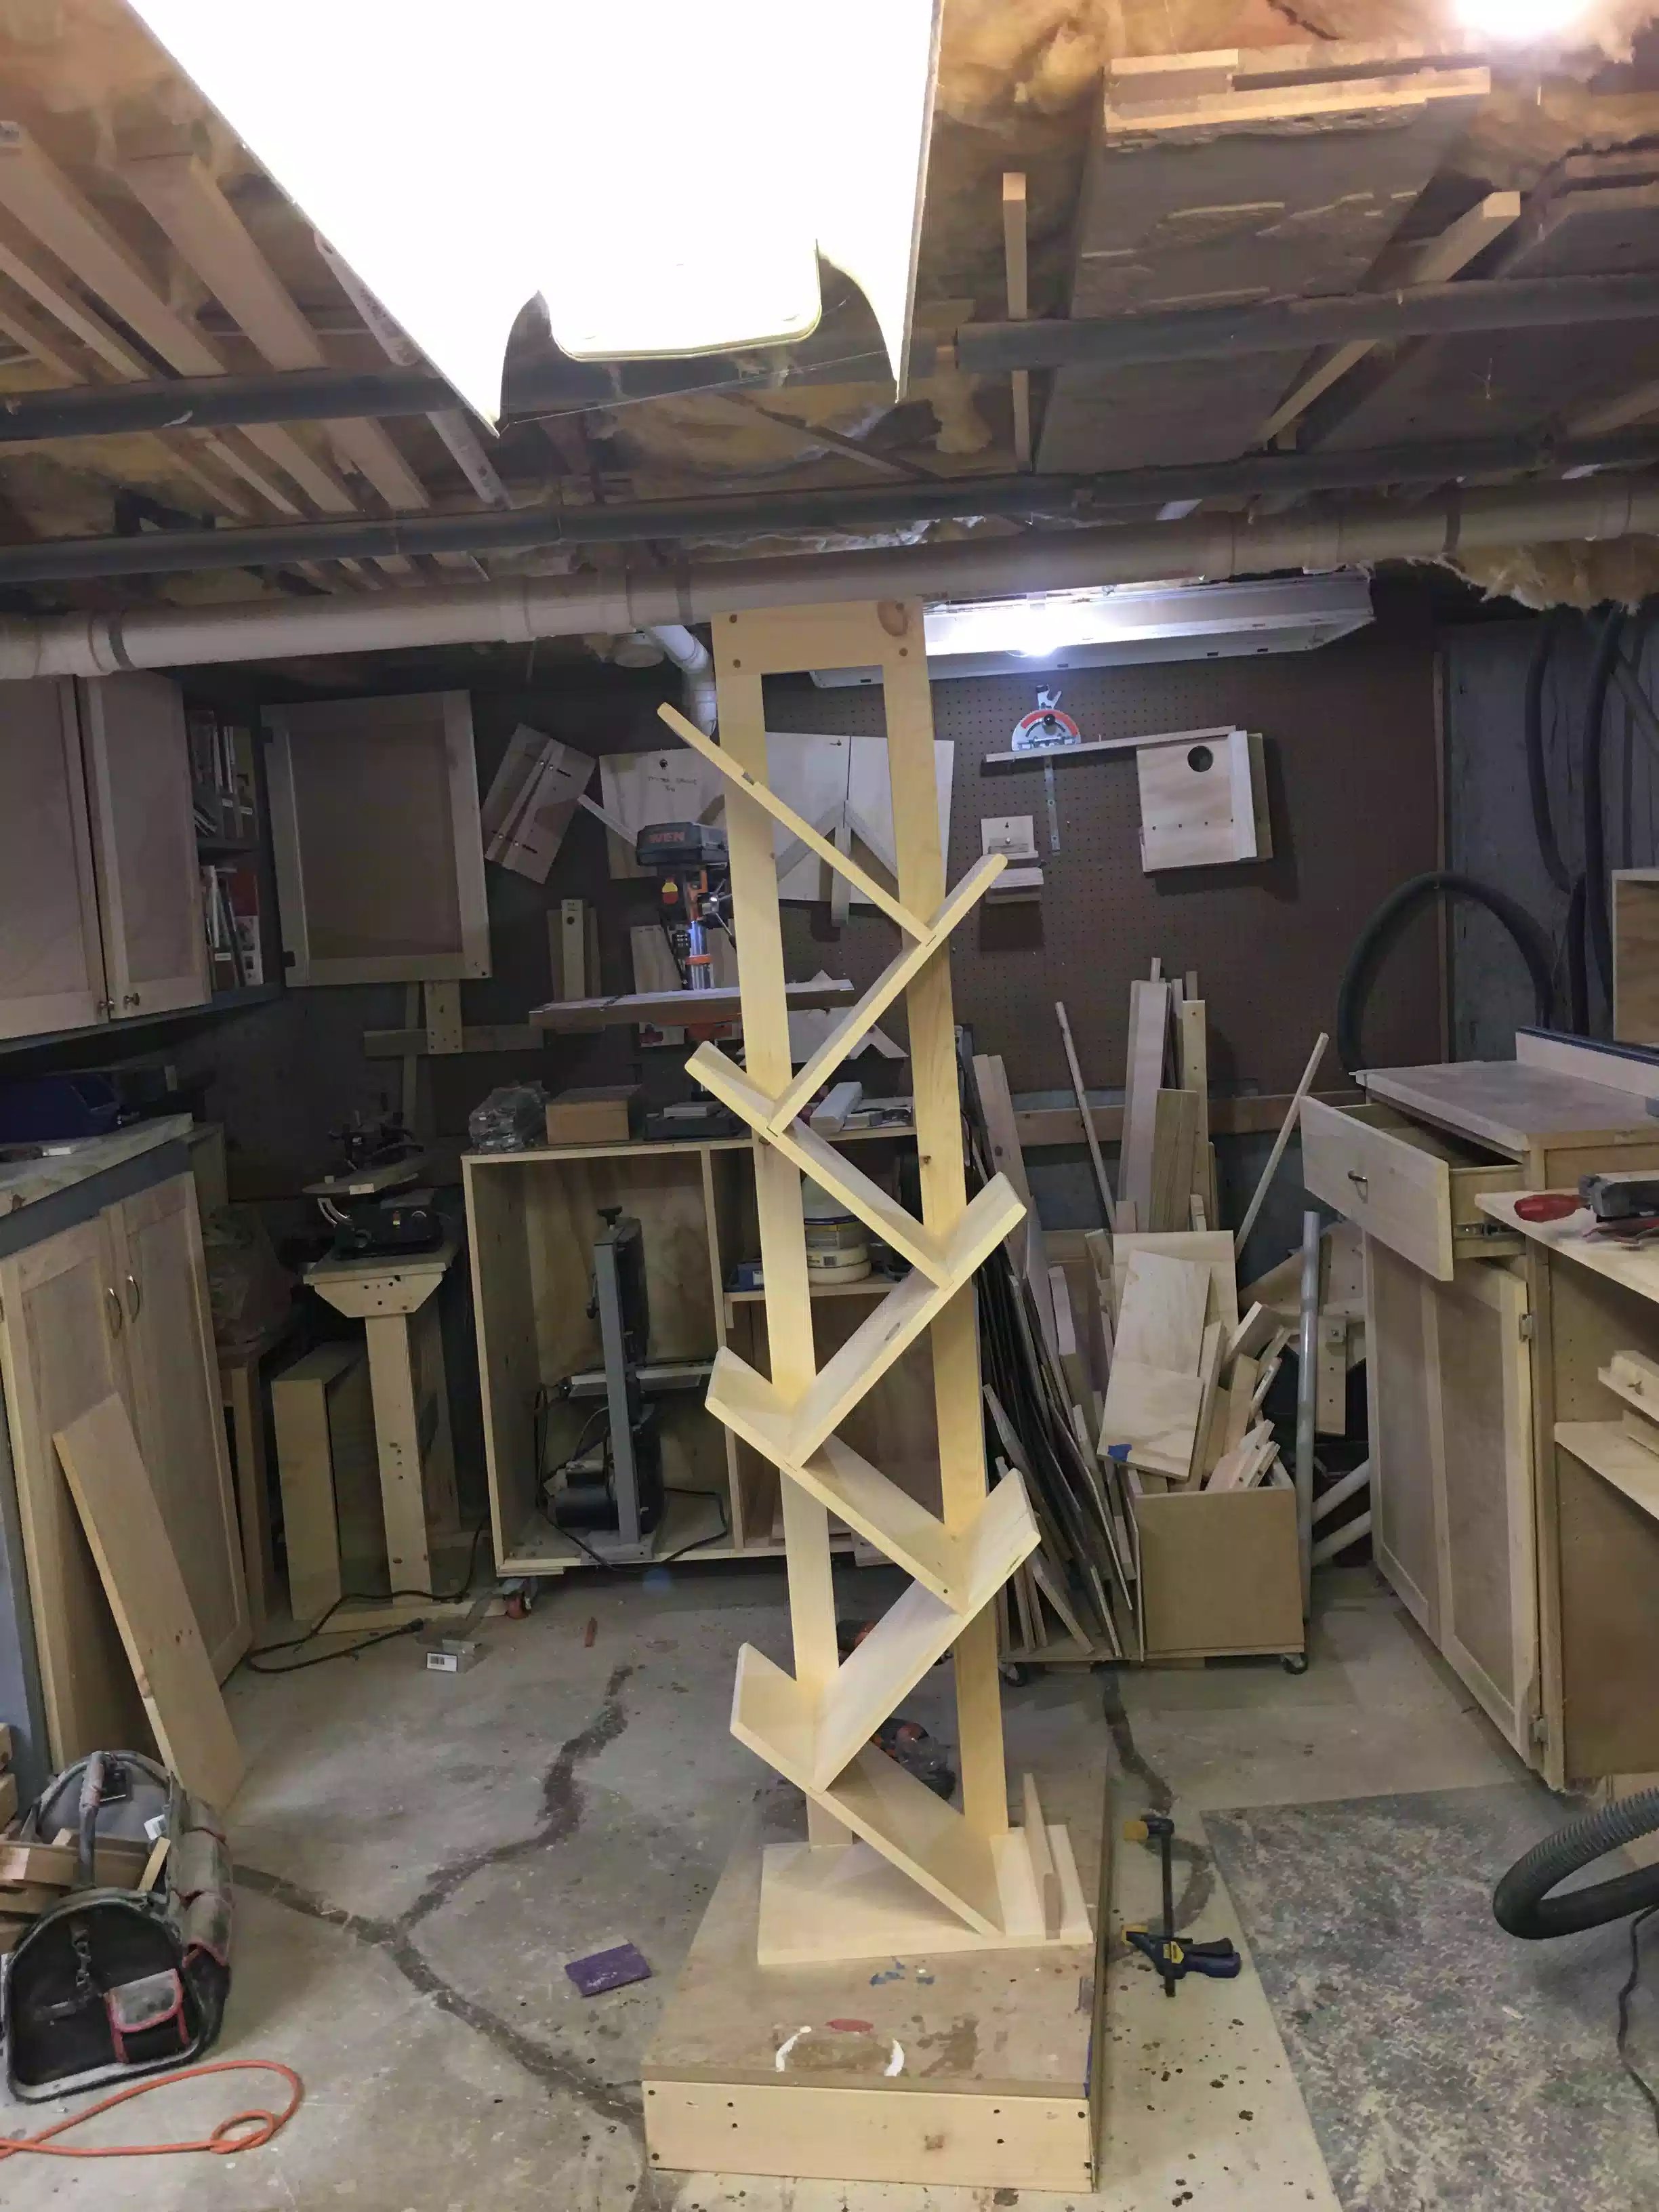
ATTACHING THE SHELVES TO EACH OTHER
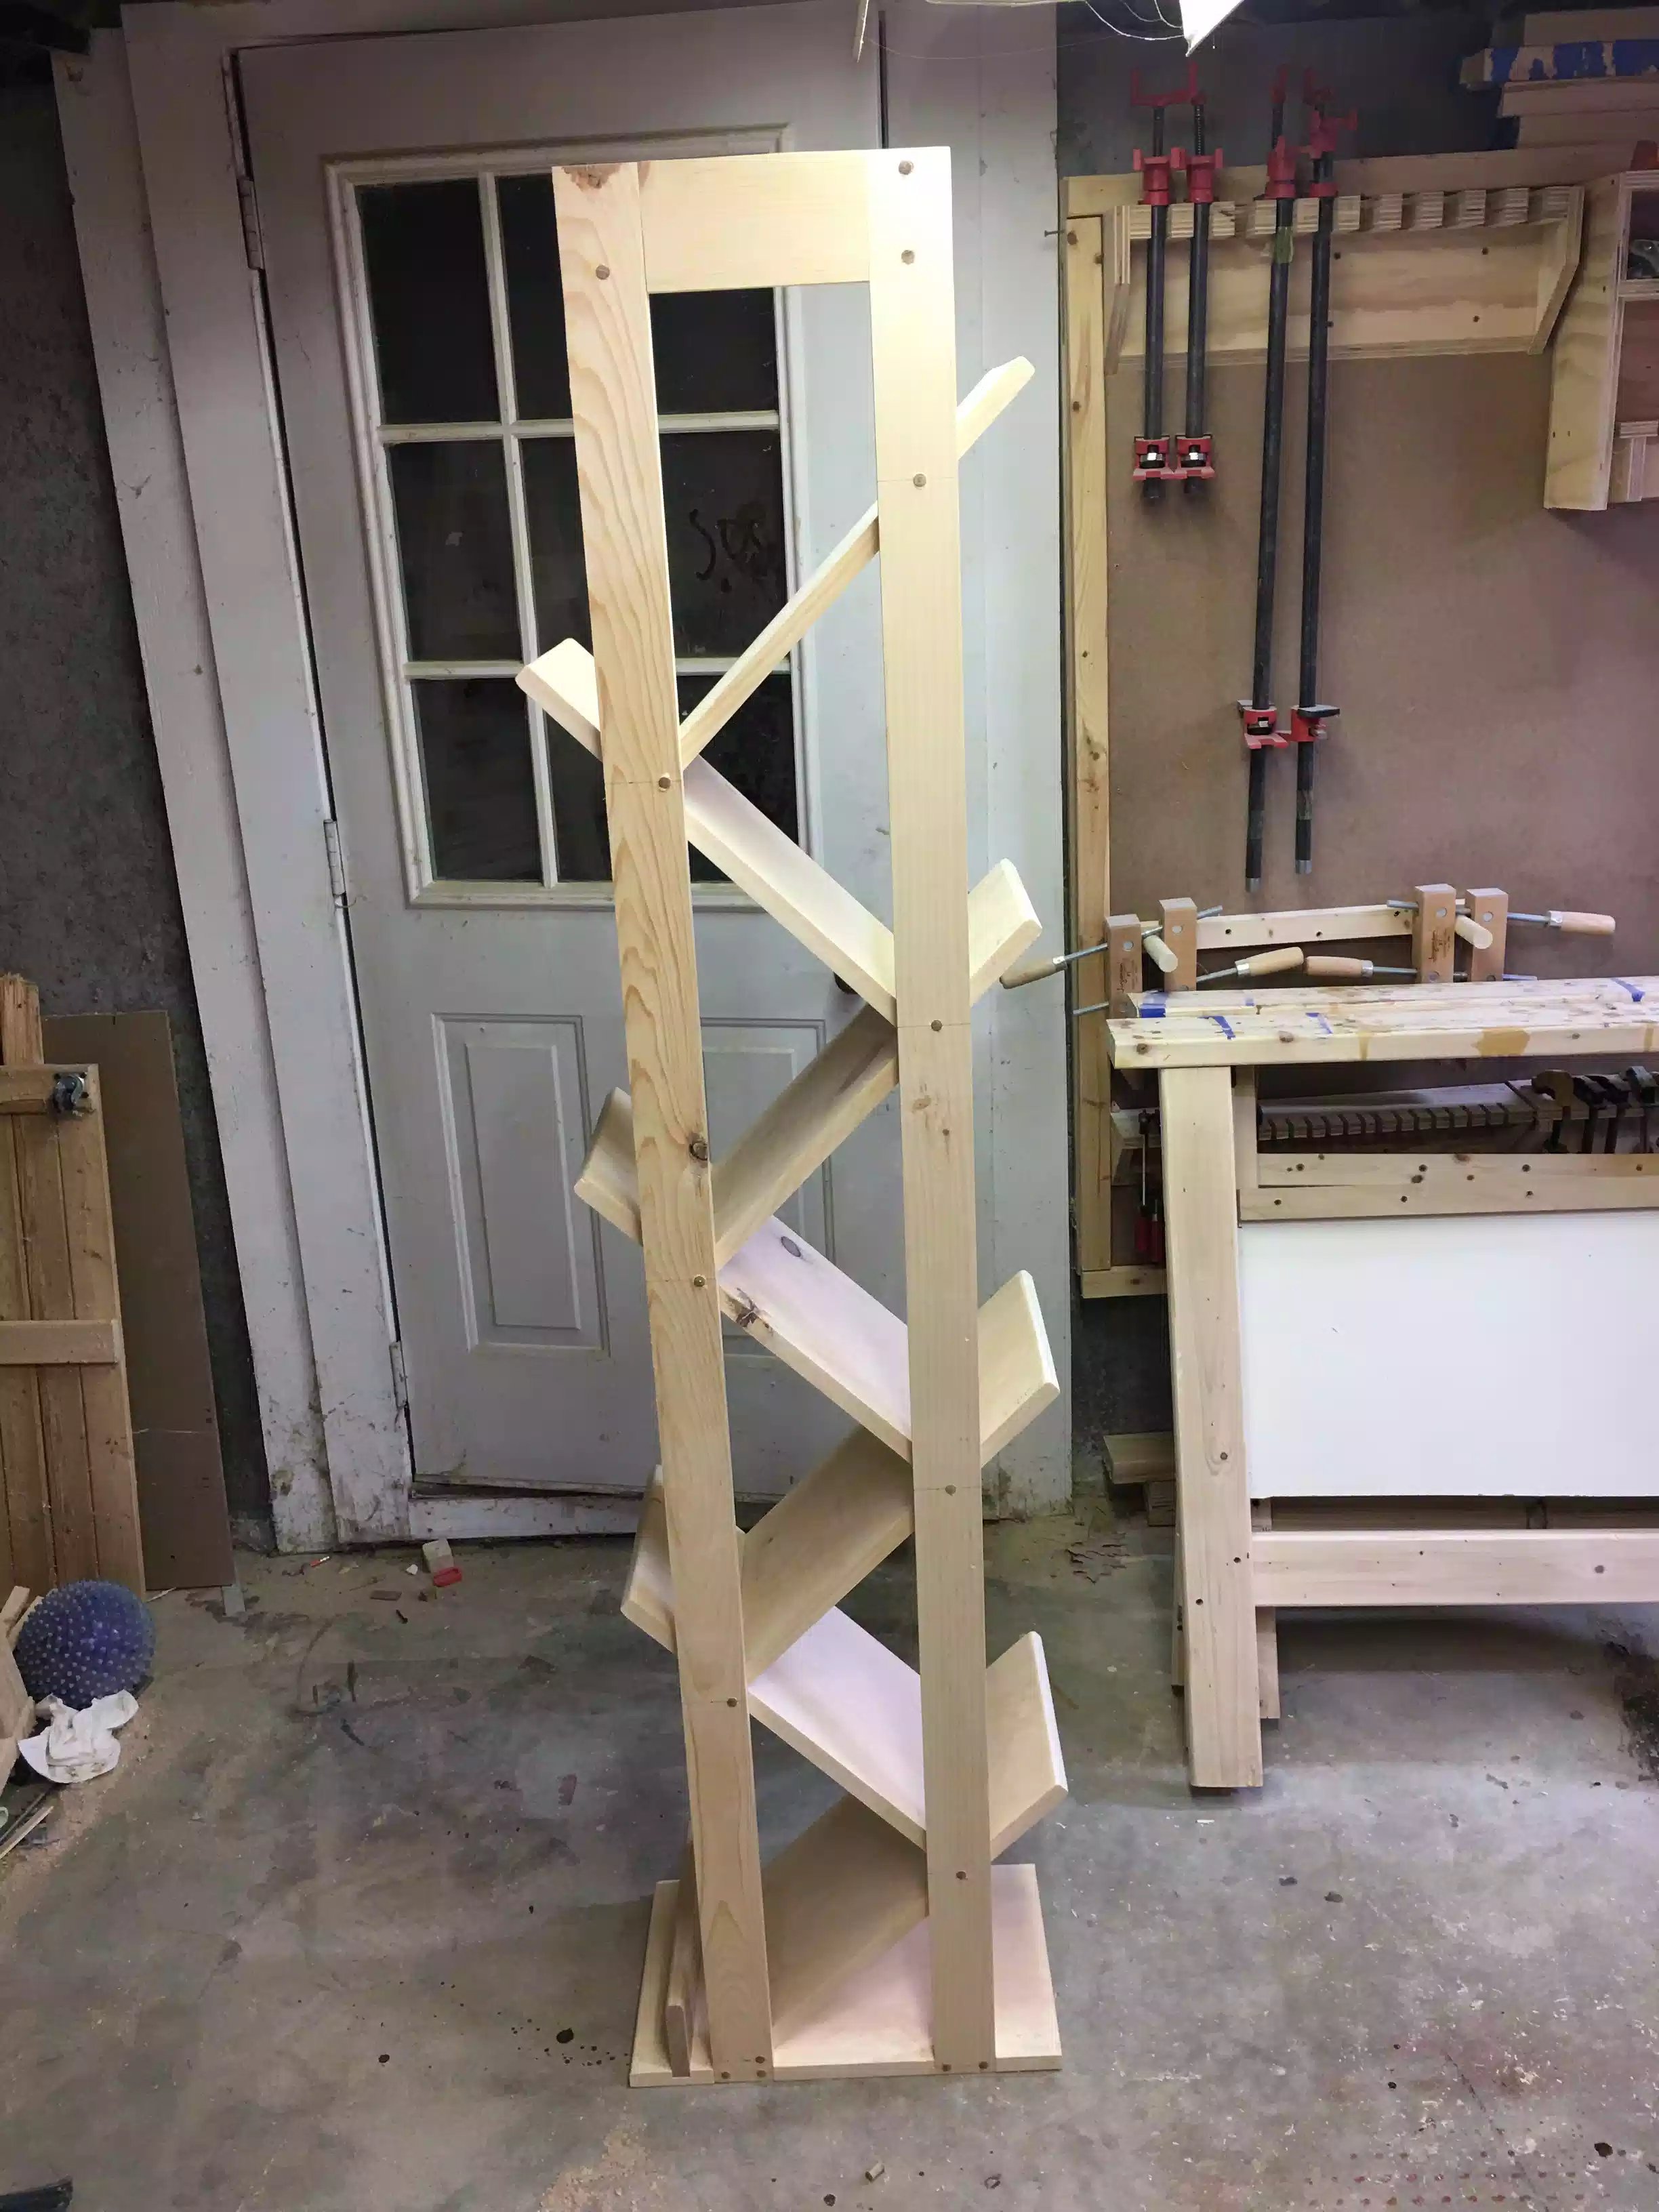
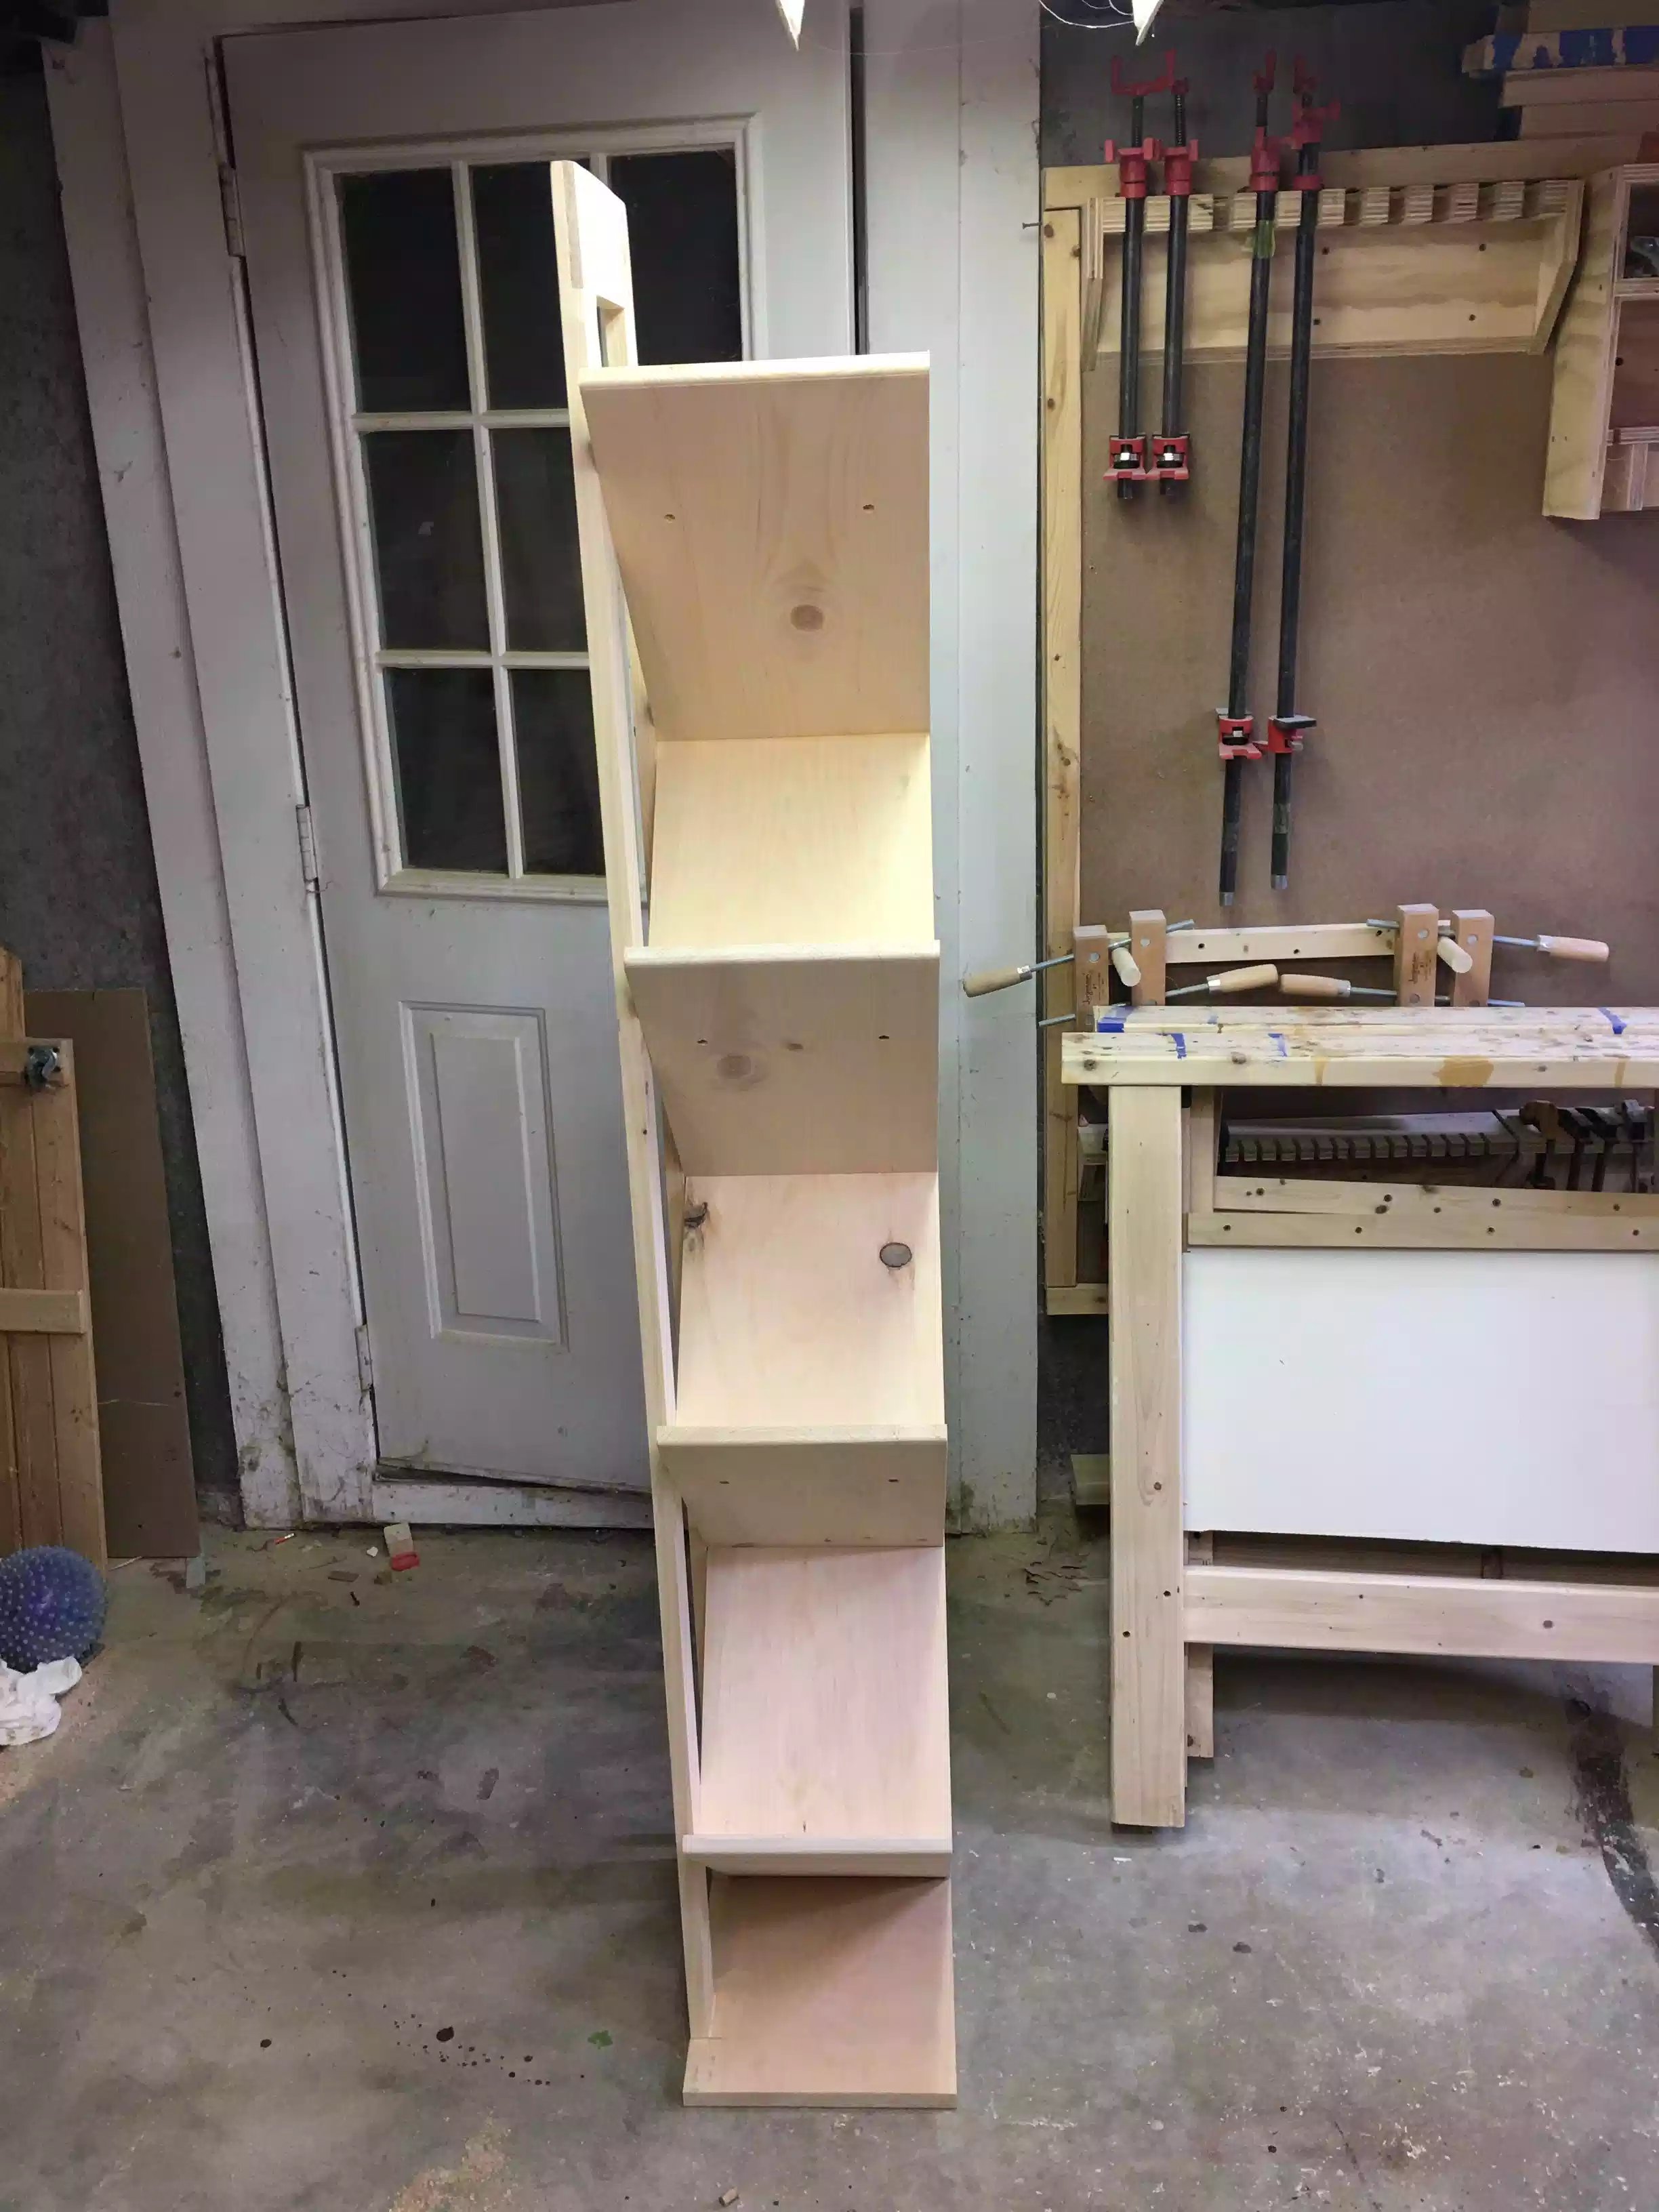
I decided that the best way to attach the shelves to each other was to build them lying the unit across my bench. All I needed to do was position one shelf inside the other and glue and screw all of them and coming back and adding the oak plugs into the holes that I made on Day 2. This step really didn't take long and within 20 minutes all the shelves were adjoined. I also fixed the back legs into the shelves using the dimensions I calculated on Sketchup and they were right on to within an 1/8"

All the shelves have been joined except 1. The top shelf needs to be cut to final size and that's for another day

You can see why I chose this method it was easy to access all counter sunk screw holes, I also laid the shelves on the back legs true up the different board widths in this project
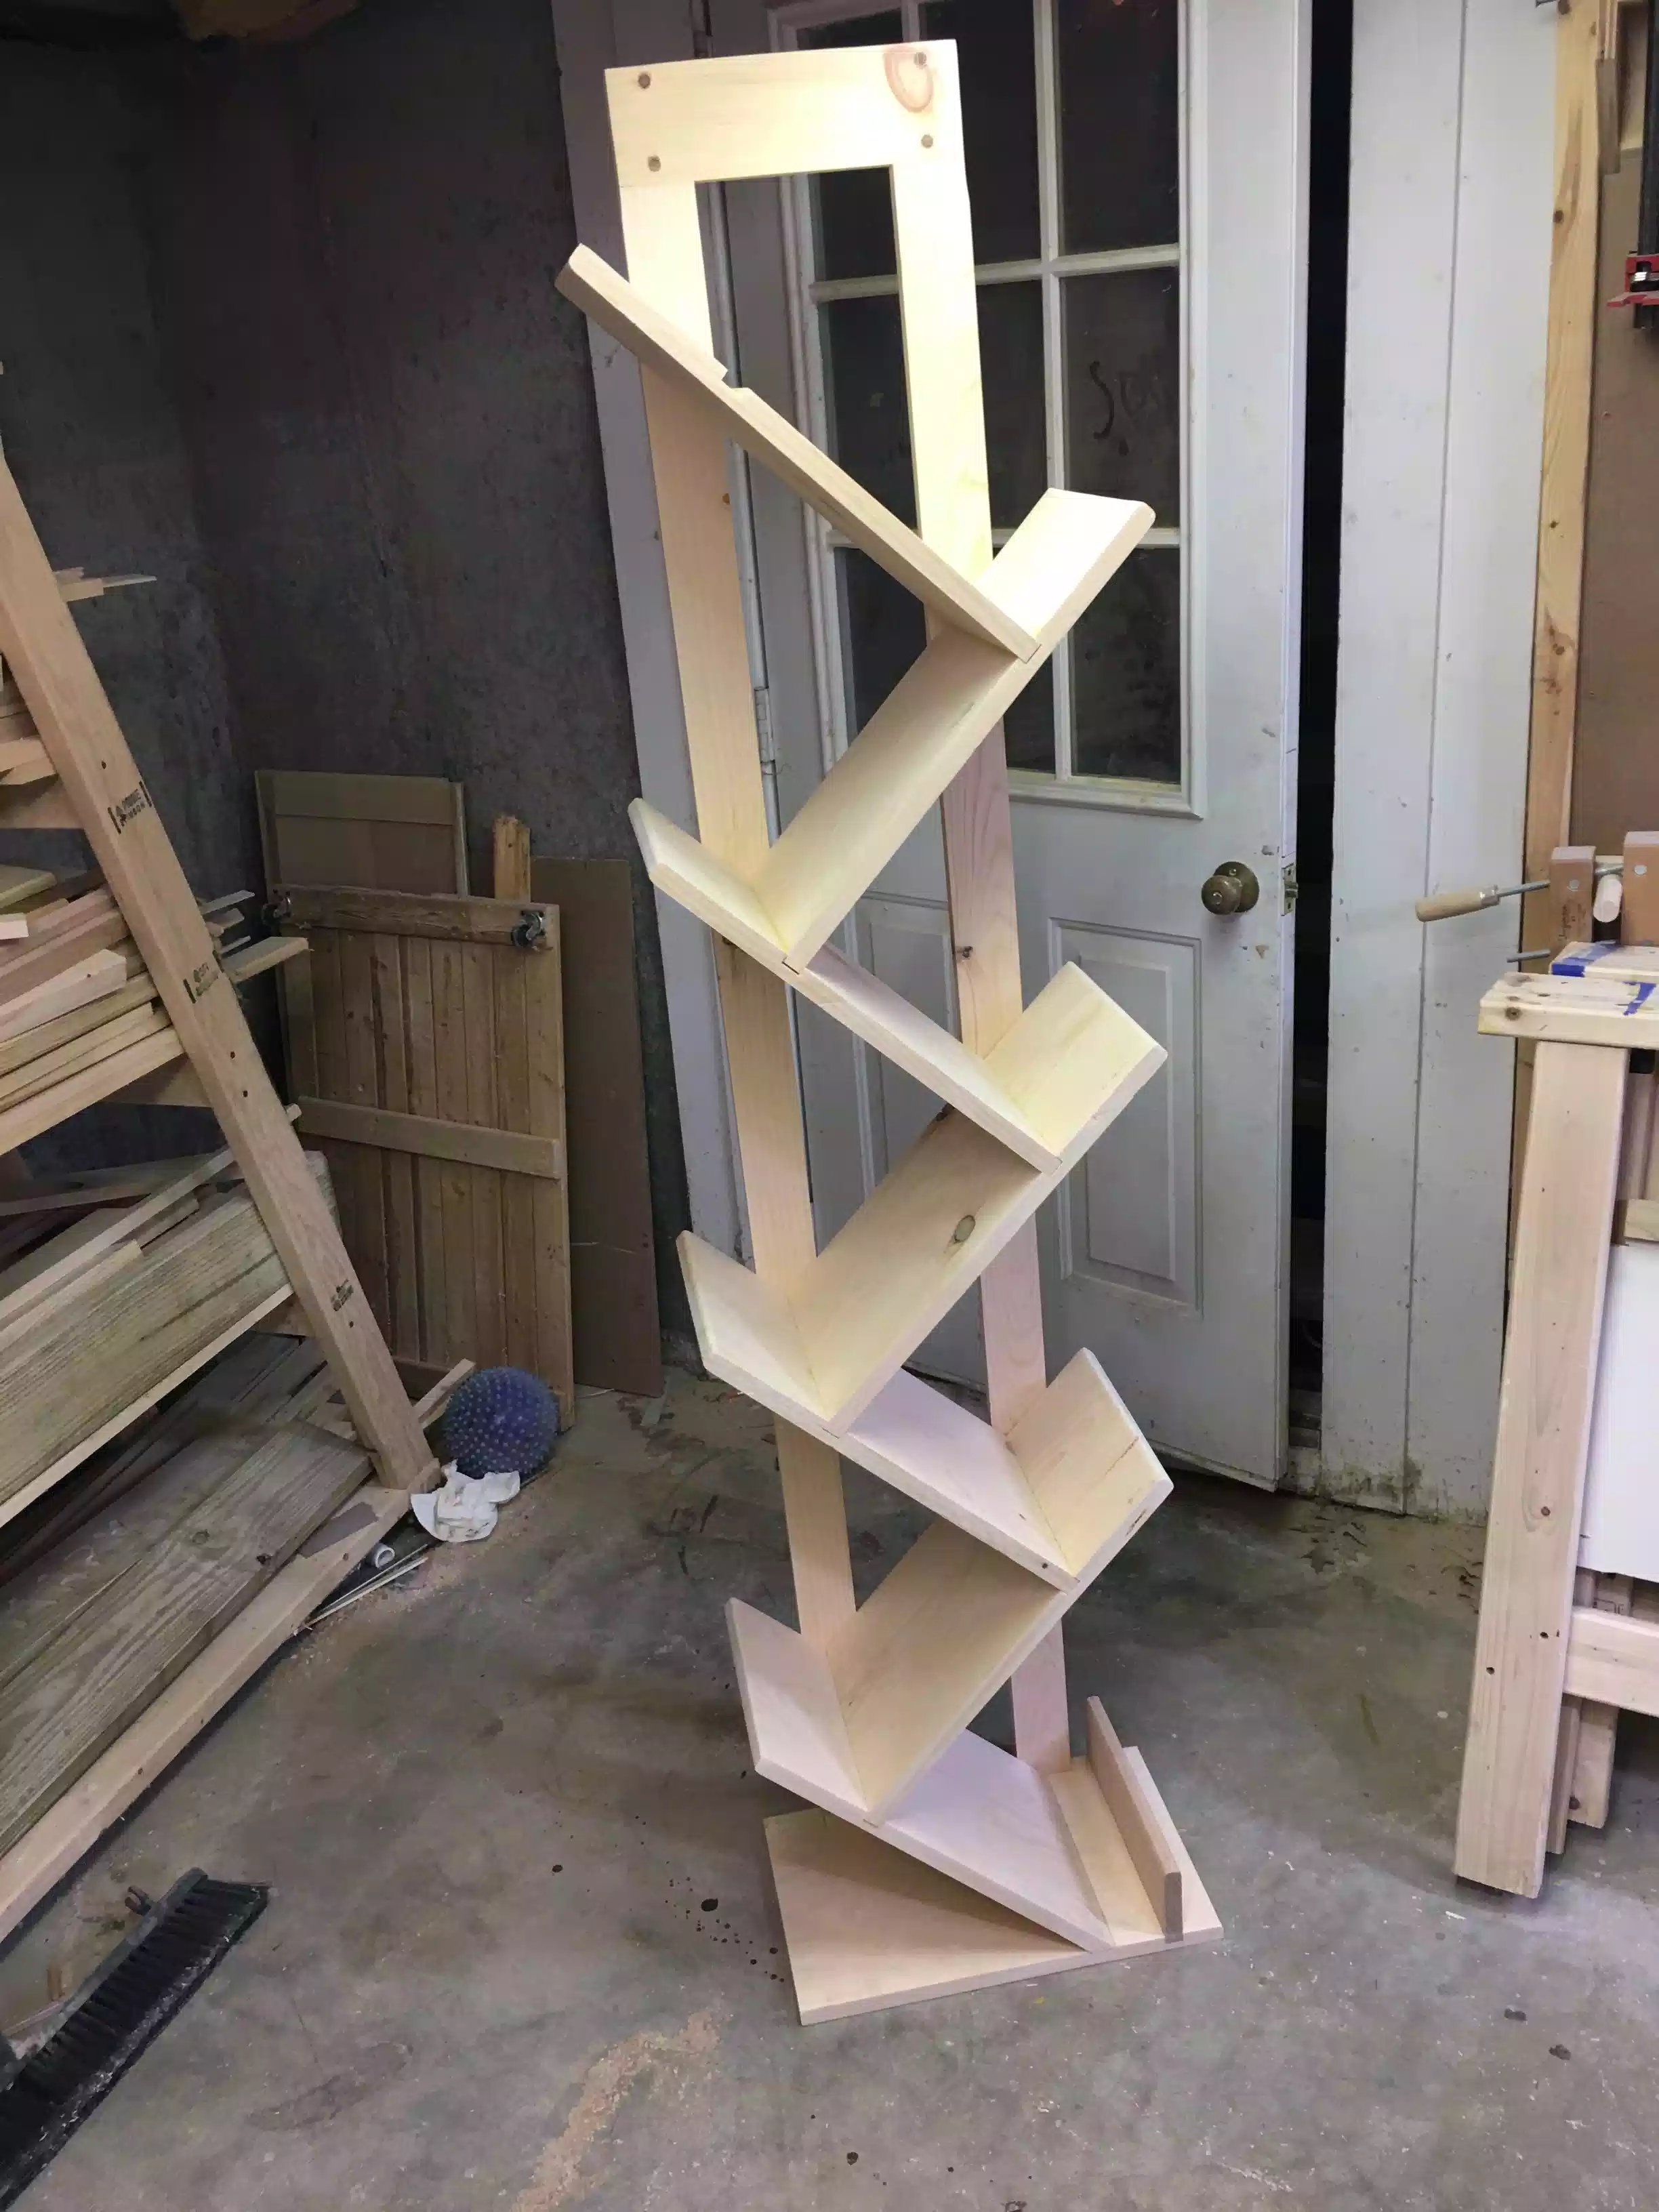
ATTACHING THE SHELVES TO THE BACK LEGS
This was extremely tricky and I took my time , when I made my plans I estimated the position of the screws that need needed to be insert from the back side of the legs and directly into the shelves, I could not get this wrong because I didn't want and screws visble on the outside andI also needed the shelves supported to he frame or it could tip.
So I flipped the shelves over so as that the legs were on top and then I marked my dimensions at where the shelves intersected with the legs placed marks and drill pilot holes and then once I knew they were in the right position I counter-sinked them.

Having access to the legs is crucial in this step

Here you can see the legs attached into the notches of the base
This is how I leave the unit tonight, until the next day