


I needed some shop time that wasn’t just about sweeping and vacuuming the entire shop, the shop does look great but whats the point of having a workshop if you are not making saw dust and actually making something, to be honest it was so clean it made me a little nervous of dirtying it up again, lol.
So I went to my bucket list of shop projects and picked one that I wanted to do, I have amassed a few assorted squares since picking up wood working and its one of them tools that never really had a home so a couple of months ago I found this project Jay Bates website @ JaysCustomCreations.com and it addressed this issue that I was having, I really liked at the simplicity of the project and it actually works really well, I will include a link to the build article in this blog.
Its basically another French Cleat design and since I had some leftover room on my solitary french cleat wall I decided it was a great place for it.
Here is a summary of what went into the project today.
Concept & Design
Materials
Execution
Concept & Design
Like I previously mentioned I came across this project on Jay Bates website Jayscustomcreation.com he is one of the woodworkers that I follow from time to time and he also has a YouTube channel.
This project is great to use up some scrap materials and that is exactly what I did.
Usually when I want to make a project I usually fo to my computer and make a 3D model of what I want to make but this time was different I made this project on the fly simply because I needed to see the actual tools in position to determine how big the back was going to be, so sorry no Sketchuop model on this.
MATERIALS
Piece of 3/4” plywood, mine measured 12” x 24” but
Some 2 x material I had some poplar, pine and oak just lying around so I used that.
A hacksaw blade or some very thin aluminum flat bar
EXECUTION
Here are the steps of the build that I took I didn’t take that many pictures of the build but you can follow along with Jays article that I included at the end of the blog post.
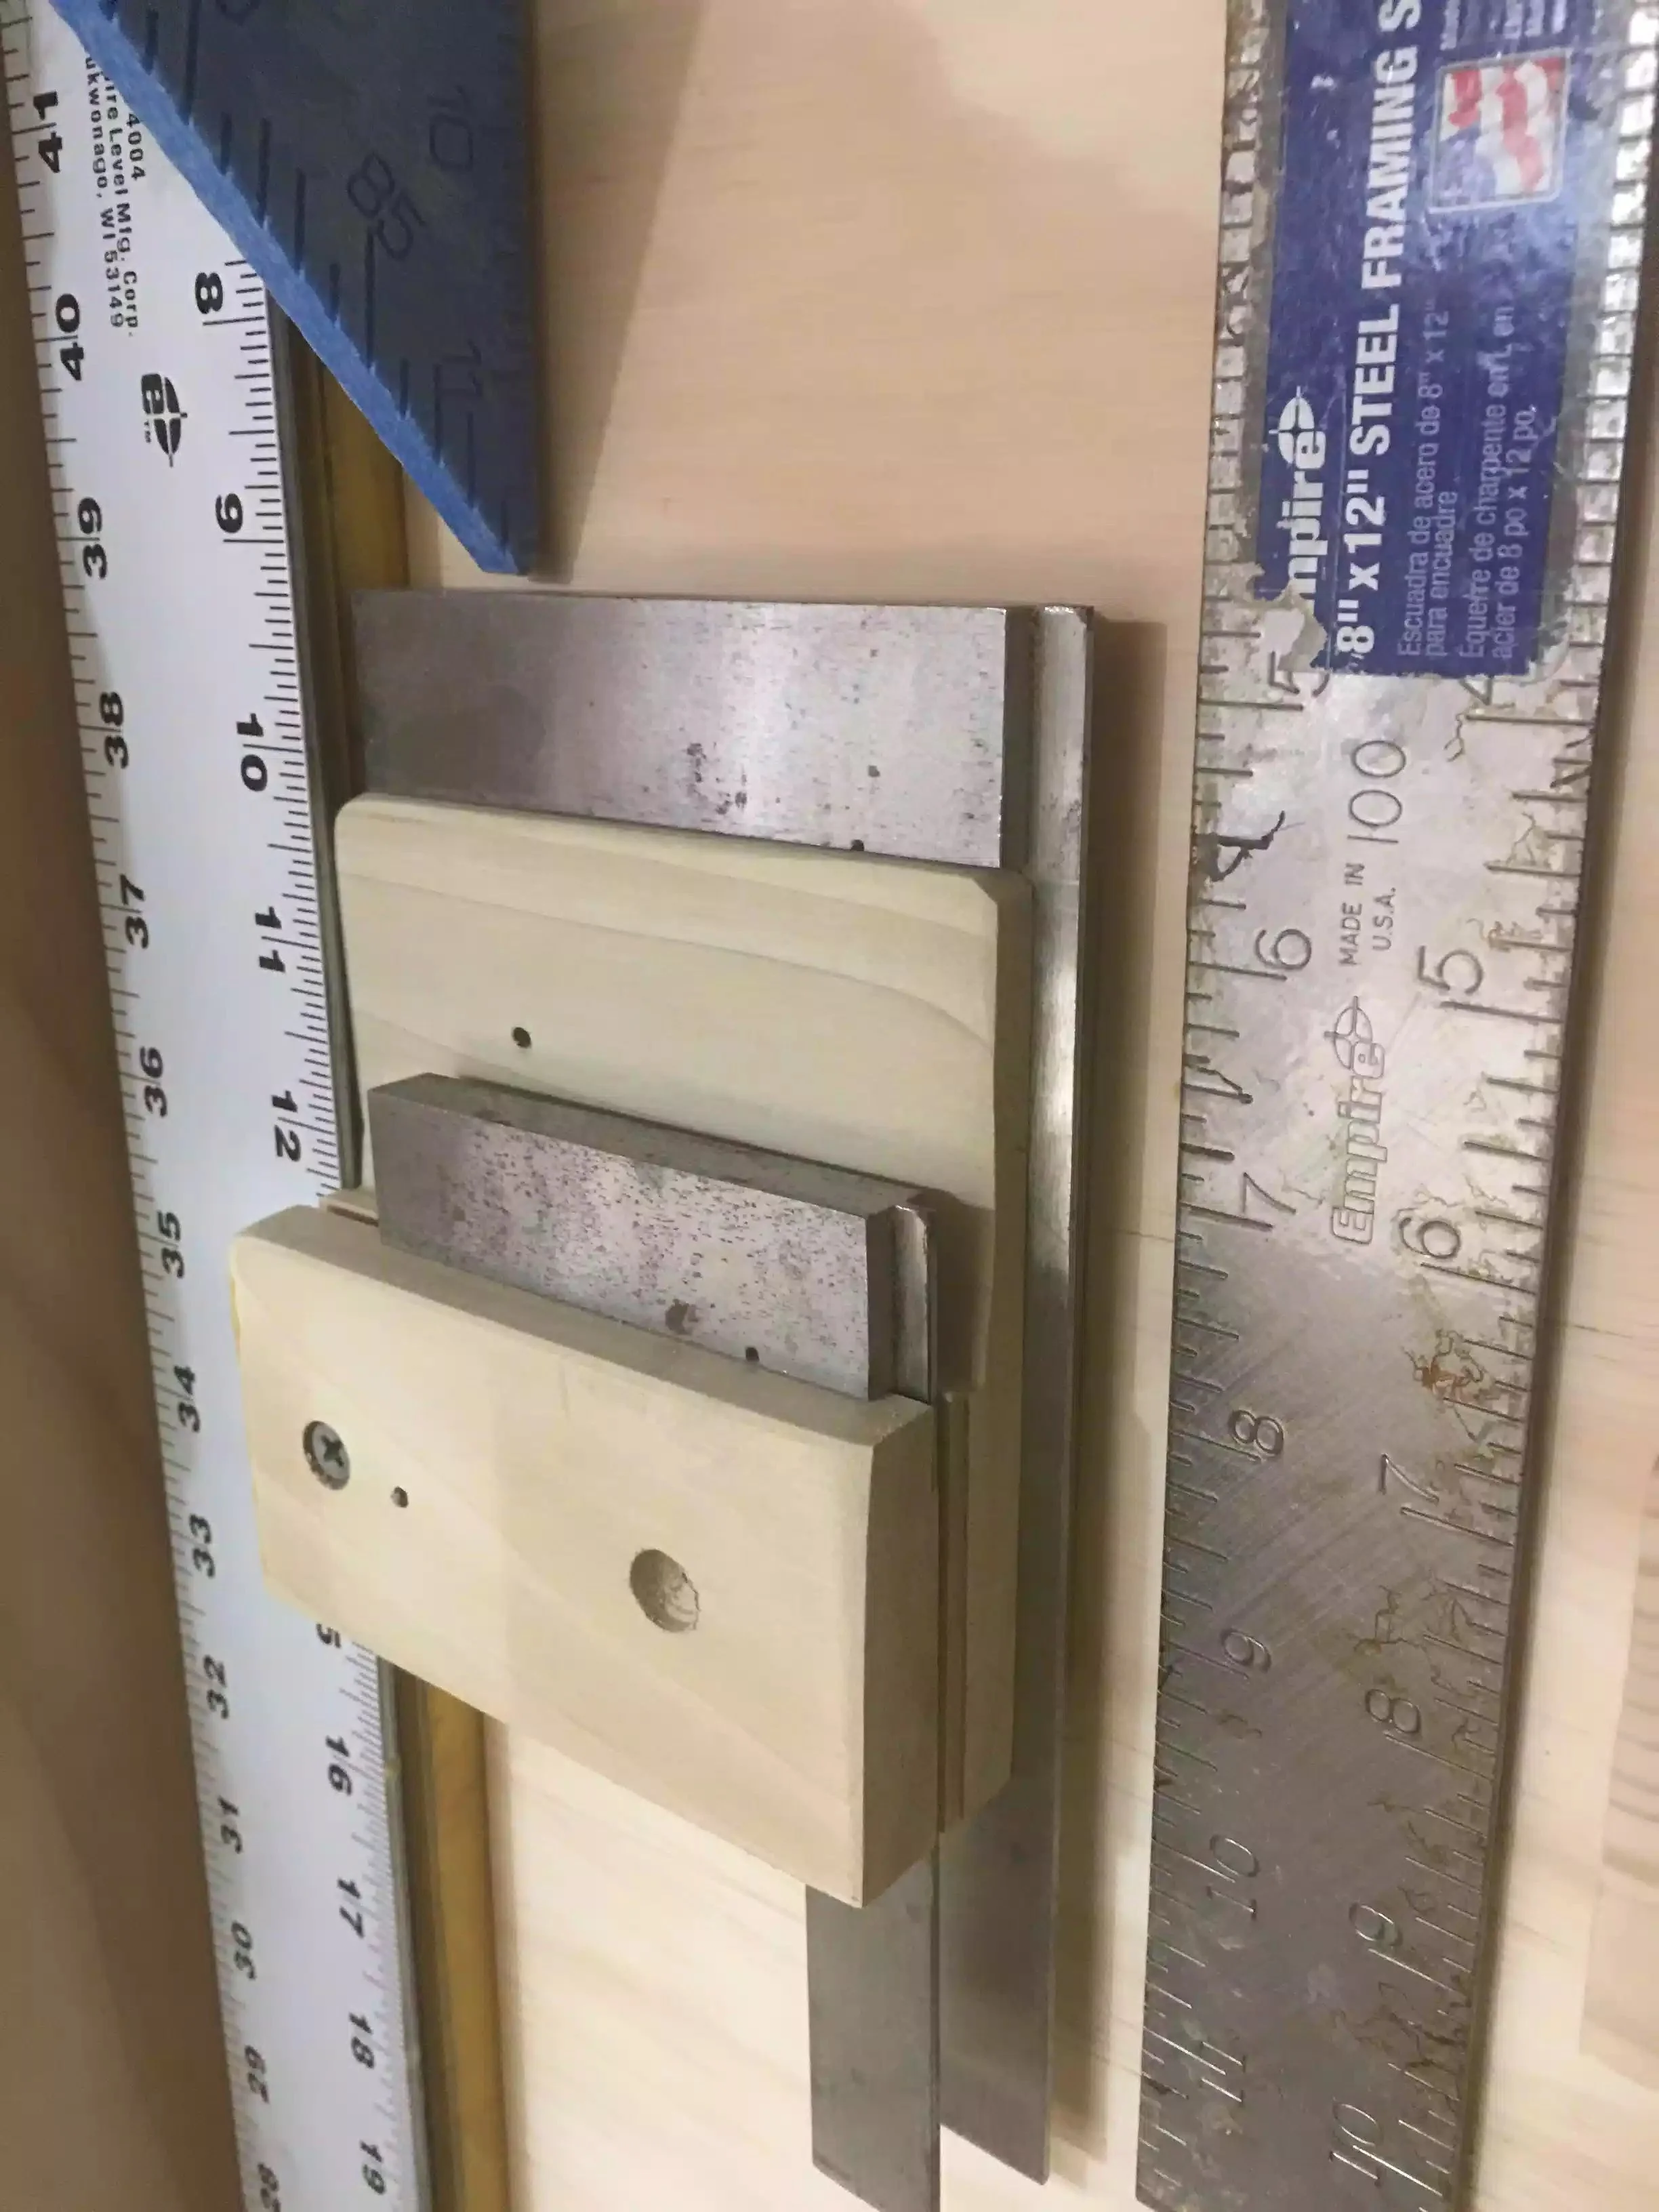
I laid out all the different types of squares that I had, I had some speed squares, machinist squares, combination squares and a few other items that I wanted to include on the organizer, I needed to lay out everything to figure out spacing of where everything was going to fit.
I started ripping & cross cutting some oak to use as hangers for the speed squares, then I predrilled the backs of them so as that I could screw them into the top of the backer board.
Then I made a holder for my combination & machinist squares this took a little more work but its basically a piece of 1-1/2” thick material that I cut a big rabbit out of to create a shelf doe the square to sit on, this way I could fit sizes to each work-piece.
Finally I took a hacksaw blade and drilled two holes on each end, then I used a screw to secure the blade onto the backer board I also used some really small washers to give clearance, I will be using this to mount some measuring tapes to.
Some Finished Pictures

Here is what I needed to organize

Here is what it looks like now all nice and neat and everything has its place.
Some close up pictures

The holders are nothing more than a block of wood with some strategically placed Kerf cuts so the tool can slide in and out.

A hacksaw blade provide easy measuring tape storage.

I used a hacksaw but a piece of aluminum flat bar would also work.
All in all I am very happy about how this project turned out and even happier that it didn’t cost me a penny.
Thanks for tuning into this blog and I will catch you later.