0
items
$0


Flip - Top Cart
INTRODUCTION
So as I stated at the start of January I was in a major workshop reorganization phase and I had planned on getting some much needed tools for the shop, one of these tools was a planer (thickness-er) and then realized that I had no where to put the tool and from what I had researched this planer is quite heavy, so I decided to build a multi-tool cart and the best way to do have 2 tools in cart is to make it a flip top cart.
I was also going to put my oscillating spindle sander on the cart as well, until it met a horrible accident and fell and broke in a million pieces, so the money that I was saving was now being used to buy a new spindle sander, and I decided to upgrade the spindle sander that I had which was the Wen sander and decided to get the Rigid Oscillating belt/spindle sander.

My old Wen Oscillating Spindle Sander, this served me well over 3 years but I badly needed a oscillating belt sander as well and that is another reason I upgraded to the Ridgid version.

This is a major upgrade to the Wen I had and absolutely love having 2 tools in one, you can remove the belt sander attachment and turn it into a spindle sander in a matter of seconds, with plenty of power and on board storage compartments for all the accessories that I got with this tool, cant wait to put this through its paces.
GETTING STARTED WITH THE FLIP-TOP TOOL CART
Inspiration & Plans
Materials
The Build
Cutting Parts to Size
Pocket Hole Time
Assembling main carcass
Adding Casters
Whoops!!!! Forgot Something
The Drawer
The Flip Top
All Finished
INSPIRATION & PLANS
On this project I actually purchased the plans for the build from “ Fix This Build That” and then actually sourced a video from a different YouTube favorite of mine “Crafted” and his build video is below. I did not make plans for this and I have included a link below to purchase the plans from Fix This Build That below I paid $9.00 for the plans and they are excellent.
2. MATERIALS
Here is what you need to build this cart:
(1) Sheet of 3/4” plywood
(1) Half Sheet of 1/4” plywood
(2) 1” x 2” dimensional lumber
(4) 3” Casters
1-1/4” wood & pocket screws
3/4” wood screws
Lag screws (sized to tool)
(1) Drawer Pull
(4) 5-16” x 3-1/4” long eye bolt
(4) 5/16” fender washer
(4) 5/16” threaded knob
(1) 3’ x 3/4” steel tube
(4) 3/8” x 2-1/2” long hex bolt
(8) 3/8” flat washer
(4) 3/8” nut

Here are most of the supplies needed to make the cart

Here is the 5 star knobs that are used in the flip-top mechanism, I have to say that his engineering concept for designing this is first class, and it works flawlessly
THE BUILD
CUTTING PARTS TO SIZE
As most projects start I needed to break down the plywood sheets that I got , so using the cut-list that was in the plans I purchased I cut the following parts to final size on the table-saw
The sides
The Bottom
The shelf
The drawer Parts
The top parts

Here are all the main cart parts cut to size

Here are the drawer parts cut to size
POCKET HOLE JOINERY
I chose pocket hole joinery for the majority of this build for a few reasons, its quick sturdy and avoids the need to have tons of clamps.
I took the base and the shelf and placed pocket holes on the left and right sides making sure to keep the pocket holes out of sigh I placed them on the bottom face of each part. The screws are then used to attach the cart bottom and the shelf to the sides of the cart, I needed to do it this way because there is no back to the cart.

Here is a picture of my Kreg Pocket Hole Jig, getting started placing the holes, I spaced them every 4 inches.
ASSEMBLING THE MAIN CARCASS
So now that I have both the shelf and the bottom of the cart pocket holed its time to assemble the main cart carcass.
I positioned the base of the cart between the left and right sides and screwed the base in and also used glue as well, I positioned the pocket holes out of sight.

Here is the base clamped to the both sides and I’m getting ready to insert screws to attach everything together. I like using pocket holes because once the screws are inserted I can remove the clamps and not worry about glue drying.
Next I moved on to attaching the shelf and this was a bit tricky because the shelf was only 4-1/2” off the base and again I used pocket holes on the bottom face of the plywood panel to screw it in, to help keep the shelf in position I placed 4 spacer blocks to support the shelf while I screwed everything in place.

Here are the spacer blocks clamped to the sides so as that I can sit the shelf on them any maintain an even panel.

Here is the shelf sitting on the spacer blocks, this was tricky getting to the pocket holes located on the underside of the shelf but luckily enough my drill could fit
While I just installed the shelf it was now time to secure the narrow piece at the back of the drawer cavity to enclose this part of the cart, its basically a 4-1/2” piece of plywood with 2 pocket hole positioned at each side of the piece, then again getting to the pocket holes to secure the piece into the sides was difficult as it was a very limited space.
ADDED CASTERS
I added 3” locking casters to the base, so as that I could move it around if necessary and to be honest almost every workshop furniture. I also used some self taping screws to secure them in place.
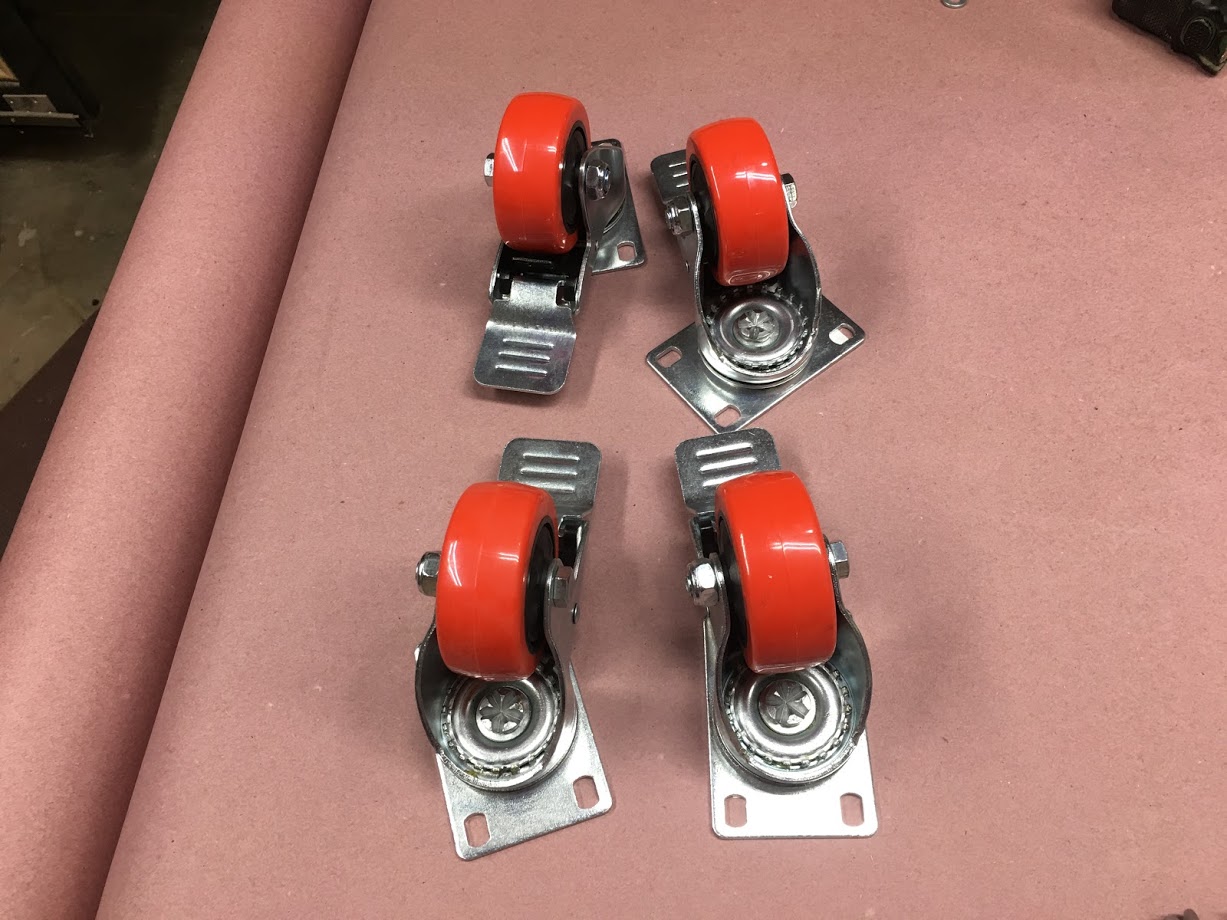
3” casters

The cart is now mobile
WHOOPS!!!!! Forgot to do something
Well in the very detailed plans that I purchased I forgot to do 2 things before assembling the main cart and they were:
Drill 3/4” through holes for the metal pipe to slide through that pivots the entire flip-top
Secondly I also forgot to cut out the notches for the locking mechanism to prevent the flip top from moving.
So my fix for this was to do it while the cart was assembled and to be honest it wasn’t that difficult with some careful measuring and a jigsaw, drill & a speed square

Here you can see the the 2 3/4” holes that the metal pipe will go through, you can also see the notches that I cut on both sides which is where I install the locking mechanism.

Using my speed-square to guide the jigsaw to cut the notches out.

So here are the notches and the pipe hole finally cut out.
THE DRAWER
Next up was to assemble the drawer and again I used pocket holes as the joinery method, I positioned pocket holes on the front and back pieces of the drawer and attached these parts to the sides using pocket holes. With the drawer frame assembled it was time to attach the base and I used 1/4” plywood and just glued and screwed the base in position.

Drawer frame parts, everything except the drawer bottom

Drawer all assembled, next up is installation into the cart
With the drawer made it was time to install it into the cart, I needed to attach the 20” full extension drawer slides into the cart
first and to do that I used 2 pieces of scrap lumber of about 1-1/2” thickness and placed it into the drawer cavity, this way I was assured that the drawer slides would be positioned correctly from left to right,
I then sat the drawer slides on the spacers and secured the runner on both sides of the cavity
Then I sat the drawer on a 1/8’ spacer strip to lift it off the cart base and pushed it into the cavity and while moving the drawer out with the drawer slides I secured it one screw at a time, to install the final screw I removed the drawer with the sliding part of the drawer out of the cart and secured the final 2 screws in the back.

Here you can see the spacer blocks I used to position the drawer slides on.

Here is the full extension drawer slides in full effect, I love using these slides as they allow storage access to the back of the drawer.

The finished drawer, with the false front attached with 2 screws from inside the drawer. I also had some left over drawer pulls that I made during the drill press cart project so I used one.
THE FLIP TOP
So the flip top on the cart could not be easier to make but it does take a couple of steps. Basically the flip-top is a sandwich of plywood top and bottom panels with 3/4” thick pieces positioned at the front, back and sides. You will also need additional pieces for the center of the top to use for securing whatever tools you will be mounting to it, this hole assembly then has a 3/4” metal pipe go right through the middle of the panel that positions the top into the cart from the previously drill holes in the sides in a previous step.
POSITION ALL PARTS
I positioned the bottom panel and laid out where the 1x2's needed to be placed, I glued and screwed these in position
Using the 3/4” pipe as a spacer to determine where to place the middle 1x2’s and then simply secured these in place with counter-sunk screws and glue.

In this picture I am gluing the longest pieces in position there are 4 long pieces that I need to glue and screw to the plywood panel.

Here is a look at the inside of the top, as I said its a sandwich with 1x2 material positioned on the front,back and sides, with a metal pipe running through the middle.
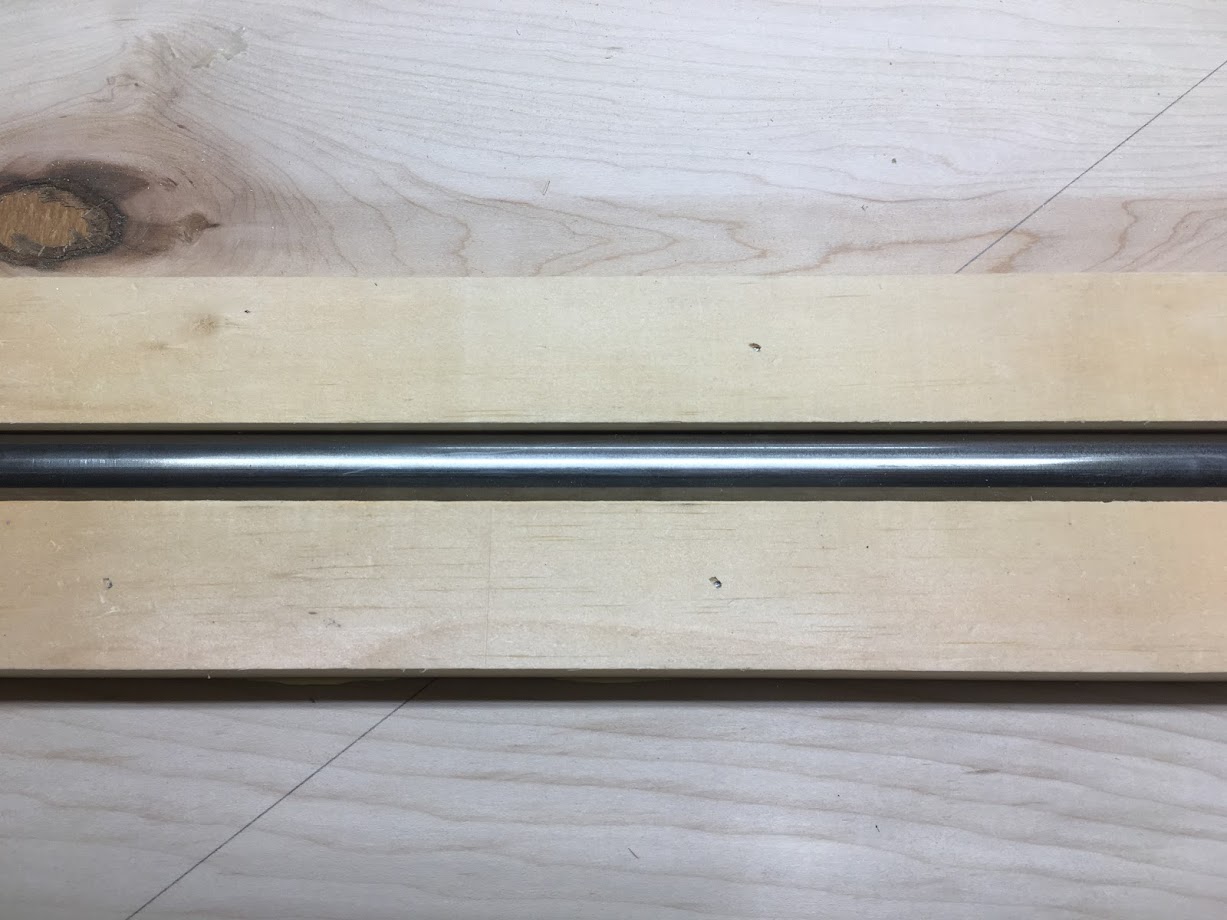
Here is the metal pipe in position with the 1x2 either side.
SOME TABLE-SAW WORK
I will describe this the best I can, the front and back 1x2’s need a notches cut out of the center of each end of the work-piece, these notches match up with the notches all ready cut into the cart sides, so as that when the locking mechanism is ready to be installed the-eye bolt slides around to the front to open the flip top to move and then slides to the sides when you need to lock it.
To cut the notches in the lumber I used my tenoning jig on the table-saw to cut away the middle section of the work-piece.

Here is the front of the tenoning jig, its basically an auxiliary fence that supports a tall work piece and rides along you table saw rip fence,

Here is the tenoning jig, I use a clamp to go through-the hole to secure the work-piece while running it through the blade,

Here is what the notch needs to look like after all the cutting is done. You need to do this on the 2 pieces that are positioned on the front and back of the top, the notches also need to be placed on each end of the work-piece.
Now that everything was cut I could finish making the top by securing the other side of the flip top, by attach the panel to securing it with screws, I didnt use glue because I will probably need to gain access to the center section of the table top in the future when I need to install another tool.
LOCKING MECHANISM
I wanted to take a little time is explaining the locking mechanism on the flip top table, I will do my best to describe it
There are a couple of parts that make up this function, first before you have to deal with all the nuts and bolts I needed to cut notches in the sides of the carts (all 4 corners) and then the top also had a matching notch cut into the front and back corners of the top as seen below.

Here is the notch cut out of the sides and top, its important that they line up or the locking mechanism will not work.
Next we deal with the nuts and bolts that make up the mechanism. These are the parts
5 star knob
Eye Bolt
2-1/4” lag bolt
2 washers and two nuts
Basically the eye bolt is slid into the notches then the 2-1/4” lag bolt slides down the hole created in the top , at the end of the eye bolt you can screw on the 5 star knob.

The parts that make up the locking mechanism

This is how the bolt is placed in the notch, it slides all the way and this is why we needed to cut the notch in the top so as that eye bolt could be housed inside.

This is a close up of the entire mechanism, its extremely simple but very effective
ADDITIONAL FEATURES
So I added a few organisational upgrades to the cart, which were:
On board power cord management, I purchased a roll of velcro straps to organise the power cord for the sander, this could not have been easier I basically put a screw and washer through the Velcro and wrapped the power cord up in it, pictures below.
I also added a power strip to one of the sides so as that I could plug the tools in directly there and not worry about power cords running over the whole shop.

Here is the Velcro strap that I can use to the power cord up, this is useful because when you are in the process of flipping the top over you don’t want the power cord getting wrapped up or in the way.
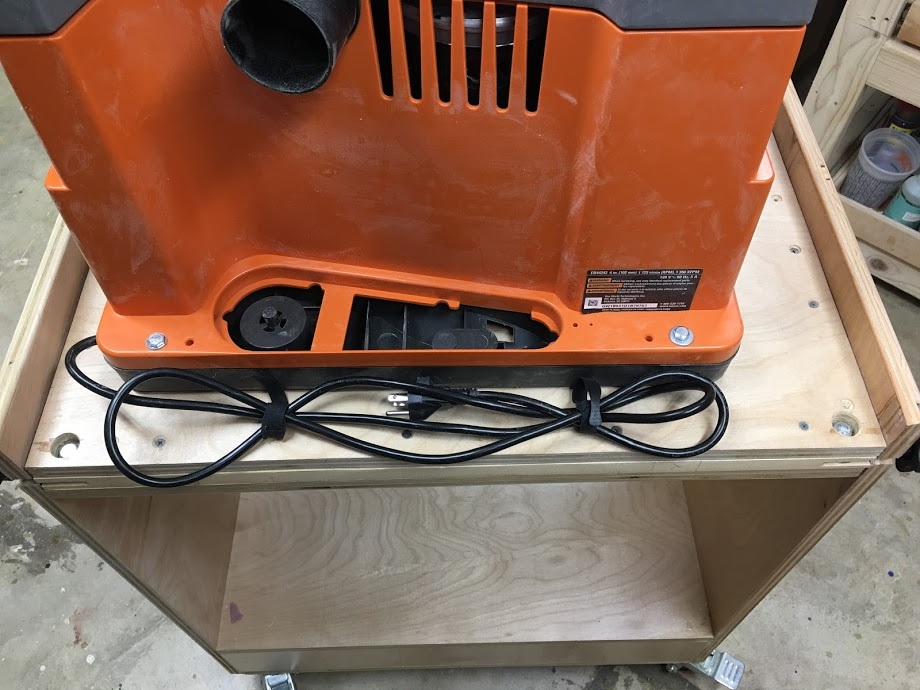
Nice and tidy and out of the way.
ALL FINISHED
Well I finally finished and I am very happy about how it turned out , its portable, easy to use, a great working height and above all I dont have to worry I am going to put my spindle sander and planer once it arrives.
Thanks for reading this post and look forward to your responses.

A picture of your truly with the new addition to the shop.
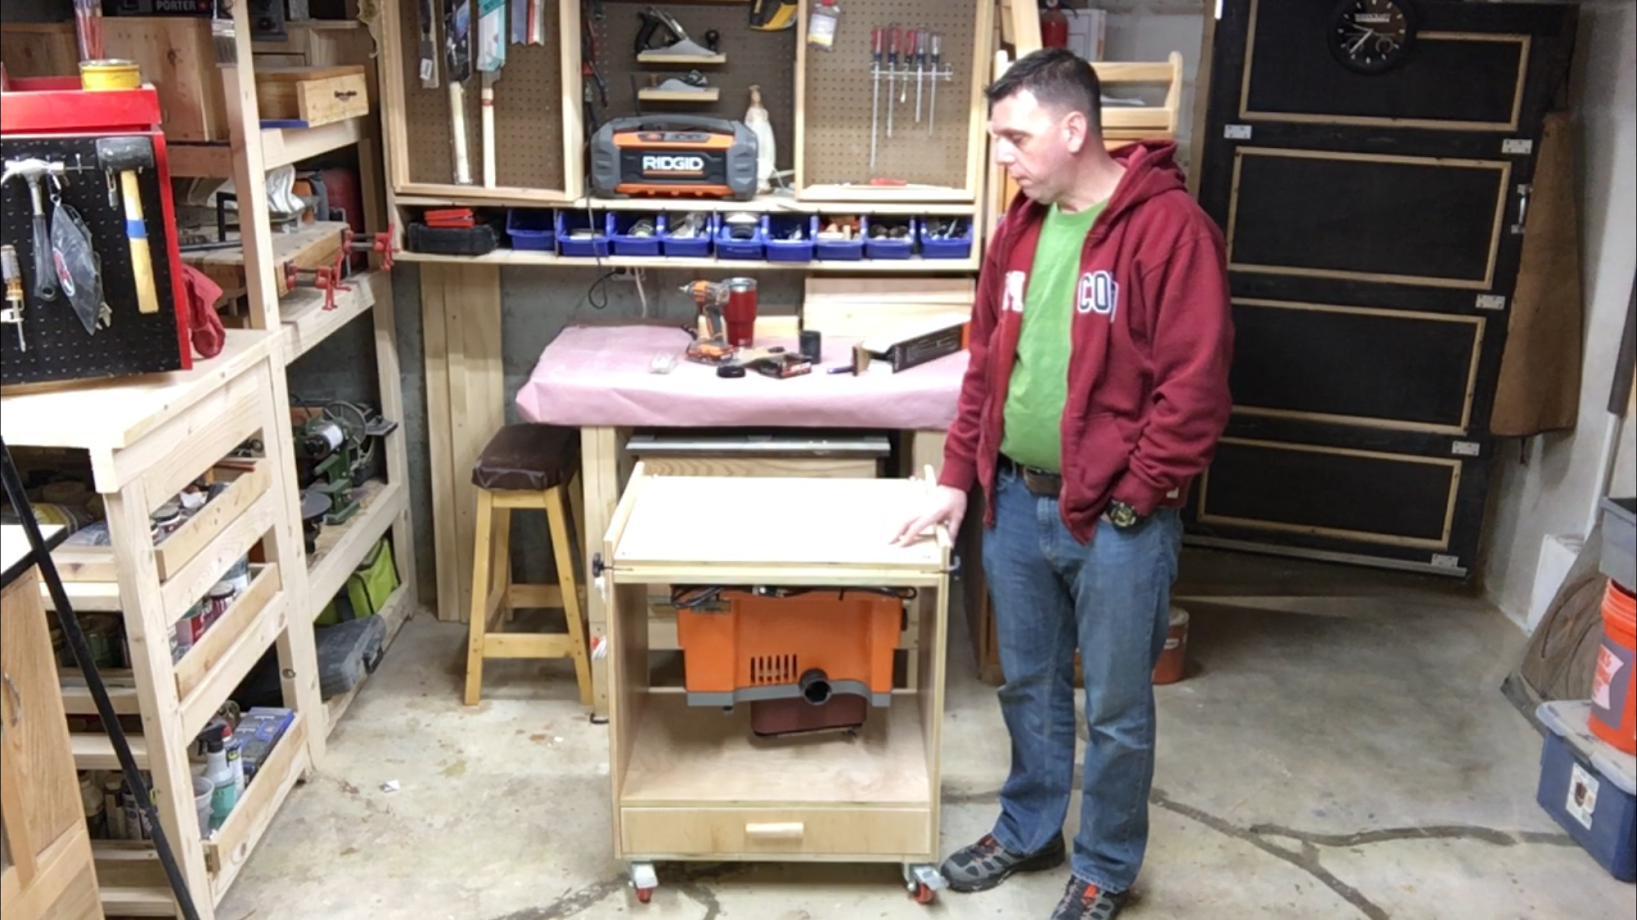
Finally an image of the cart with the sander flipped.