


So today I finally put all the finishing touches on my sons Lego Tray and I have to say it came out better than expected.
HERE IS WHAT I DID
Some Sanding
More router work
Added Handles
Adhered the baseplates to the tray
Applied a finish
SOME SANDING
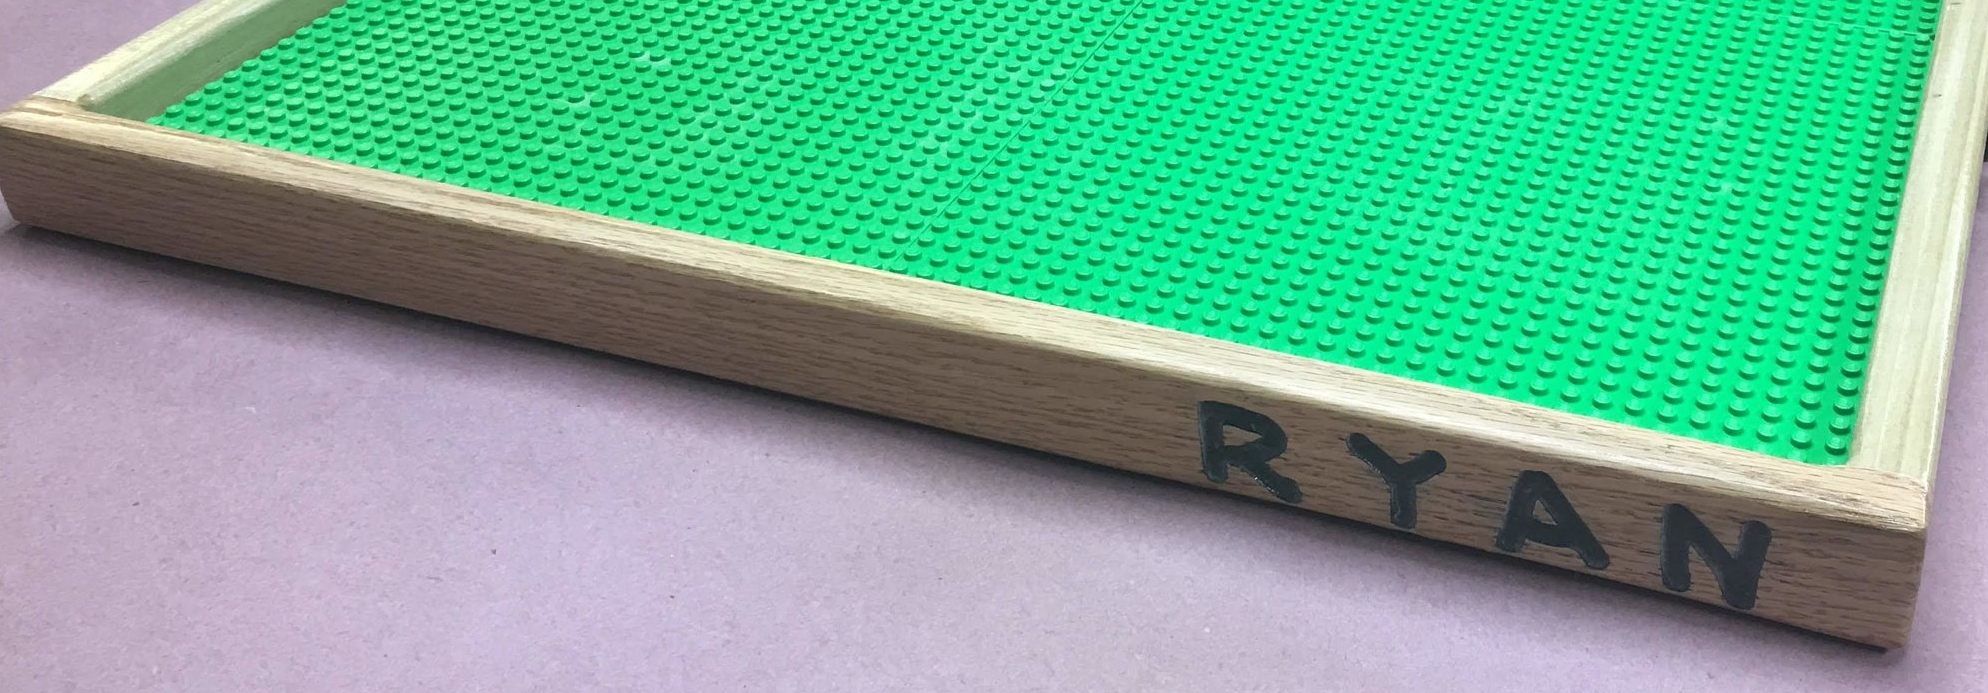
So after the paint had dried on the name I routered into two of the sides it was time to clean that up by sanding it, so I used 80 grit upto 320 grit paper to make the name pop. It isnt a bad job for some free routing.

Needed to sand the entire tray so I worked up from 80 grit to 320 grit for the entire tray.

BEFORE Sanding

AFTER sanding.. came out great
MORE ROUTER WORK
I also decided that I wanted to router a chamfer along the bottom edge of the tray to give the effect that it is floating on the surface. So I used a chamfer bit in my palm router and did all outside edges of the base.

Here is my palm router with a chamfer bit installed in the Colette

Here is a close-up of the chamfered edge as viewed from the bottom of the tray.
Here is a close-up of the camfered edge it really makes the whole tray look like its floating, I love this kind of subtle design element.
ADDED THE HANDLES
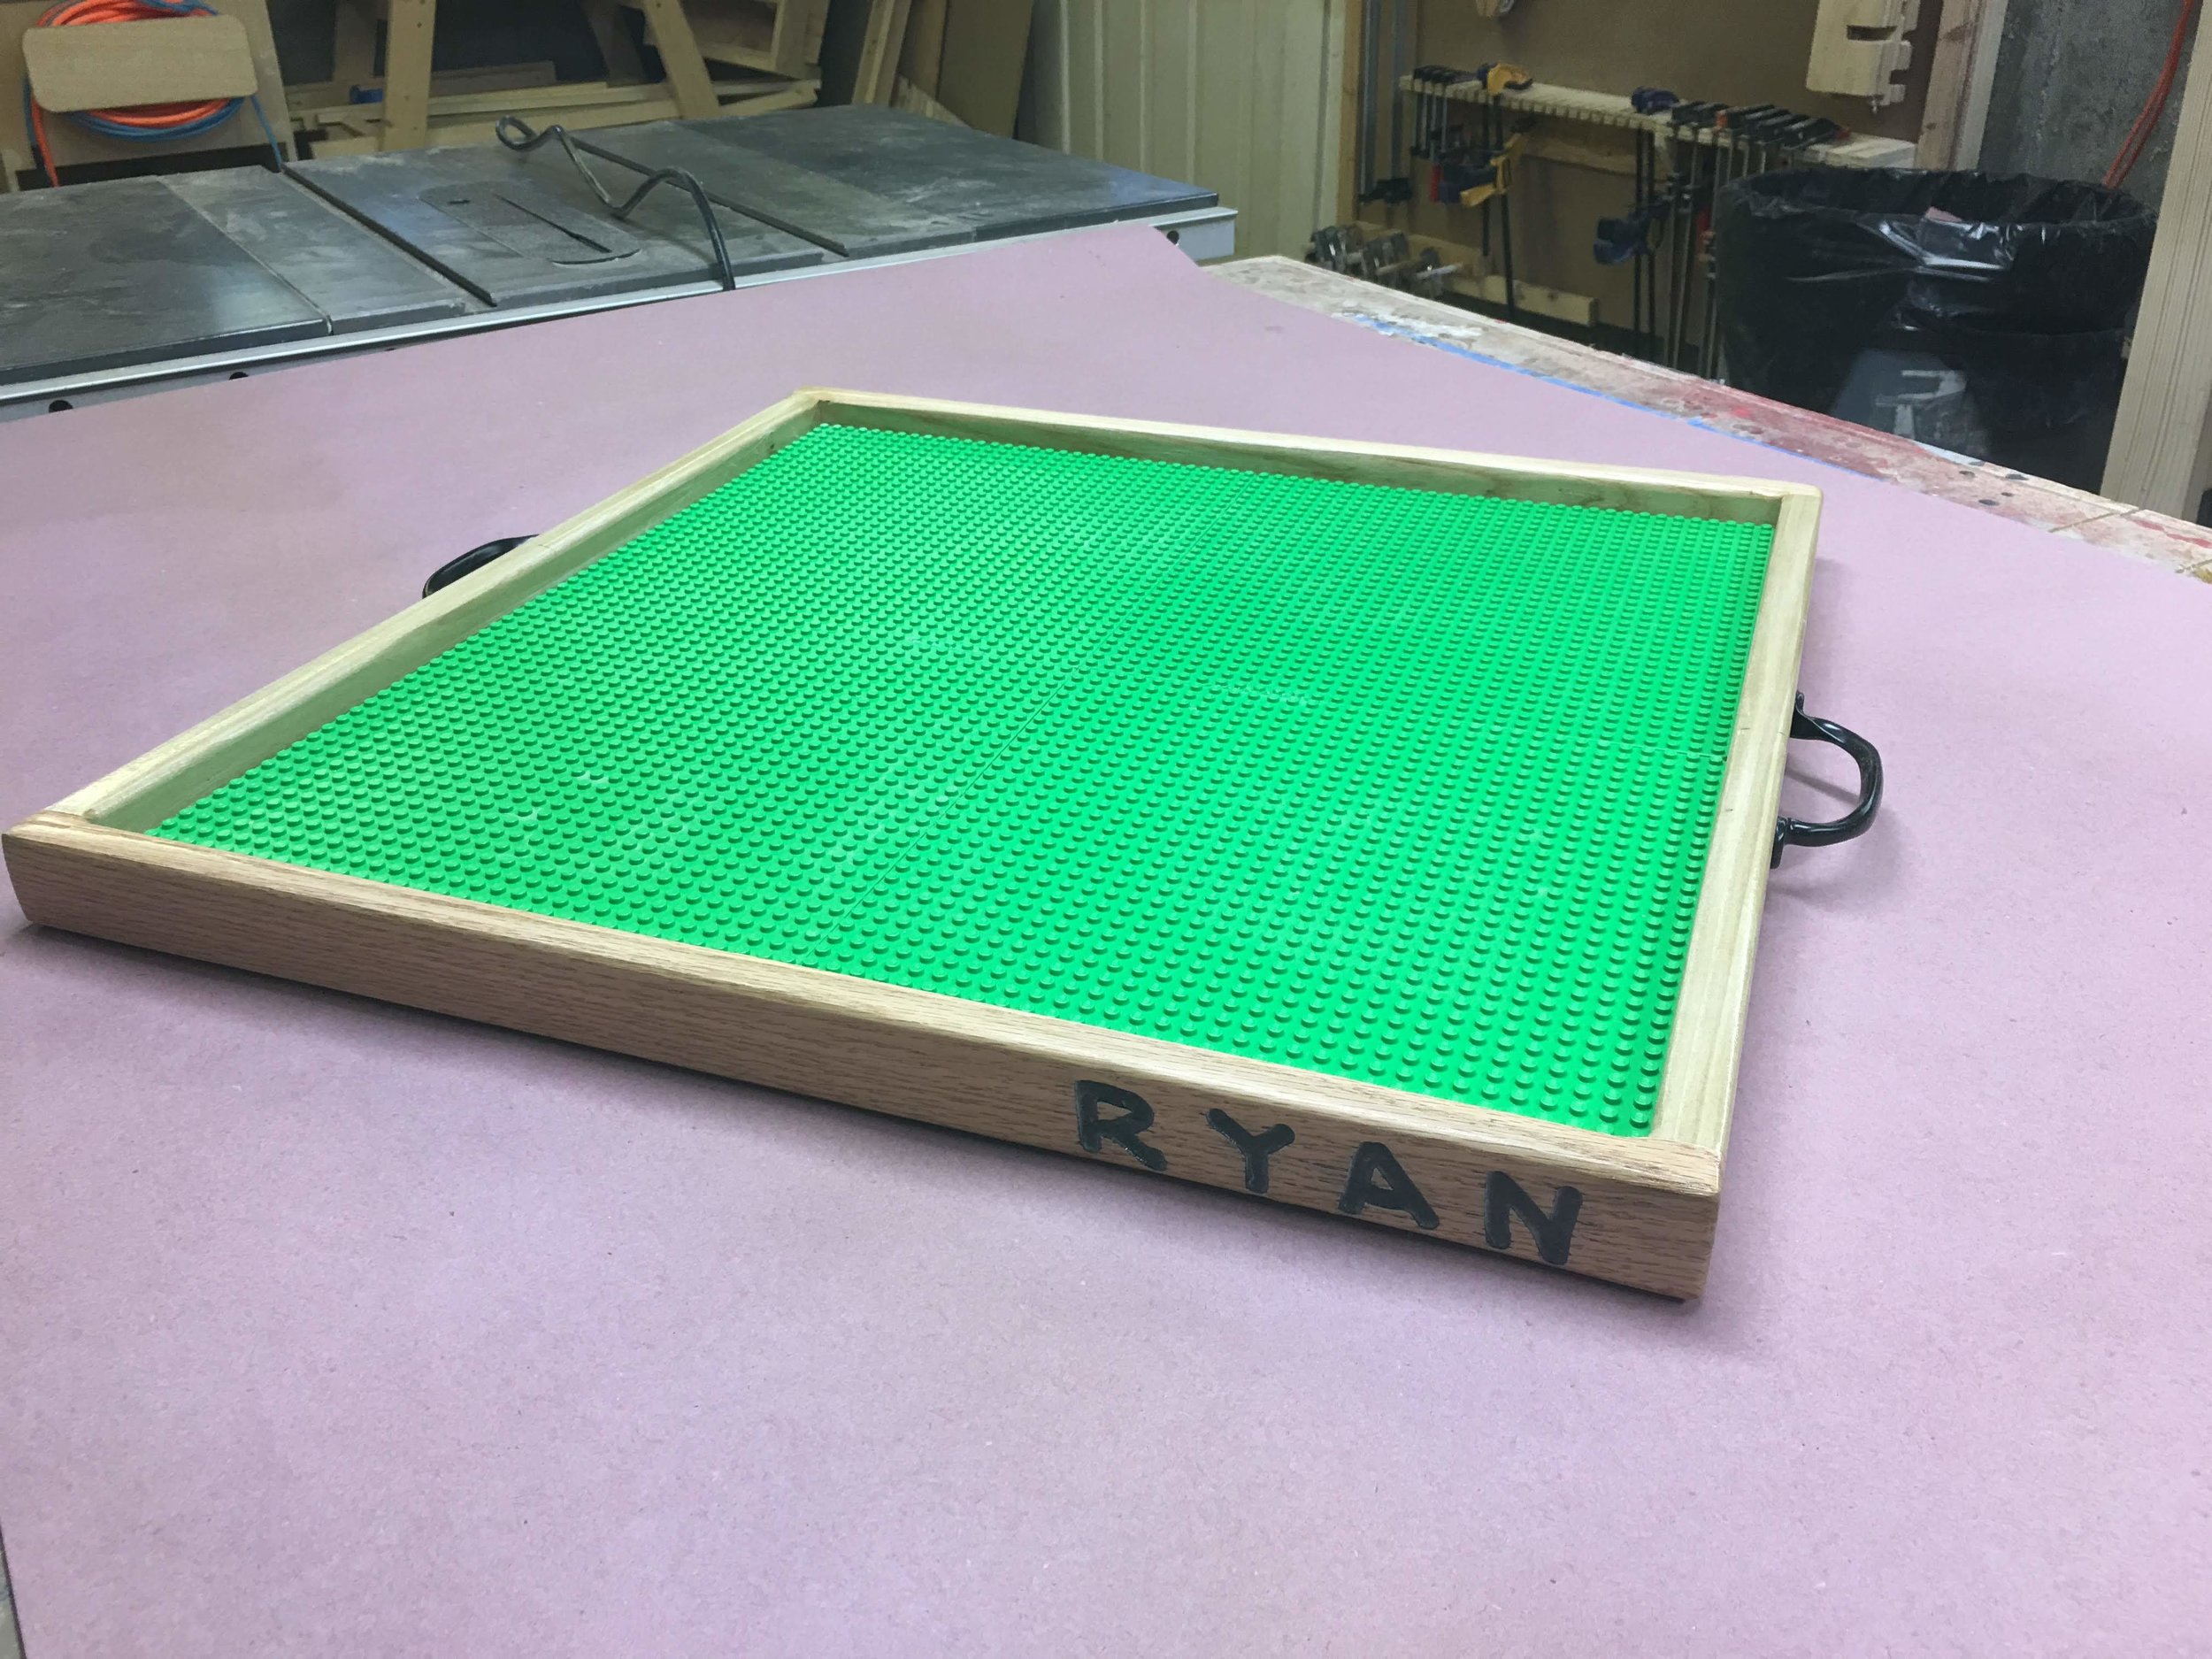
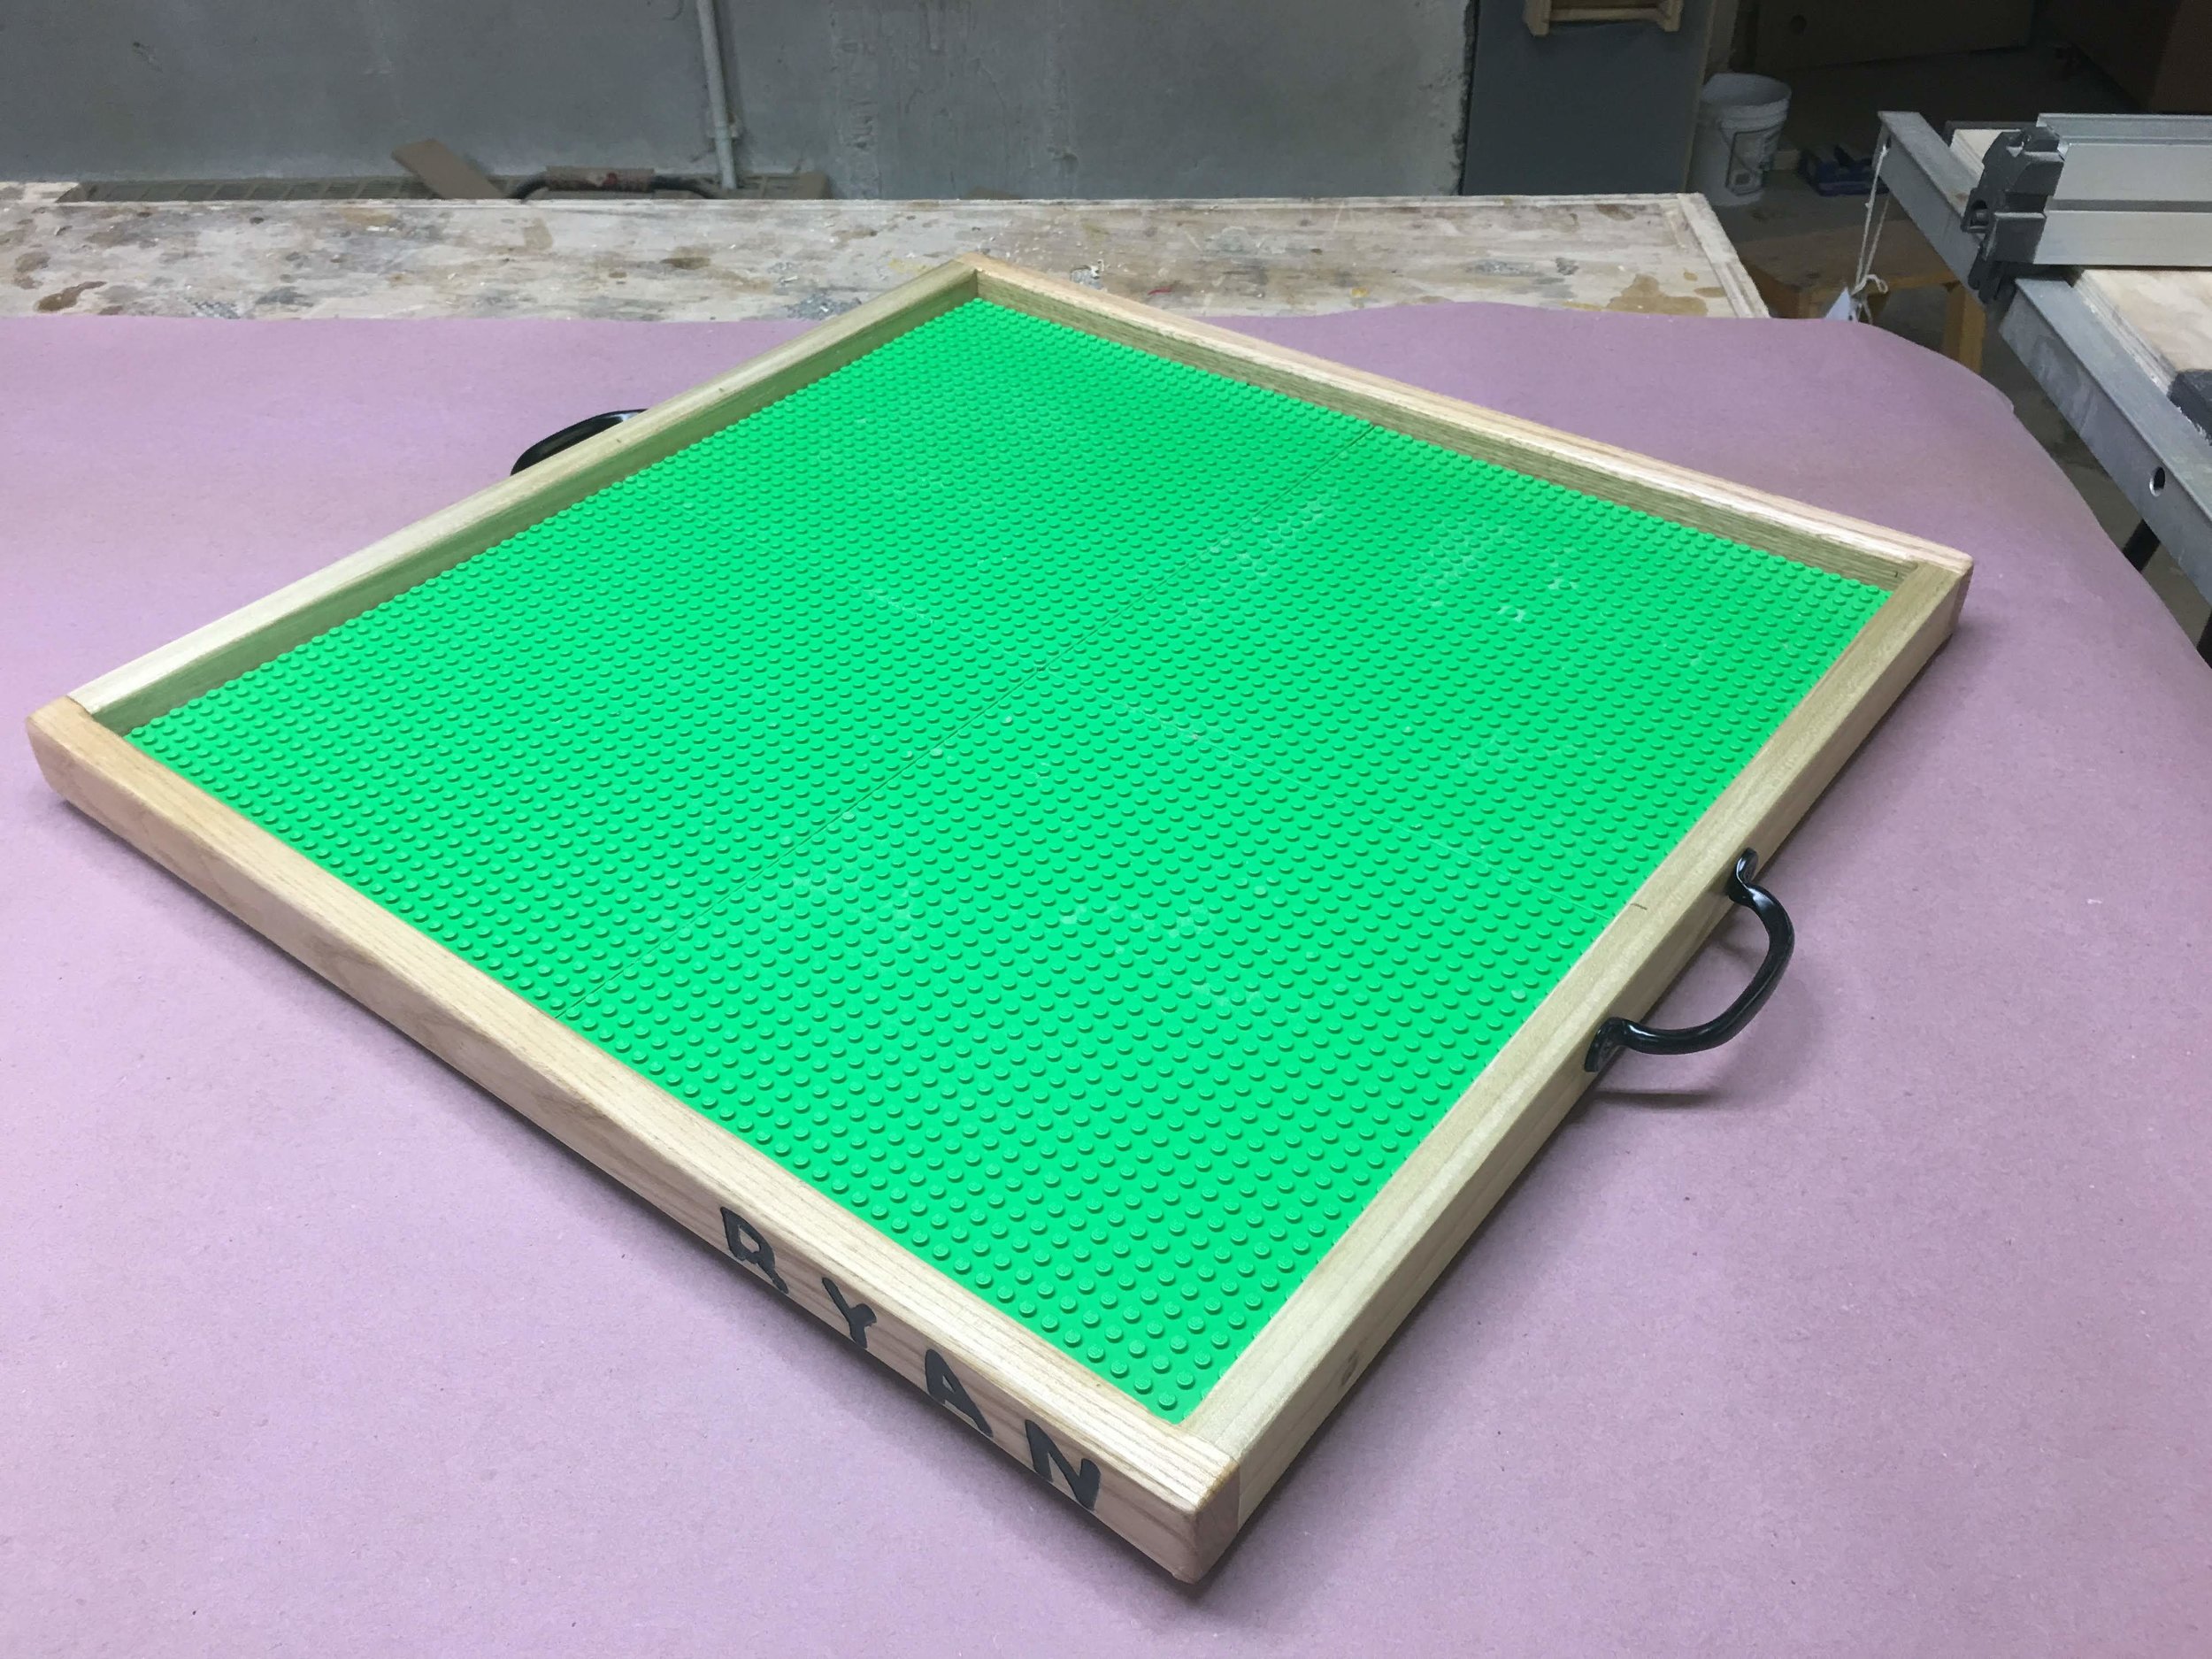
I wanted a simple way of carrying the tray around so I just purchased some big box style handles and attached them in the center of the frame components that didnt have his name routered in.

I had wanted to use handles that I made for a project during the summer that I had left over but they were too big to fit on the 1-1/2” wide sides of the trays frame, but these will do.
Adhered the Base-Plates
Unfortunately I didn’t get a chance to take any pictures of me doing this step because I had very little time in getting the gorilla glue onto the Lego base-plates and also the wooden base of the tray. The process was pretty straight forward I needed to scuff the bottom faces of the Lego plates and the plywood base so I used 60 grit sandpaper on both, this gives the gorilla glue a place to go to make sure I get a good contact between the 2.

Here is me using the 60 grit sand paper to rough up the bottom of the Lego bases plates

Here is me doing the same to the plywood base.
Next I used the gorilla glue to adhere the plates to the plywood and after they were fit in I used some heavy paint cans to weight down the Lego bases so as as that I got a good adherence to the plywood.
Next I added some felt pads to the underside of the tray that way it would npt mark the wooden floors if it go slid around.
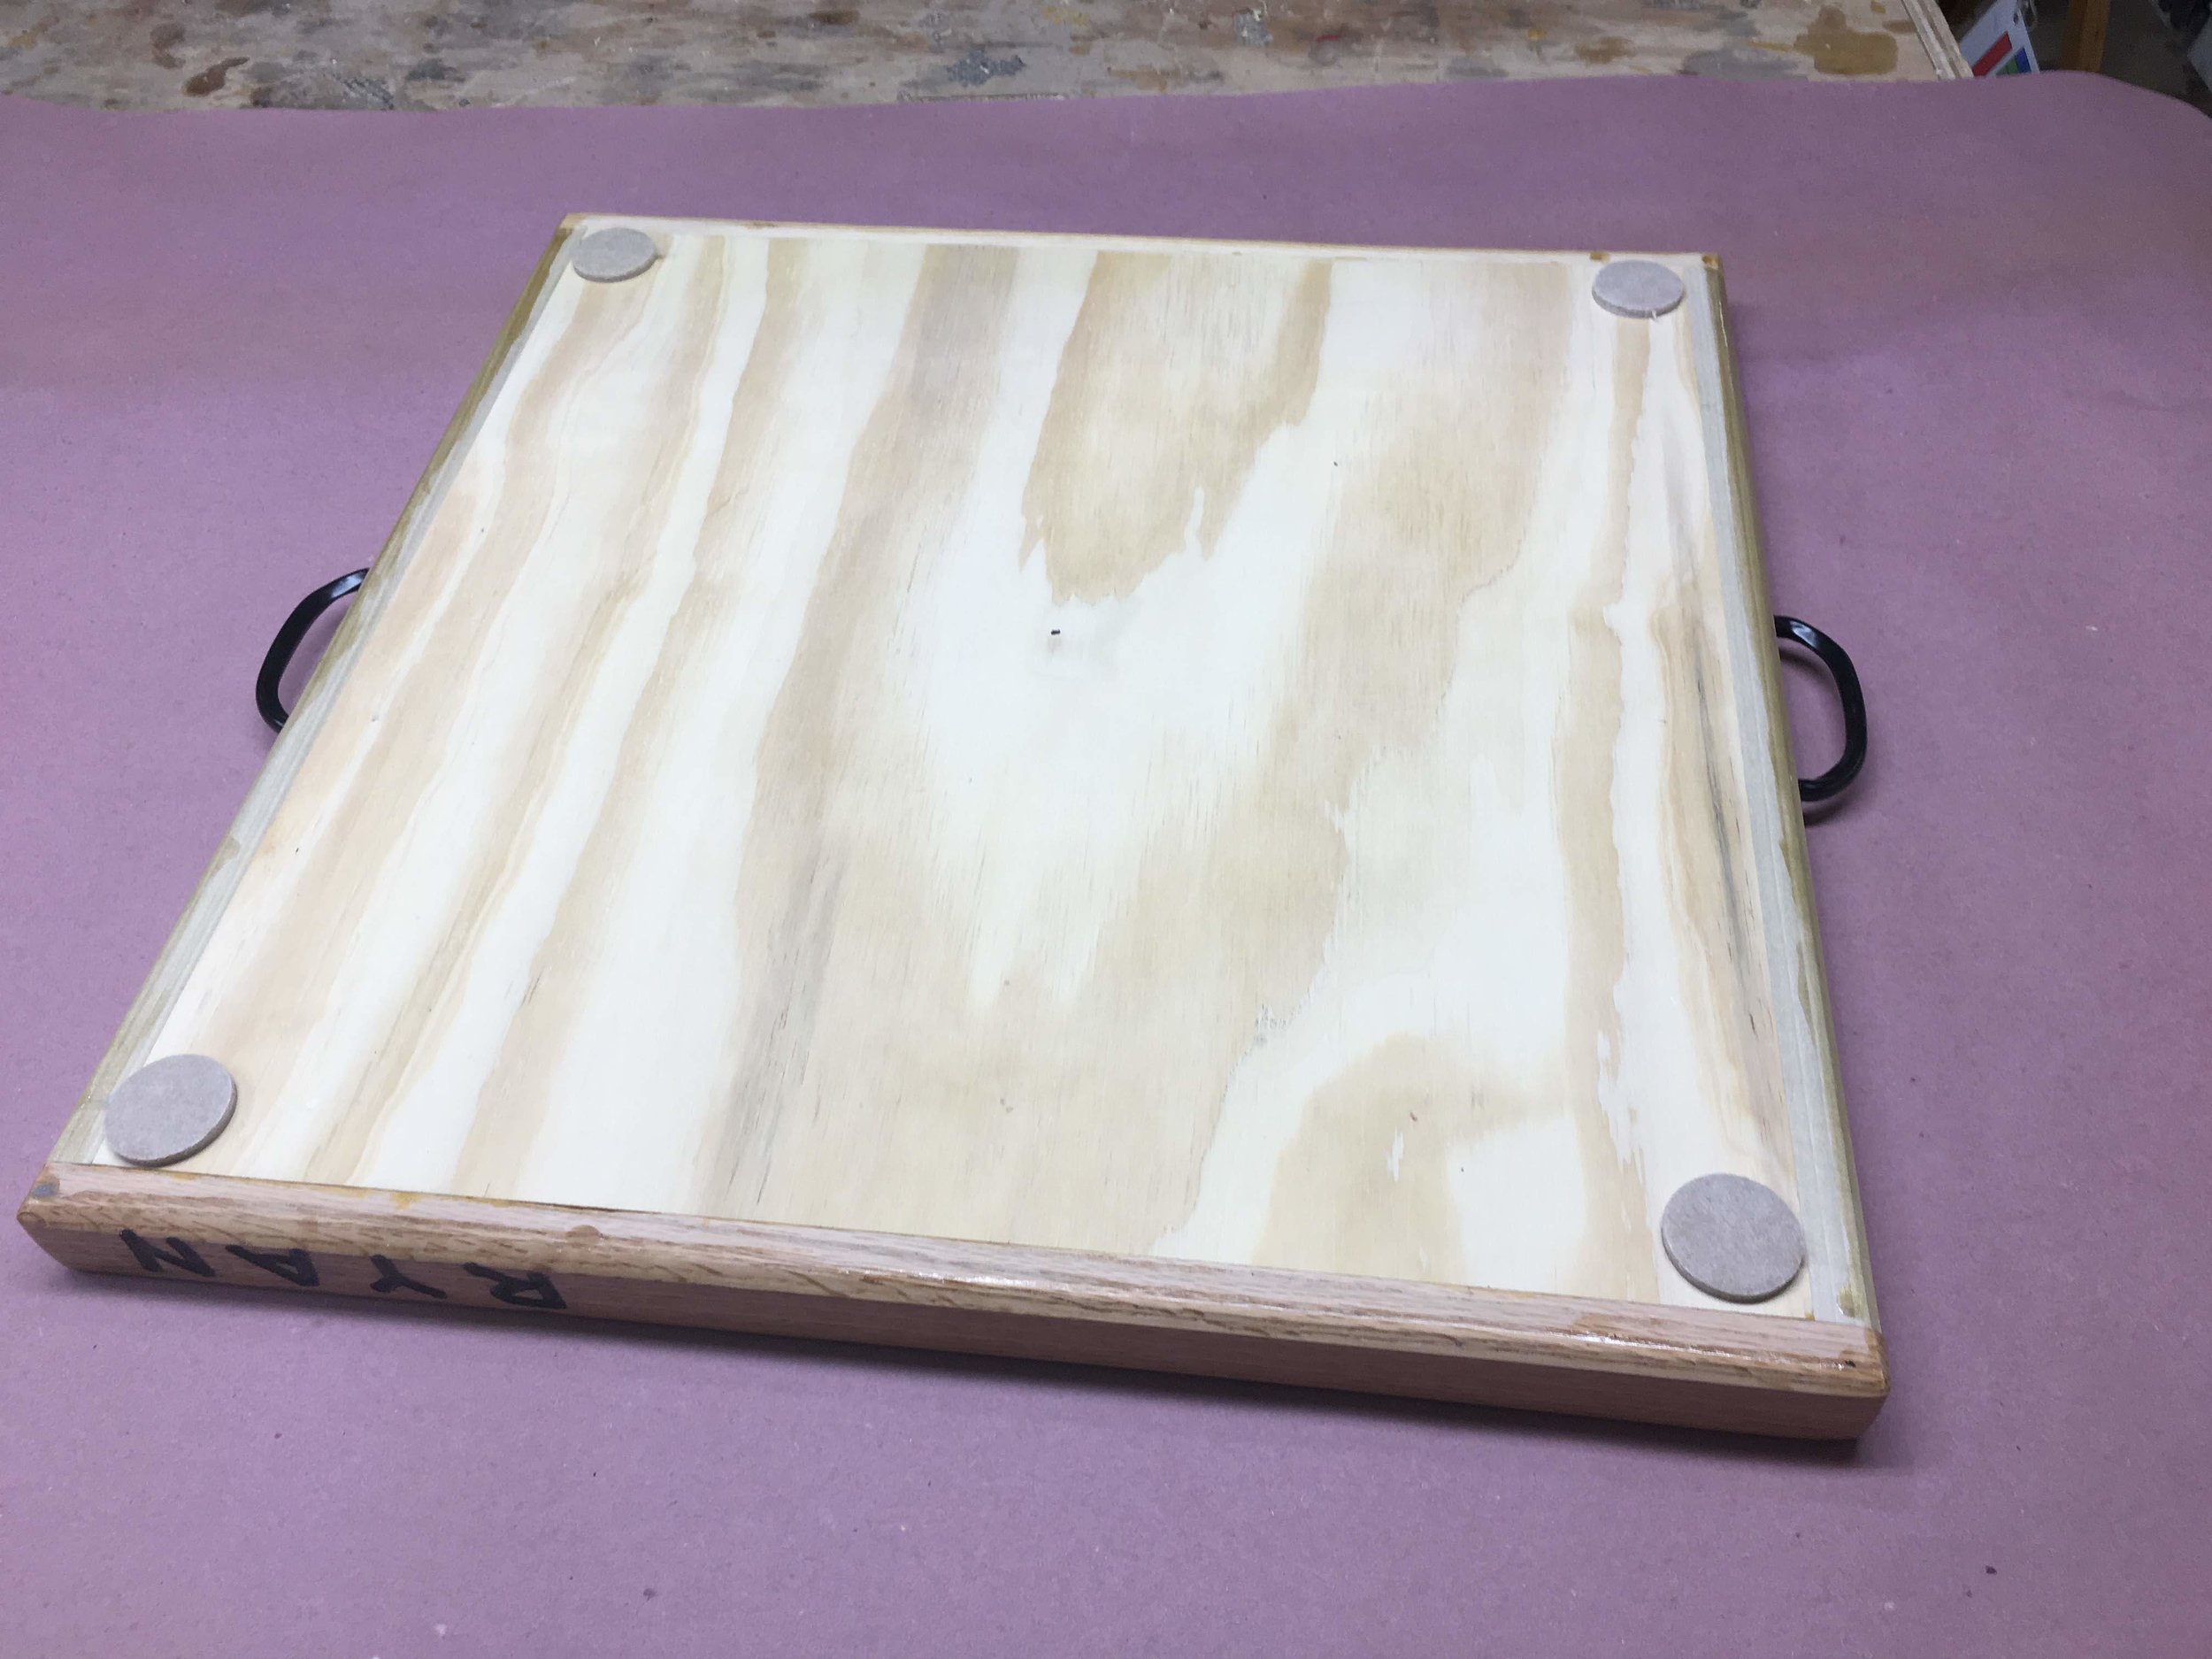
Here is a picture of the felt pads.
Applied Finish
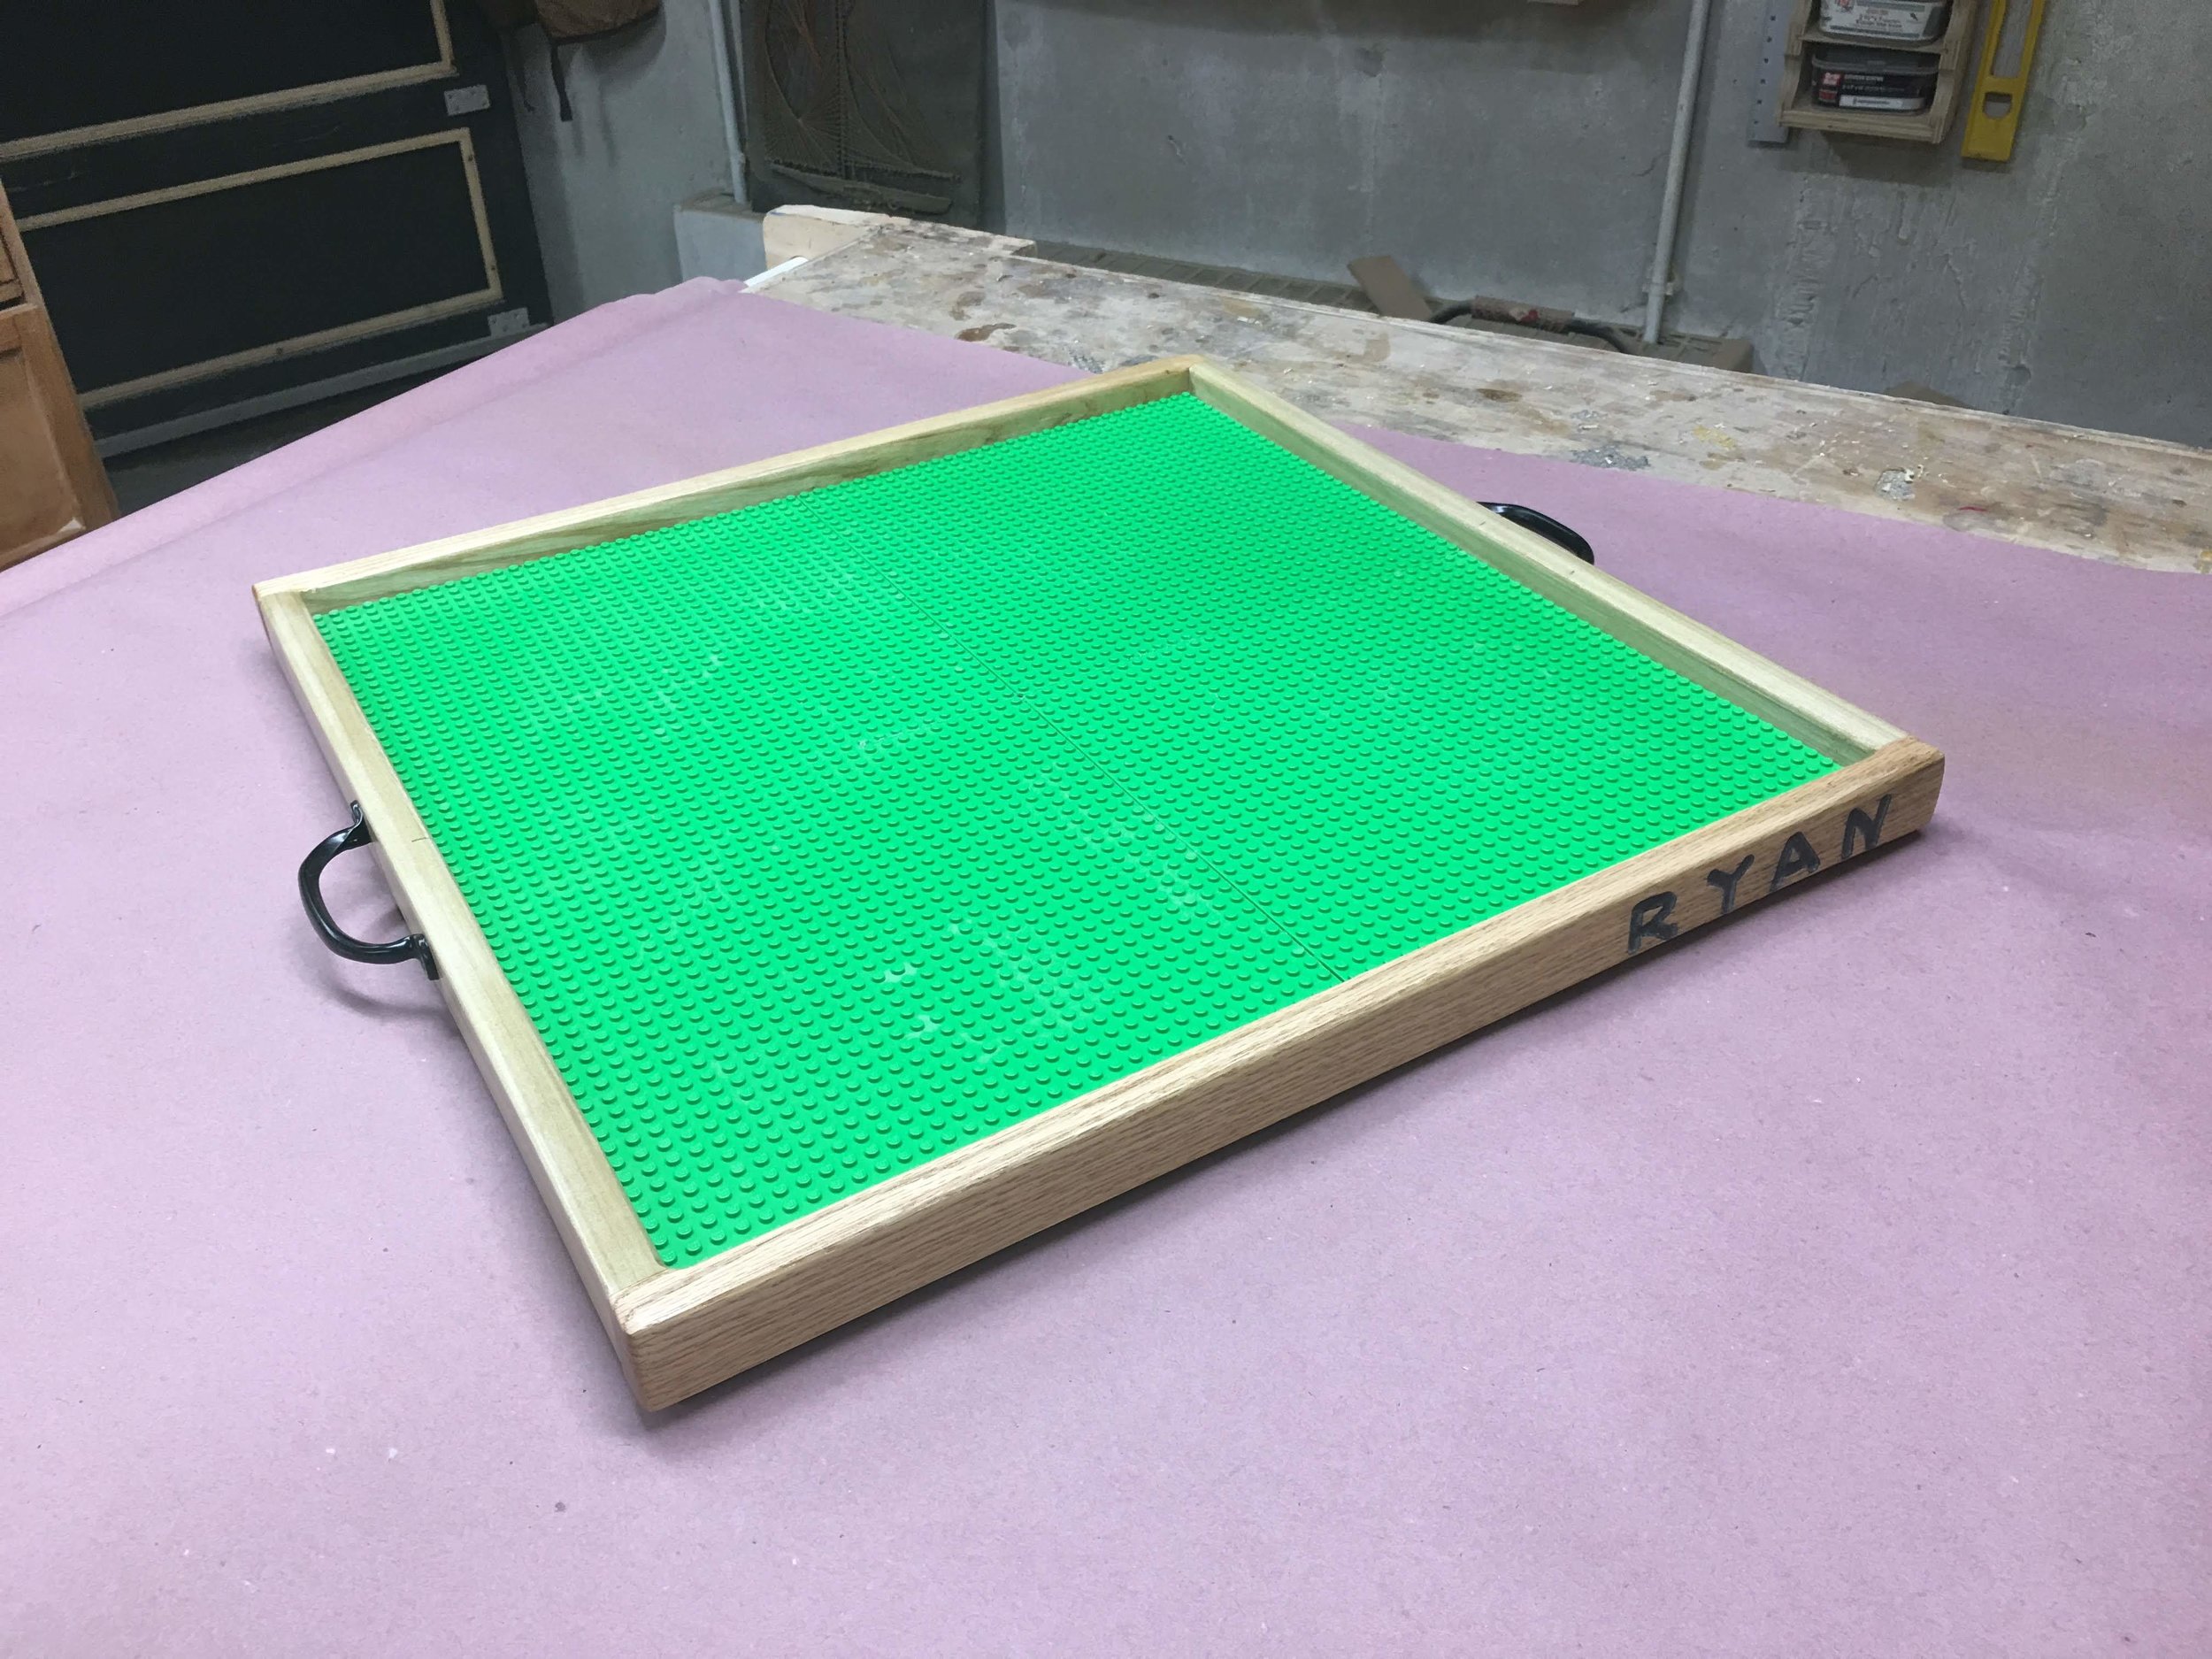
All that was left to do was to apply a finish and I had some oil based polyurethane leftover from the Beer Flight project I had just completed, I applied 2 coats today and that was it, all finished.
All Finished
Below you can see a slideshow of the completed project, this was a super simple project that anyone can make and it will provide hours of fun to children of all ages.
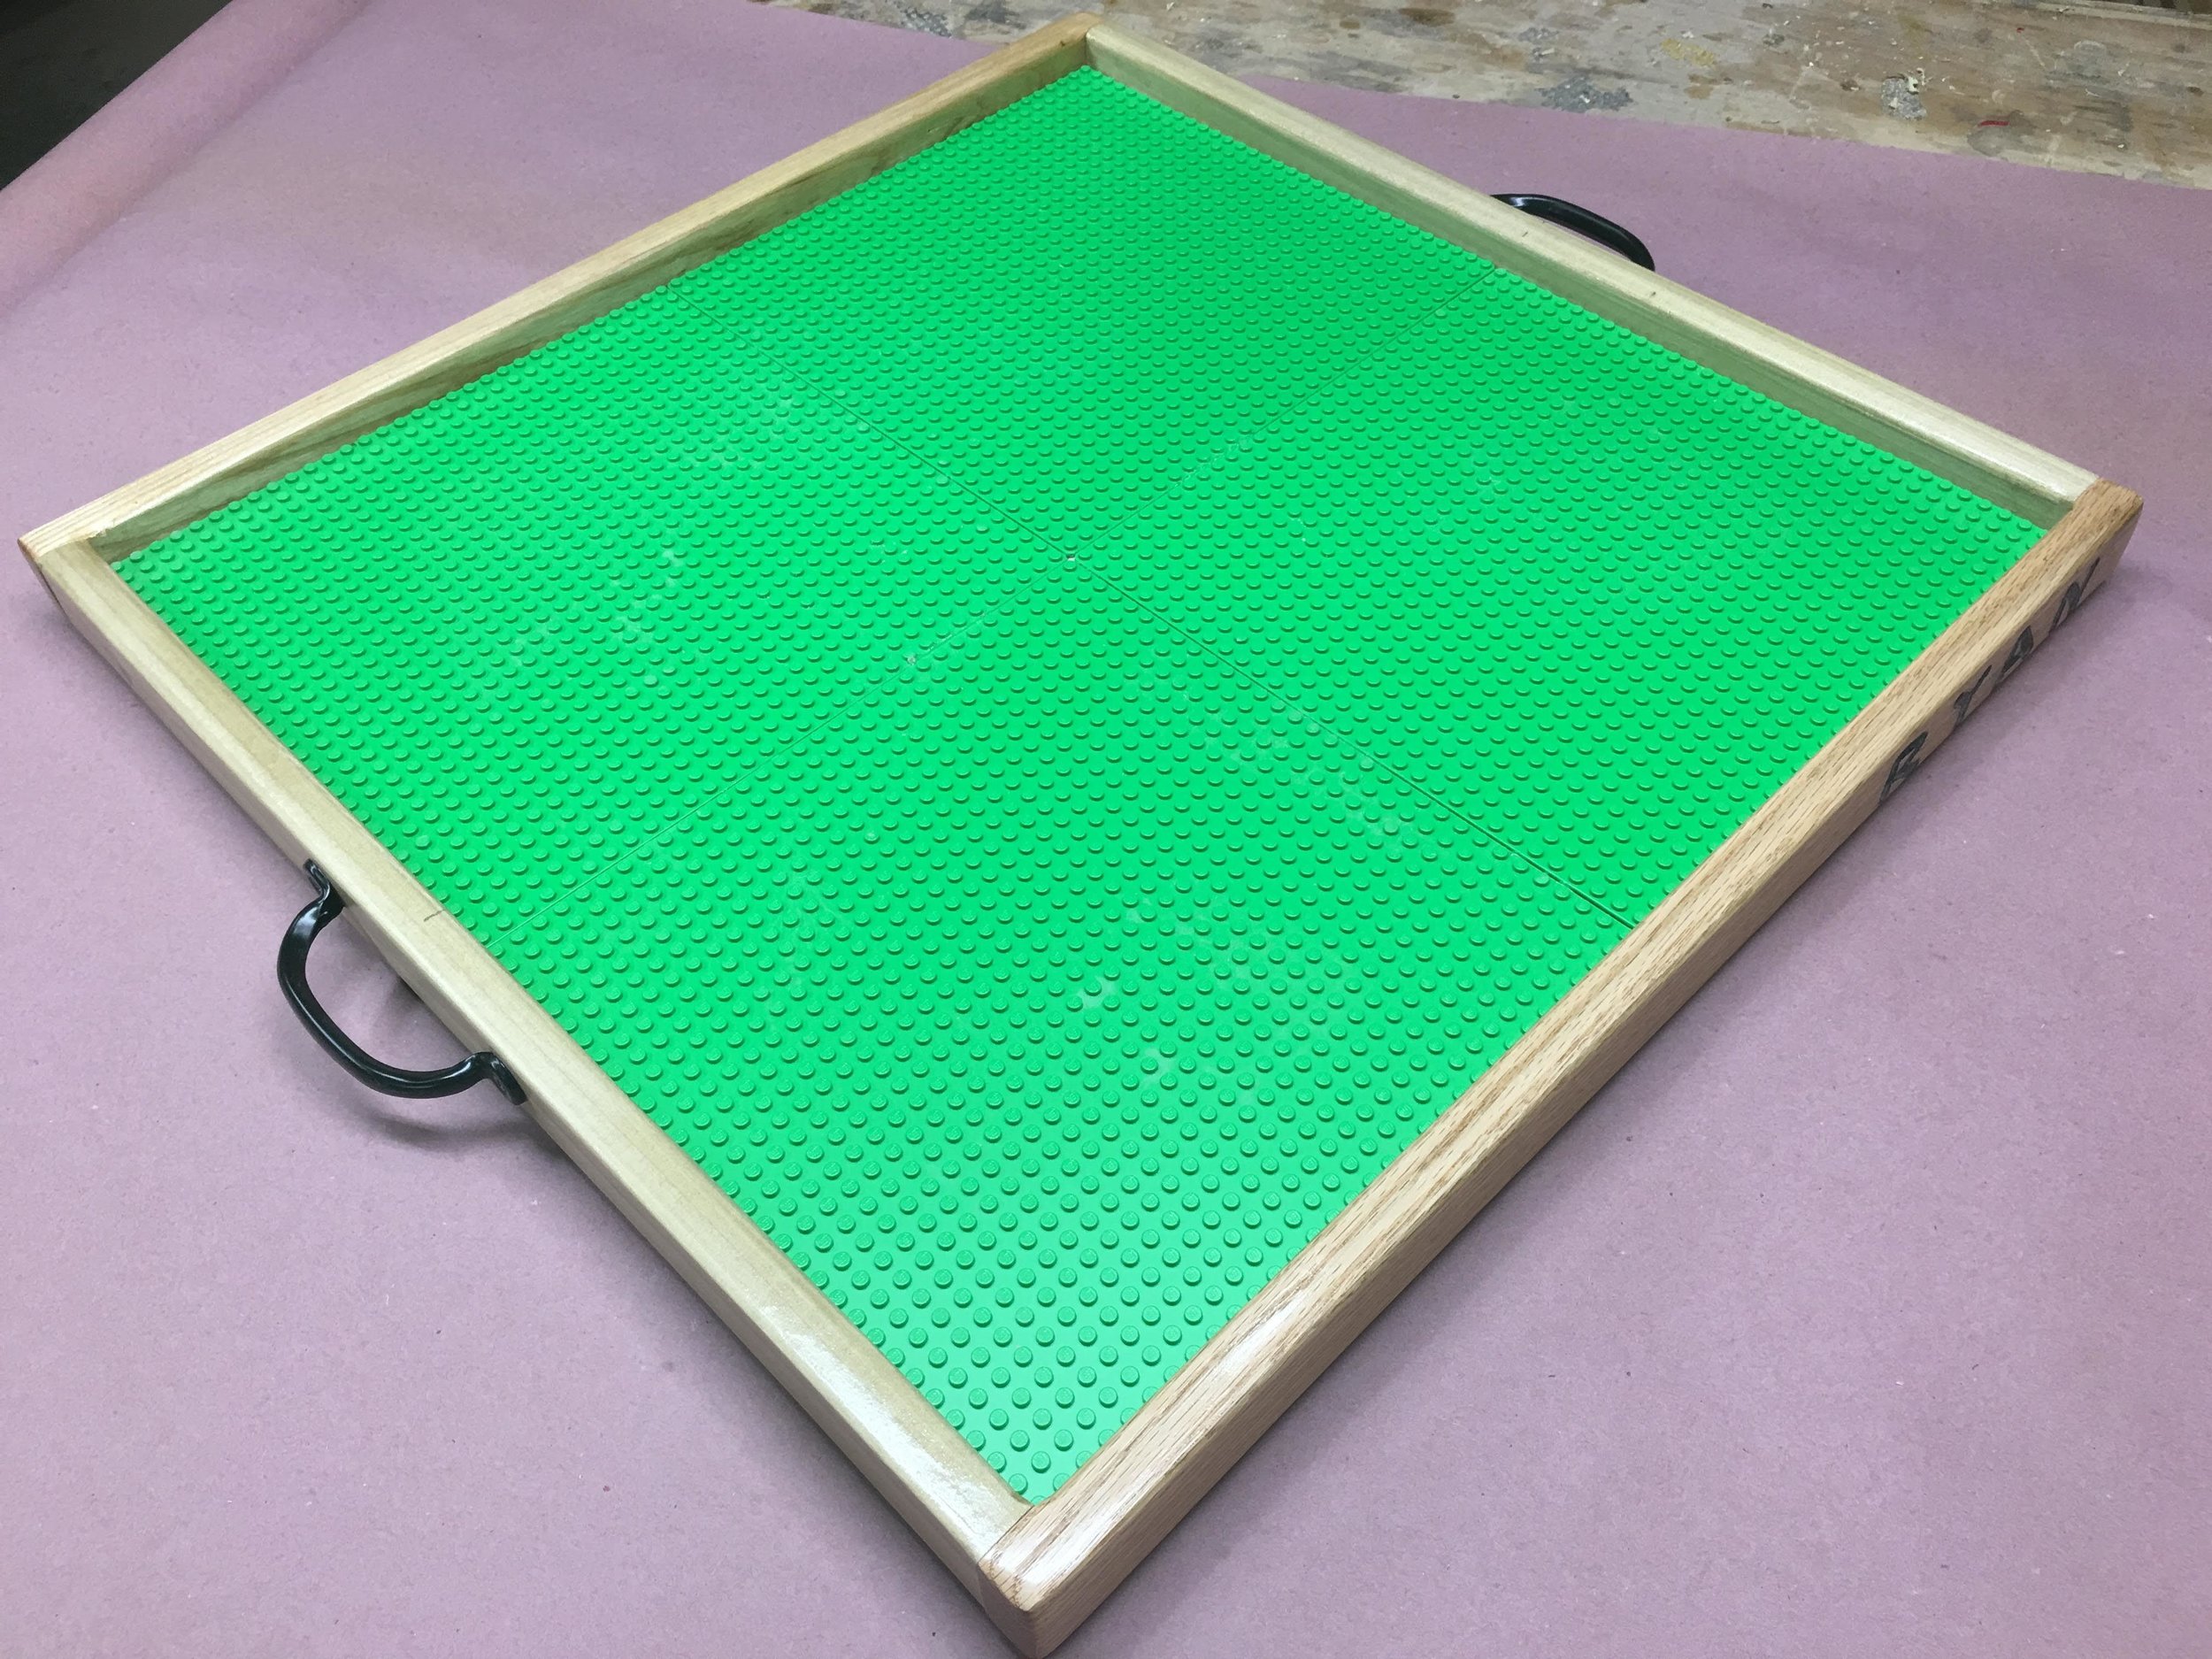
Thanks for reading this short blog and I will catch you the next time.


