THE ASSEMBLY
Well it has taken a little while to complete but we are finally at the assembly phase of the Scrap - Wood storage cart project.
Let me recap on what we have done so far in the project:
THE ASSEMBLY
The assembly was done in the following sequence.
Attached the vertical shelving unit to the base
Attached the back to the cart
Attached the Central storage cubby unit
Attached the front
ADDED GLUE TO THE BASE
Before I secured the shelving storage unit to the base I added glue to the cart base. This would secure that even if the pocket hole screws failed the unit would still be secured to the cart.

VERTICAL SHELVING UNIT
I positioned the shelving unit onto the cart and squared it up with the corners of the base.
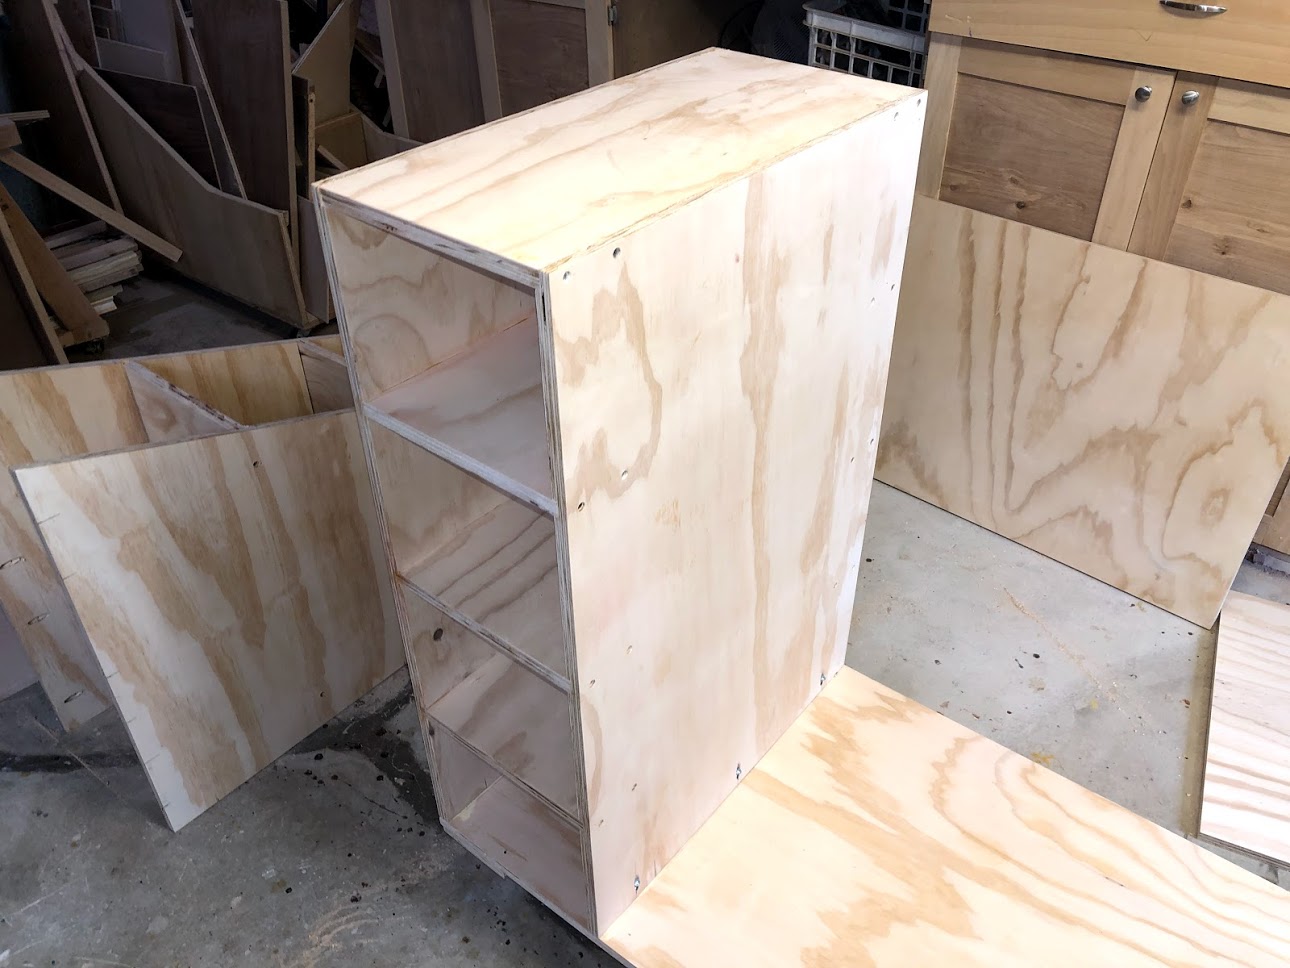
POCKET HOLE SCREWS
Since I already drilled the pocket holes into the shelving unit all that I needed to do was to add the screws and drill away securing the unit onto the cart base and that’s it. The glue will do the rest.

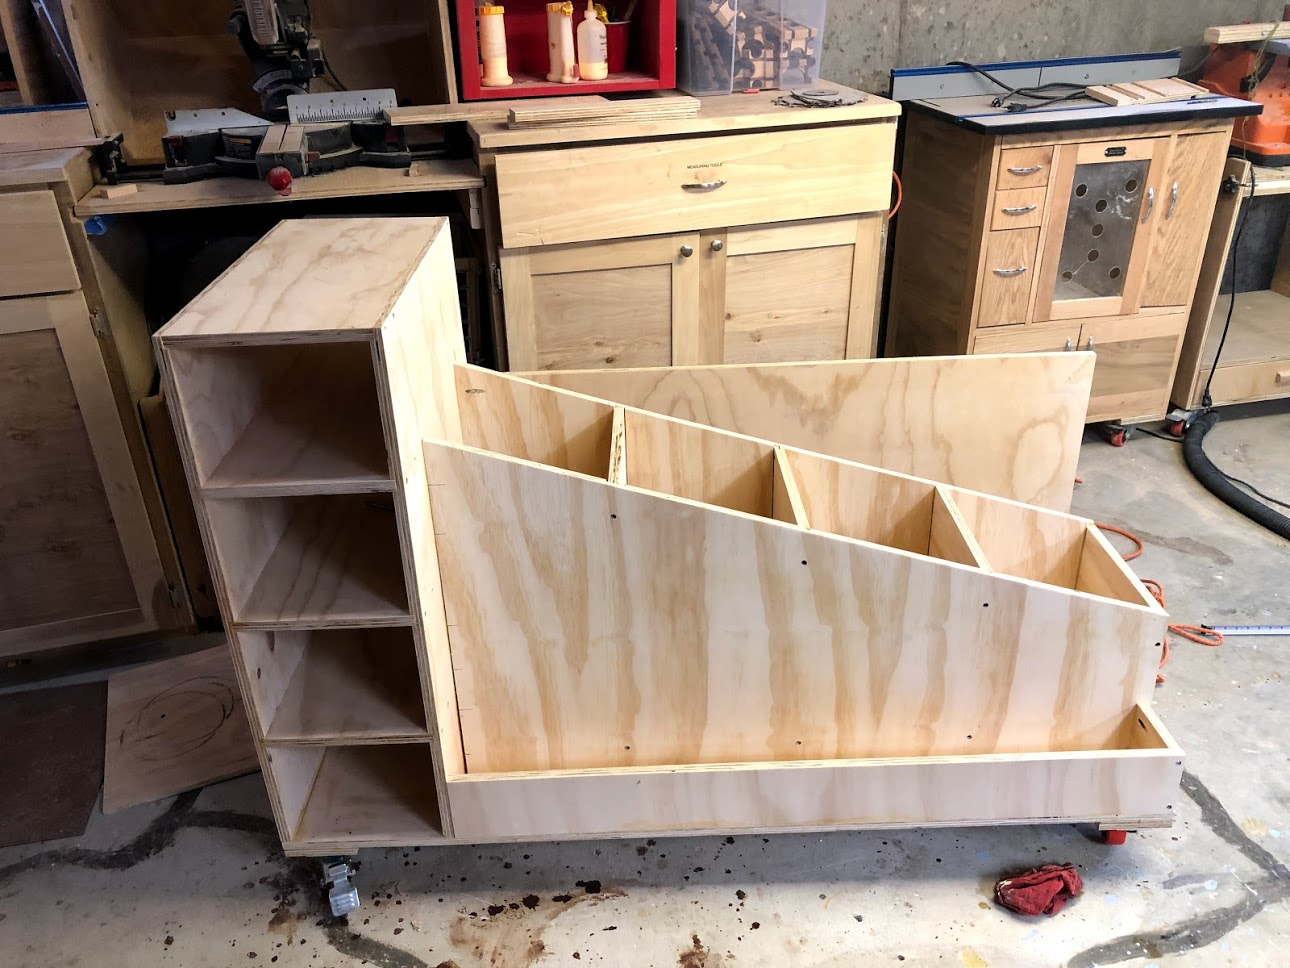
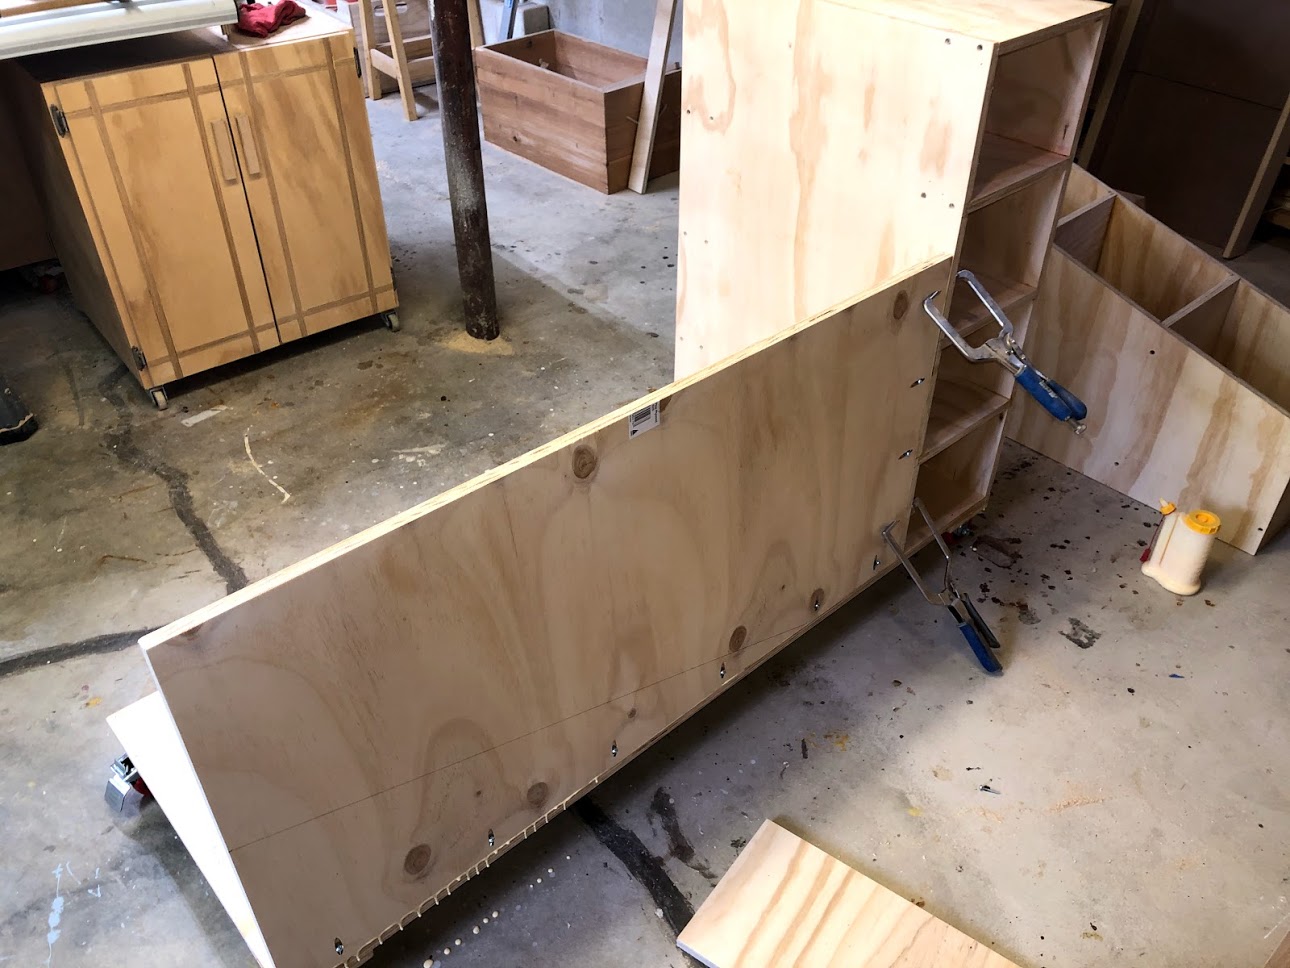
ATTACHED THE BACK
Now that the shelving unit was attached I could proceed to attaching the back to the cart. A you can see I added plenty of glue to the back edge of the cart from the squeeze out, I used some pocket hole clamps to secure the back temporarily to the shelving unit and drove home all the screws into the base and the shelving unit.
Here you can see a close-up of the pocket hole clamps securing the back to the shelving unit, these clamps are the extra set of hands I needed to secure the back. Now you see why I added the vertical shelving unit first as I needed somewhere to secure the back panel

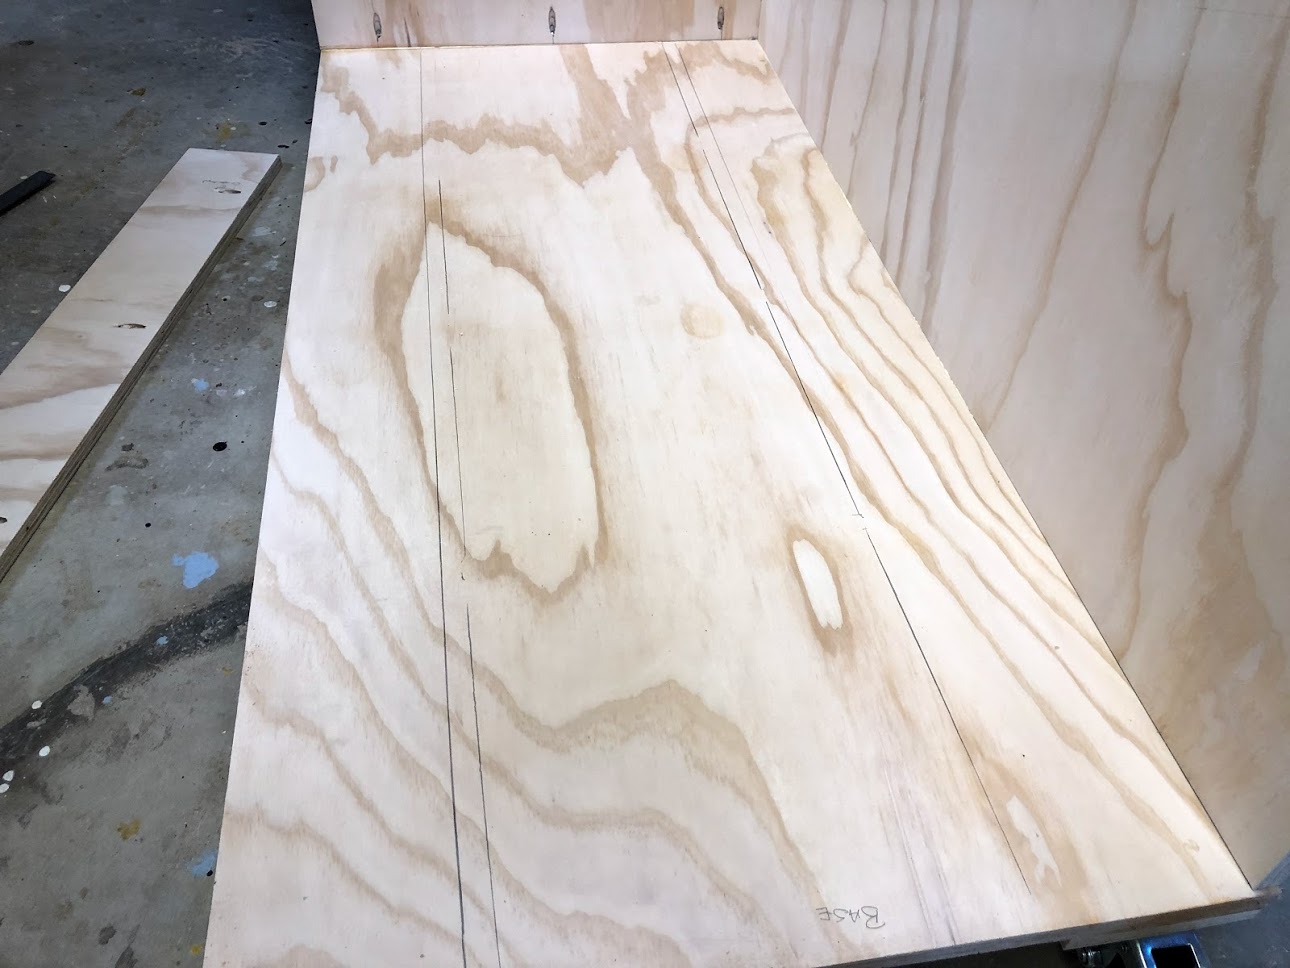
LAYOUT LINES
Now it was time to switch my attention to installing the center cubby unit. Before I could attach the unit I first lay the cubby onto the base and position it according to the plans, Then I made some pencil marks so as that I know where to add the glue.
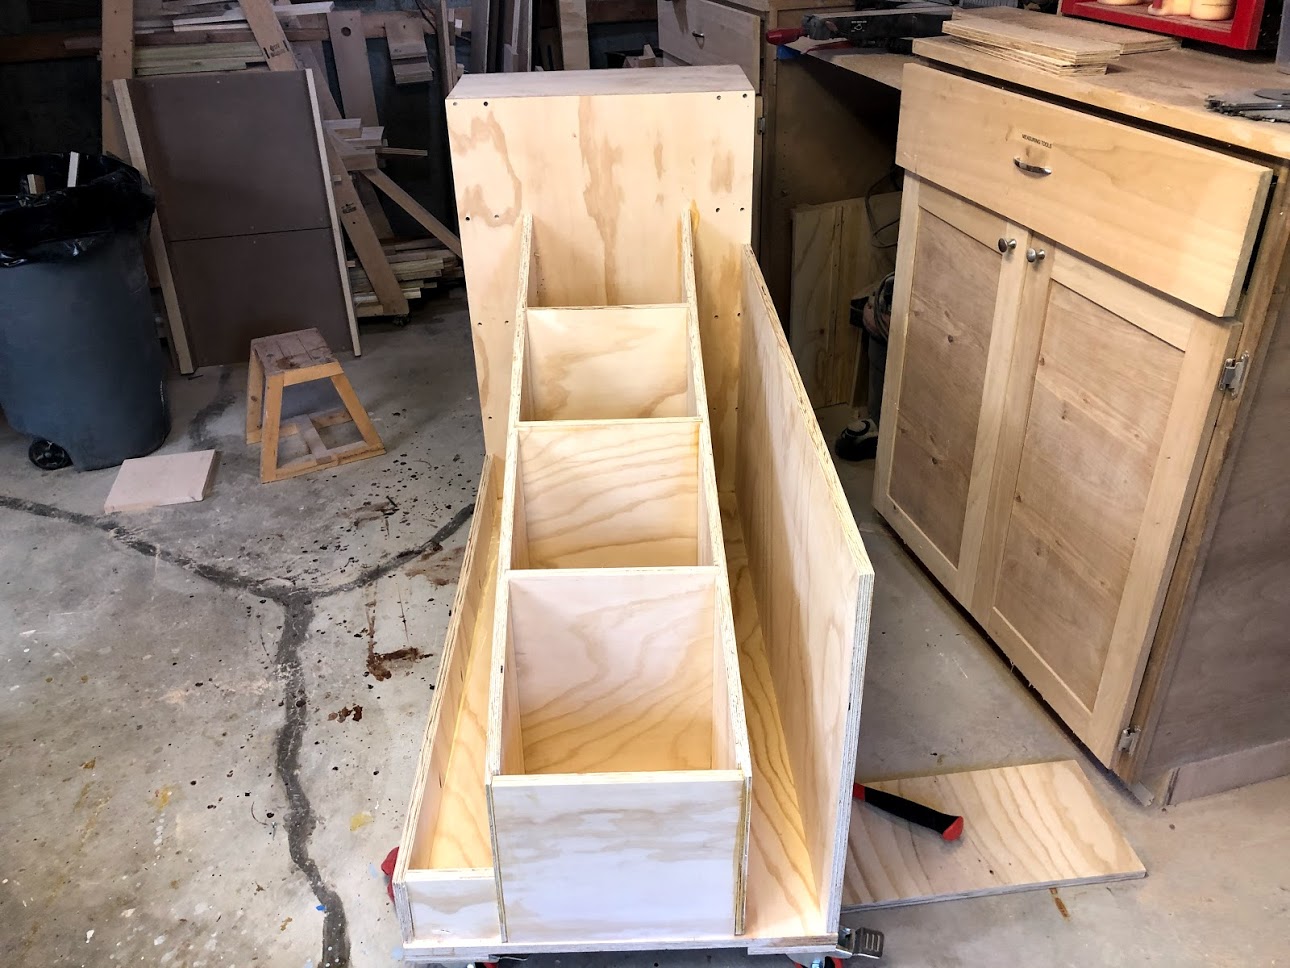
ATTACHED THE CUBBY UNIT
With the cubby now sitting on the base with the glue spread onto its footprint I went about securing the cubby with you guessed it pocket holes. I cant really show any pictures of that but you can guess what it looks like from the countless pictures I have taken of making the pocket holes. Its finally looking like a cart.
ADDED THE END CAP
This little piece of plywood is what sections off the end of the front panel, is flush with the end of the center cubby divider. As you can see I secured using pocket holes and glue, but I attached this before I secured the front of the cart, although the pictures show the front in position I forgot to take a picture before doing this step.

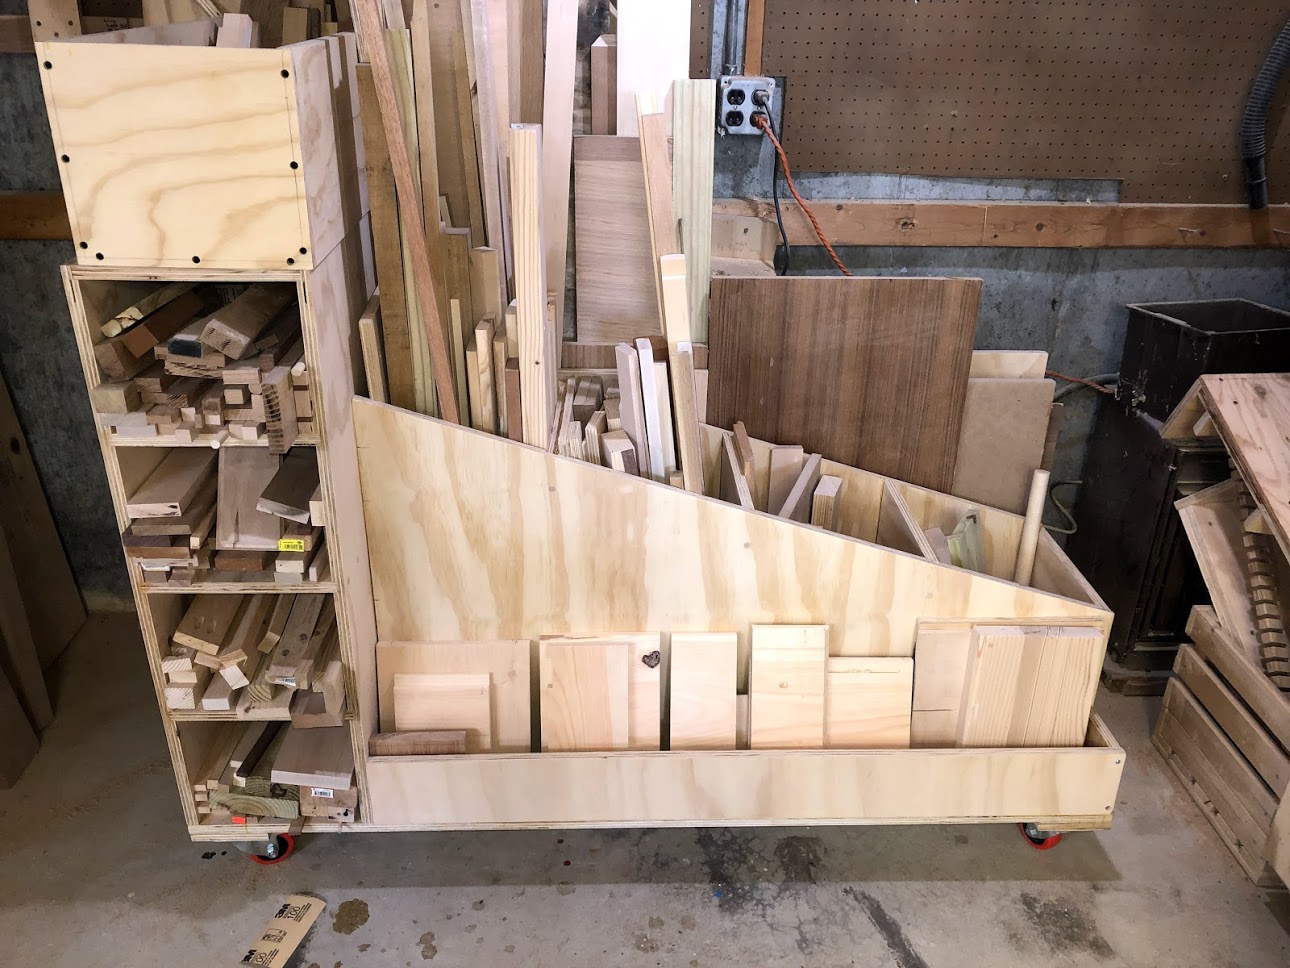
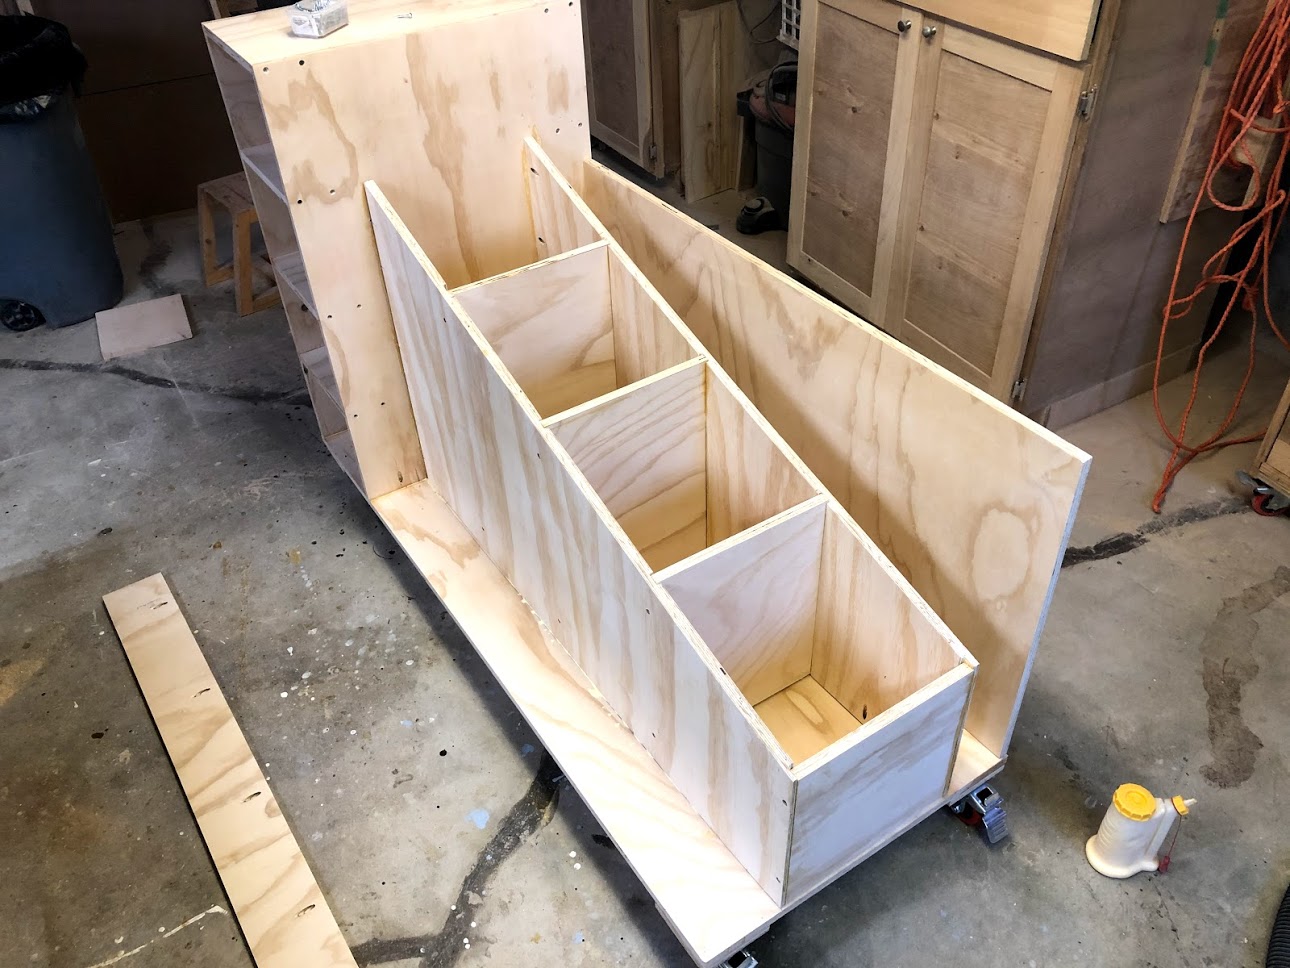
INSTALLING THE FRONT
All that was left to do was attach the front panel to the cart, I really love this concept its basically a very shallow storage area that is about 48” long but its only 6” wide. But it allows me to store so many different pieces as the time goes by. As the rest of the cart I applied glue to the bottom or cart base and then secured the front with the pocket holes and screws that I have done already. I added all the pocket holes on the inside faces of the project so as that they would not be visible from the outside of the cart.

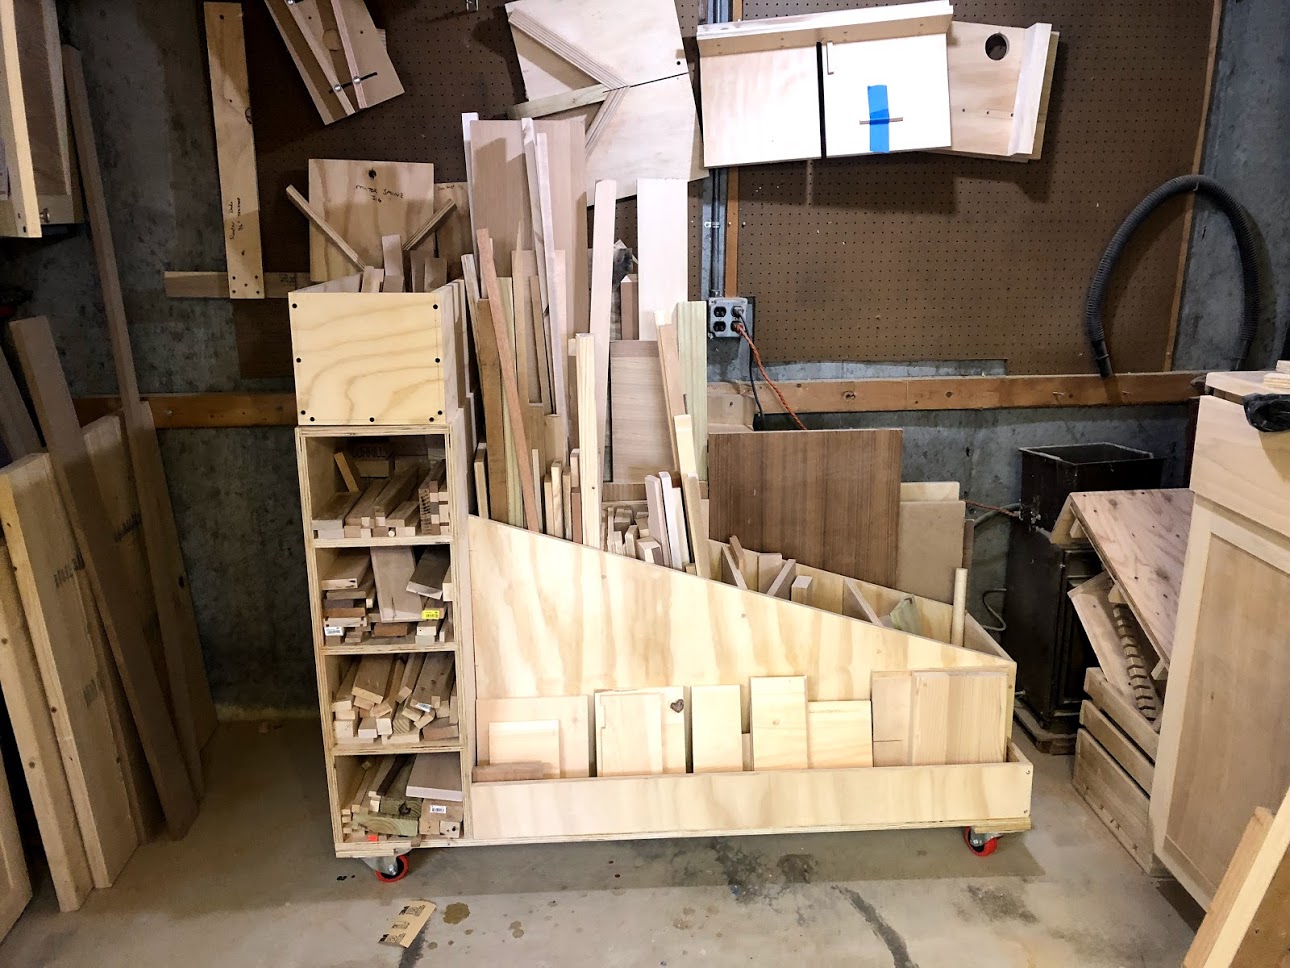
ALL FINISHED
Well that wraps up Phase 4 and the cart is also completed. I really love how the cart came out, its mobile and can be moved easily around the shop although I don’t think it will be move much except when I need to get access to the panels stored in the back of the cart. I also love the shelving storage unit I am keeping most of the small solid wood offcuts that are in abundance in the shop and it will be really nice in having a nice organized way of storing them. Although I made something like this cart a few years ago it didn’t have this added storage unit and the cart is all the more functional for it.
Before I close off this project I wanted to show a before and after picture so as that you can see how much this cart can actually hold. Until the next project take care and Ill catch you the next time…
BEFORE THE NEW CART

AFTER