Bailey #4 Restoration

Stanley Bailey # 4 HandPlane : Complete

I have to say that this whole restoration project was a real joy and to be honest when I was thinking about this I thought this whole process would be a chore after all I am woodworker and love making projects with wood, this project had everything but the wood. I was introduced to a whole new array of topics that I was very inexperienced in. I had to do a lot of research on “ The How” when I say that there are countless article and videos on the subject on the internet.

I figured what did I have to loose when I started, I was determined not to sink a lot of money into the restoration but after trying so many ways I did need to spend money on some tools that I didn’t have and if I was to spend more time using hand tools there were certain aids and tools that I just simply needed to have, such as;

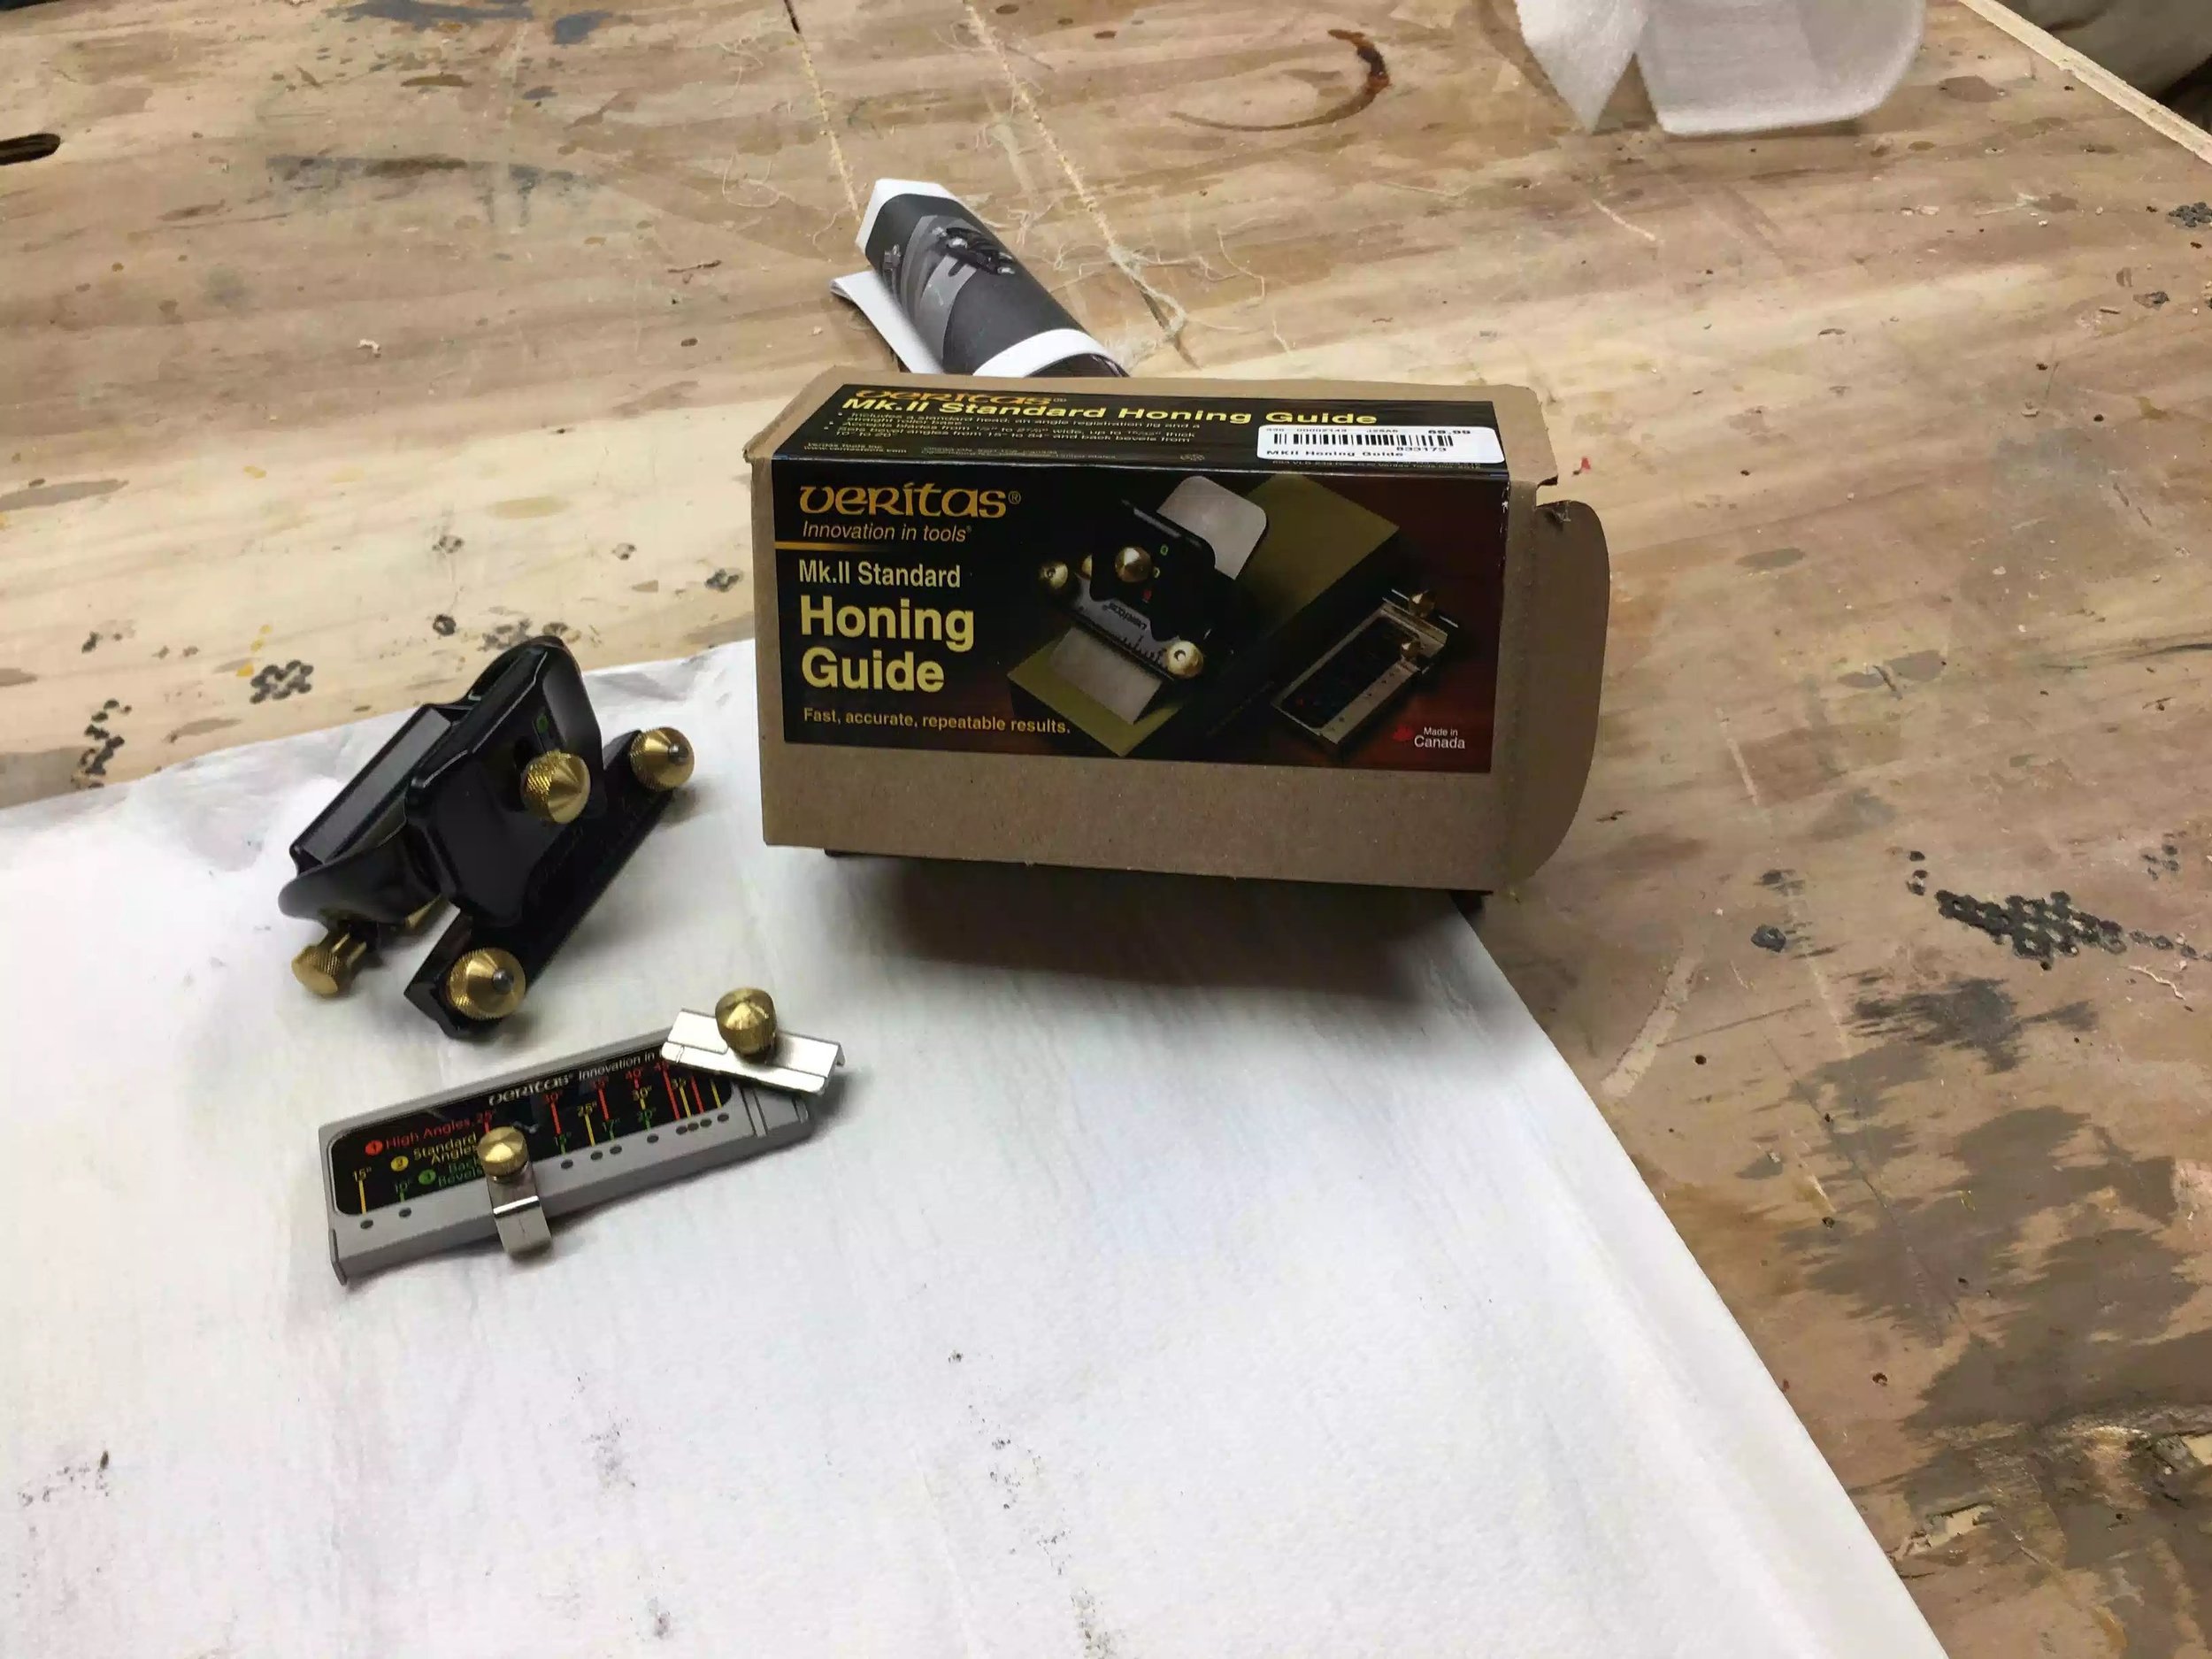
  • A high quality honing jig, I could of gotten a really cheap one that might only have cost $10.00 but a fellow woodworker told me in order to make something of quality you need quality tools and that is why I got the Veritas MKII honing guide, and I love using it it because it takes all the work out of figuring out the bevel angles needed.

  • I also got a DMT diamond grit sharpening stone because although the sand paper method was great in cleaning up the rust on the plane it didn’t perform quite as well in sharpening anything. I also realized that when using water-stones you have to consistently flatten the stone or the unevenness on the water-stone would be introduced into whatever you sharpened on it.

  • What blew me away was how effective the white vinegar was in removing even the coarsest of rust on the plane, I was truly amazed at how effective this was. While I was researching this so many people had so many methods of doing this task such as electrolysis, sand blasting and other other chemical solutions but rest assured the white vinegar is cheap and very effective.

    One of the biggest enjoyment of this whole project was how quiet the workshop was and I really enjoyed that aspect because I usually have a lot of noise in the shop because of all the power tools that I usually use in making anything, and to be honest this project really introduced me to a new found respect for hand tools so much that I really want to purchase a few more hand tools or find beaten up, old tools and restore them because I learnt so much about the tool because you are forced to research the tool in a way that you didn’t destroy the tool.

So without any more rambling from me I will show you some before and after pictures of the hand plane, although I am happy with it and it works fine, I think that the more experience I get in sharpening I might revisit this plane to get it even more sharp

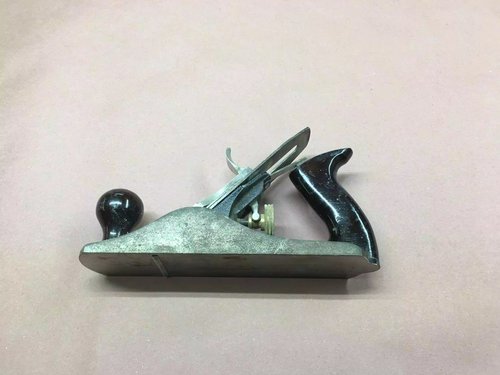
BEFORE RESTORATION

Some surface rust needed to be removed and the vinegar exceeded my expectations

Some surface rust needed to be removed and the vinegar exceeded my expectations

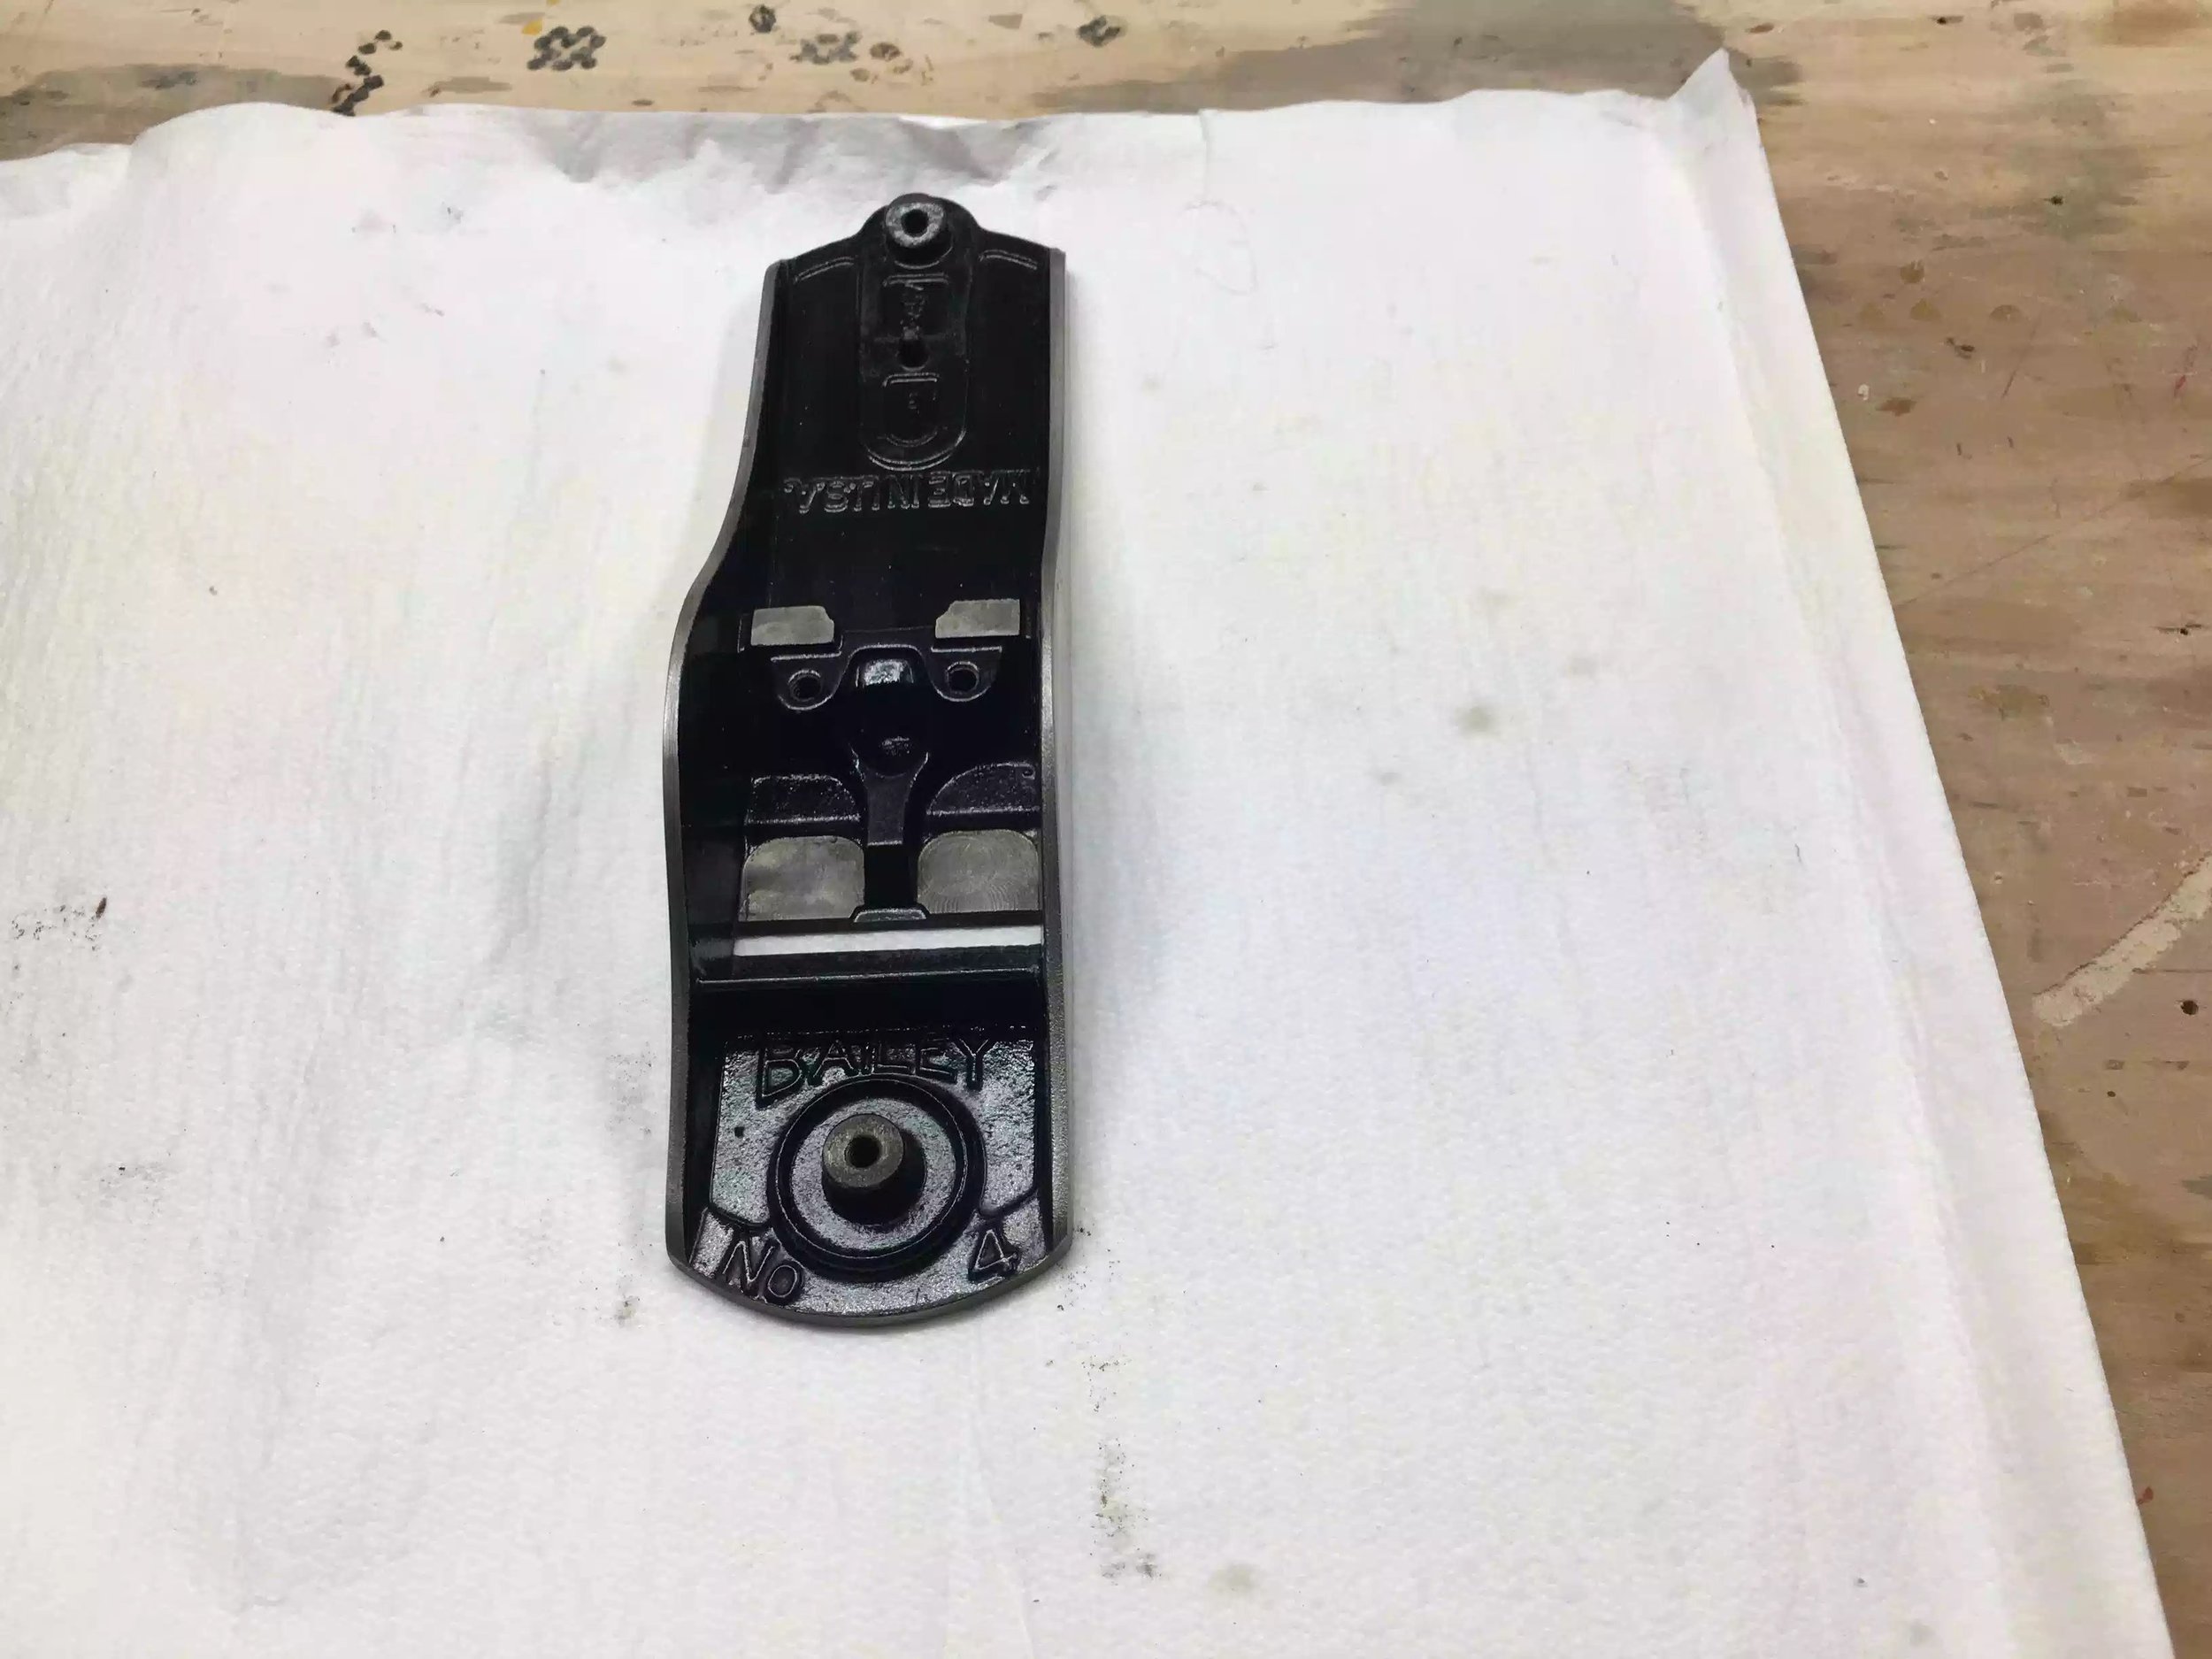
The plane need a lot of elbow grease especially on the plane bed and the base of the plane.

The plane need a lot of elbow grease especially on the plane bed and the base of the plane.

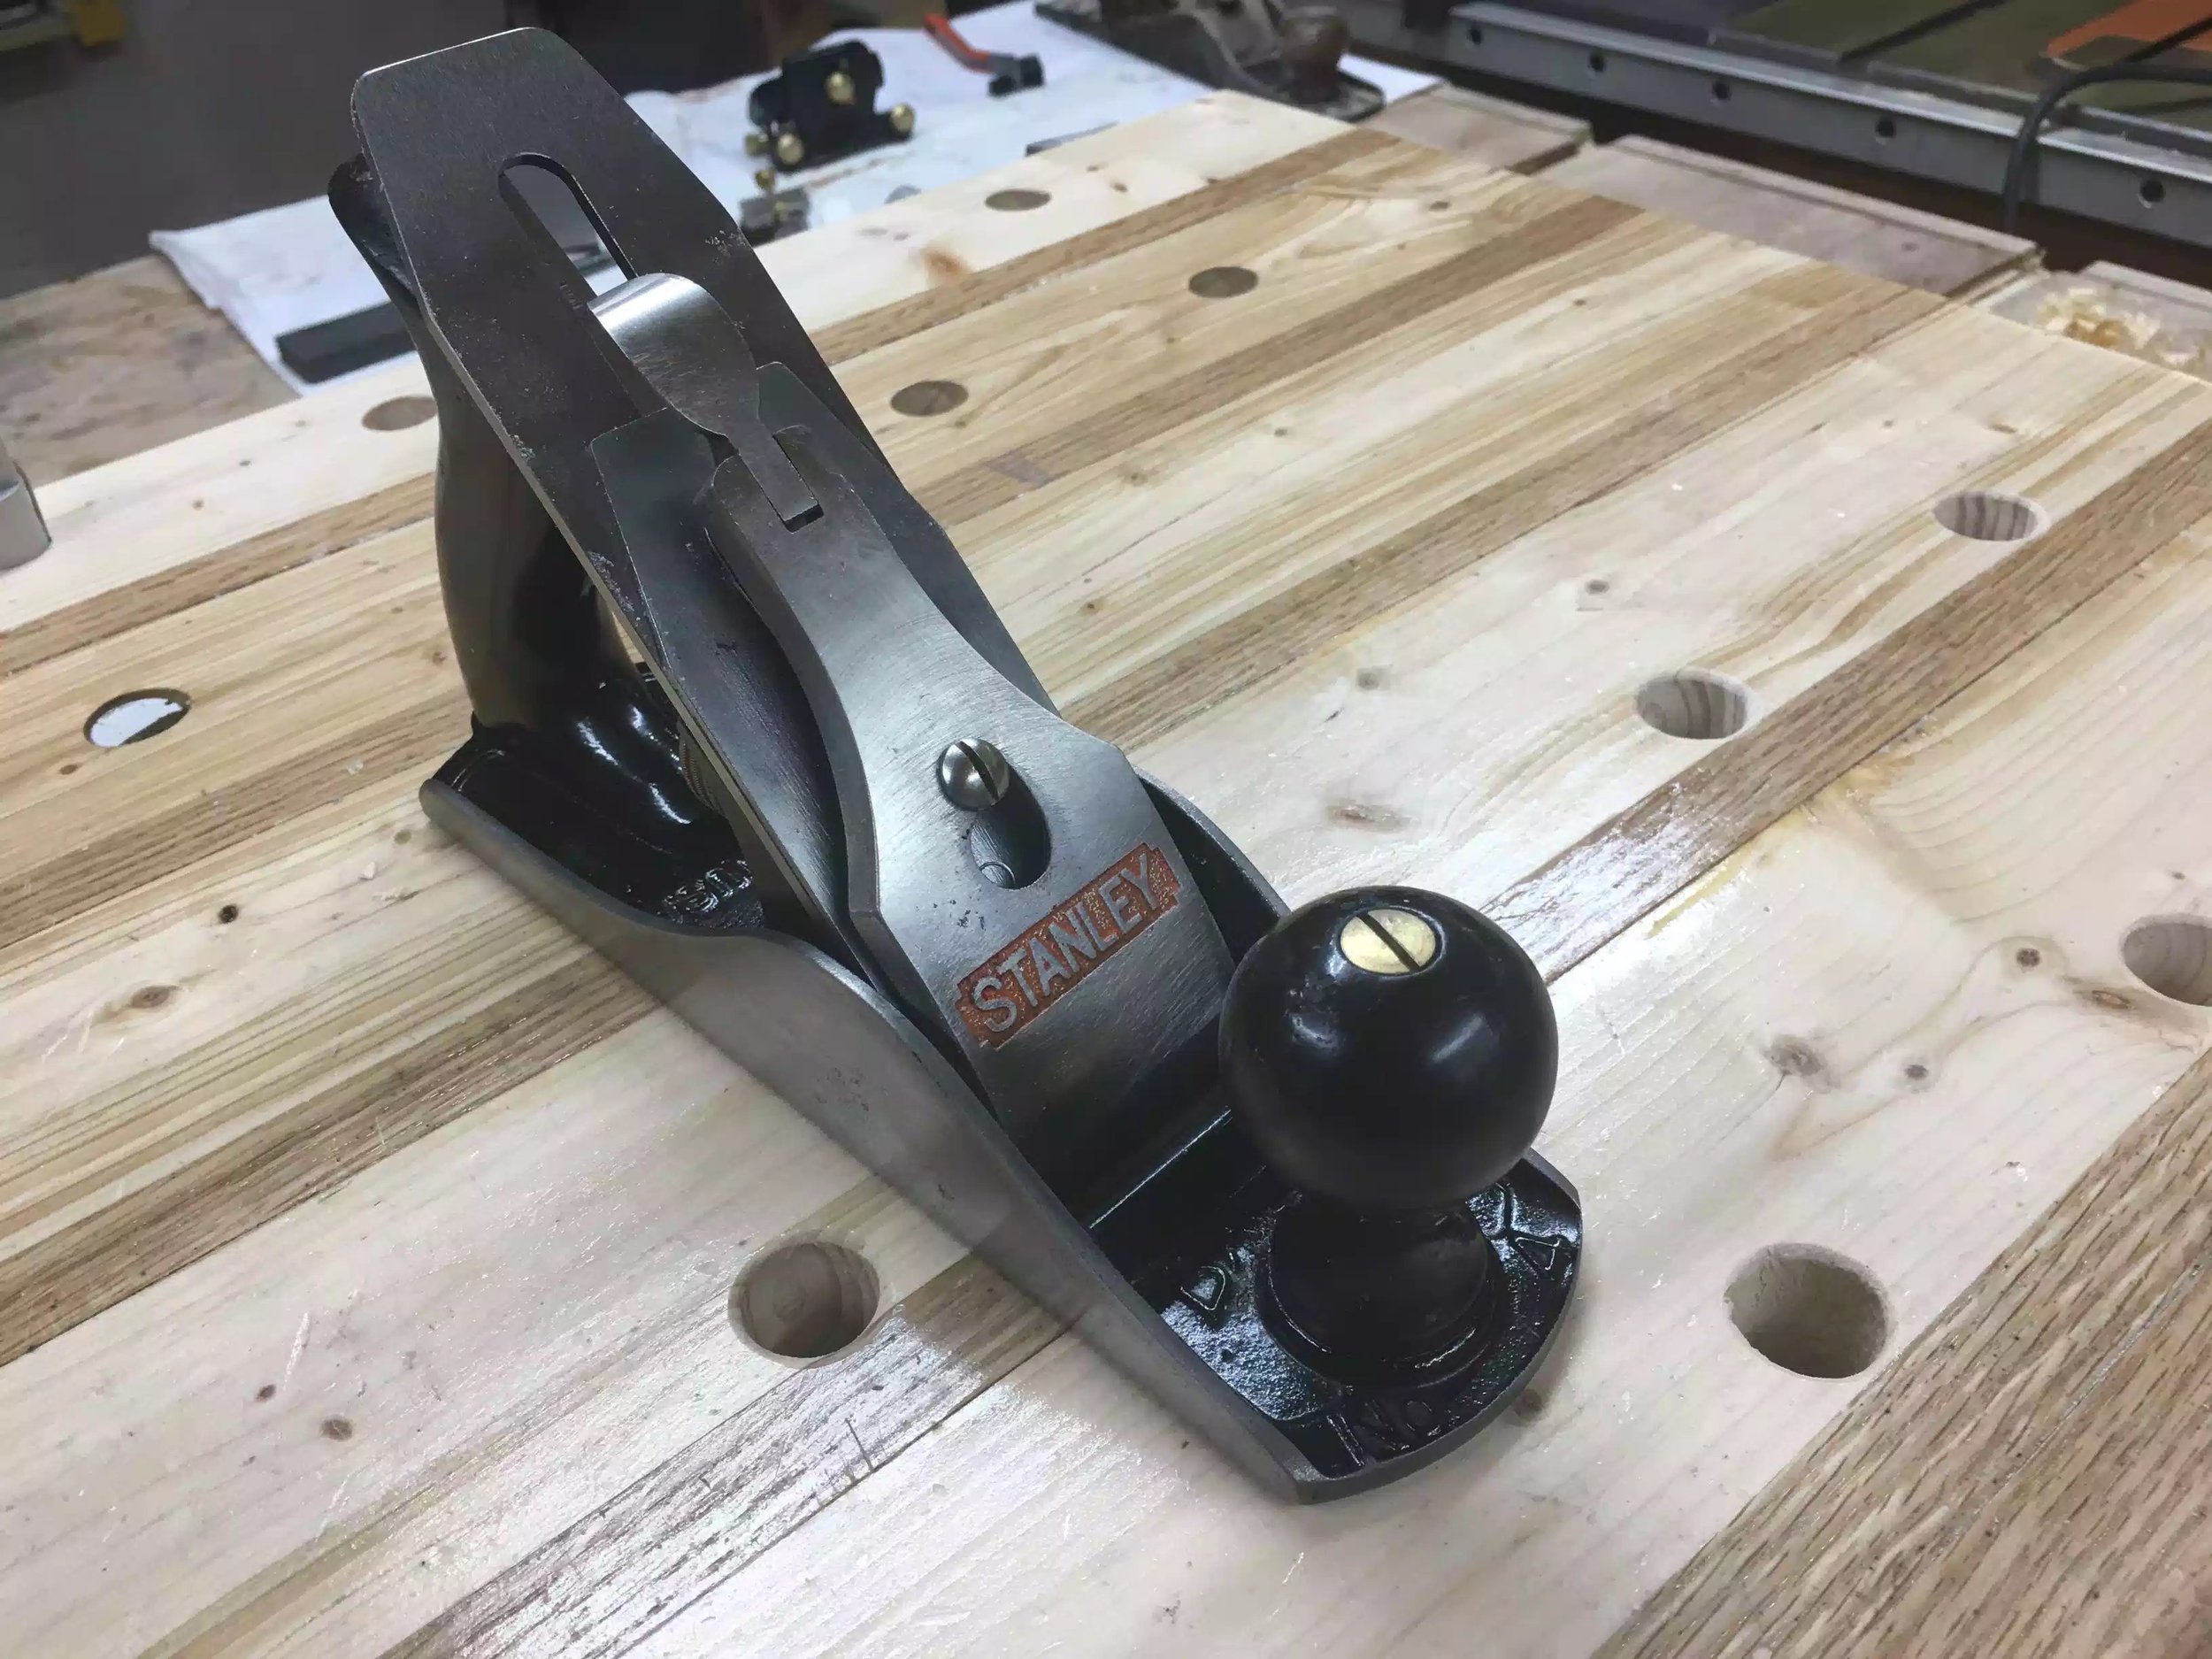
AFTER RESTORATION

The plane came out awesome and actually can smooth wood….

The plane came out awesome and actually can smooth wood….

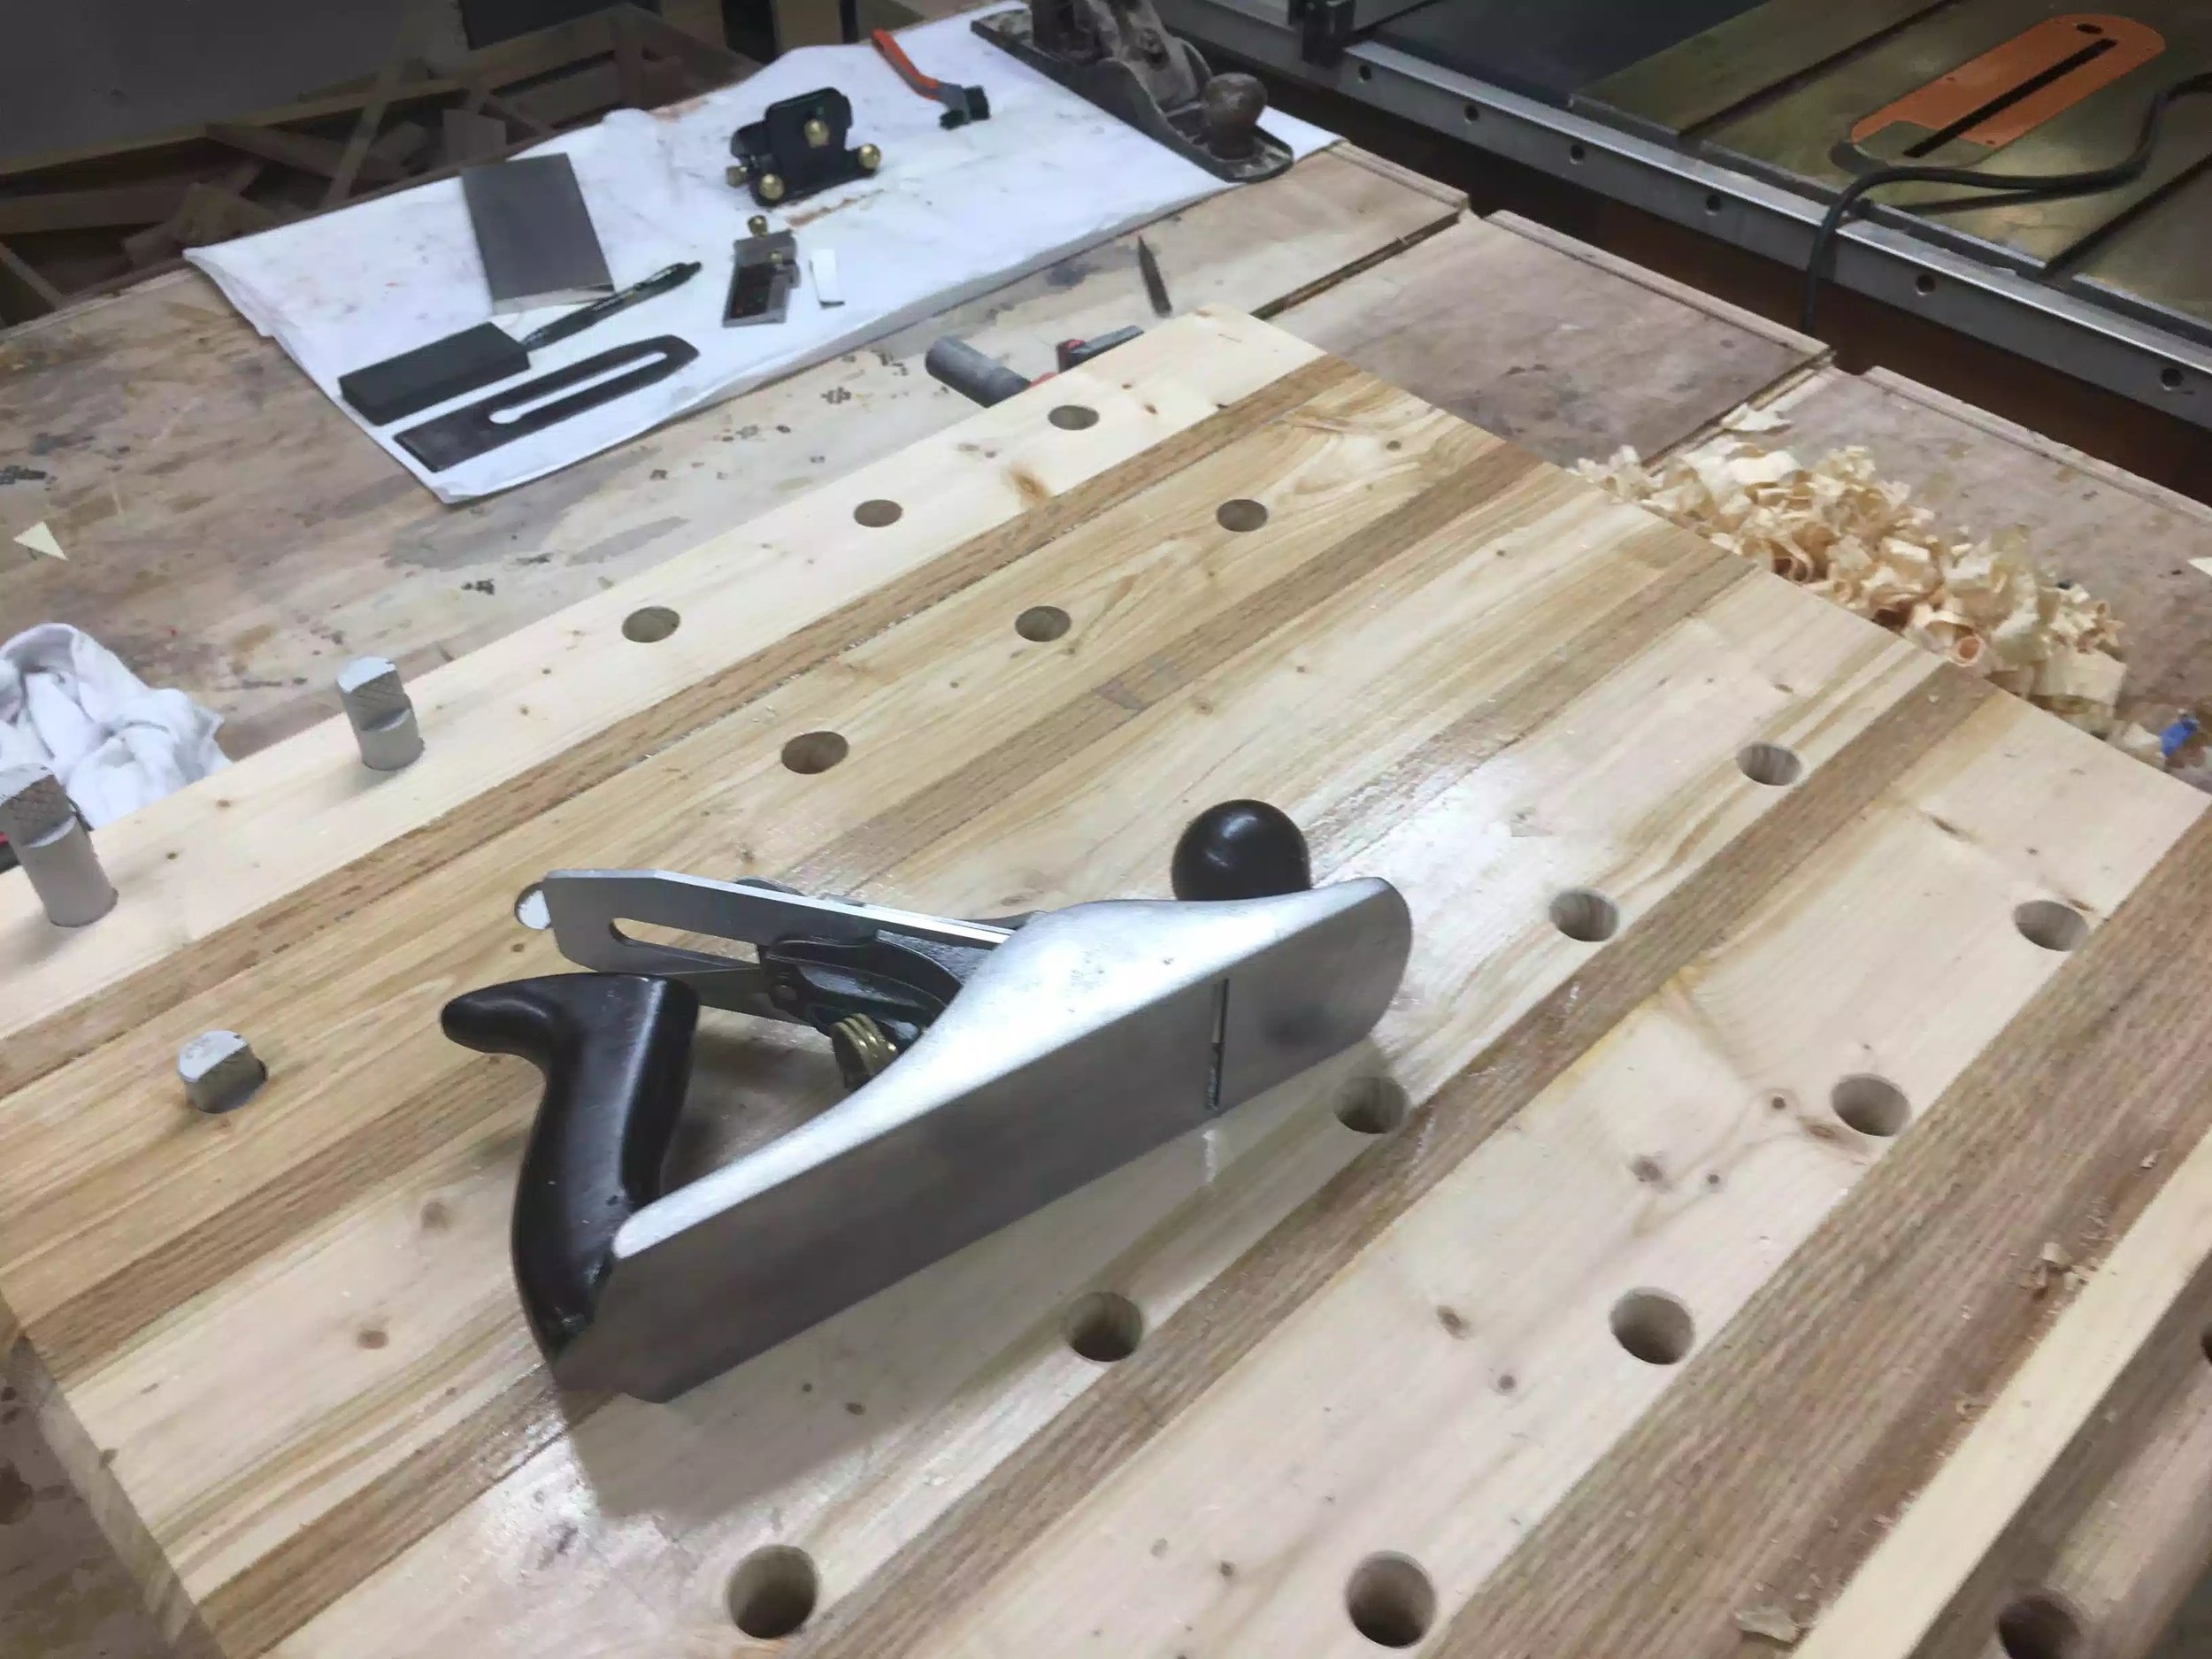
As you can see the wood shavings are great, full length even thickness. I could not do this before the restoration.

As you can see the wood shavings are great, full length even thickness. I could not do this before the restoration.

I went through 4 grits of sandpaper to get the sides looking this good, if you are willing to put the effort in the rewards speak for themselves.

I went through 4 grits of sandpaper to get the sides looking this good, if you are willing to put the effort in the rewards speak for themselves.

Here you can see how much better the bottom of the plane is and its dead flat, its probably the flattest surface in my shop.

Here you can see how much better the bottom of the plane is and its dead flat, its probably the flattest surface in my shop.

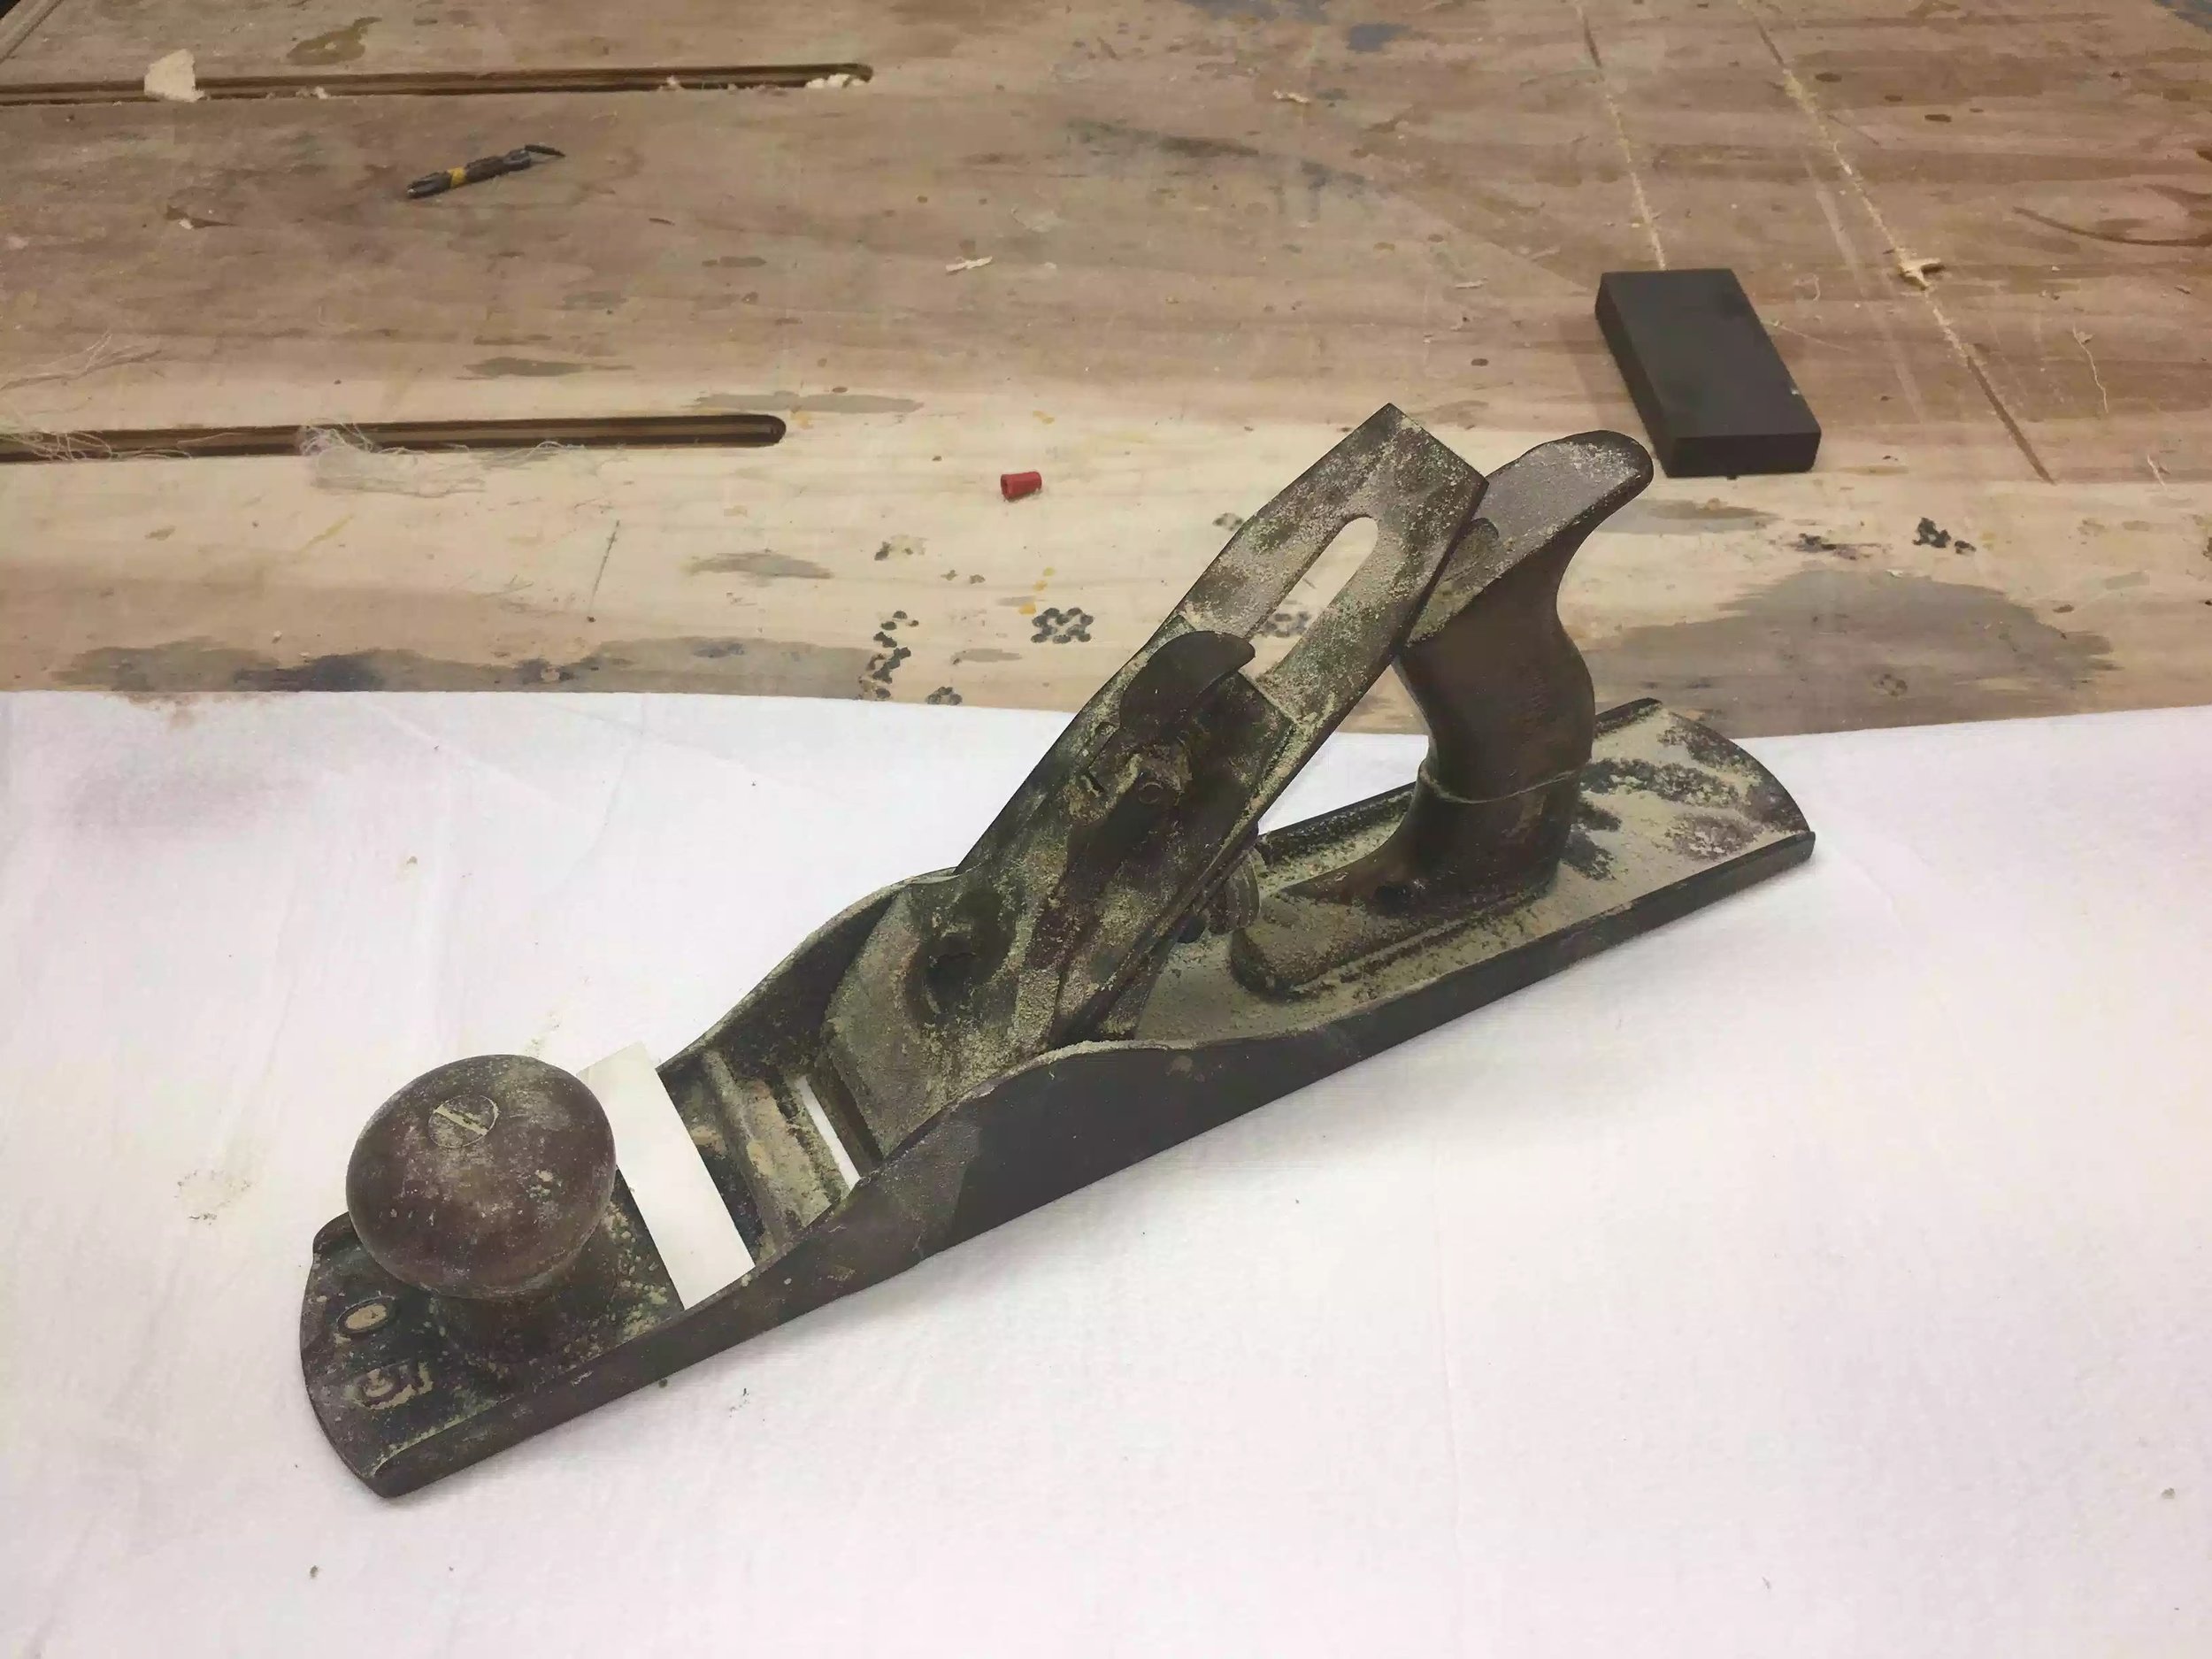
Well thanks for reading and in my next project I am still in the restoration mode where I will be attempting to restore a #5 bench plane. This project has a lot more to it as it is in extremely bad condition with severe surface rust and a broken tote.

image-13968.jpeg

Bailey # 4 Hand Plane : Day 3

So day 3 into this project and I had a couple of hick-ups there were some parts of the plane that I really need to work on especially the chip breaker and plane blade, the plane blade was so hard to get sharp so I had to switch from the sandpaper method and I went with the sharpening stones and with ALOT of elbow grease I finally got the plane sole flat and the planes cutting edge sharp as well.

WATER STONES

Although the sandpaper did an awesome job removing the rust and buffing the sides and the bottom of the plane to a decent luster unfortunately it did very little for sharpening the cutting edge of the plane blade even with a very good Veritas honing guide, so I went to Woodcraft and bought a course DMT diamond grit to use on the plane and also is very useful for flattening the water stones that I had which were a 1000&6000 grit combination stone.

DMT DIAMOND PLATE made quick work of sharpening the plane blade

DMT DIAMOND PLATE made quick work of sharpening the plane blade

Here is my combination water stone, this is great for polishing the bevel

Here is my combination water stone, this is great for polishing the bevel

FLATTENING THE SOLE

I tried various grits of sandpaper to flatten the sole of the plane (plane base) but I was getting no where fast and it would of taken me a week to get it flat, the middle of the plane was high which mean the bottom middle part of the plane was not cutting the wood, so I used a method where you put a grid on the plane base and used it on the the sharpening medium at this point it was my DMT diamond plate and all the grid disappeared on the left & right but not the middle, so I raised each side by placing a very thin ruler and that worked the middle and just did that until the entire grid was gone.

SHARPENING THE BLADE

I used my diamond plate to start flattening the back of the blade until I got a burr and again using the grid method to make sure the back of the plane blade was flat and eventually developed a burr, next was to hon the cutting edge, my blade had a 30 degree primary bevel and the beautiful thing about the Veritas honing guide is that it actually has a setting that you deploy to create the secondary bevel and I think that is a 25 degree bevel… I am very new to this whole plane blade sharpening but I did get a pretty good sharp edge and it passed all the testing I did to make sure it was working properly. I will only get better at this the more I practice.

BEFORE

BEFORE:

BEFORE:

AFTER

AFTER: Stanley # 4 Bailey Hand plane all restored, as you can see by the shavings I got uniformed thickness and full length shavings

AFTER: Stanley # 4 Bailey Hand plane all restored, as you can see by the shavings I got uniformed thickness and full length shavings

I hope you enjoyed this project because my next project is restoring a # 5

TAKE CARE

Ed

Bailey #4 Hand Plane Restoration : Day 2

RECAP : DAY 1

In the previous day I disassembled the plane and started trying to remove all the rust from the parts by soaking it in a bath of white vinegar and salt and I have to say that it did a great job.

TODAY’S EVENTS

I needed to go out and get some supplies for the shop today and while I was at it I decided to visit my favorite woodworking shop and that is Woodcraft while I was there I picked up some sanding paper and also purchased the Veritas Honing Jig MKII. My old eclipse style honing jig was just not cutting it as far as sharpening anything in my shop and so I decided to upgrade it, the jig is very nice and I will get to using it tomorrow, bit more about that later.

HERE IS WHAT I DID TODAY

  • Removed the plane parts from the vinegar solution

  • My temporary sharpening station

  • The Veritas MKII honing jig

REMOVING THE PLANE PARTS FROM VINEGAR

As I said the vinegar method that I saw on Jay Bates Youtube channel that I previously talked about really did a nice job, when I opened the lid to the container I saw all the rust residue floating on the water so I could tell it did a decent job, in the picture below you can see the immediate effect this had on most of the parts.

In the future I really need to establish a set sharpening station in the shop as I see a lot of hand-tool use going going forward.

Most of the rust is gone, and I didn’t use any harsh chemicals which is something that I am please about.

Most of the rust is gone, and I didn’t use any harsh chemicals which is something that I am please about.

TEMPORARY SHARPENING STATION

When I was researching online for the best method in cleaning up the plane lots of people had lots of different methods but I went with the cheapest and also the most used method and that was using a couple different grits of sandpaper on a true flat surface.

I had a little assembly table that I use from time to time and figured this would be ideal because of its height and its medium sized work surface.

Since I needed a known flat surface and I didn’t really want to use my cast iron wings on my table-saw I found some solid granite floor tiles that fit the bill so I used them and added 3 different grits of sand paper to the , so I also used some contact adhesive to attach the sandpaper to the granite tiles, and so far its working good.

While I am thinking about I recently saw a guy use Micron sandpaper it had a different consistency than sandpaper and it is a little more expensive but it had really nice results.

Here you can see my 3 granite stones with my regular sandpaper on it, I used 120 - 320 grit paper.

Here you can see my 3 granite stones with my regular sandpaper on it, I used 120 - 320 grit paper.

I used this setup to start flattening the plane sole and I think that came out great, I have pictures below.

Plane sole looks great

Plane sole looks great

A rear view of the plane bed.

A rear view of the plane bed.

I used WD-40 to clean the black painting on the inside of the plane and it came out awesome.

I used WD-40 to clean the black painting on the inside of the plane and it came out awesome.

While I am talking about cleaning the plane parts I also cleaned every component of the plane and sanded everything, I also used by bench grinder with a buffing wheel to polish the brass screws to a high sheen, I need to do a little more and I will show you the results. I also used a wire brush in my drill press to help clean some parts especially the frog because there were some very hard places to reach and while I was cleaning the frog I couldn’t help but remove the japanning so I I resprayed the frog, that’s all the plane cleaned, I need to sharpen the plane blade tomorrow and I got a nice tool to aid me with that, more about that next.

VERITAS MKII HONING JIG

I had a very old eclipse style honing guide that was pretty inexpensive and it served its purpose but I needed a better honing jig because I needed more help getting a scary sharp edge on my chisels and plane blades so I purchased the Veritas honing jig , its not that cheap but in this craft you get what you pay for.

image-2865.jpeg
Here you can the blade registration jig that has a dovetail on the back to register into the main honing guide, once the blade is aligned with honing degree bevel via a stop block you can remove it and start honing the blade.

Here you can the blade registration jig that has a dovetail on the back to register into the main honing guide, once the blade is aligned with honing degree bevel via a stop block you can remove it and start honing the blade.

Here is the main honing guide, there are 2 thumbscrews that tighten the jaws that securely hold the plane in place.

Here is the main honing guide, there are 2 thumbscrews that tighten the jaws that securely hold the plane in place.

The honing jig is made extremely well with a solid construction. The Veritas Mk. II will set bevel angles from 15° to 54° and back bevels from 10° to 20°, and it will accommodate blades from 1/4" to 2-7/8" in width. Included is a blade registration jig which slides onto the guide body, centering and squaring the blade with the integral fence ensuring accuracy. Features include a blade stop that has discrete positions for preset bevels and a three-position eccentric roller that allows you to hone micro bevels quickly and accurately with a simple turn of a knob. Manufactured from die-cast zinc with precision machined brass and steel parts. 

That’s all I have for today, tomorrow I need to sharpen the blade and put the plane back together and hopefully start using it.

Until then, take care

Bailey #4: Hand Plane Restoration Project

About 5 years ago I decided to build out my own woodworking shop in the basement, my father in law had a paint workshop and when he passed away I decided to use the space for a woodworking shop.

There were a decent amount of tools in the shop for painting but he had a few woodworking hand tools that looked in bad shape most of them were hand planes and old ones at that, I always said that I must restore them as I thought they would come out good looking and would actually be very function-able hand planes, but alas I never did until last week when I looked around my shop and realized at how many power tools that I had but had very few hand tools, sure I had a few chisels and marking tools, but I didn’t have any planes or various saws so I decided that in the coming months since I don’t have any major projects that I would start building out my hand tools and eventually make a nice hand tool cabinet.

THE HAND PLANES

My father in law had 3 hand planes that I am looking into restoring and I believe they are

  • A Stanley # 4 Bailey hand plane

  • A Stanley #5 plane

  • A very old but un-branded block plane

My first order of business was to do research on how to actually restore a plane as I never did it before, so I read woodworking articles, borrowed library books and watched countless You Tube videos before I undertook this process.

There are so many resources available on the internet on how to do this but I used various tips from different people on the Internet to aid me in this project. Below are some links and YouTube videos that I though would help.

  • Jay Bates @ Jays Custom Creations & How to restore a hand plane

Jays uses regular household vinegar to aid in the rust removal process, he also shows you how to make the tote or rear handle (as his was broken). He also used various grits off sand paper to clean and sharpen the plane.

Rob Cossman :Top 5 Hand Plane Issues

Although Rob doesn’t specially cover a plane restoration in this video he does address some key issues with having one, for example his sharpening techniques

REX KRUEGER : Restoring a hand plane using a bench-top grinder

Rex goes through the entire process of restoring a hand plane using only a bench grinder, this video is awesome and it actually made me get one because this machine is extremely useful in a wood shop.


WENT SHOPPING

I went to my local home center to pick up some supplies before I started the restoration project, some or most of these items you might already have in your house. I also purchased a Ryobi bench grinder as I have been wanting one for some time and this was the perfect time to get it as I will be using it in the restoration process.

  • Rybbi 6” Bench Grinder

  • 80,120,220 & 320 Grit sand paper

  • A wire cleaning wheel for the grinder

  • A polishing/buffing wheel for the bench grinder

  • A container to put all the planes parts in so I could clean them

  • House hold white vinegar

  • 3M Cleaning pads

  • Small wire brushes

BENCH GRINDER

Before I dived into actually starting the hand plane restoration I needed to unpack the grinder form the box and needed to do a small bit of assembly.

When I turned the grinder on for the first time It was moving all over the bench so I decided to mount it to a platform that way I could clamp it to my bench and also use it so I could remove the grinder into a shelf when I wasn’t using it.

So all I did was cut a scrap piece of plywood big enough to support the grinder by using screws and also large enough to add clamps to either side of the grinder so as that it enabled me to clamp it to my bench.

As part of my assembly I purchased a wire brush for the grinder so as that I could use it to remove rust from the plane, I also purchased a buffing wheel for all the brass screws, to use when I was giving it a final cleaning.

Grinder all set up and ready for use. You can see the wire brush on the right side of the grinder. I got to admit for $45 this grinder is impressive and up-to most tasks that I would ever need it for.

Grinder all set up and ready for use. You can see the wire brush on the right side of the grinder. I got to admit for $45 this grinder is impressive and up-to most tasks that I would ever need it for.

You can see the plywood base that I added , this makes it super portable and I can put it on a shelf when not in use.

You can see the plywood base that I added , this makes it super portable and I can put it on a shelf when not in use.

Here is just another picture angle

Here is just another picture angle


GETTING STARTED

So to get started I firstly took my rusted Stanley # 4 Bailey plane, and disassembled it as you can see below

My Stanley #4 Bailey Hand-plane before I took it apart

My Stanley #4 Bailey Hand-plane before I took it apart

The plane on its side, here you can see most of the rusting is on the dies of the plane bed.

The plane on its side, here you can see most of the rusting is on the dies of the plane bed.

TIME TO TAKE THE PLANE APART

So it was time to take this plane apart and see how much work was needed to fully restore this plane into a working tool. I did it in the following order

  1. Took the front knob off the plane

  2. Took the cam levelr cap off

  3. Took the chip breaker off

  4. Took the cap screw off

  5. Took the plane iron off

  6. Then took the frog off

  7. Took the depth adjuster wheel off

  8. Finally took the tote or rear handle off

Hand plane diagram showing you the parts and their names

Hand plane diagram showing you the parts and their names

All the parts are disassembled and waiting for their vinegar bath

All the parts are disassembled and waiting for their vinegar bath

All that was left was to submerge all the plane parts in a white vinegar bath, I will be leaving this over night. The plane isn’t in that bad a condition and this duration is overkill but I couldn’t get back to it today so it should be nice and ready for tomorrow.


Here are all the parts soaking in the vinegar solution.

Here are all the parts soaking in the vinegar solution.

That’s all I have time for today…hopefully tomorrow I can start cleaning the parts and start sharpening the plane… with a bit of luck by the end of tomorrow I should have a nice new sharp plane.. that doesn’t look to bad either.

Until then