I have to say that this whole restoration project was a real joy and to be honest when I was thinking about this I thought this whole process would be a chore after all I am woodworker and love making projects with wood, this project had everything but the wood. I was introduced to a whole new array of topics that I was very inexperienced in. I had to do a lot of research on “ The How” when I say that there are countless article and videos on the subject on the internet.
I figured what did I have to loose when I started, I was determined not to sink a lot of money into the restoration but after trying so many ways I did need to spend money on some tools that I didn’t have and if I was to spend more time using hand tools there were certain aids and tools that I just simply needed to have, such as;
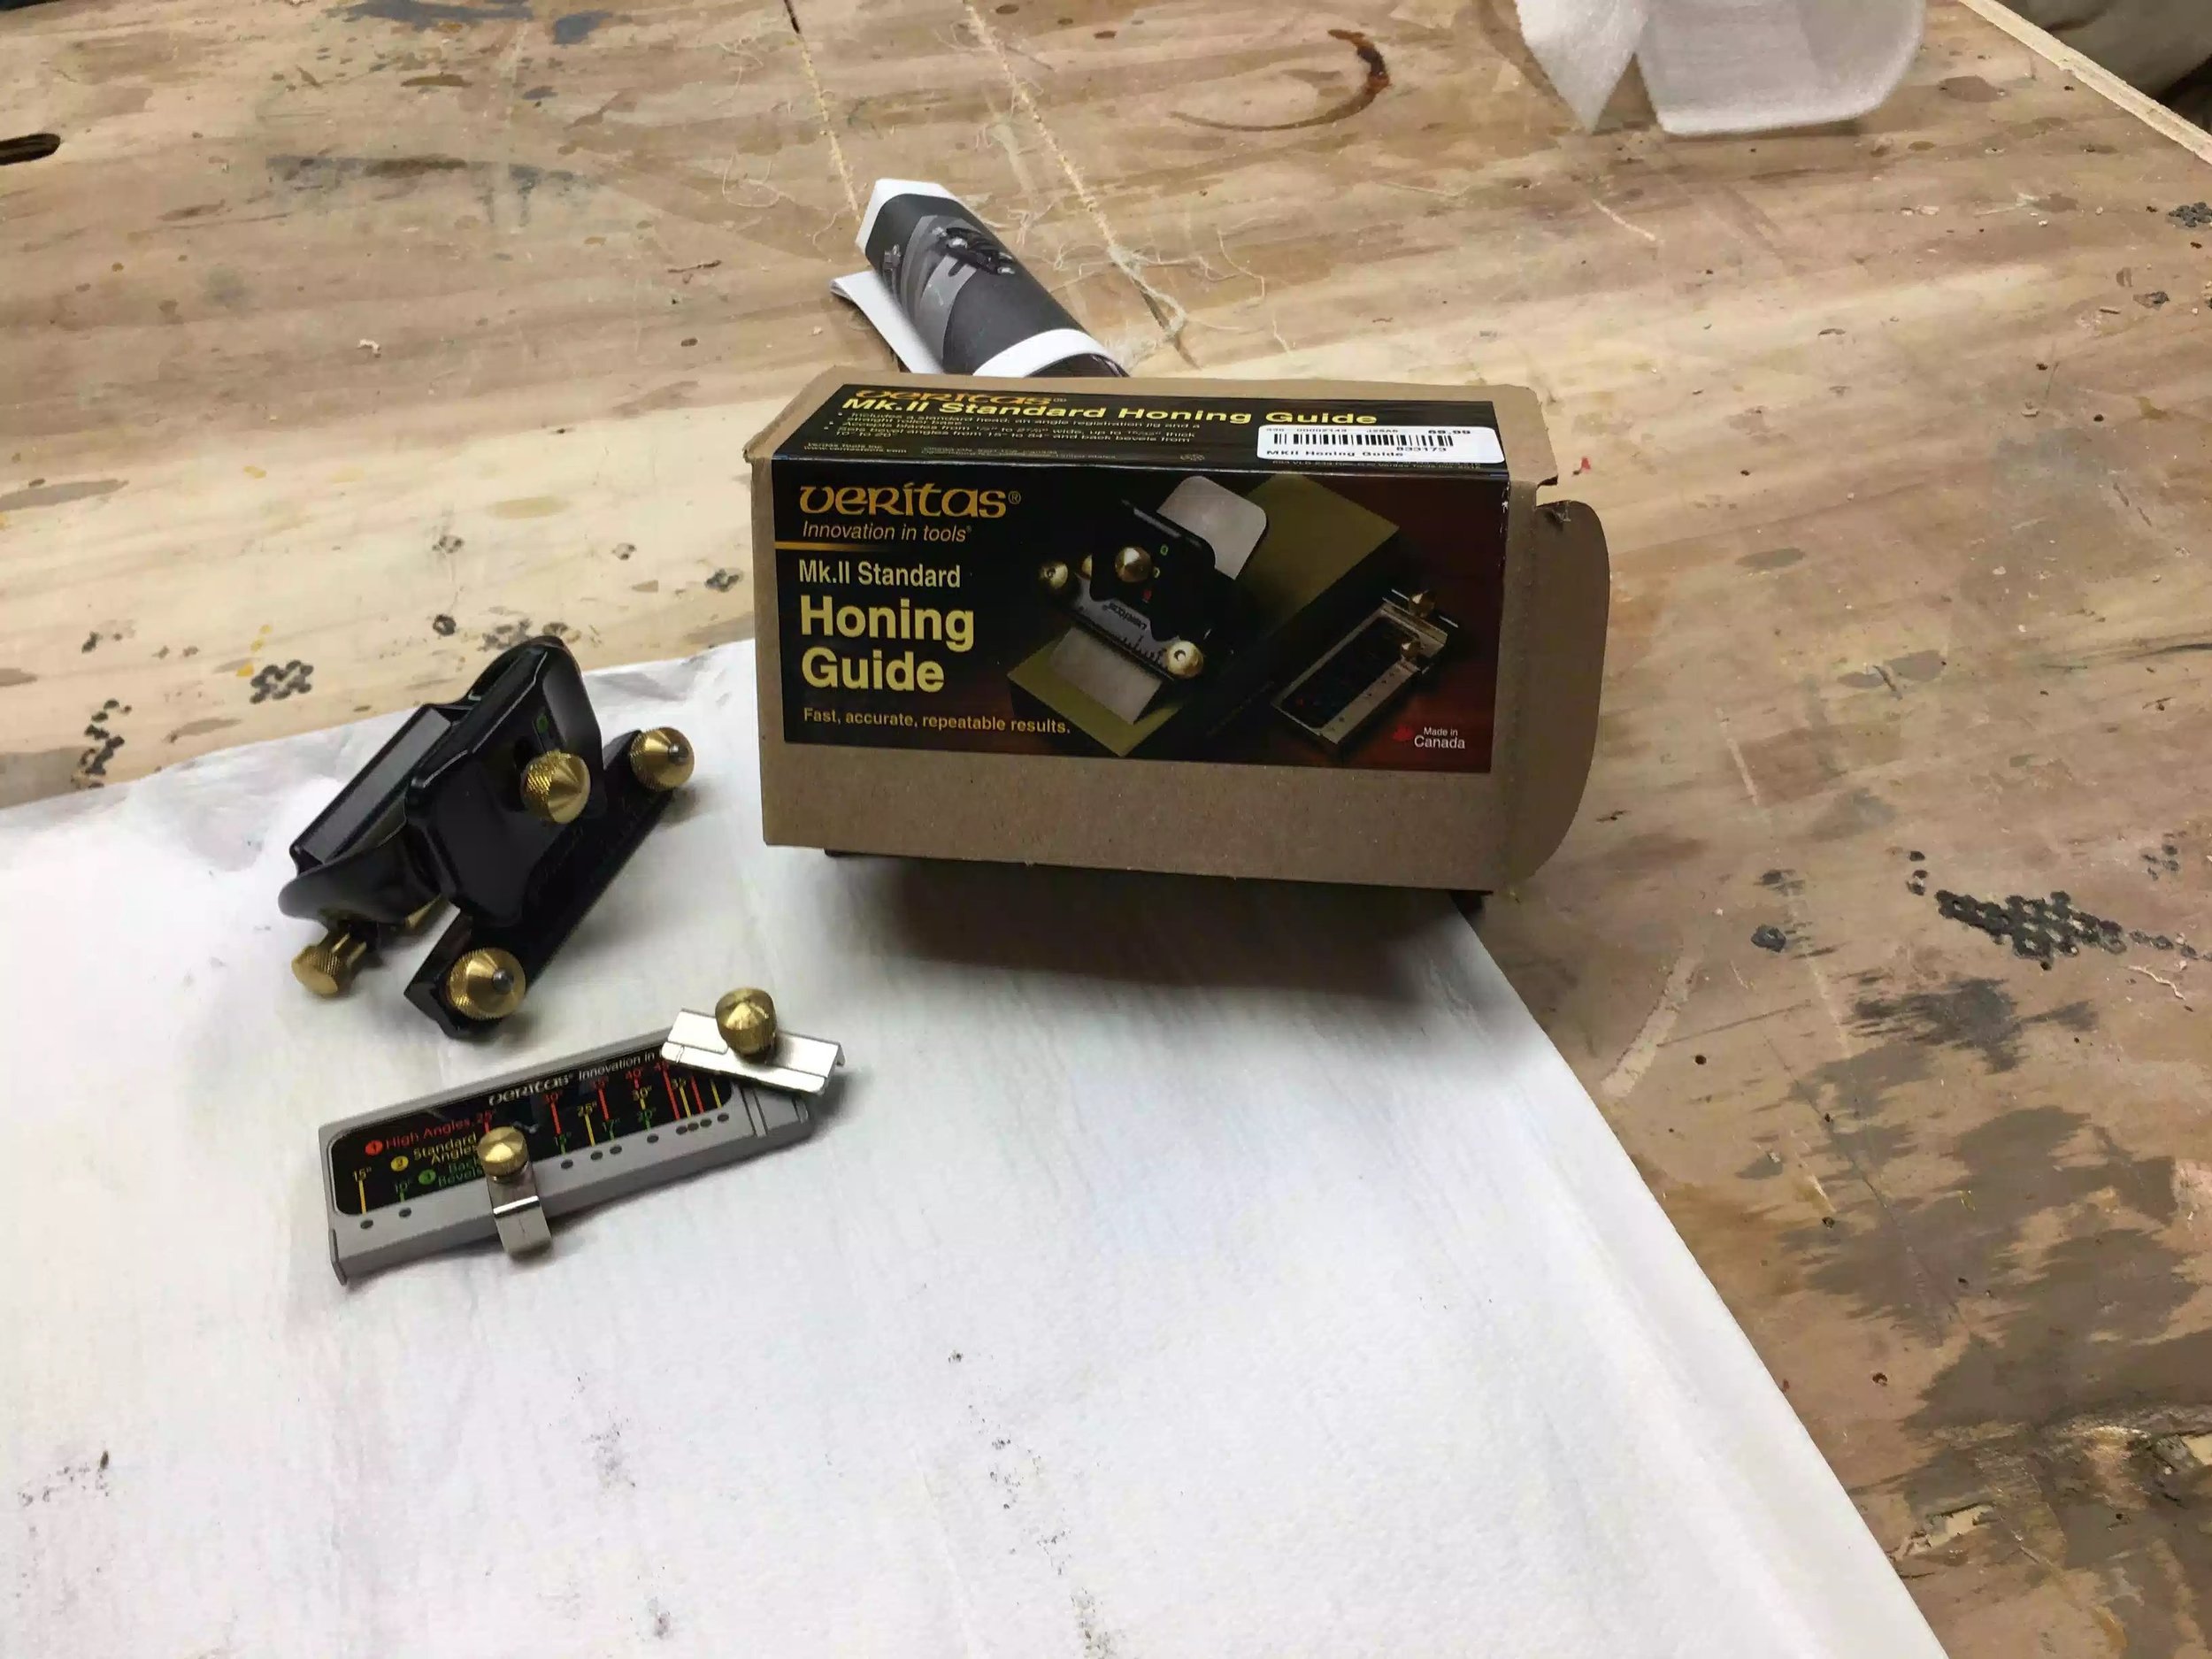
A high quality honing jig, I could of gotten a really cheap one that might only have cost $10.00 but a fellow woodworker told me in order to make something of quality you need quality tools and that is why I got the Veritas MKII honing guide, and I love using it it because it takes all the work out of figuring out the bevel angles needed.
I also got a DMT diamond grit sharpening stone because although the sand paper method was great in cleaning up the rust on the plane it didn’t perform quite as well in sharpening anything. I also realized that when using water-stones you have to consistently flatten the stone or the unevenness on the water-stone would be introduced into whatever you sharpened on it.
What blew me away was how effective the white vinegar was in removing even the coarsest of rust on the plane, I was truly amazed at how effective this was. While I was researching this so many people had so many methods of doing this task such as electrolysis, sand blasting and other other chemical solutions but rest assured the white vinegar is cheap and very effective.
One of the biggest enjoyment of this whole project was how quiet the workshop was and I really enjoyed that aspect because I usually have a lot of noise in the shop because of all the power tools that I usually use in making anything, and to be honest this project really introduced me to a new found respect for hand tools so much that I really want to purchase a few more hand tools or find beaten up, old tools and restore them because I learnt so much about the tool because you are forced to research the tool in a way that you didn’t destroy the tool.
So without any more rambling from me I will show you some before and after pictures of the hand plane, although I am happy with it and it works fine, I think that the more experience I get in sharpening I might revisit this plane to get it even more sharp
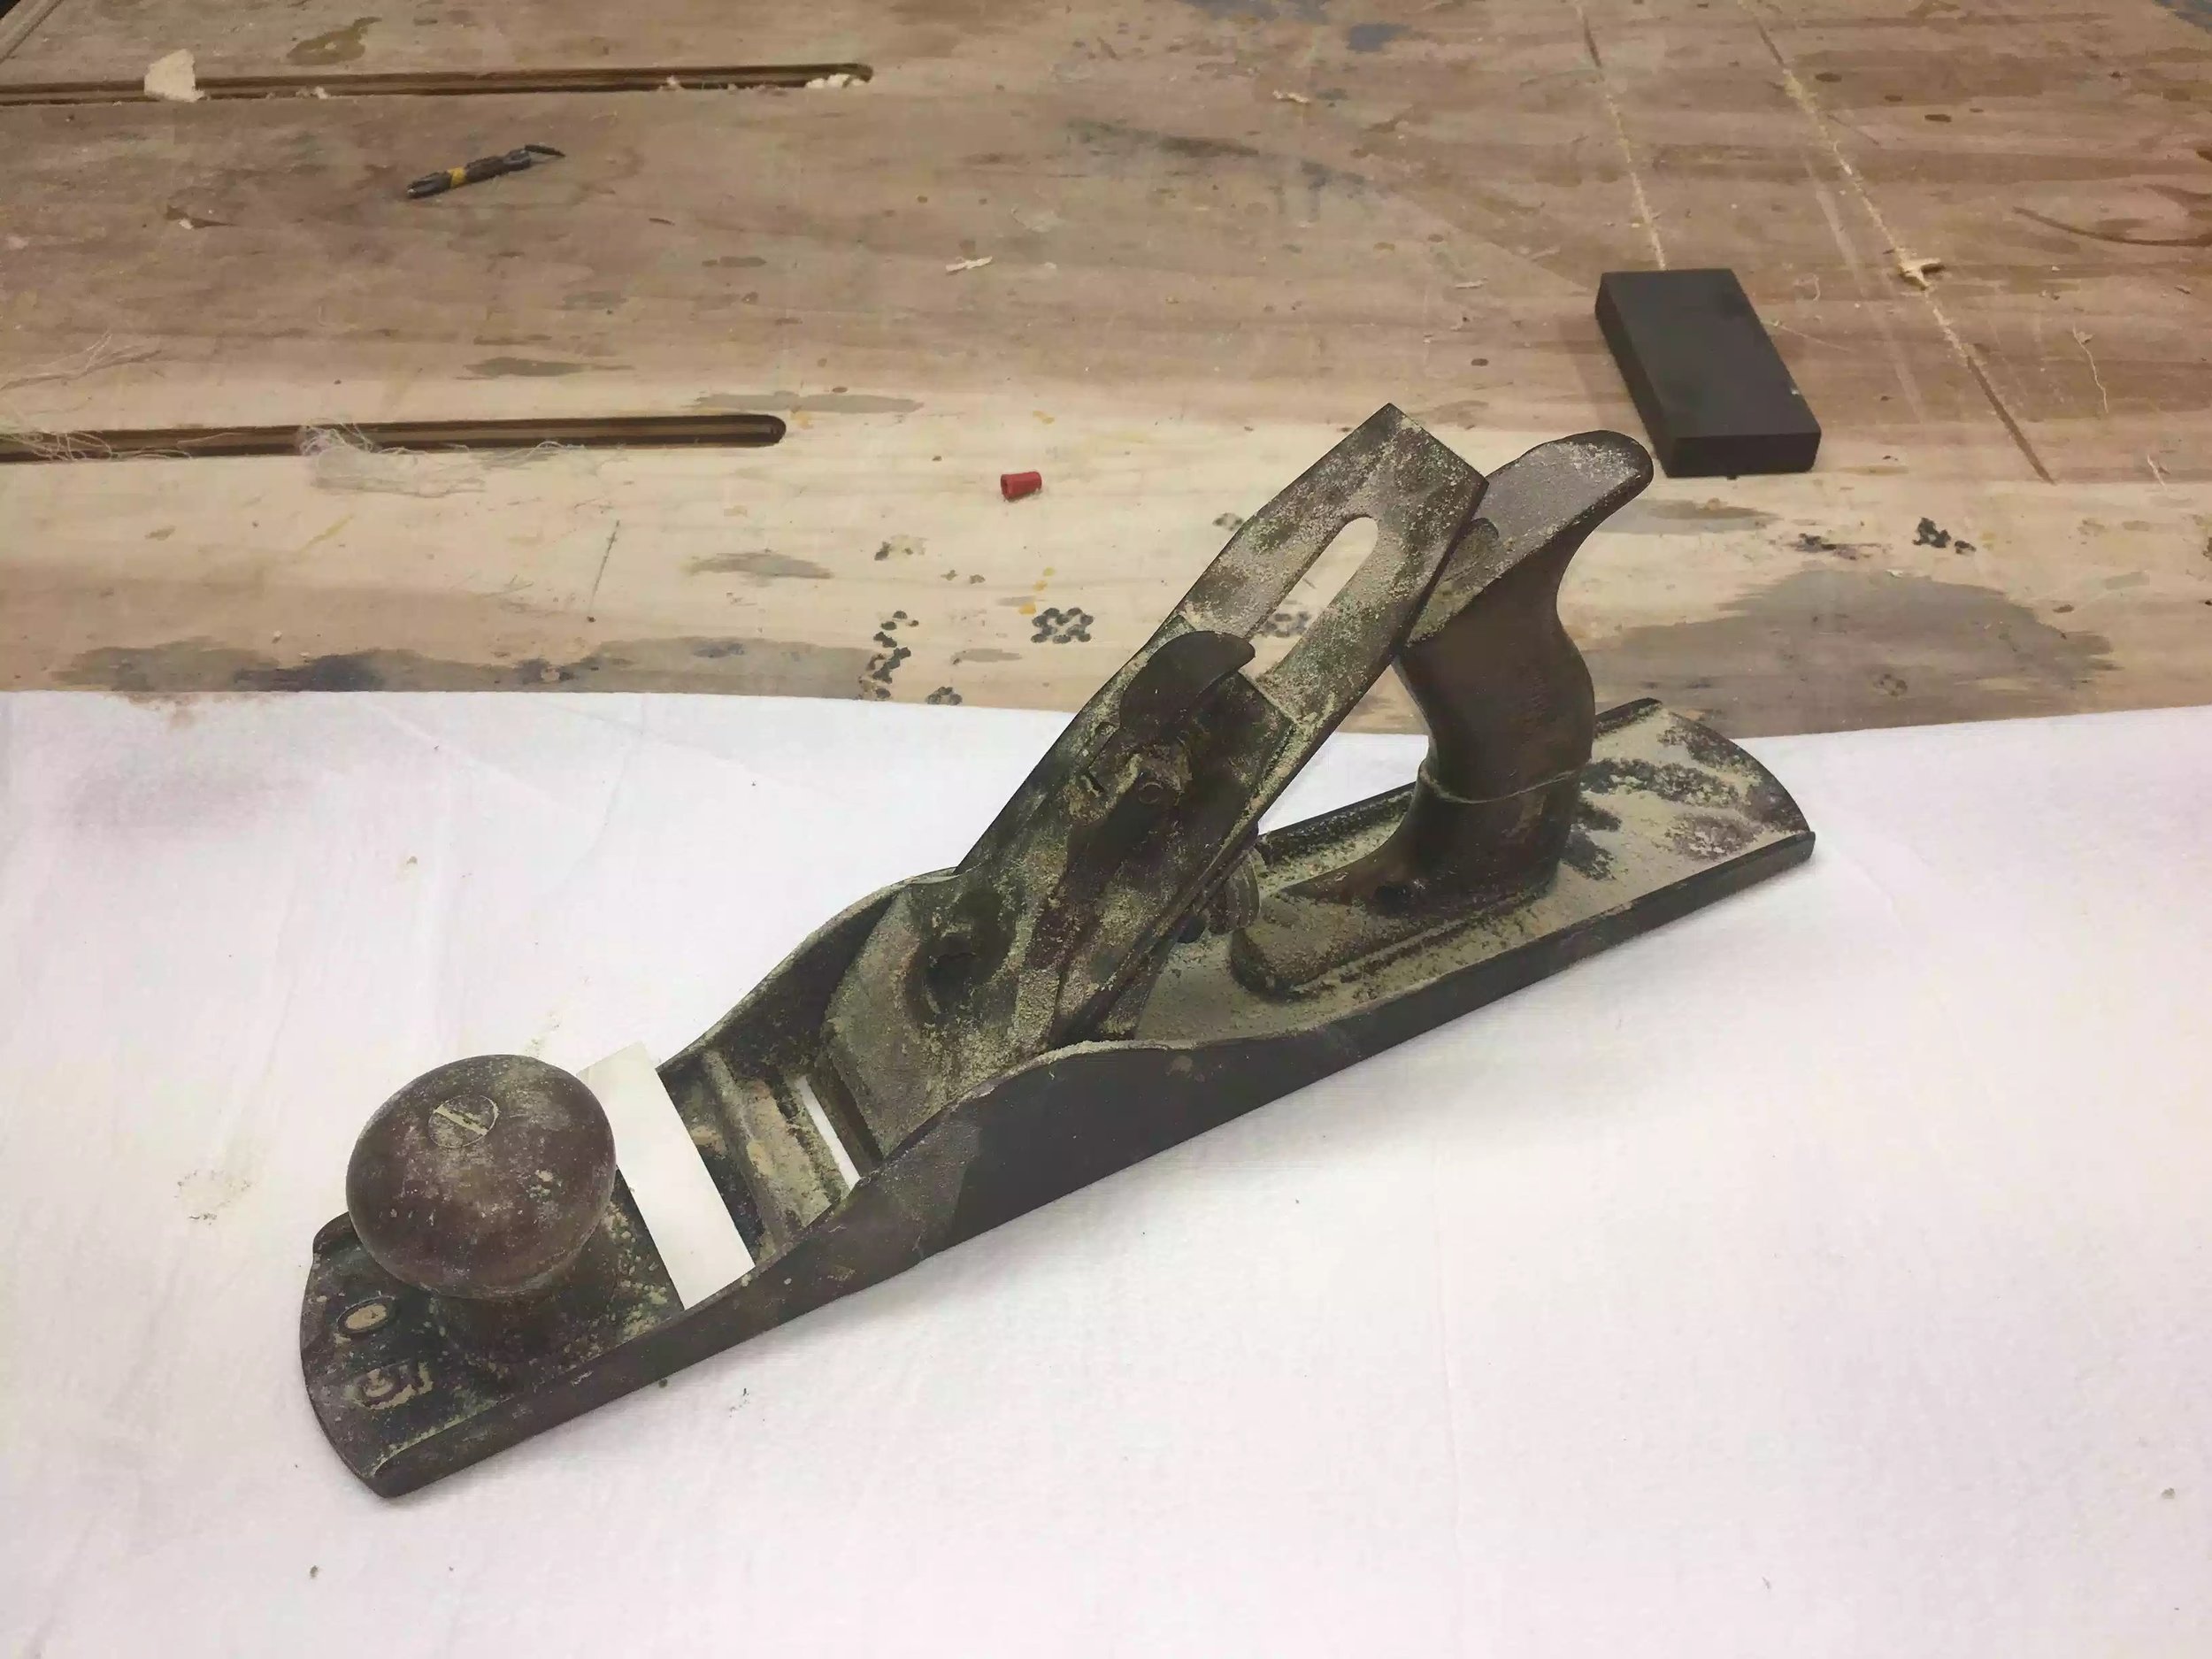
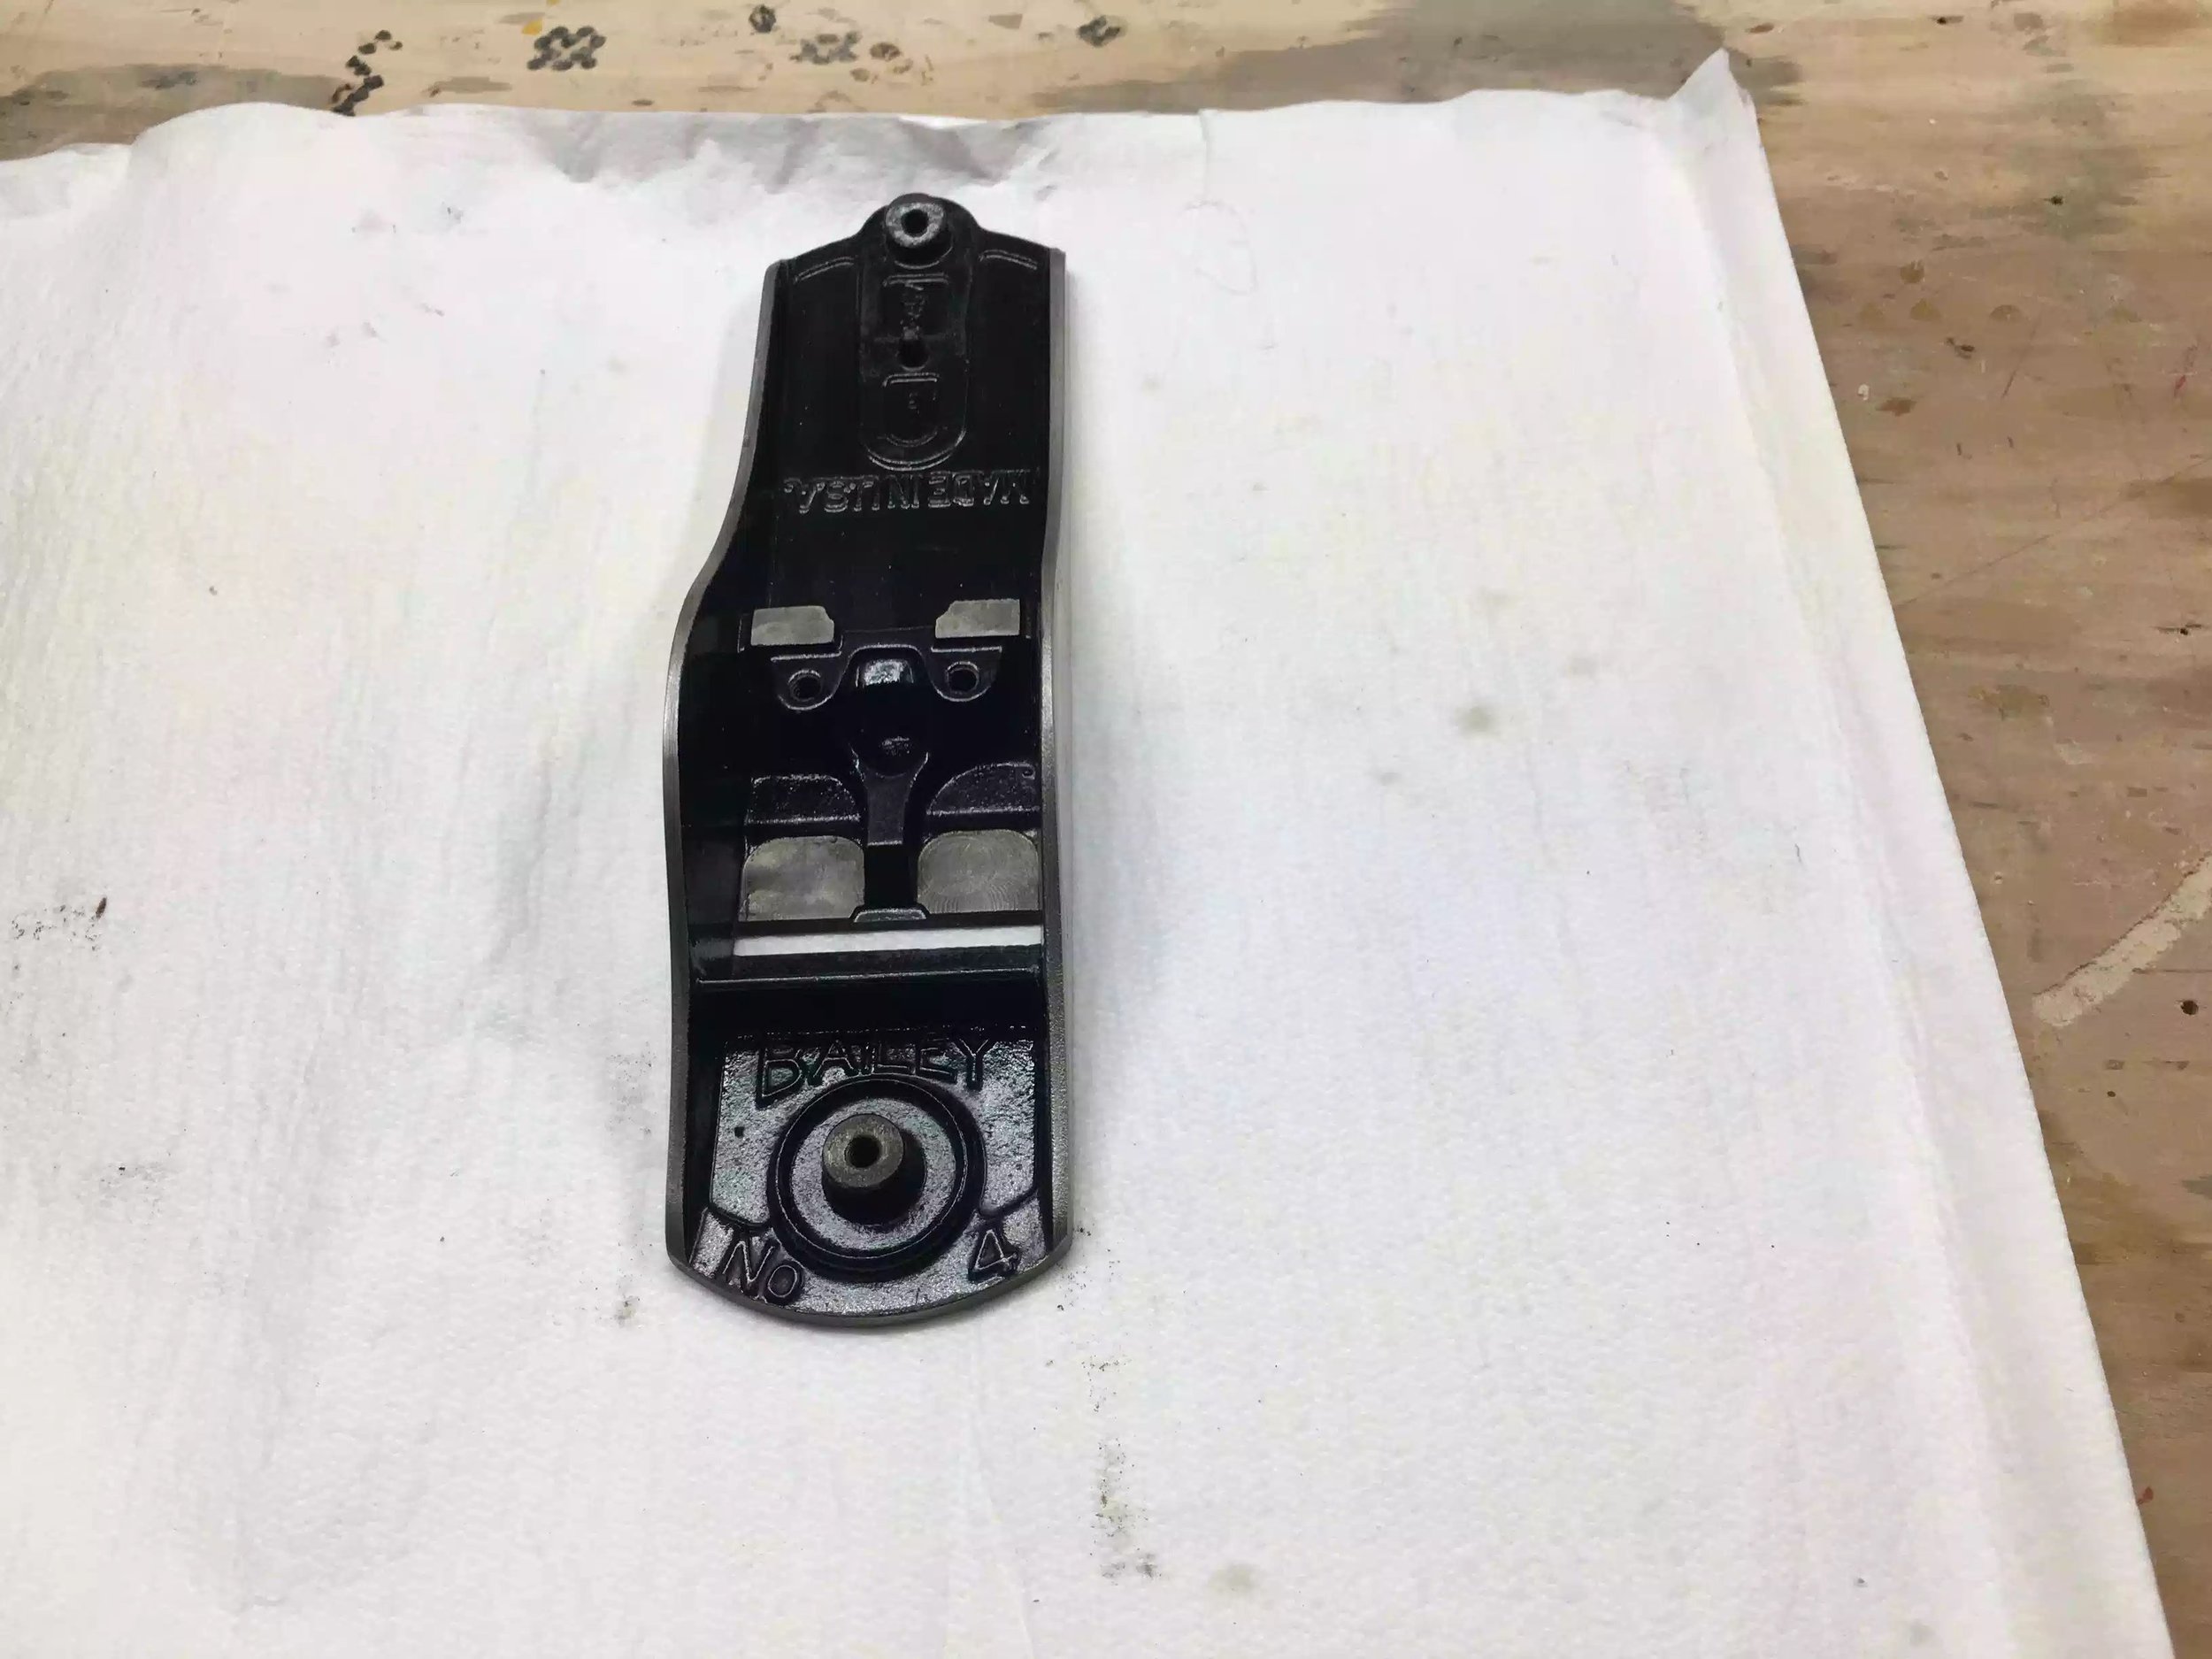
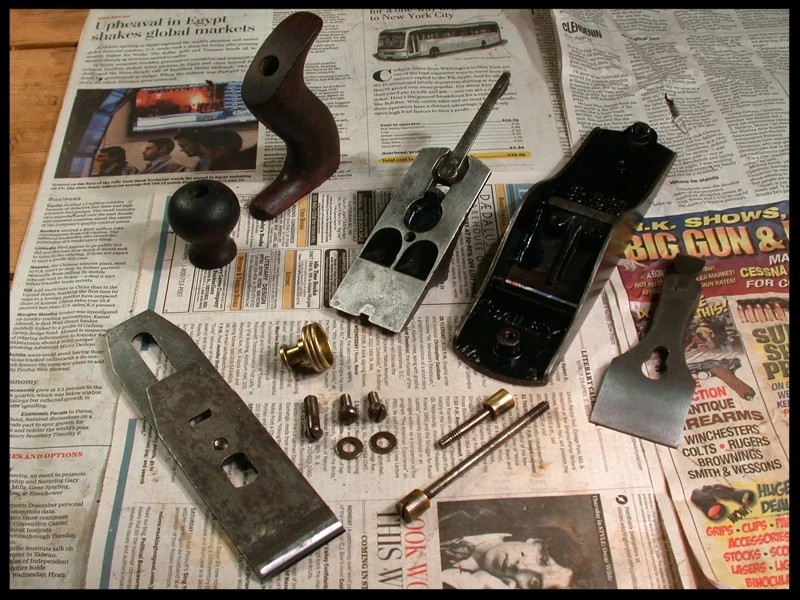
BEFORE RESTORATION

Some surface rust needed to be removed and the vinegar exceeded my expectations

The plane need a lot of elbow grease especially on the plane bed and the base of the plane.
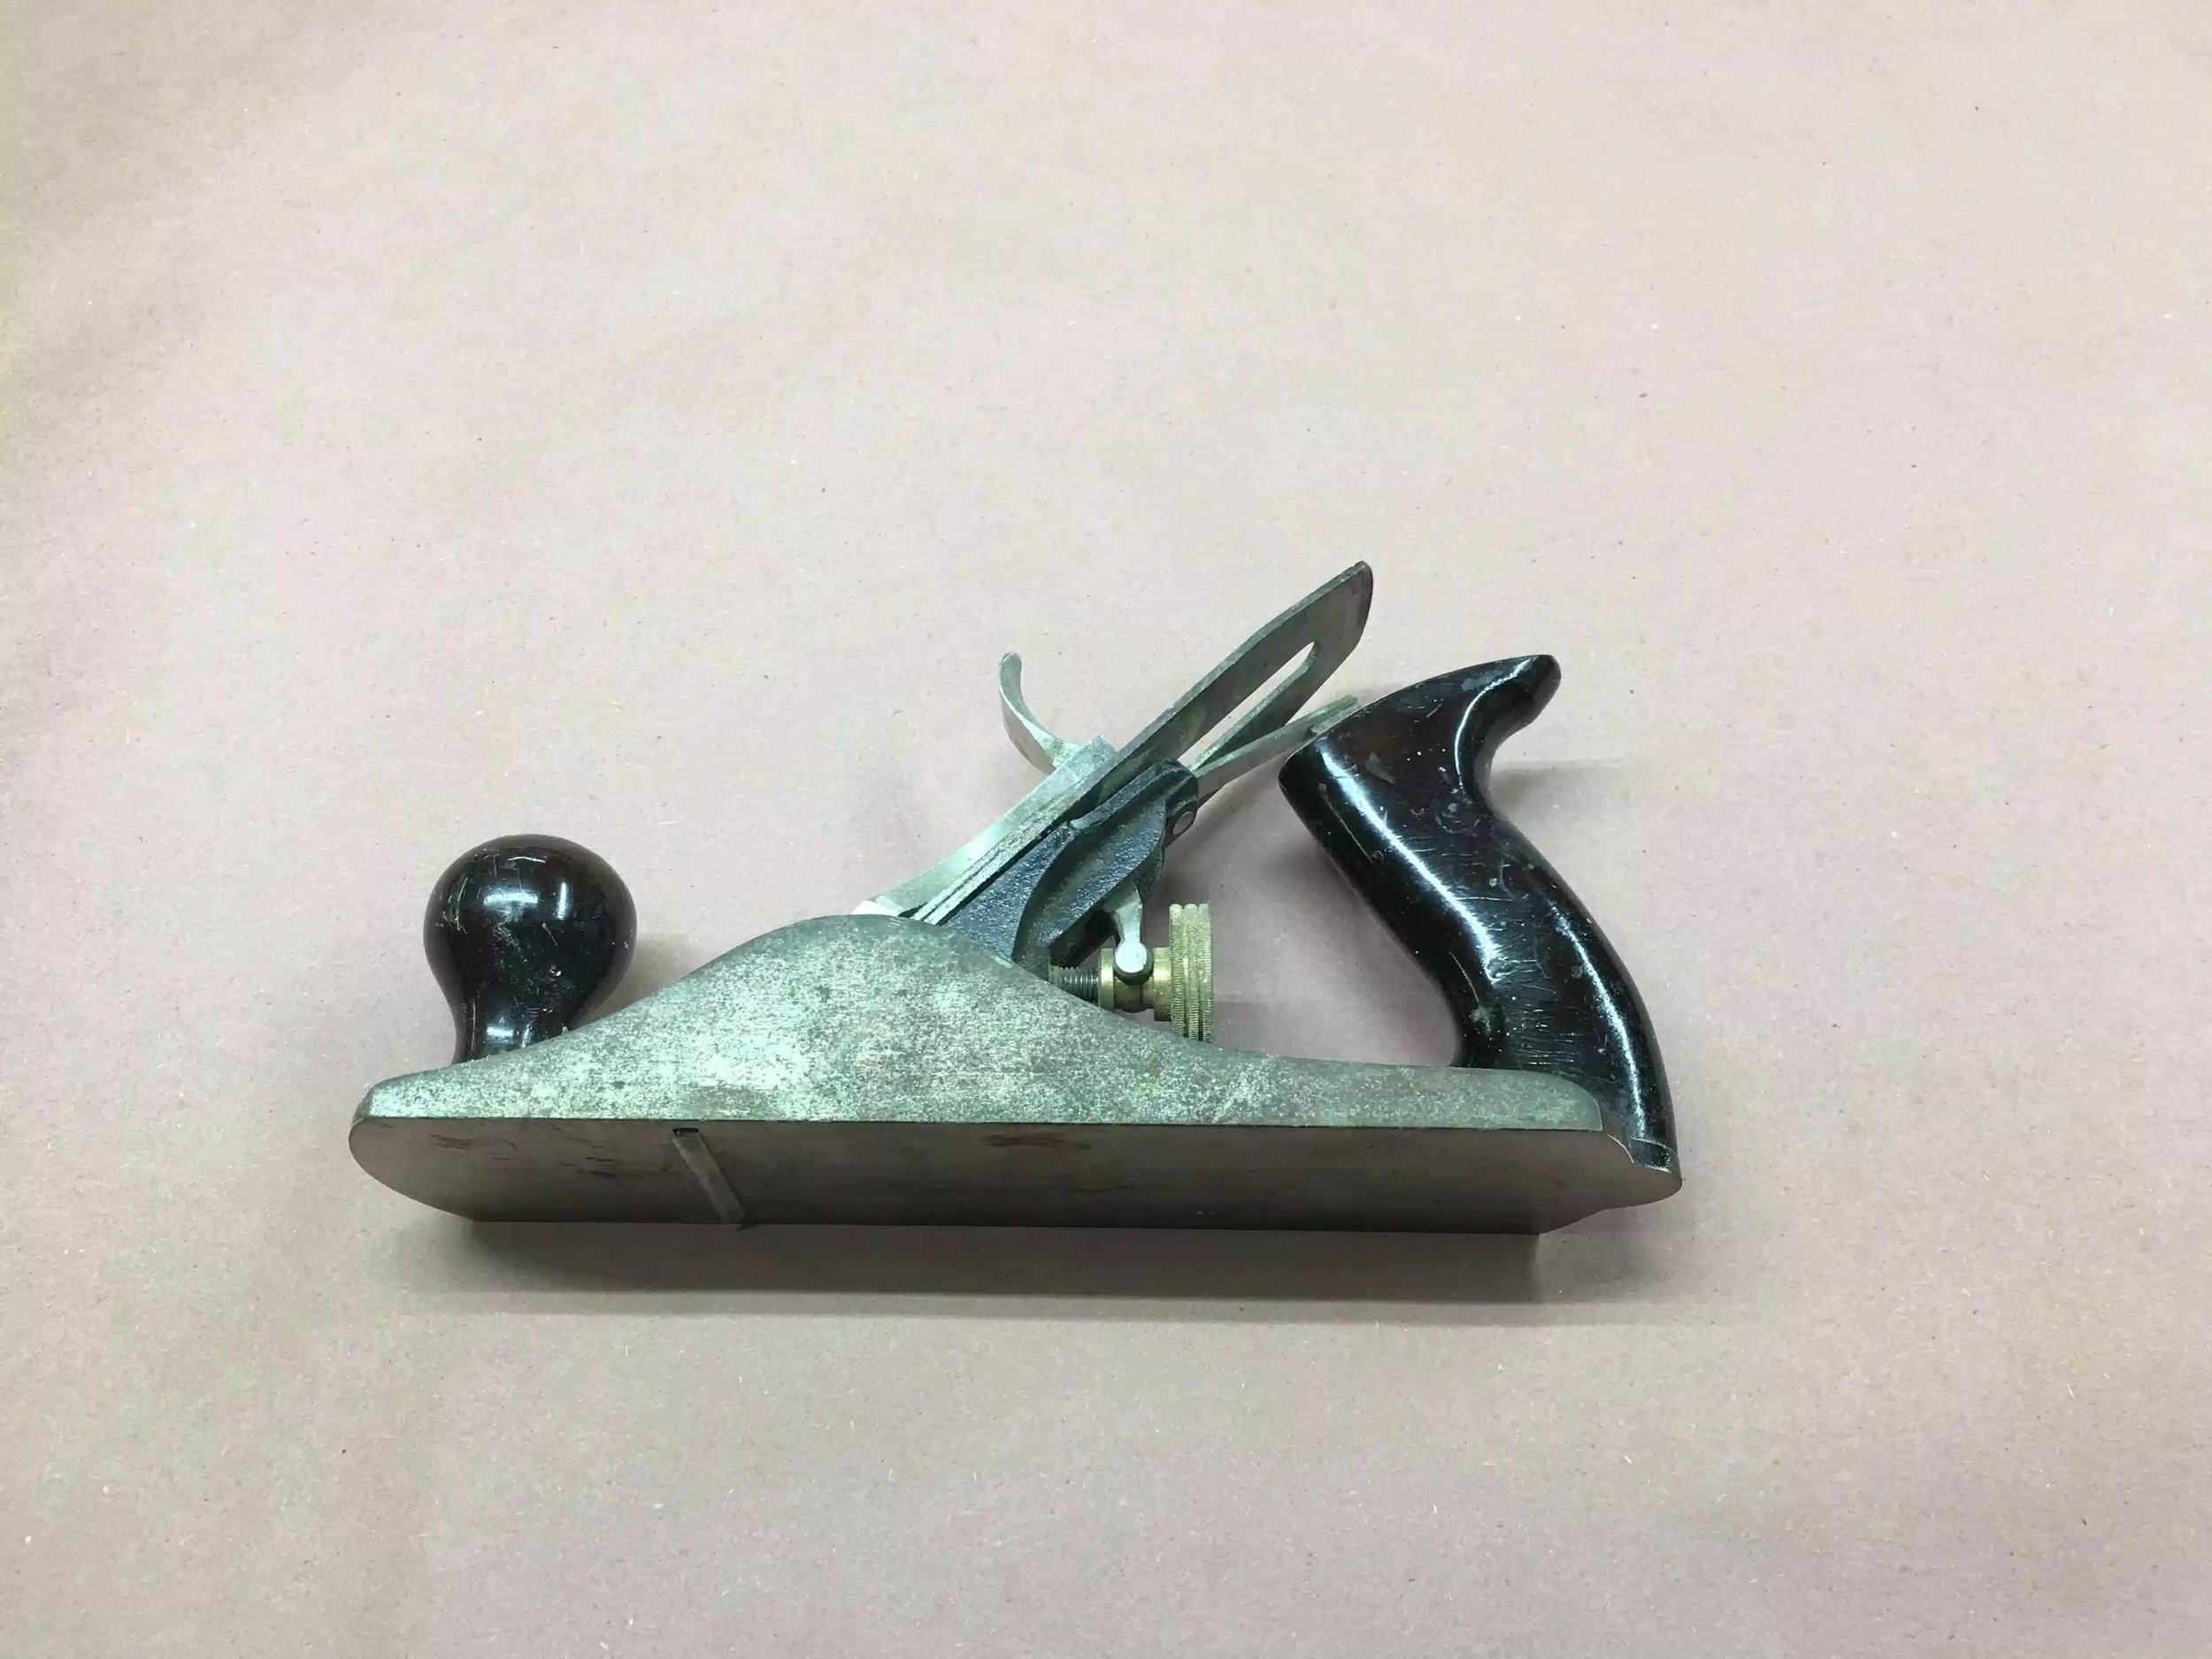
AFTER RESTORATION
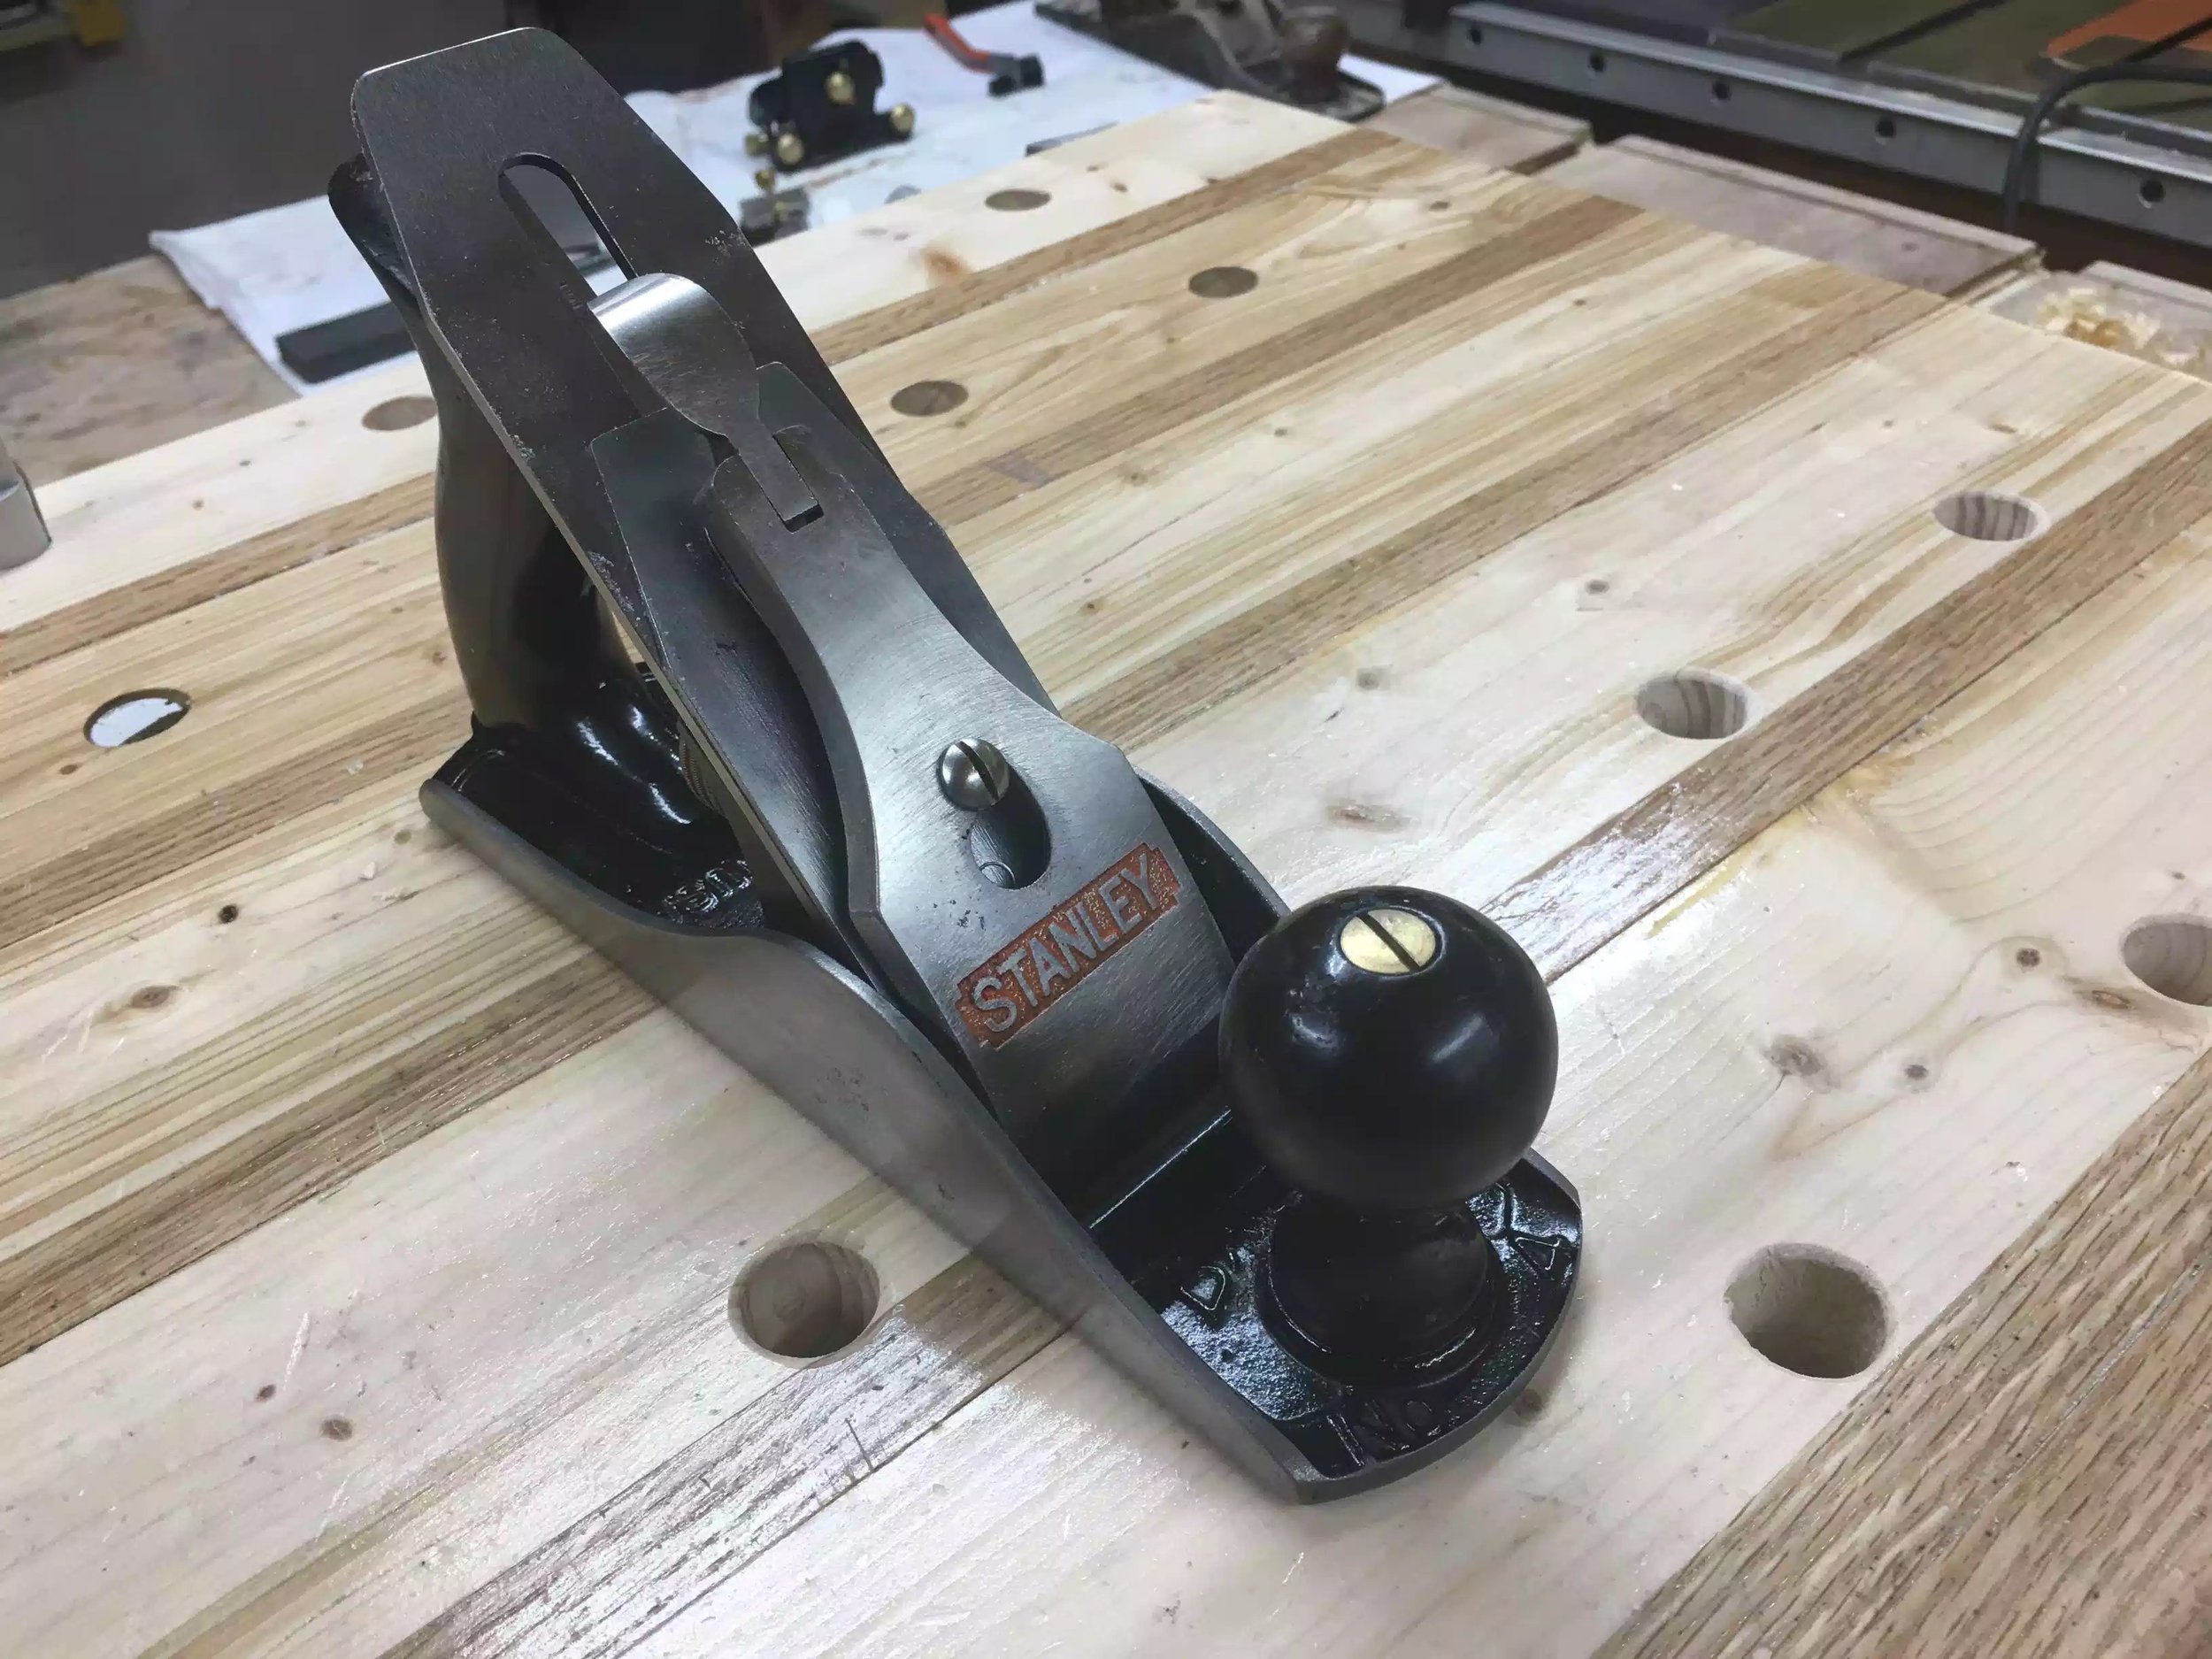
The plane came out awesome and actually can smooth wood….

As you can see the wood shavings are great, full length even thickness. I could not do this before the restoration.

I went through 4 grits of sandpaper to get the sides looking this good, if you are willing to put the effort in the rewards speak for themselves.

Here you can see how much better the bottom of the plane is and its dead flat, its probably the flattest surface in my shop.
Well thanks for reading and in my next project I am still in the restoration mode where I will be attempting to restore a #5 bench plane. This project has a lot more to it as it is in extremely bad condition with severe surface rust and a broken tote.