

So today I got so much done and the project is almost finished all I have to do is apply a finish to the station and add wood plugs to the screw holes and it will be ready.
Here is what I got done today:
Made a leather strop
Remade the base
Made wooden pulls
MADE A LEATHER STROP
One final item that I needed to make for the sharpening station was a leather honing strop and I found a YouTube video that Paul Sellers made regarding making one, he used a scrap piece of wood and some leather that I purchased at Woodcraft.
Since I had some oak left over from the lid what better use for it than to make 2 leather strops, I cut the oak to the same size as that of the diamond sharpening stones, 8”x3” and I used double sided tape to adhere the leather to the oak.

Here is the honing leather and honing compound that I used, you can find more details on woodcraft, just click the links. But here is all the materials I needed to make the strop’s.

Here are the 2 pieces of oak that I used for the base of the strop.

Next I cut the leather to size using a box cutter.

I added the double sided tape.

Now I have 2 nice honing strops and it only took 5 minutes.
REMADE THE BASE
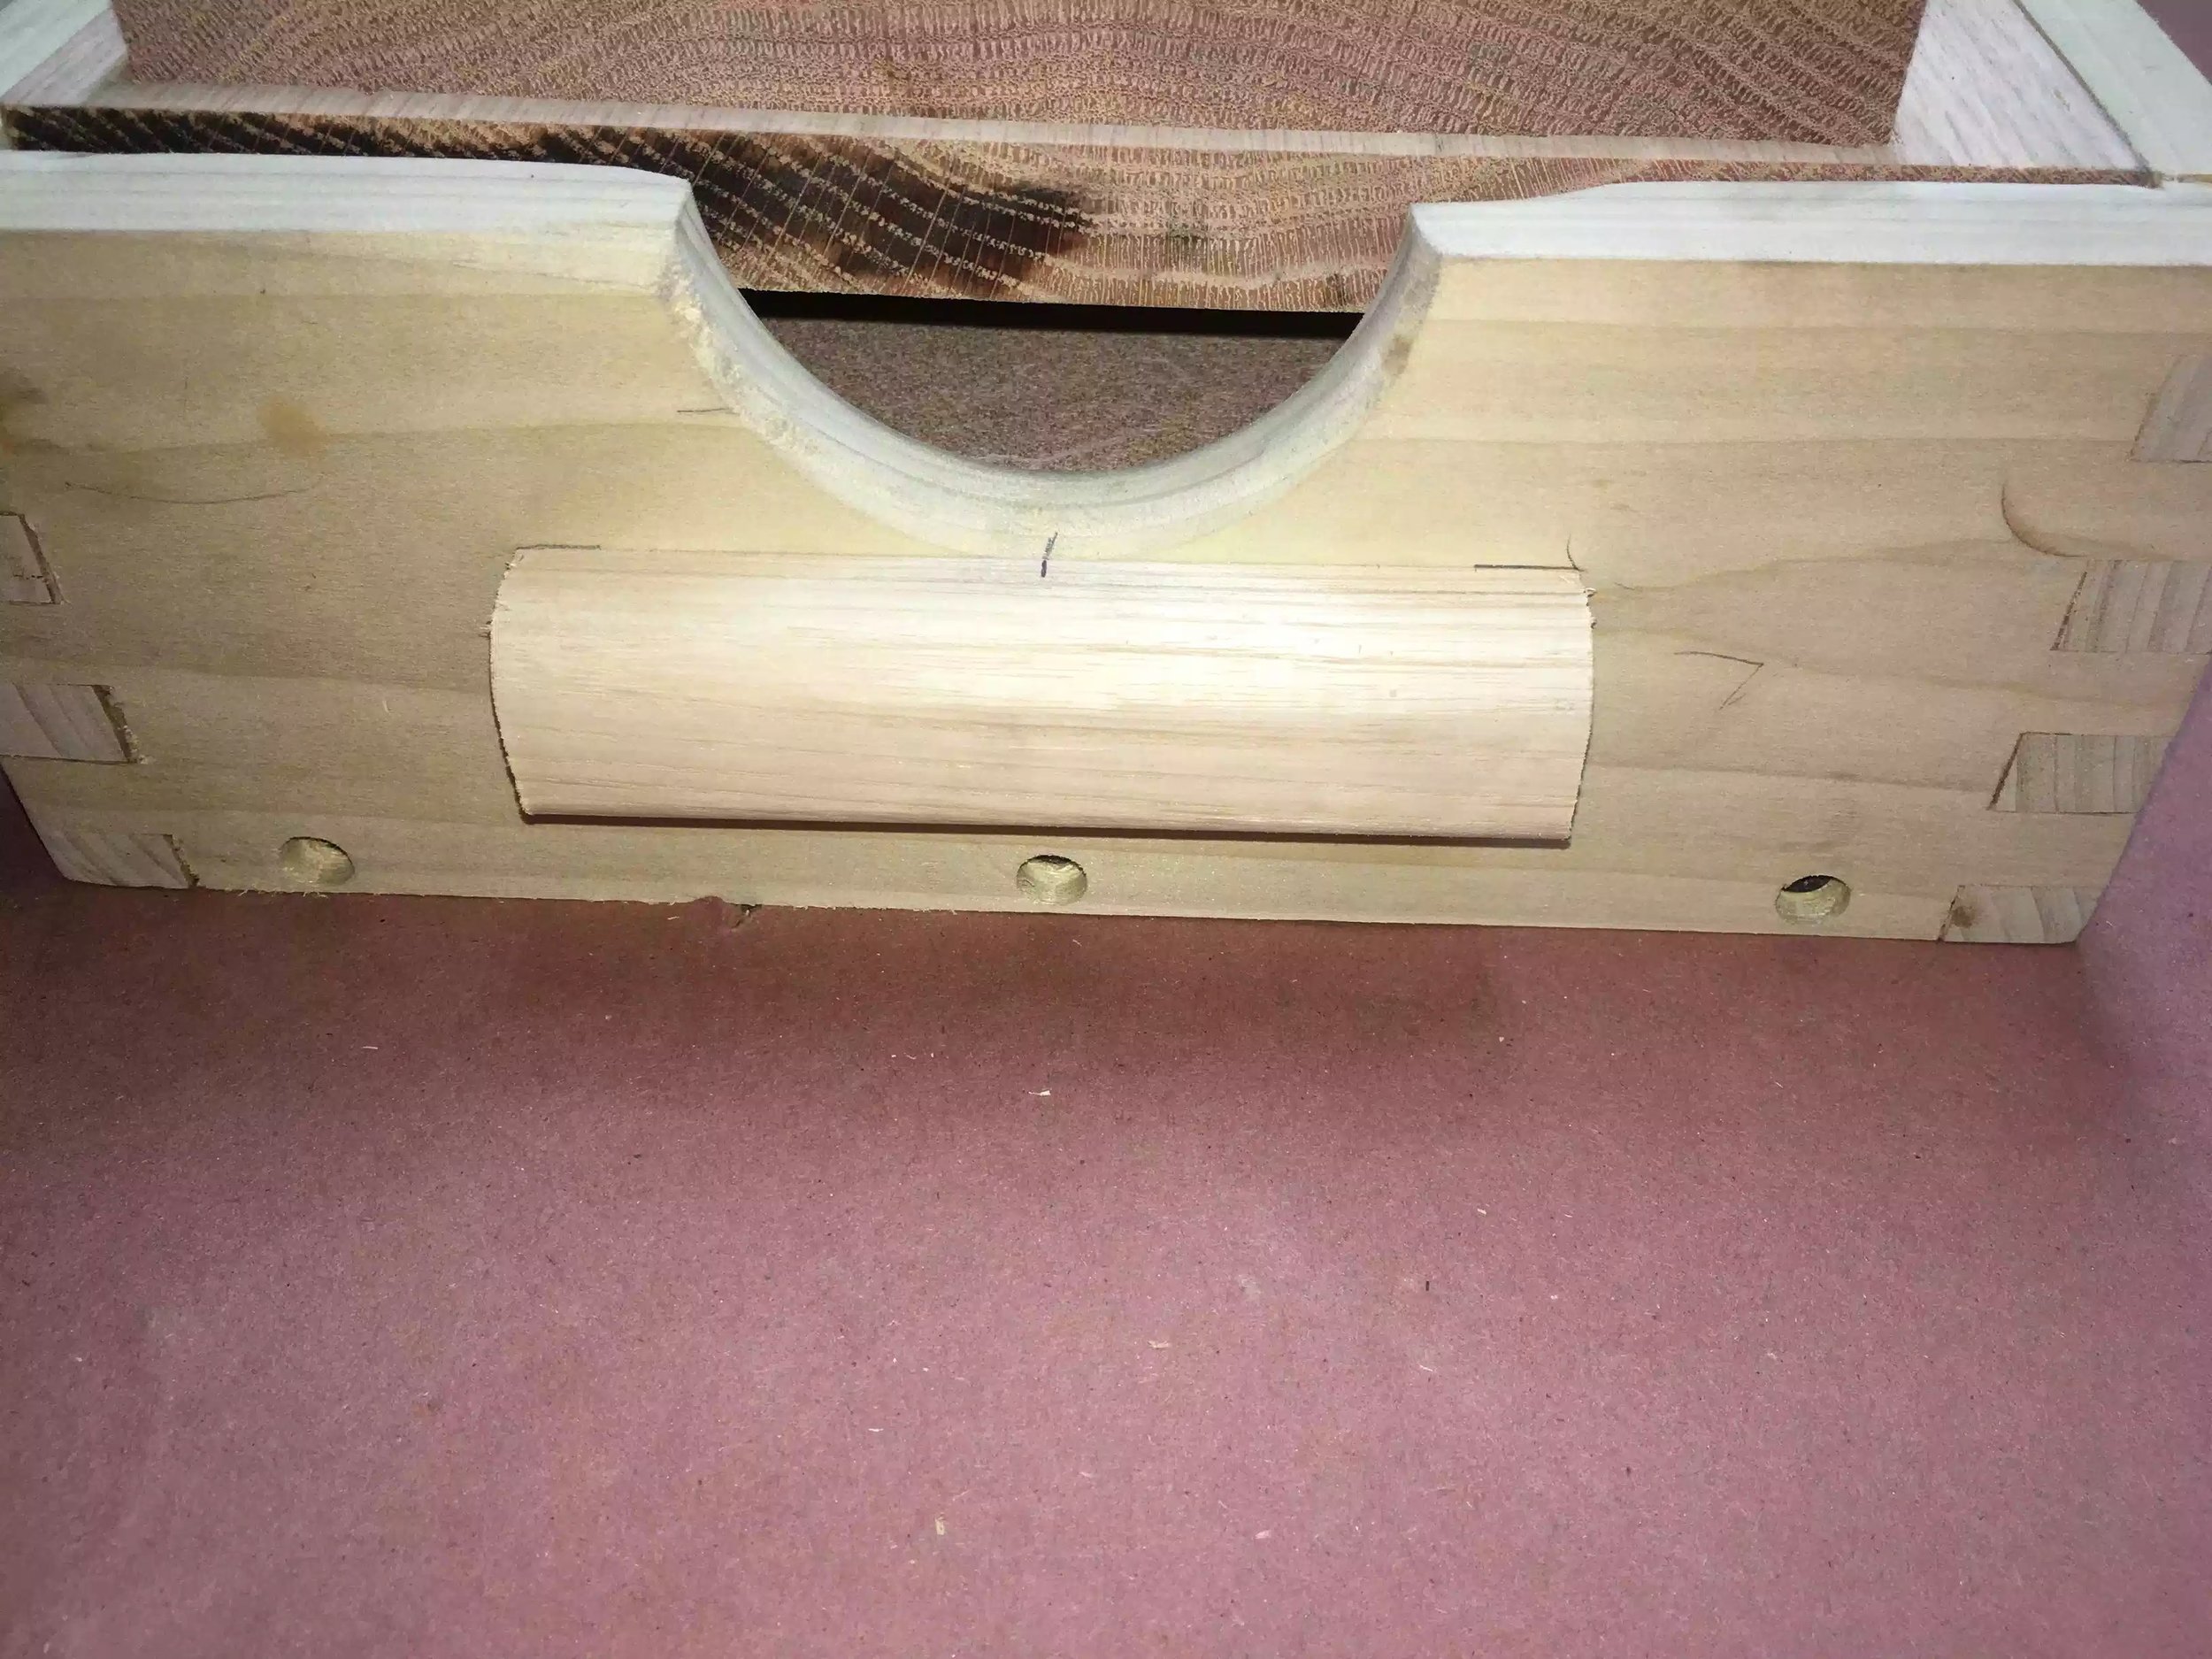
When I was looking at the base I needed to make one recess for a different type of honing guide, I really didn’t like the look of the recesses that I made previously so I just remade the base and added the extra recess. You can see the pictures below, I remade the base the same way by drawing layout lines of the size of the recesses that I need, used my palm router to route to the line and then cleaned it up with some chisels and now it looks much better.

Here is the new base with the added recess for an eclipse stile honing guide.

Here is the new base installed and looks a lot better,

So here is most of my accessories in the box, still need to figure out a method for housing my diamond plates.
MADE HANDLES
I needed to make 2 handles for the sides in order for me to carry the station around easily as it is heavy.
I originally made these pulls before for my Drill press cabinet that I made, I designed the pull on Sketchup and then made a bunch of them when I was making the drill press cart, and of course as usual I couldn’t find them, so I needed to make some more.
I had some left over ash from the drill press project that I used and made like 6 handles out of 30 inch piece of ash.
I used 3 router bits in making them, 1/2” Cove bit, 1/2” round-over bit and finally a 1/4” round-over bit. You can see the pictures below. I also attached my original project where I went into more detail on how I made the pulls, check below.

Here is my ash blank, I started off the process by routing the cove on the back side of the handle.

I made several passes with the cove bit, raising the bit incrementally.

Here are the 3 bits that I used firstly on the left is a 1/2” cove bit, middle 1/2” round-over, right is a 1/4” round-over.

I finally used the 1/2” round-over to add a profile to the top of the handle and then used the 1/4” round-over to the pull.

Here is a layout of what router bits and where I used them.

So here are the 6 pulls that I made from that one piece of ash, its so much cheaper doing your own pulls and are totally customizable
All that was left was to secure them on to the sharpening station, all I did to attach them was to center the pull on the center of the sides pre-drilled 2 holes to receive screws into the handles
Here is the pull attached.
So the project is almost complete and all I need to do tomorrow is to start applying the polyurethane finish and adding some wooden plugs to cover up the screw holes located near the bottom.
Below is where I left the project today and took several pictures to display it.

The sharpening station is more or less finished, I need to purchase 1 or 2 more sharpening stones .

Here is a frontal shot

Here is the inside

Other than the blemish in the recess I think it looks great, its only a shop project so it will get dinged up for sure and wont look any better than this in a short amount of time.
NEXT
Need to add wooden plugs to cover up the screw holes, Ill probably use oak.
Finally I need to start applying the finish, probably 2/3 coats of Polyurethane.
Thanks for looking, catch you soon.