

For the last few days I have been thinking about what finish to put on it, I was thinking about 2 finishes
- Finishing the book stand with chalk paint
- Using a oil based wood stain.
So I check with the boss and and agreed with me that chalk paint was not suitable for this project mainly because I wanted the grain to show through whatever color we put on it and she she agreed with me, So I purchased Varathanes Weathered Gray. We also agreed that we would not stain the entire stand so as to leave it two toned, so in the end we left the back legs & base unfinished and stained the shelving portions of the stand.
WHAT I DID TODAY
- I brought the unit upstairs to the home office and put it in the location that it will stay.
- Brought the unit back downstairs, and started using painters tape to cover the parts of the unit that were not to be stained.
- Finally today I stained the unit.
BROUGHT THE UNIT UPSTAIRS
I needed to visually see the book stand in its intended home so I brought it upstairs and my wife was very happy with the design and she didn't think it was going to be that big, size is a factor in the home office because there are still projects to be made and we need to make sure that we have enough room.

Here is the unit in its location in the home office, now I can get to finishing.
PAINTERS TAPE TIME
In order to achieve the 2 toned look on the project and that my painting and staining skills are not great, I used painters tape to section off the areas of the book stand that I didn't want stain on. It took me a long time getting the painters tape on because there are so many angles and areas that are awkward to get to.
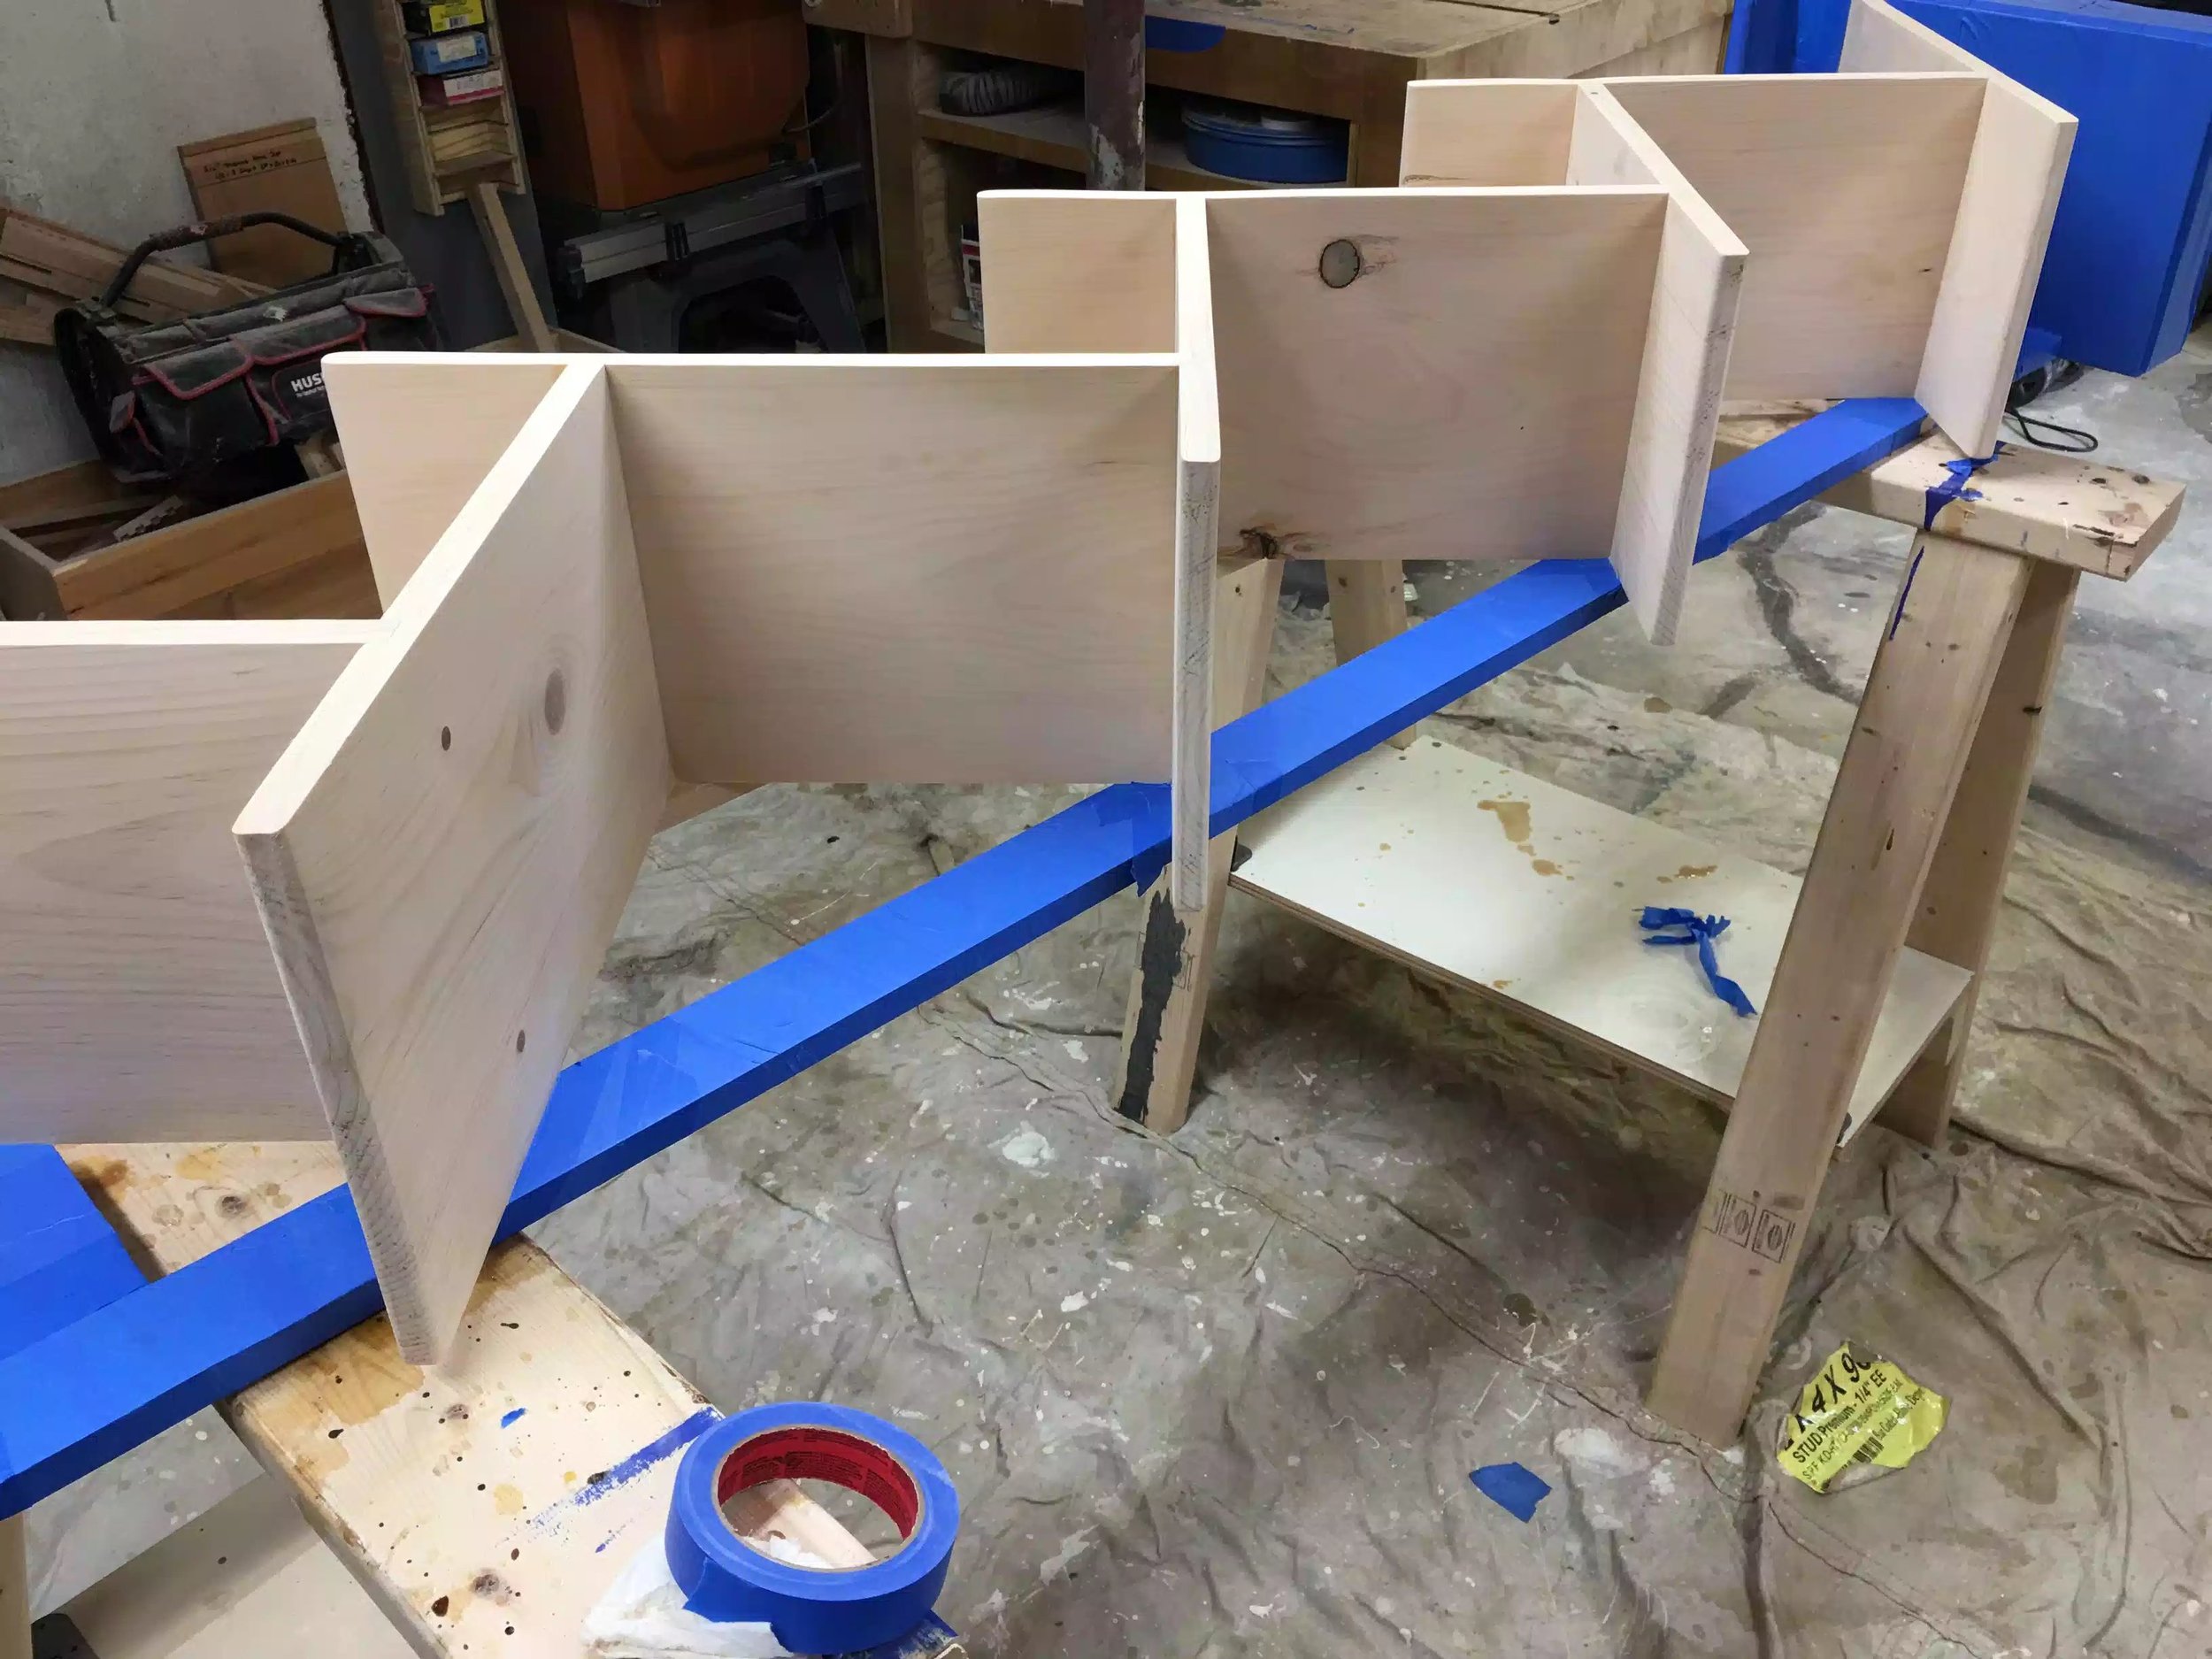
The back right leg all taped up, I used alot of tape for this process.

Starting on the base, its all taped up.

All taped up and getting ready for the stain, I thought the best position to apply the stain was in the vertical position, that way I could get to all parts of the shelves and pooling would be at a minimum between the shelf ends.

Here is the unit on its side and I have taped up both legs, almost done and ready for stain.

Side view
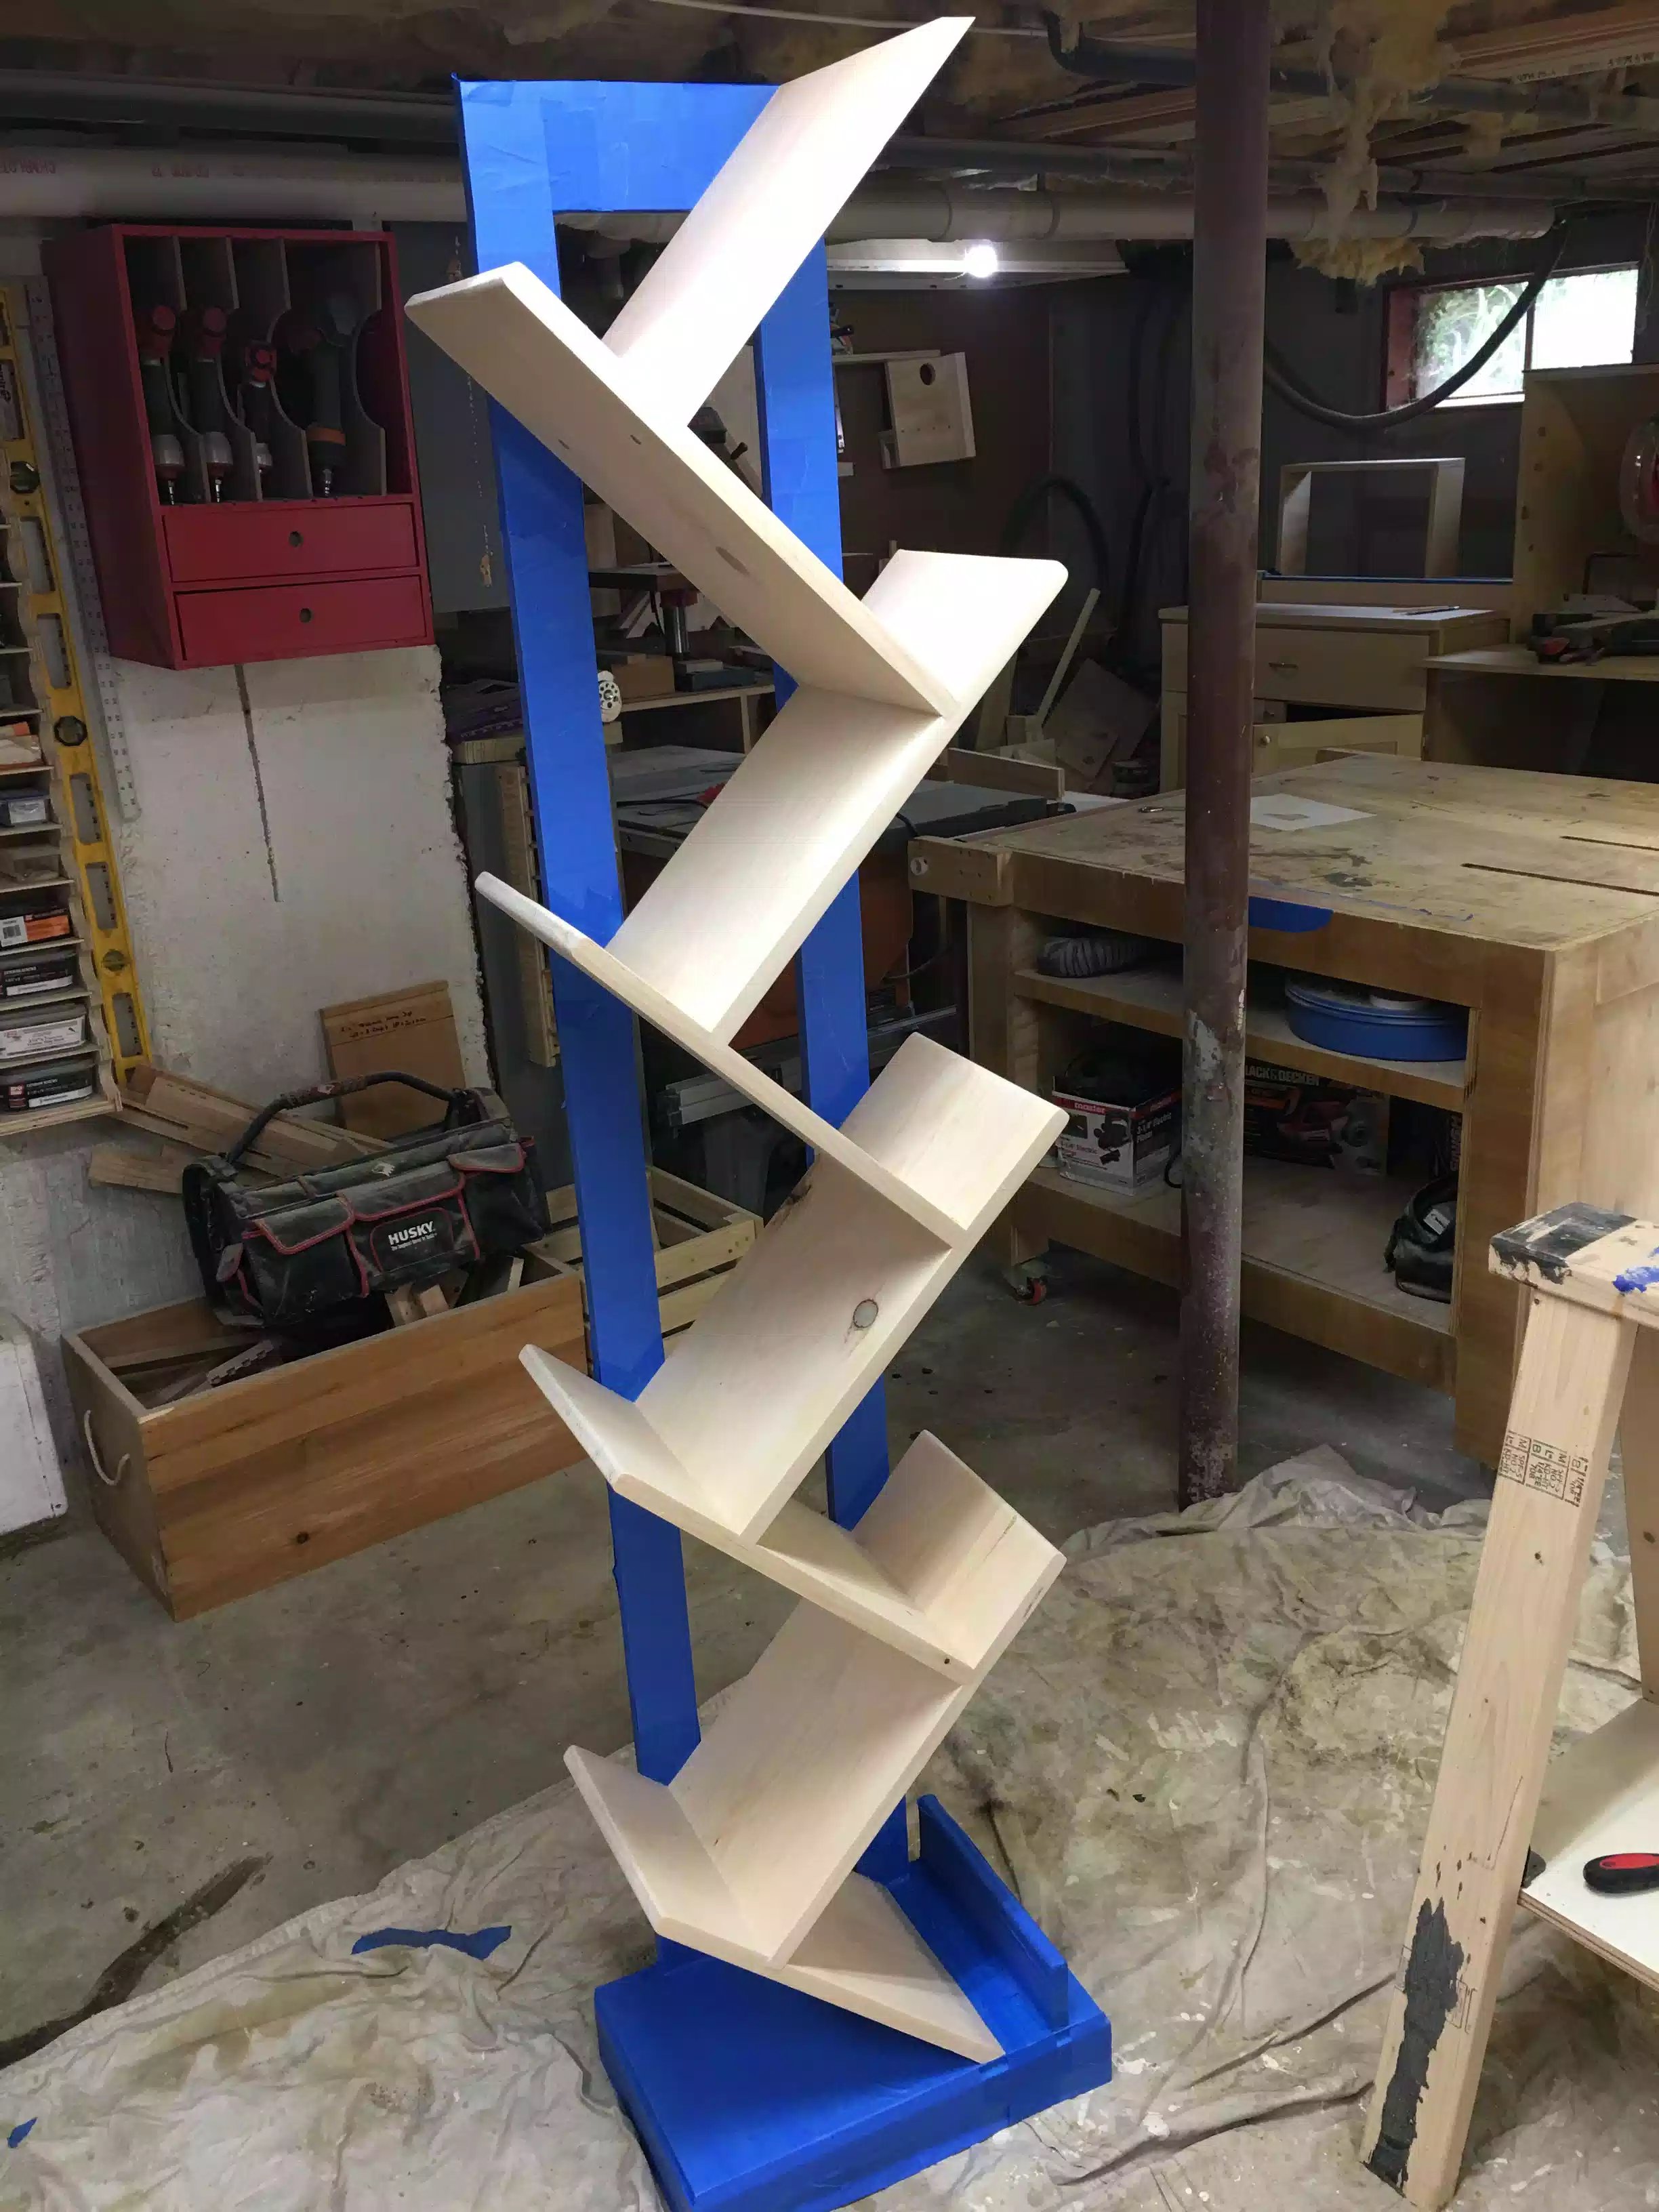
Not a bad job, but time will tell. I'd better not see one drop of stain on the taped areas.
STAINING TIME
So now we are ready to stain the last 2 hours have been building upto this part of the project, sometimes I am nervous because I am not the worlds best finisher and I hope the color is nice, I did do a few test pieces to make sure the color on the can matches the actual stain because sometimes in the past it doesn't especially wood colors, like oak or walnut, but this is gray so it should be OK.
The pictures below are after I just stained it and I left the project for a couple of hours to dry and checked it again later, the stain said that it would dry in about an hour but because I work in a basement my drying times tend to me alot longer. But before I closed the shop up for the day I checked it and it was bone dry.

I really like this color, we will see how it dries and Ill check it tomorrow

A little close up shot
NEXT
- I need to remove all the blue tape and pray no stain got on them parts
- I also need to apply an oil base polyurethane so as that I protect the parts that are not stained and also so as that I can clean the project when it gets dusty.
- Finaly need to bring it upstairs and attach it to the wall, I have 2 crazy kids that are sure to be messing around it.
Until then............