

So yesterday I was looking at the project and new that I wasnt finished I had to do a little more to finish the construction work on the unit and I also needed to find a way to add some stability to the unit and thats when it hit me. In a moment of inspiration I realised that I needed to add bracket feet and a frame to the underside of the base. But I will get into that a little later.
WHAT I DID TODAY
- Added the final top shelf
- Add wooden plugs to the holes where I added the screws to hold the shelves in place
- Designed & Started making the Bracket feet
ADDING THE FINAL TOP SHELF
Since I completed all the shelves other than this one I made quick work of it, I left the final shelf because I wasnt sure of the exact length of the shelf so I measured the approx length of the shelf and put it into the dado I could for it and struck a line across the back edge abd since I wanted the top of that shelf flush with the top of the back legs I took it to the tablesaw and cut the 45 degree bevel into it. I glued and screwed it into place through the back side of the dado as usual Below you can see the picture of top shelf.

Top shelf in place
ADDING WOODEN PLUGS TO THE HOLES
I didn't want all the screw holes showing on the undersides of the shelves and also anywhere that was visible so I usually counter-sunk the holes and add wooden plugs like below, I have used varous method of using plugs sometimes I make my own using a plug cutter in my drill press or buy them in bulk. Sometimes I use the same colored wood but most of the time I use a contrasting wood to highlight the joinery method it looks like a old fashioned dowel was used.

Here you can see the oak plugs I just need to sand them smooth or use my flush cutting saw to trim them.
These are the plugs I used on this project 3/8" Oak plugs

Here is an example of a plug cutter.

Here is another shot of the plugs I really think it adds a nice touch to an otherwise ugly alternative to leaving the hole.
DESIGNED & STARTED MAKING THE BRACKET FEET
So the other day I received a woodworking magazine that explained how to make bracket feet, it went into alot of detail on where they came from and what they can be used for nd it struck me that I adopt this nto my shelving unit.
So I went to Sketchup to draw out a model to see what it will look like in 3D and I have to say it will look very nice, I didn't make them as big as the ones you see on big pieces of period furniture but they do add a elegance to the bottom of the shelving unit.
So after Sketchup I printed what I made and took them to my shop and I had enough scrap lumber to experiment with making them. I started off my making a template so as that I cut rough cut them at the scroll saw and then use my router with my flush trim bit , below you can see some of the pictures. I haven't completed it yet but here are the steps in what I am making.
SKETCHUP DRAWING
I value my 3D software programe called Sketchup as much as I value any tool in my shop, it really allows you the ability to play around with so many visual concepts to see if they work on a live project such as this one. I was really having a hard time trying to decide what style of bracket feet to make and also was unsure as to how they would be added to this specific project, to this end I love using Sketchup Pro.

Here you can see the 2D rendering of my Bracket Feet, I designed this on Sketchup as mentioned above. I really like this and think it will work very nicely on this project

Here you can see the base in relation to the rest of the book stand, I really like how this looks as well as solving my rigidness headaches.
Make the Template
Using a scaled print out of the model i made in sketchup I cut it out and added the paper to a piece of masonite and then carfully sanded the template to the exact shape, I was carefull to use 2 factory edges from the masonite only leaving me to cut the arch on my scroll saw and in this picture you see me using my oscillating spindle sander to finalise the shape
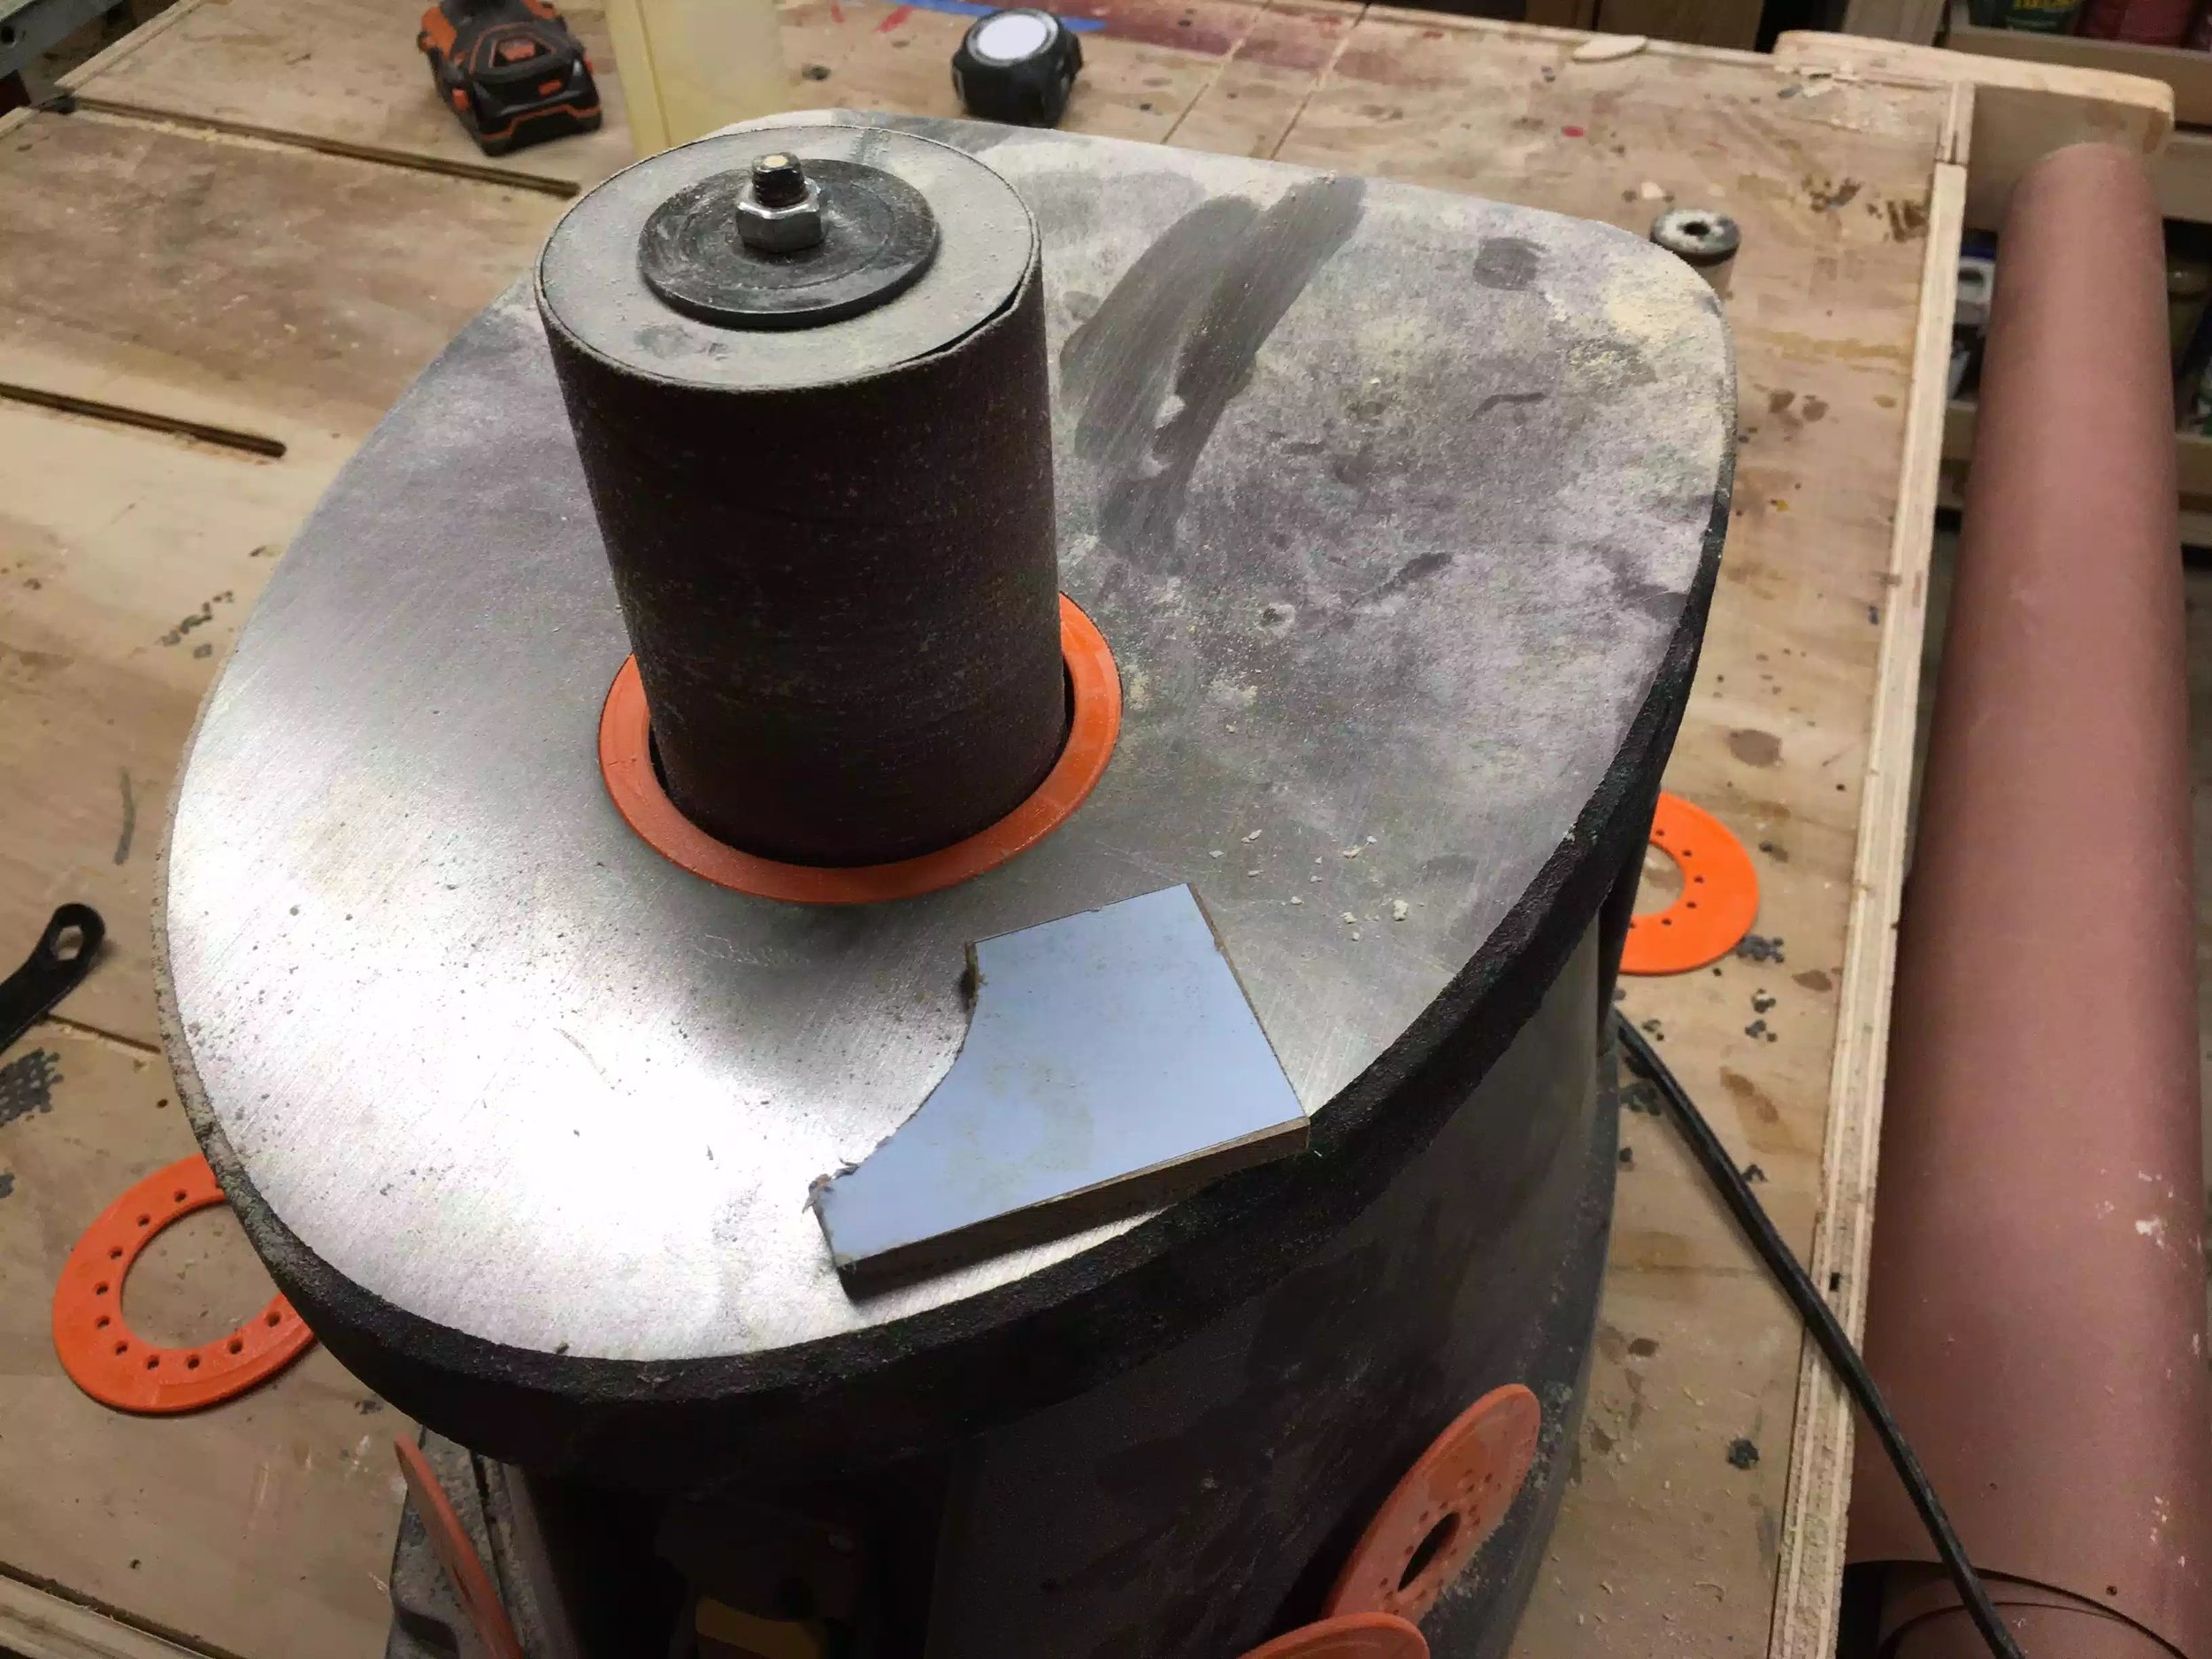
Here you see me using my oscillating spindle sander to sand the arch I made the arch with an 1 1/2' radius that way they sanding sleeve would fit the the cicrcle
MAKING THE BRACKET FEET
So since I have my template I can start making the feet, these feet are not big there basically 2" wide x 3"long. I start my selecting the wood, I want the grain to wrap around the feet something I have been wanting to try and now is as good as time as any to practice this. I basically cut 4 strips out of the scrap pine board I had left over and I marked each board with numbers to keep them all matched until it was time to glue them up. I cut them on my crosscut sled on the table-saw, marked used double stick tape to stick my pattern on and took it to my router table where I installed a flush-trim bit in the router and trimmed them. I used my oscillating spindle sand to smooth all the milling marks and then proceeded to glue them up. I used a trick I saw on TV where a woodworker used painters tape as clamps, its always a challenge to glue up mitered joints and proved especially hard on small parts like these. I did think about using a splined miter joint but the parts were small cutting the groove for the spline would be difficult. Below you can see the pictures of this process.

Using my template to gauge how much I would need and also determine where I needed to cut them apart and wrap the grain around both sides of the feet.

I used my spindle sander to clean up the curved face.

I laid out all the feet to keep them orgnised so I keep mating parts together for the next step which was cutting the 45 degree bevel to join both sides of the legs together without seeing the end grain of the wood.
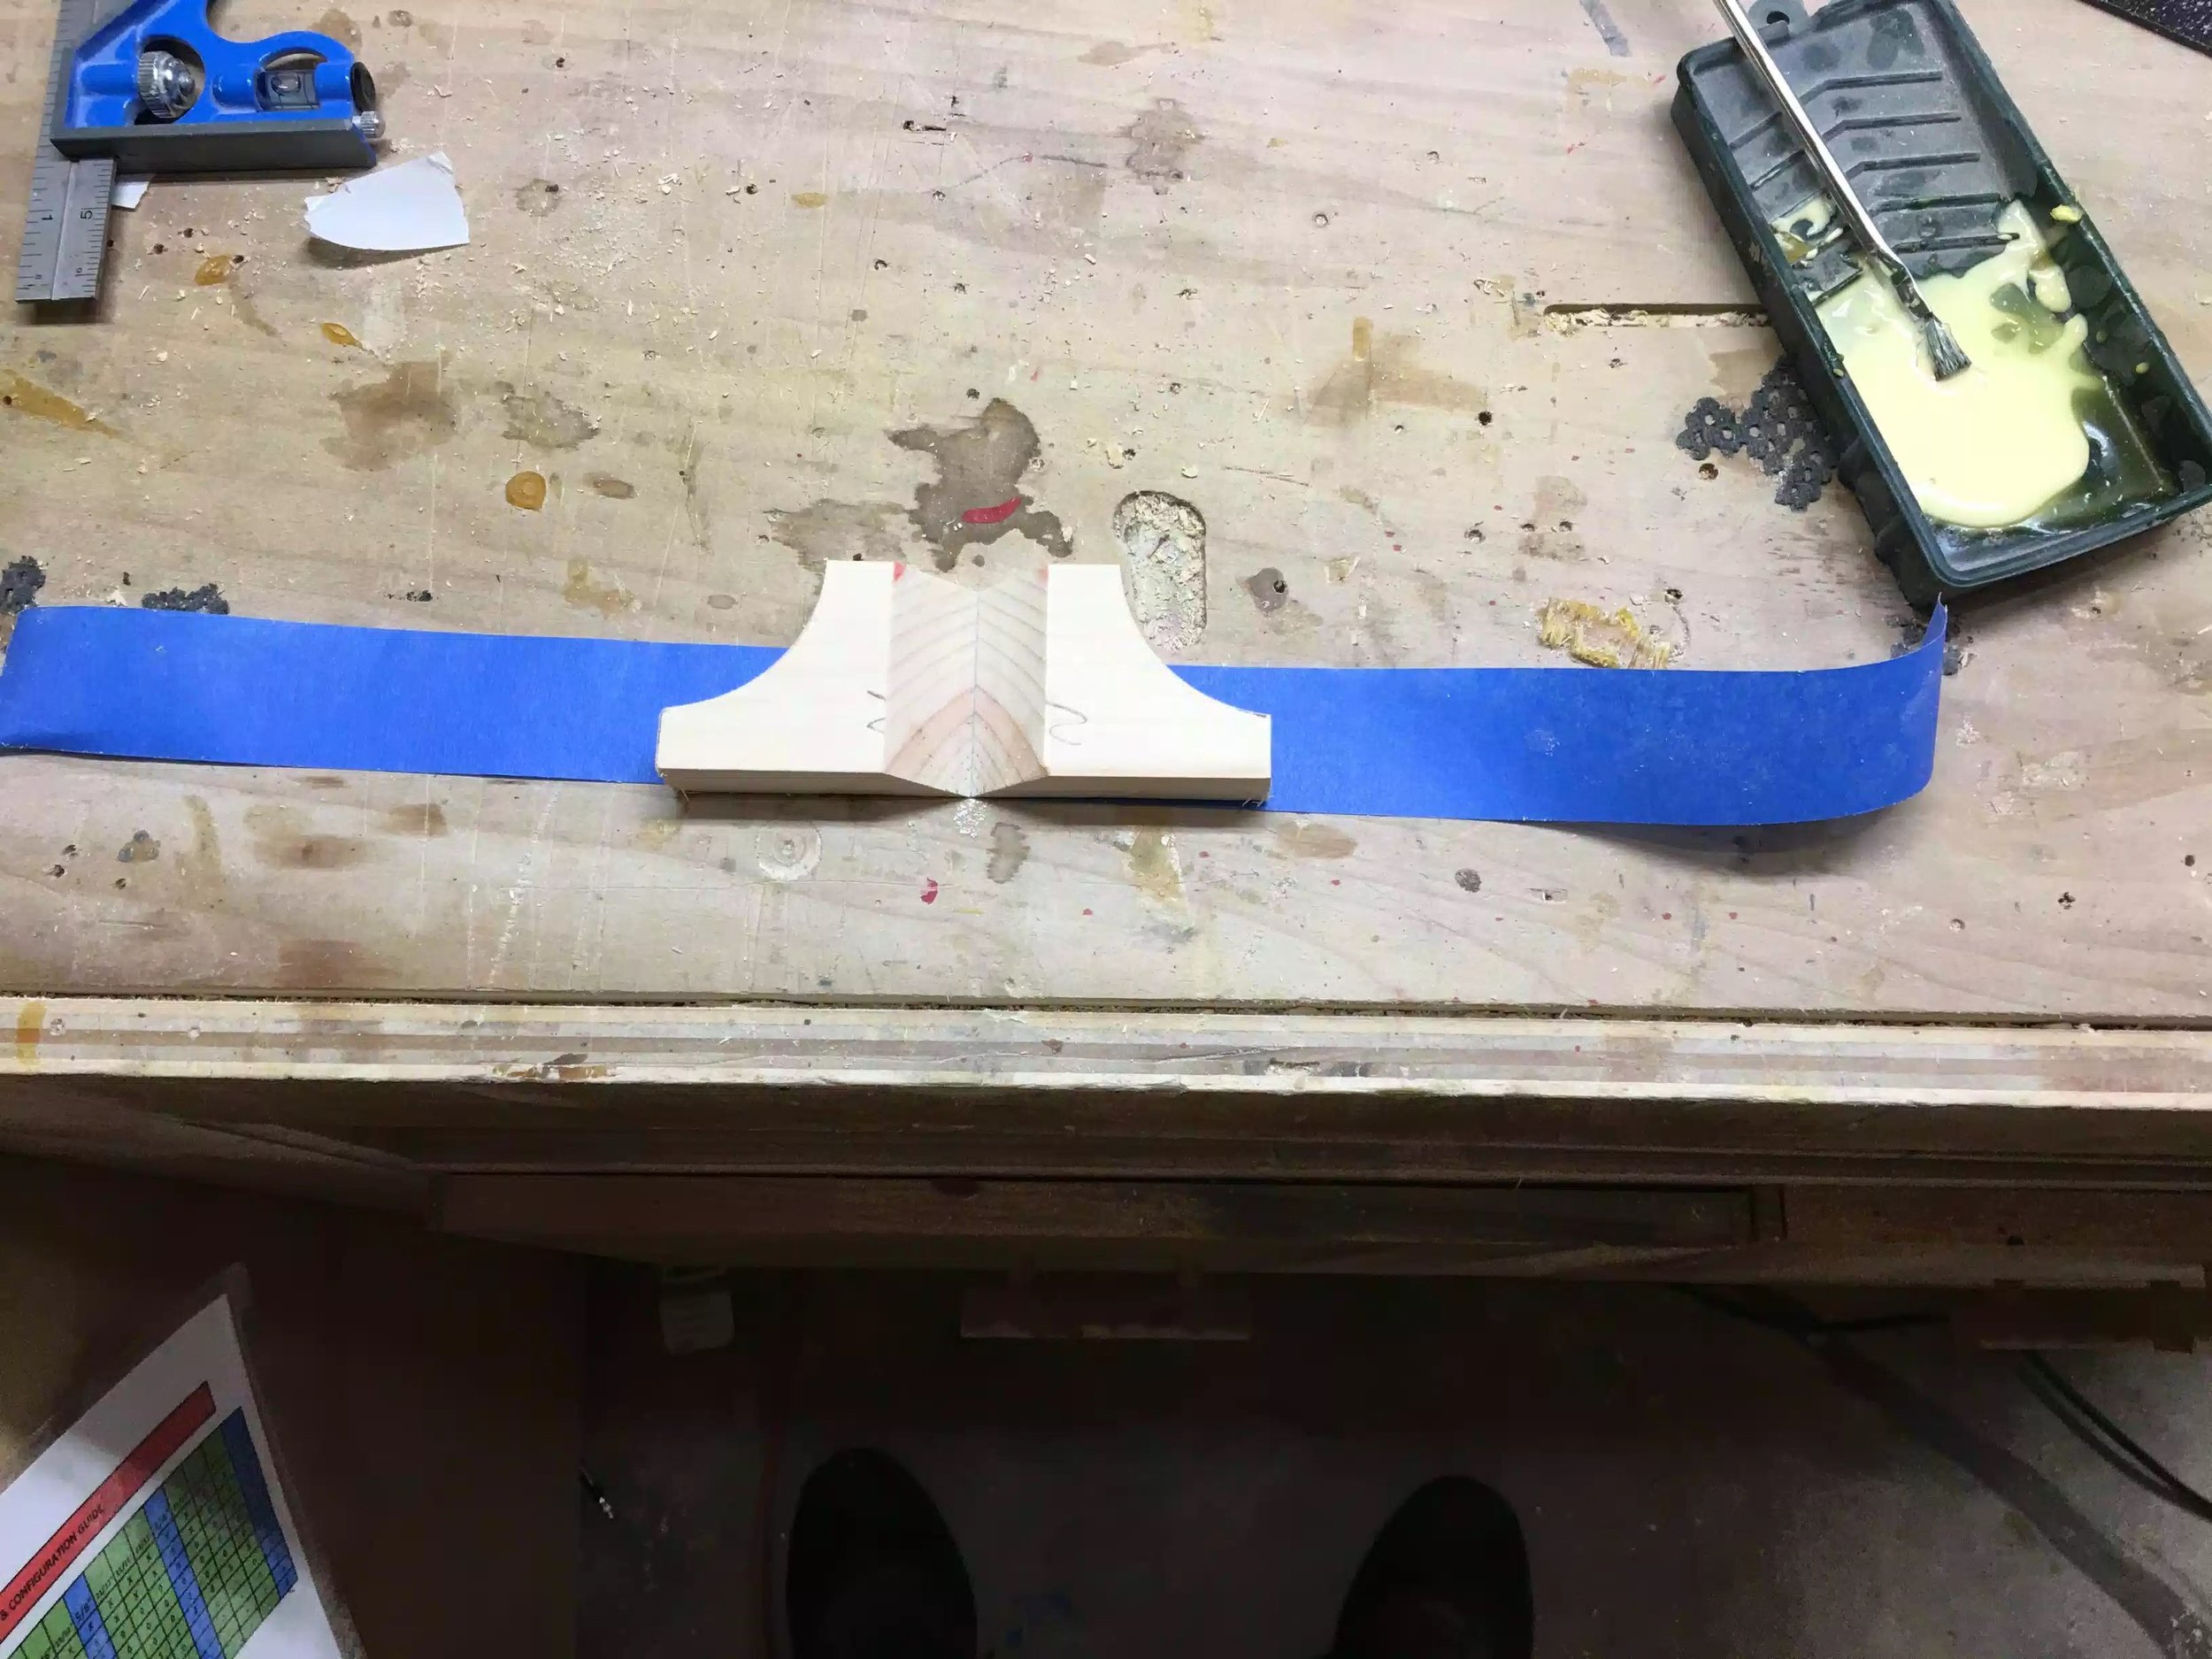
So after cutting all the bevels in the feet I used my trick with the painters tape as mentioned before. You can tell the grain will match around the leg because you can see the growth lines match perfectly in the beveled cuts on the legs

Its not a great picture but you can see the joint line closed up nicely , ill take the tape off tomorrow and sand it all nice and smooth.
MAKING THE FRAME
The frame is nothing more than a frame the the legs can be screwed into and also allows a place for the cover molding to be housed. I used some 1x material and cut it to width and the mitered the ends at 45 degrees using biscuit joints as the joinery method. I used my painters tape trick again to help with the glue-up. I made some 45 degree clamping aids last year but as per usual couldn't find them. I really need to buy some clamps to help with this. (note to self!!!! lol)
Below shows some pictures of this process.

Here is the frame before the glue-up. You can see the biscuits in the back left and right corners

Here is what I was aiming for, and I will know tomorrow wether I was successful or not.

This pictures shows the frame sitting on the legs, I haven't made the cover moulding yet but is for tomorrow.
NEXT...........
Next I will be finishing the bracket feet , securing the frame to the feet, making the cove molding for the front and the sides of the base, see you then.