So this morning I had a pretty productive day until my drill press broke but I fixed it. I had a decent amount of work to do but only had half the time I usually have, but I still declare it as a productive morning.’
TODAY’S ACTIVITIES INCLUDED
Finished some surface Sanding
Cut parts to size
Some Layout
Drill Press Time
Crisis
Holes all cut
A little routering
Happy so far
SANDING
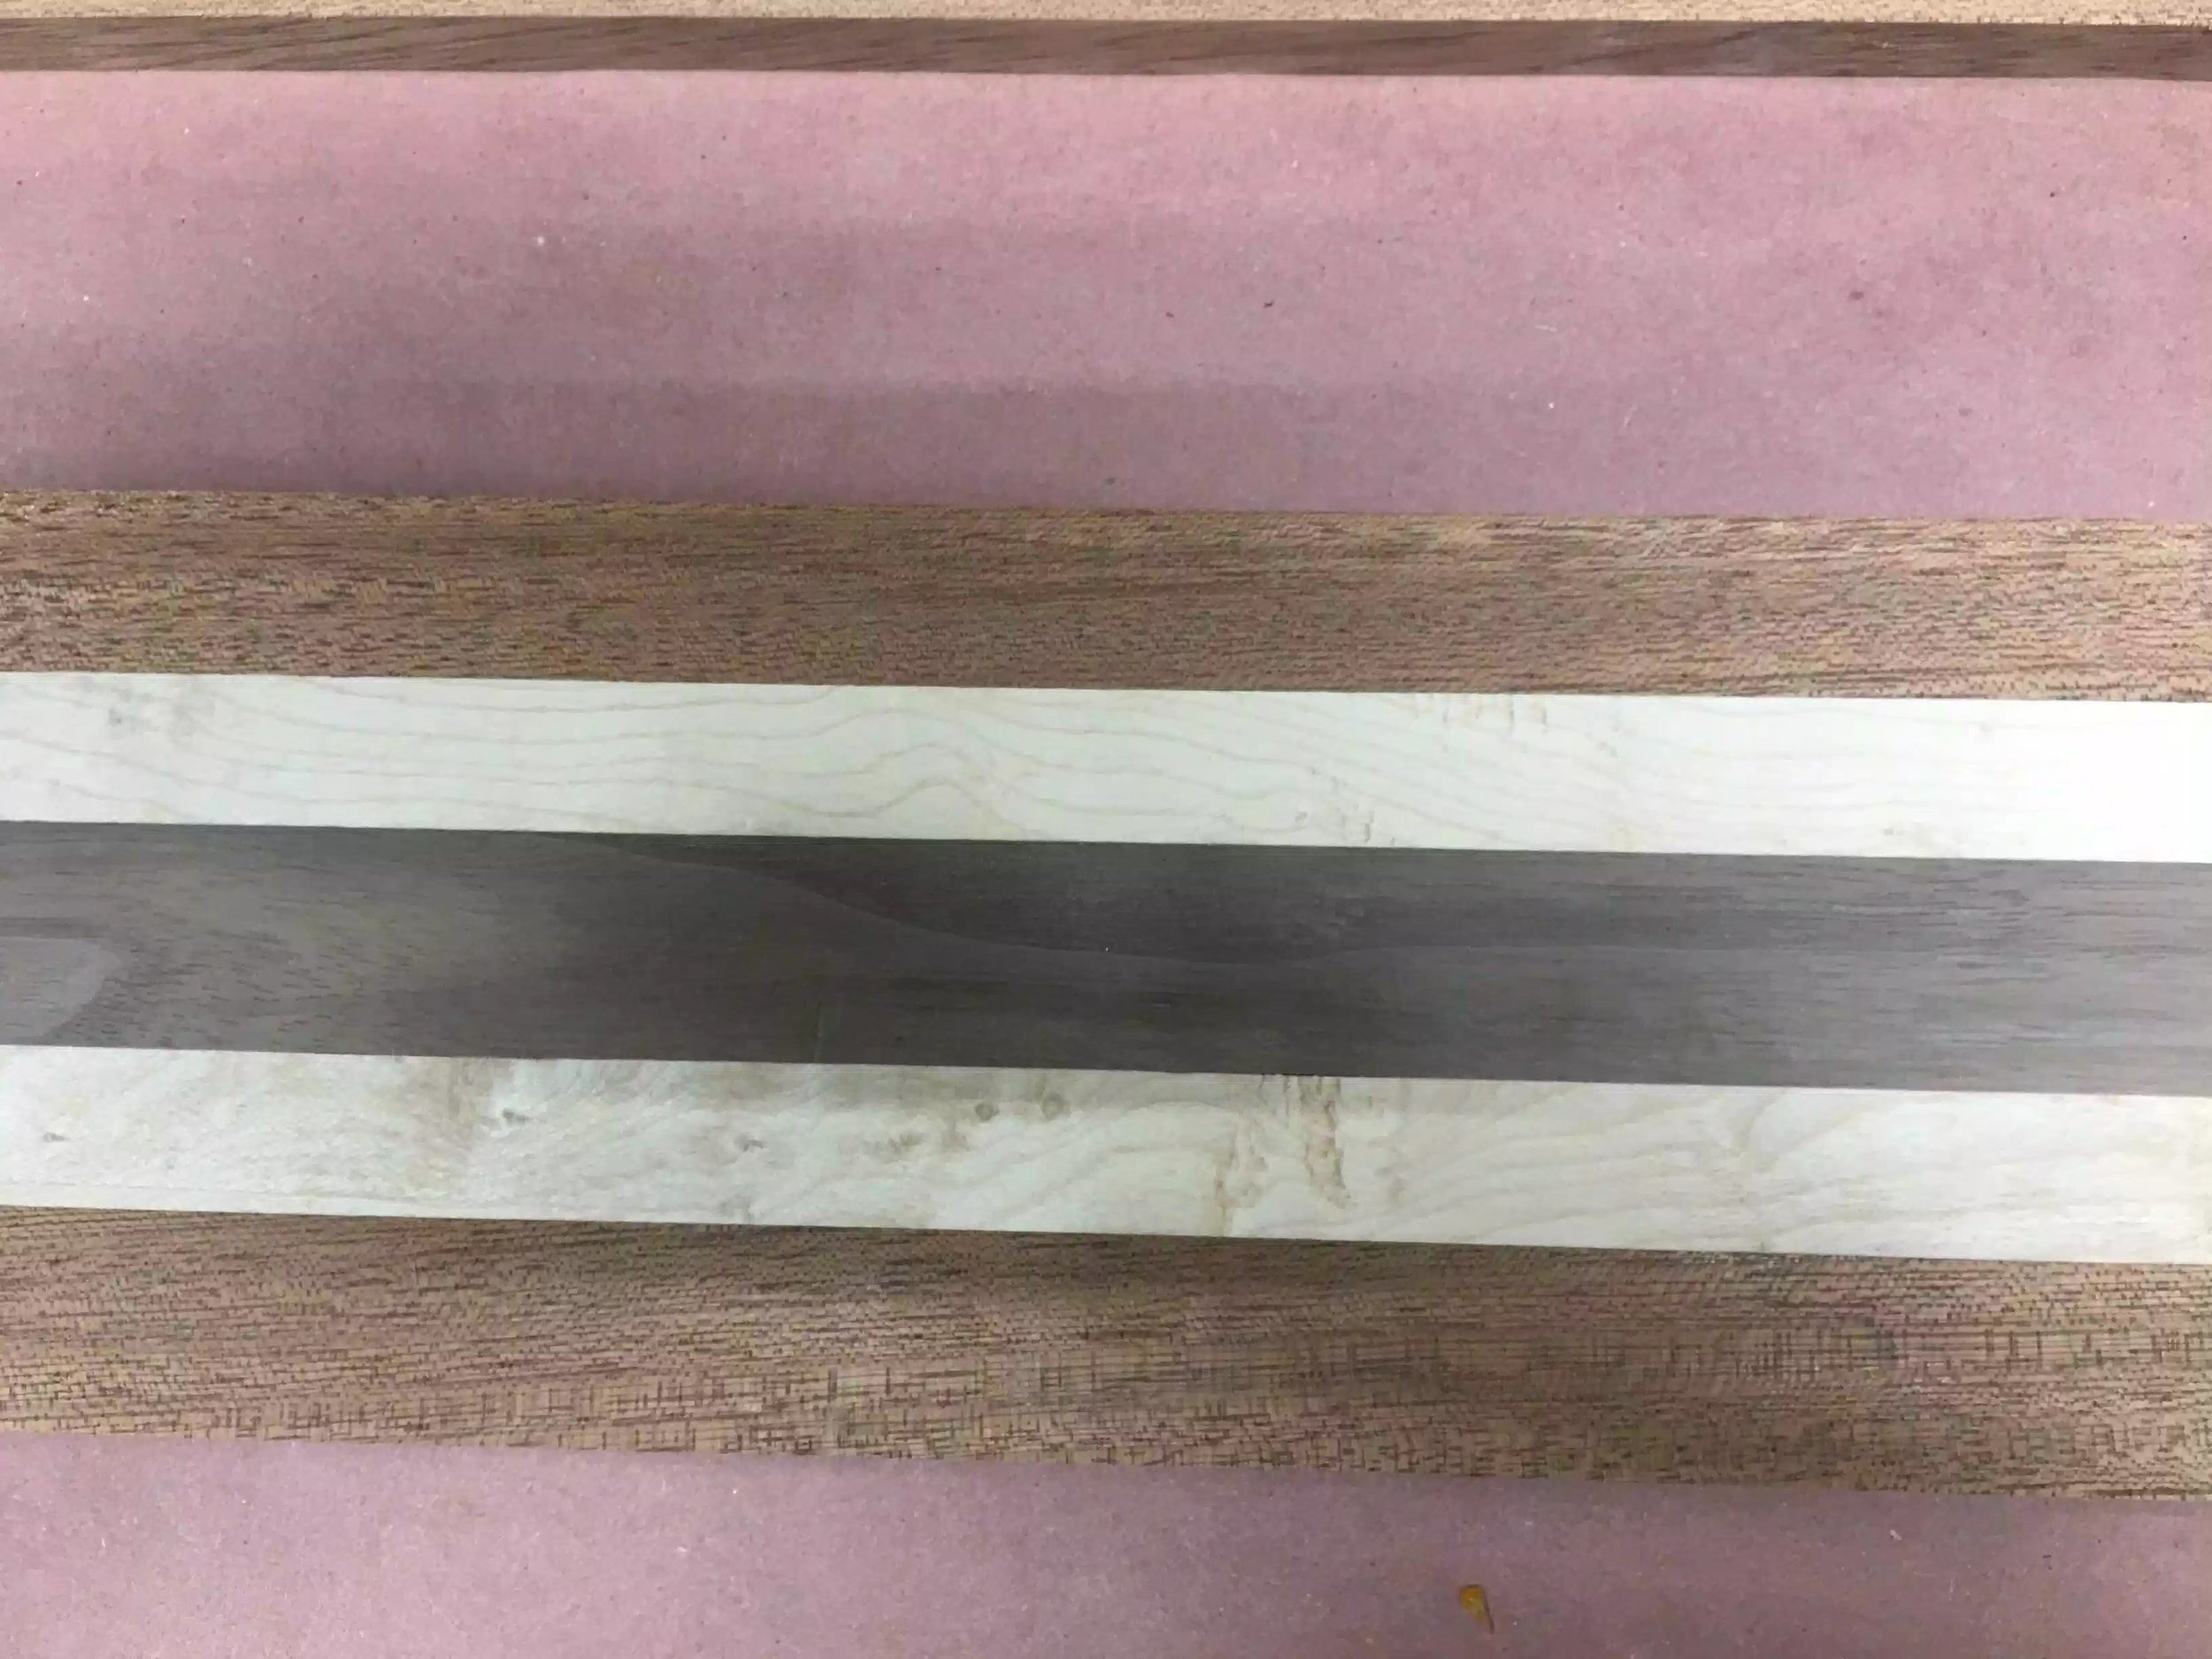
After doing all the hand planing yesterday I had very little to do with my random orbital sander, I started with 120 grit paper and finished with 320 grit and I was very happy with the feel of the wood. After all the events of the past two days of gluing up and ripping wood I now finally have 3 lengths of wood that I can now turn into 2 styles of flight.
Below you can see the lengths of wood all ready to be chopped into individual flights.
Here ate the 3 pieces of wood all ready to be chopped up.
Here is the soft Maple & Sapele wood style
Here is the Soft Maple, Sapele & Walnut style.
CUT PARTS TO SIZE
Using my plans I cut all the pieces to final length and made sure to cut the pieces in sequence so as that grain wrapped all around the flight adding that little visual interest if someone was looking at it closely.
I set up my miter station so as that I didn’t have to measure the work-piece every-time I needed to cut it. So I made some pre-dimensioned spaces to use for each size cut.
Here is the work-piece on my chop saw with the spacer, there was a decent amount of cuts and they all came out exactly as I wanted.
Here is a close-up of the spacer.
Here are the 3 parts came out the exact dimensions I wanted.
SOME LAYOUT
I needed to do a little layout on the parts mainly because I was cutting so many holes in the 3 parts and I needed to make sure all the cuts were in the right places.
Using my 3D plans I used this to determine where to make my layout marks especially on this piece as there is 3 half-circles to be cut.
I used my combination square to mark the center points of where the holes that would hold the glasses were to be cut.
DRILL PRESS TIME
Most of the cutting and shaping in this project will be done on my bench-top drill press using 3 different diameter hole saws, doing half-circles on the bench-top cause a few problems which I encounter and also their solutions
Make difficult cuts on a small sized work-pieces
My solution to this problem was to enclose the work-piece on all sides so as that that both sides of the half cut were supported and didn’t pop out and also very importantly was my fingers were no where near the cutting edges of the hole-saws.
Keeping the parts orientation the same on all parts while cutting
I used a system of little fences surrounding the work-piece so as that the work-piece didn’t move while I was cutting out the 1” diameter half circle
Here you can see how I surrounded the work-pieces I used scrap wood and double sided tape to secure the pieces. Worked great
Here is an image of me starting to cut the large glass holder holes.
Obstacle using the hole saw.
One of the problems that I encountered using the hole saw was that the hole saw had a drill bit centered inside the hole saw and that proved difficult in centering the hole saw on the work-piece, but what I didn’t realize was that it could be removed. You can see the drill bit in the hole saw below.
As you can the drill bit in the center of the hole saw is there to make sure that cut is centered, but was easily fixed as it unscrewed from the saw.
CRISIS
Right when I started cutting the little side holes my drill press had broken, the entire chuck came off the drill press, but it was an easy fix after watching some YouTube video I had it fixed in under a half an hour. I think what happened was that the chuck was never properly seated on the arbor so I tapped the whole chuck onto the arbor and so far I have not encountered any problems, below you can see the chuck still attached to the hole saw.
Here is the chuck, thank god for YouTube and some quick thinking on my part.
HOLES ALL CUT
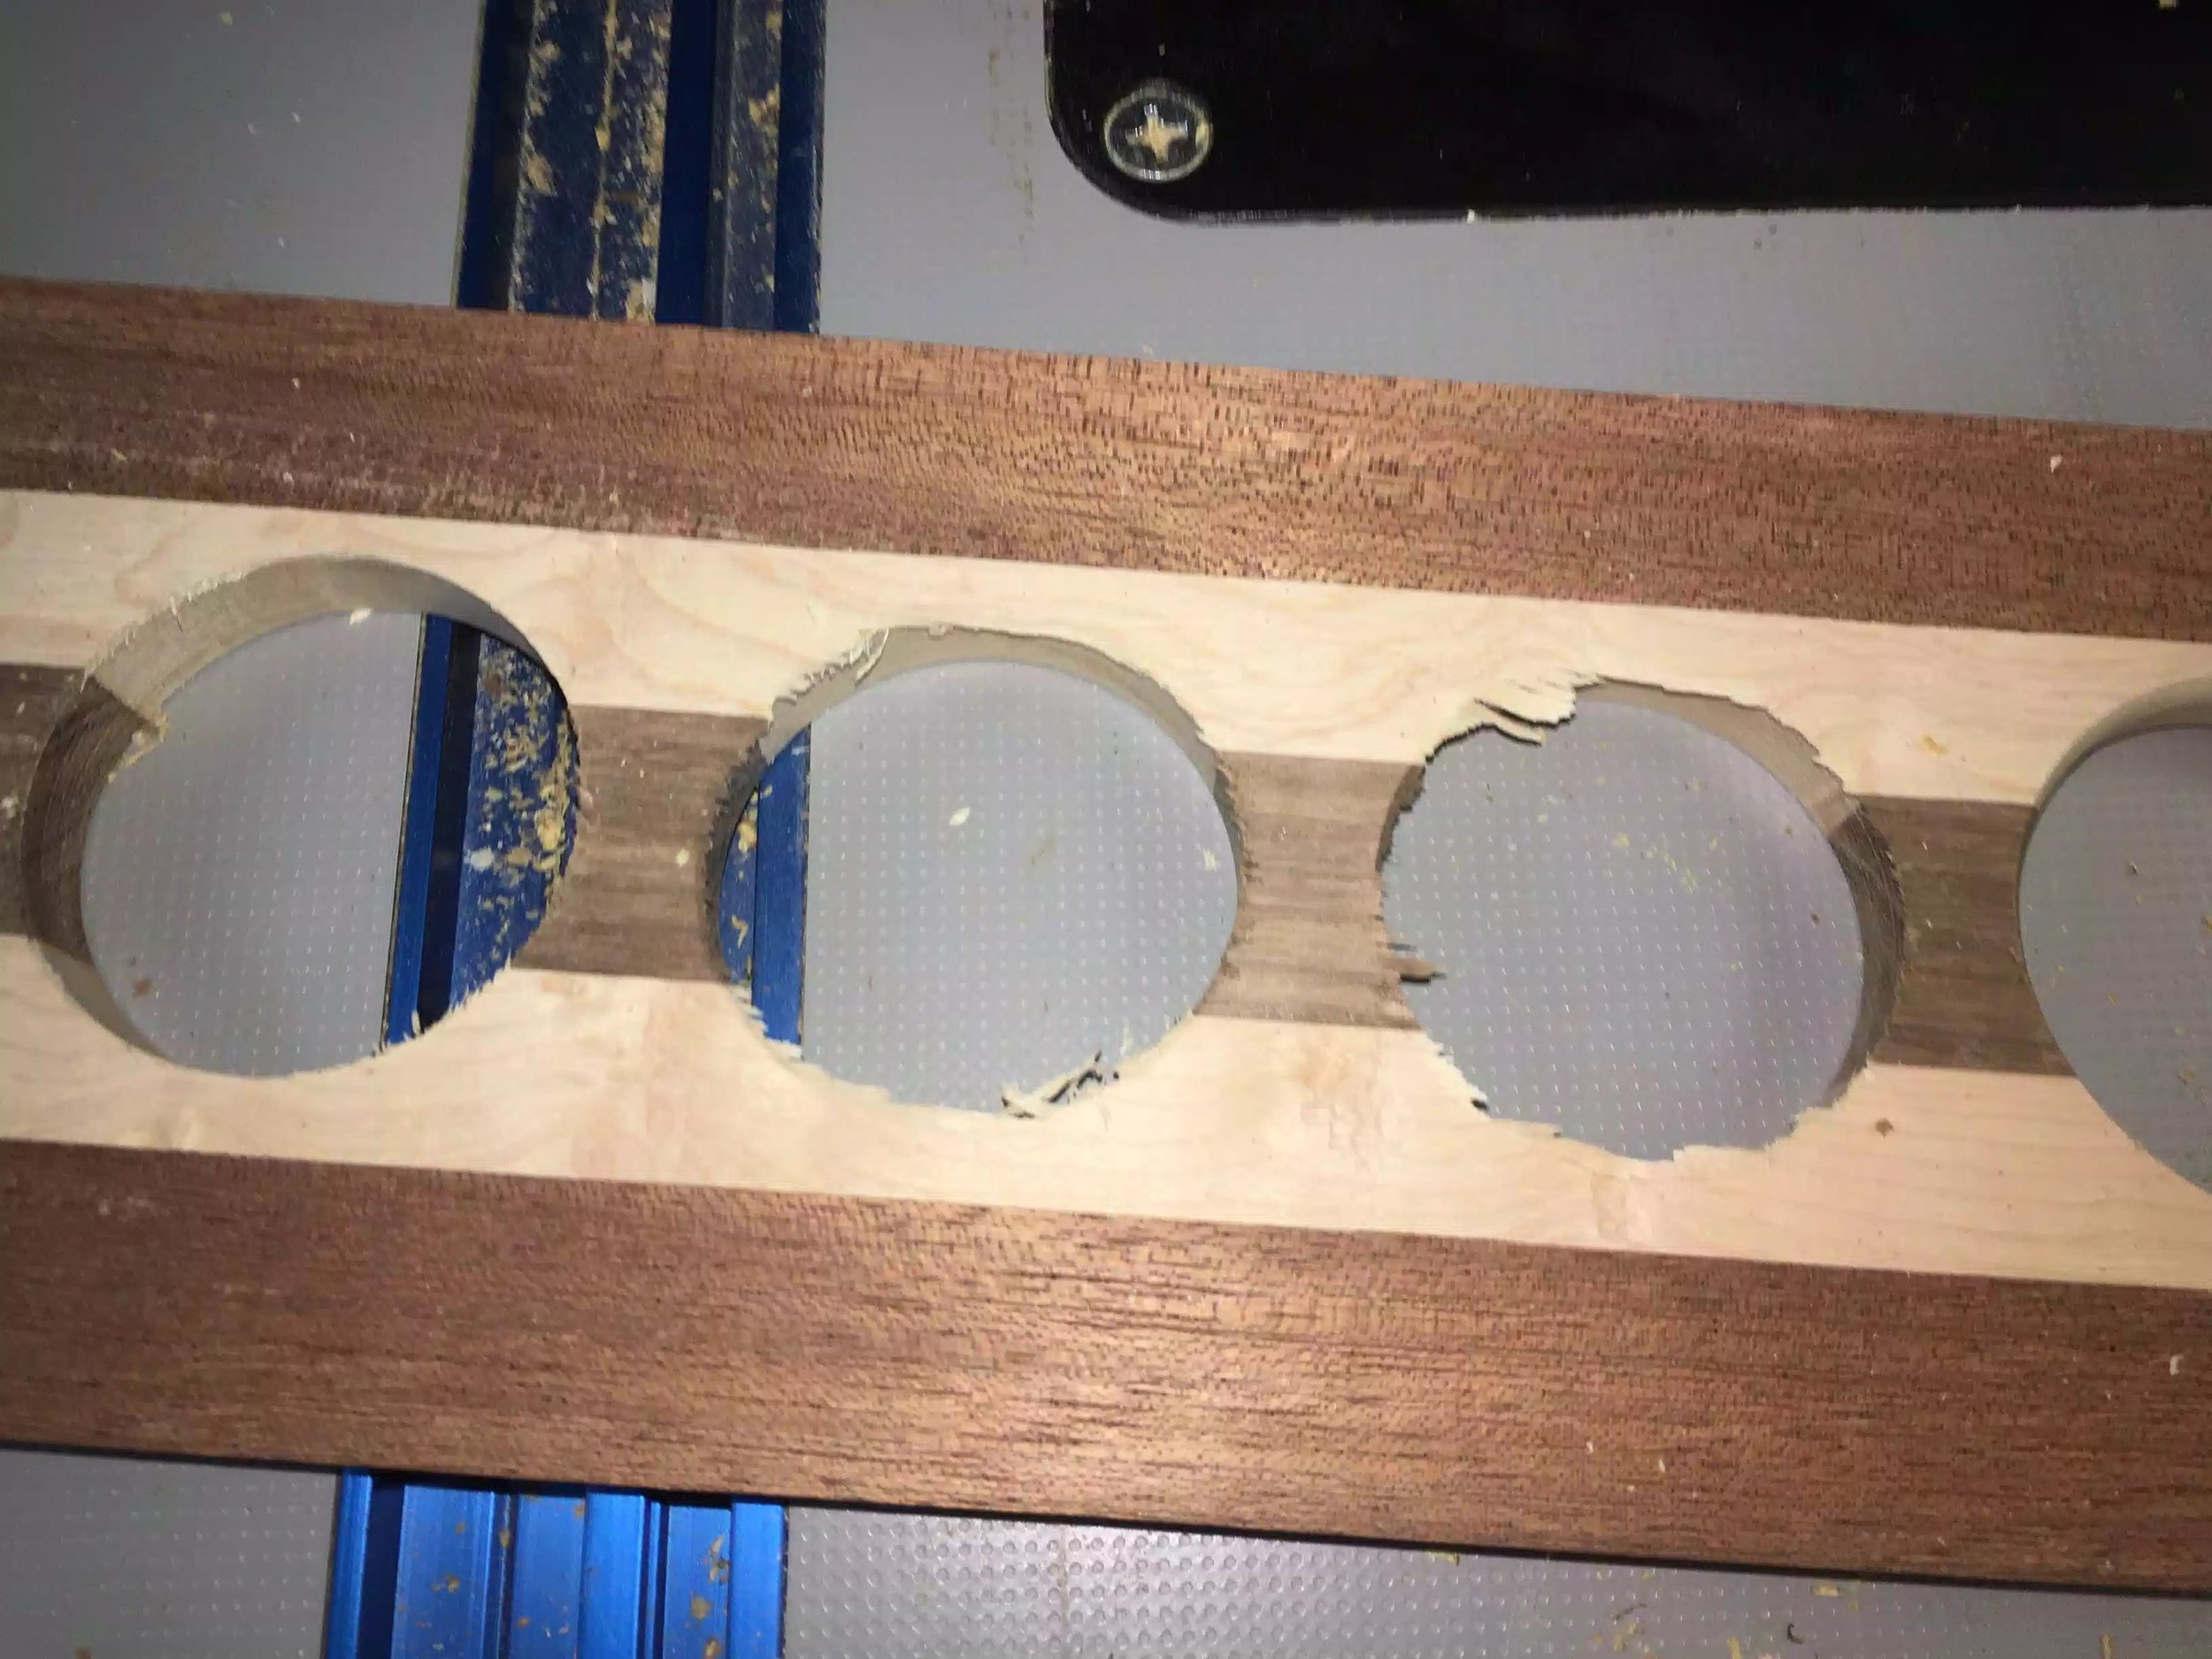
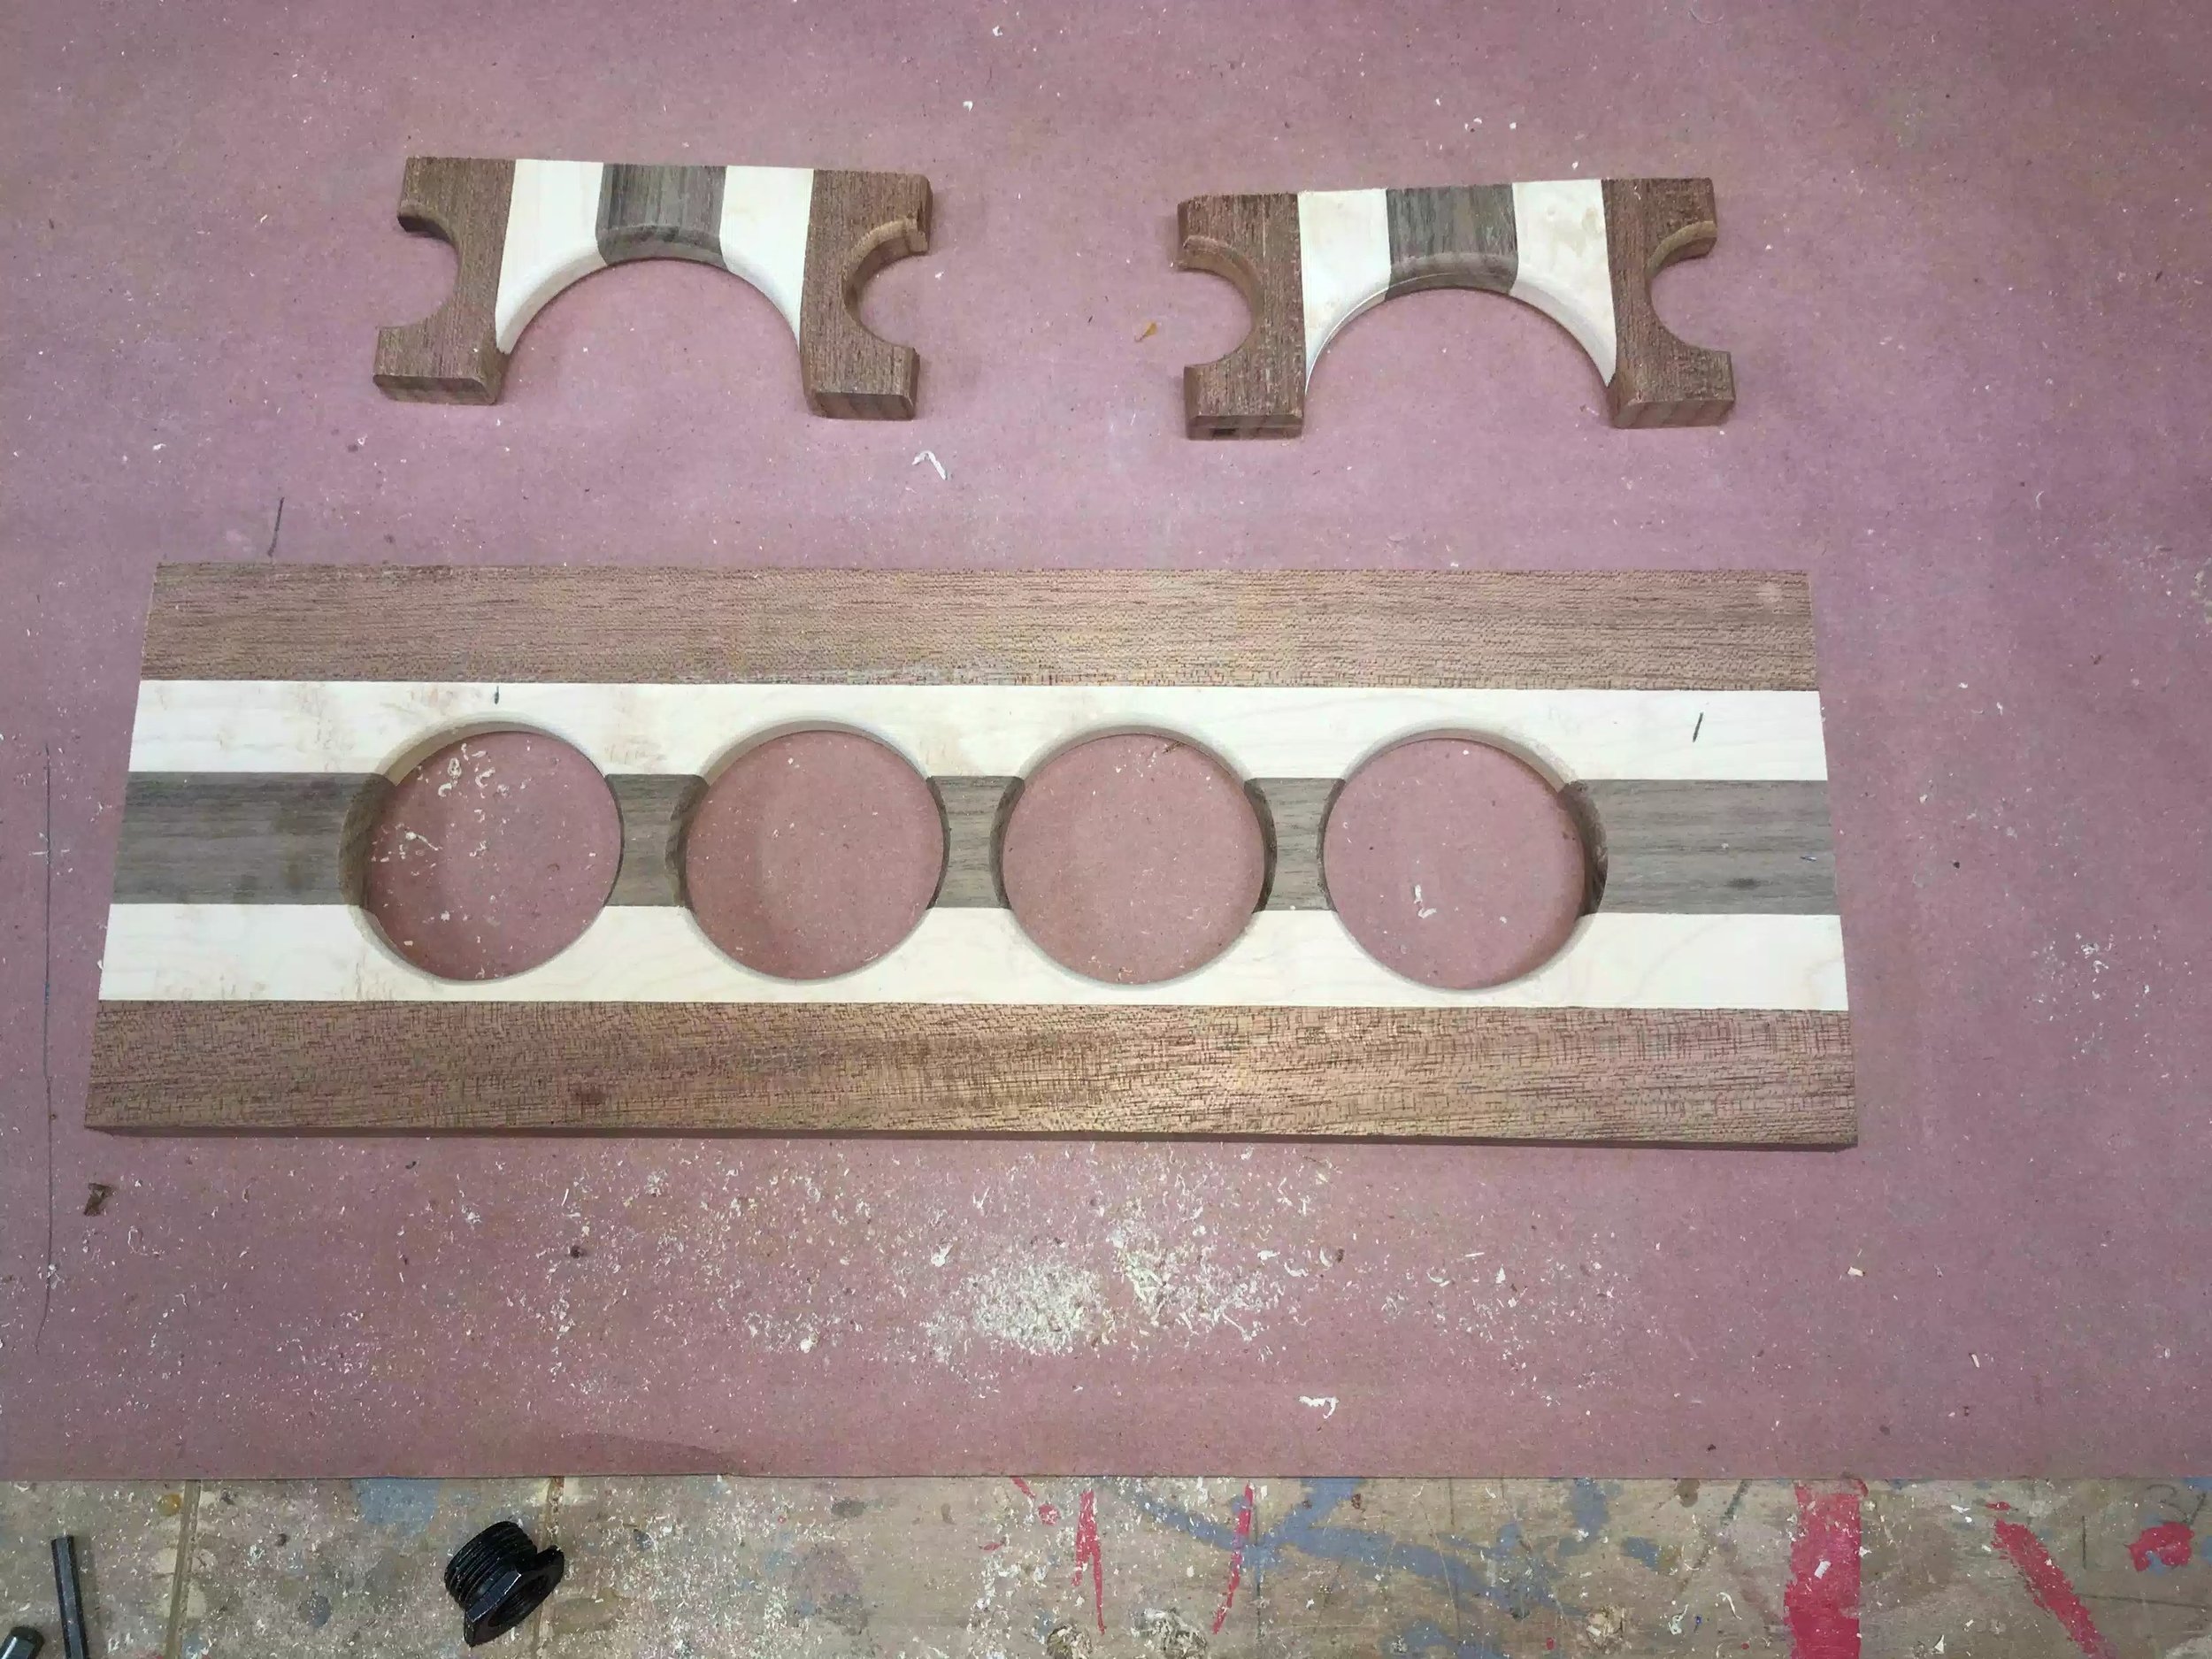
After most of the morning cutting holes and layout all six of my beer flights have sides completed I need to finish cutting all the glass holder holes . But as you see below they look pretty good. I did get a little tear out on the big holes but I cleaned all that up on my spindle sander. In my next step I will also add them through the router with a round-over bit and that will clean them up even more. There are some pictures below
Here is the top before finish sanding
Here are all the parts before I got to sand them, I used my spindle sander to clean them up.
ROUTER TIME
I wanted to add a little profile to all the edges as I think it gives them that polished look and a nice professional look. So I used my trusty router table and 1/4” round-over bit and routered most of the edges of the pieces. I needed to be very careful with the small side feet as it wouldn’t take much to blow out a piece of the sides.
Below you can see the finished profiled edges.
Before routing
After Routing,
Here are all 3 pieces routered and I have to say look great, I also added the same profile to the top side of the large flight piece but I didn’t do the bottom face as I will need to add a dado groove in there next.
Here is a closer look at the profiled edge on the top piece.
ALMOST DONE, BUT NOT QUITE YET
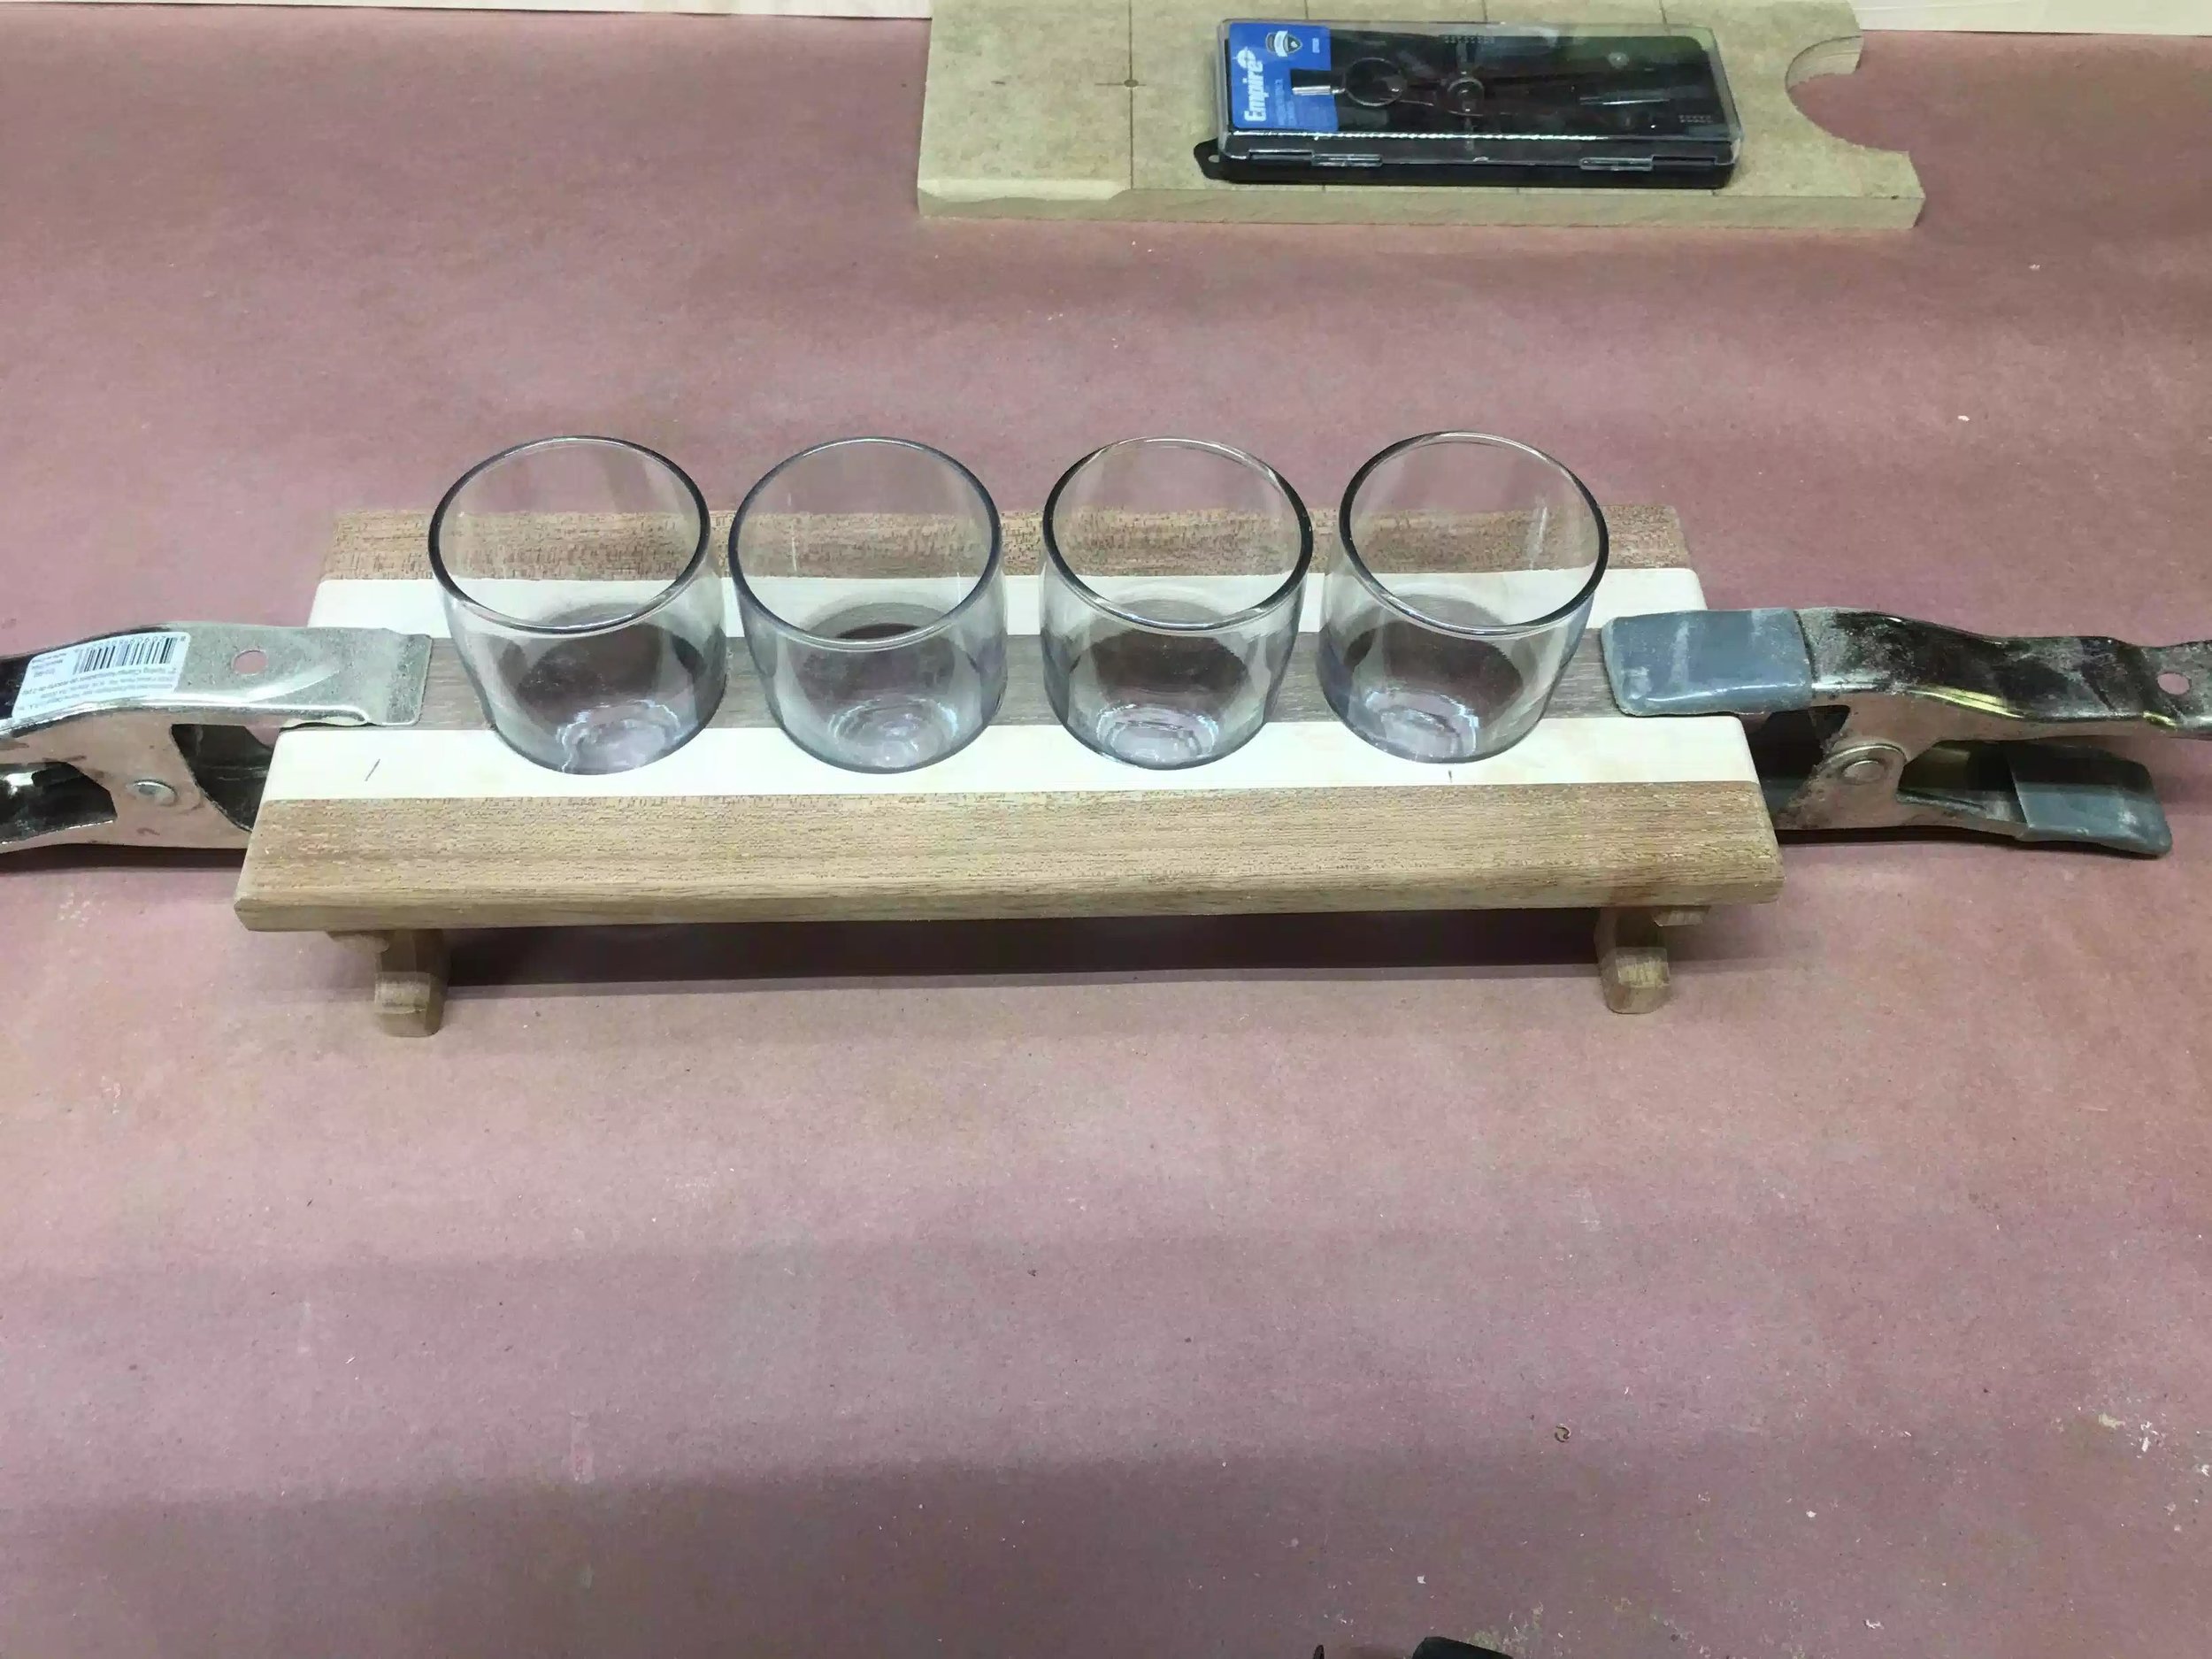
Although I still have to glue the legs in and cut the dado grooves on the underside of the top I needed to see what they look like all assembled , I also needed to make sure that the glasses all fit, so here are some images of them pre-assembly
So that is what I got done today, I still have a good bit of repetitive work as I am making 6 of these. But so far so good.
NEXT
Cut Dado grooves on the underside of the top so as that I can glue the feet on.
Rinse & Repeat on the other 6-8 Flights
Apply finish


