

So I am behind in blogging this projects progress so I am posting Day 1 & 2 in one post.
DAY 1:
I went to my Home Depot to get all the supplies needed for the Project, all I needed to get was the wood since I already had the screws and dowel plugs.
I purchased :
- (2) 1x12x8 Pine
- (2) 1x3x8 Pine ( I really only wanted to get a piece of 1x6 but I didn't like the selection that was there.
- (1) 3/8" x 3' Oak Dowel

Supplies
Woodworking
Preparing Stock
- Since this project has only two board widths 11 1/4" (Which is what a 1"x12" actually is) and the other is 10 1/2” so I cut that to something size.
Making the Base (Part 1)
The base pf the book stand has alot of going on , it has notches at the back of the board for the legs/ shelf supports to fit into so as that the legs will be flush to the base. So I achieved this on my tablesaw using a dado stack, as you can see in the pictures below.

In this picture you can see the base with the notches cut out in the back and the first dado cut into the the right side. (More to come on this part)

In this picture you can see me cutting the back notches using my dado stack . You cant see it but I used my miter gauge to support this cut to minimize tear out.
Making the Bottom Shelf
The bottom shelf is the only board that has 45 degree bevel cut , like all the other shelves it also has a dado positioned on one end to receive the next shelf. So below you can see me preparing the board to cut the bevel to it, using my trusty digital angle readout.

Here is a nice close-up of the blade angle
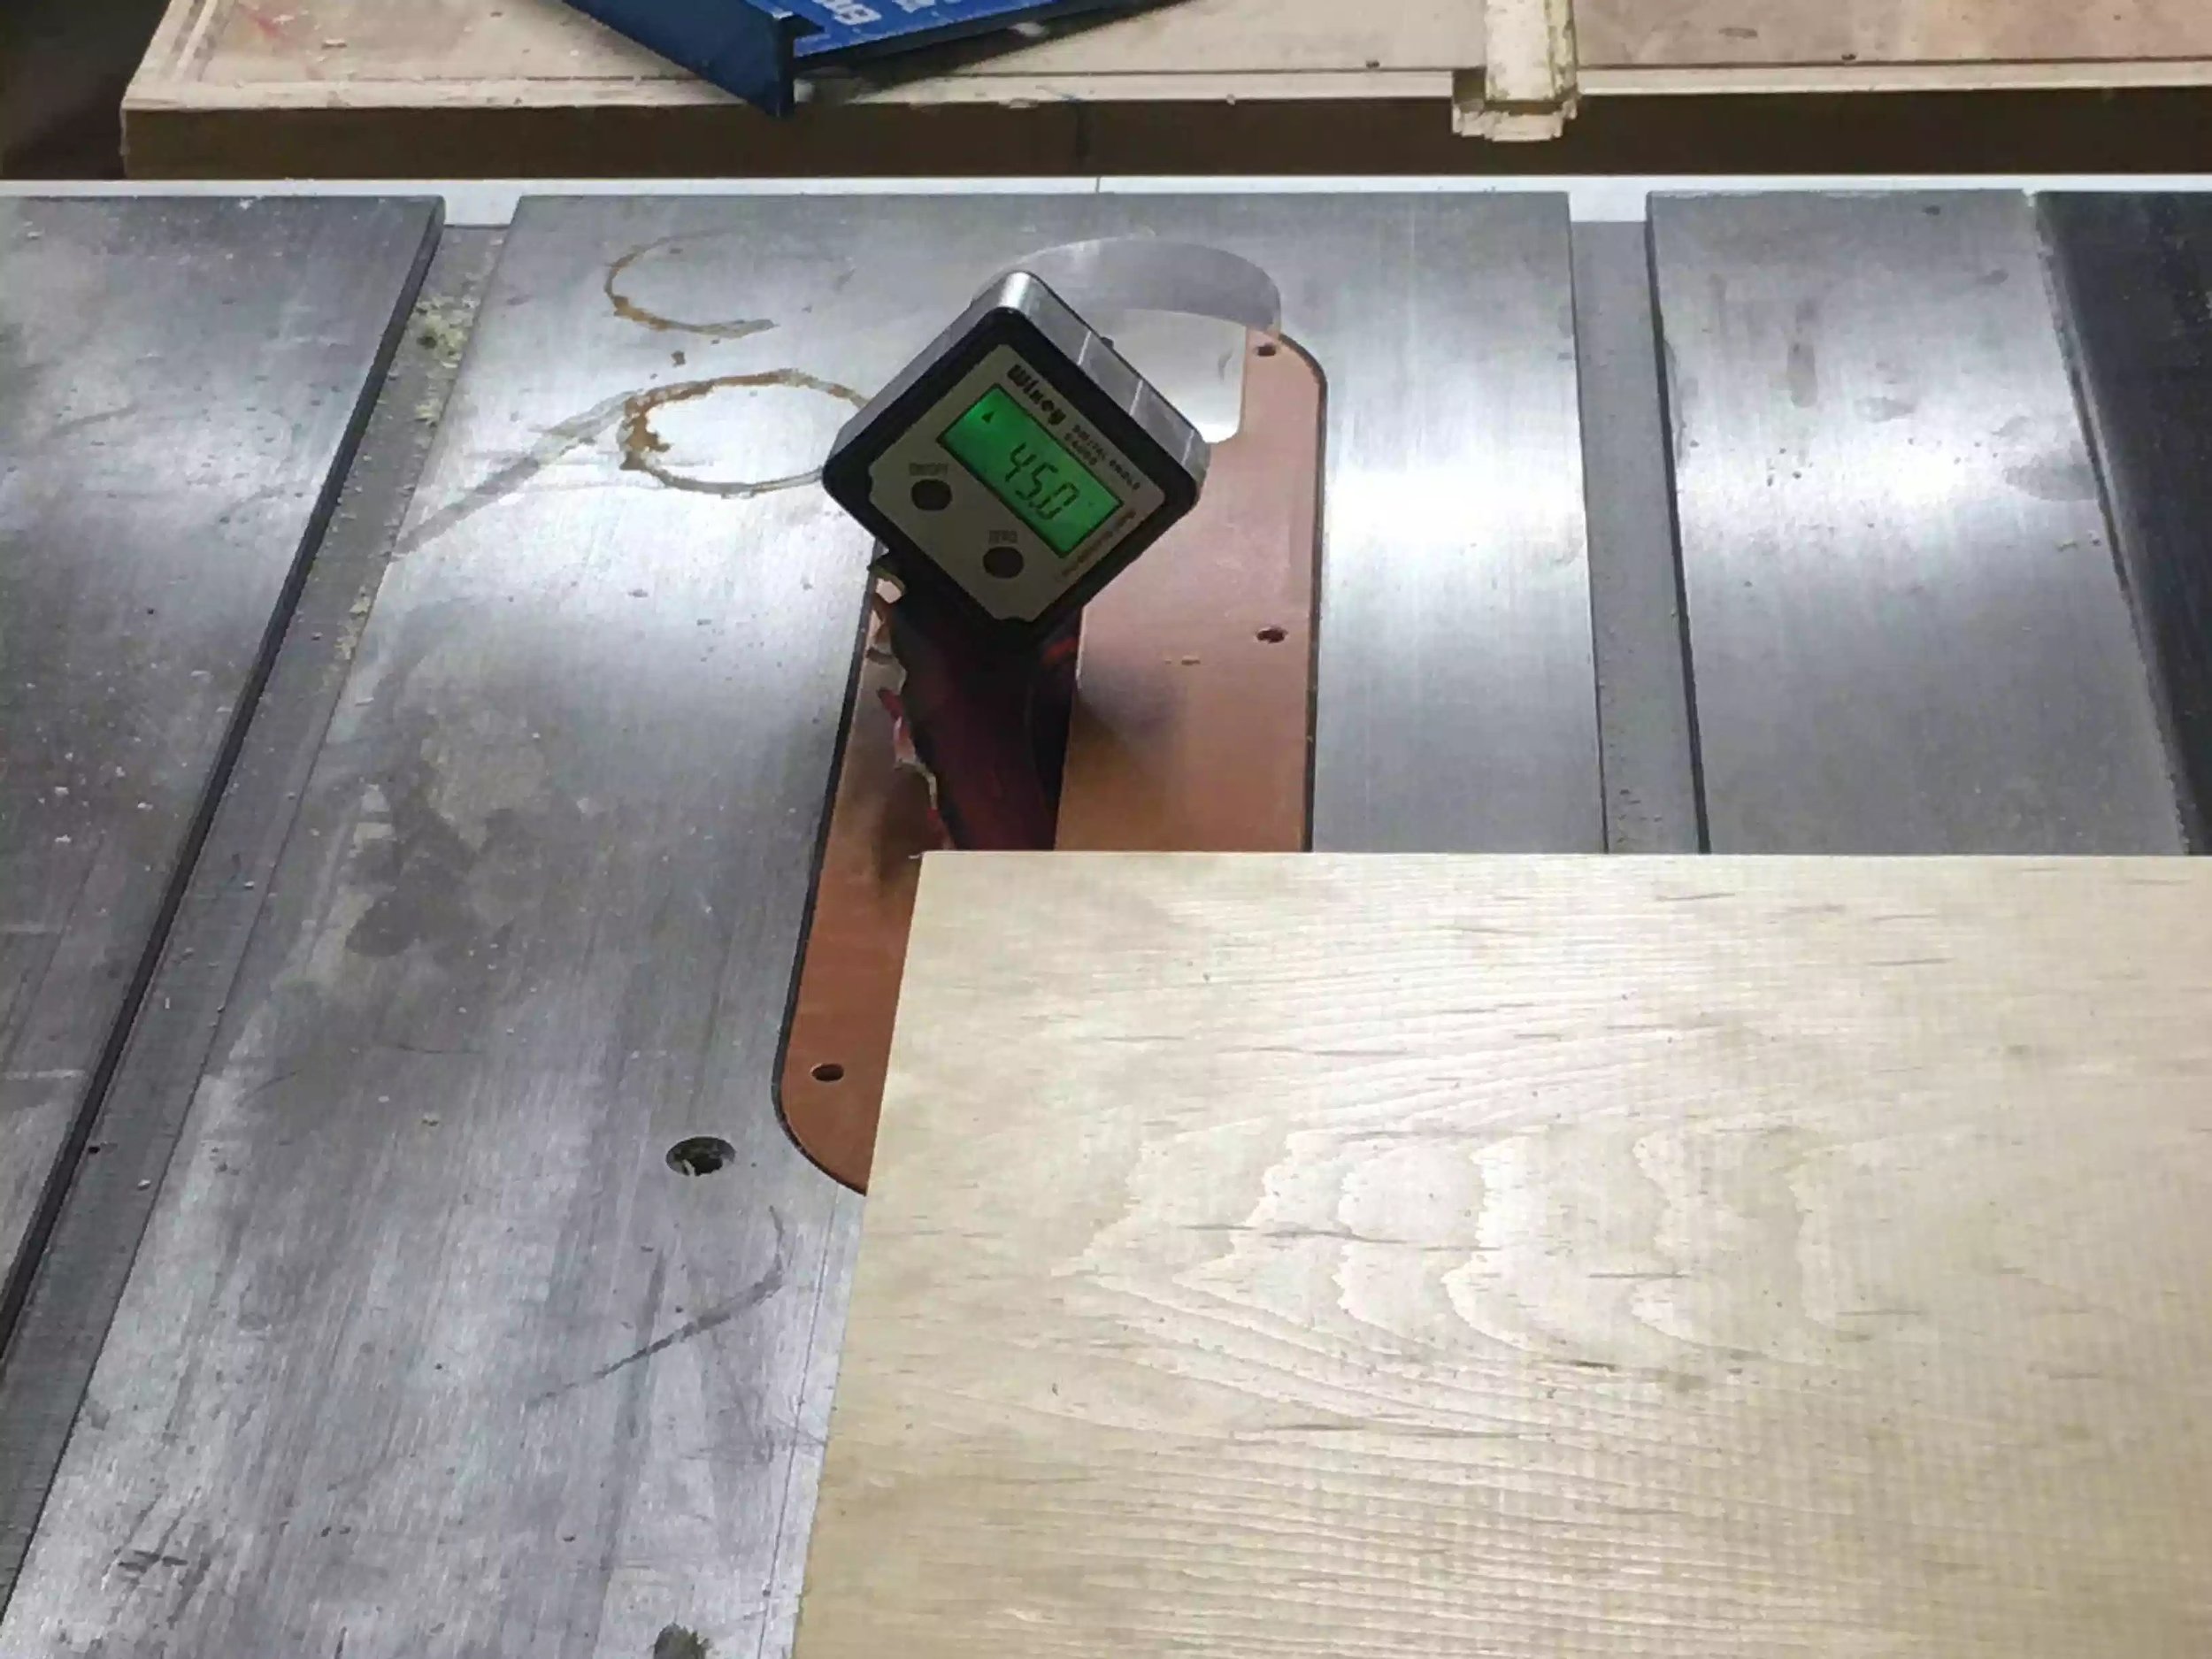
Using my digital angle reader to set my table saw blade at 45 degrees.
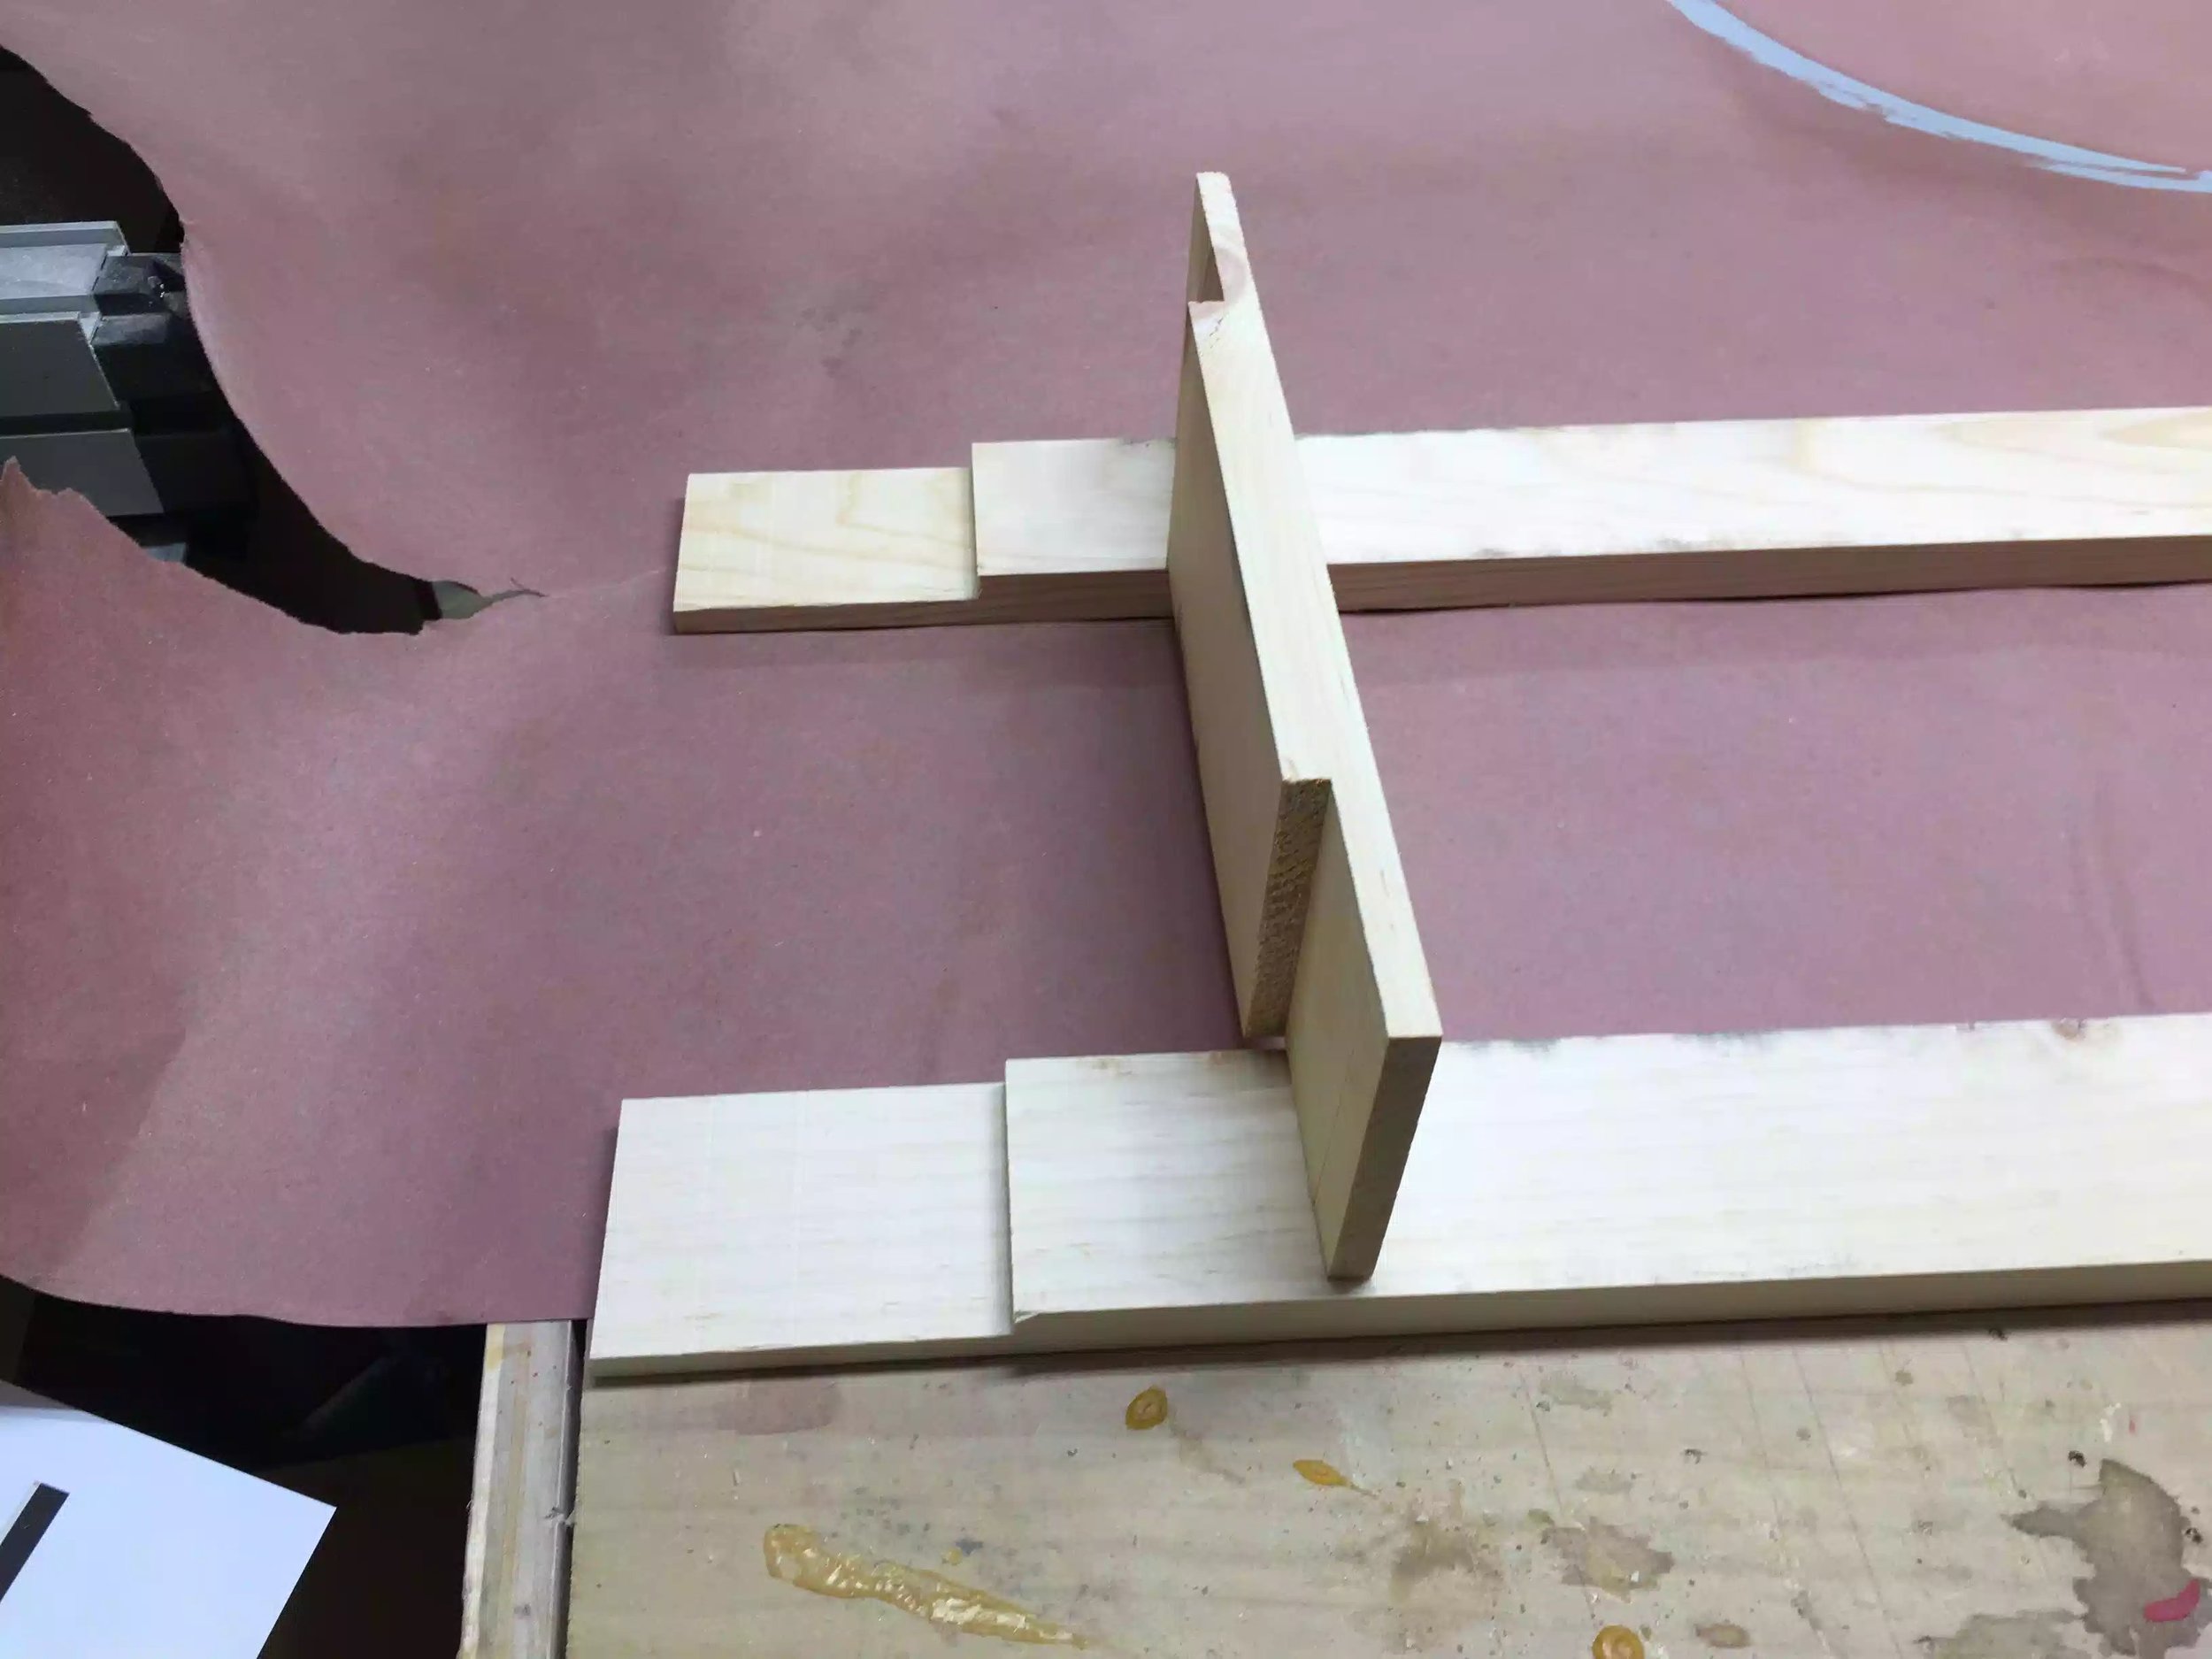
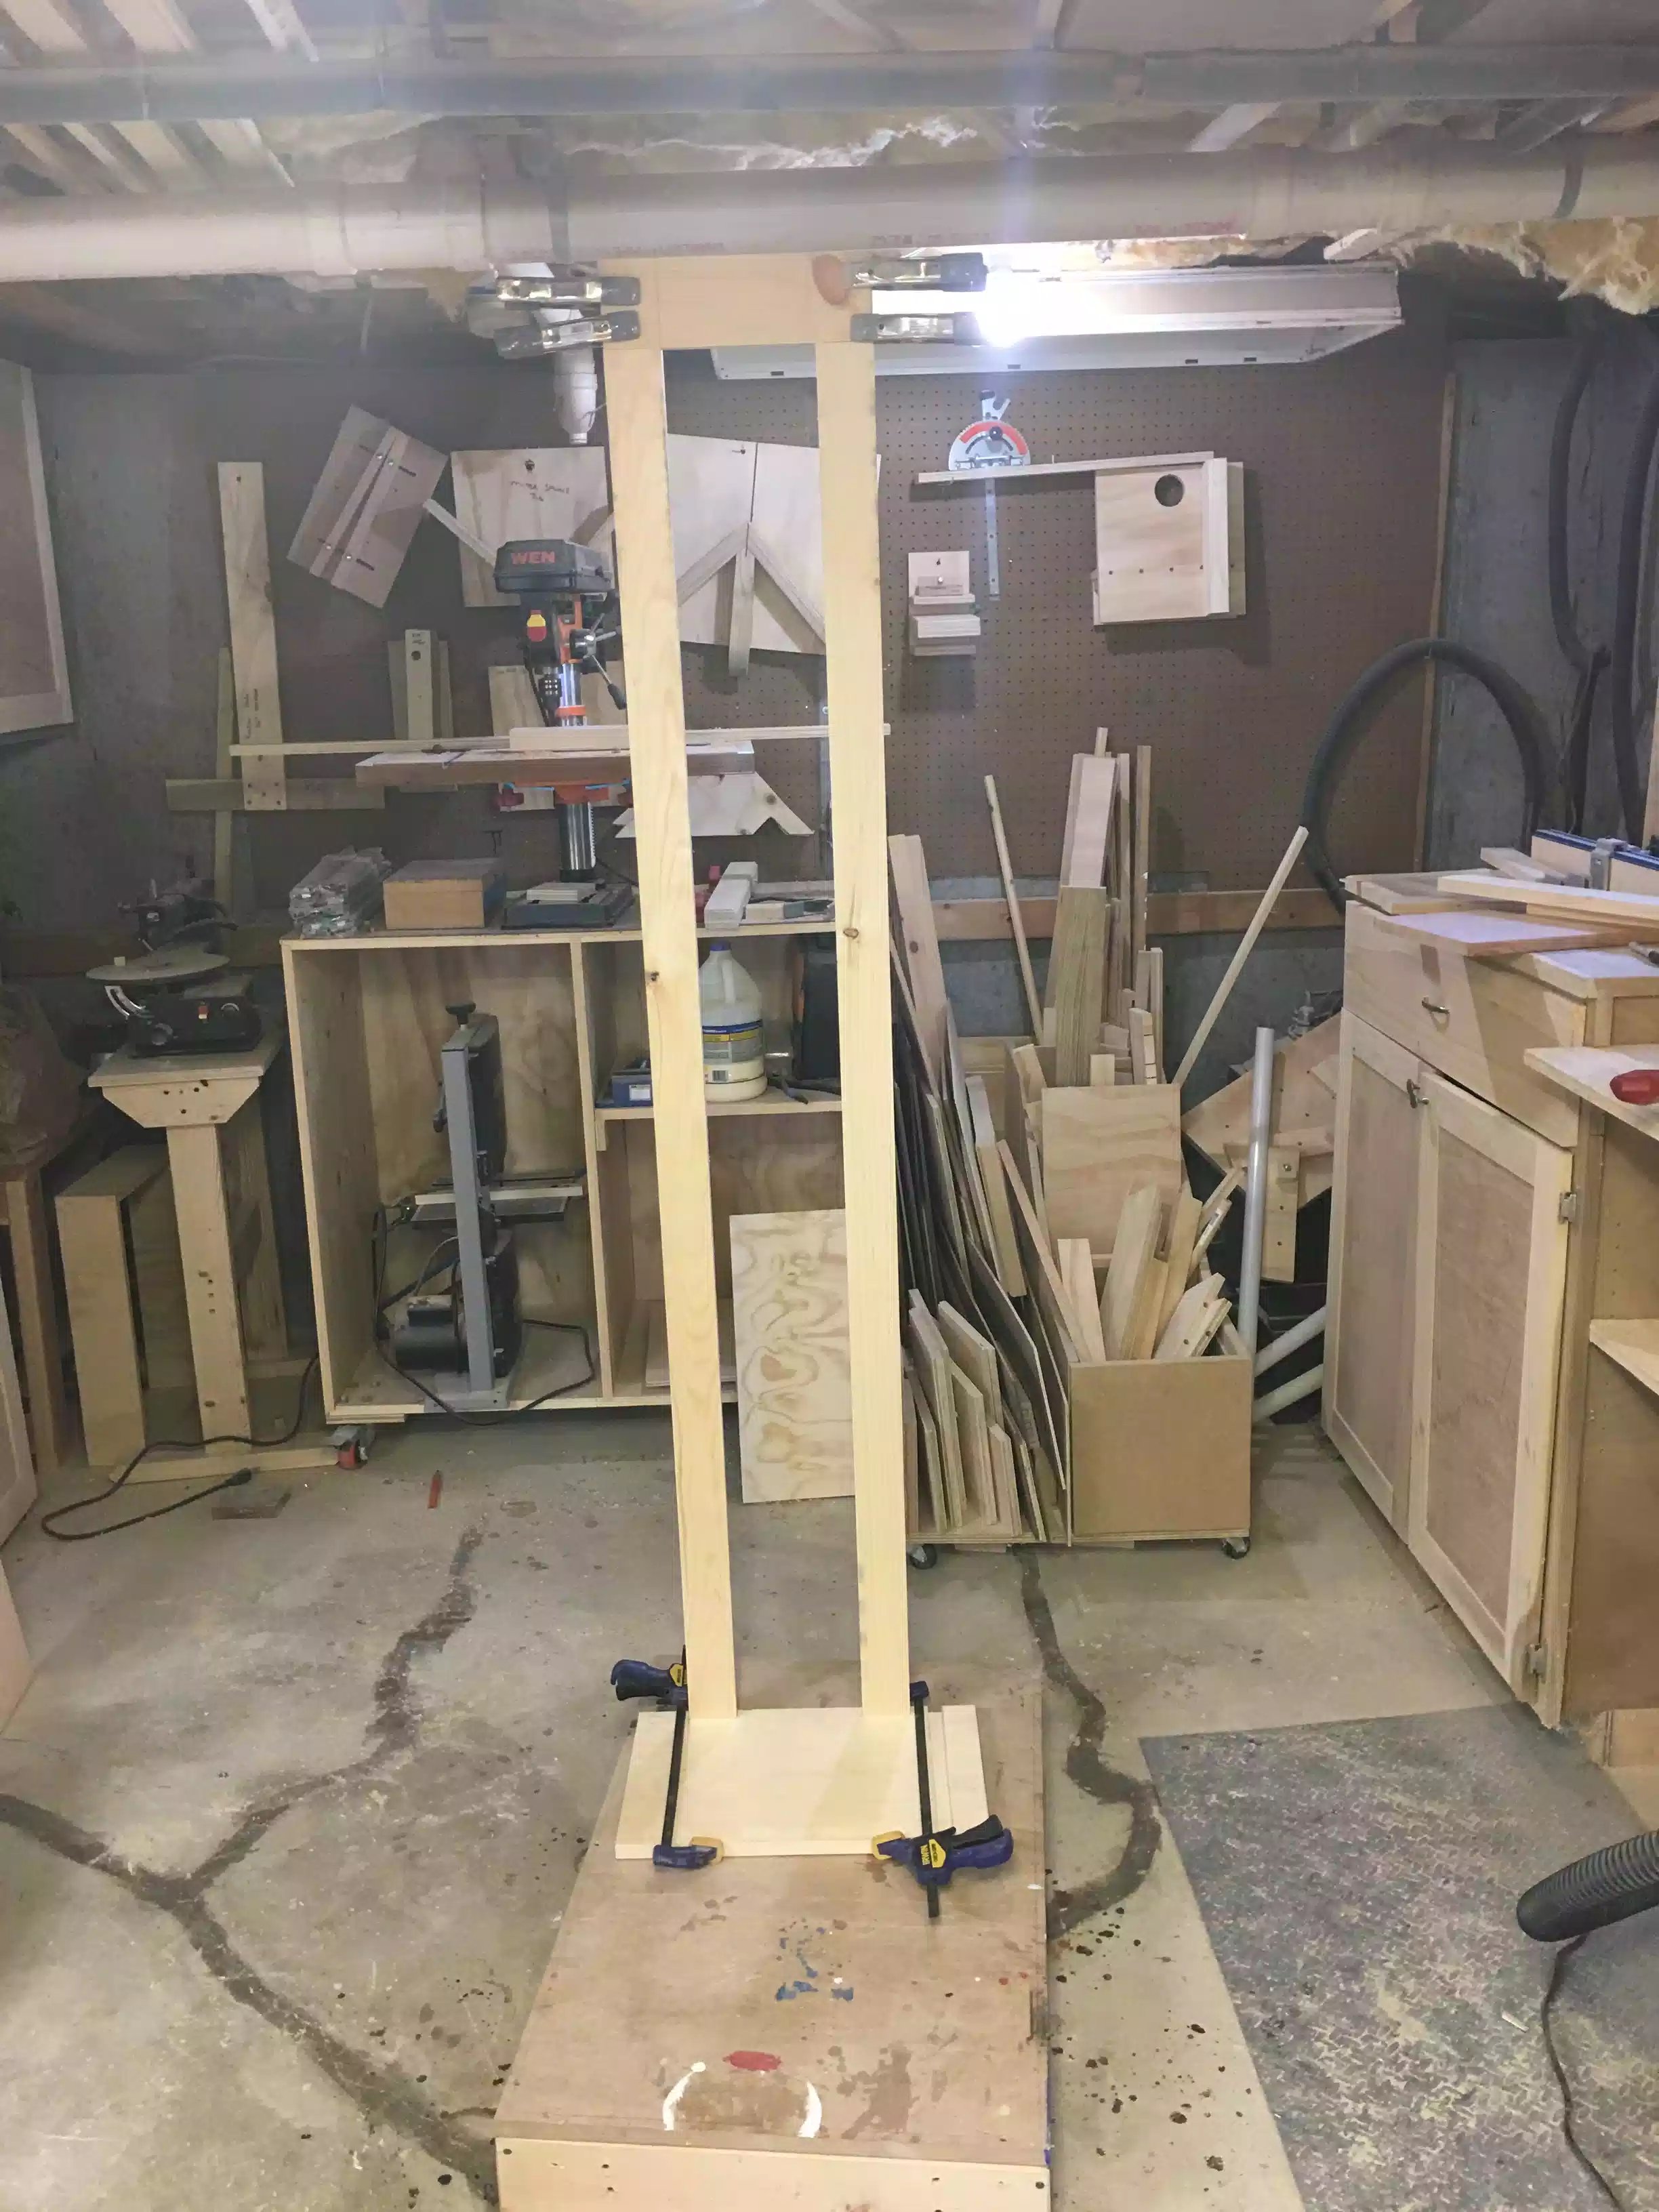
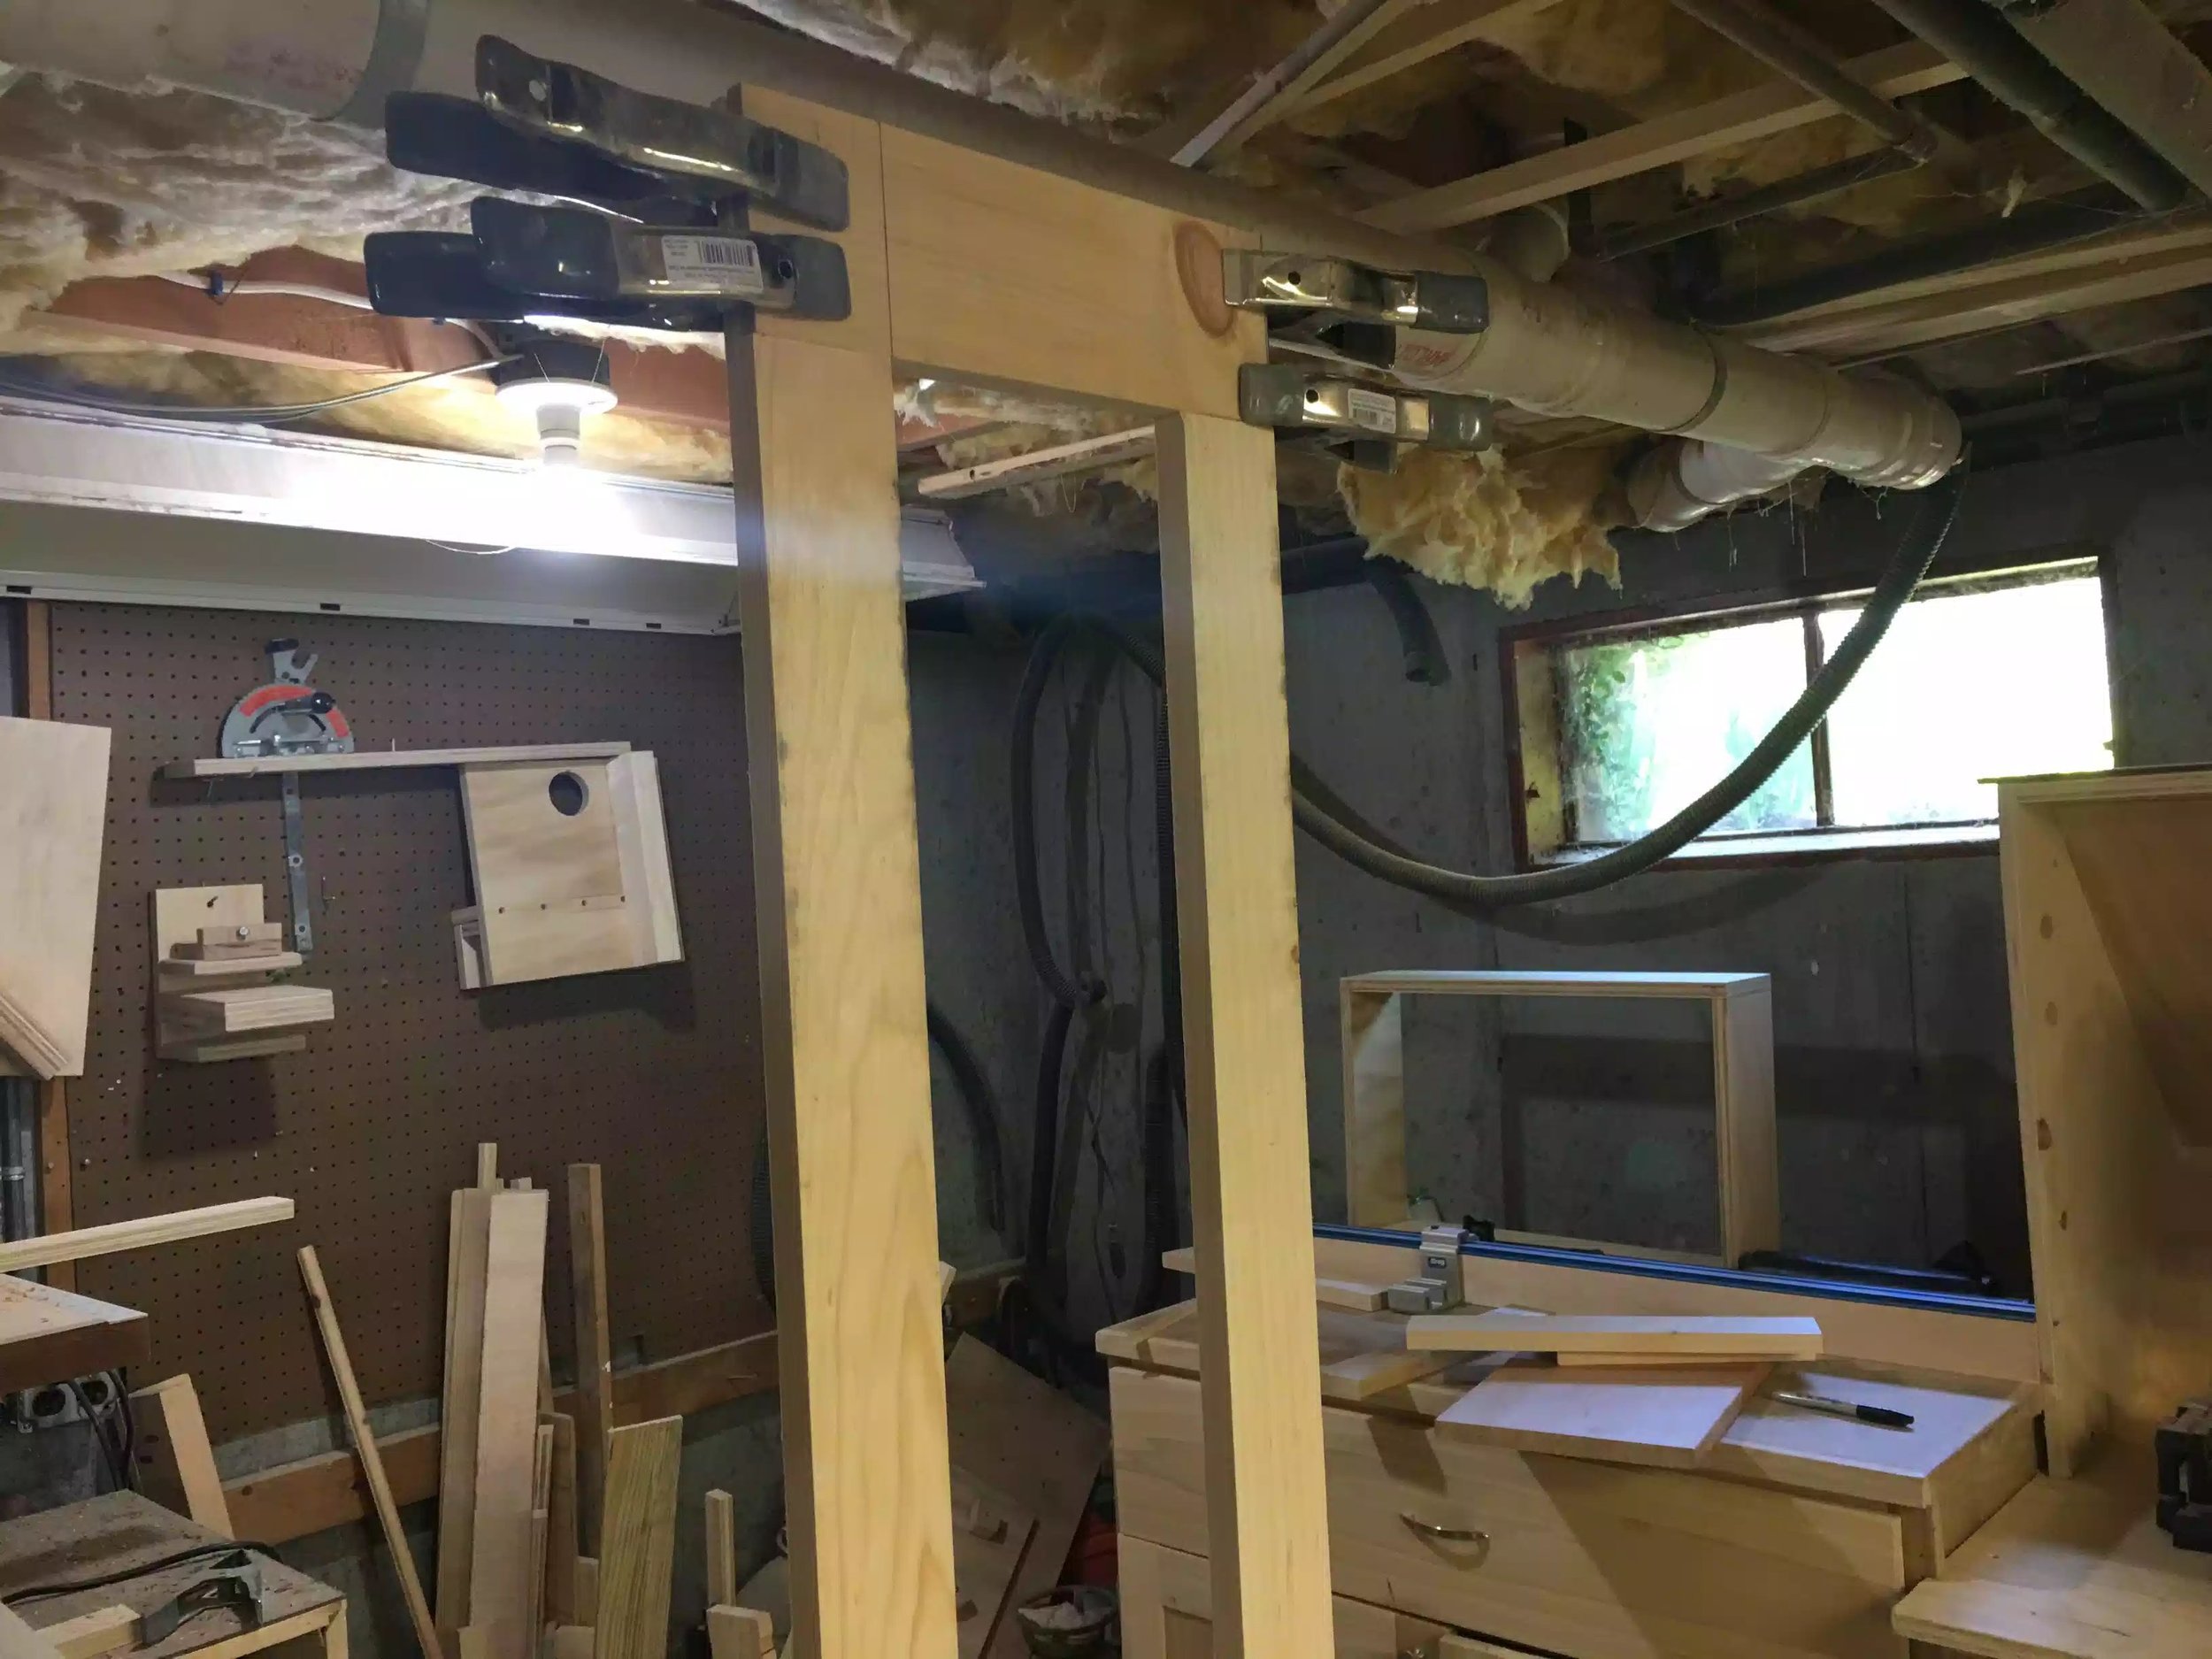
Adding the legs / Shelf Supports
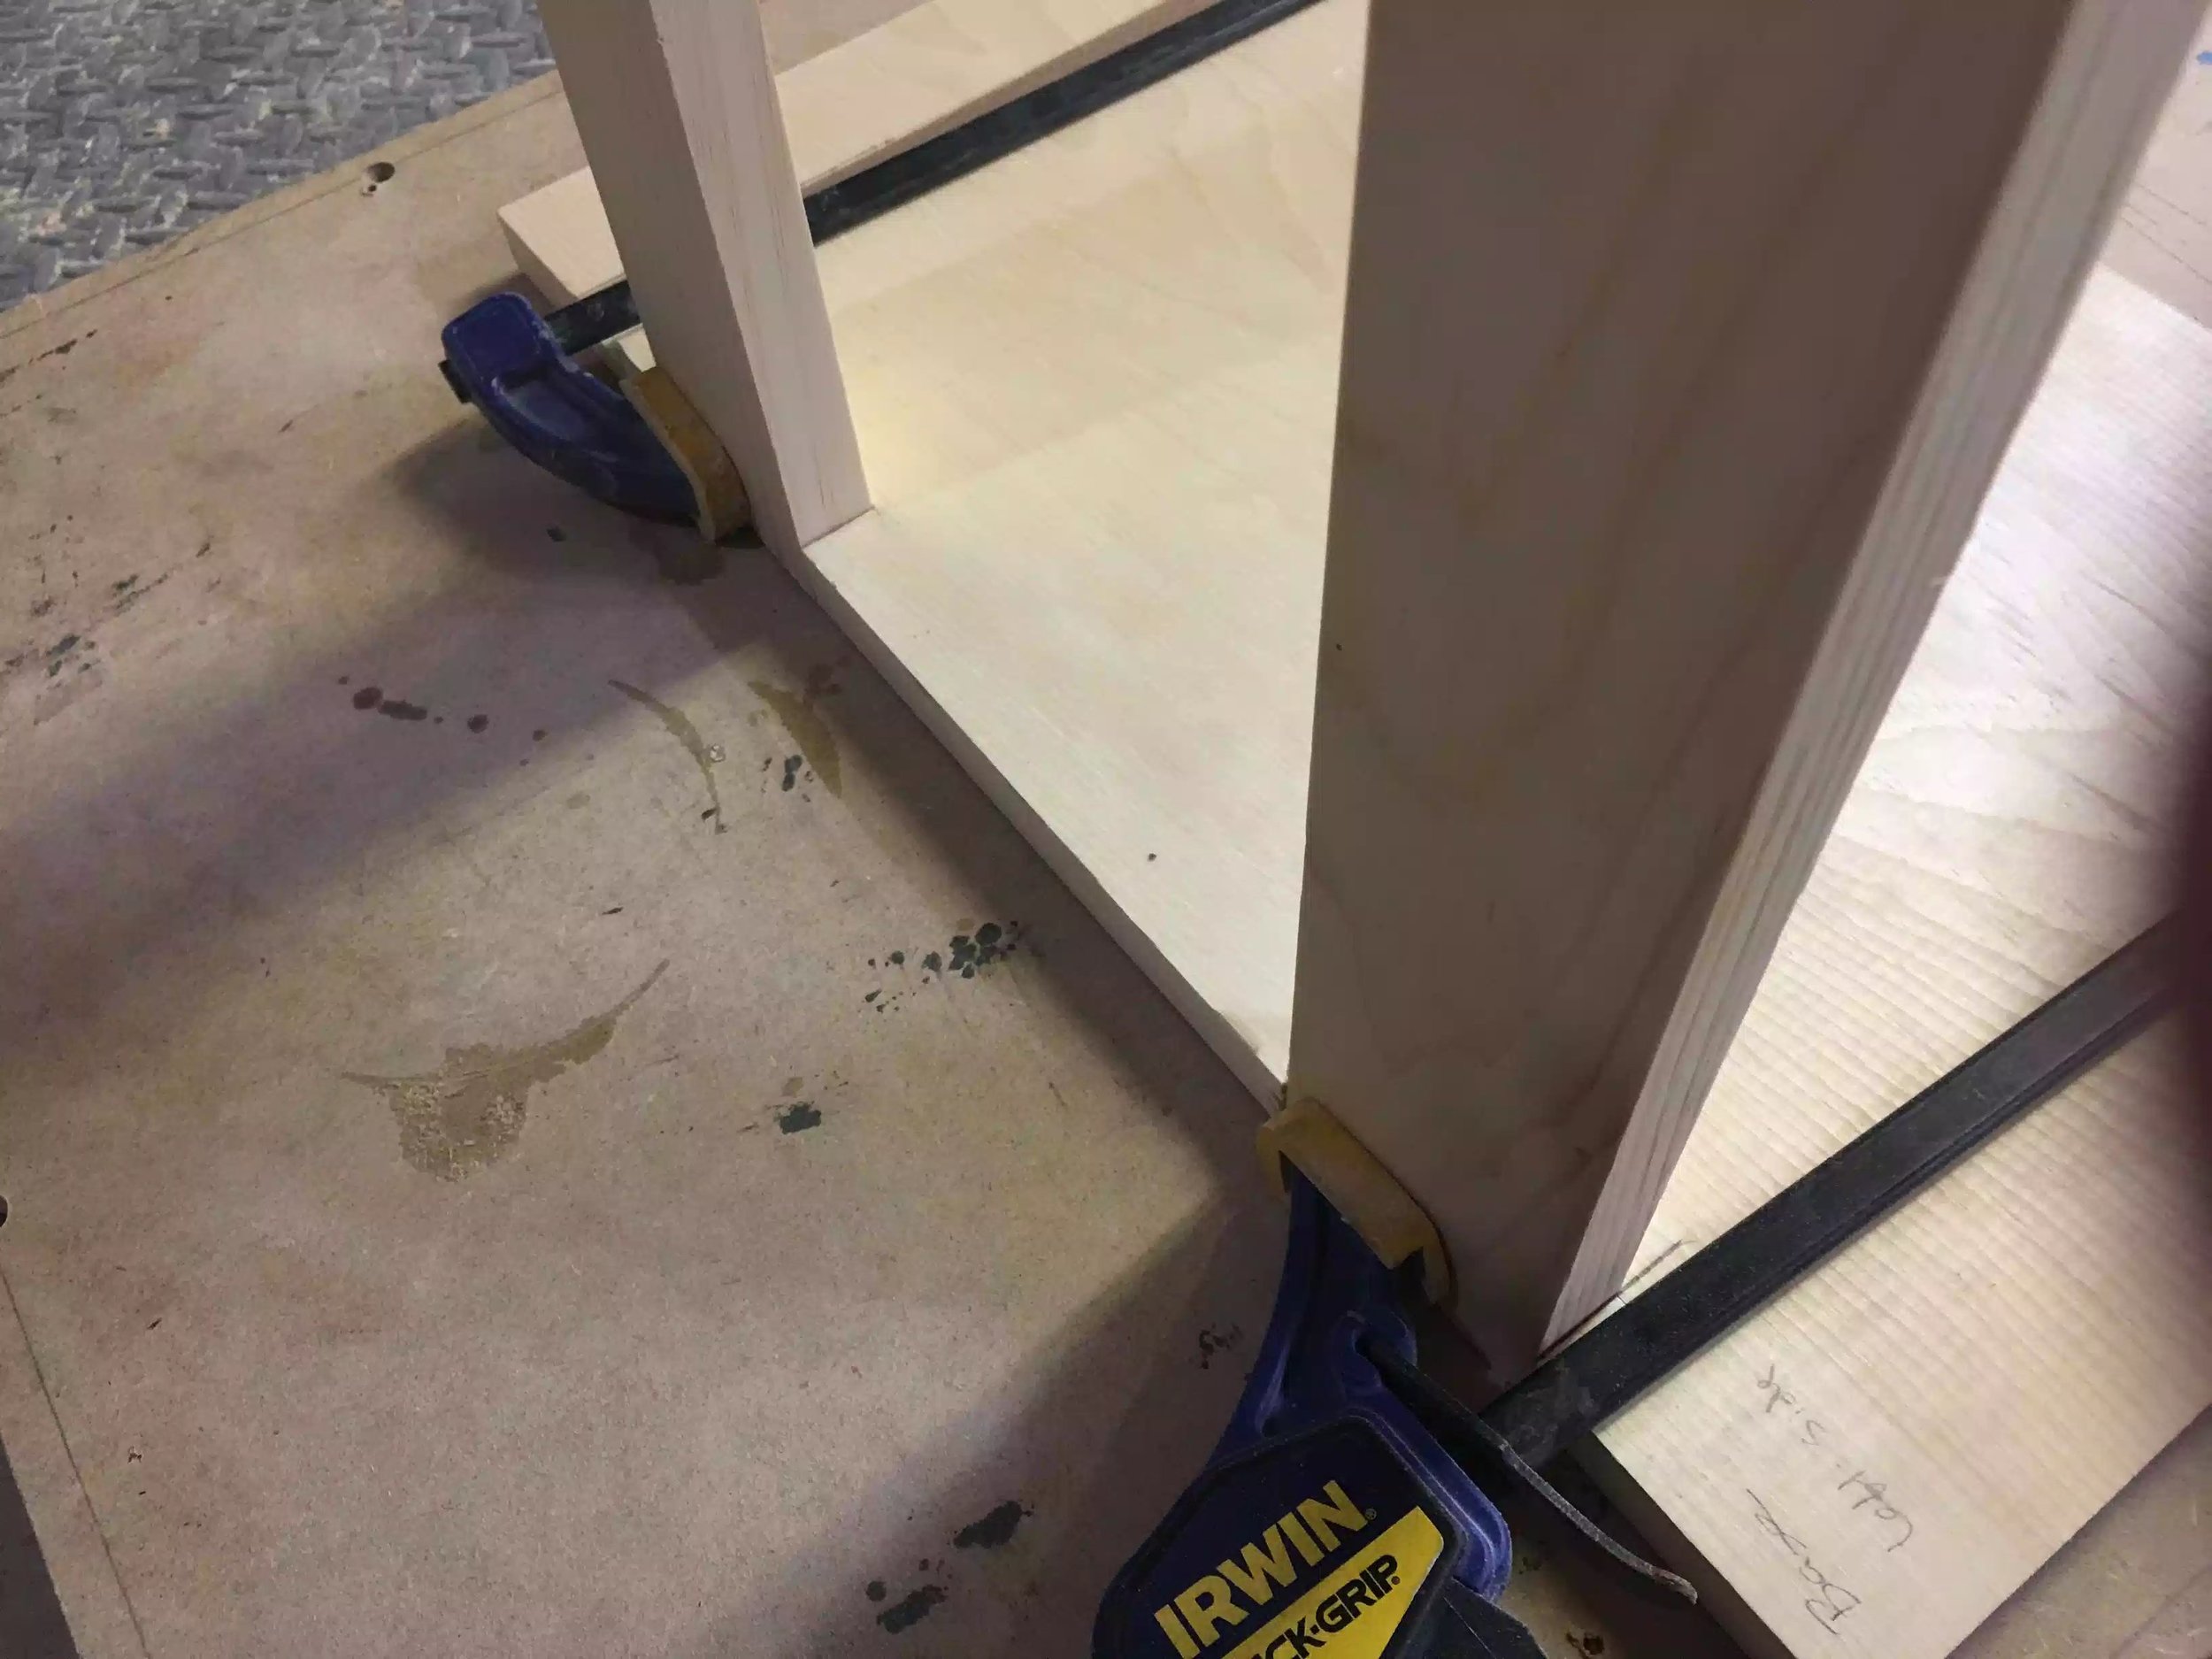
At this point of the project I thought my base was more or less finished (I was wrong but didn't know it yet), since I already put the notches in the back of the base panel I cut the feet to length and I am using a half-lap joint to secure the top cross stretcher to the legs and since my dado stack was still in the table-saw I made the half-lap joints on both pieces.
- In the pictures below you can see the parts that have the half-lap cut into them.
- Once they were milled I did a test fit to make sure they were flush at the back. Although the legs look finished I still need to add 3/8" through holes so as that I can run my dowels through the 2 parts to add some strength, but that is for another day.
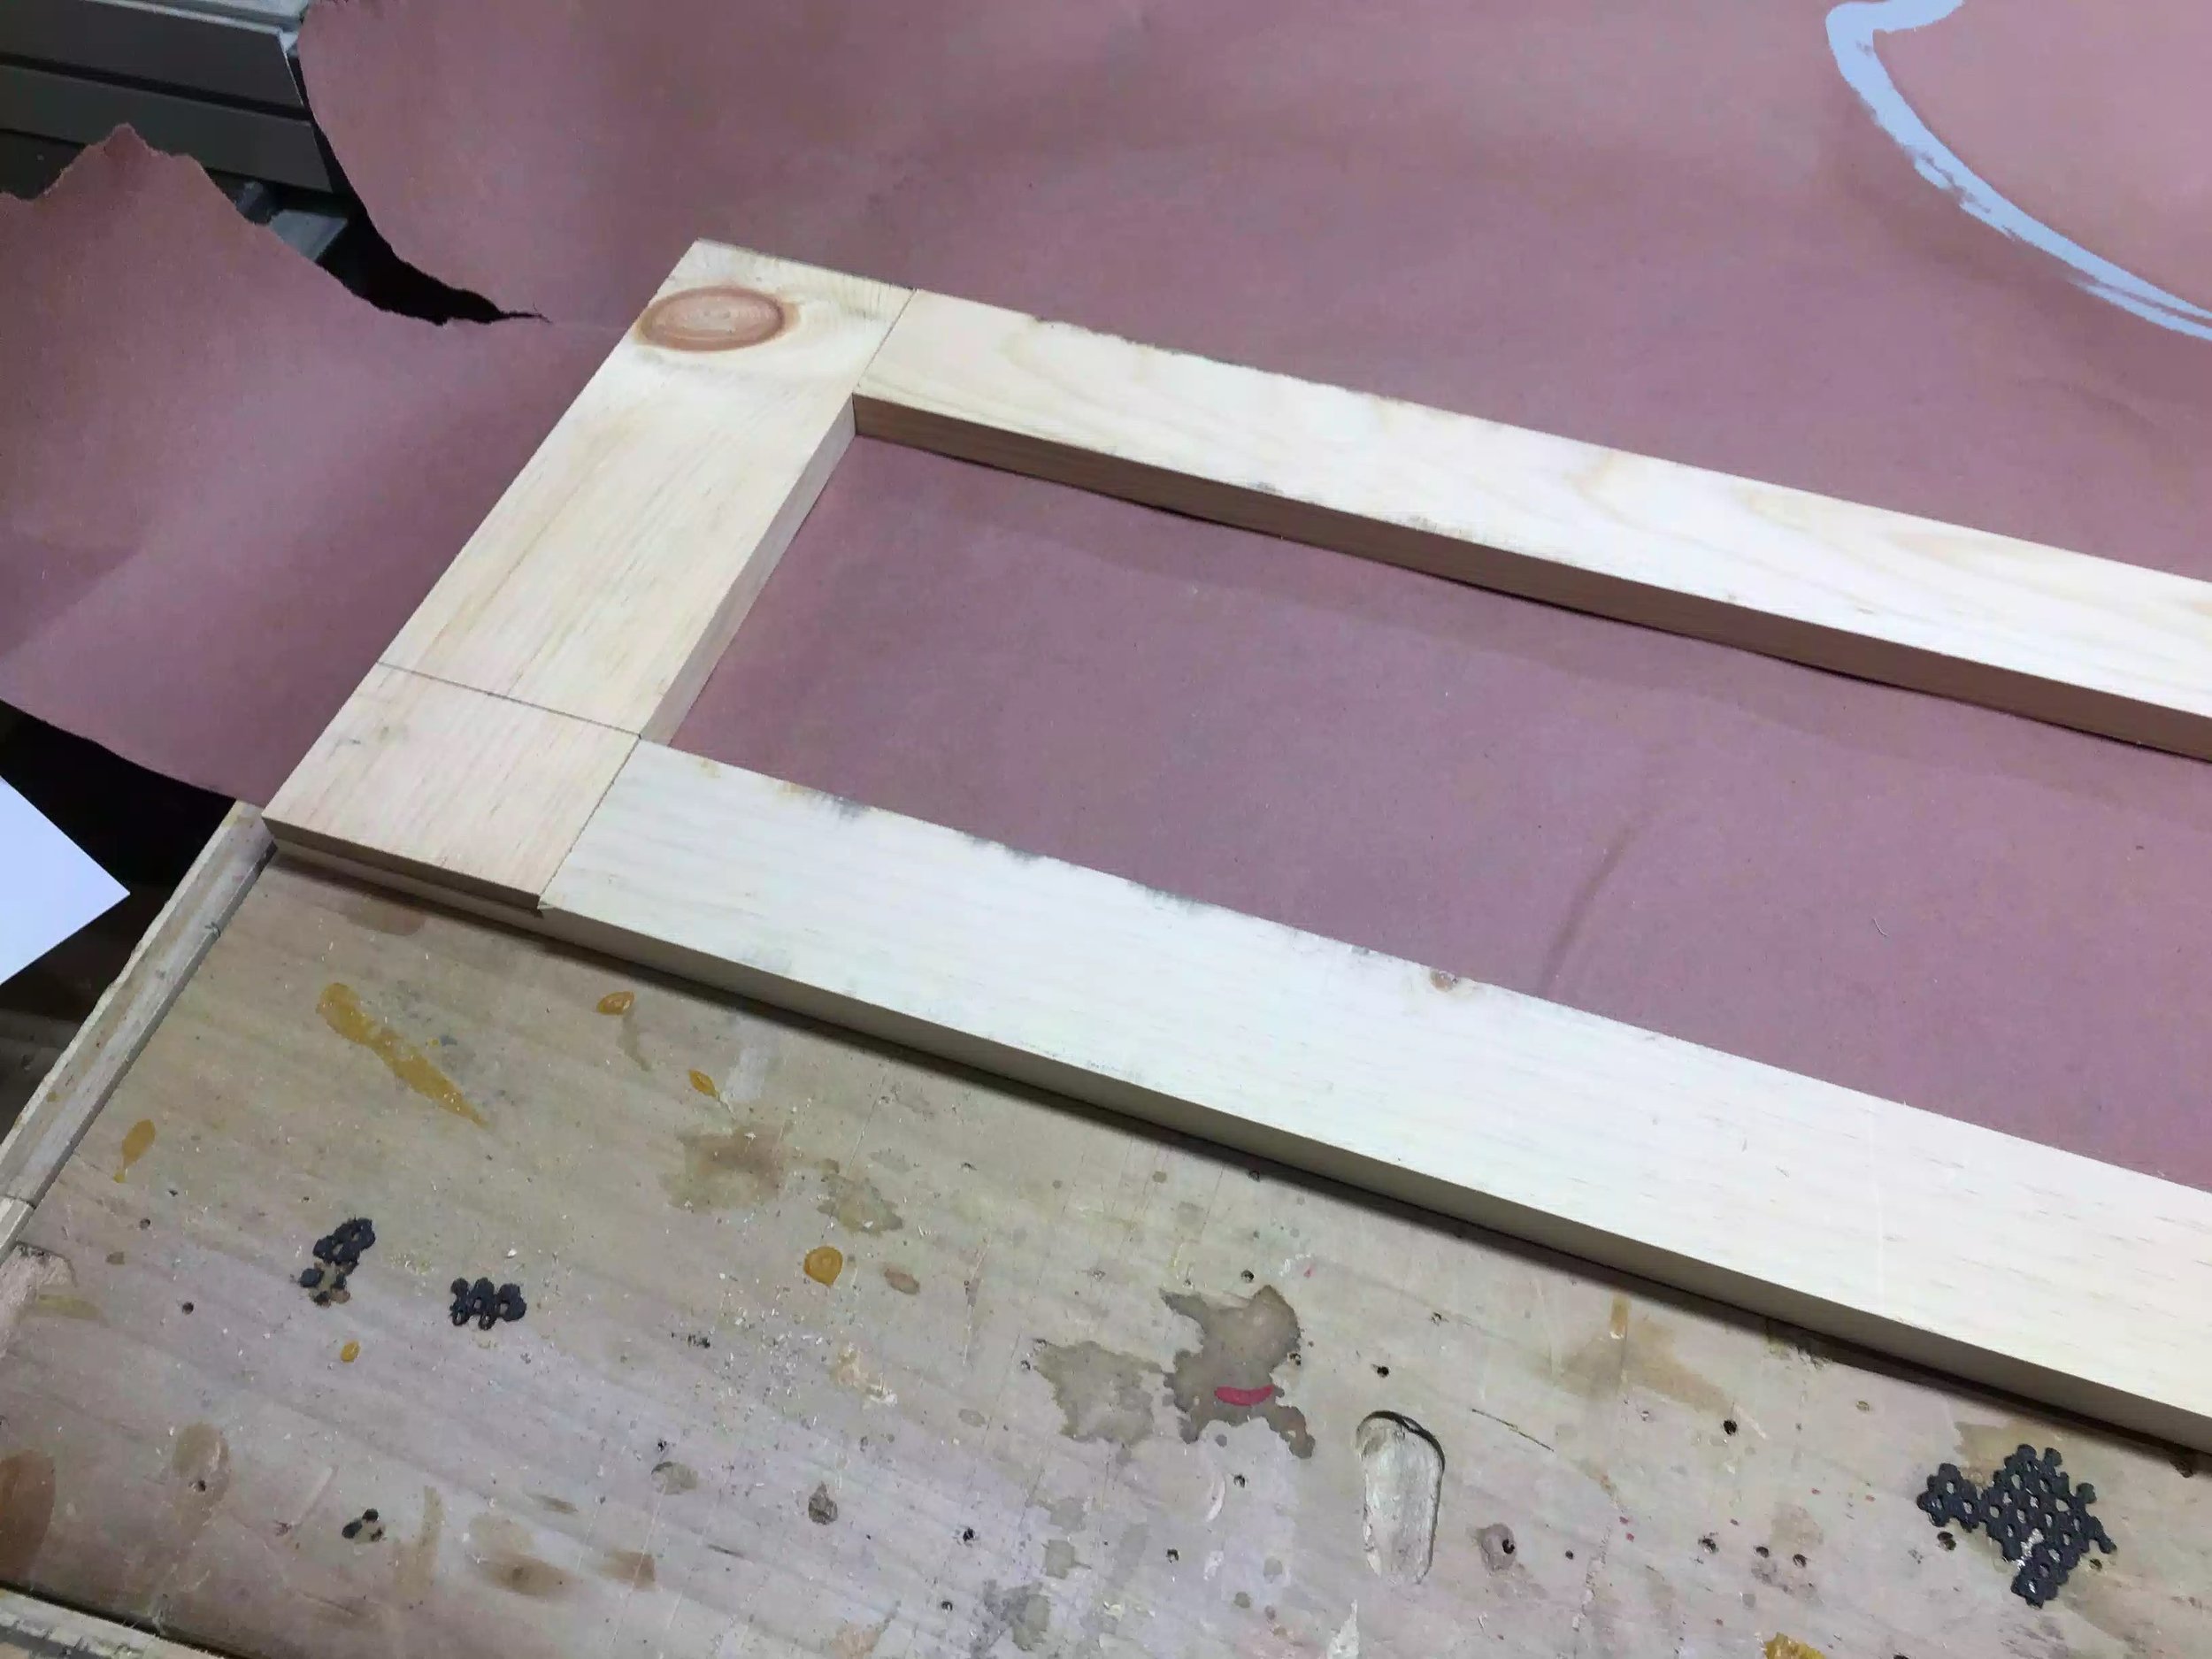
Shelves
At this point I turn my attention to the shelves, all the shelves need at this point is to be cut to final size and I used my chop saw for that , I also need to add a dado into most of the shelves as that is how I join all the shelves together into 1 unit, I will also be adding countersunk holes where the dadoes will be cut so as that I can add screws to add more strength, when it come time for assembly the screws will also acts as clamps while the glue dries, I will also be adding dowel plugs to cover the holes, but all that is later. For today I just wanted to cut the dadoes in the shelves. To achieve this I used my dado stack in the table-saw to achieve this.

Here you can see all the shelves (7 in total) and the bottom shelf in the back . All the dadoes are inserted. 1 Shelf is missing and that is the top shelf I am waiting to do that because I actually don't know what exact dimension it will be until all the other shelves are in place.
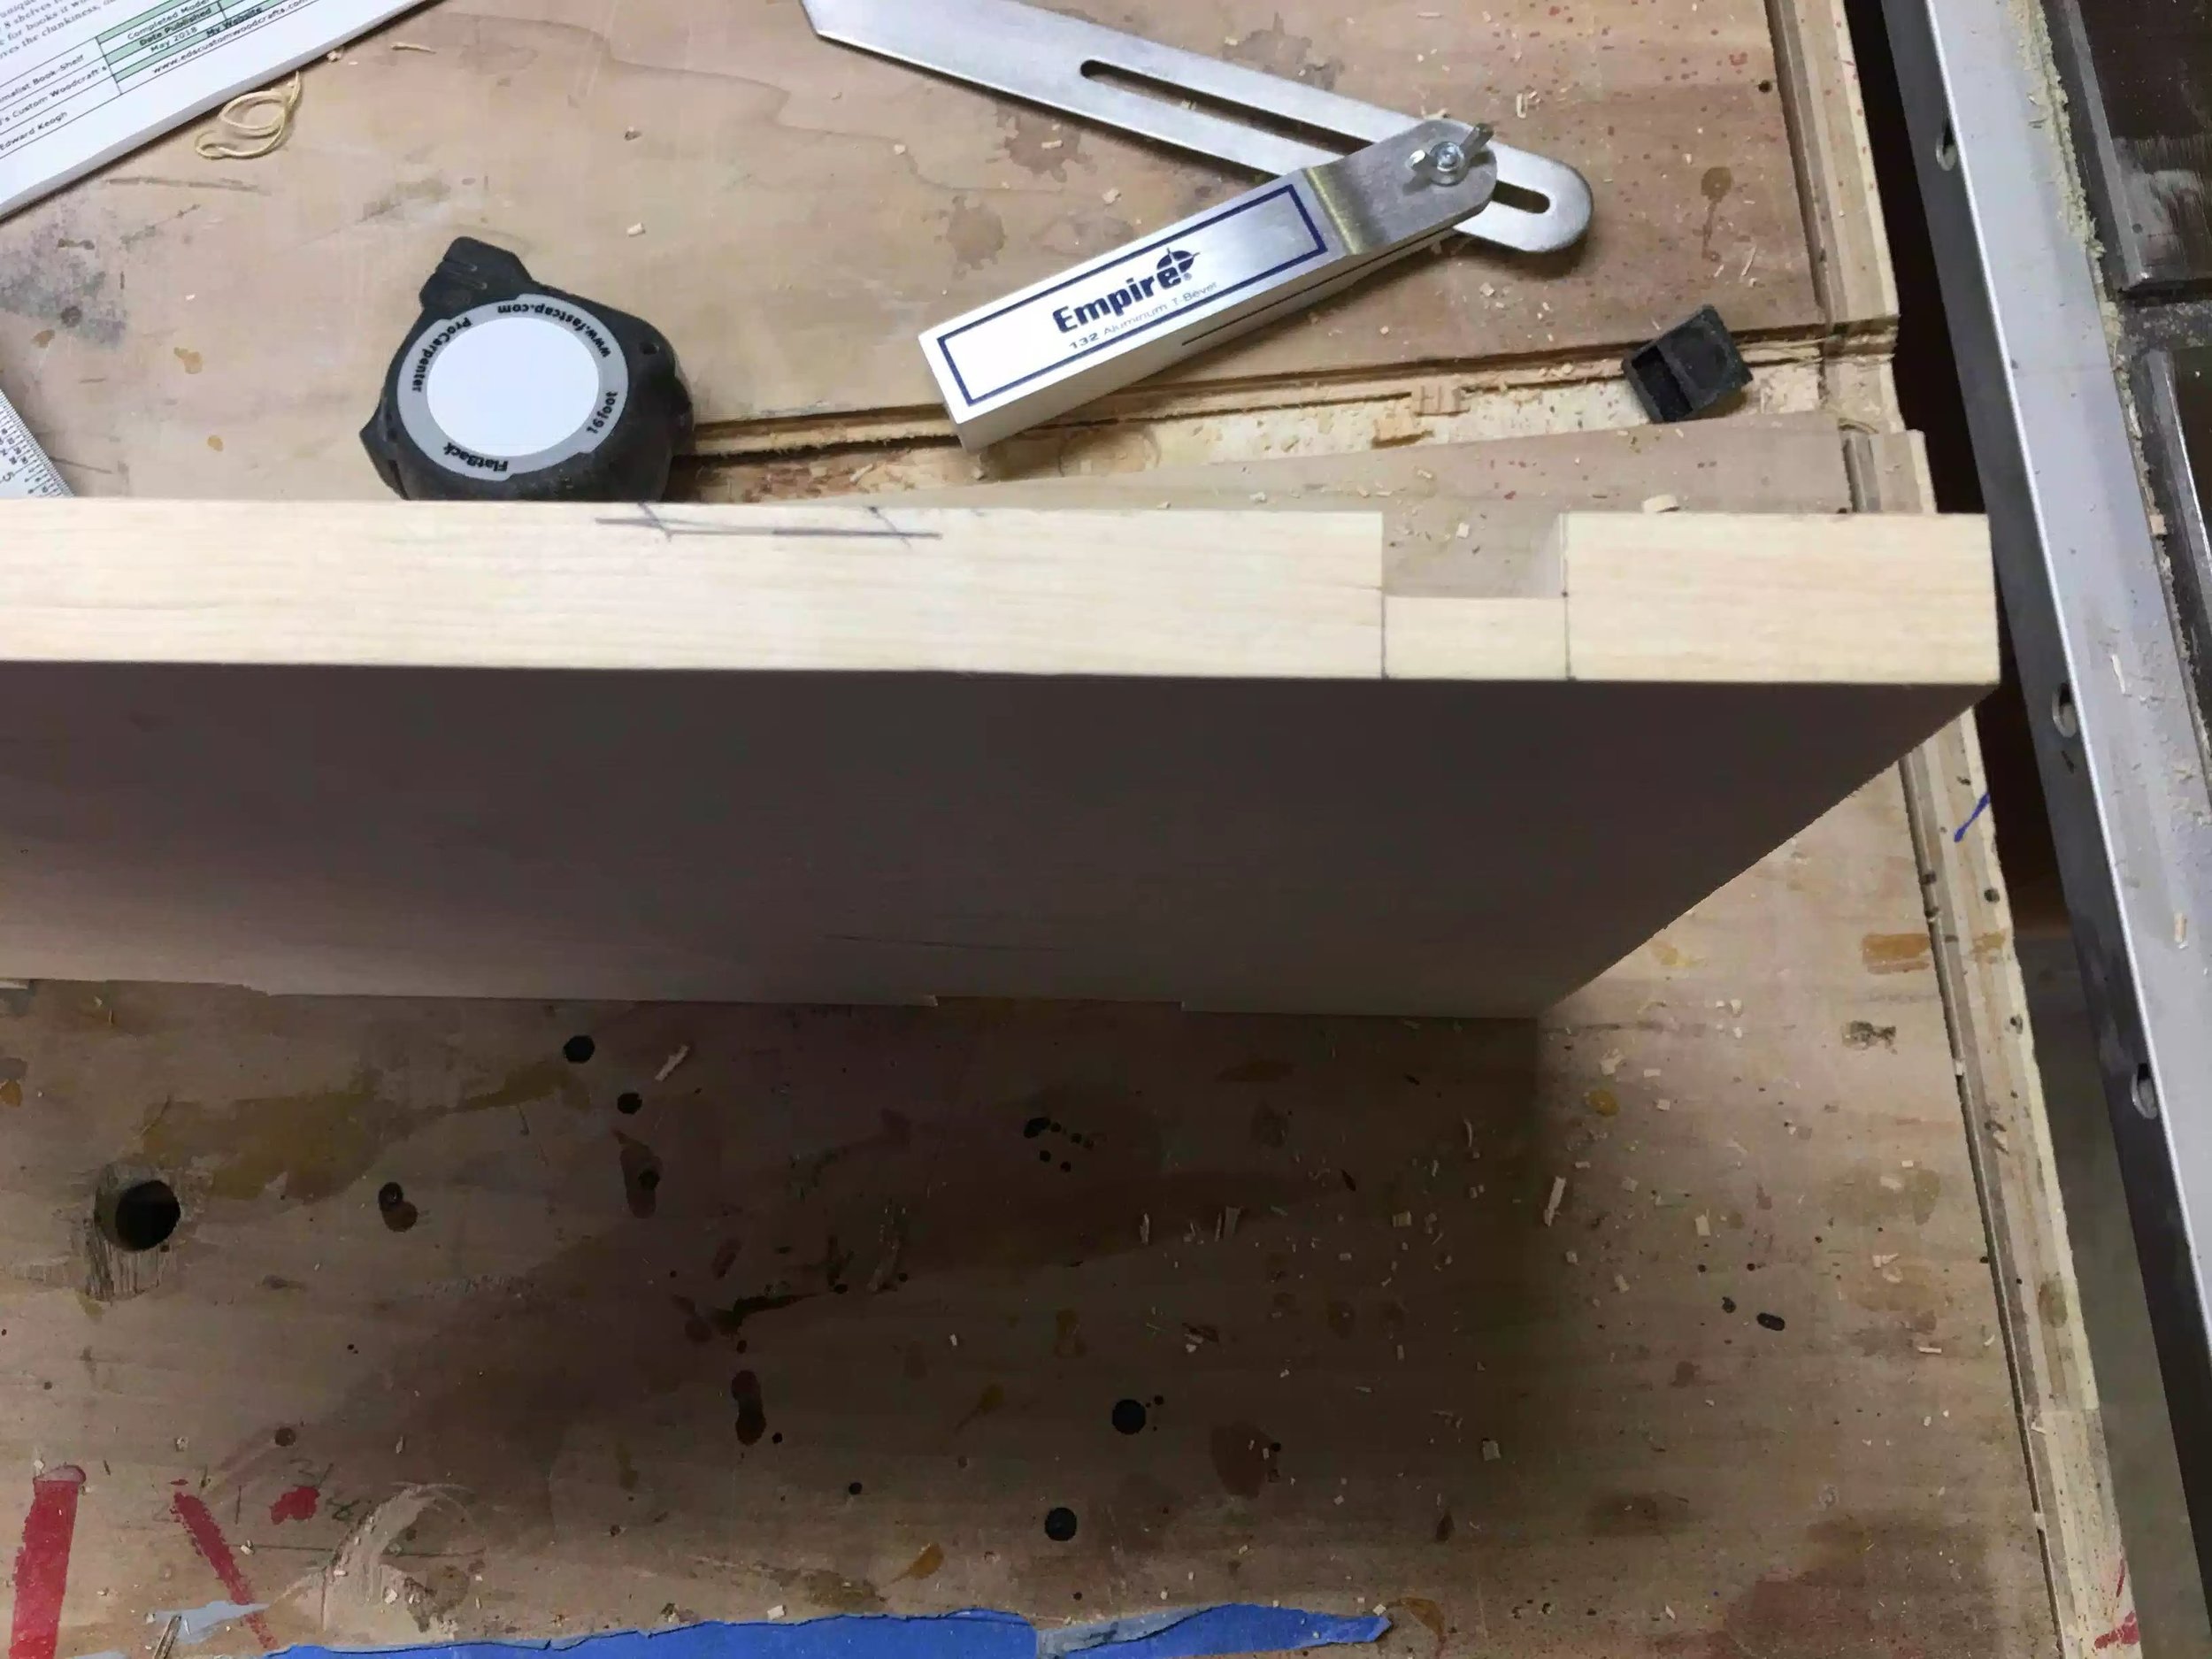
This picture shows a close-up of the dado, because I am using 1x material my dado is 3/4" wide by 3/8" deep. This dado runs across the board
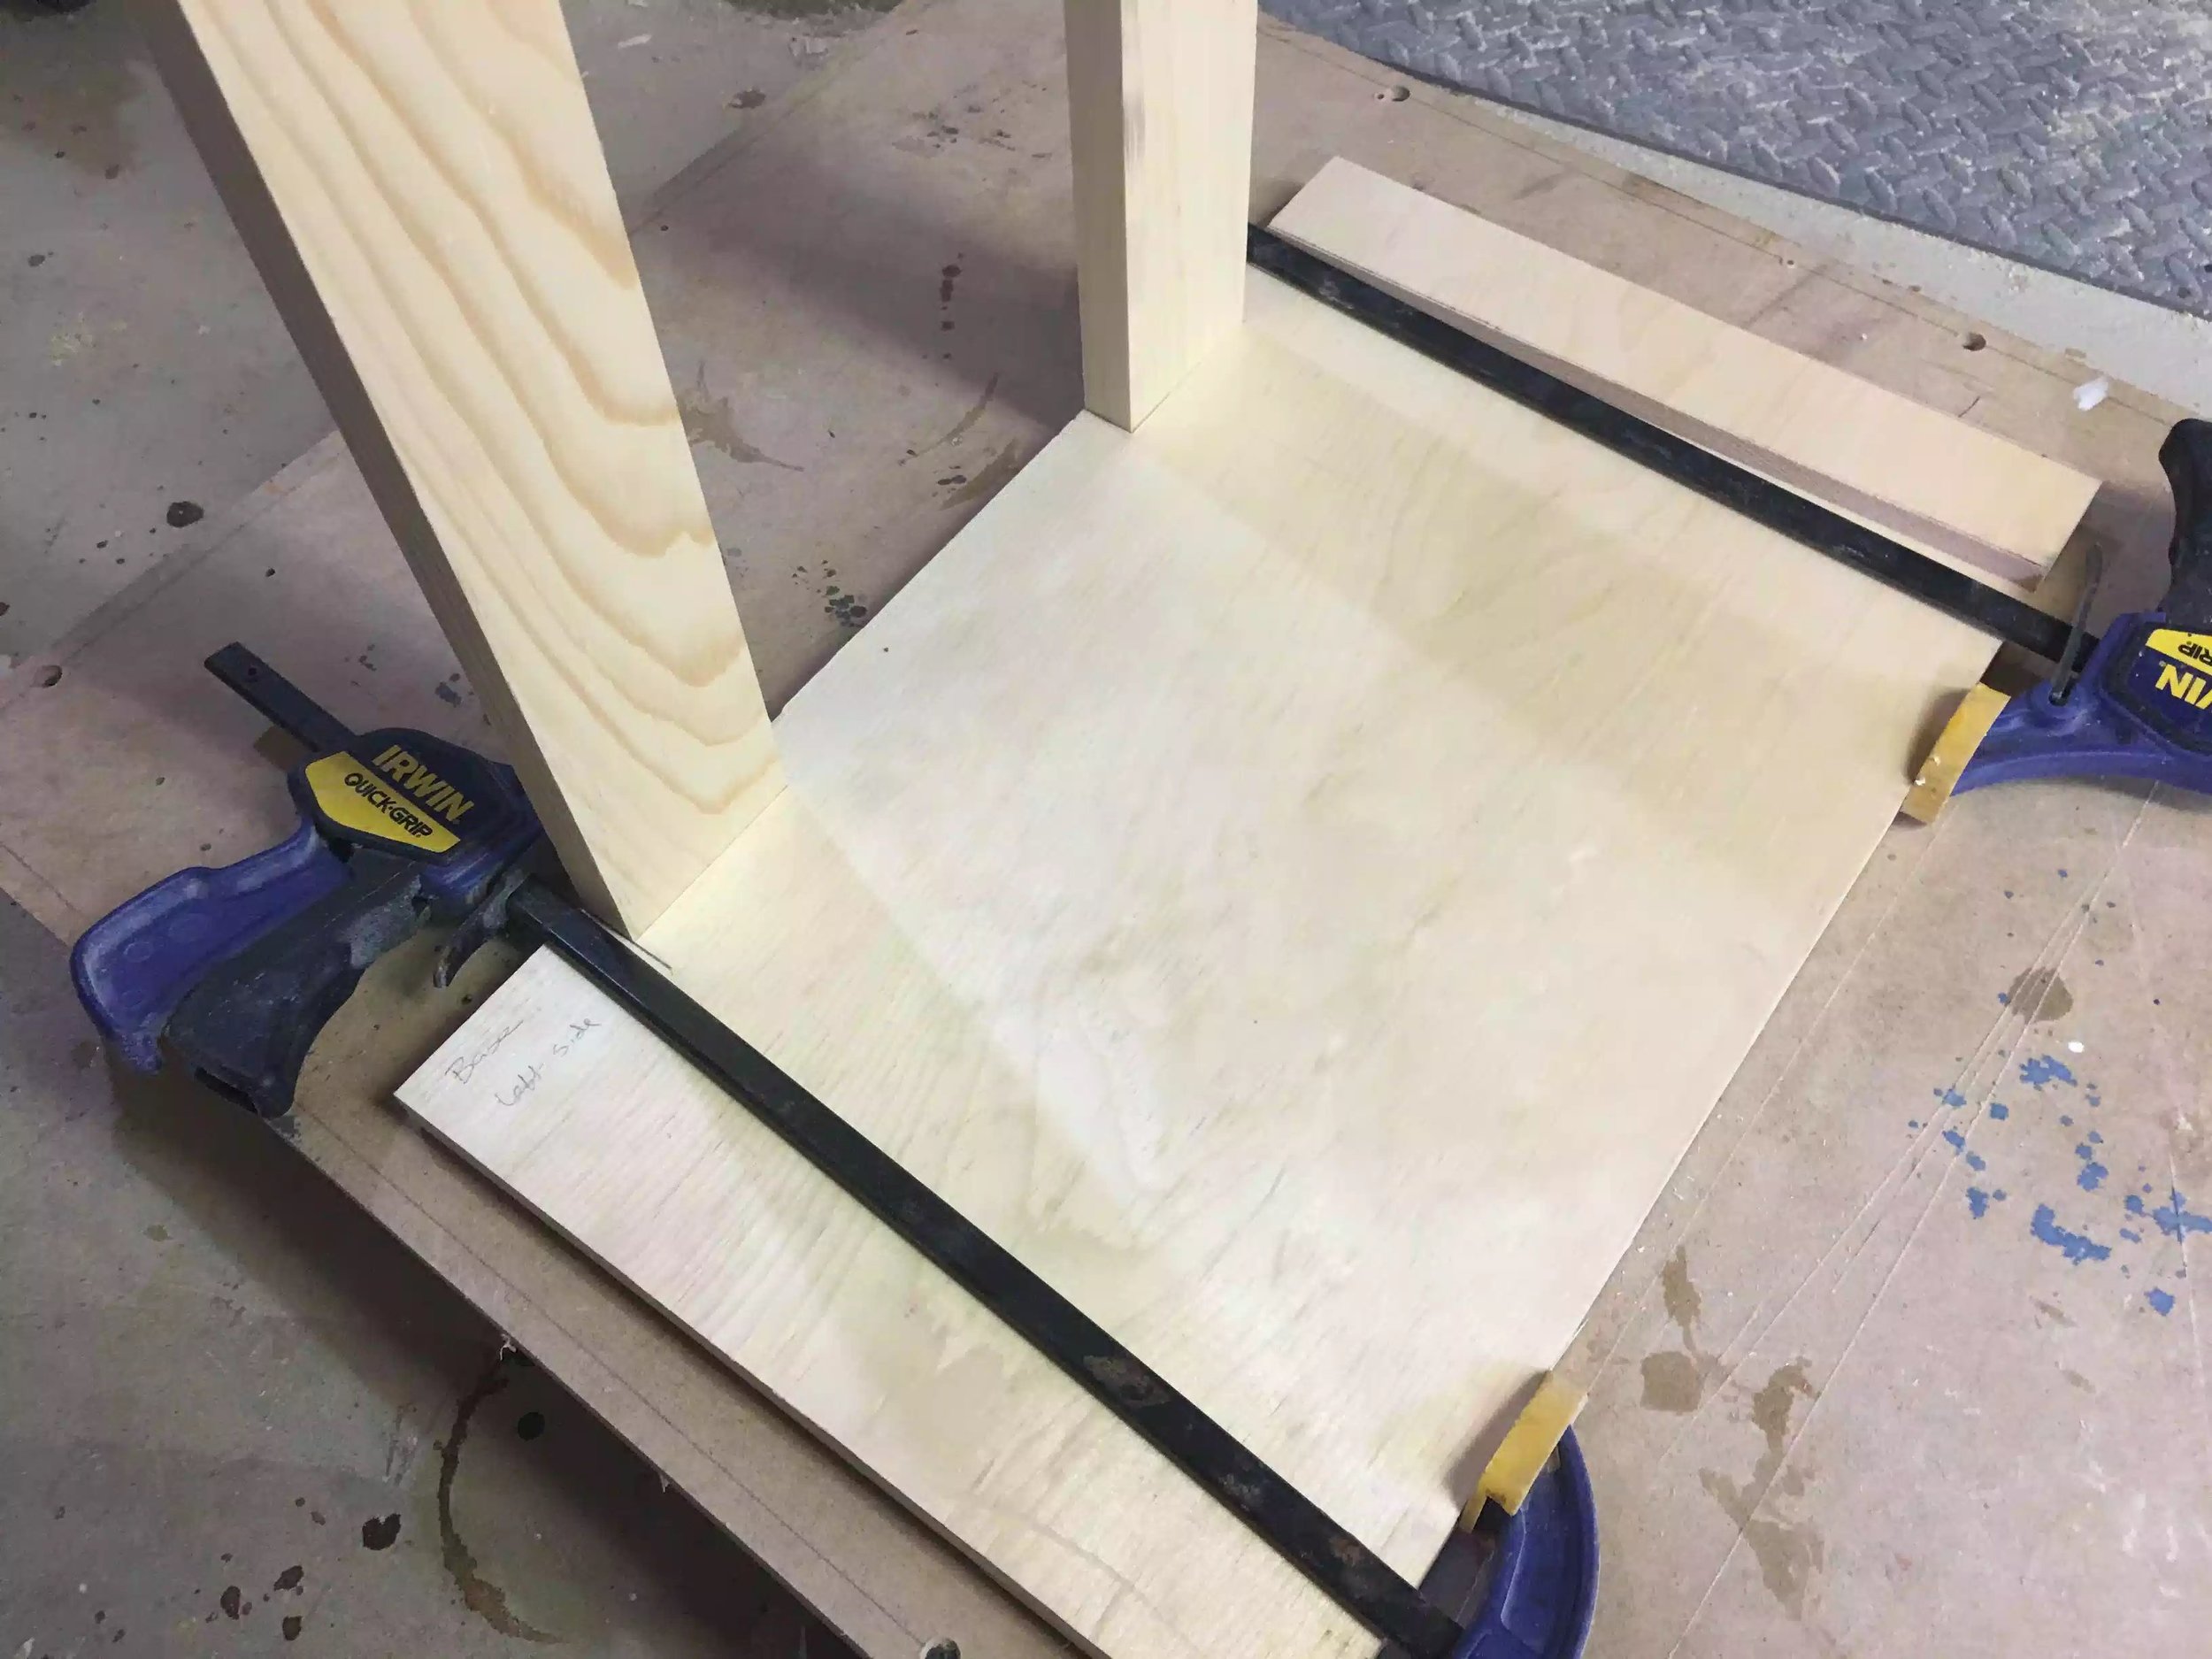
Bottom Shelf / Base Problem
As I mentioned earlier in the post I thought the base was all finished but when I tried to determine how I would actually keep the bottom shelf in place was very difficult because its been made with a 45 degree bevel and now I need it to sit flush on the base.
So I went to my Online workshop and solicited some help with this problem, I received quite a lot of ideas some included adding a biscuit joint, adding a angled dado for the bottom shelf to slide into, other options were to brad nail it into position while also adding glue, screwing up into the bottom shelf from the underside of the base.
But the one that I decided to go with was to cut the angled groove into the base but not using my dado stack but using my regular table-saw blade, beow you can see on my 3D software programe how it would all come together
Here you see 2 options that were recommended the one on the right is the one I chose.
Here you can see a 3D drawing that I did on Sketchup to show my problem.

This is my spin on the option that was recomended, not only ill the groove be cut using a regular tabel-saw blade, I will also be adding dowels or screws from the under side of the base. Once I have this step completed I will post pictures.

Here are the instructions someone went to the trouble of making me, with details like this I could achieve the solution.
That is all I have completed in 2 days in the shop, next I will be working on adding the dowels into the cross stretcher in the top, sanding down all parts, I am also considering adding a round-over to all the shelf ends, using my router.