
HAND TOOLS & HAND TOOL STORAGE
PROJECTS
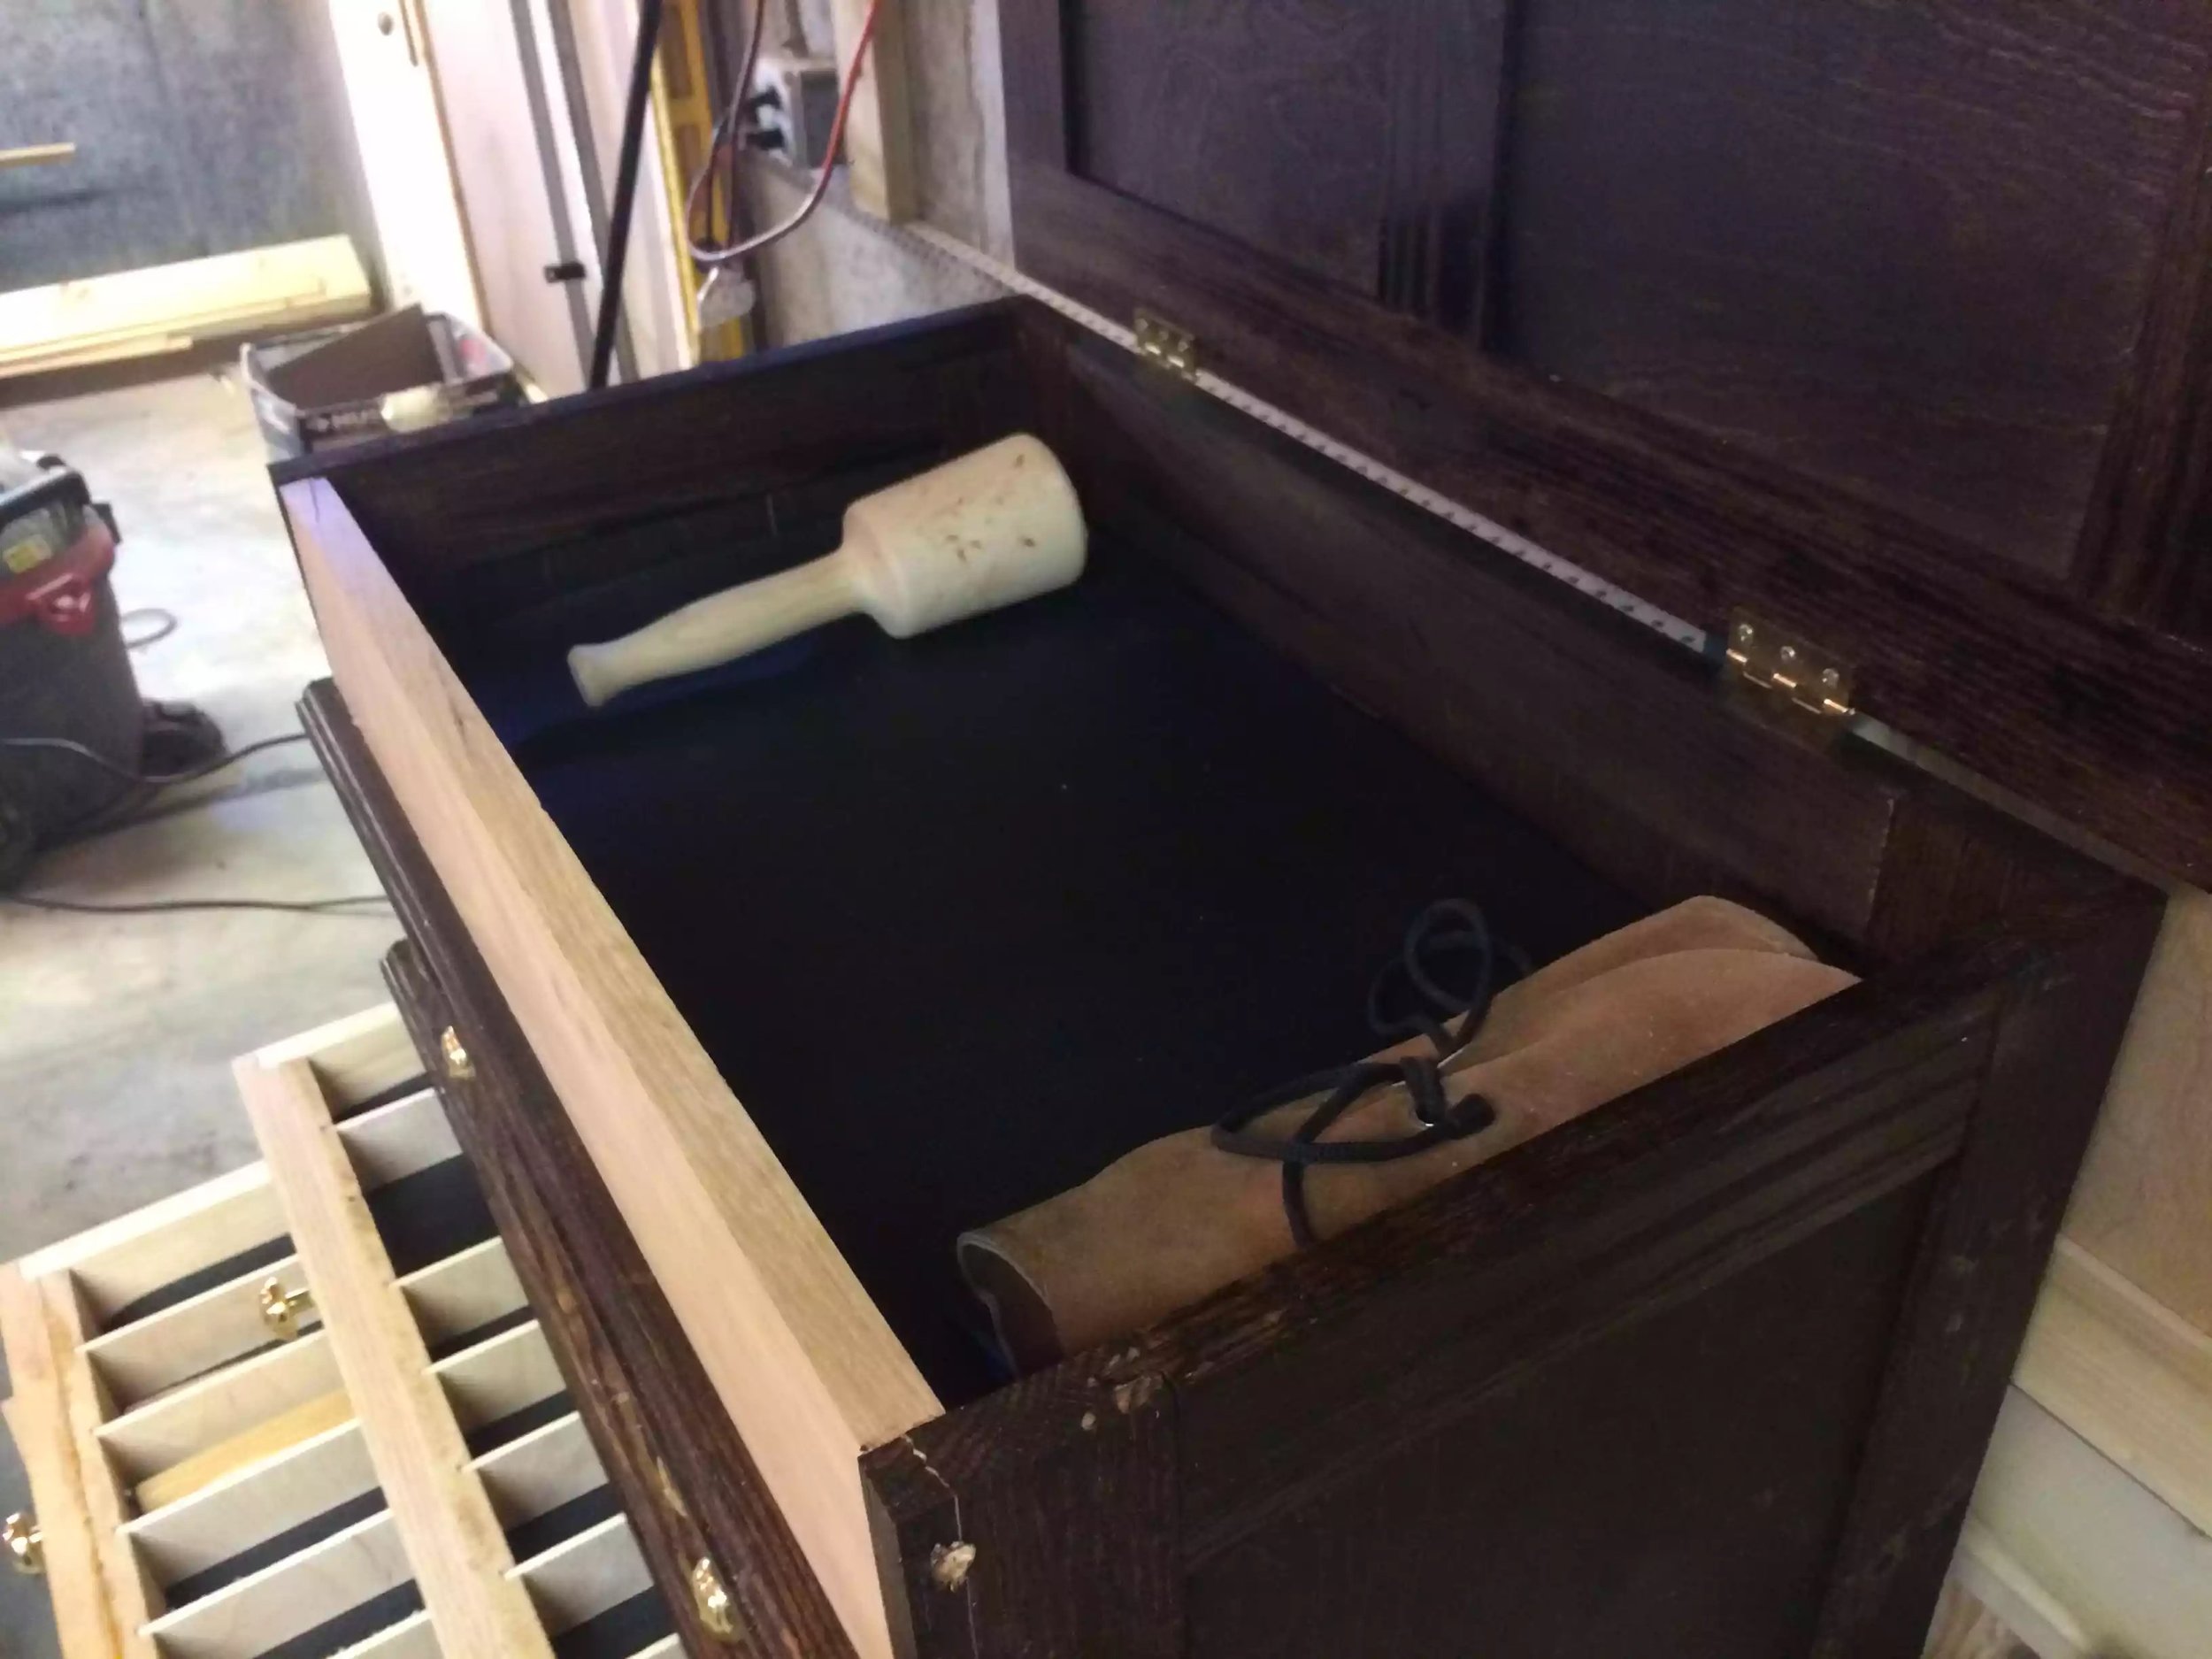
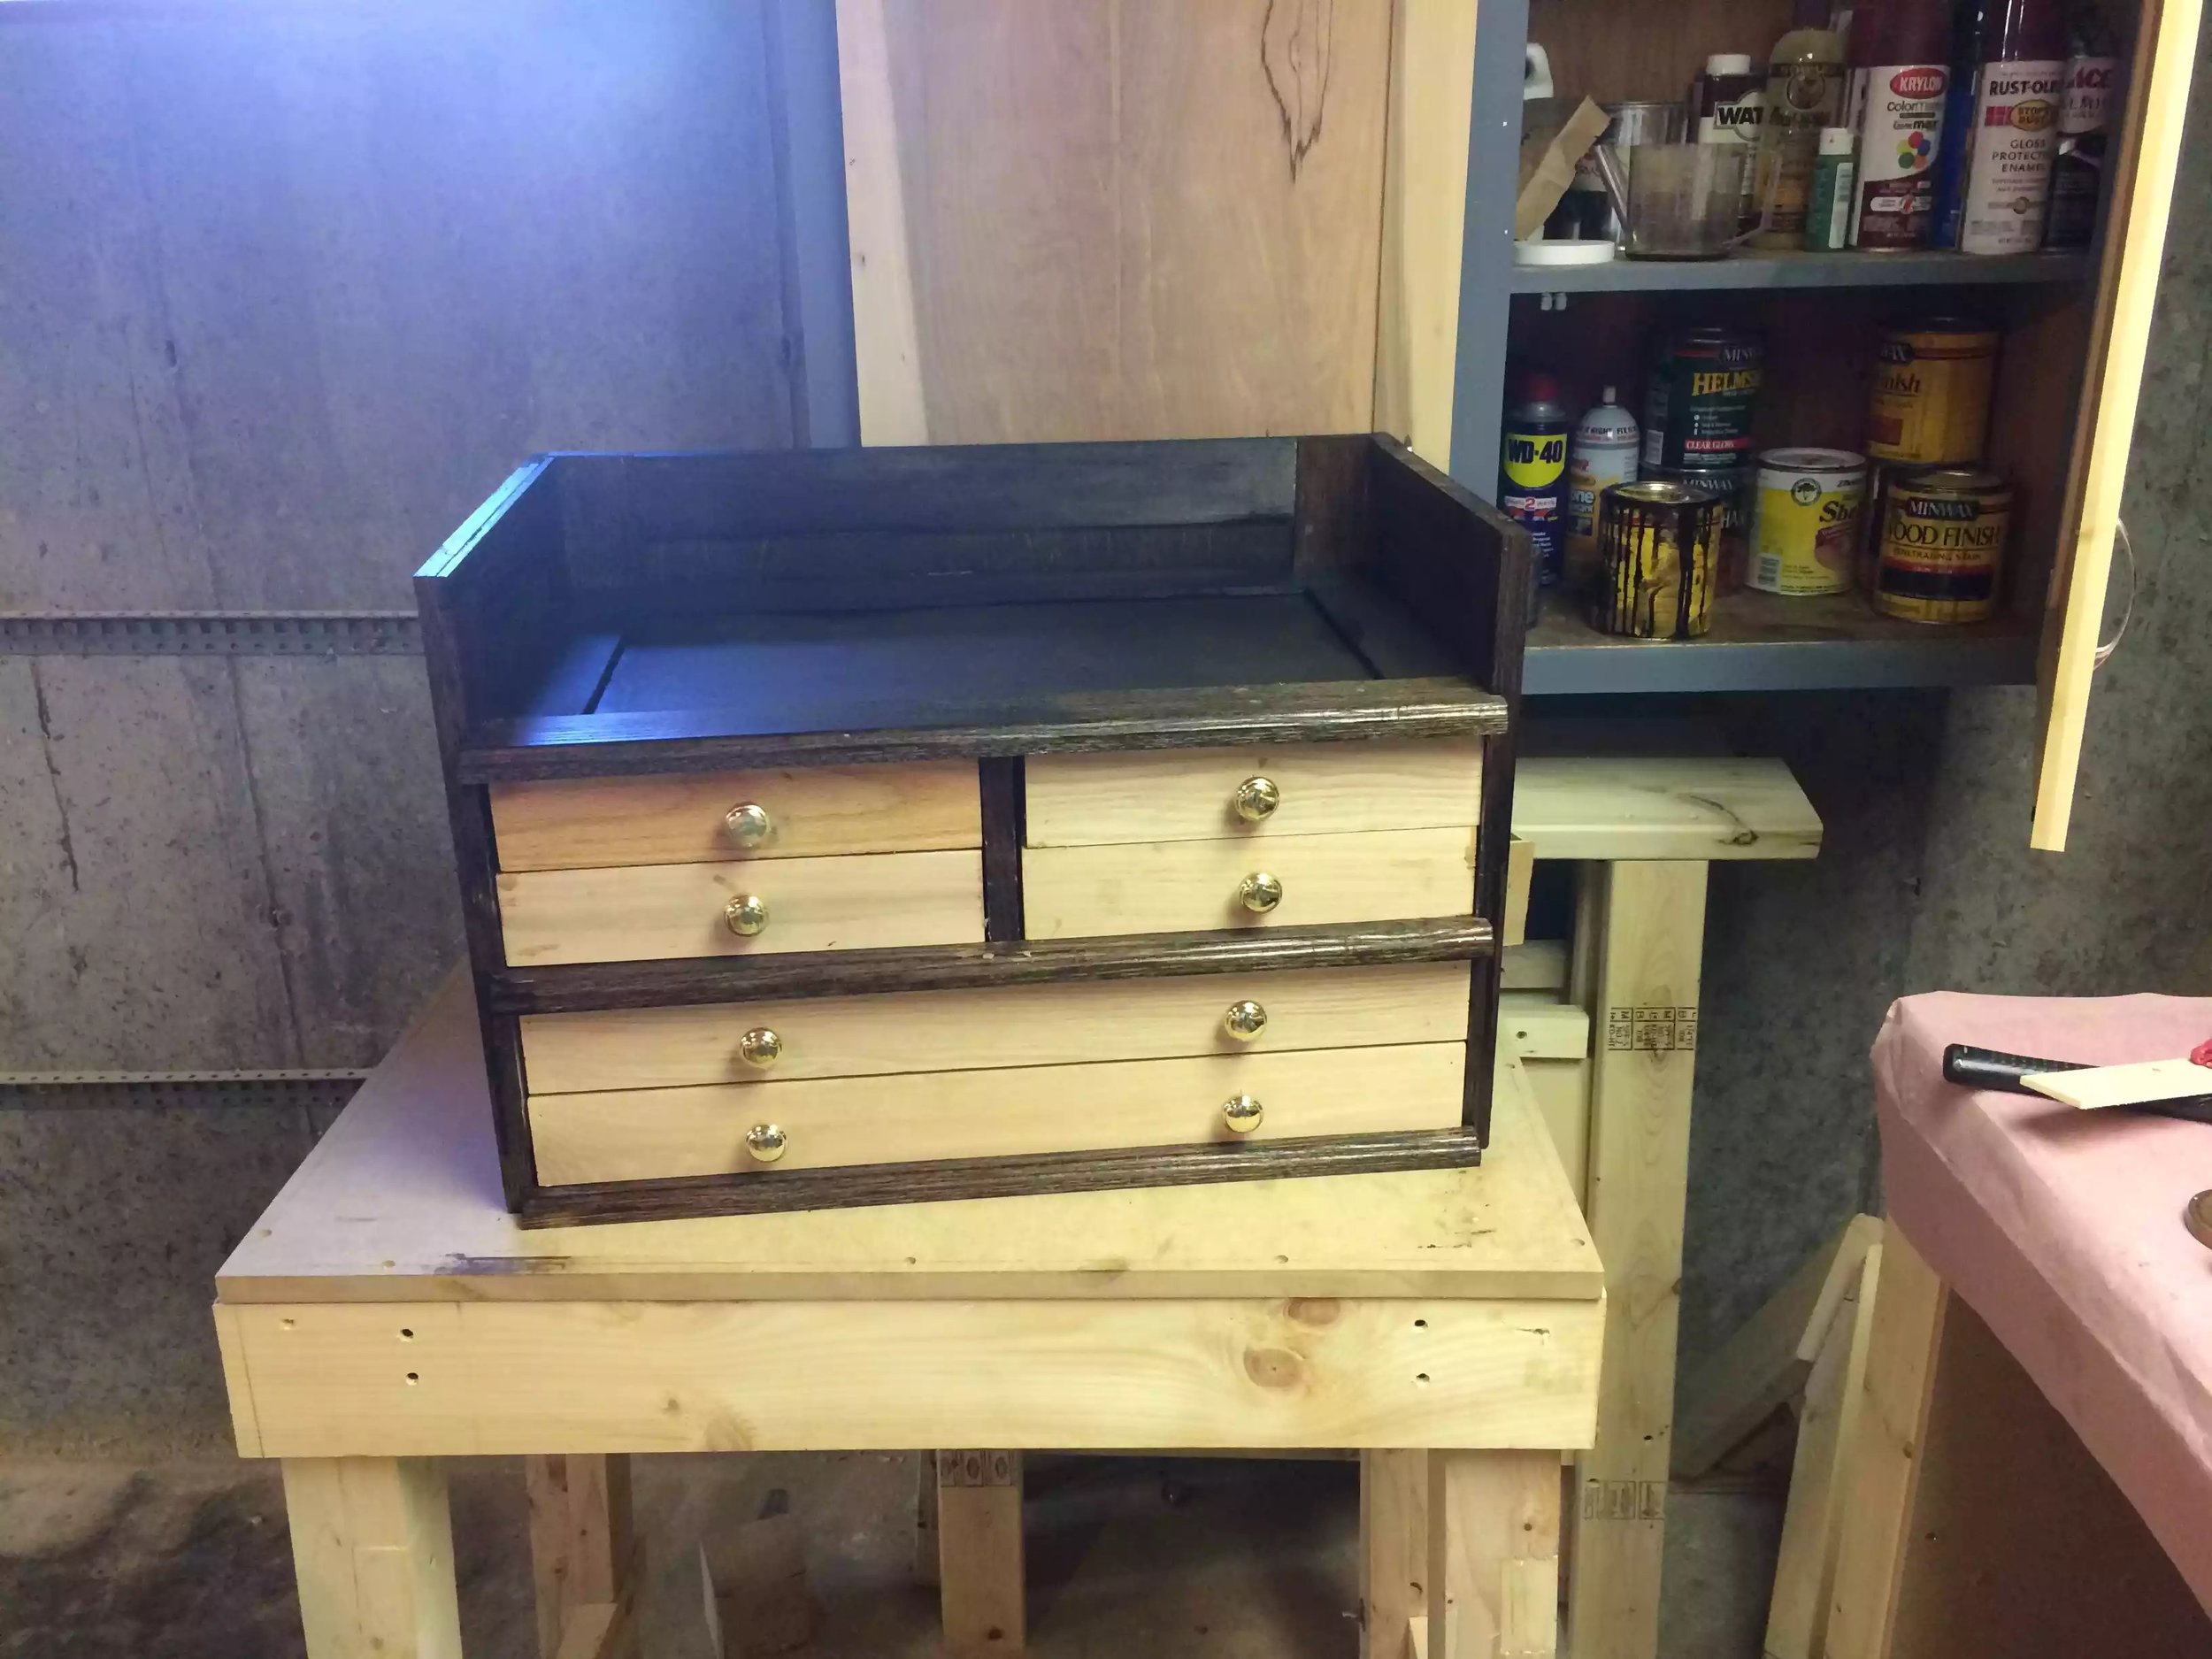
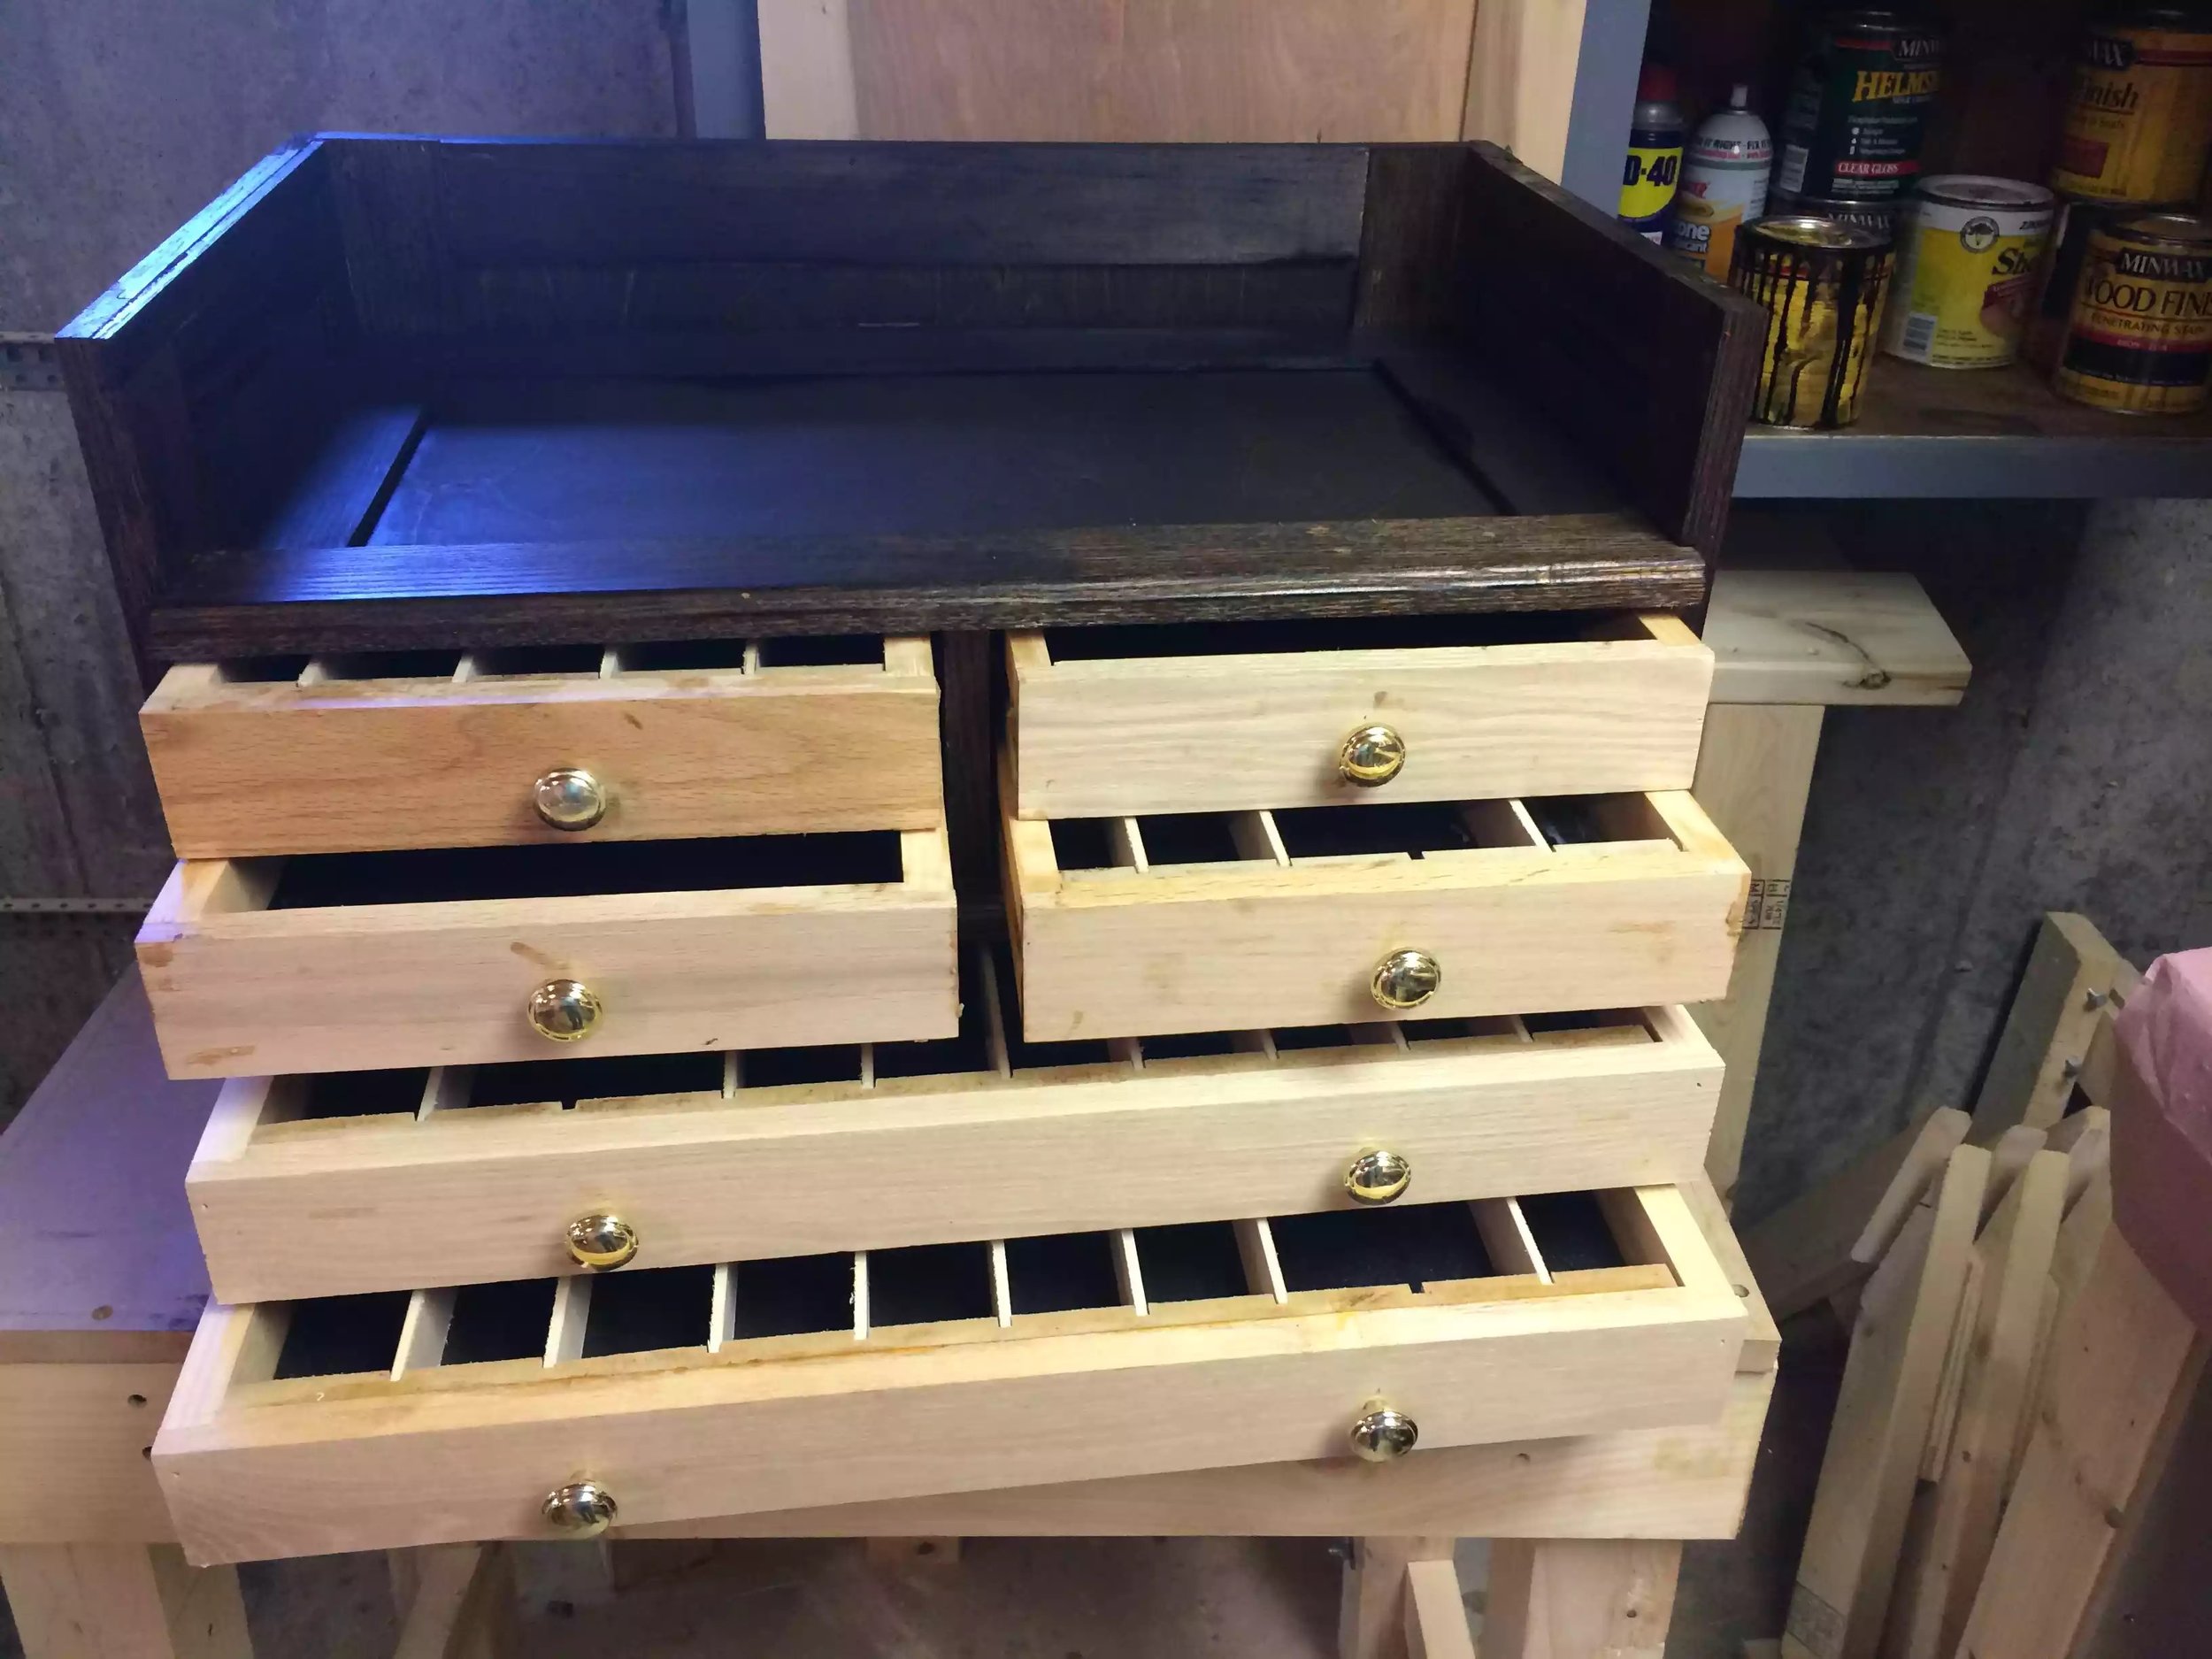
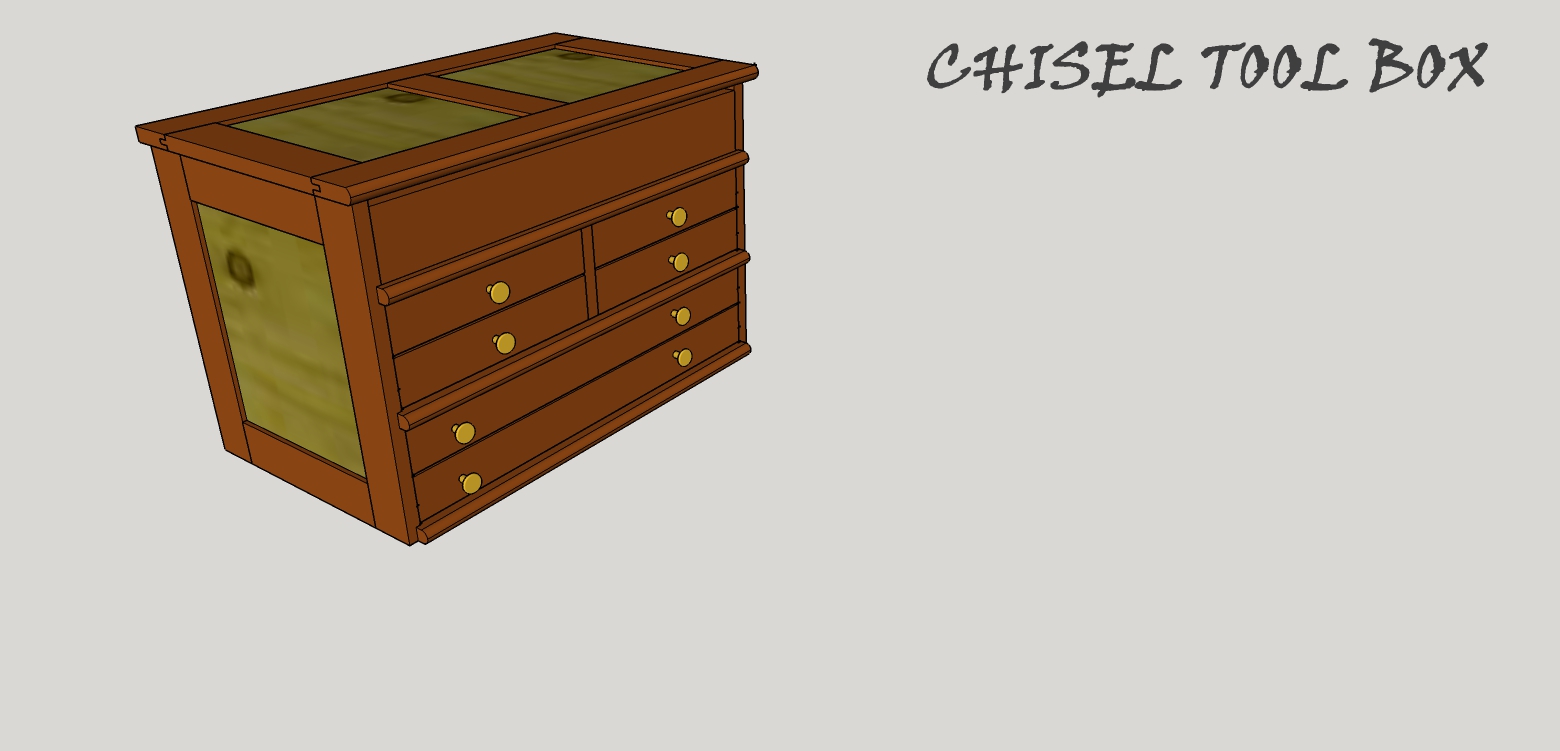
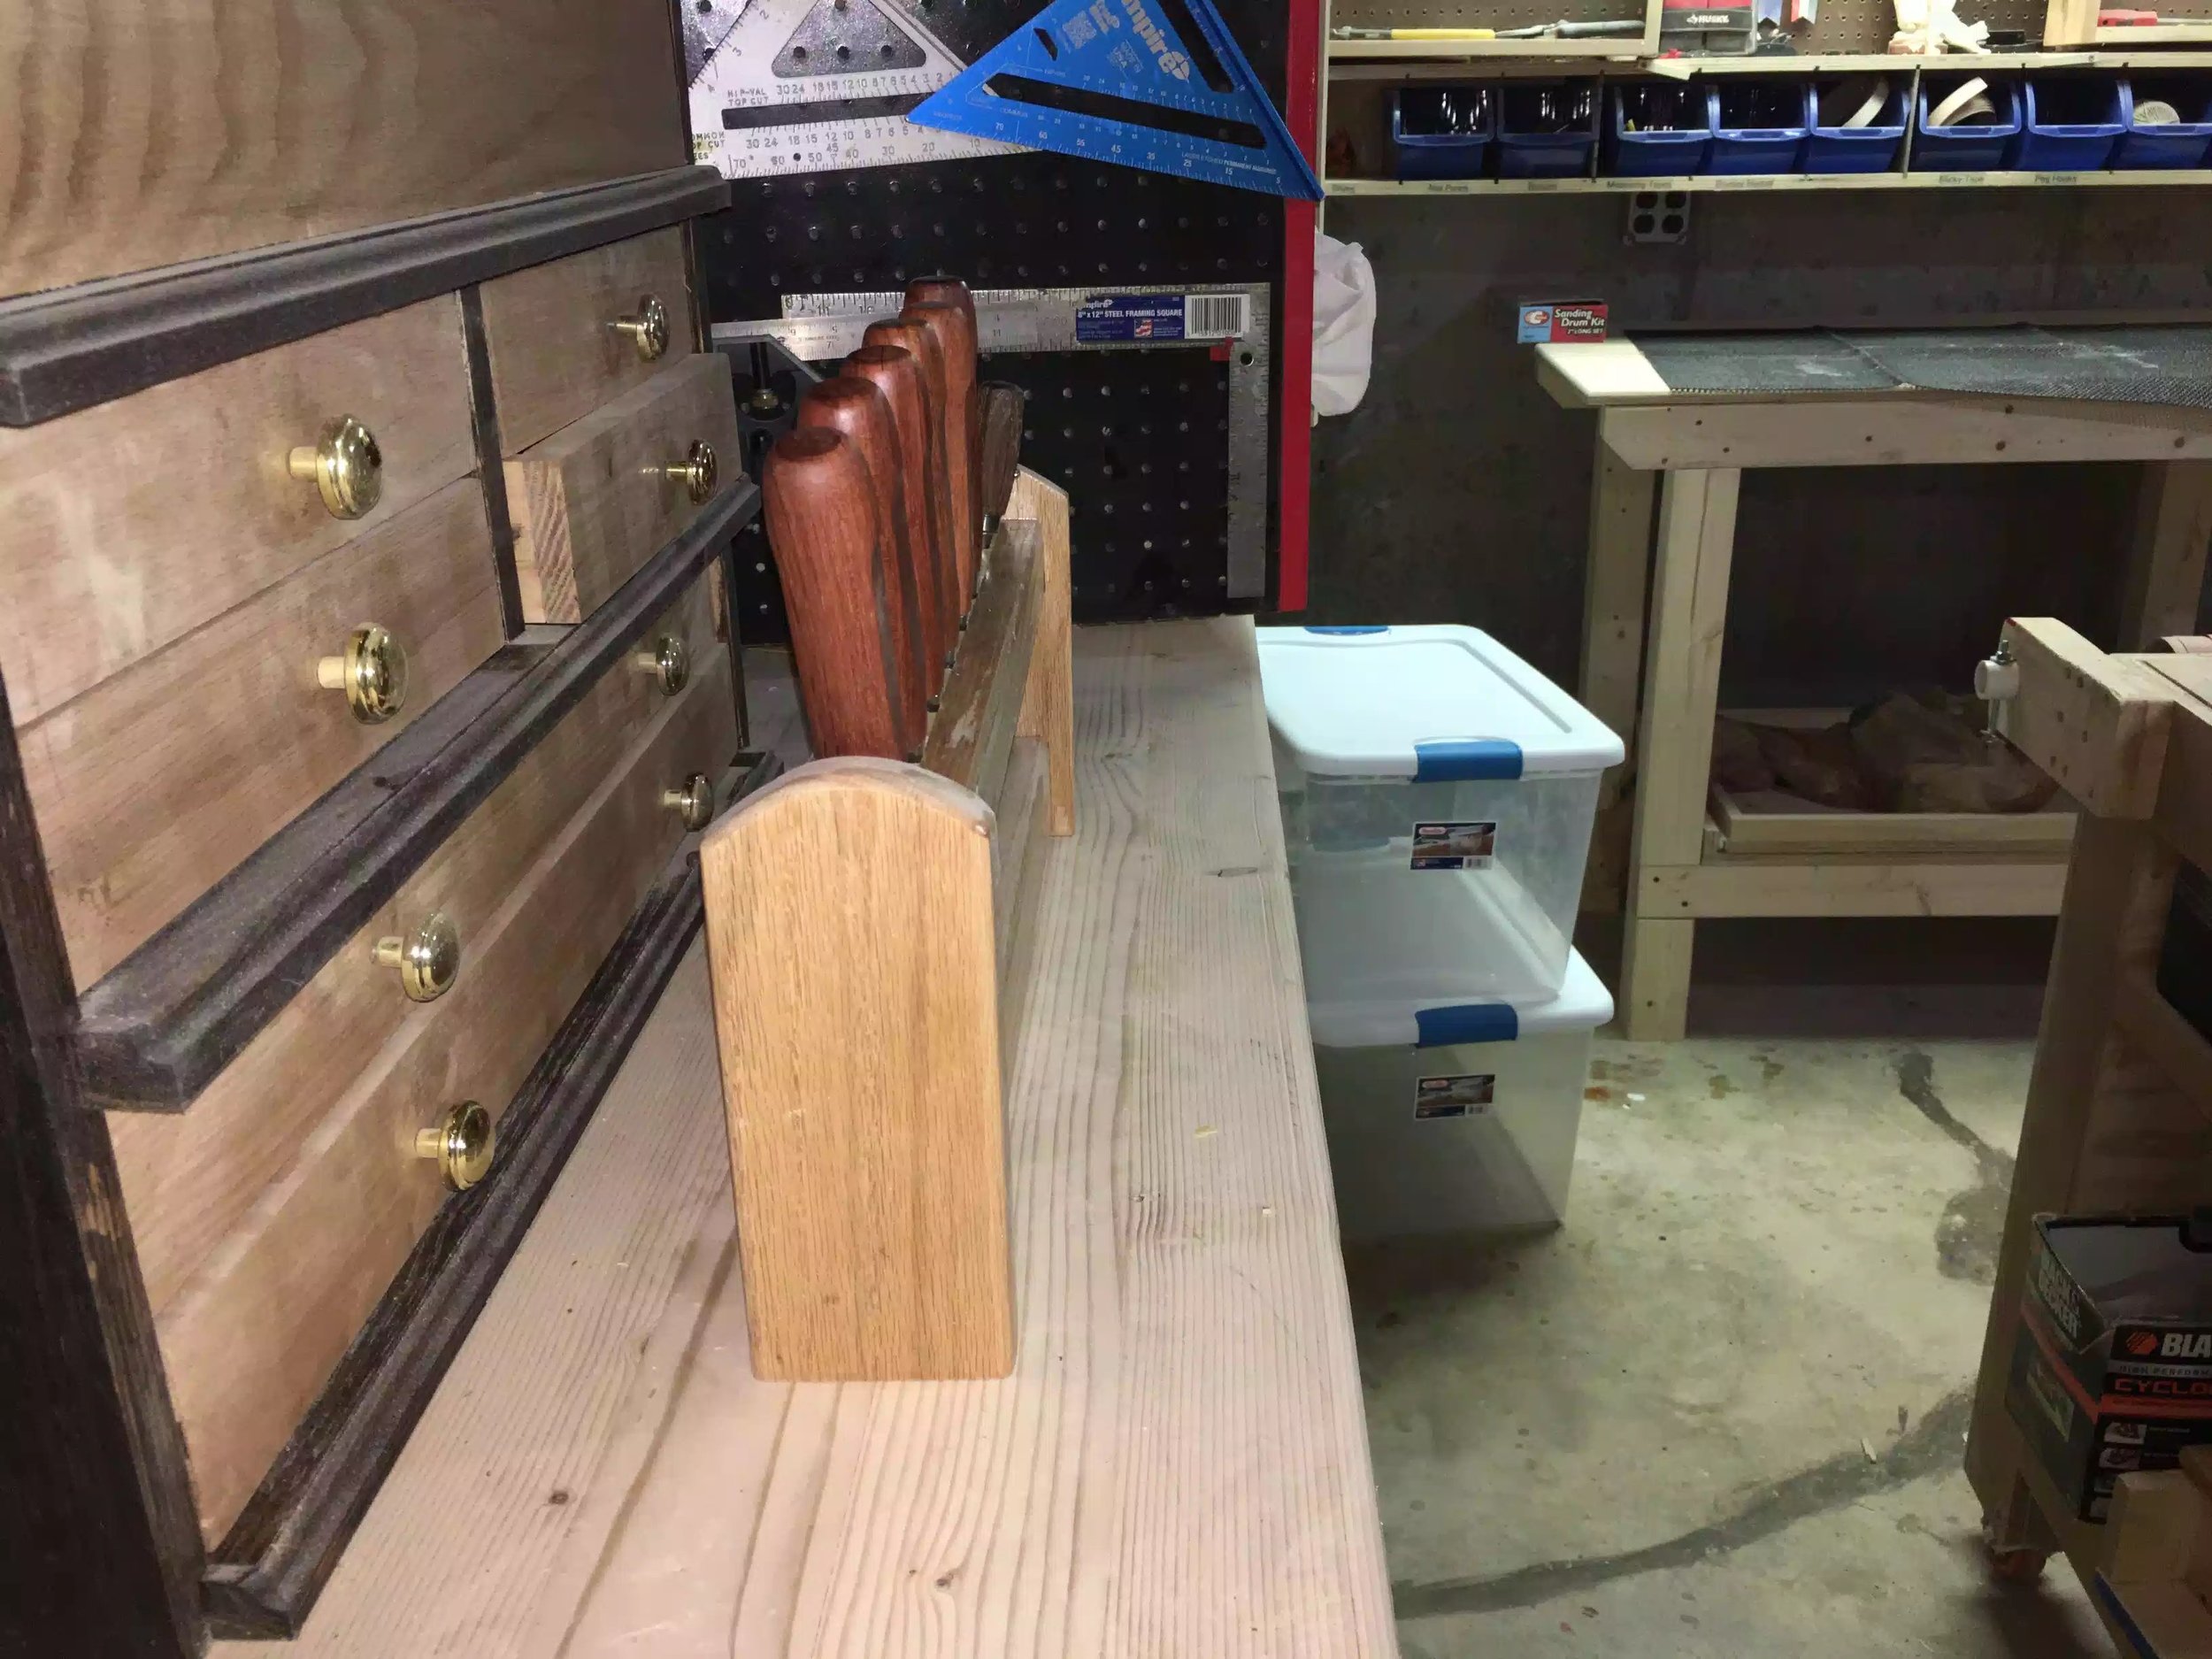
CHISEL TOOLBOX
(10/2016)
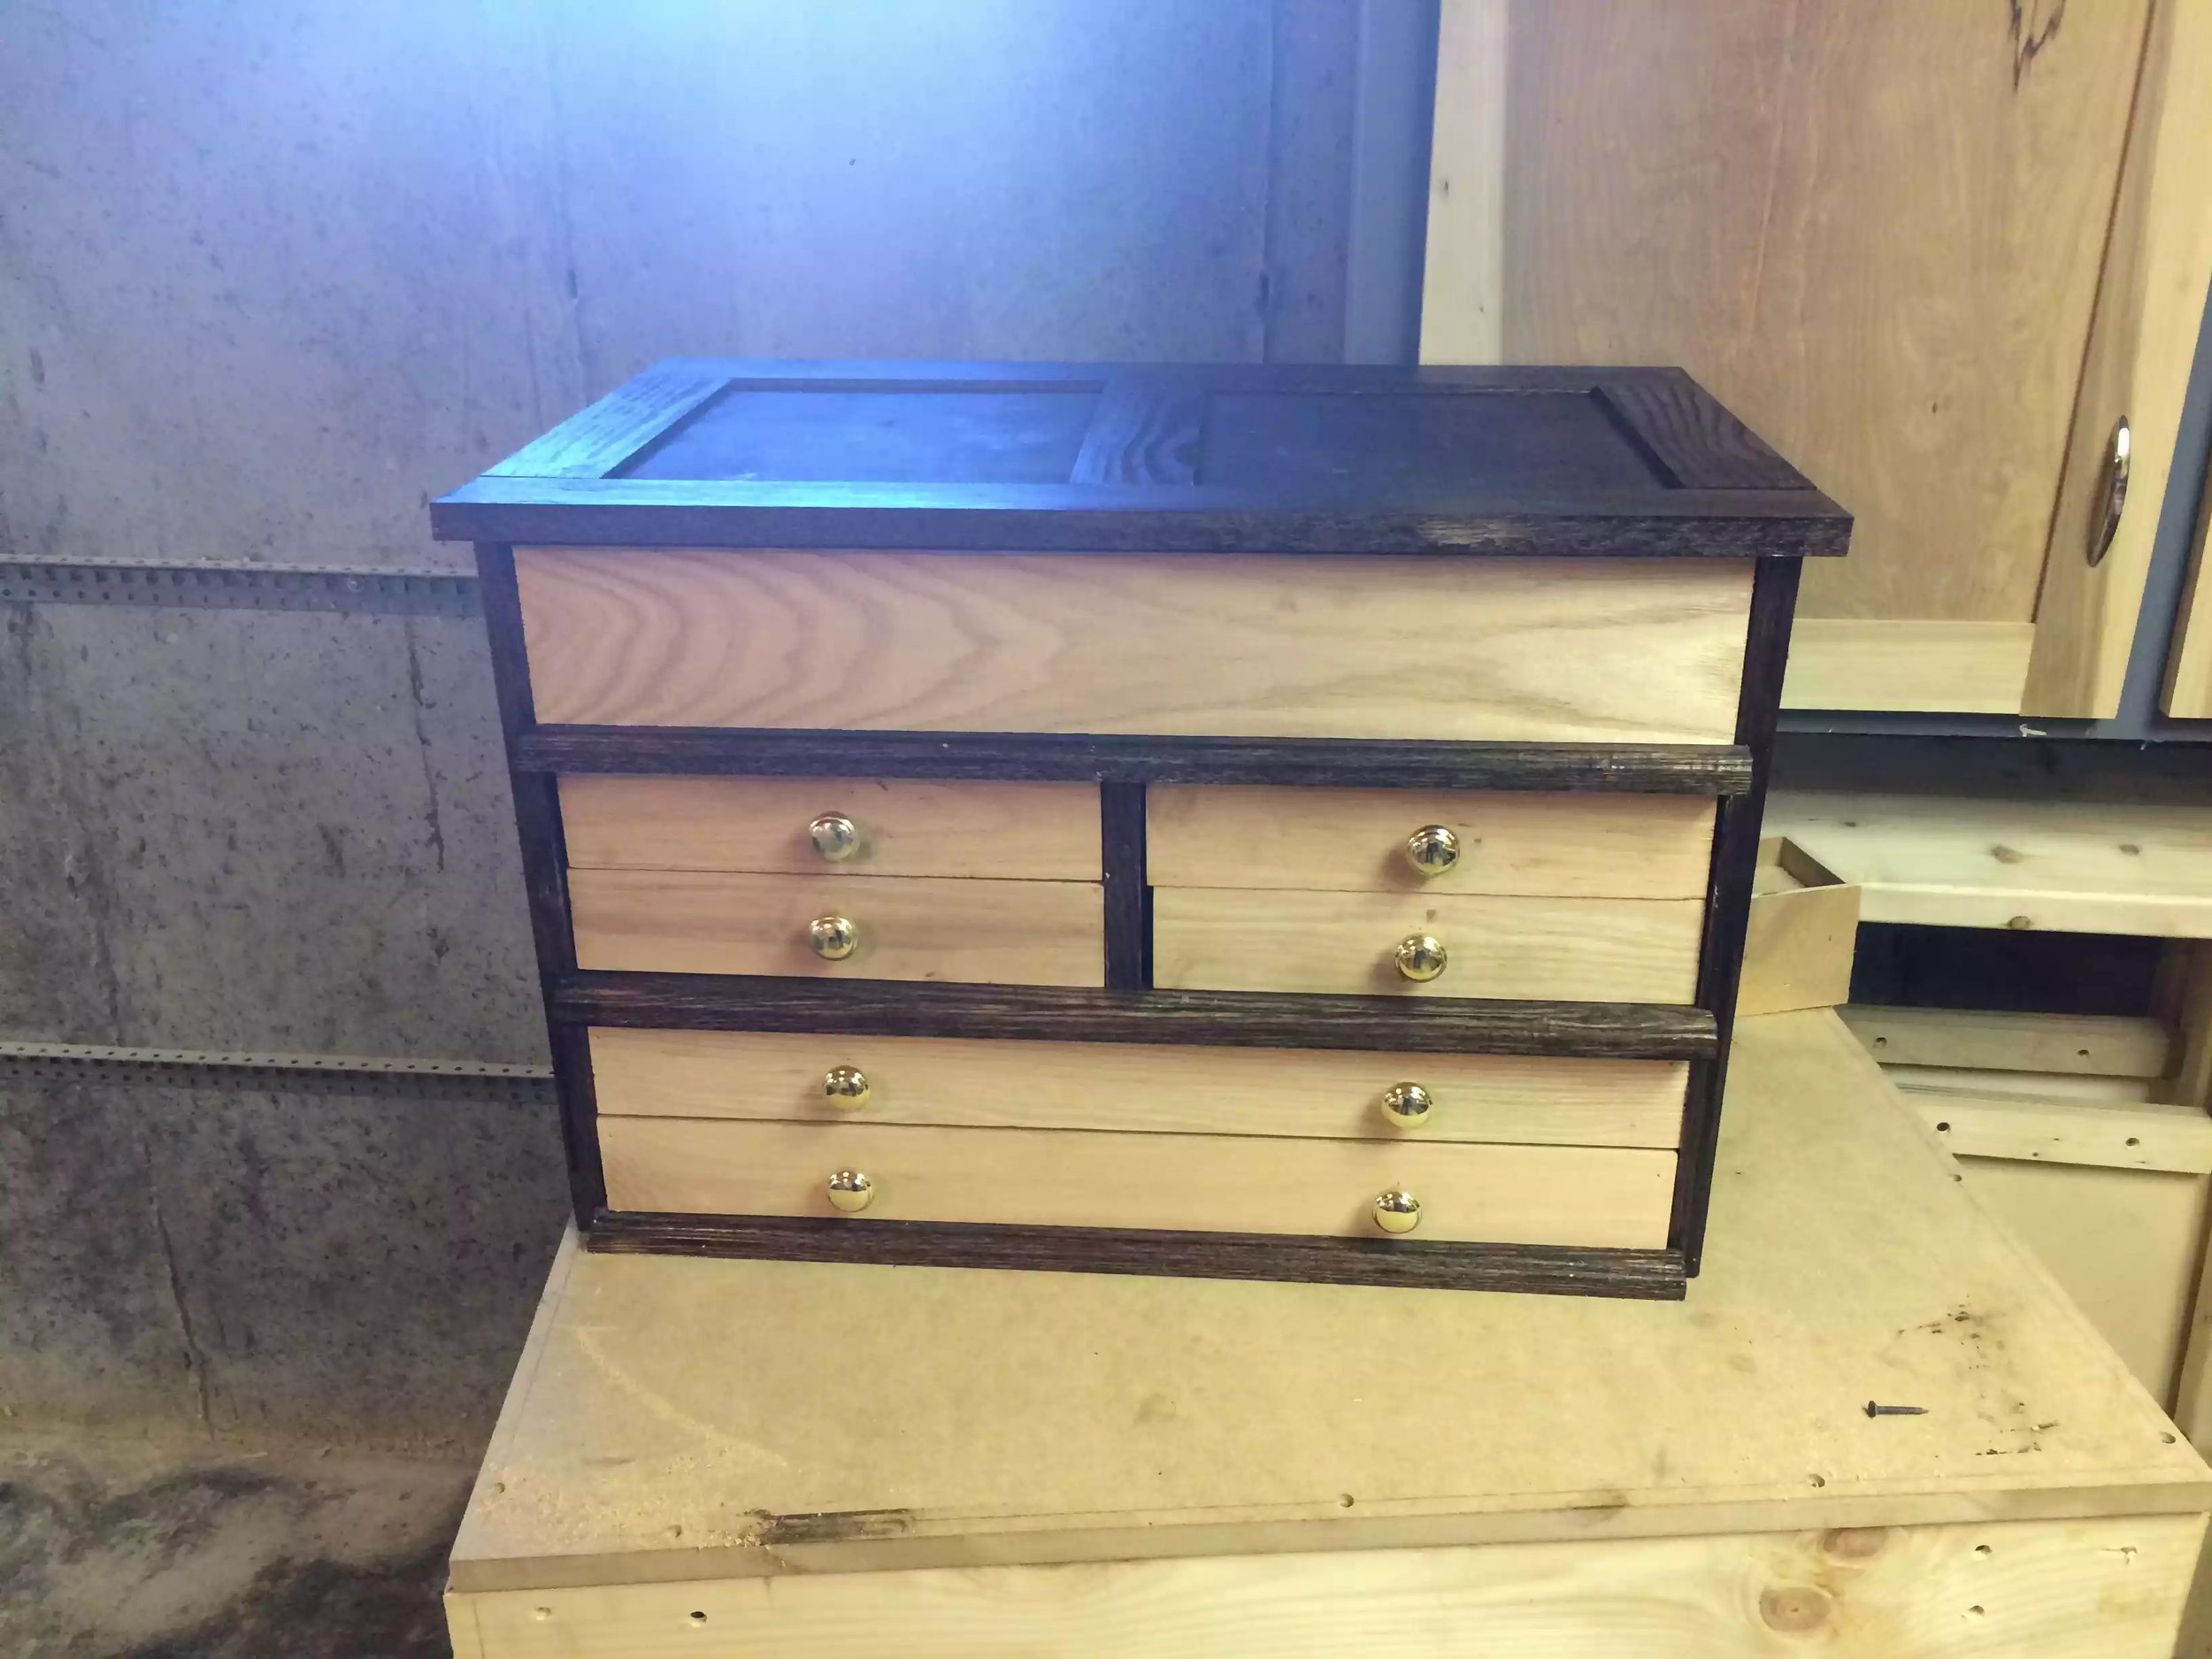
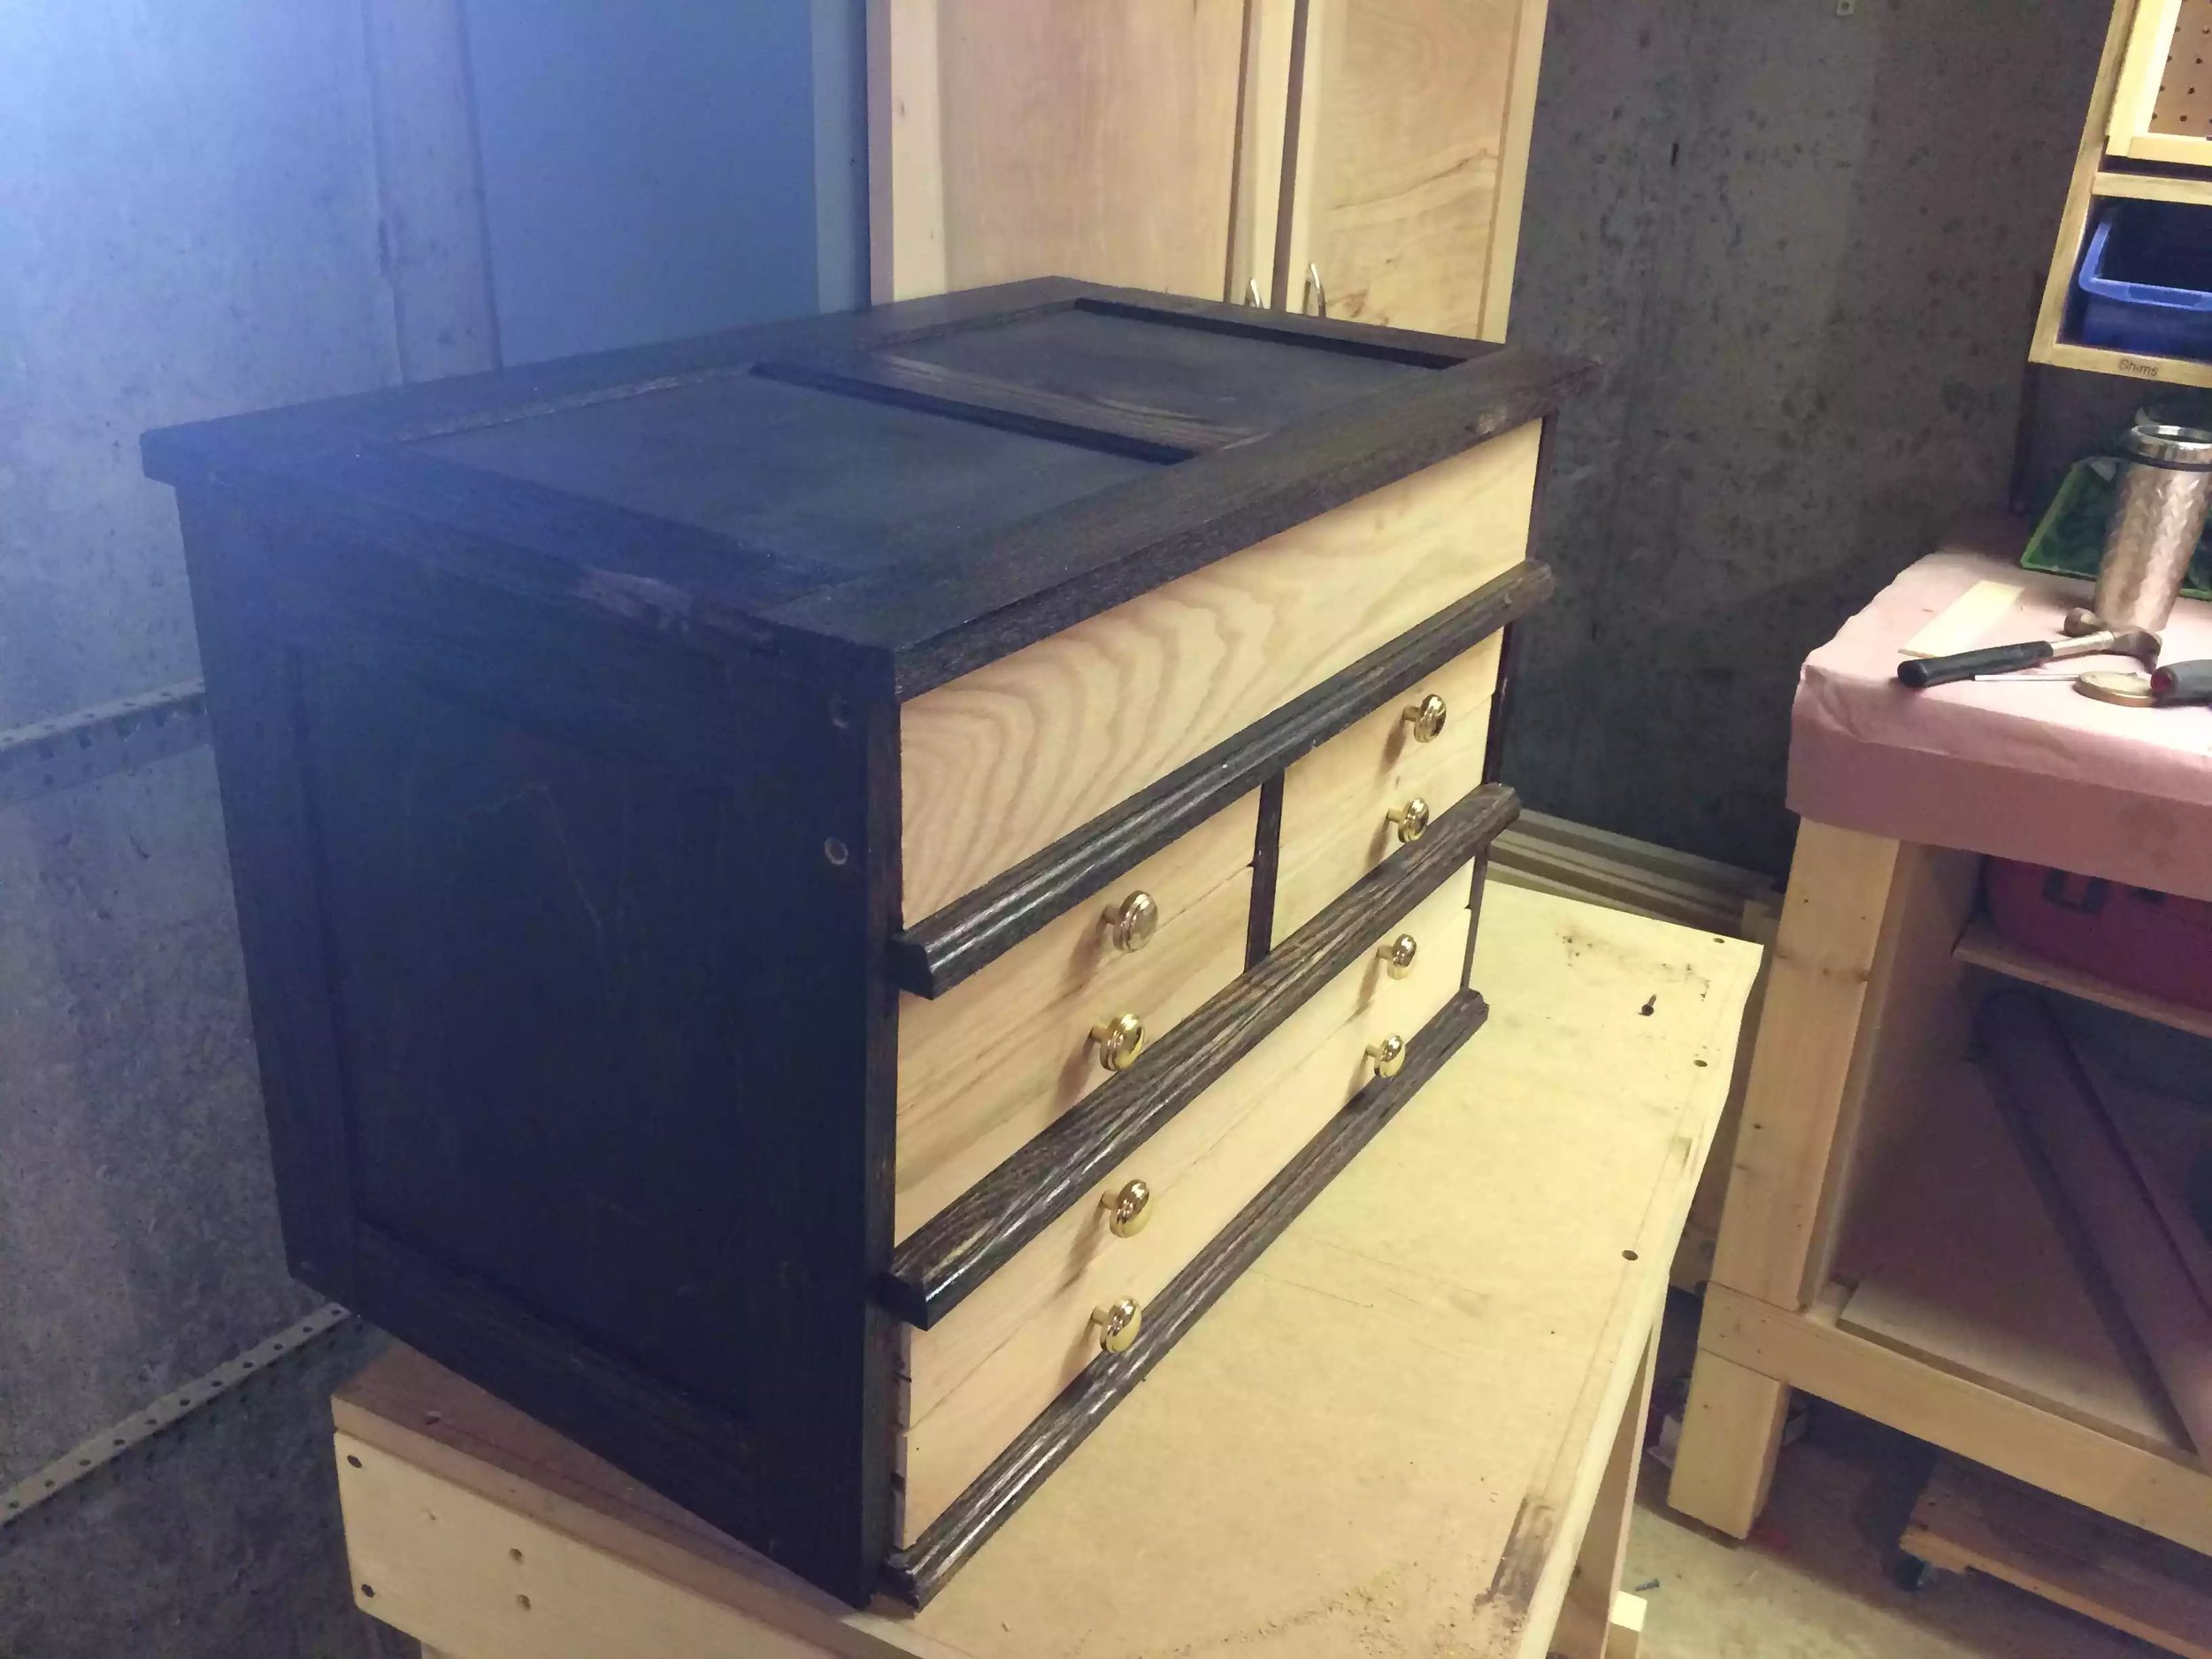


So I have been doing a lot of relief carving lately nothing that I can really showcase here yet, but I have amassed a few chisels and accessories and don’t really have a goof place to store them so as that they don’t get rusty so after searching online I came up with his design.
- Mortise & Tenon joinery
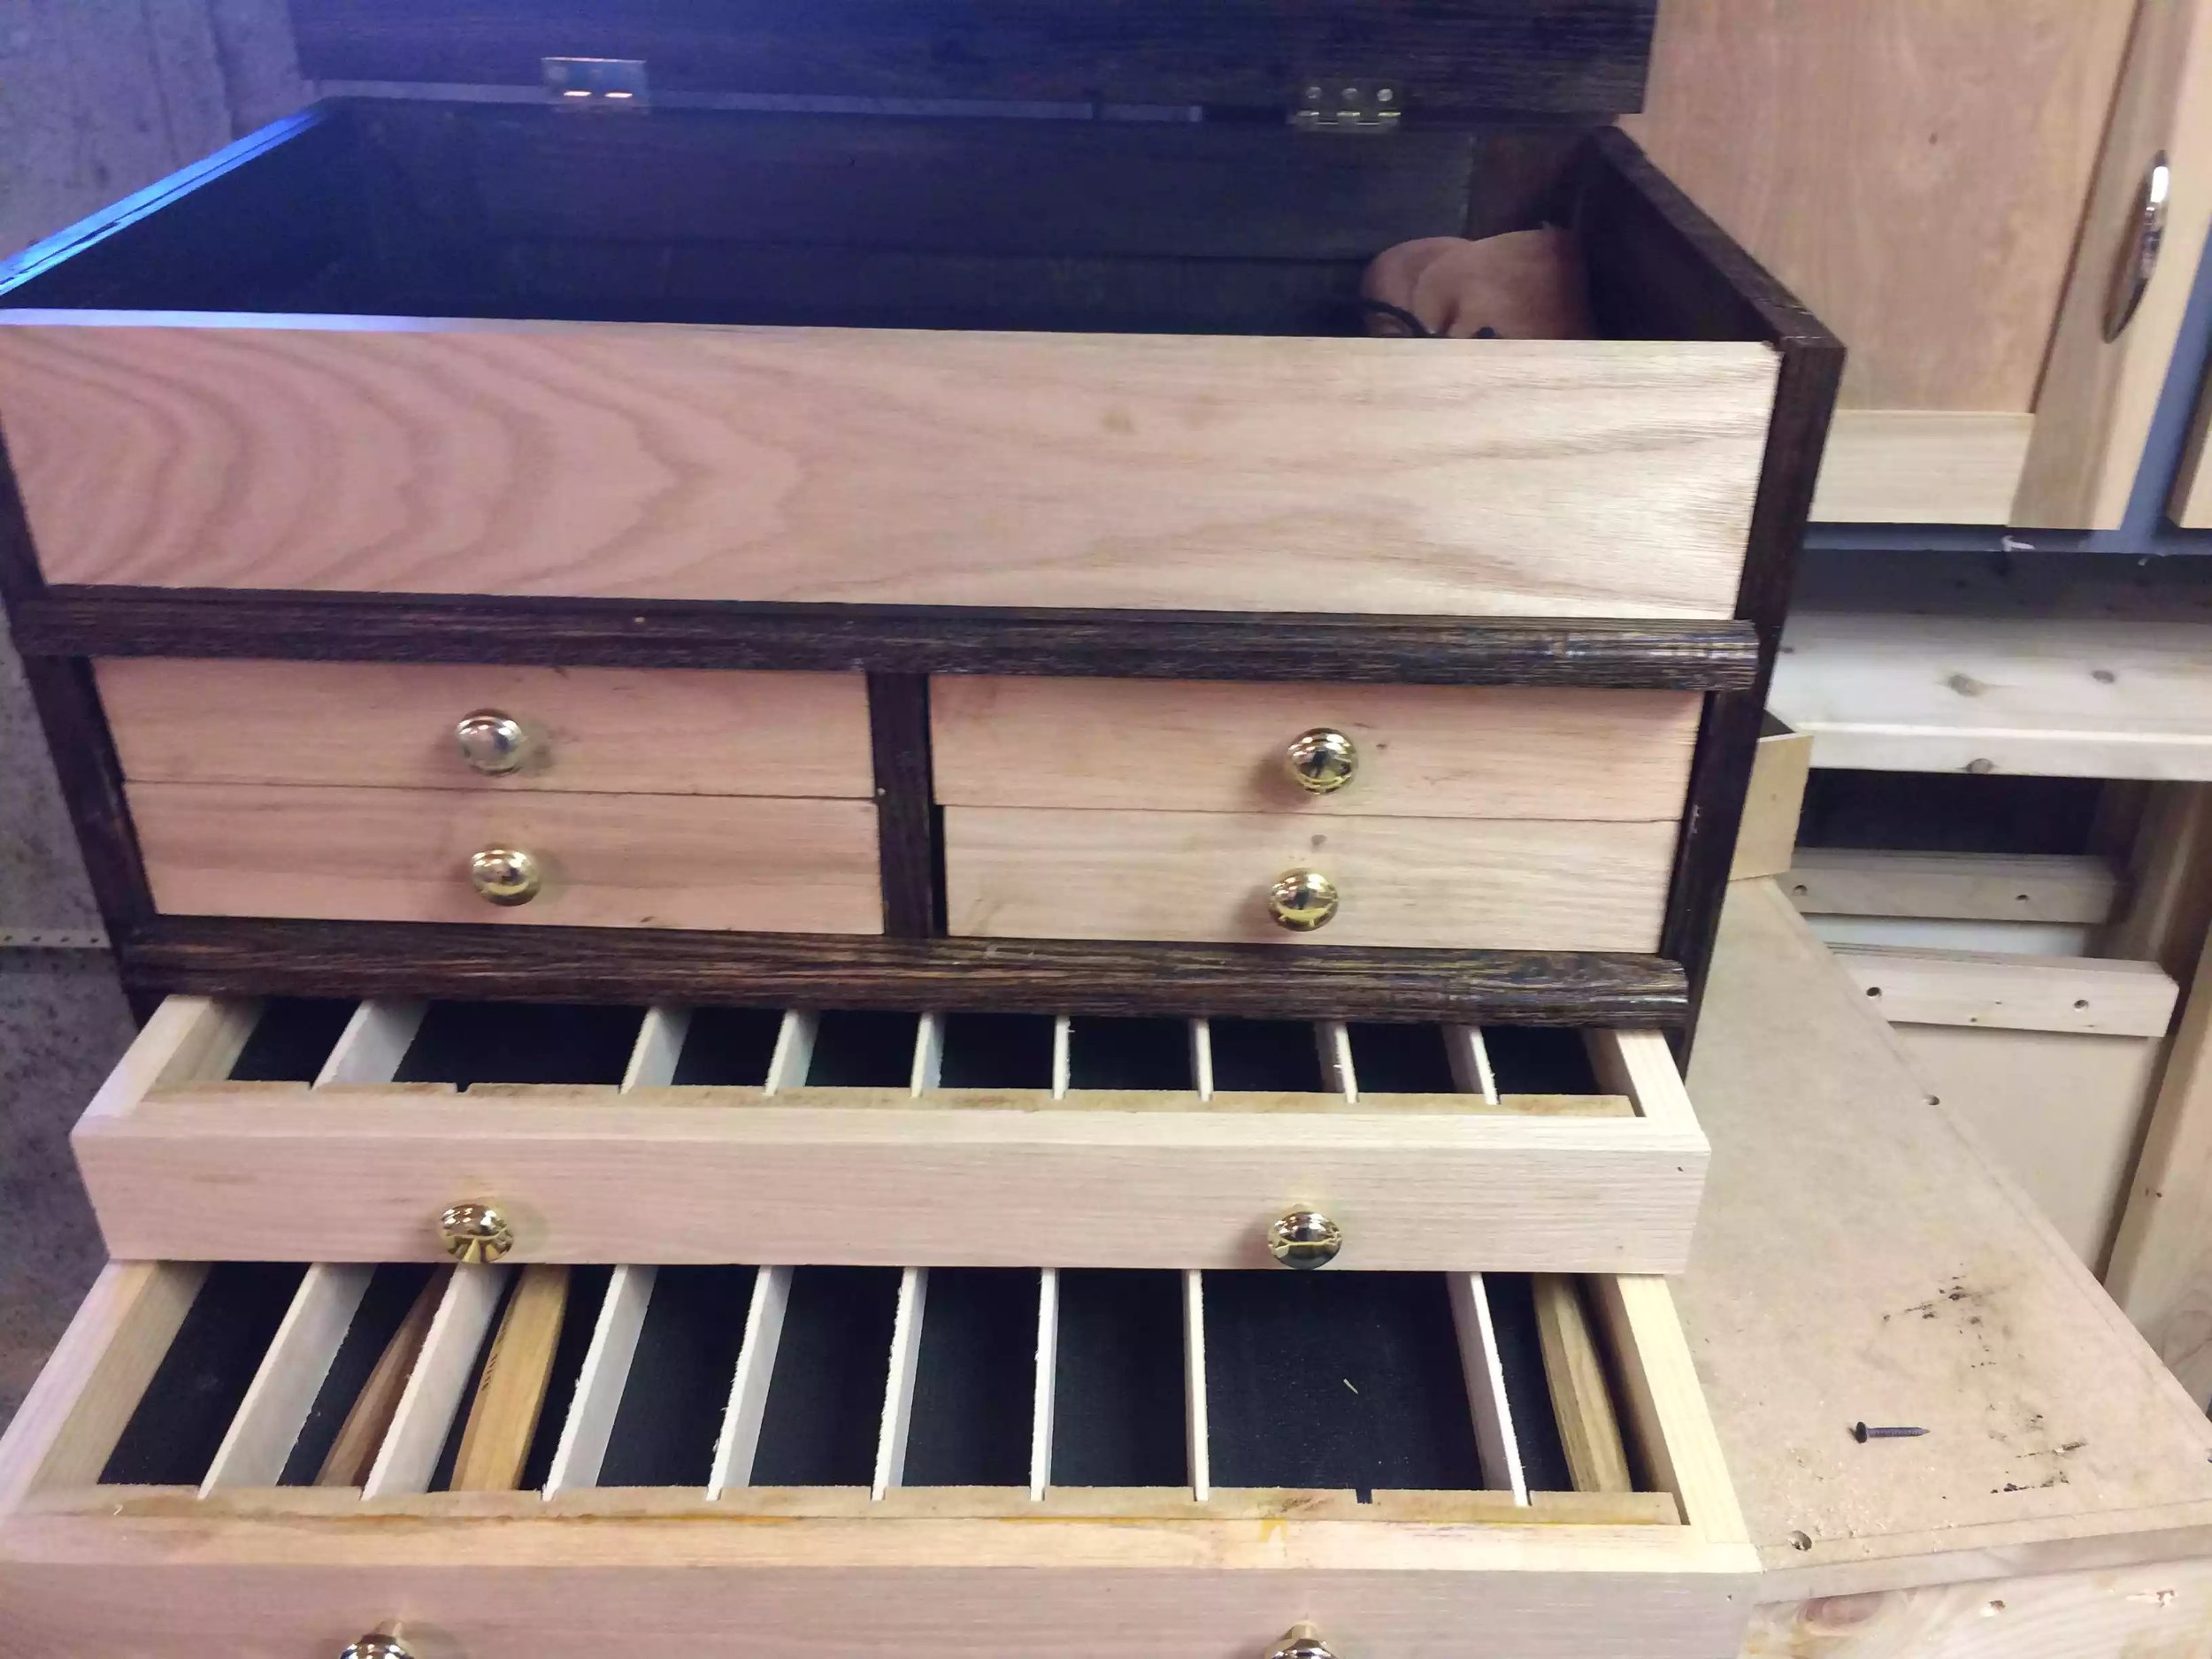
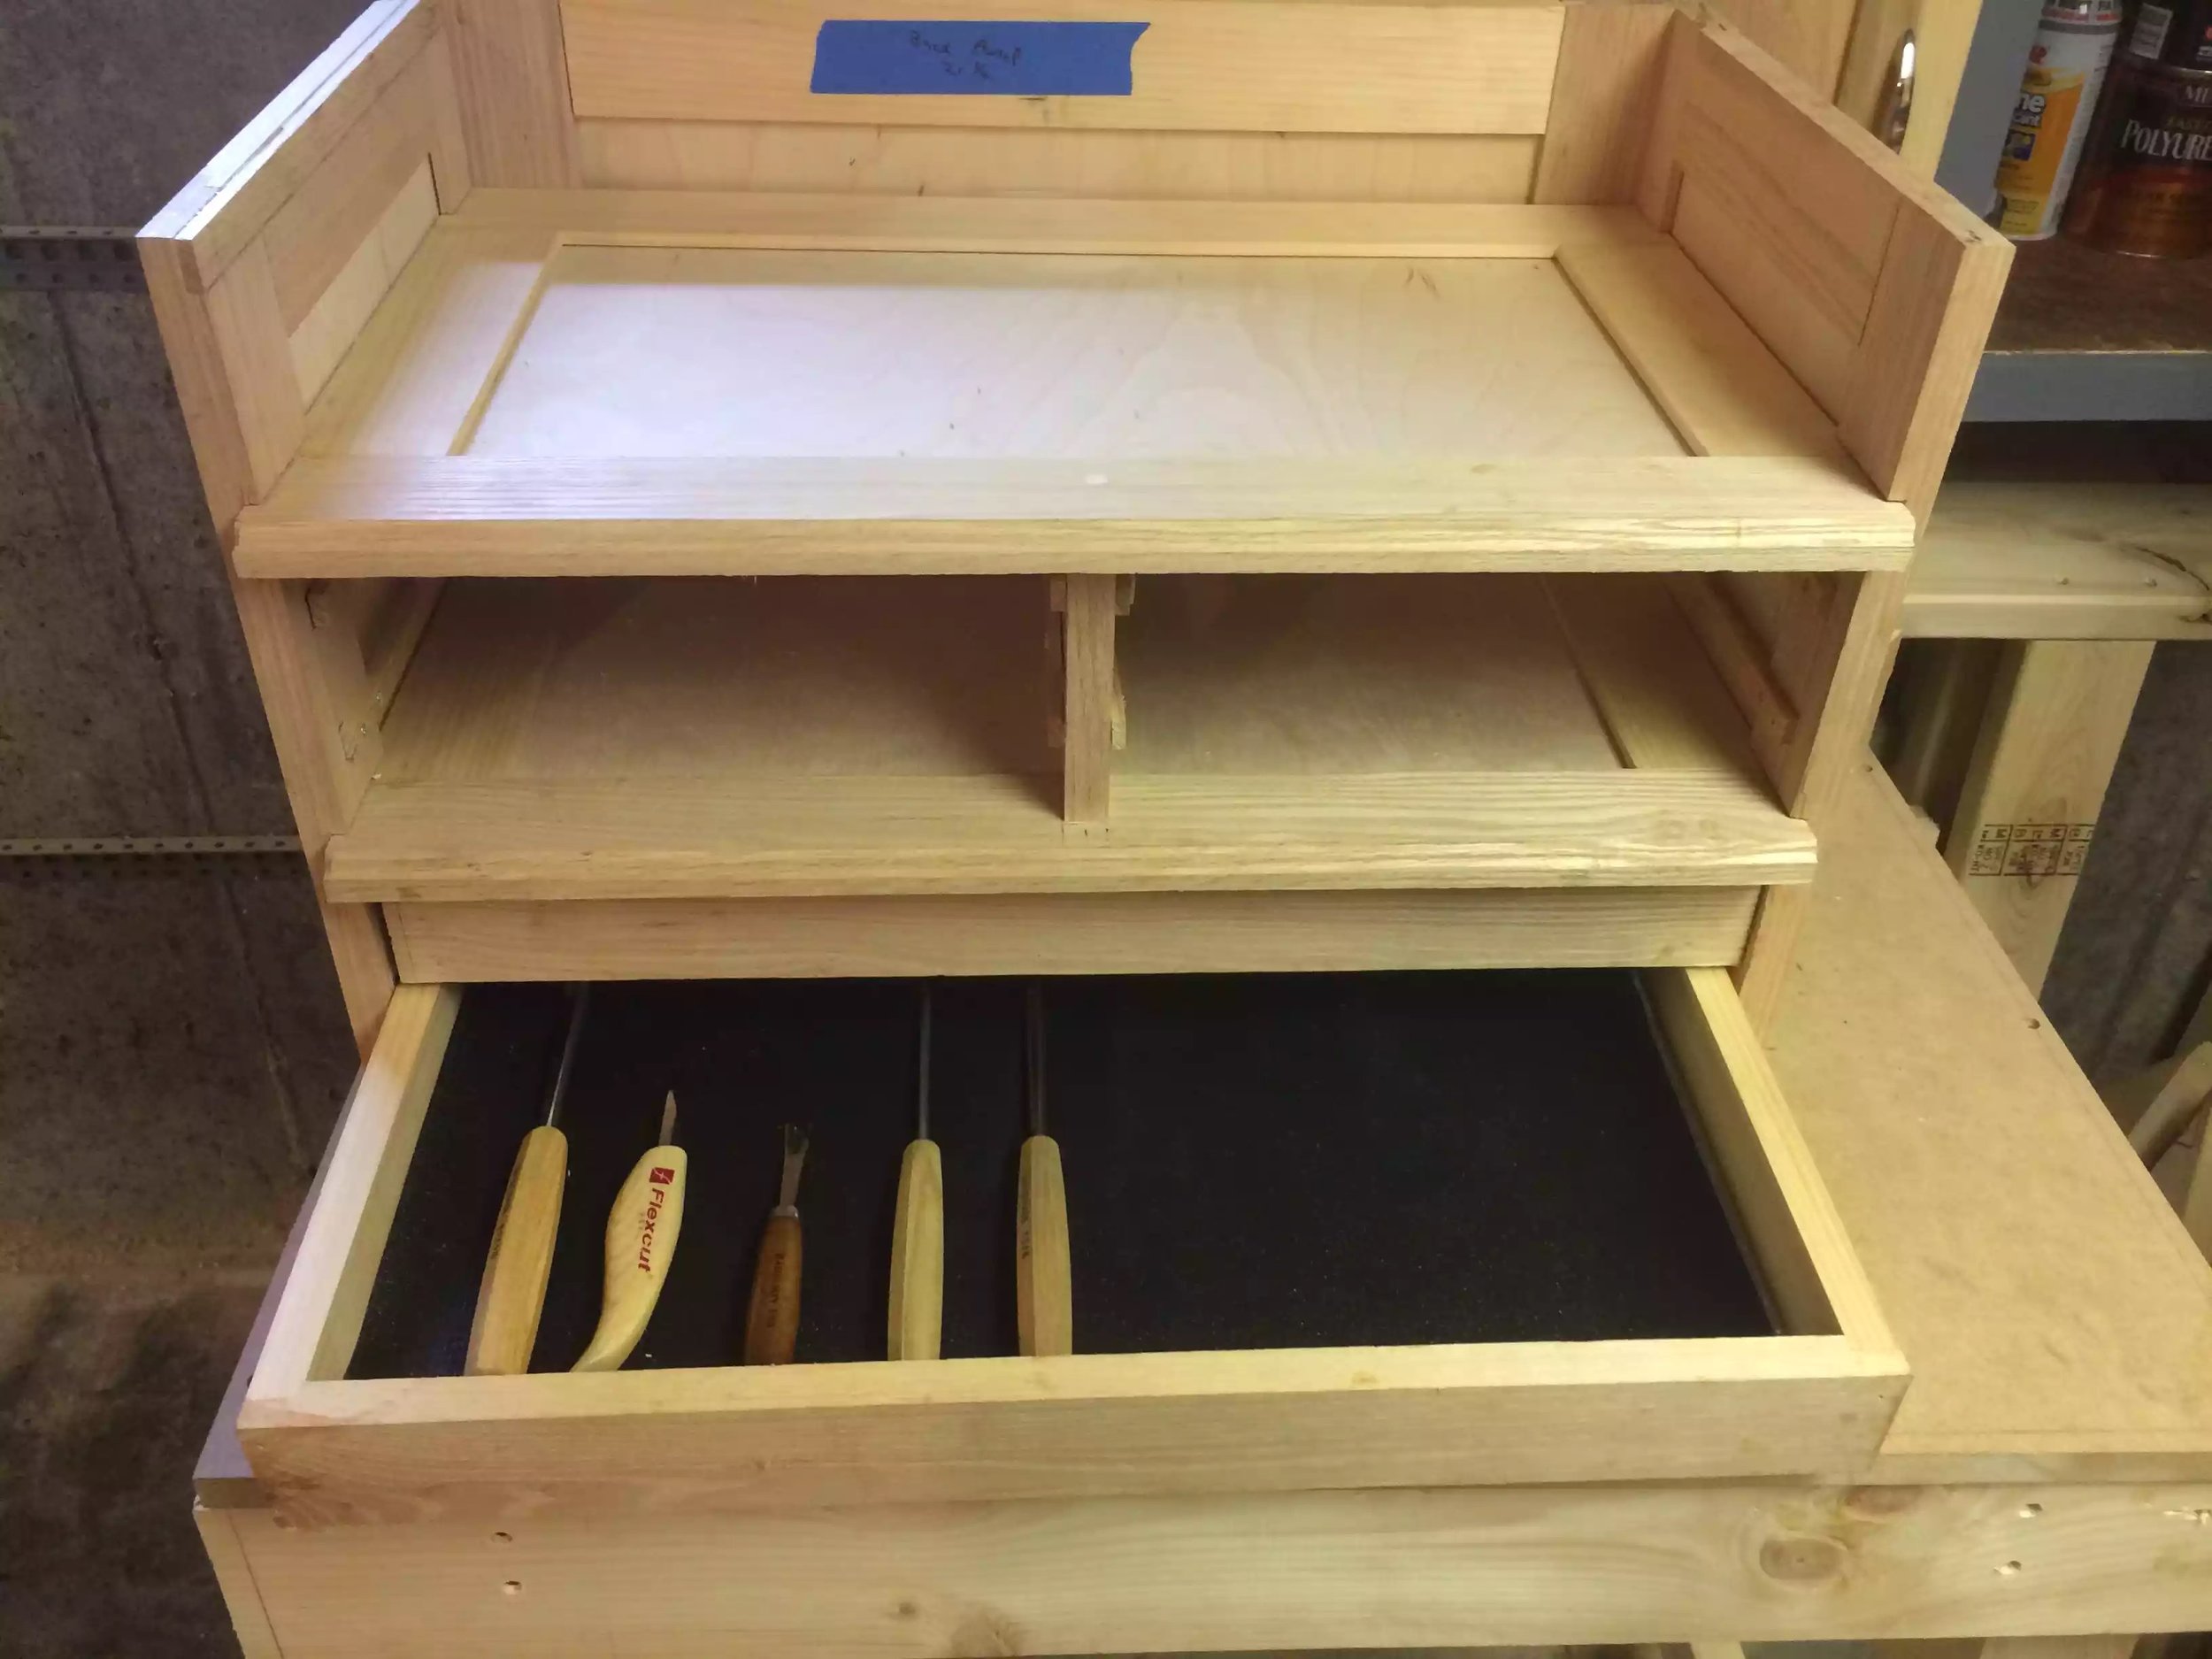
- 6 Drawers (4 small & 2 large)
- Top storage section.
Basic construction is frame and panel using oak, pine and plywood. *Dimensions is 24” wide x 15” deep x 18” High.
After the case was built I stained it mahogany and waxed it.
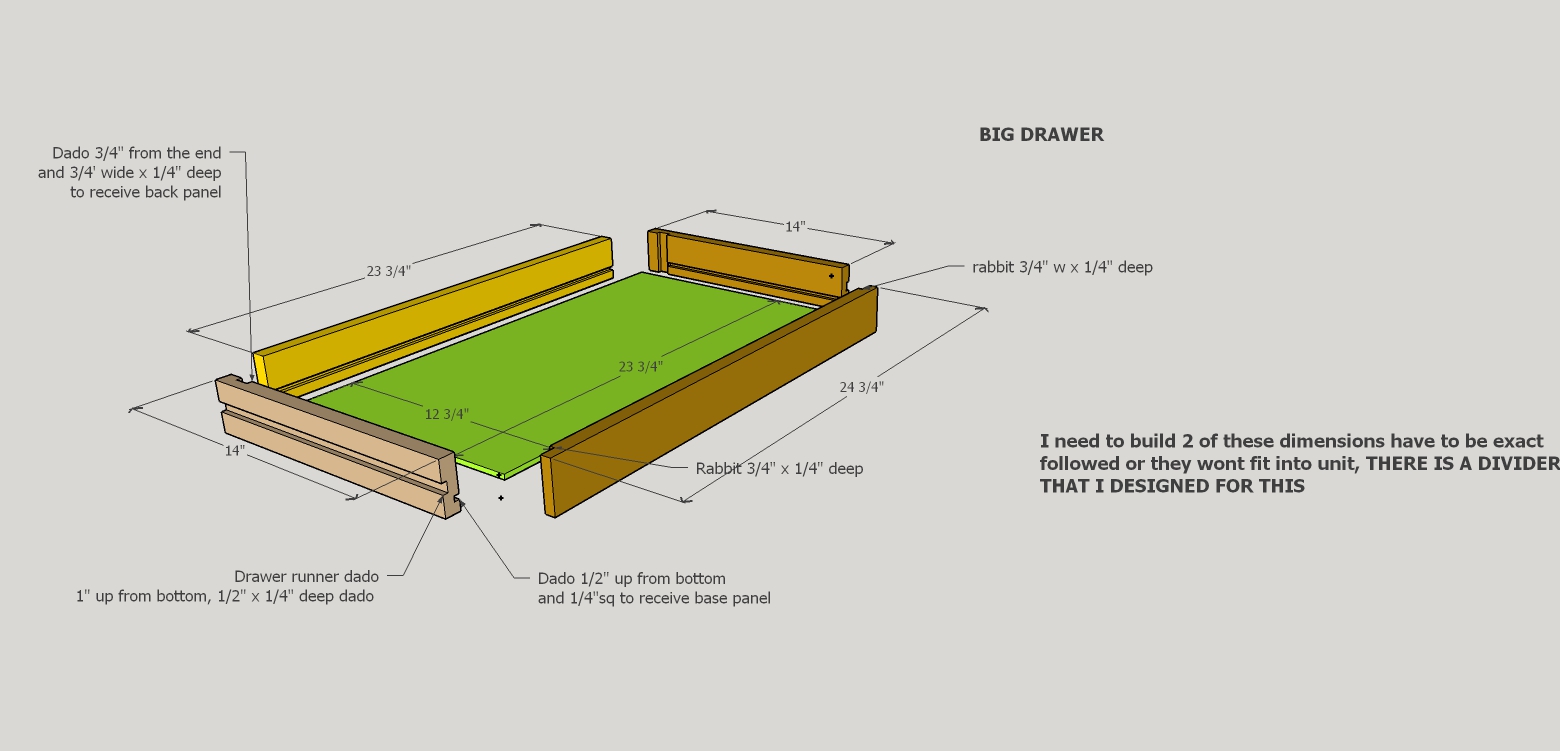
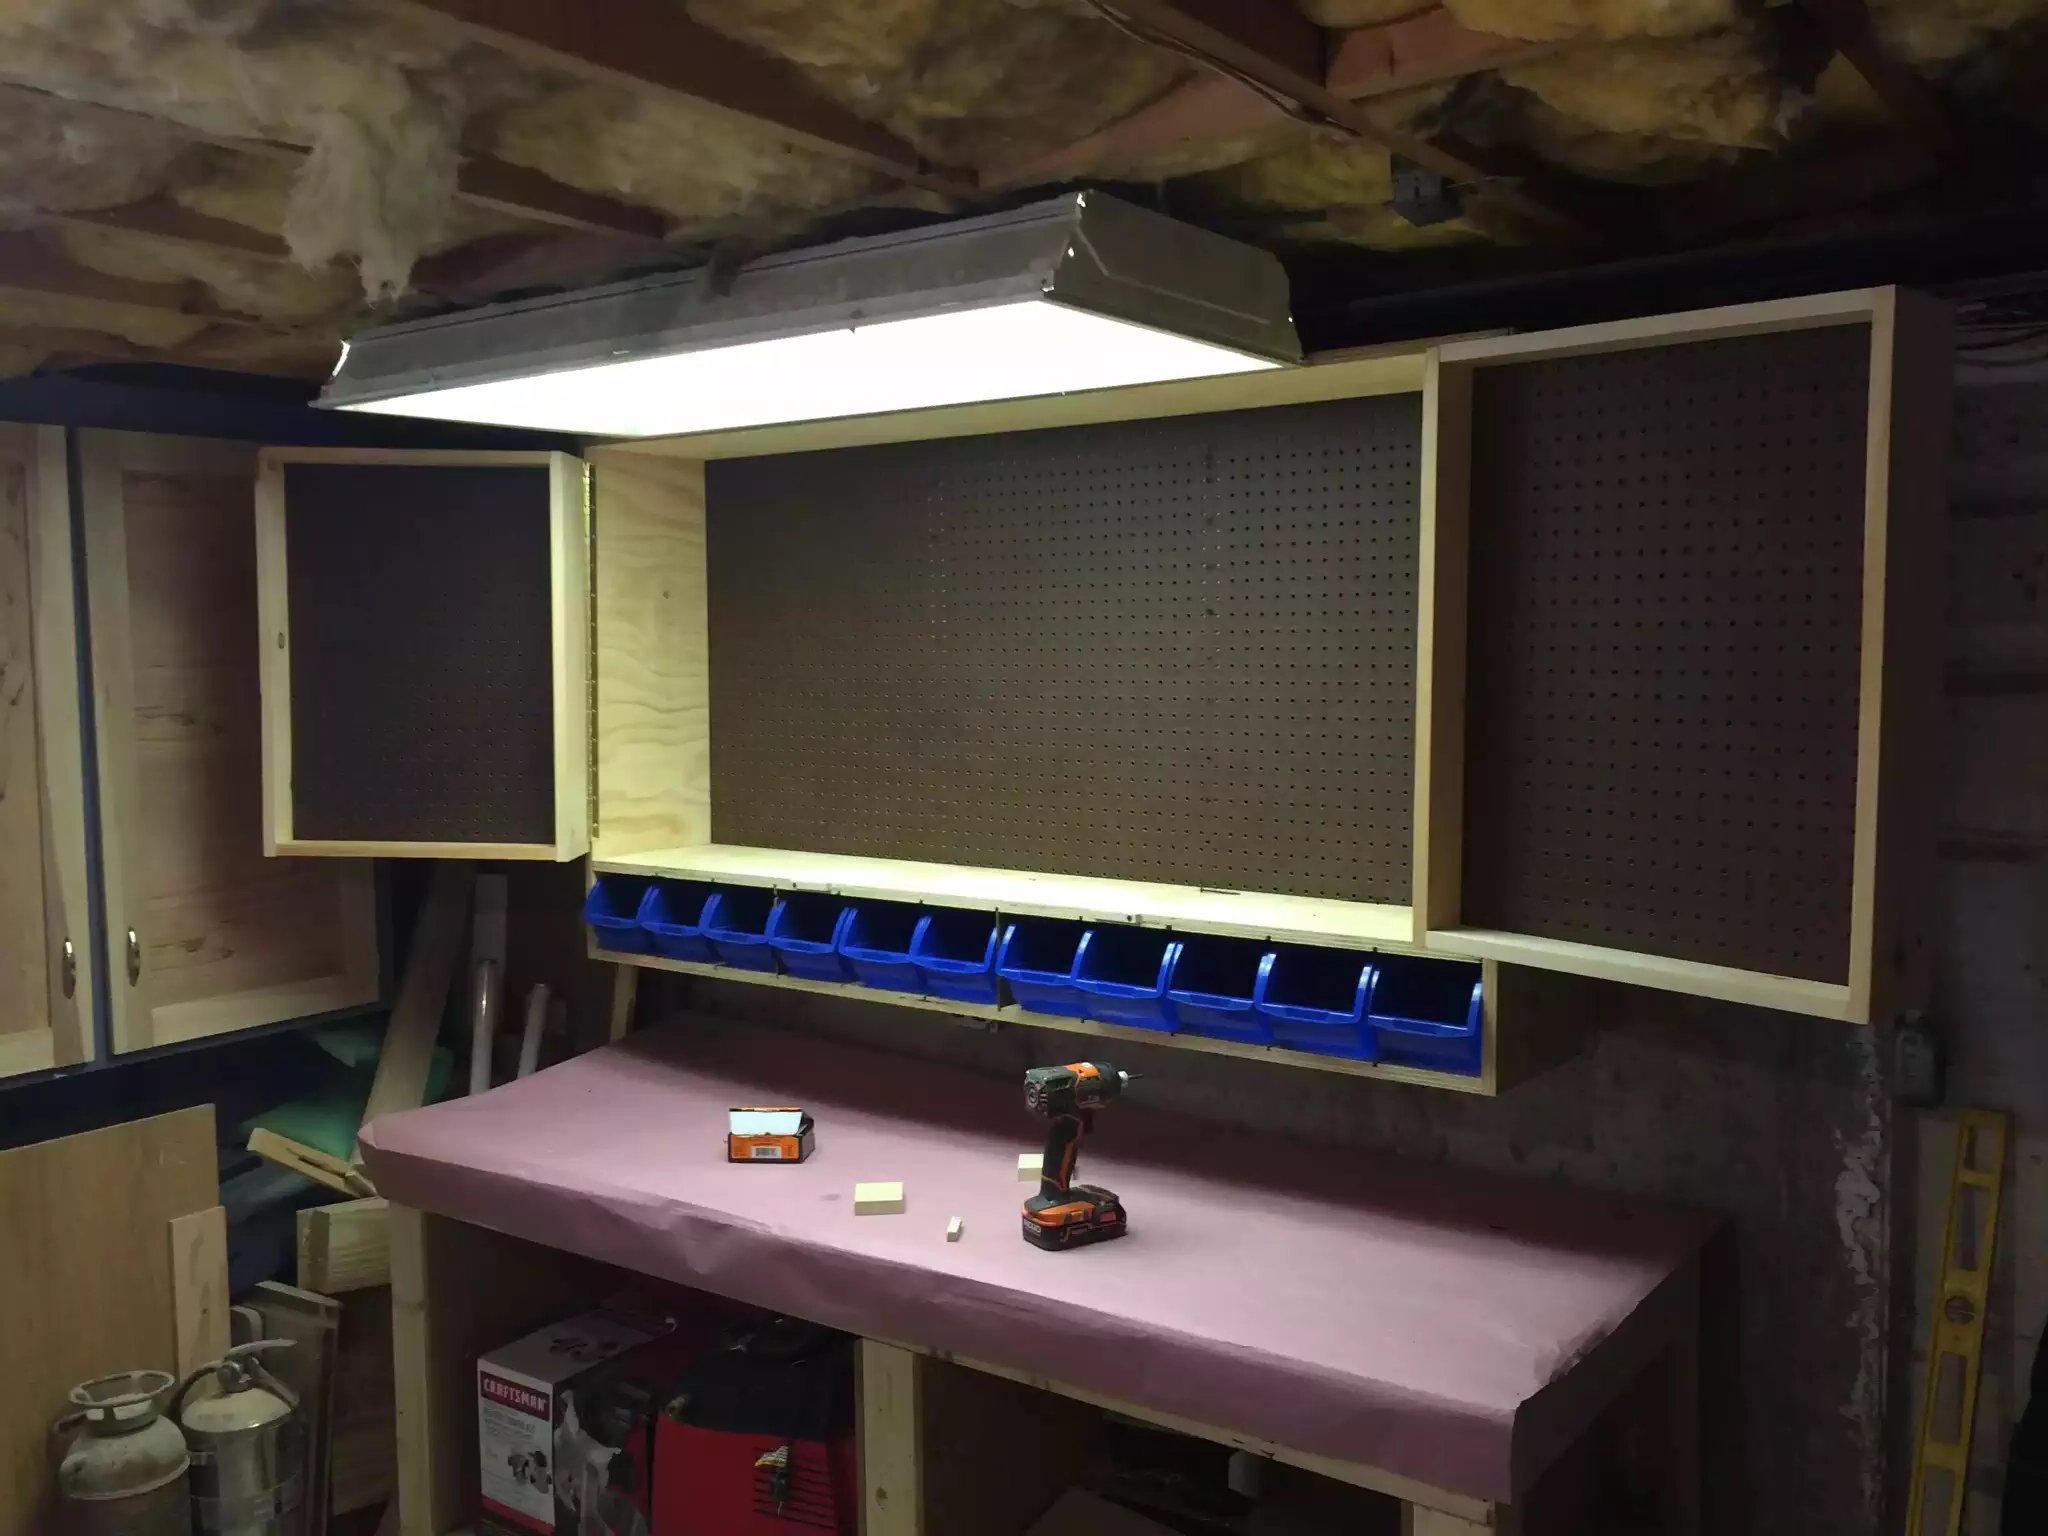
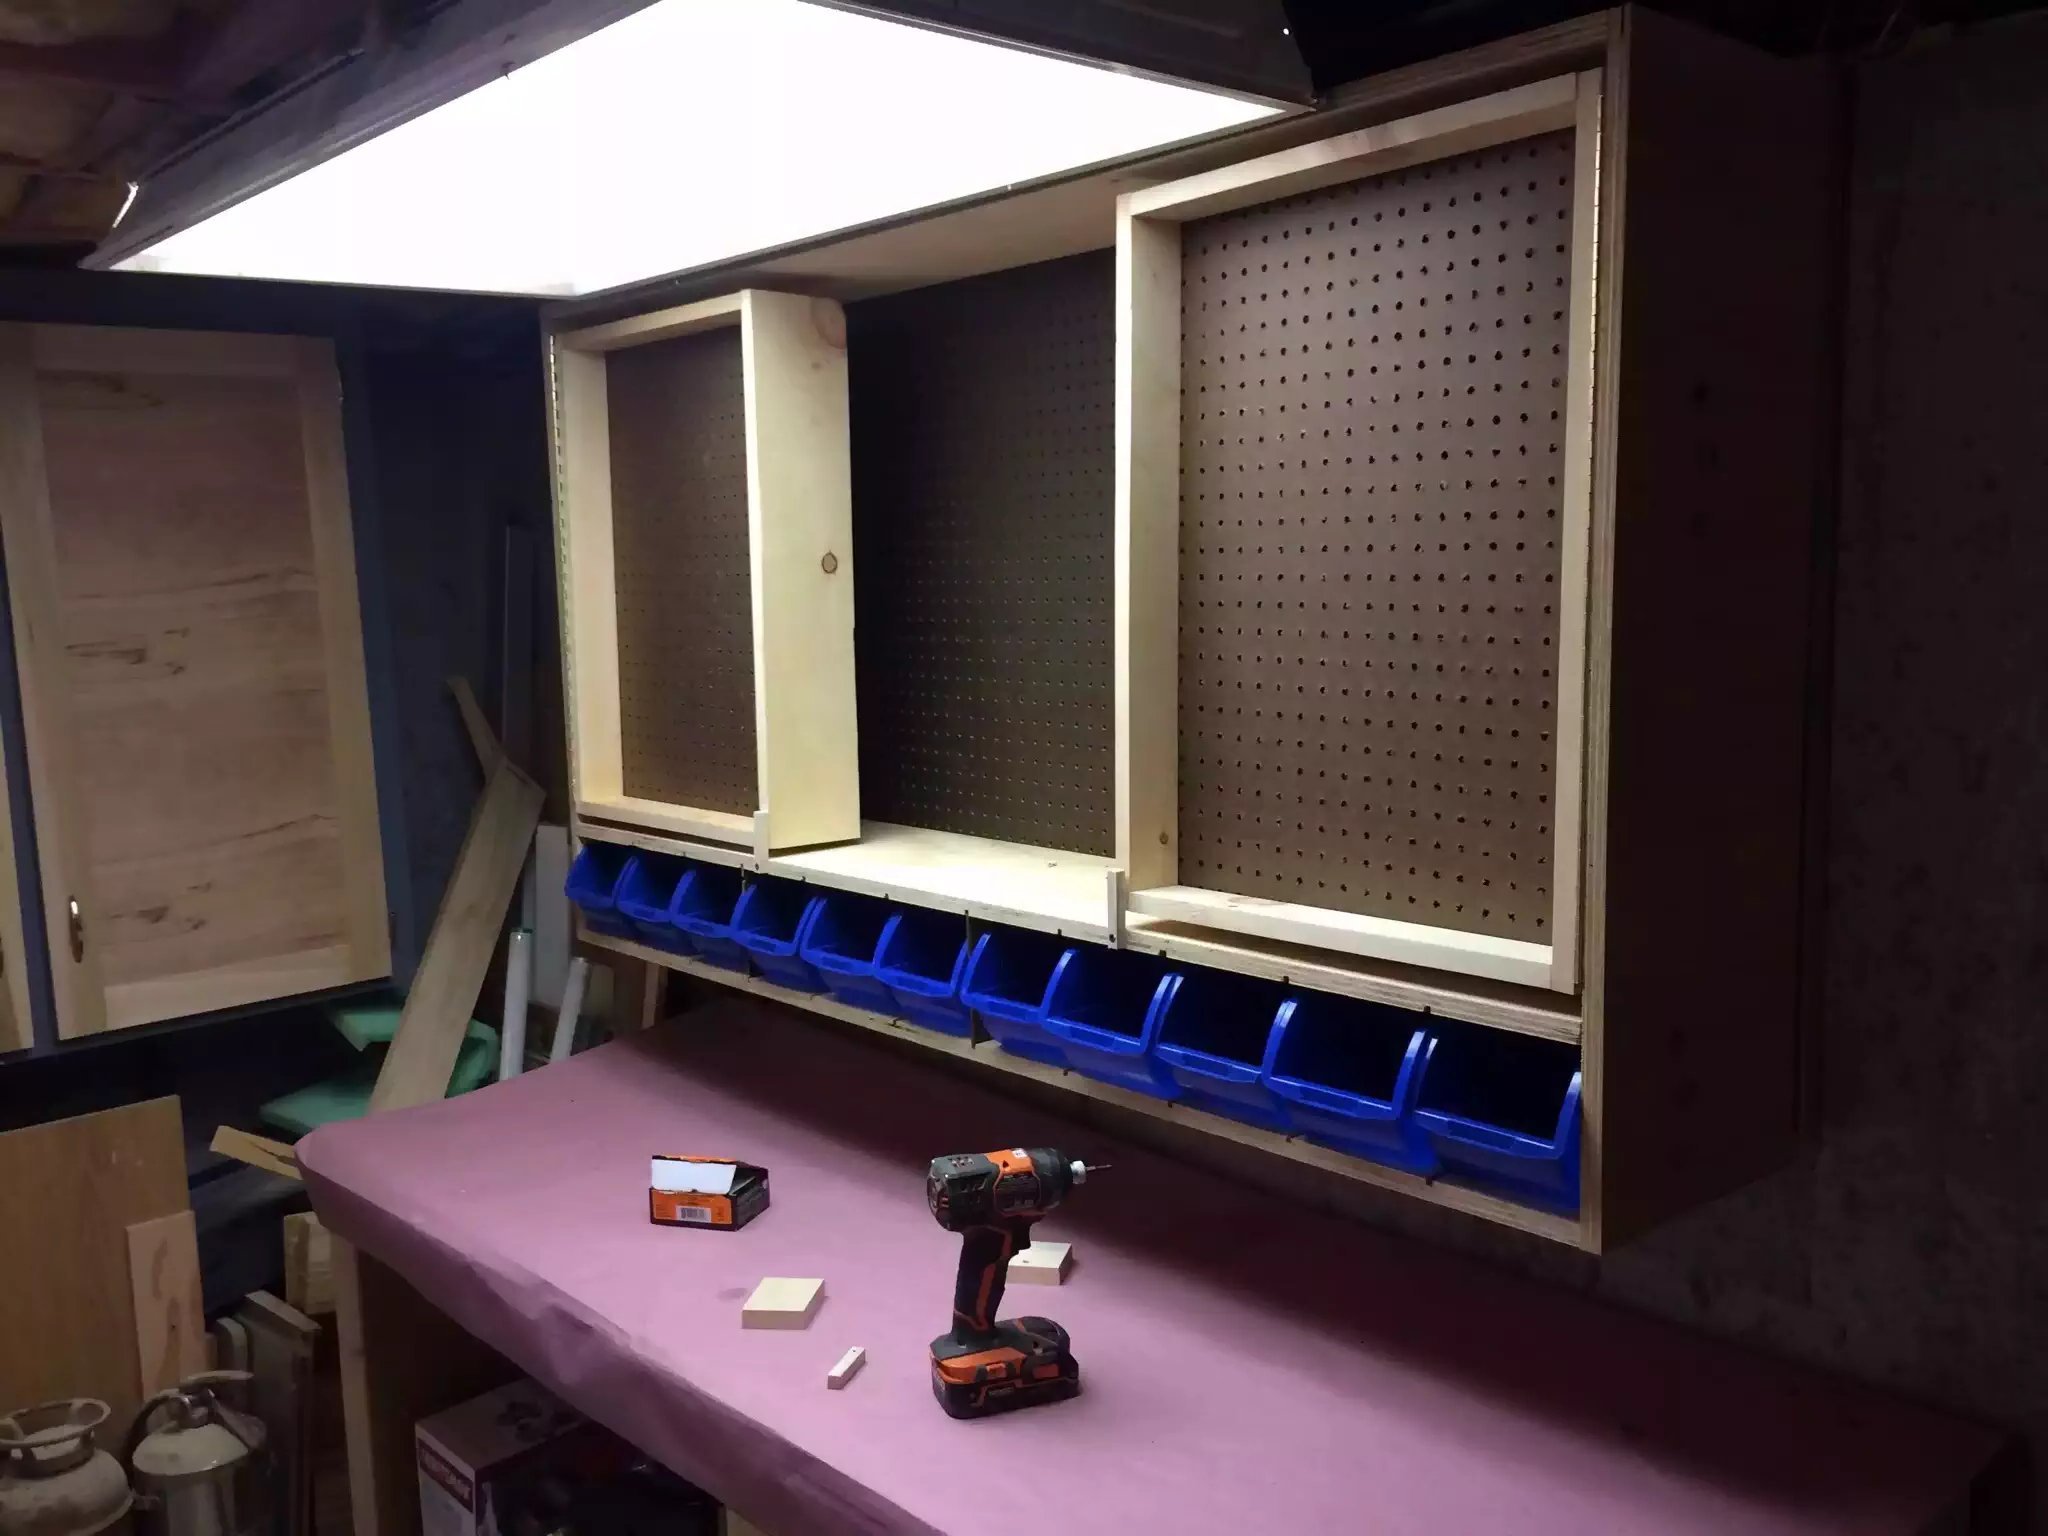
pegboard cabinet
with moving doors
(07/2016)

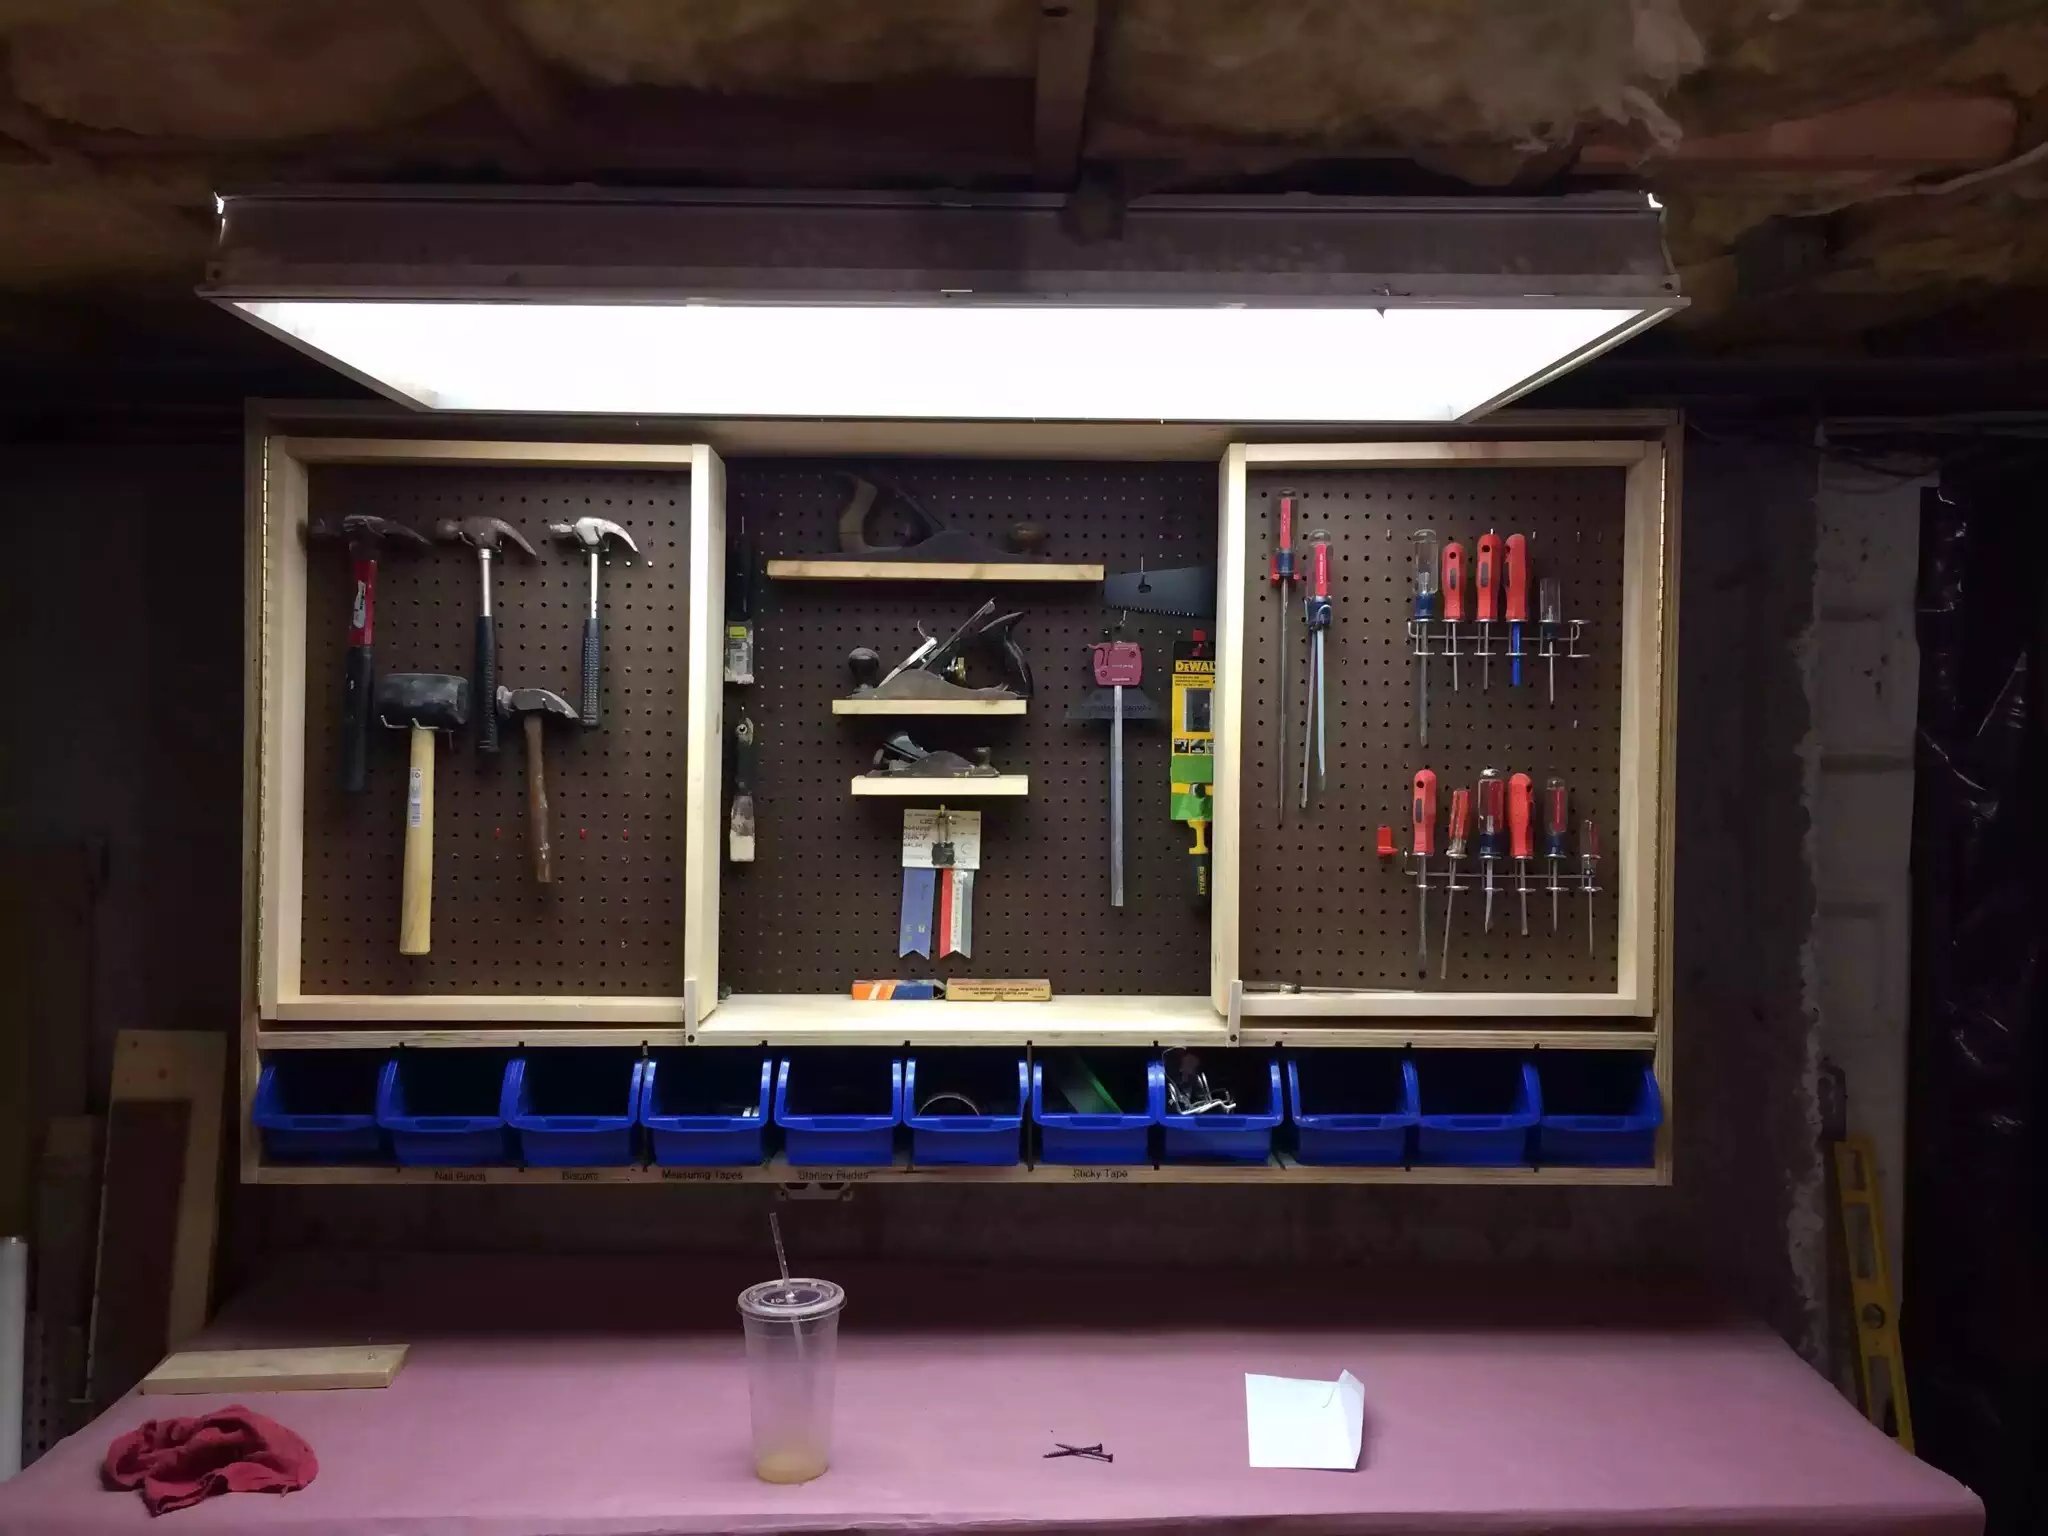

I had been in an organizing mode of late and my old pegboard panel served me well for a lot of years but it sadly couldn’t hold anything anymore so I retired it.
While I was looking for a more modern pegboard solution I came across this design it not only gives me the same amount of storage space but it reduced its wall footprint allowing me to relocate it on a different wall. So I moved it.
I found an interesting site called Rogue Engineer.com and he had beautifully laid out plans for the build and it didn’t cost a fortune and it looks great , if you need a copy of the plans you can find them here
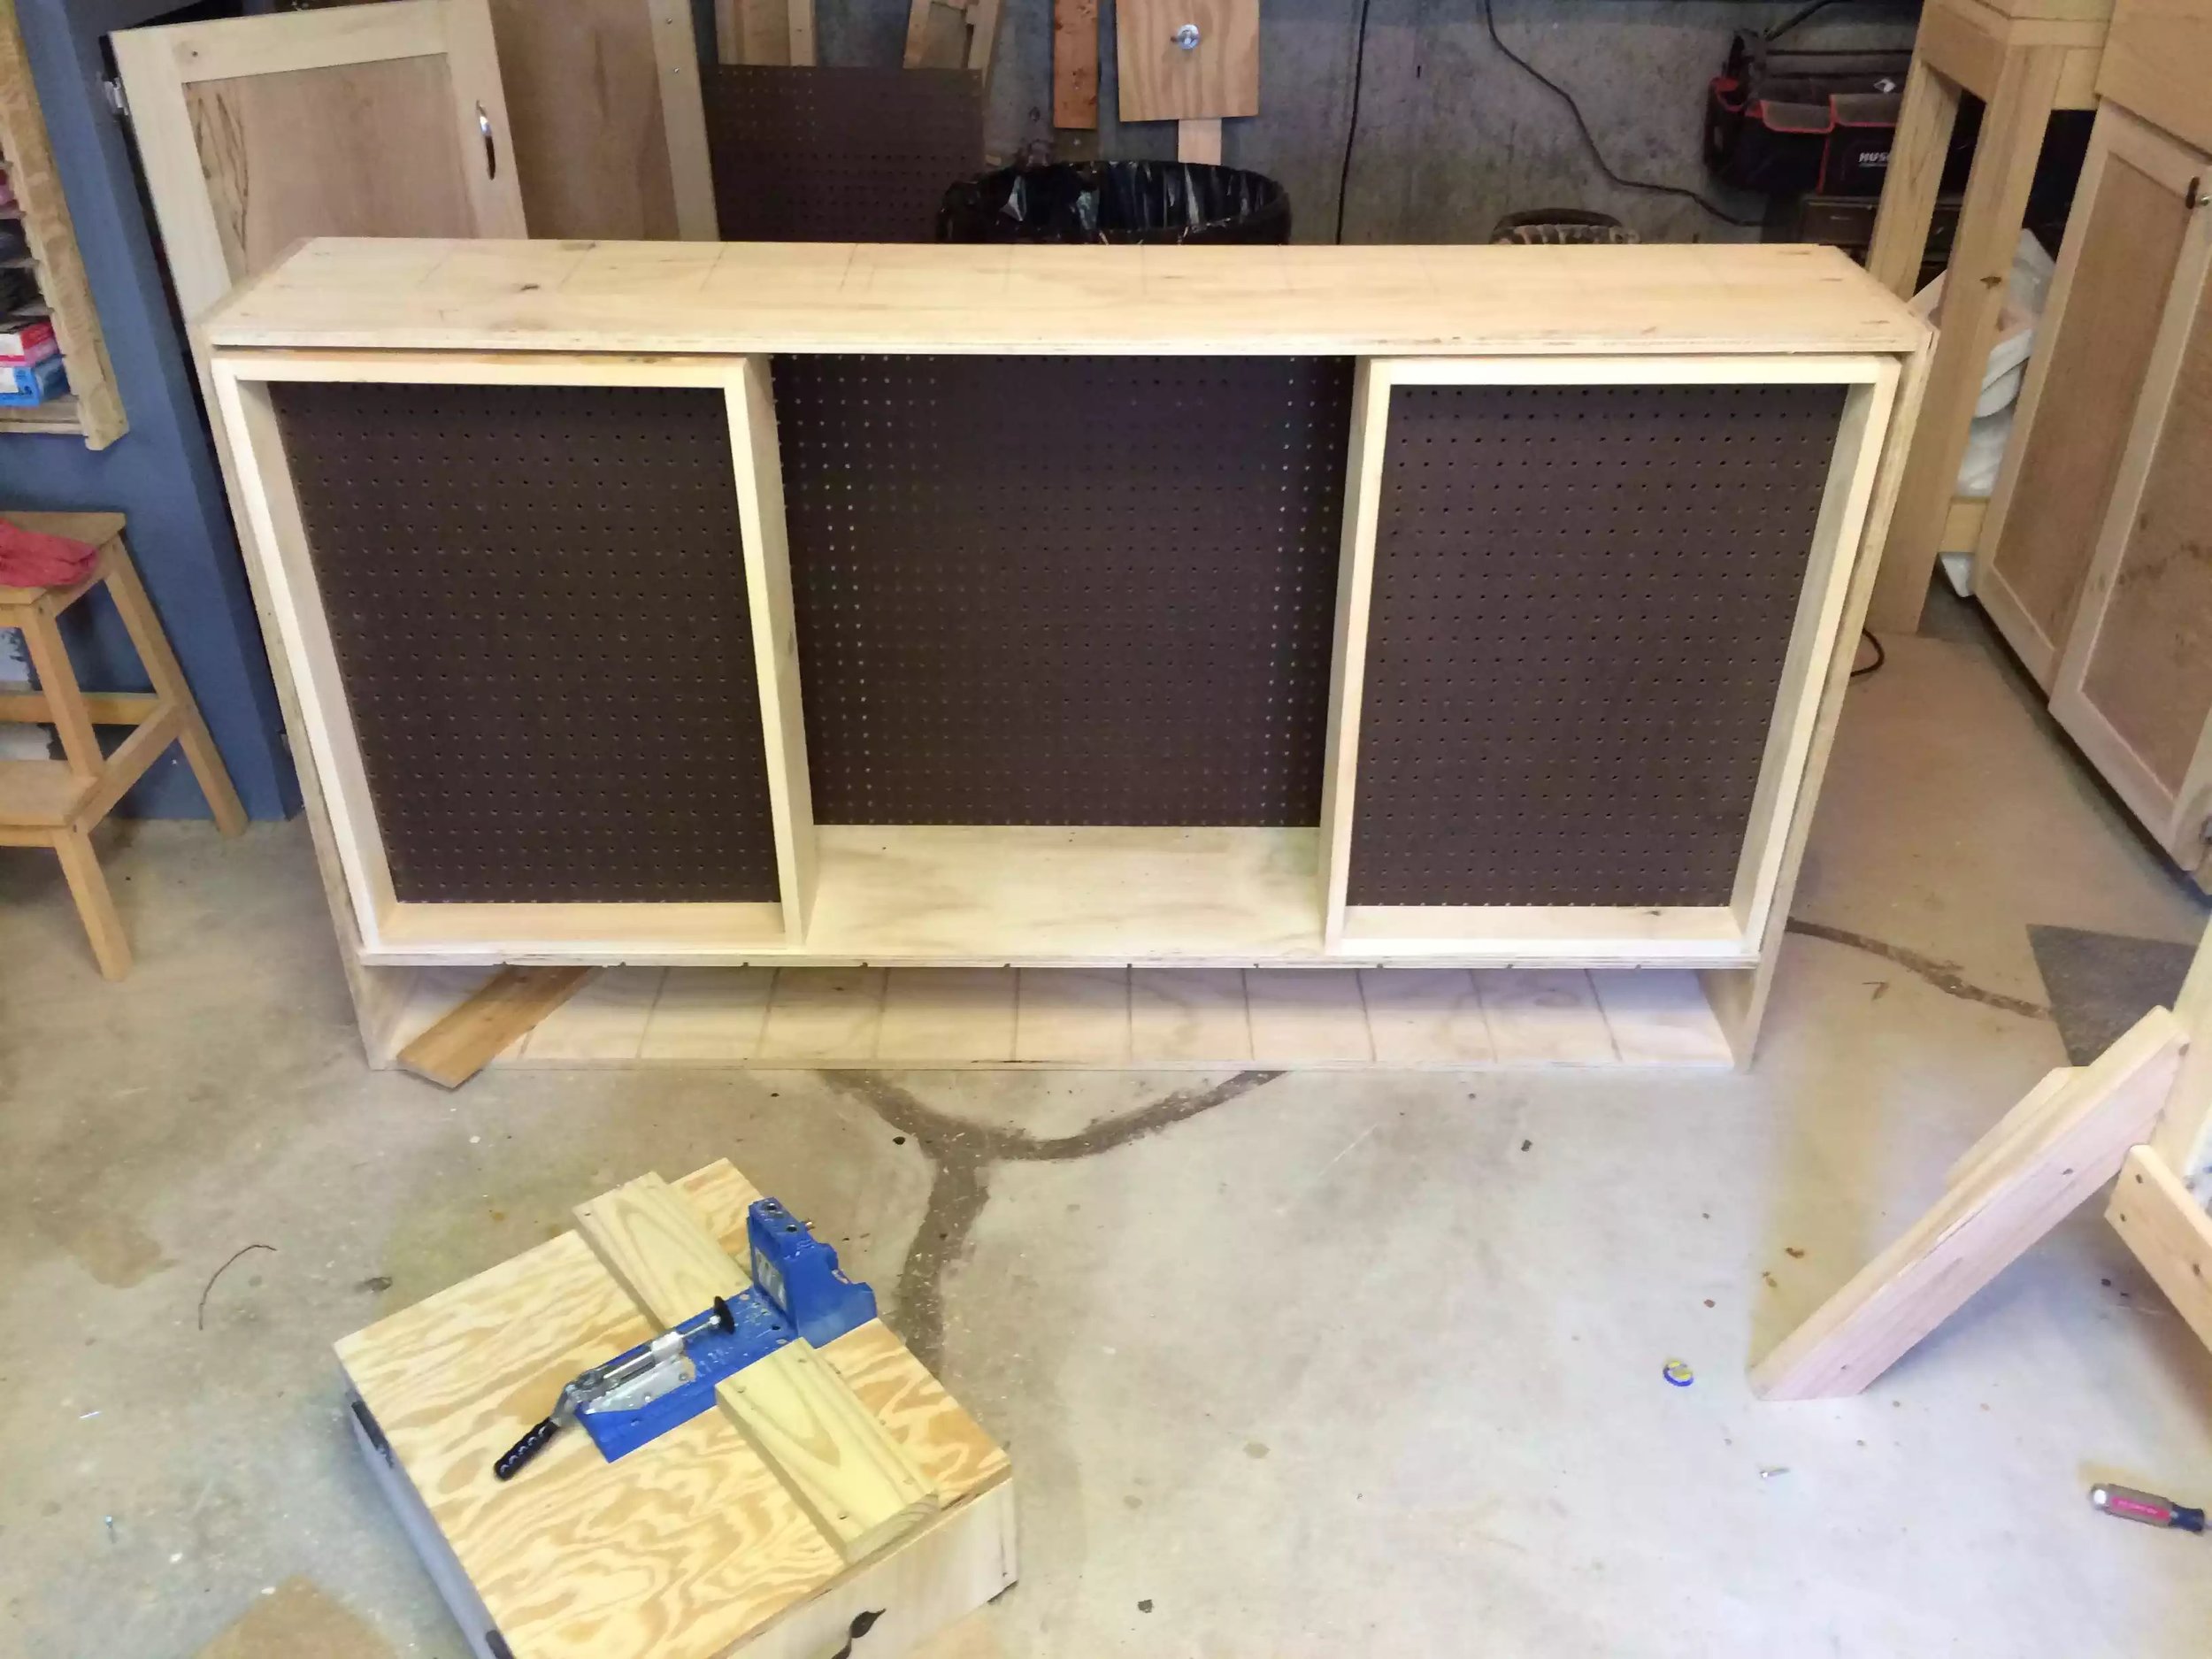
It’s a basic build with 3/4” plywood consisting of 2 sides , top, bottom and two independently made pegboard doors and it’s all held together with dados and dare I say it pocket holes, I found the pocket holes to be the best joinery position simply because I was 1 guy building something big.
The dimensions are 36” high, 66” wide and 12” deep.
Materials needed
- (1) 3/4”x 4’x8’ plywood ( I used sanded ply)
- (1/) 4×8 pegboard
- Pocket hole screws 1 1/4”
- Glue
- 2 continuous hinges 30”
- (2) 1×6x8’ – pegboard door frame
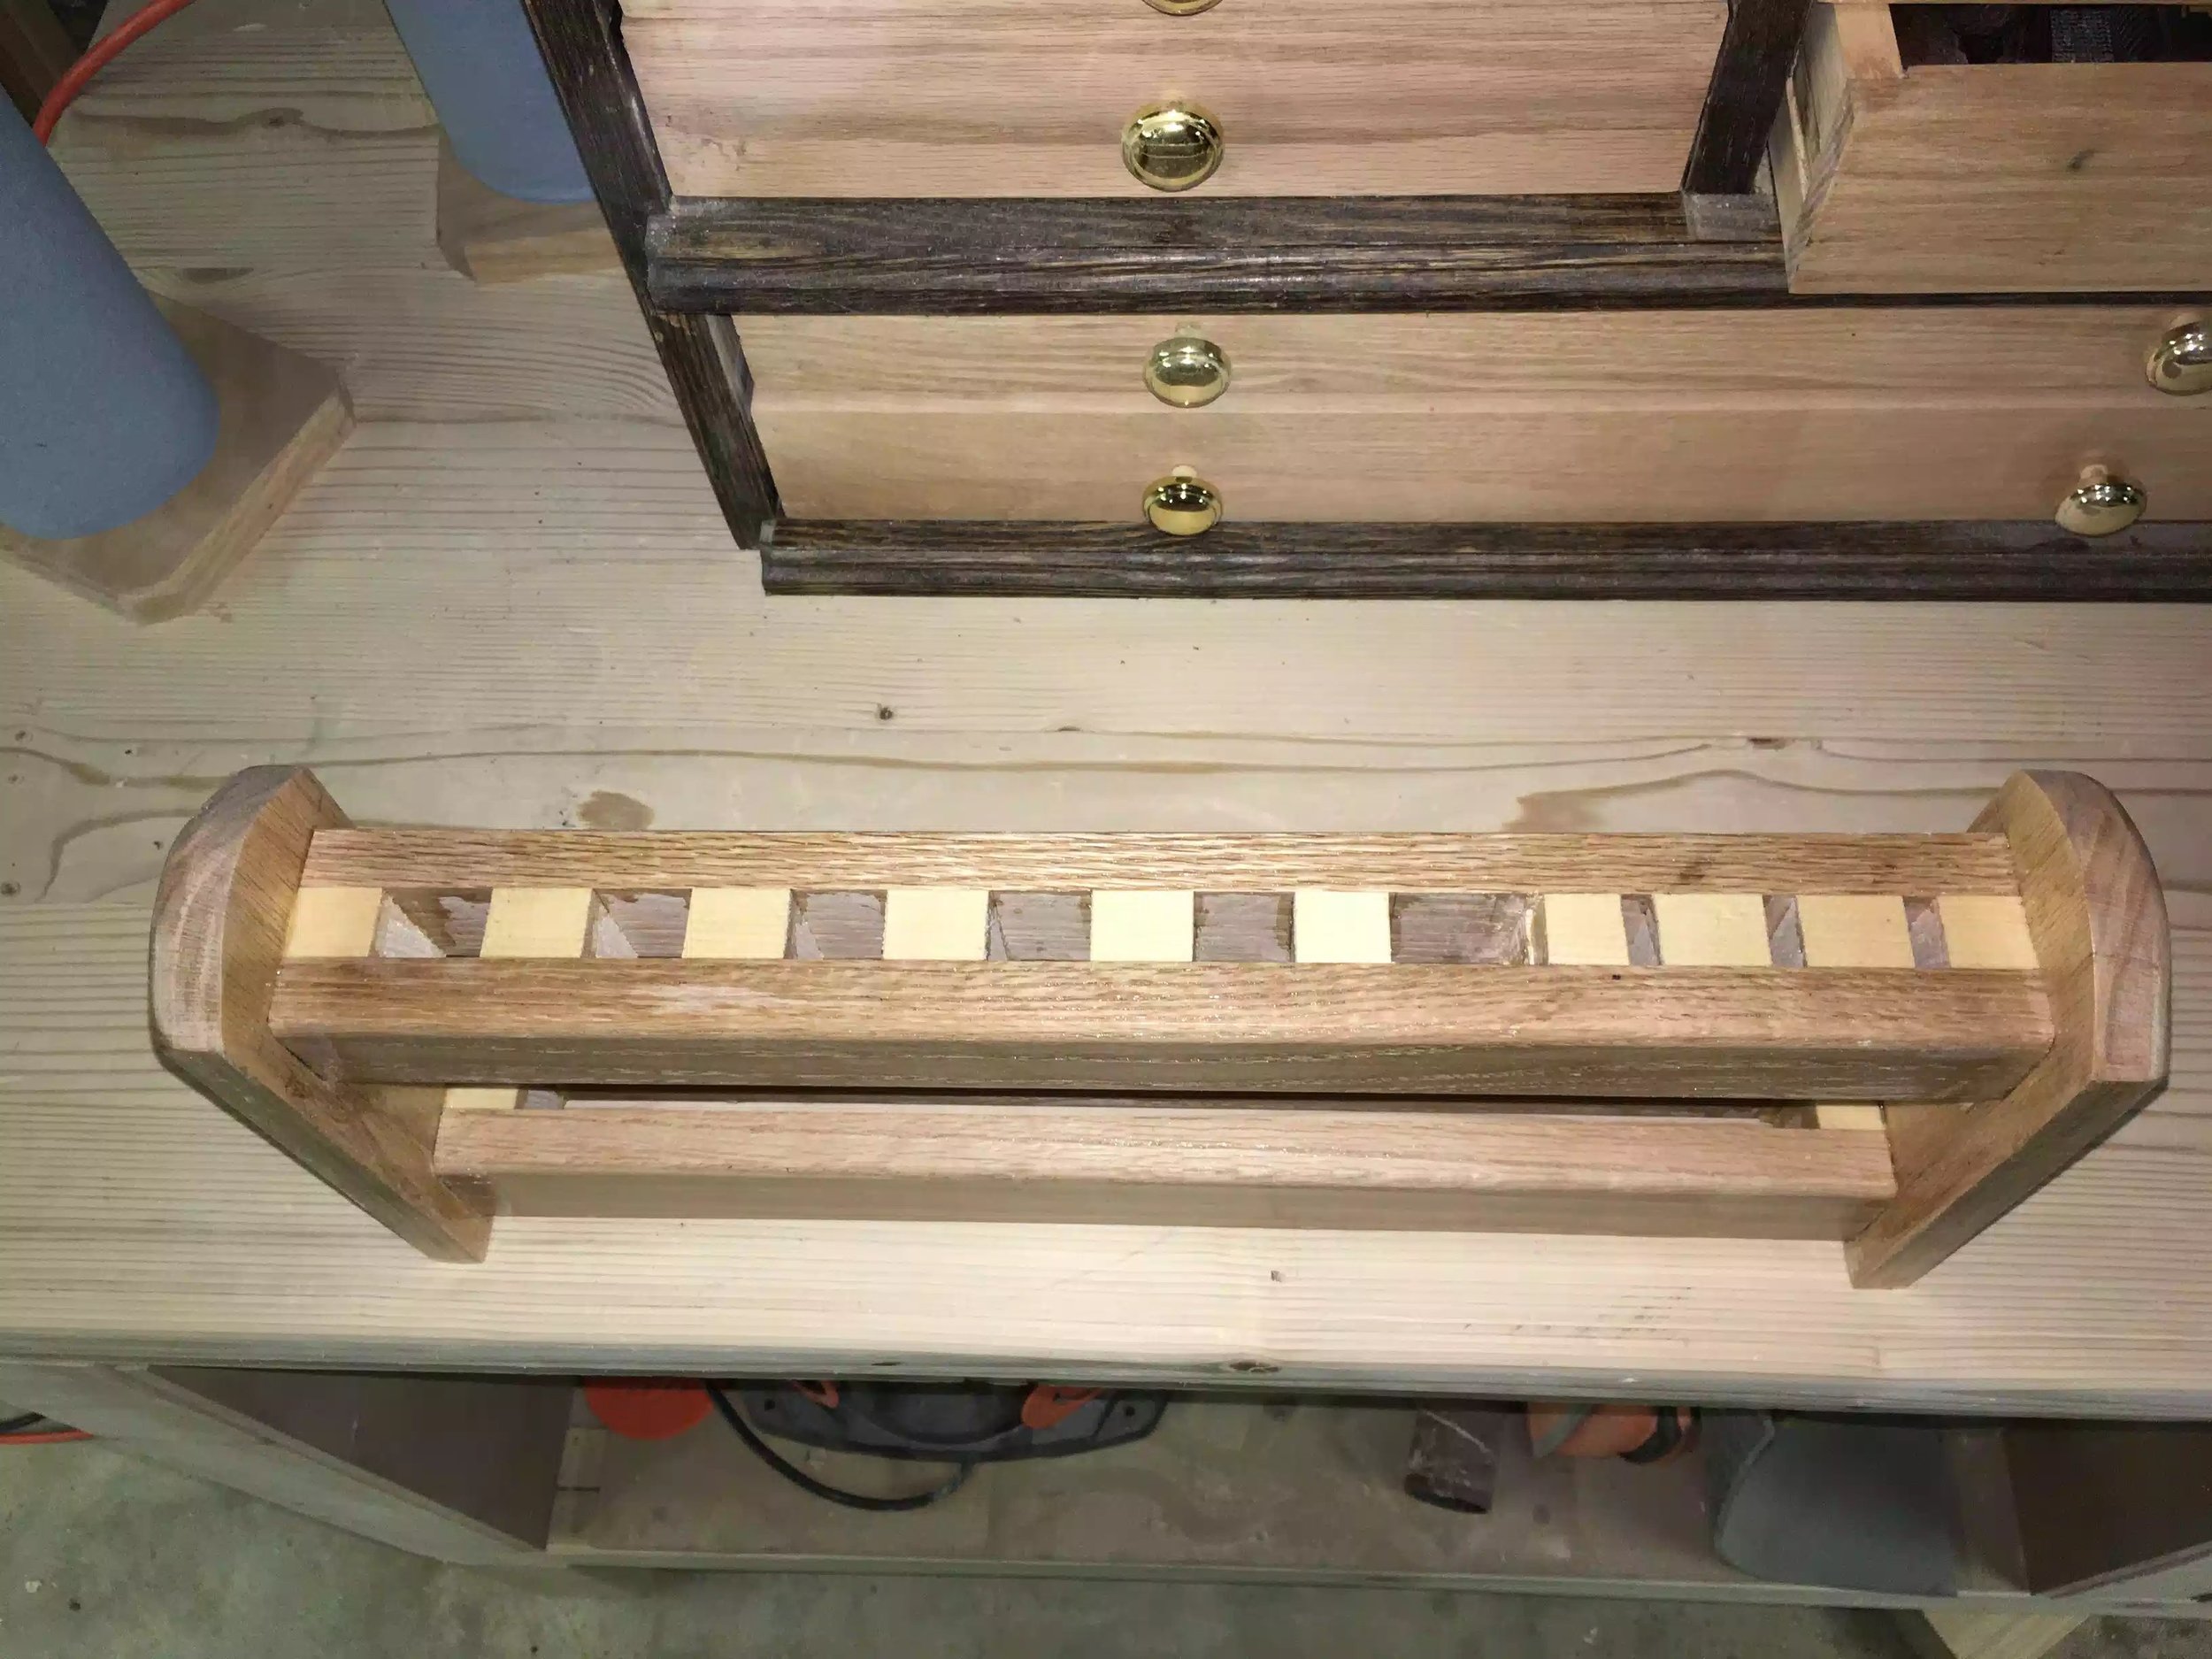
CHISEL RACK
(01/2018)
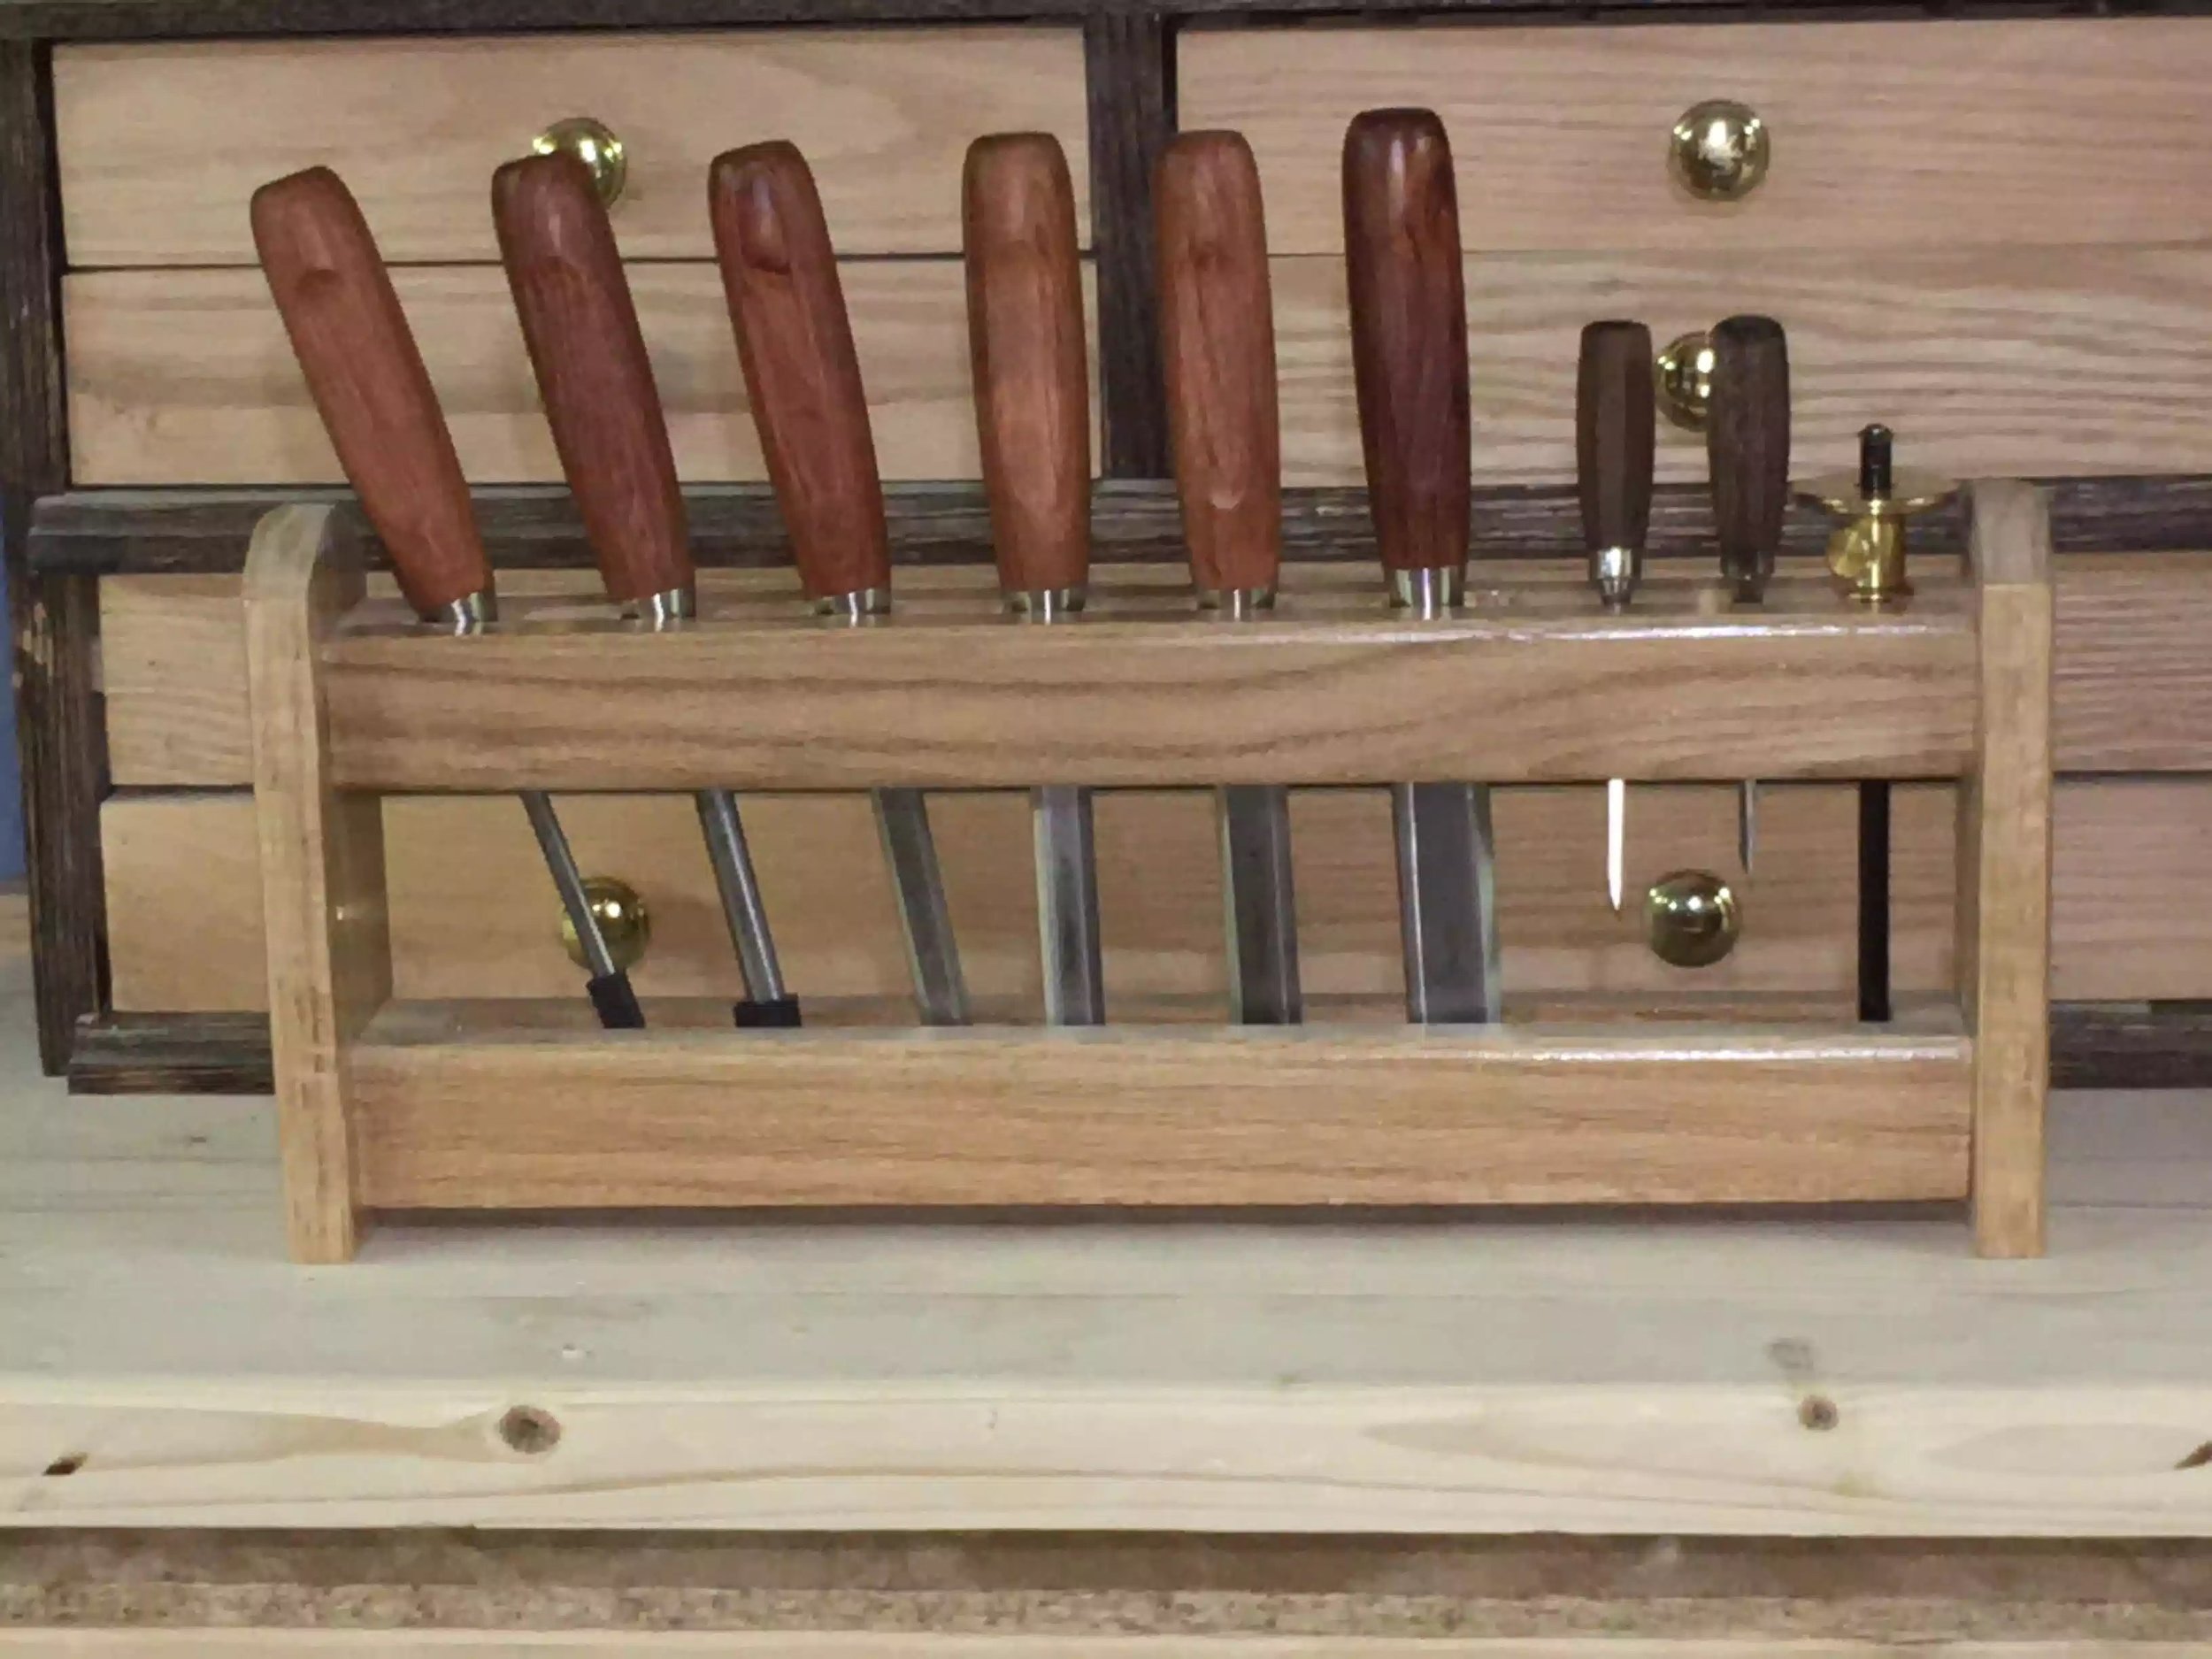
I purchased a nice set of Wood river bench chisels and wanted to place to store them as I am using them and at a comfortable height when I am using my benchtop bench (more to come on that later)
Materials
This entire project was made from scrap oak and pine I had lying around, so this project didn’t cost me anything… gotta love scrap projects.
Step 1. Cut the lumber to rough dimensions leaving most everything over size so as that I could trim off the glue up parts after the glue was set.
Step: 2. Layout all the tools you want in the rack and space them out accordingly. (My top is 17” long x 2/ 3/8’ wide), I also cut 1” sections of pine to form the dividers, and then glue the other side creating a sandwich , glue it up and wait.
Step 3: Create the bottom by gluing up 2 pieces of oak with the same dimensions as the top shelf and only use 2 dividers to establish the ends of the bottom well that the chisels will sit into.
Step 4: Build the sides again I used oak and made these sides 1” wider than the top and bottom components so as that to center the top shelf and bottom well (not sure what to call this part) so as that I can recess these parts by 1/2”. Next I cut a arc into the top of the sides , purely for aesthetic reasons.
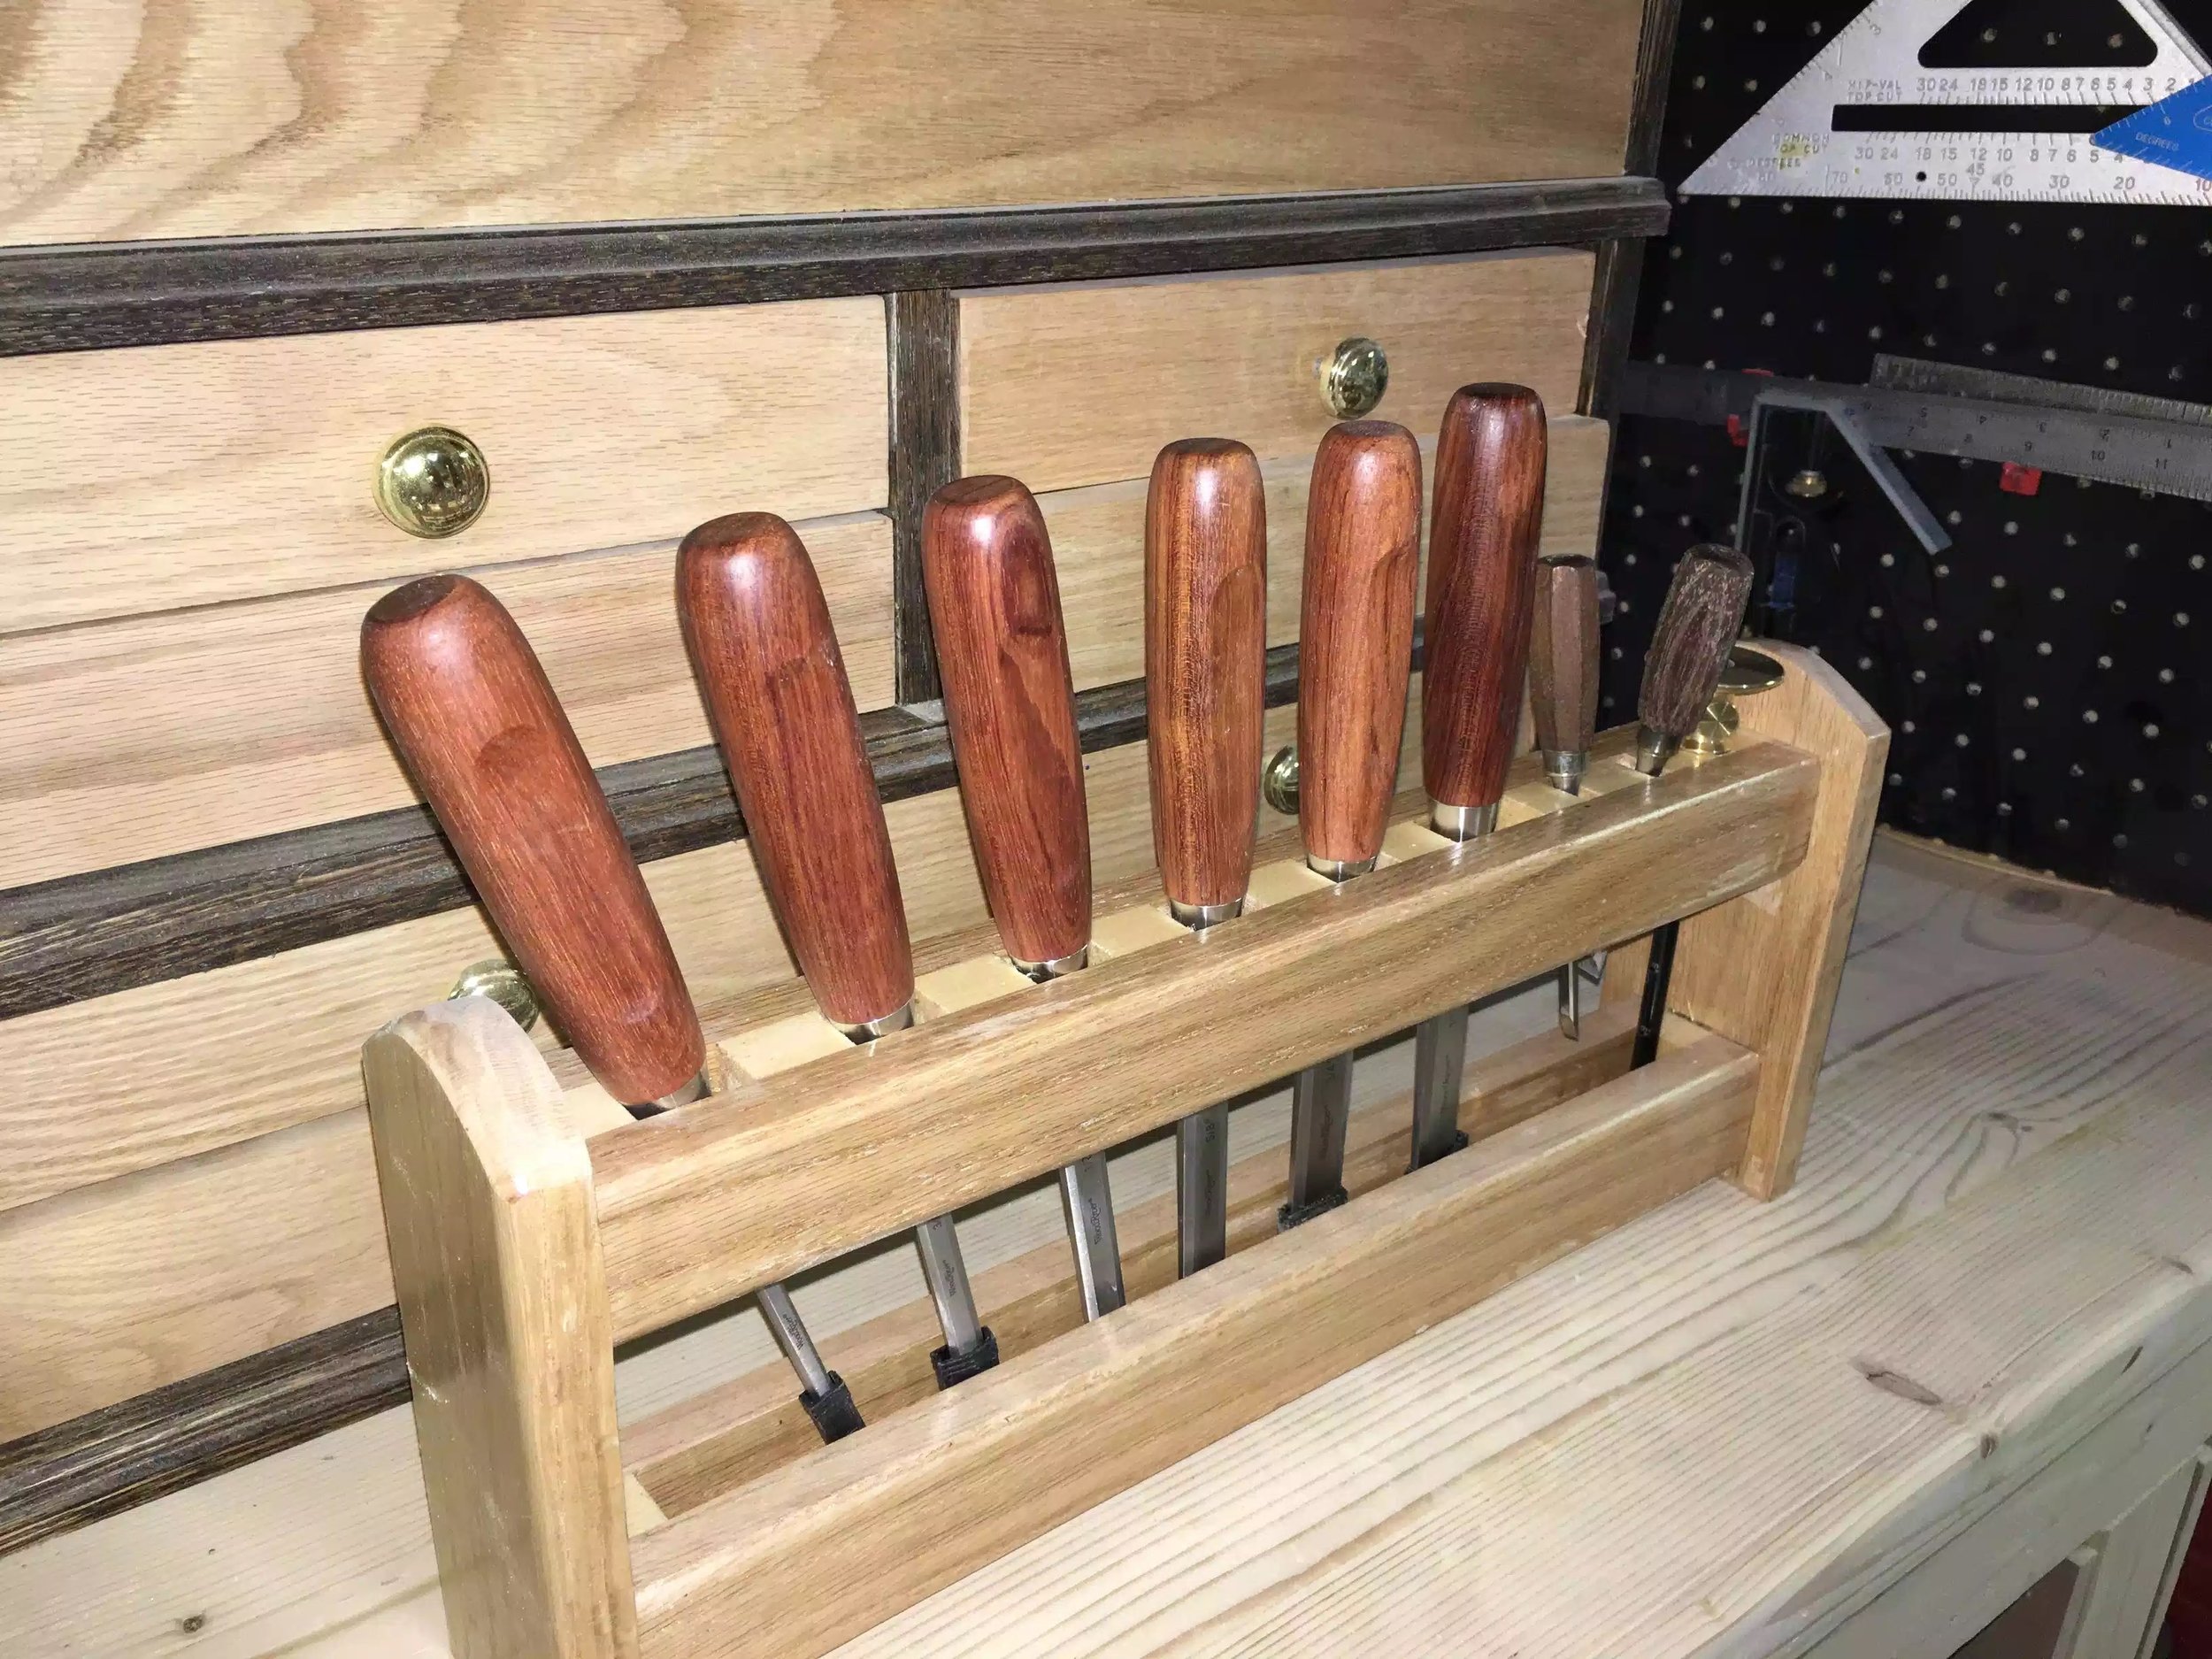
Step 4 : After all the components are glued up I used a 1/4’ round over bit to remove all the sharp edges that my hands will come in contact with.
Step 5: Assembly time… There is no fancy joinery on this I basically used glue and attached the top and bottom to the sides, (I might put dowels into these parts since its being glued to engrain) clamped it in place and left it to dry for couple of hours.
Some design characteristics
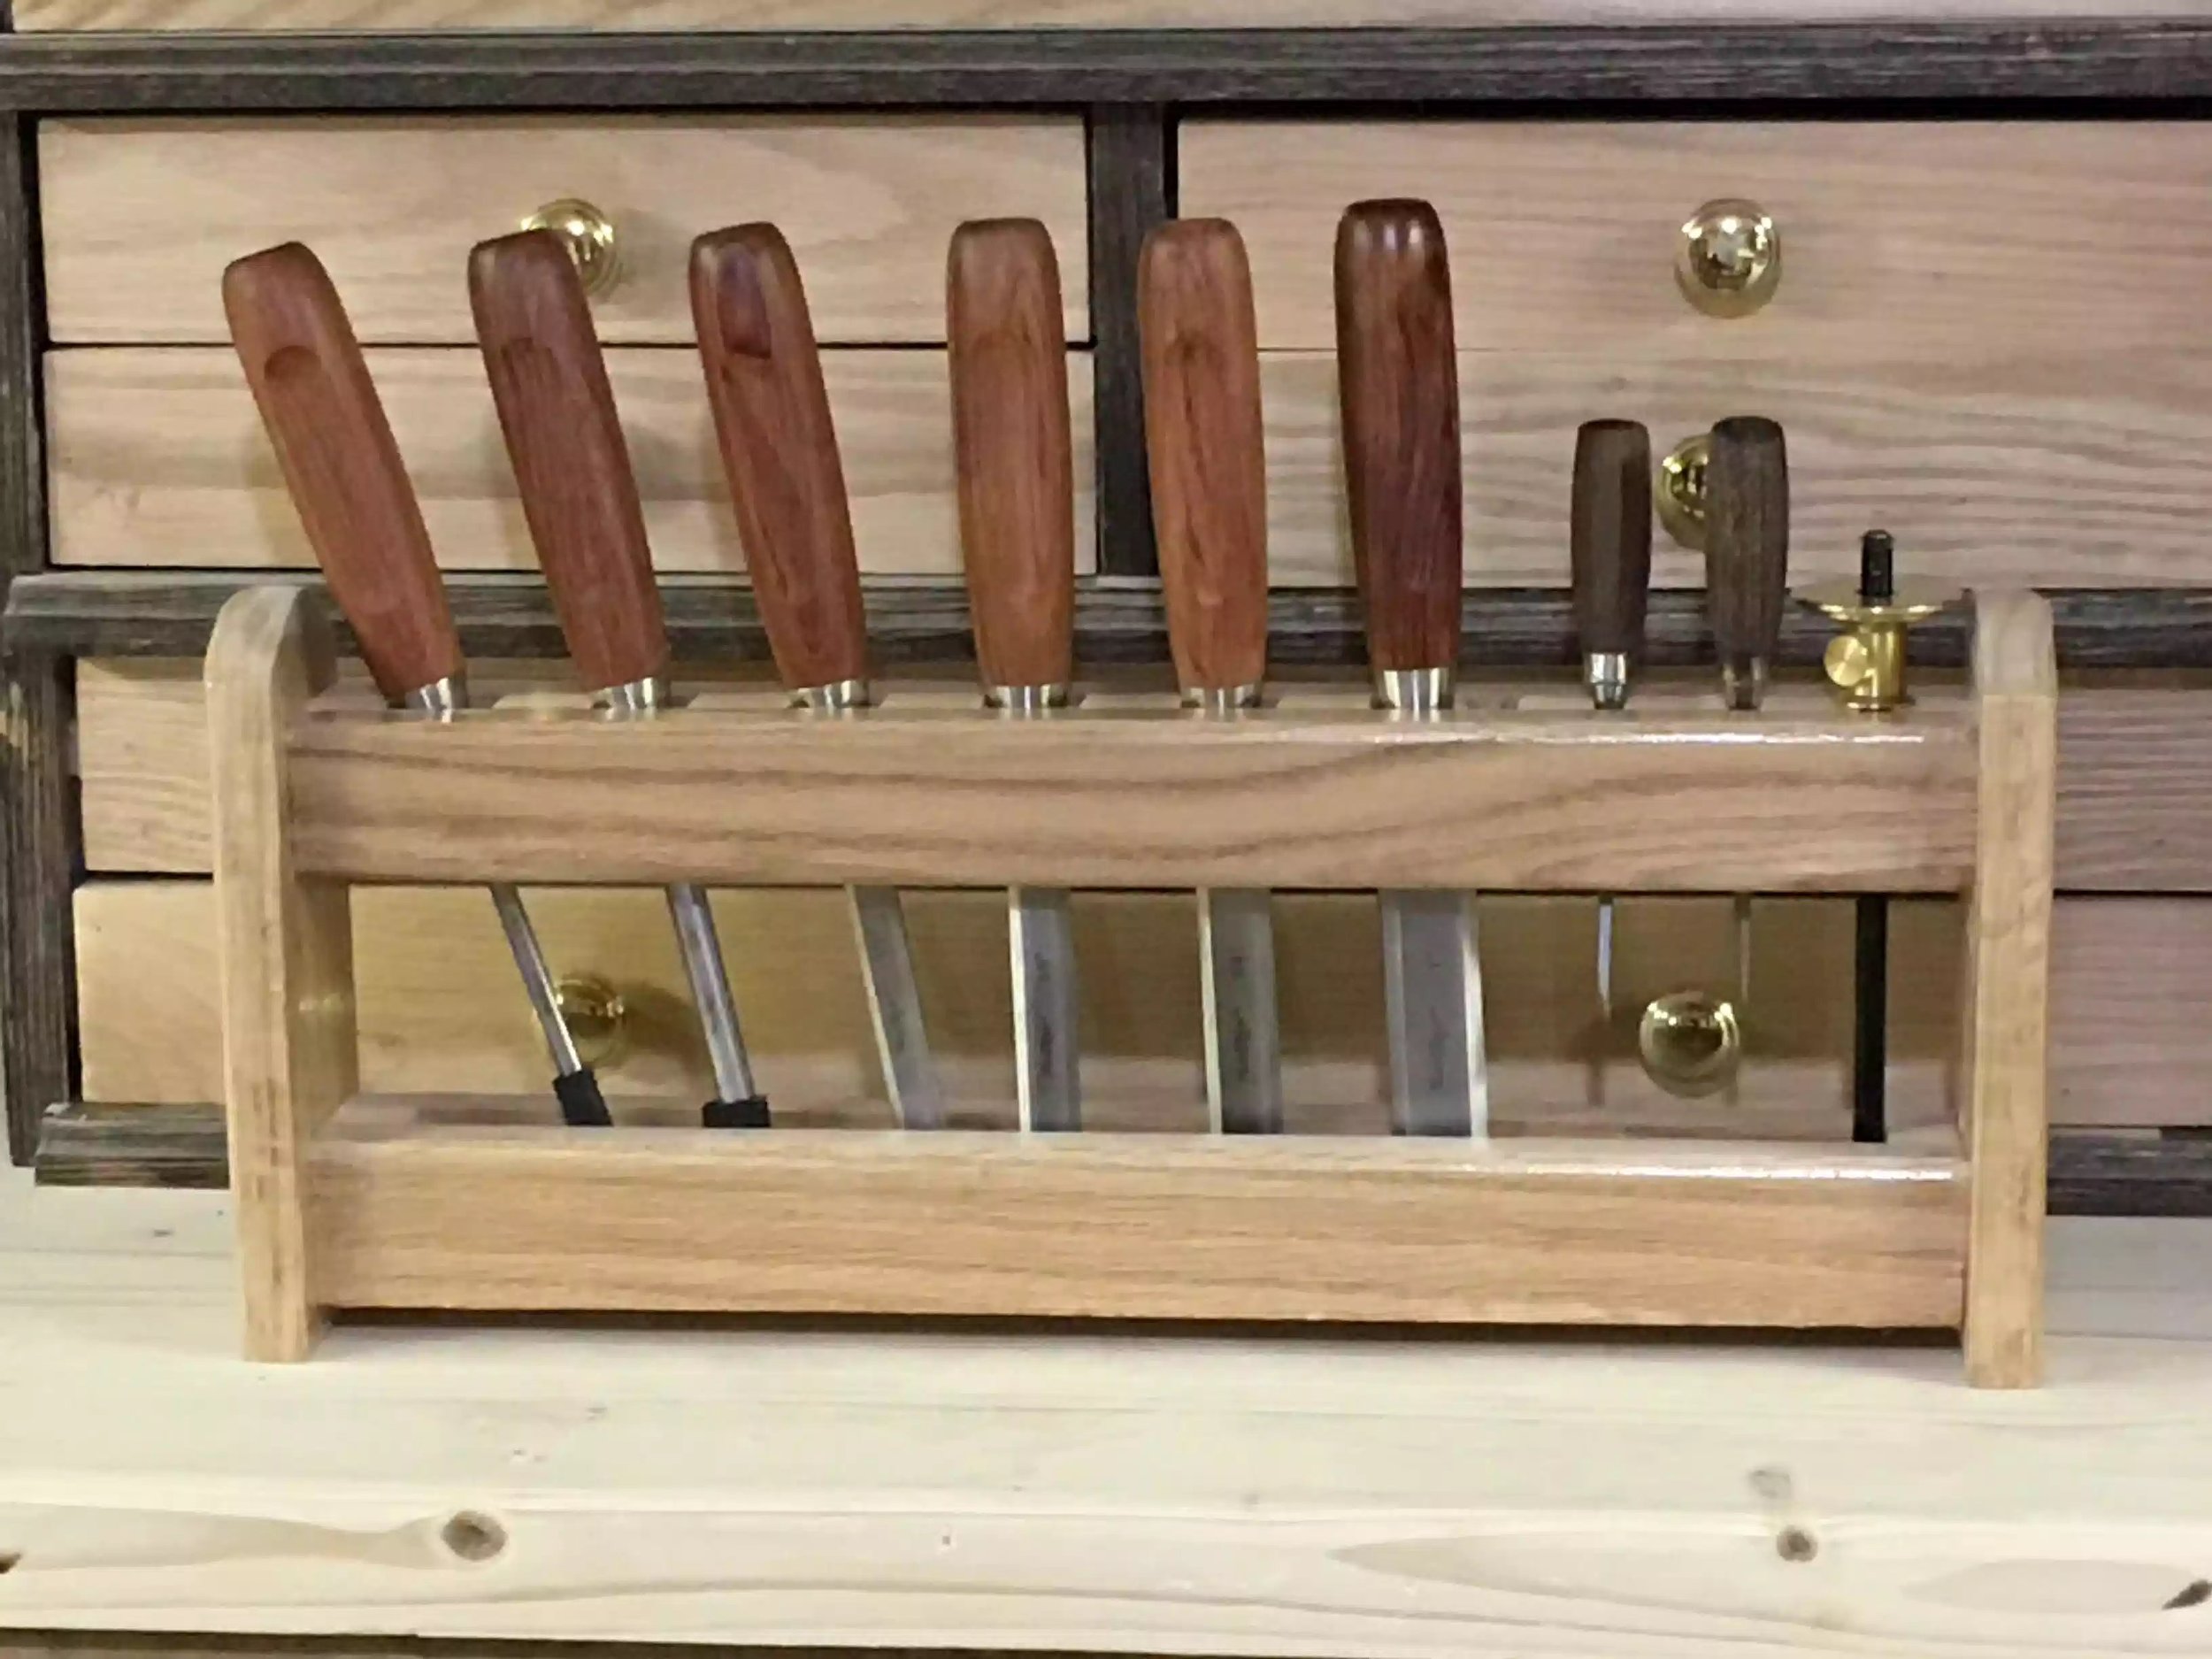
- 1. I raised the bottom well up 1/2” so as that the chisels would not touch the work surface
- 2. I centered the upper and lower components to the sides thus making it balance and sturdy
- 3. Rounded over all edges
- 4. Applied 3 coats of Poly Acrylic to protect the wood from abuse.

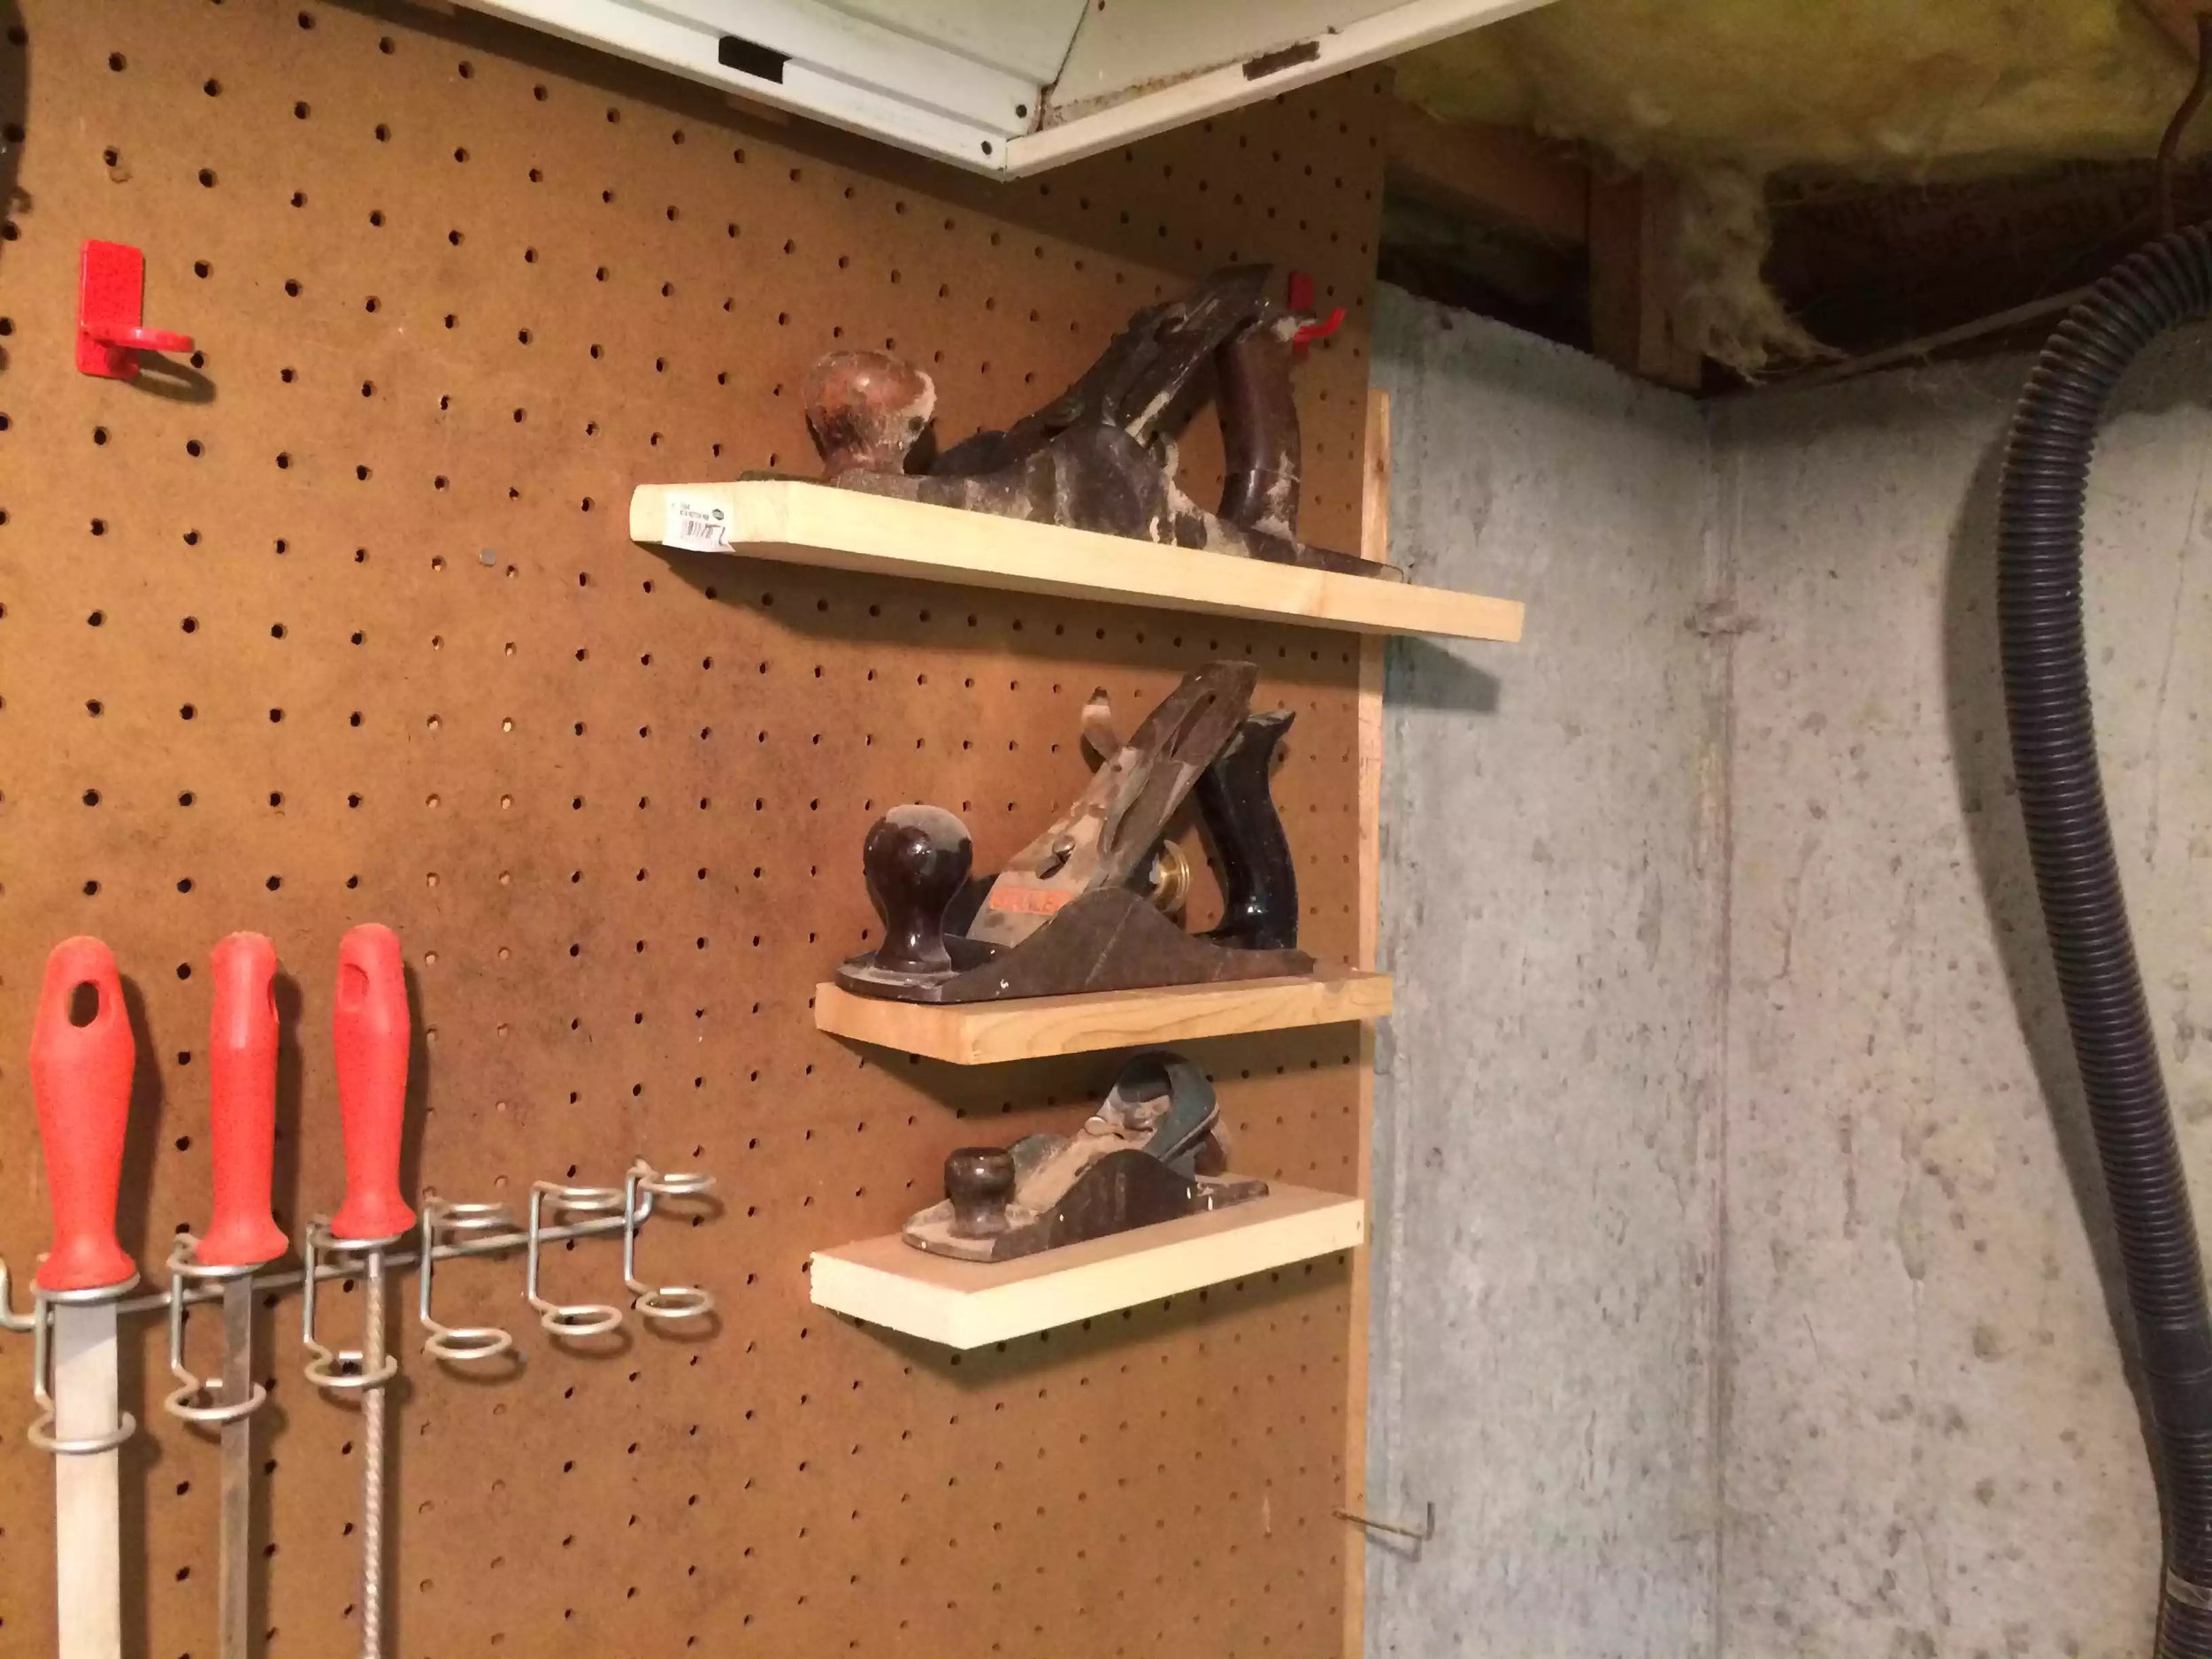
PEGBOARD SHELVES
(08/2015)

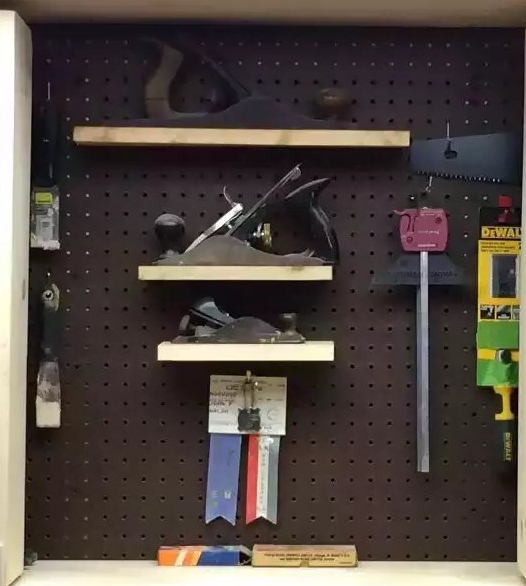
I made these shelves a few years ago and still use them today.
I needed a way to mount tools that can be just hung and I came across this idea …

All you need is some scrap wood cut to 1” increments( length )... ( no wider than 3”)
And some L hooks (on the right)
All you need to do is mark the edge of the corresponding peg hole .. Then mark the middle of the edge since I’m using 3/4” my mark would be 3/8” in drill a pilot hole and screw in the l hooks .. I suggest you chamfer the top edge going into the pegboard to make it easy to mount..
The possibilities of this little project are endless I have seen screwdriver , measuring tape and glue holders online..
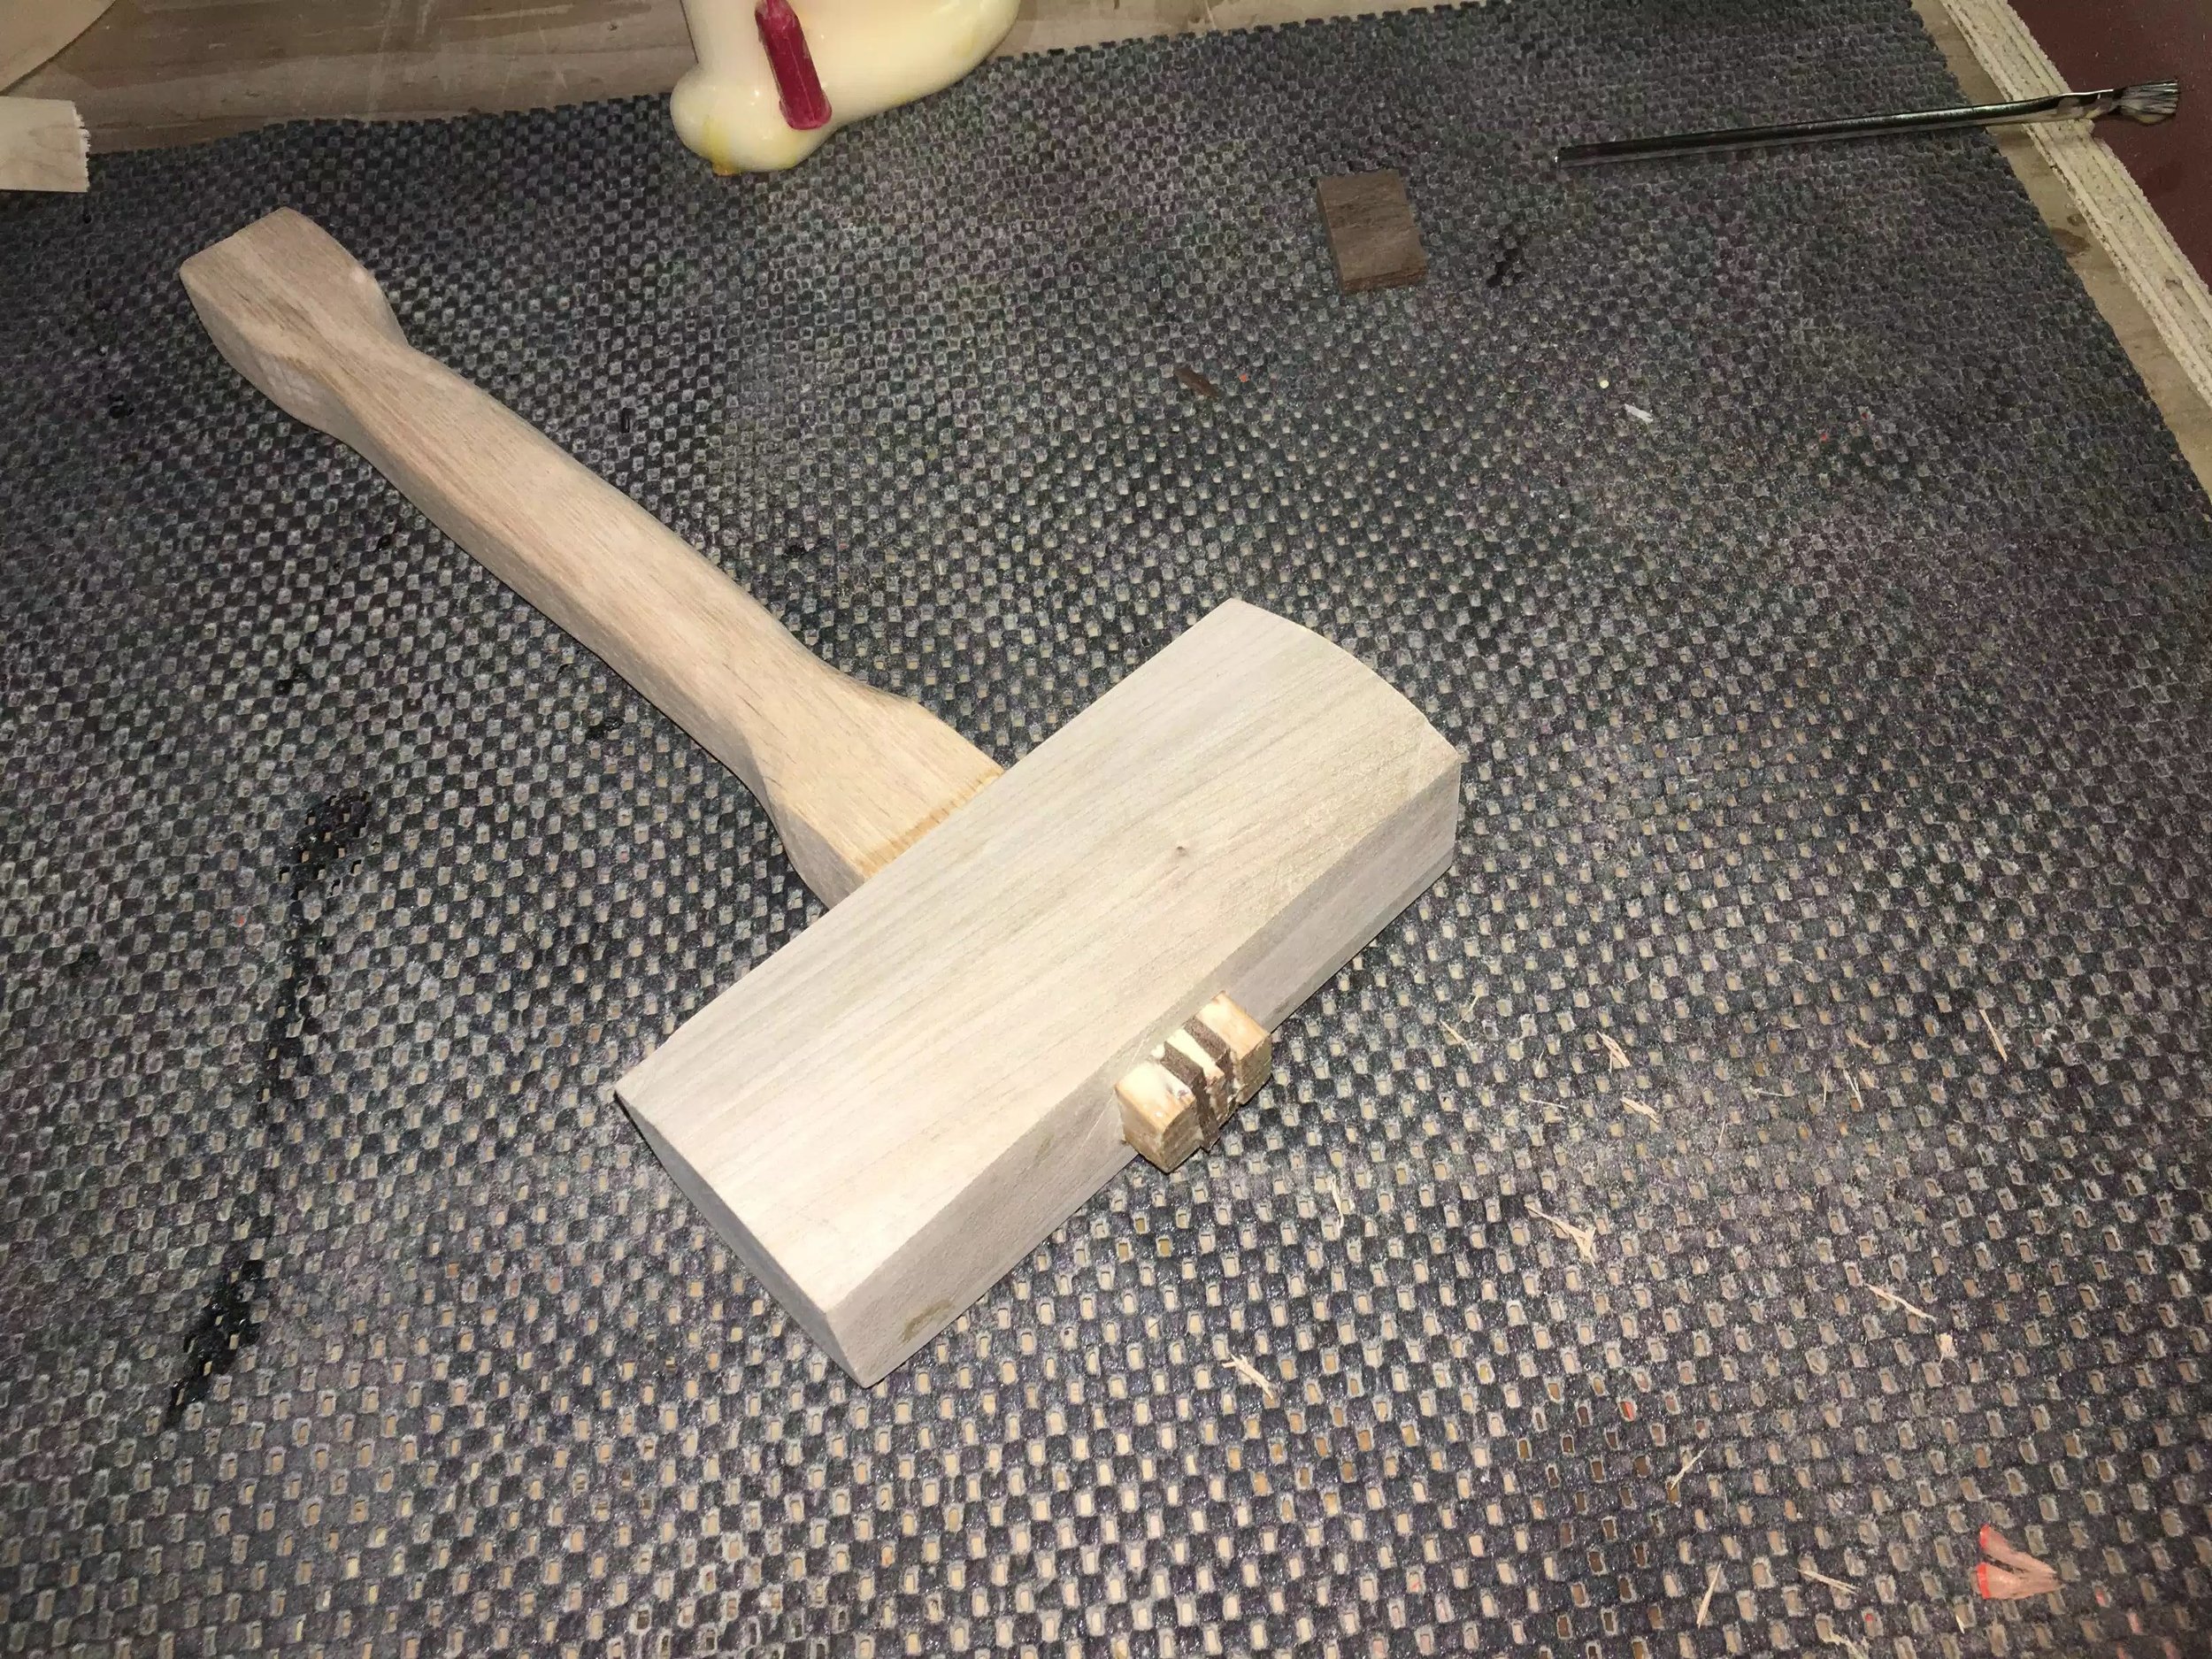
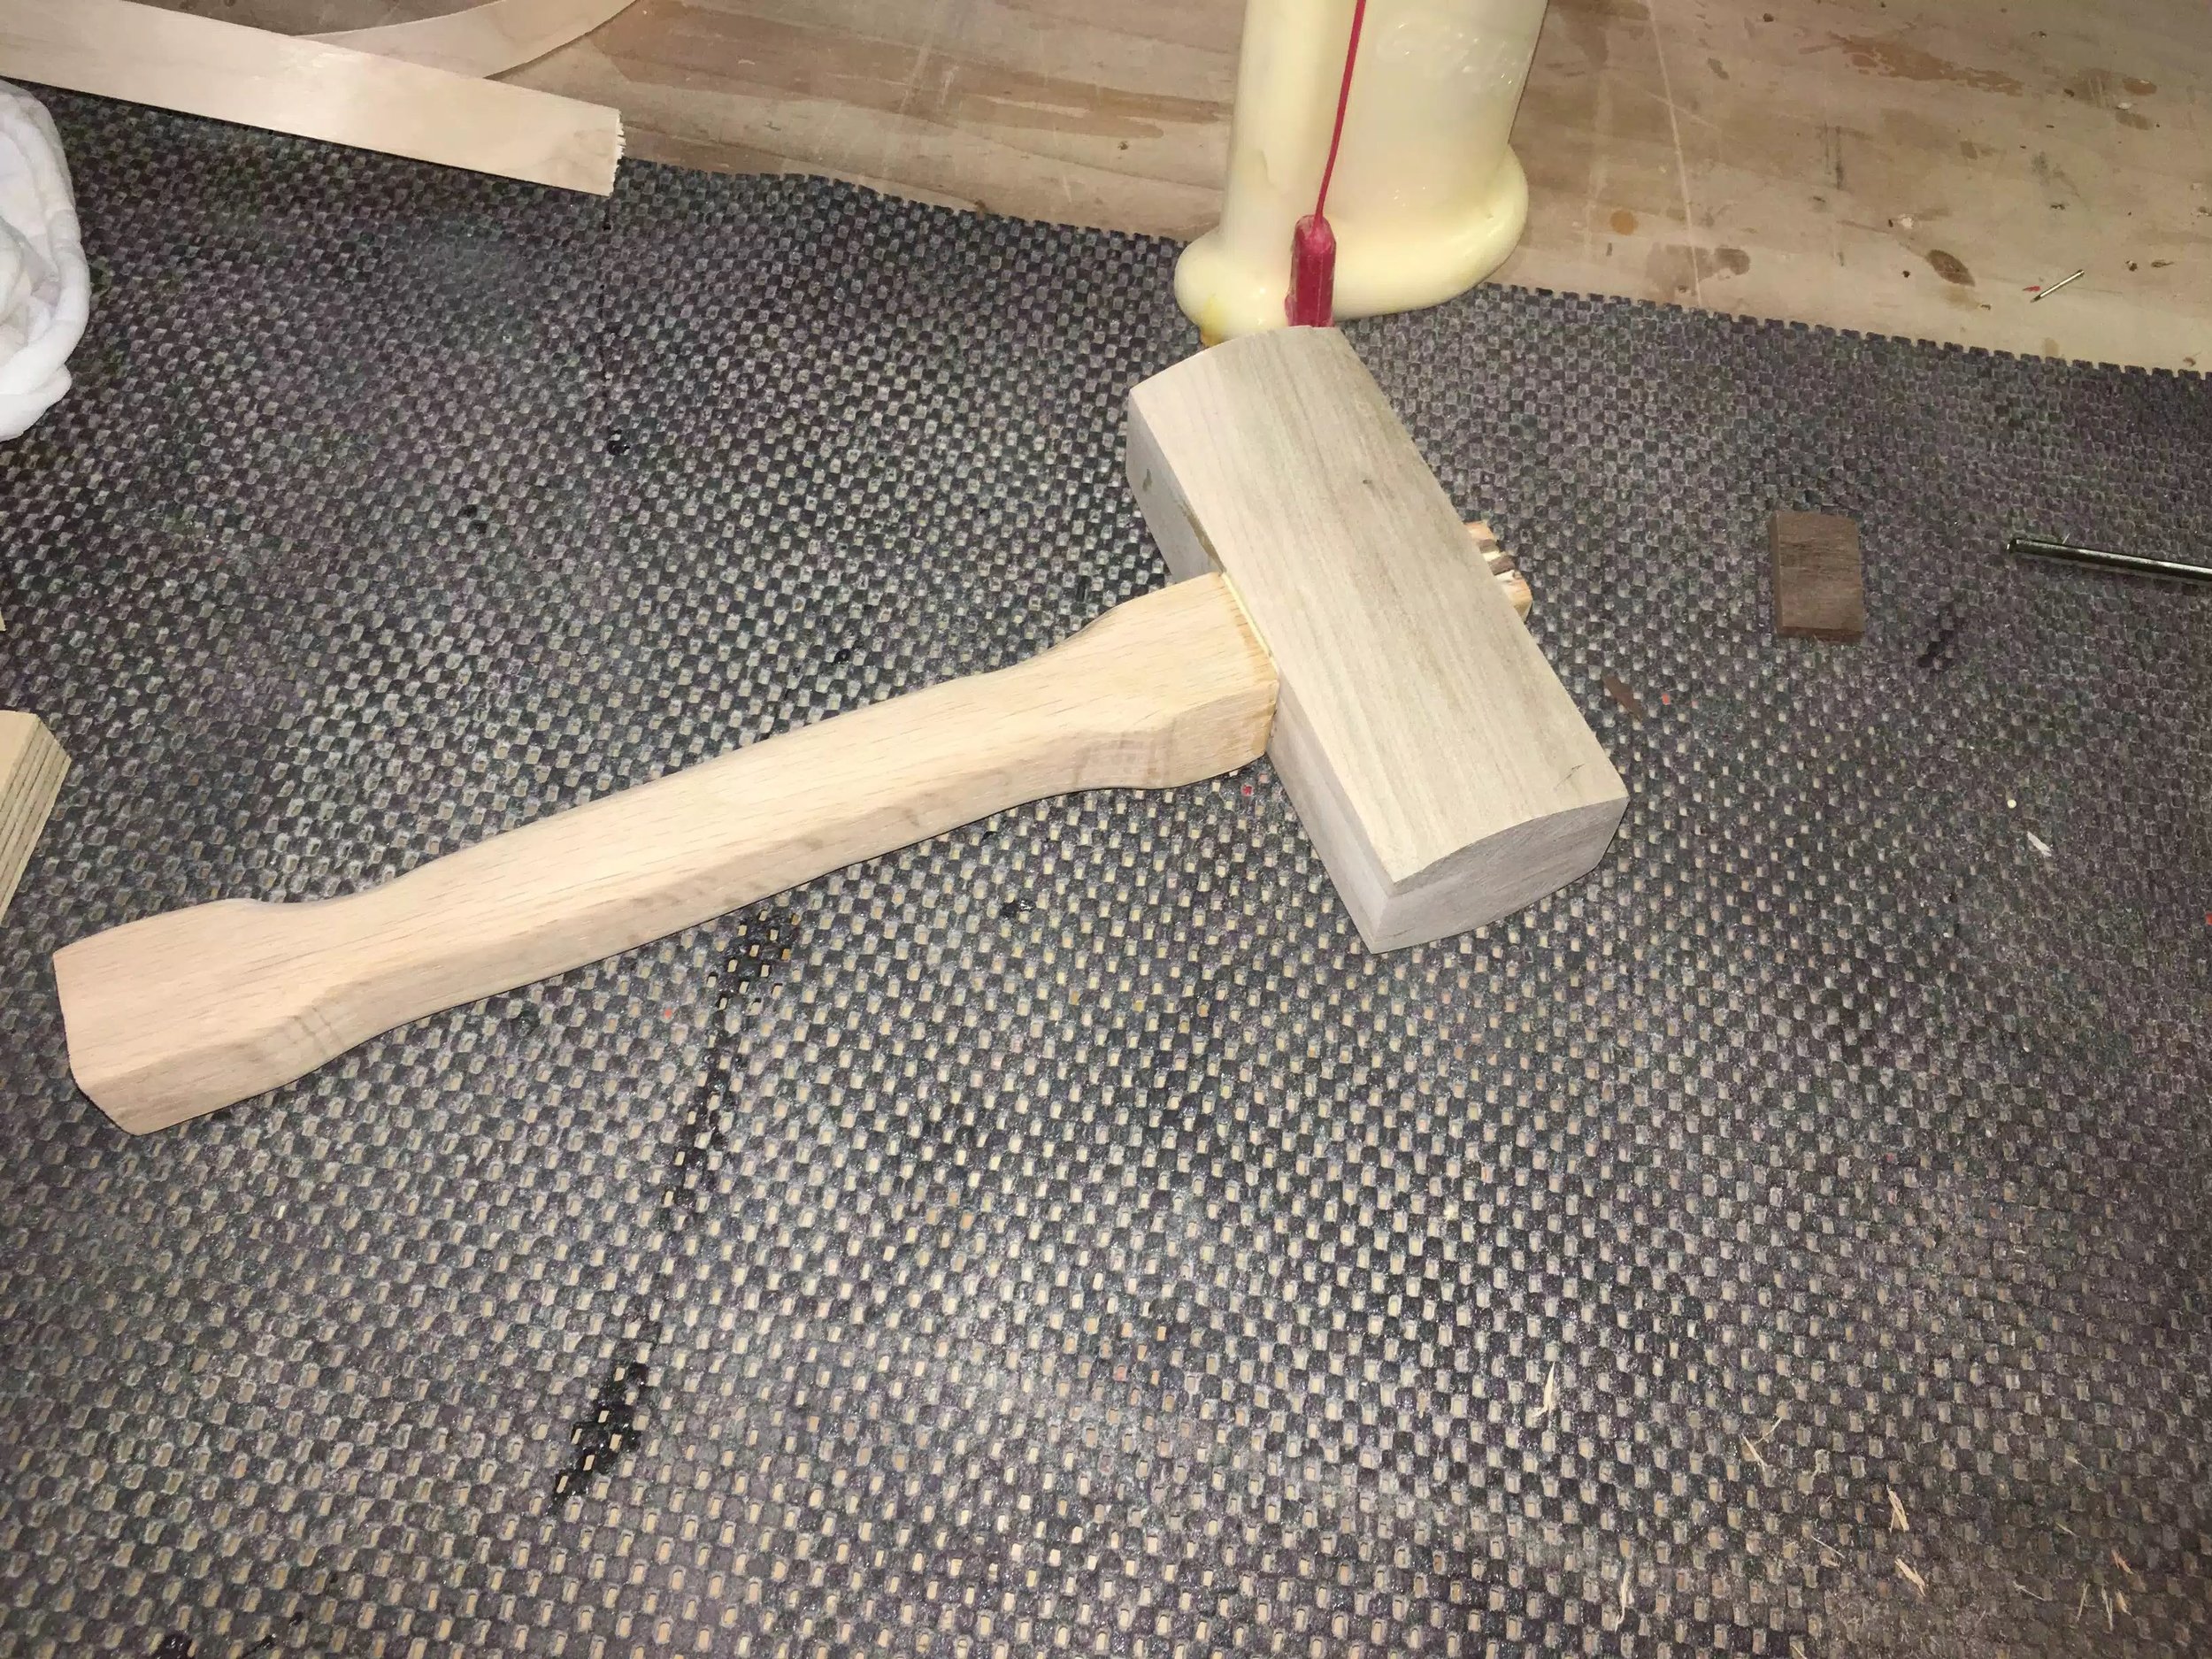
JOINERS MALLET
(12/2017)
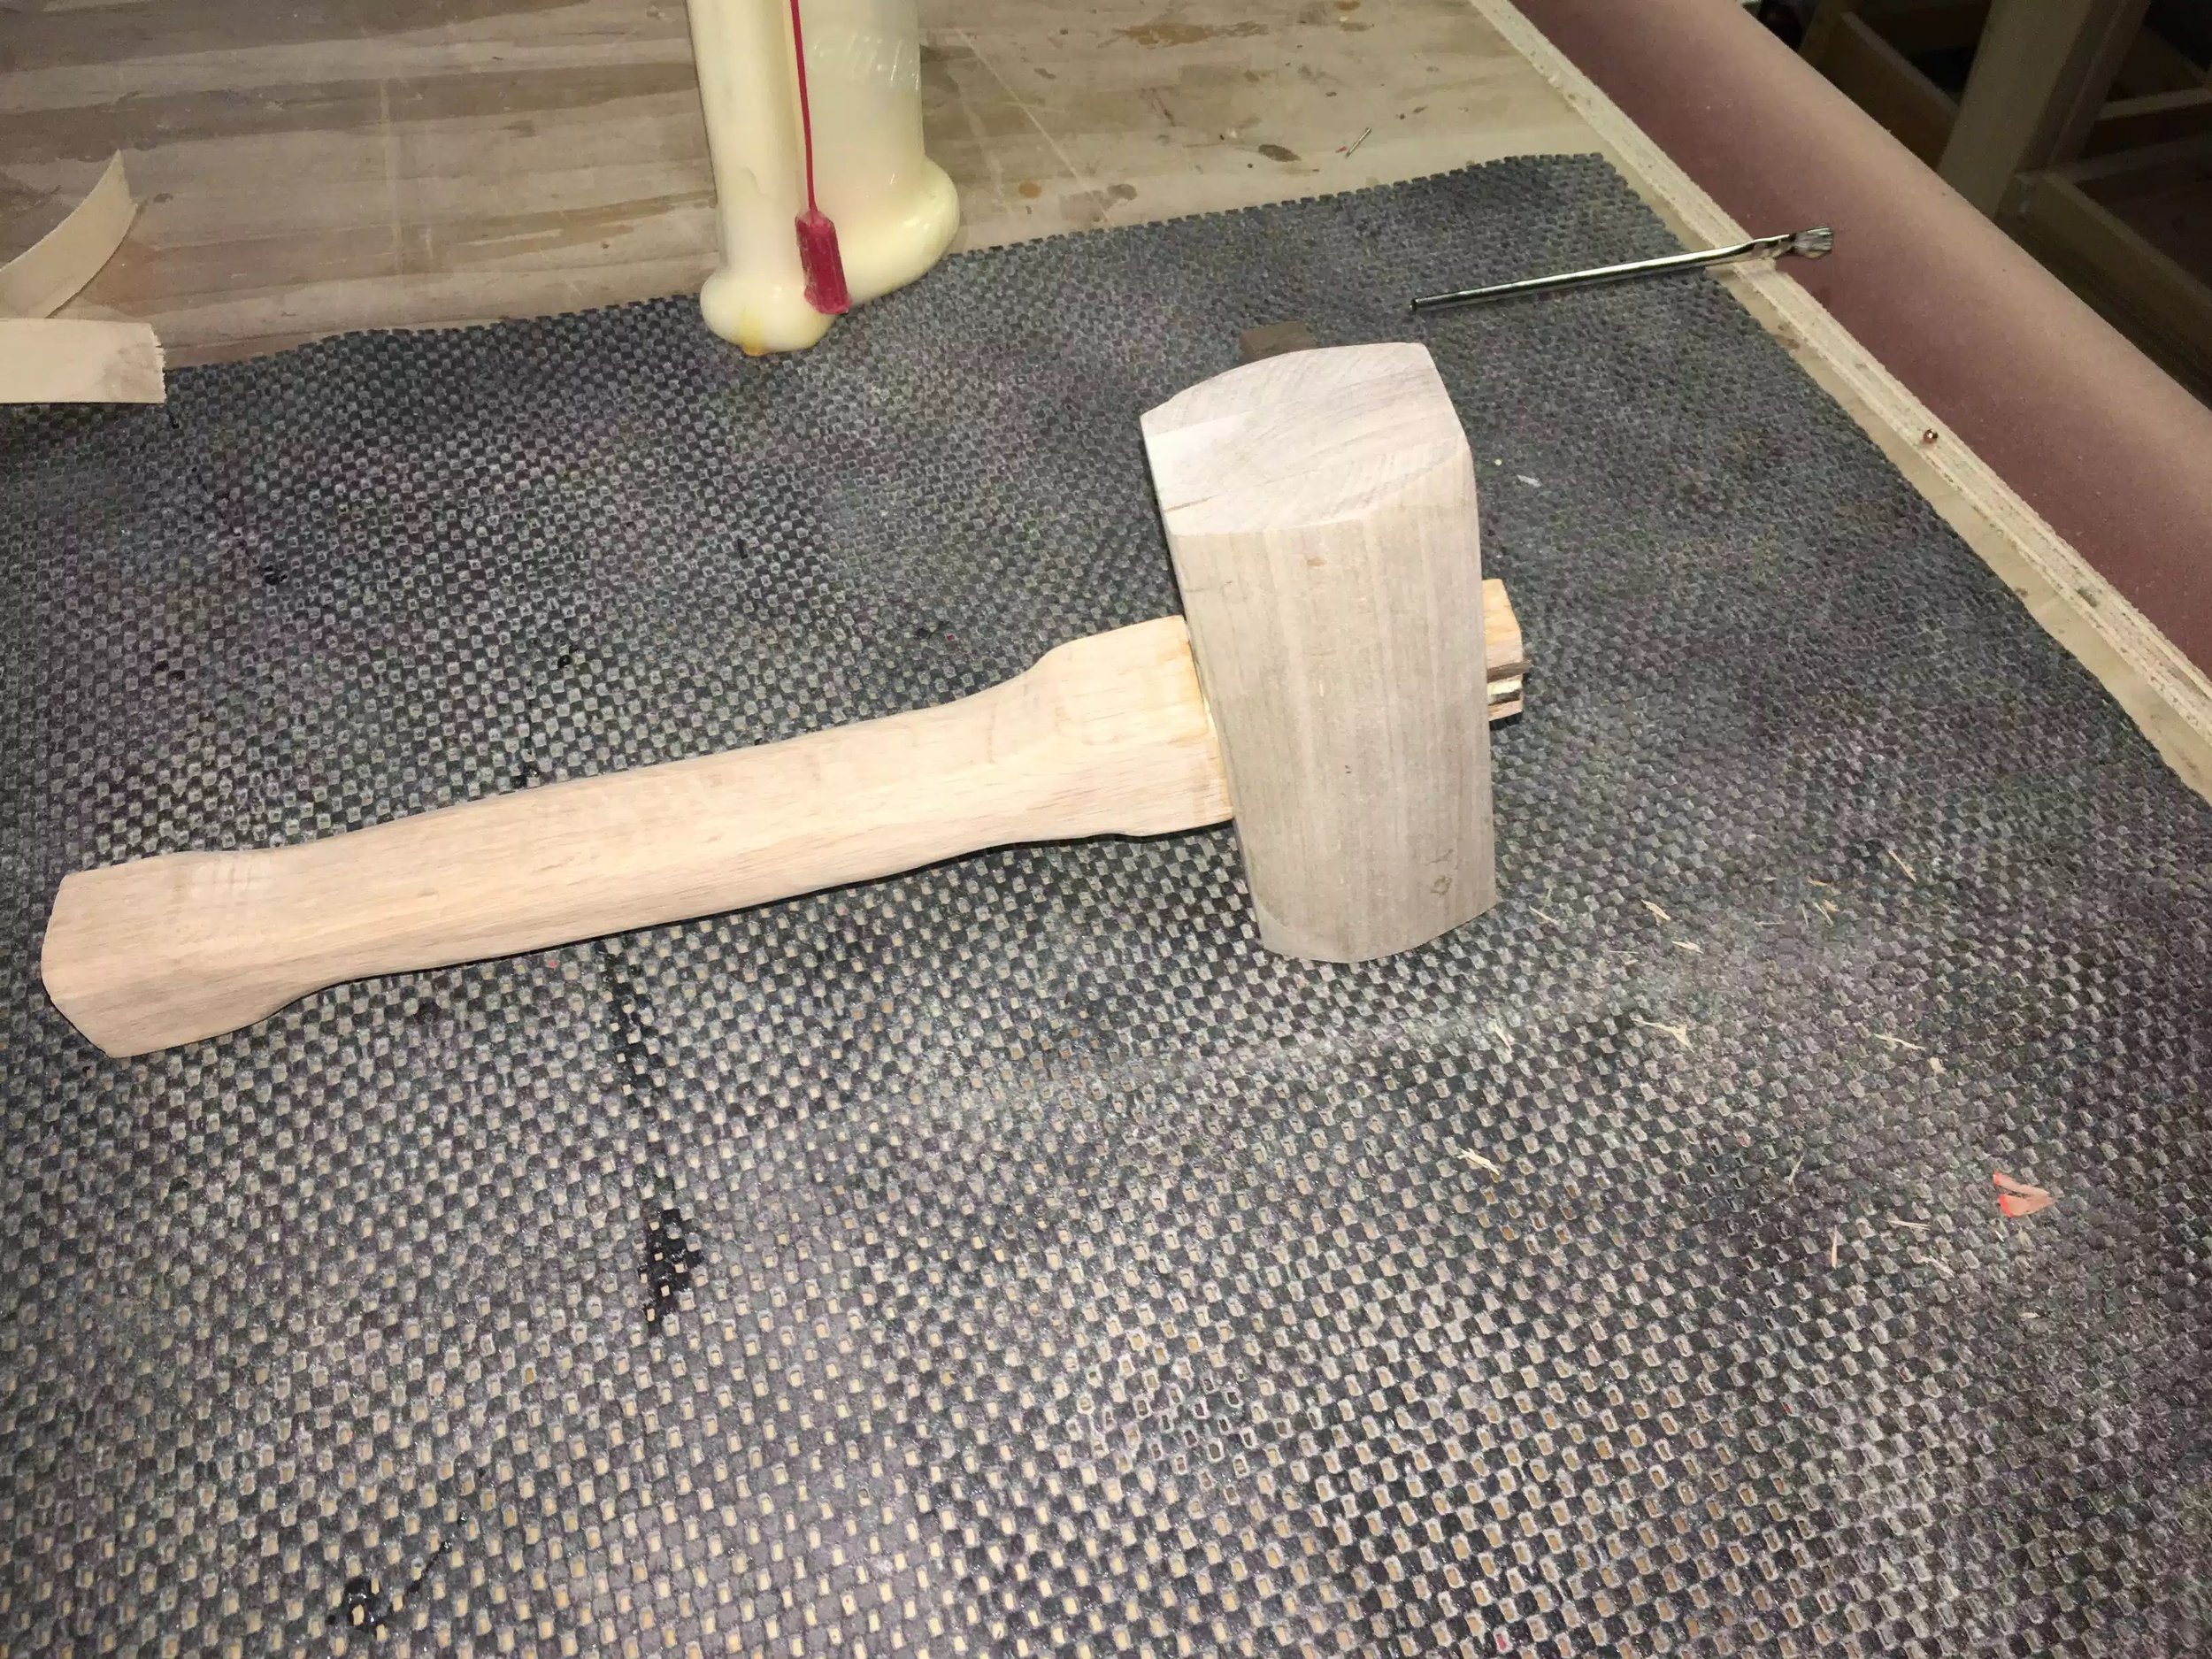
So I was about to undertake a project that is centered around a Mission Style end table and I am going to be doing a lot of hand cut mortise and tenon, I'm a little nervous as I am not too proficient at using hand tools, but we live and learn.
Anyway I went to woodcraft and couldn't find a joiners mallet with a flat face so I decided to YouTube this for inspiration and I found this on Woodworking for Mere Mortals and it had Steve Ramsey make it from scratch. So I will not go into any detail on my project because I mimiked the video.
Anyway I went to get all the supplies for the mallet at my local HD which included
- 2ft of oak
- 2ft of maple
- and a container of bb’s.
Anyway wish me luck with cutting the mortise & tenon joints.