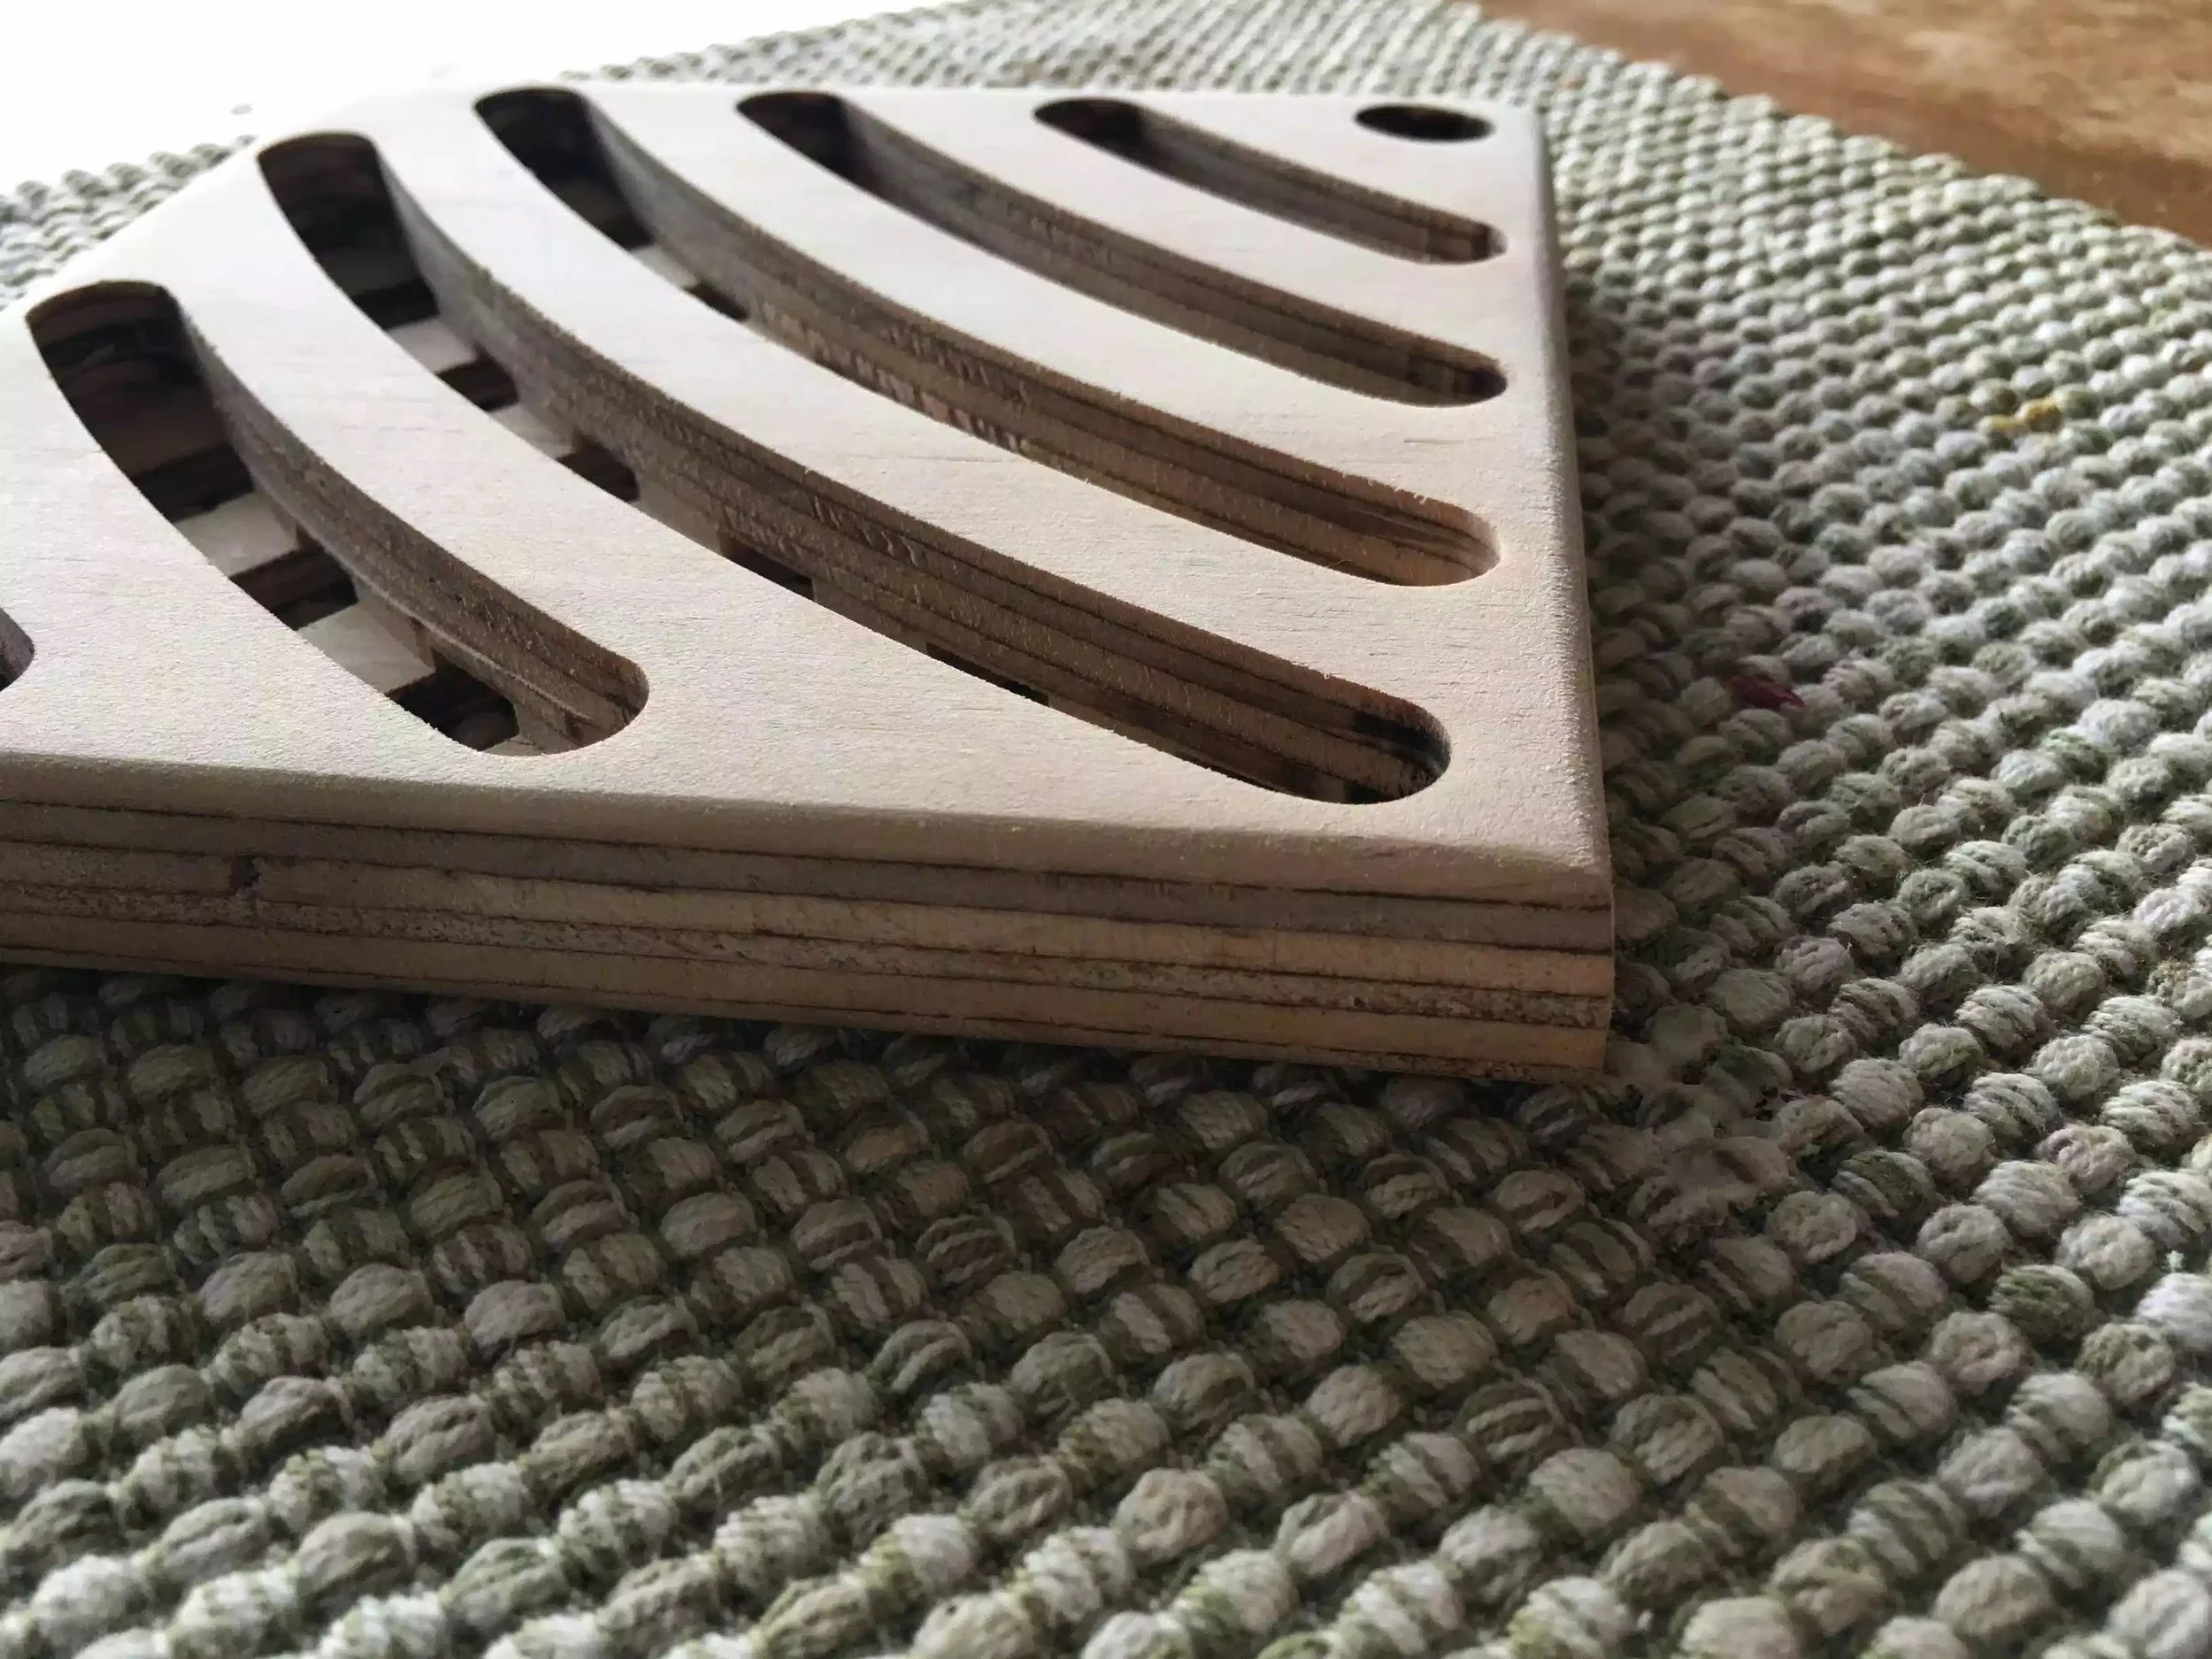
I finally finished my last set of trivet’s and there different because of a couple of reasons.
Made from solid white oak
These trivet’s will be sold as a set of 3
There is 2 sizes in the set a big one at 14-1/2” and the smaller trivet is 7” sq.
I did make a set of plans that I will be making available in my shop soon and the plans detail how to make both sizes.
Trivet Dimension Details:
14-1/2” x 7” x 3/4” (Long Trivet)
7”x 7” x 3/4” (Short Trivet)
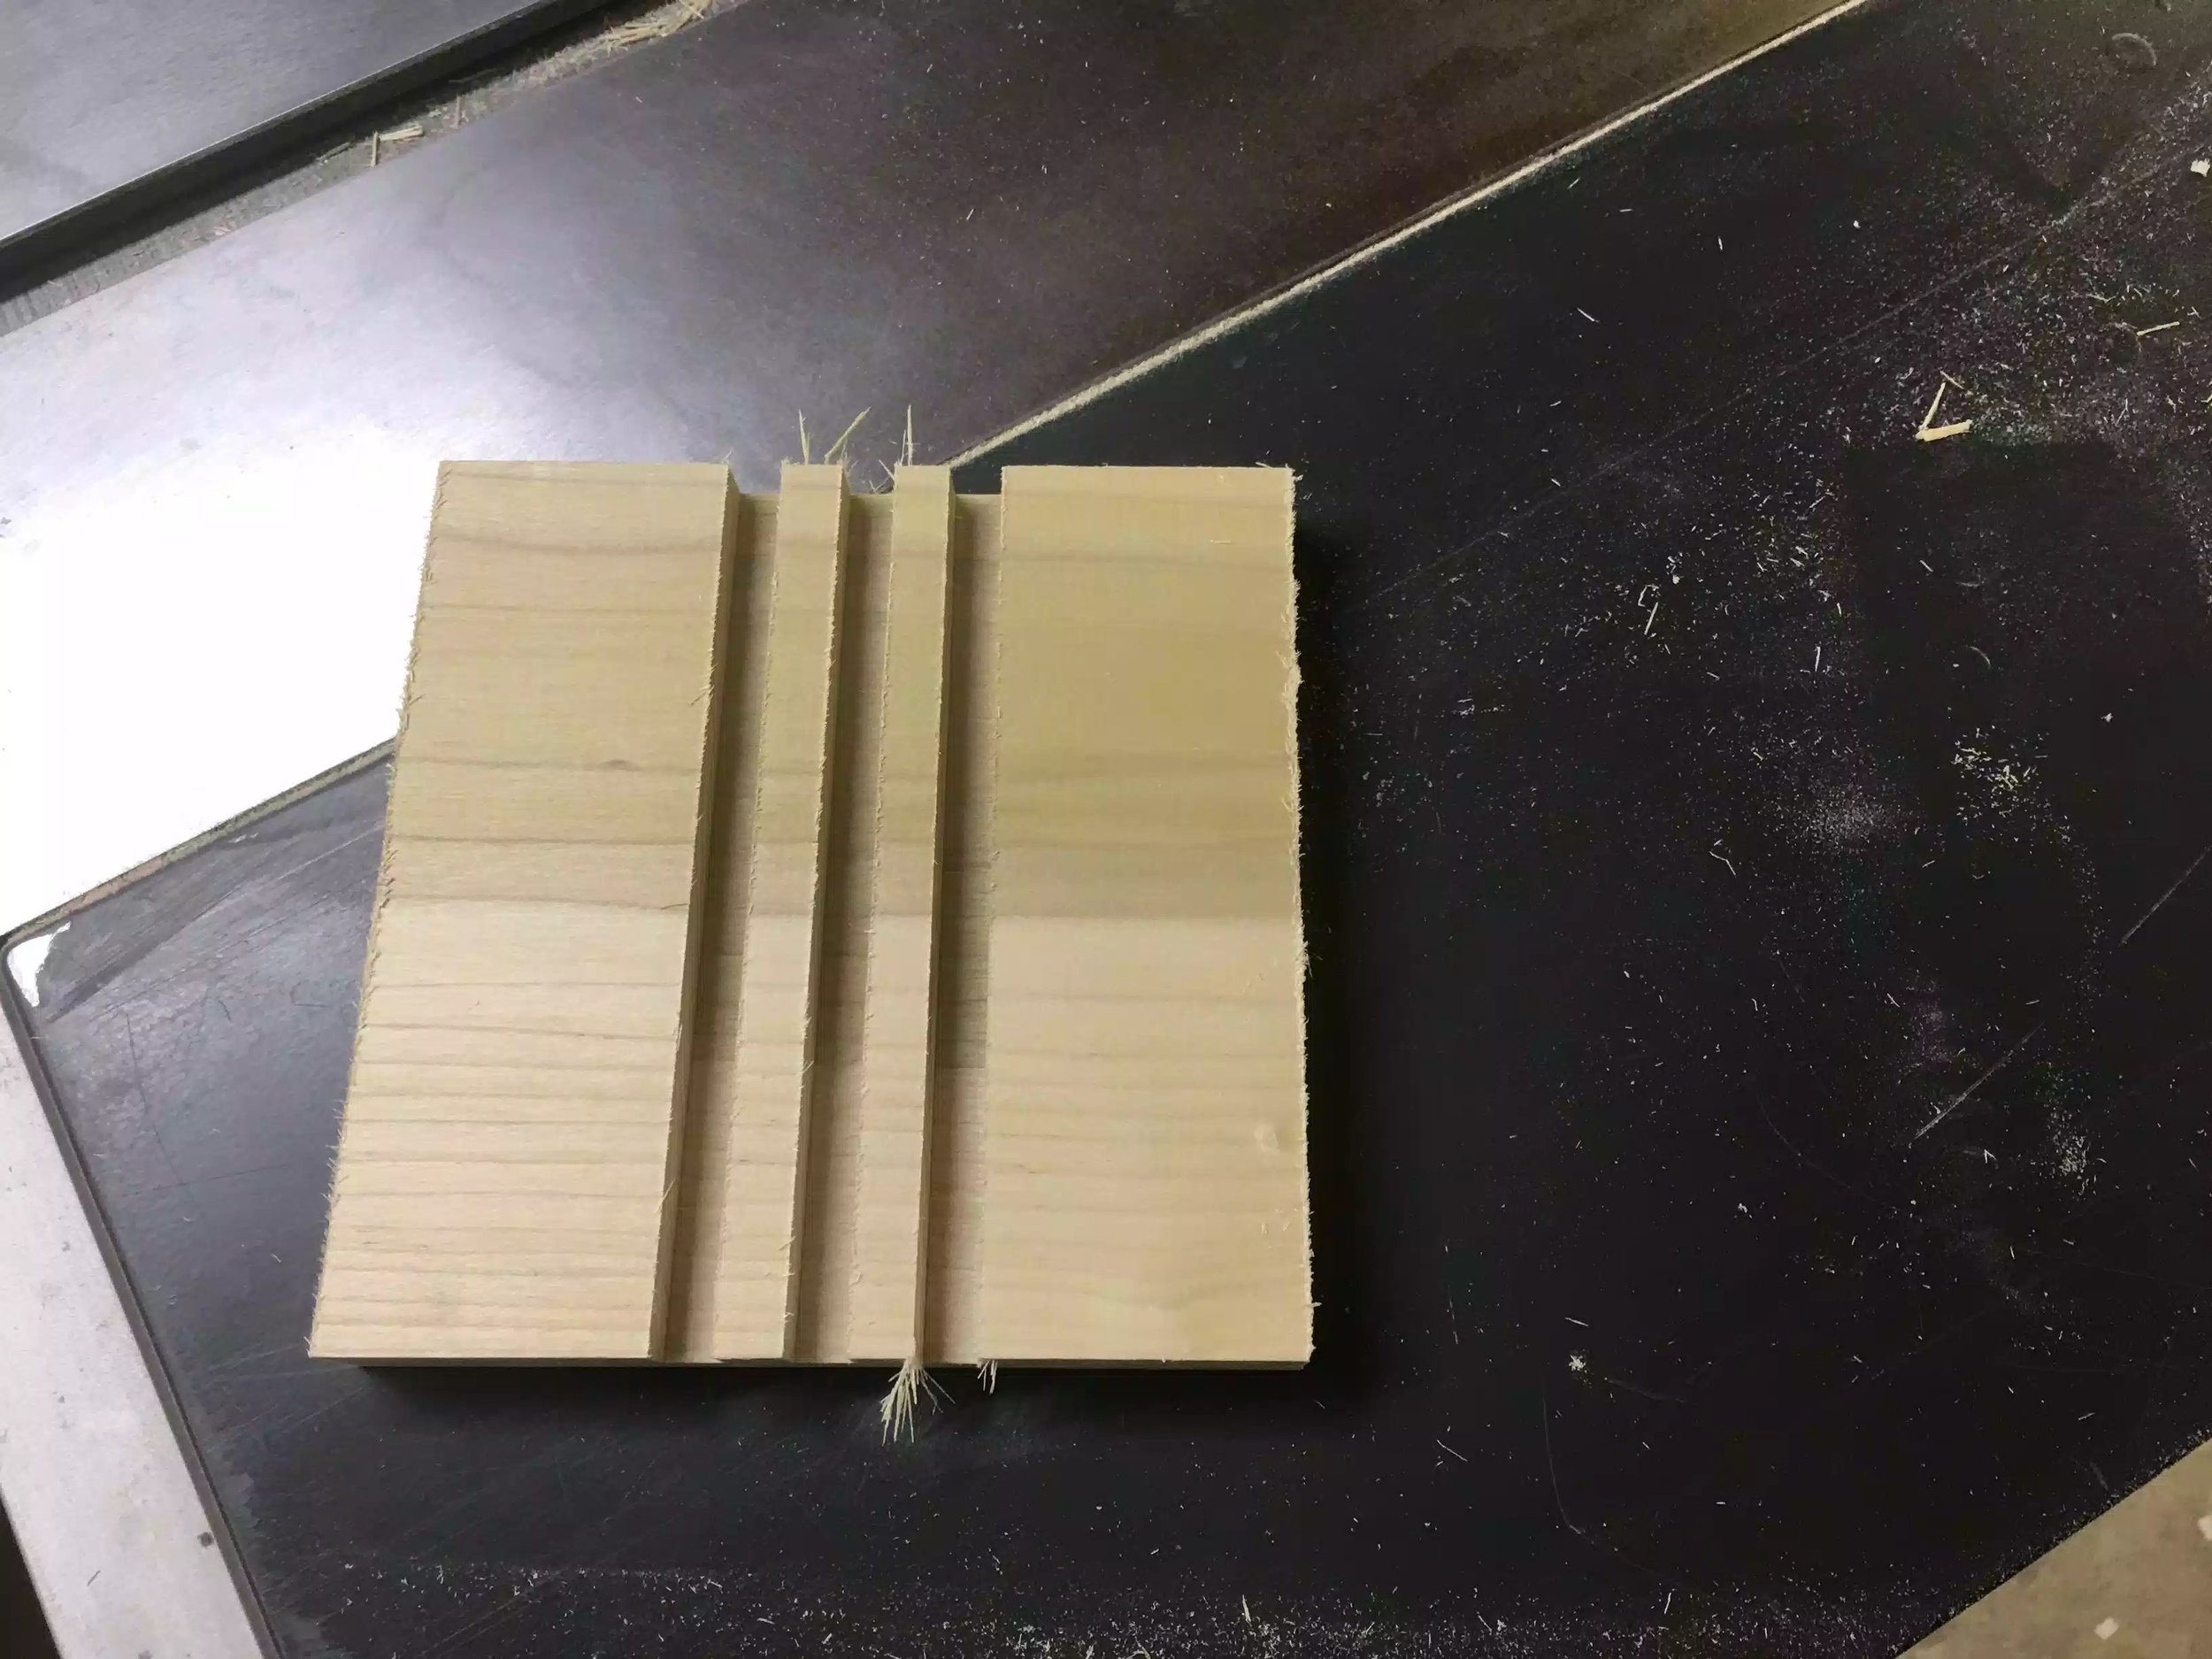
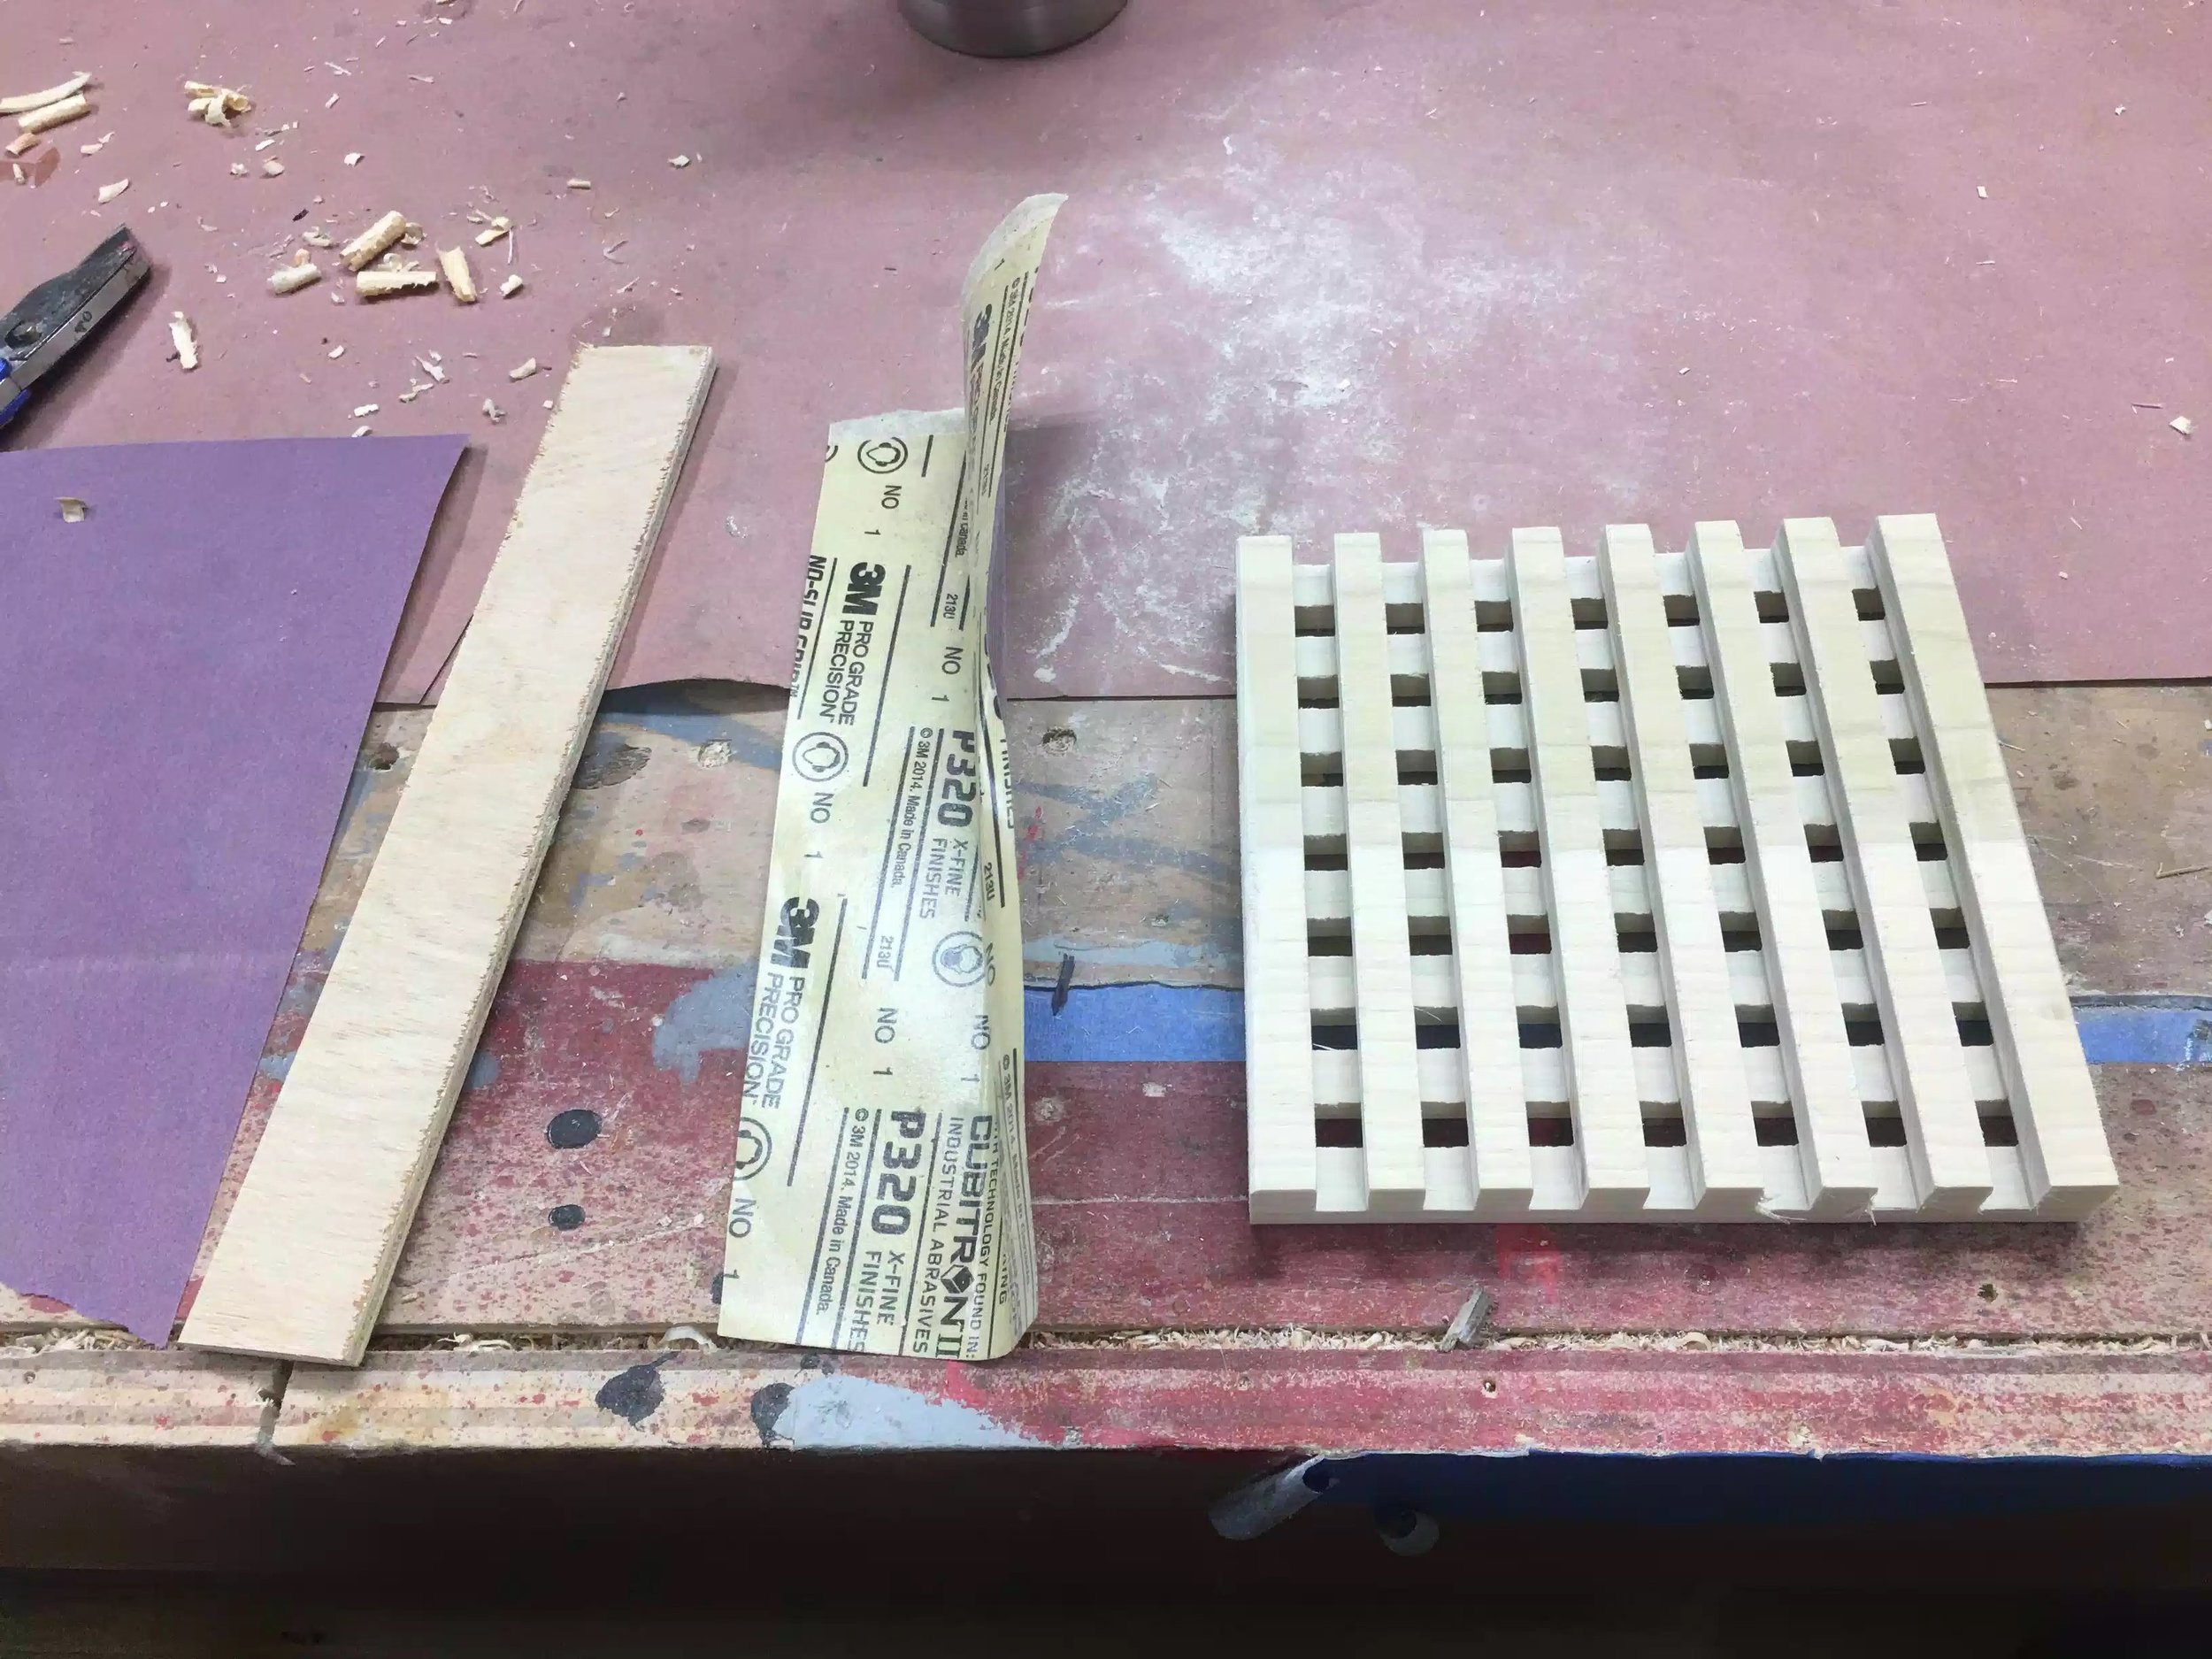
Tools Needed
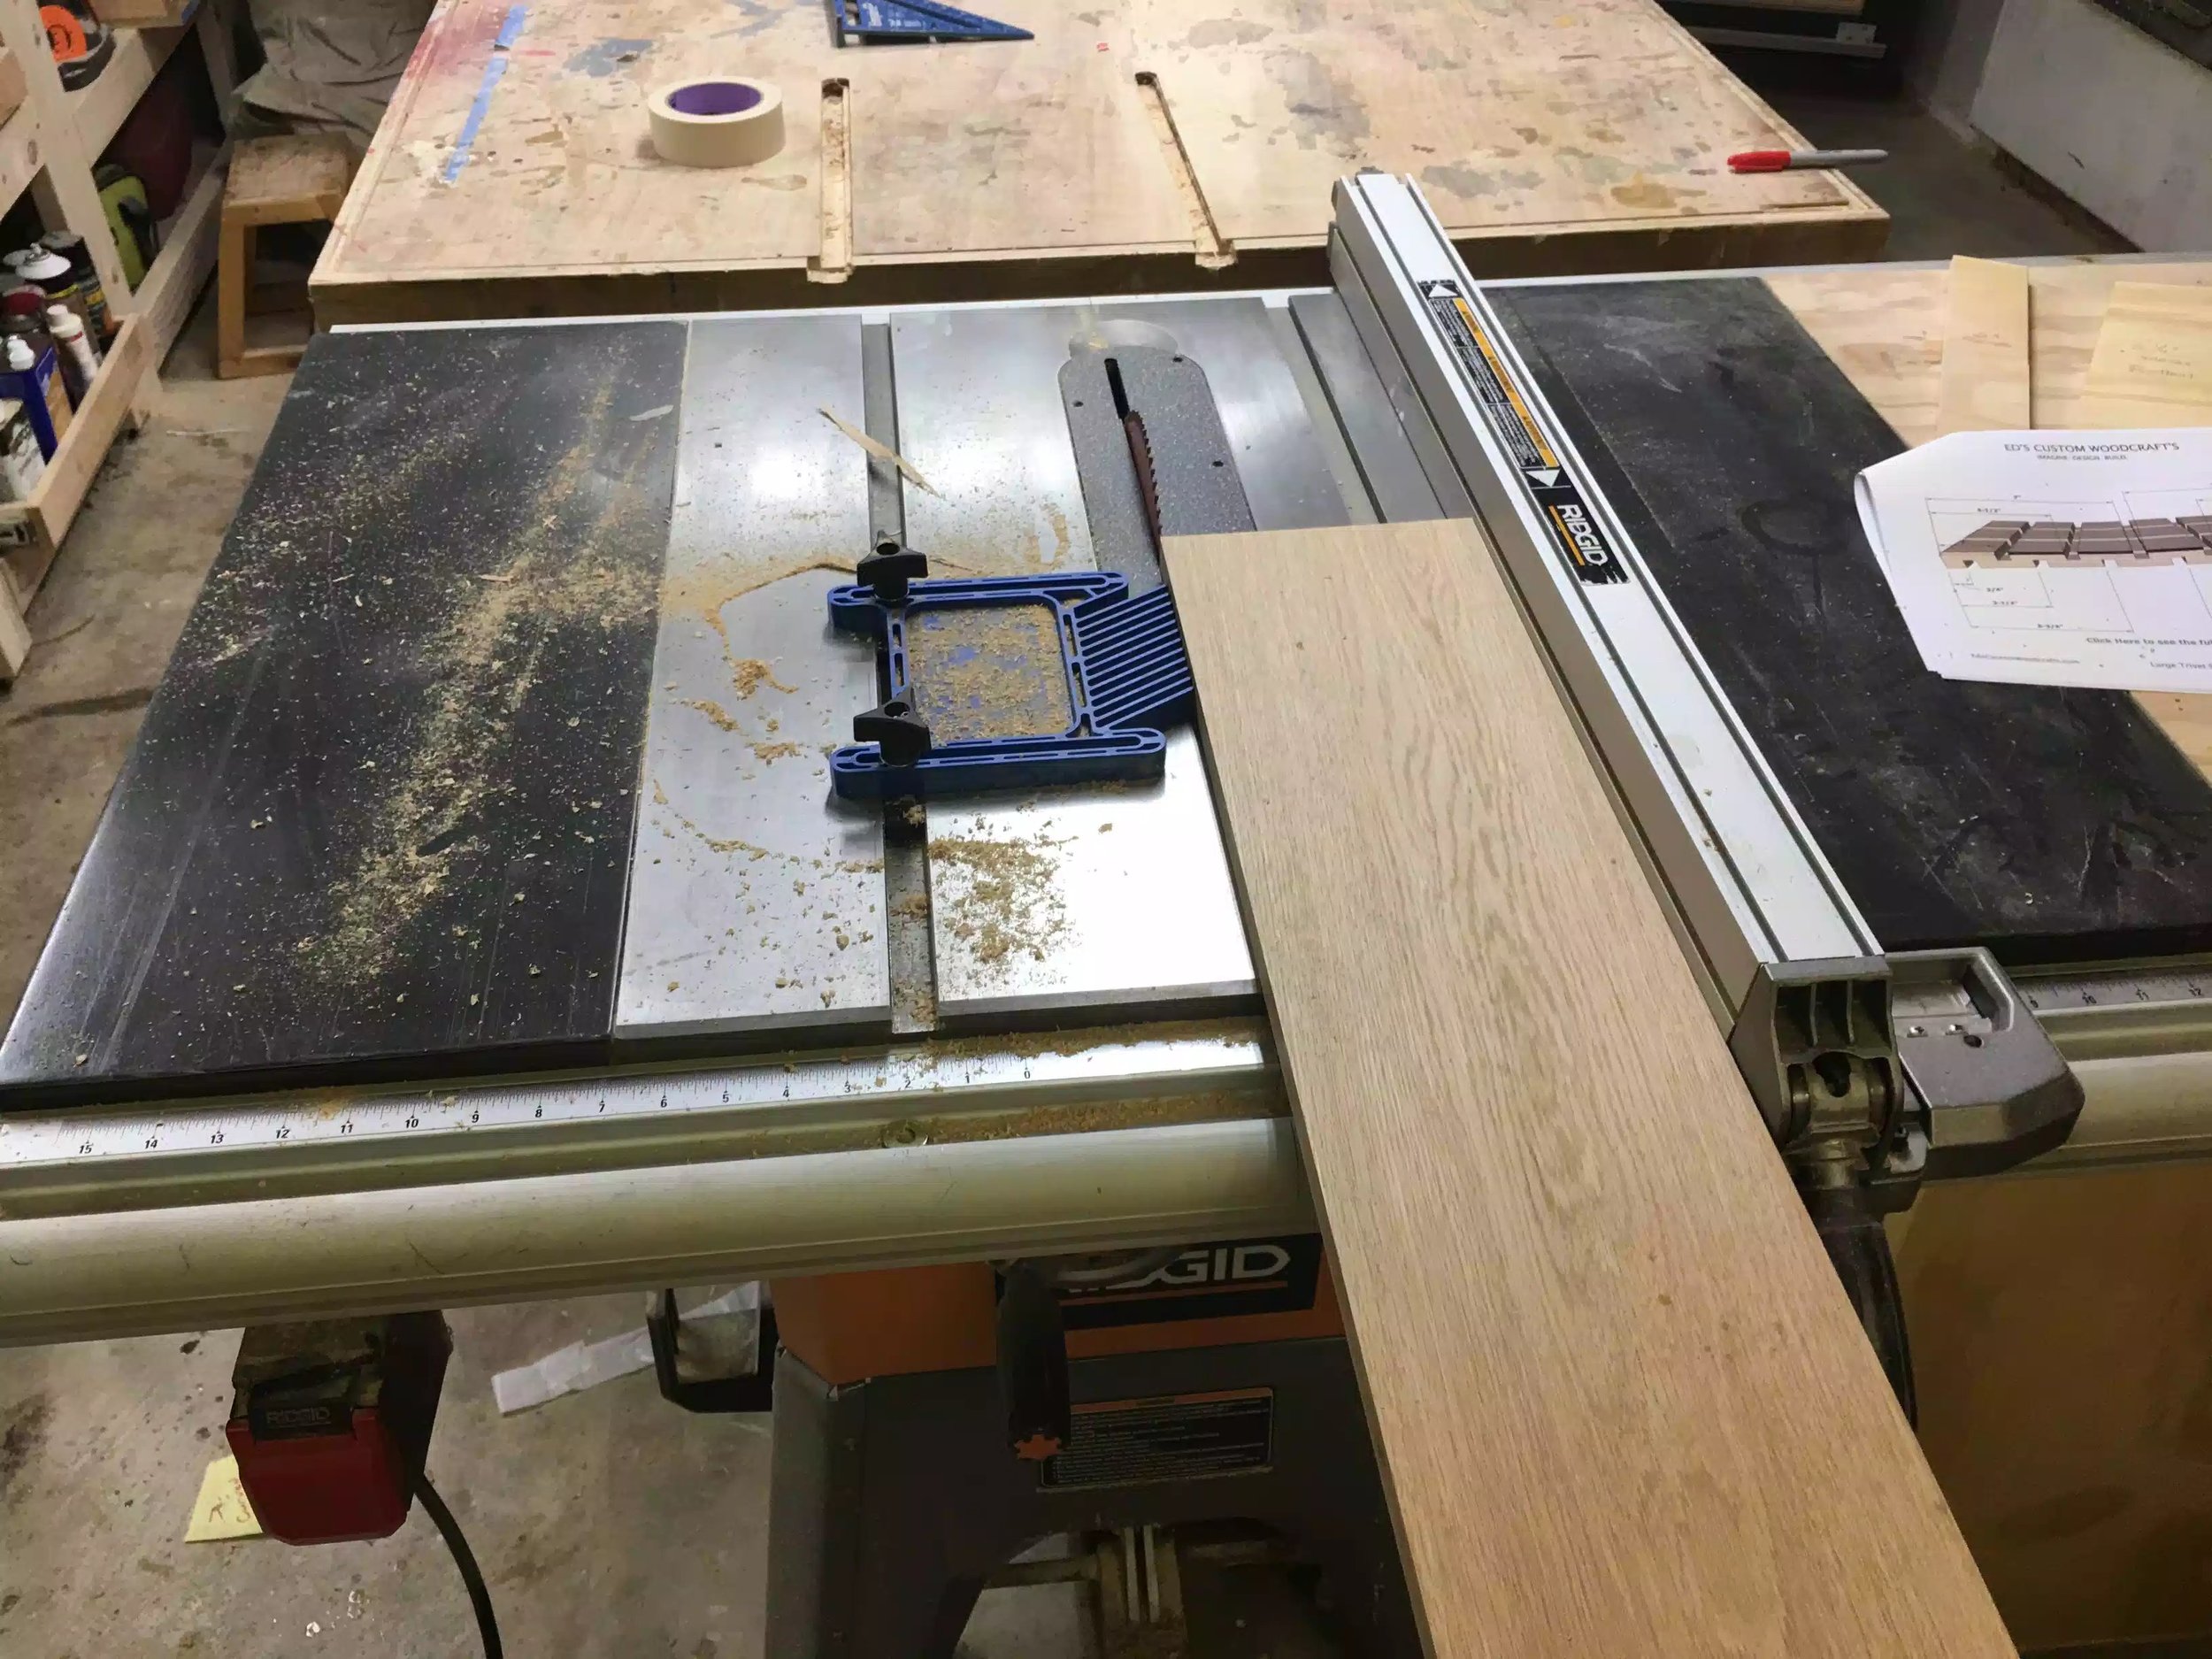
Table-saw
1/2” wide dado stack
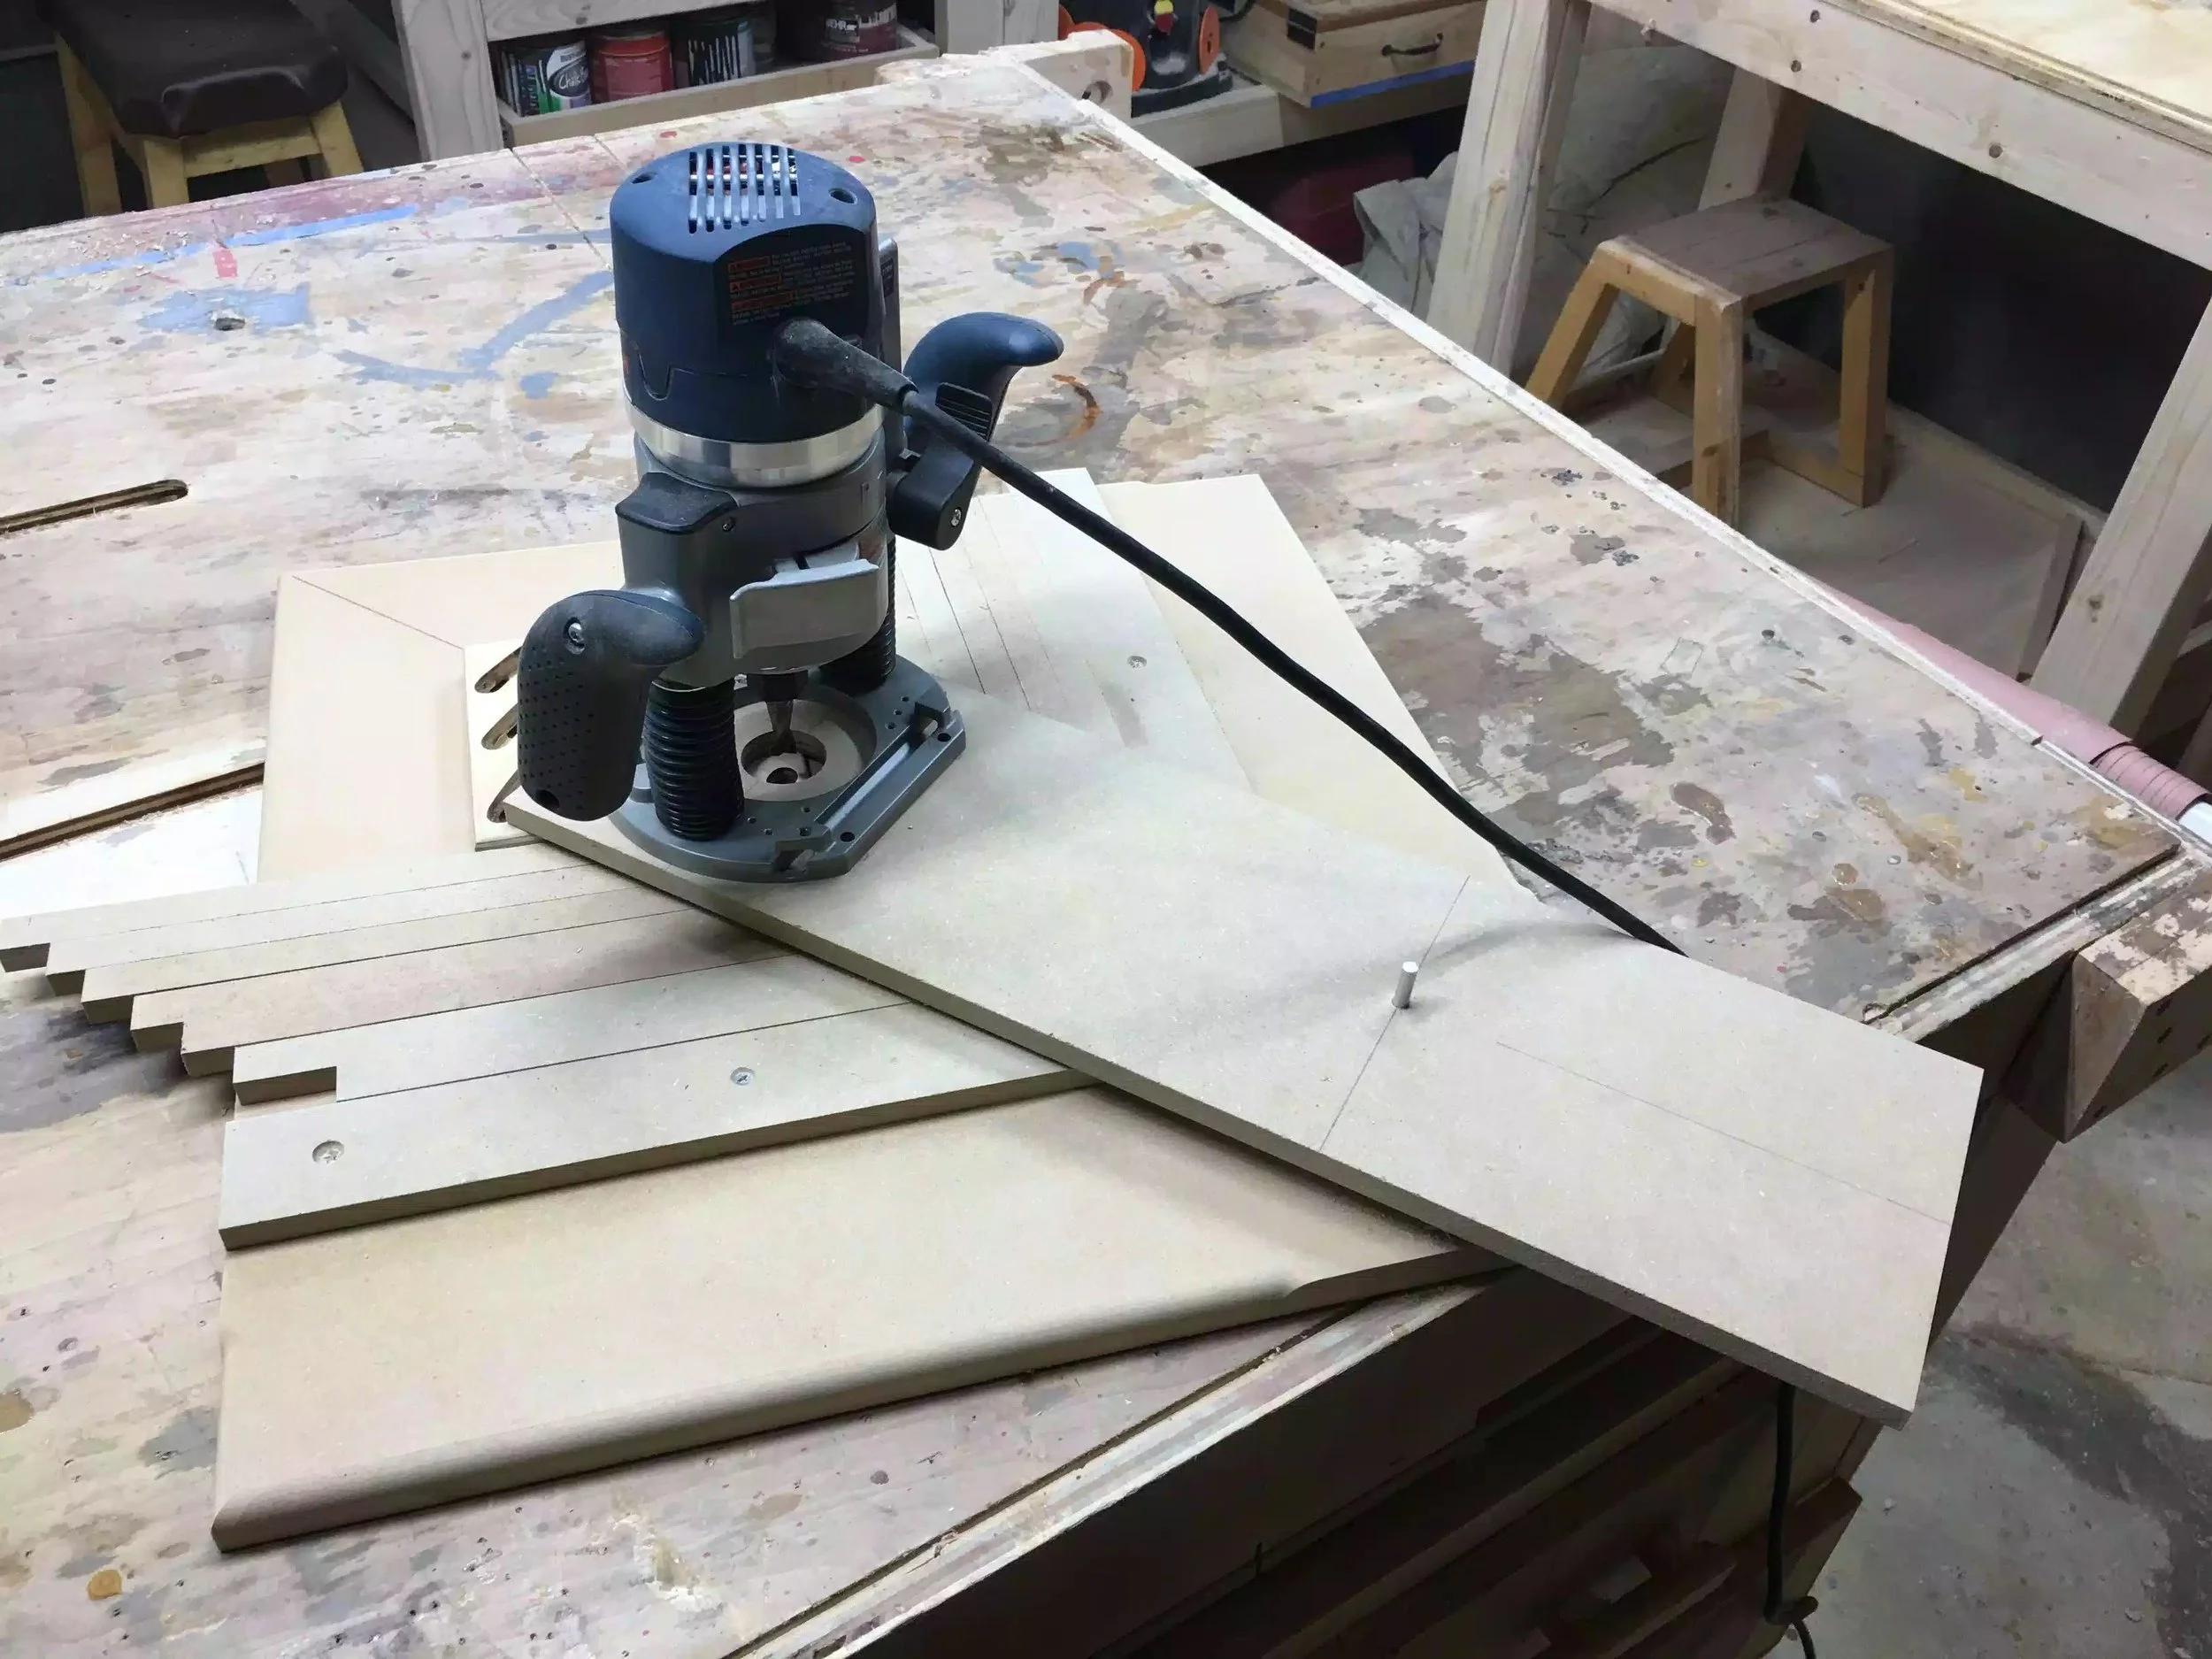
A power sander , I used a random orbital sander
Finish Used
I used a 1:1 ratio of oil based polyurethane & mineral spirits, I applied 2 coats sanding between each coat with 320 grit sand paper and then finally burnished the trivet with 0000 steel wool.
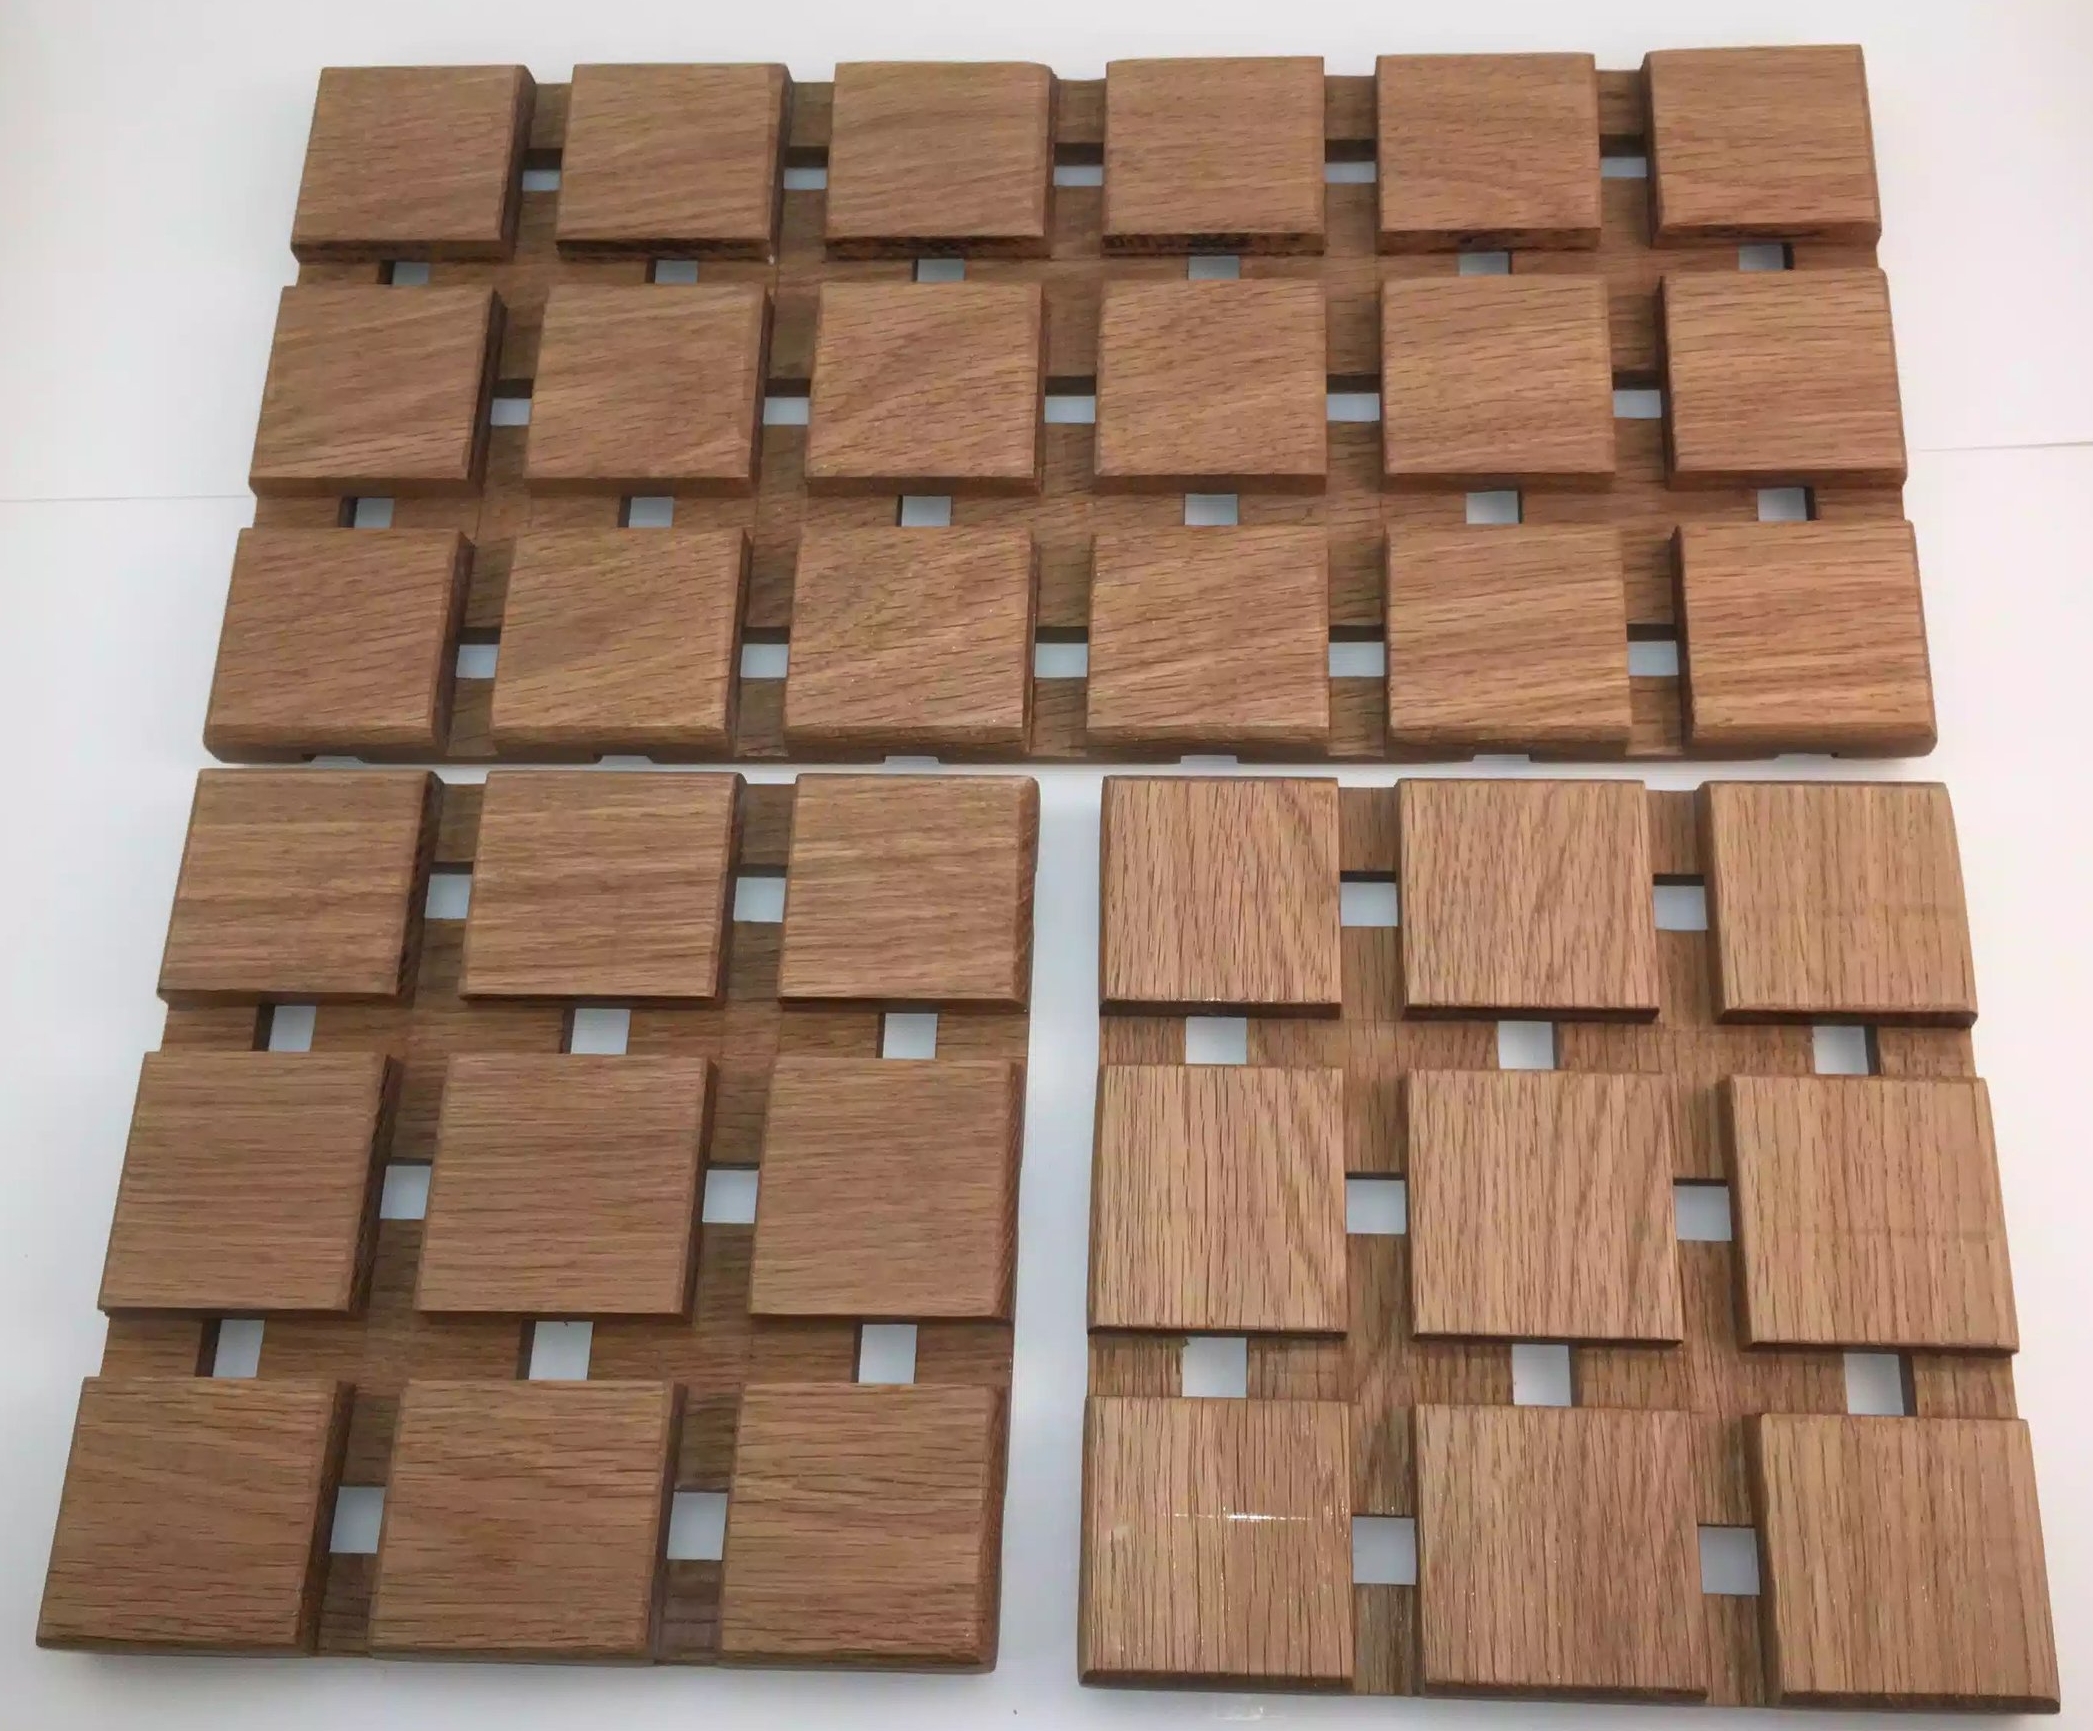
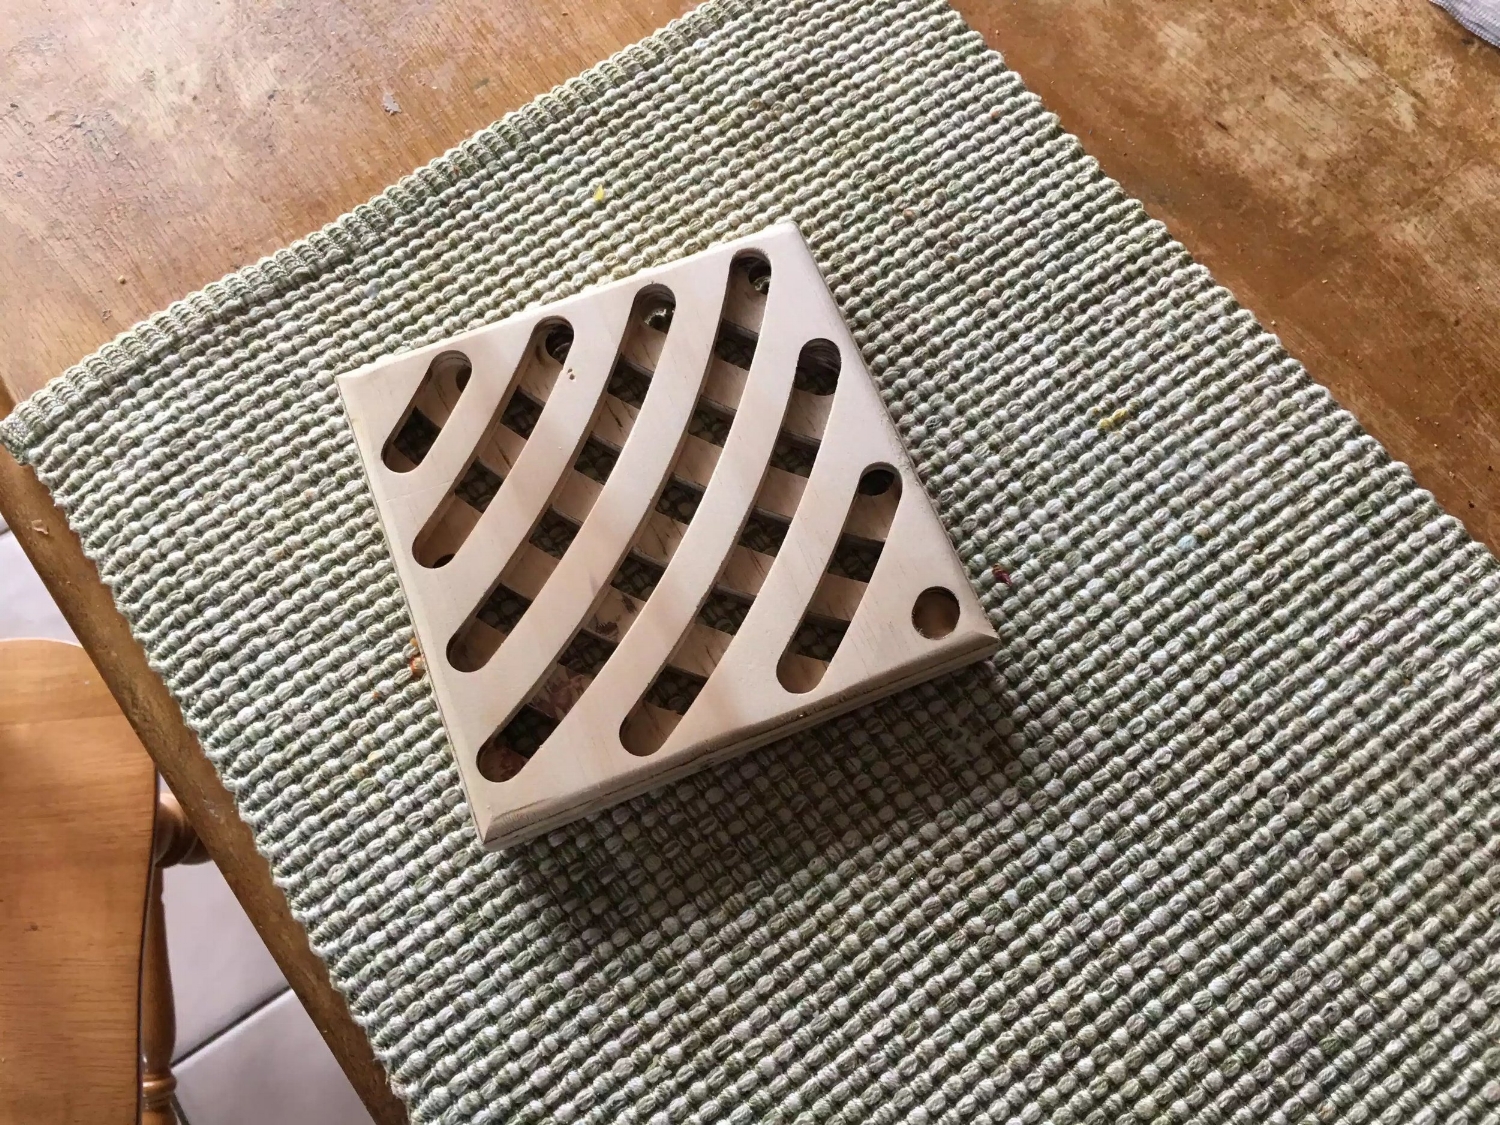
Here is the completed trivet set.

Here is a top view of the larger trivet

Here is a top view of the smaller trivets

Here is a view of the bottom of the trivet set

Here is the bottom view of the larger trivet

Here is a view of the bottom faces of the smaller trivets, I actually like this side of the trivet, but I guess I like the top face more.
I will be making the plans available soon and these trivet set’s will also be available in my Etsy store and my shop here, I hope to have all these items posted in the next few days.
Thanks for reading and see you next.