


Today was all about the recesses that I needed to create for the sharpening stones and to be honest there was a decent amount of layout work to be done and maybe 20 minutes of me actually using my router. I gone to great detail explaining the how and the why of the steps that I took.
Materials Needed
Laying out the measurements for the template
Drill Press
Template Cut-outs
Dry run
Router time.
Recesses all done
MATERIALS NEEDED
I decided to use 1/2” thick MDF (Medium Density Fiberboard) for the template because of a couple of reasons, its very flat and easy to mill. I went to my local Big Box store and purchased a 2’x2’ project panel and cut it down to the size I needed.
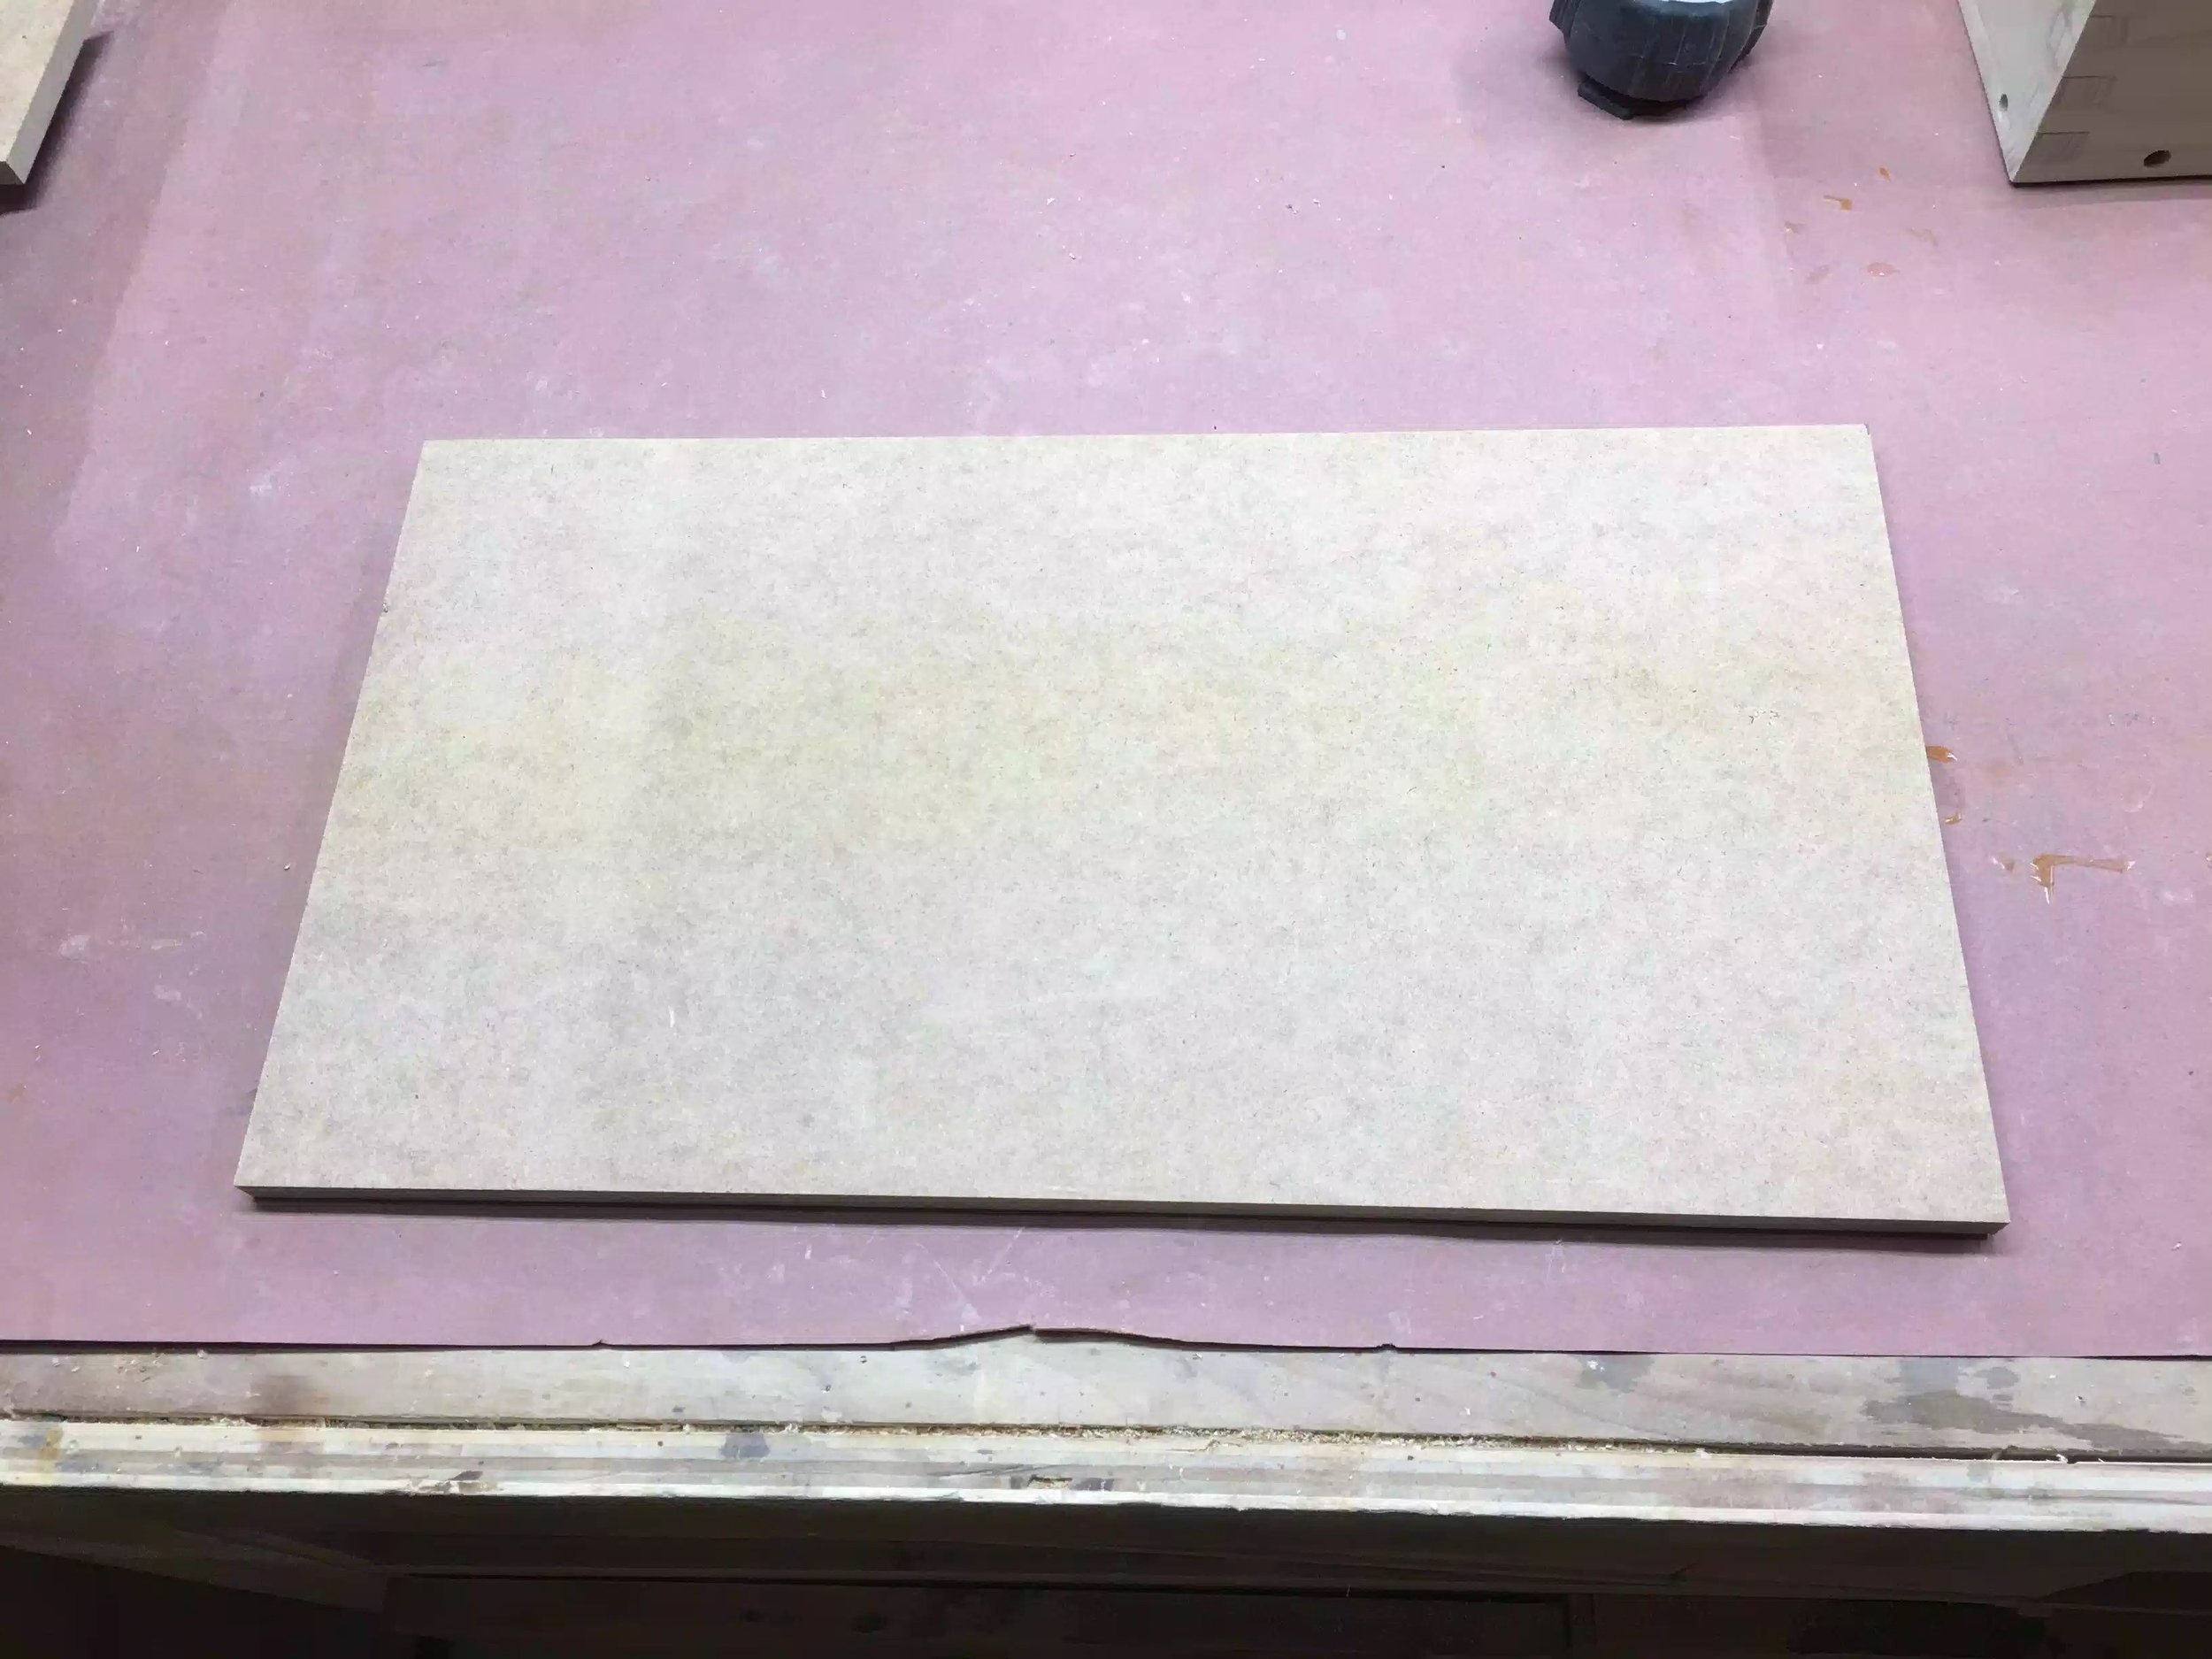
Here is the project panel cut to size, before I made all my layout lines
MEASUREMENT LAYOUT
The longest part of this whole part of the project was this section, laying out all the lines and determining how much offset I needed in making the template, because if you remeber I am going to be using a router template bushing to guide the router inside the template giving me my final shape.
Here are some of my measurements that I am using for the template, but if you are going to make your own your measurements are probably and most likely going to be different than mine because I am using Diamond sharpening stones that are 8” x 3”. One more thing that I want to make you aware of I decided to make the template the actual size of the entire surface area of the sharpening station as it gave me more room to apply double sided tape to fix it to my tray that I will be applying the recesses into.
I maintained a 3/4” wide space around the perimeter of the MDF template as this represented the box beneath
Next to that line I came in an additional 1/2” and maintained that spacing between each of the stones and maintained this spacing all the way across the template so as that the spacing between the sides of the sharpening stones were consistent.
On the front edge of the template I measured 3/8” in from the first line I drew which was 3/4”.
One other reminder because I am a guide template bushing I needed to add 1/4” to the template to account for the offset.
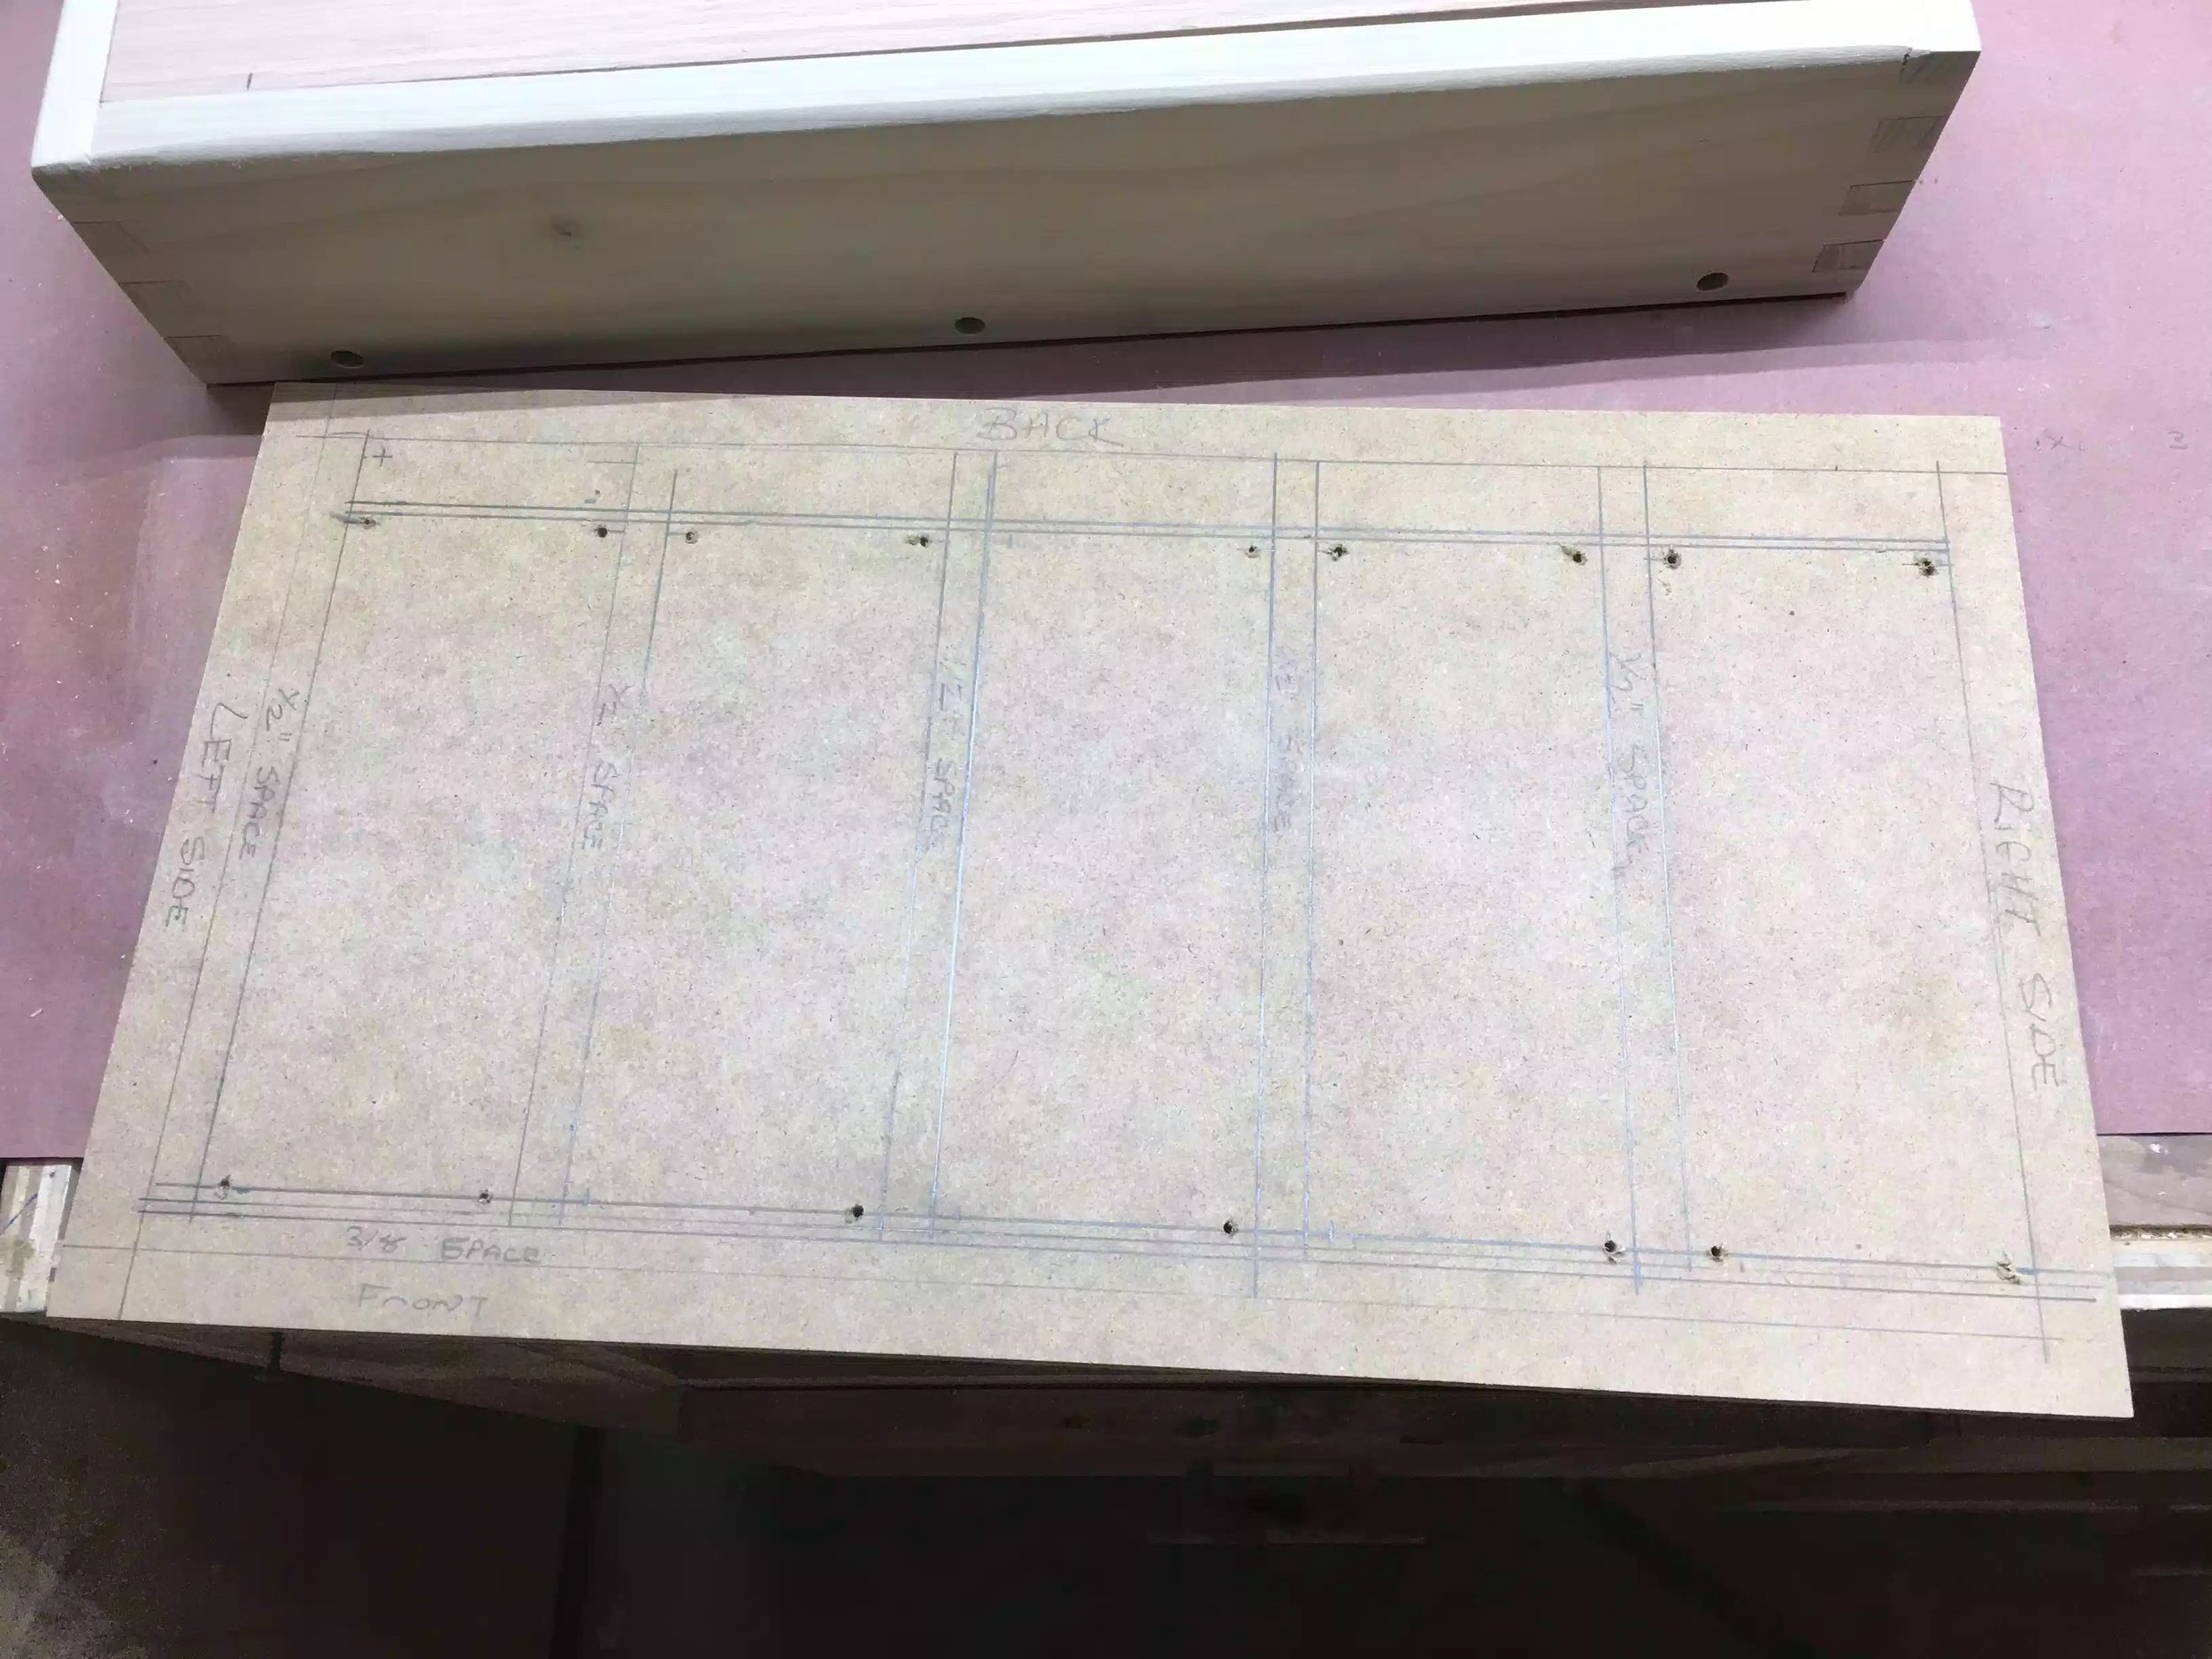
Below you can see the measurements on the actual template.

Here is a picture describing all the measurement descriptions I gave above.
DRILL PRESS
I needed to drill relief holes in the template because I will be using a jigsaw and because all the cutout are on the inside of the template I needed an entry and exit points for the jigsaw bit. So I used a 1/4” brad point drill bit so as that I could register the bigger bit because I really needed to stay inside my layout lines. I then came back with a 1/2” brad point to finish cutting all the holes, I put 1 hole on each corner of where the recesses will be cut out.
Here is an image after I used the 1/4” brad point drill bit.

Here is the template after I added the 1/2” holes.

Here is the drill press in action drilling out the 1/2” holes, this diameter bit has just enough room for me to fit my jigsaw blade through.
TEMPLATE CUT-OUTS
I needed to remove 5 sections of the template and to be honest there was not much to see except me using a jigsaw and dust flying everywhere, always remember to use eye protection and I always use a respiration mask to stop me inhaling he MDF dust as there is a connection with that dust and cancer.

Here is the template almost complete I needed to do a little sanding to even out the jigsaw blade marks, I also needed to square off the corners.
TEMPLATE DRY RUN
Before I used the template on the solid oak top I decided to use it on a scrap piece of plywood so as that if I needed to fine tune the template I could do it before I started actually routing the recesses.

Here is the template on the scrap piece of plywood after using it, I needed to fine tune the template before using it on the oak.
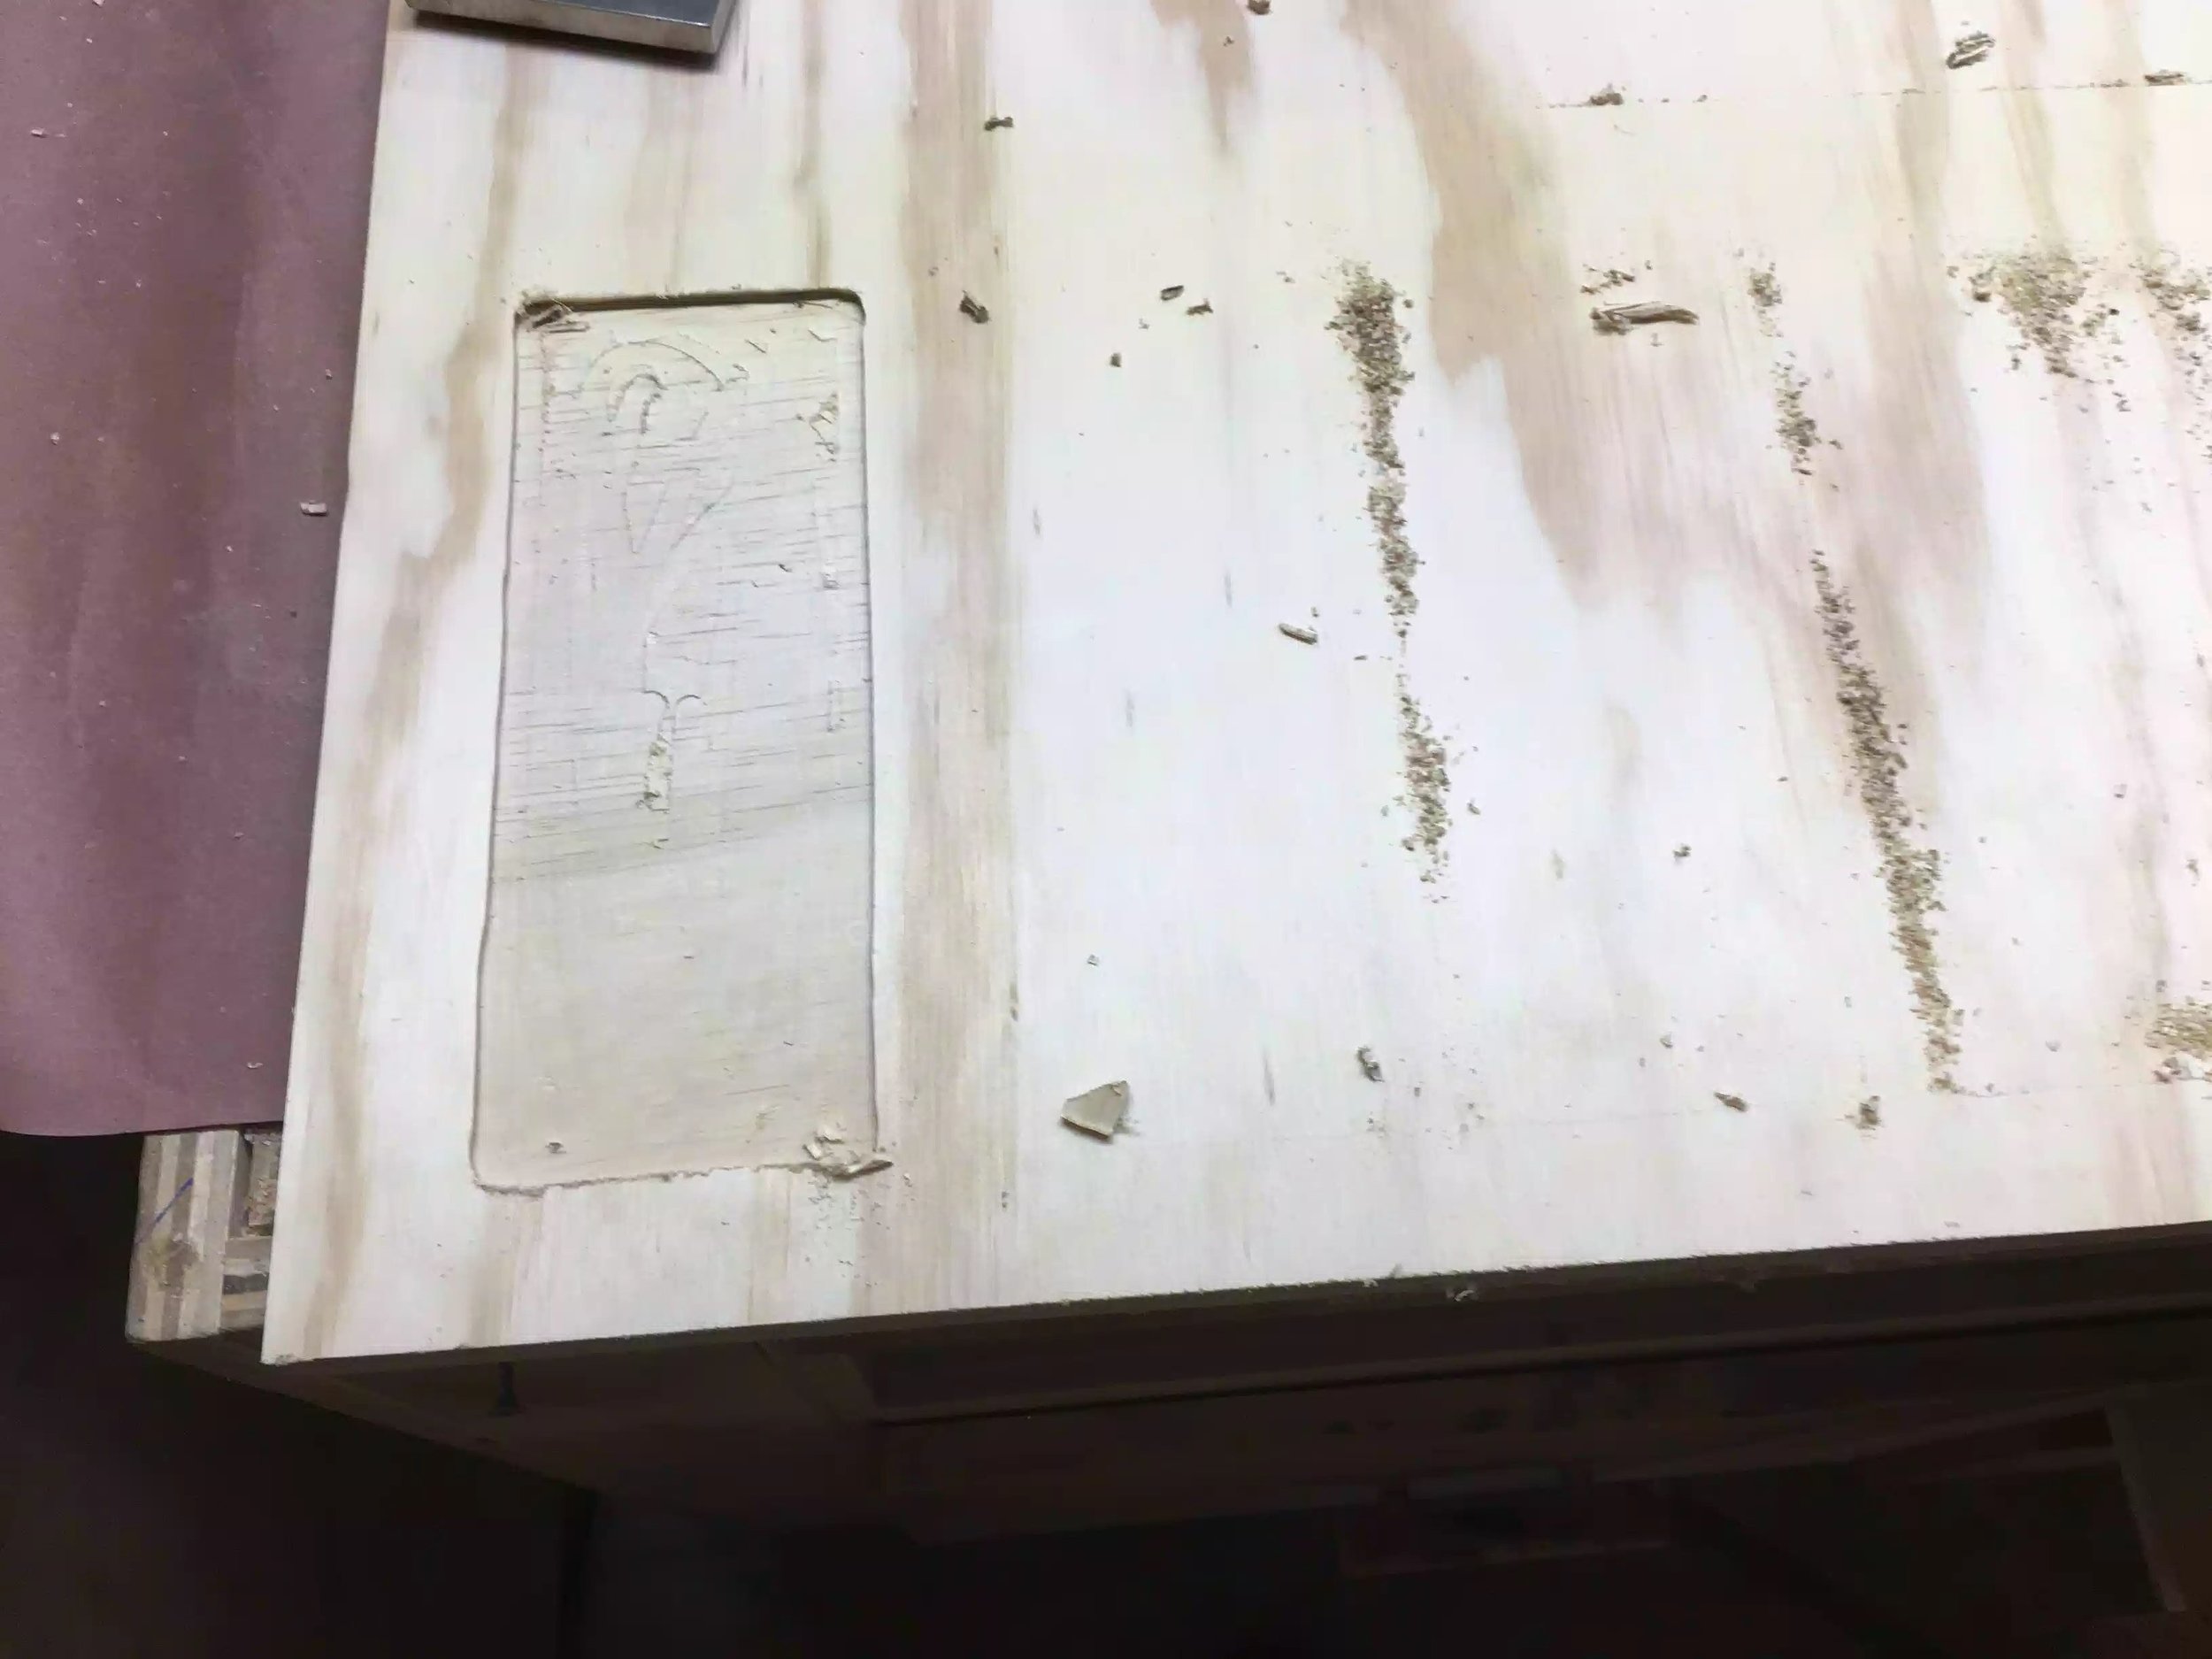
Here is the dry run on the plywood, not too bad for my first time using a template.
USING THE TEMPLATE
Next was to actually use the template to route the 5 recesses that I needed for the stones. When it came to deciding the bit style I wanted to use the 1/4” spiral bit but when it came to putting the bit into the router I realized that the bit was not long enough to protrude through the guide bushing, so I moved the bit a little more out of the Colette, enough so as that I went deep enough through the template and into the work-piece, the problem with that was that while I was routing the recess the bit moved out more probably because the Colette didn’t hold the bit in place and it dug deeper into the oak panel.
So I needed to come up with a plan b and that was to use 1/2” straight bit with a 3/4” OD bushing that way I could keep the template dimensions the same and still receive the exact dimensions that I needed to fit the diamond plates and it worked. The only problem was that I didn’t go as deep to get rid off the marks left from the spiral but slipping. In woodworking sometimes you face these issues and you need to find solutions to them, although I was plenty mad at the bit slipping , it was my fault that it happened and I will not be doing that again. To rectify this problem in the future I need to make sure that I have the correct size bit for the operation that I have before I actually start doing the work, a simple solution would be to purchase a router bit extension piece.
To be honest I thought about not writing about this, but woodworking has thought me to own up to mistakes because everyone makes them even the pros and mistakes make you think outside the box when trying to rectify them, at the end of the day I still achieved what I was looking for.

Here is a picture of the template on the oak work-piece, I used double-side tape to secure the template to the oak top.
RECESSES ALL COMPLETE
Here are a few pictures of the finished top, you can see the stones in place, I only have 2 diamond stones right now and I need to get at least one more, I will be putting a leather strop pad on the last recesss for finishing up my sharpening process, but that comes tomorrow.

Here are 2 stones sitting in the recesses , they fit great and will not be moving around.

Here is the front of the sharpening station, I was thinking off adding finger pull holes to remove the sharpening stones but they are not so deep that I cant just lift them out of the recess.

Here is aside view, as you can see the finger holes are deep enough to pull out the top when I need to have access to the box contents.
Well that is all I had time for today,
NEXT
Make a leather strop pad for the last recess, I have the leather, just need to figure out a way to add some thickness and rigidity to it.
Fill the screw holes with wooden plugs
Apply a finish to the station.