With Summer around the corner and my yard games in full swing for my little son I decided to make this game as whenever we play it we have loads of fun, I also had a decent amount of scrap plywood and some 2x4’s to bang this out.
Although I have seen just the Jenga blocks on their own I also decided to make a box that had two purposes, one was to store the 54 Jenga blocks in and the other was to also provide a platform to play the game on because my back yard is plenty lumpy and void of a decent flat surface to play on.
Here are the steps I took in making it:
Inspiration & Design
Materials Needed
Cutting parts to size
Layout Work & Shaping
Router Time
Sanding
A little Joinery
Box Assembly
Jenga Blocks
Painting Time
INSPIRATION & DESIGN
My inspiration behind this project came from a YouTube video I came across and you can see it below. It goes into a lot of detail and for which I used to design my own plans.
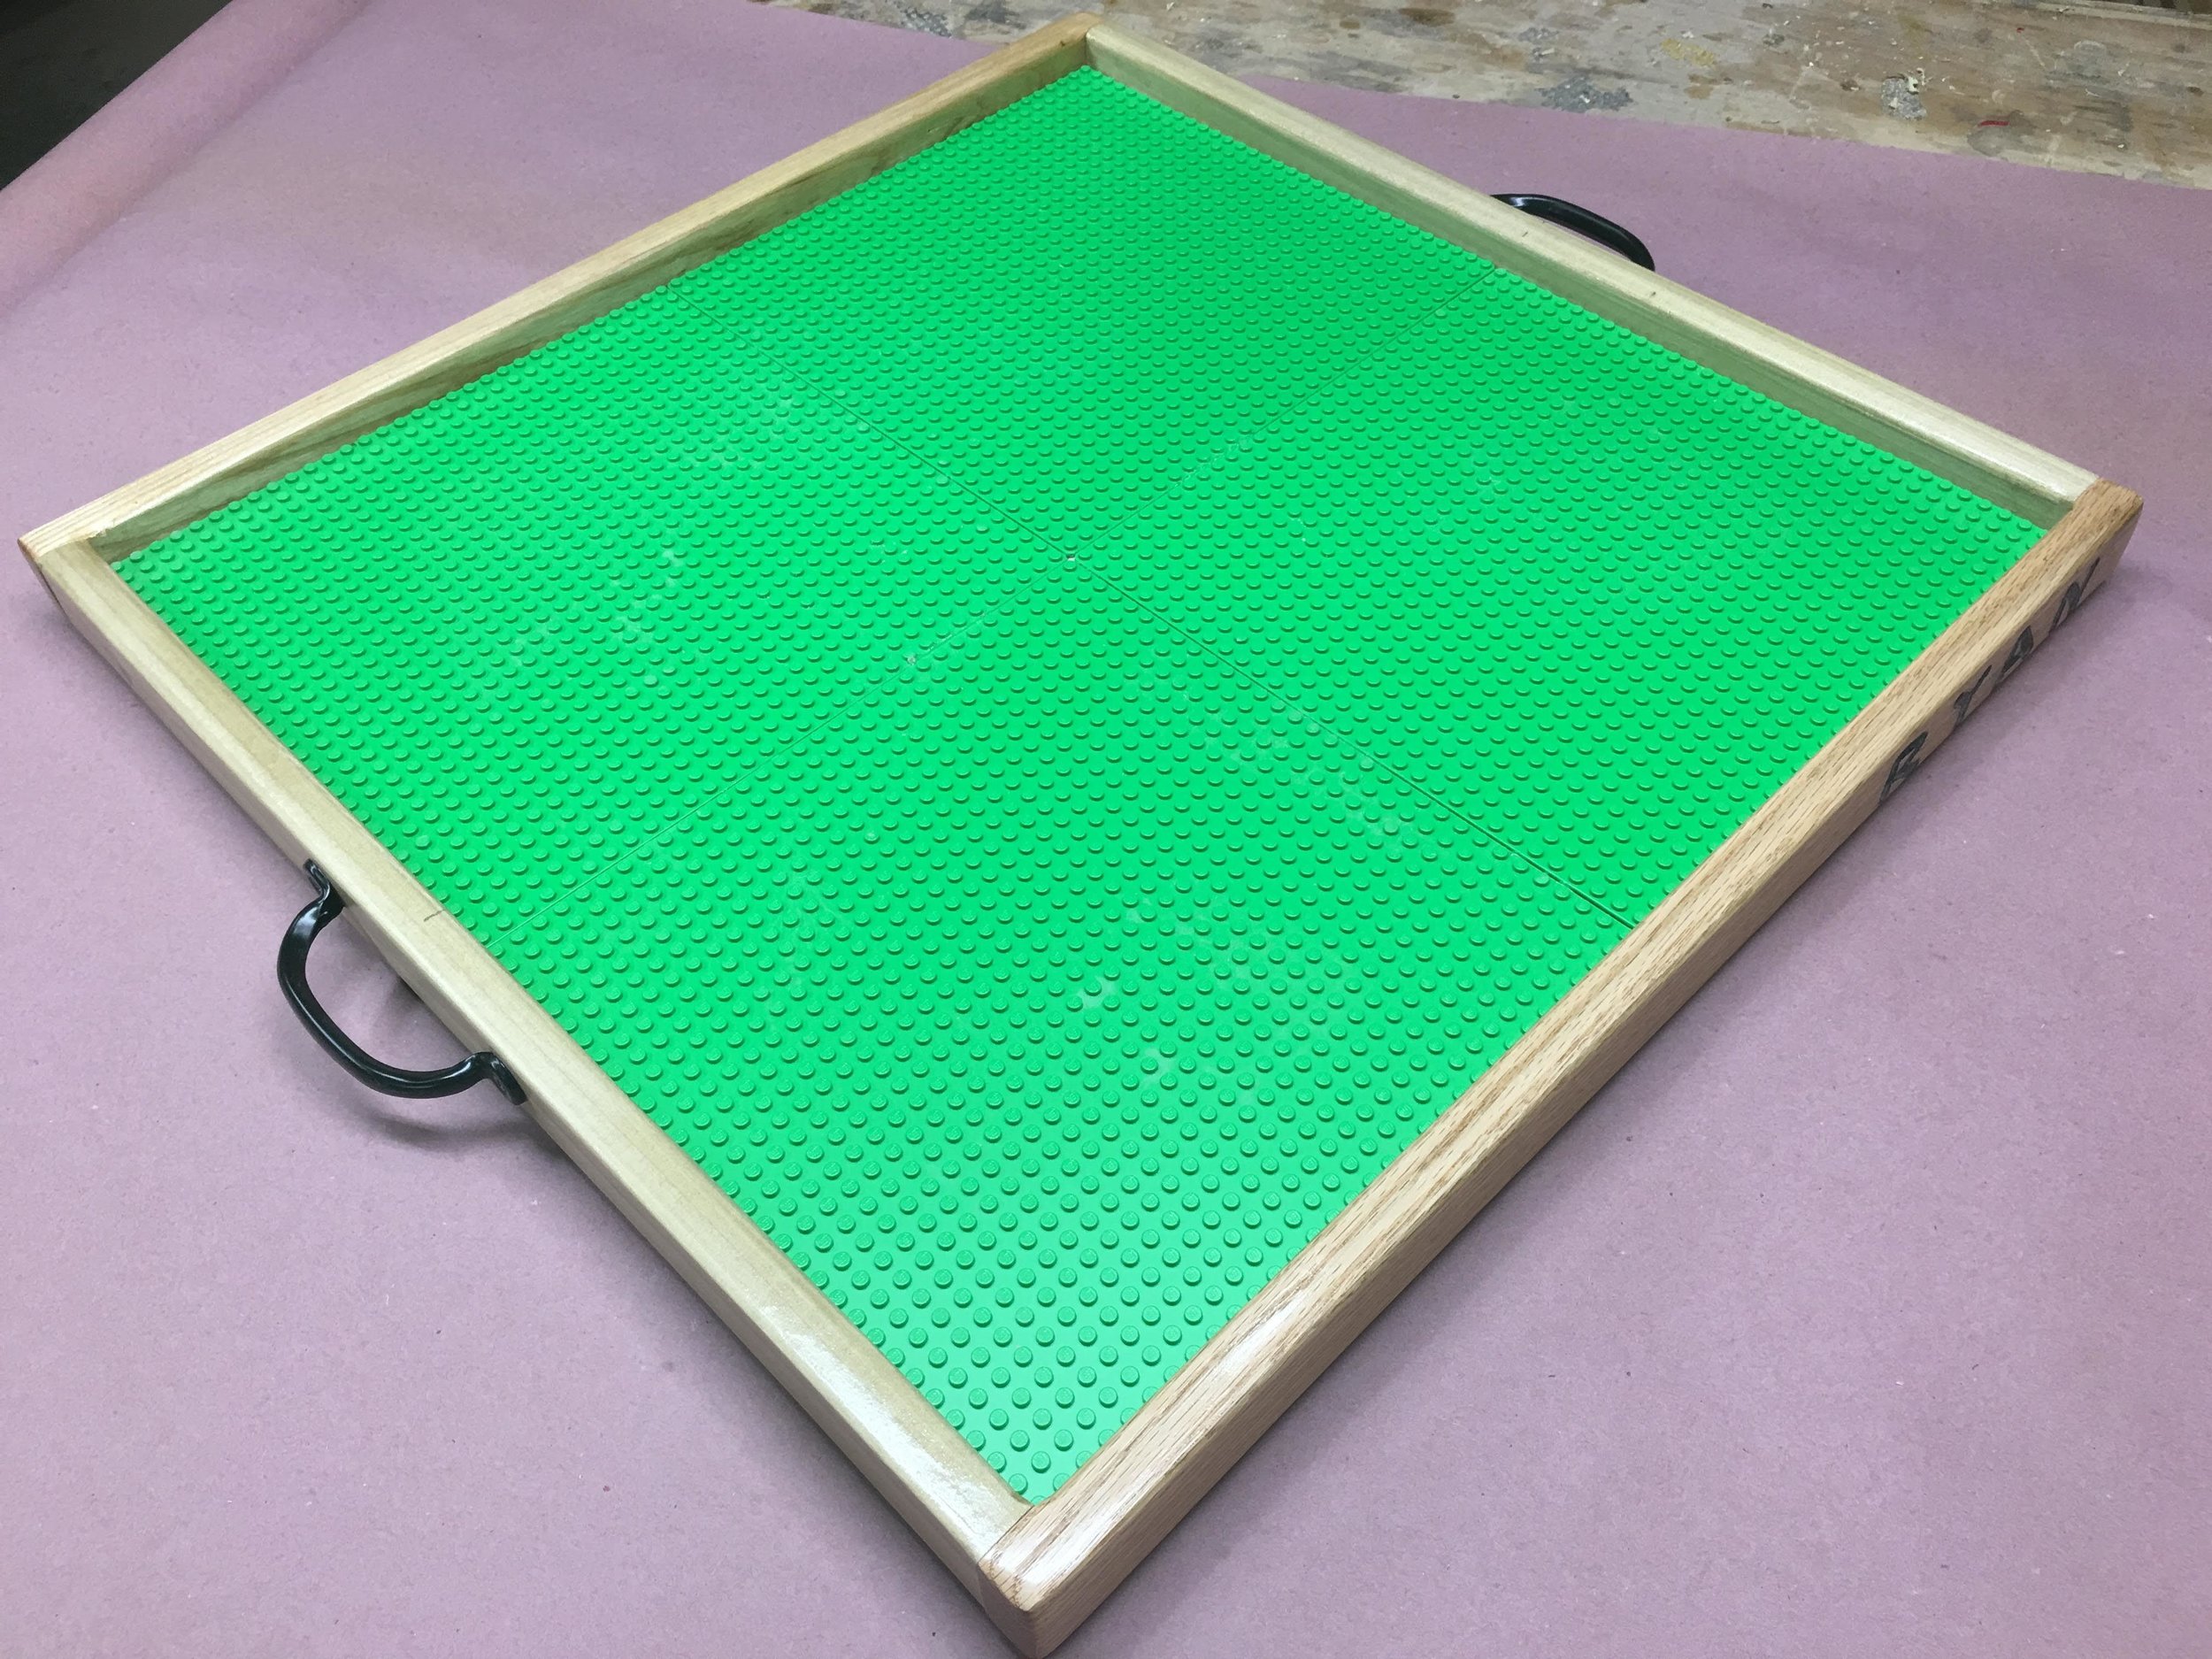
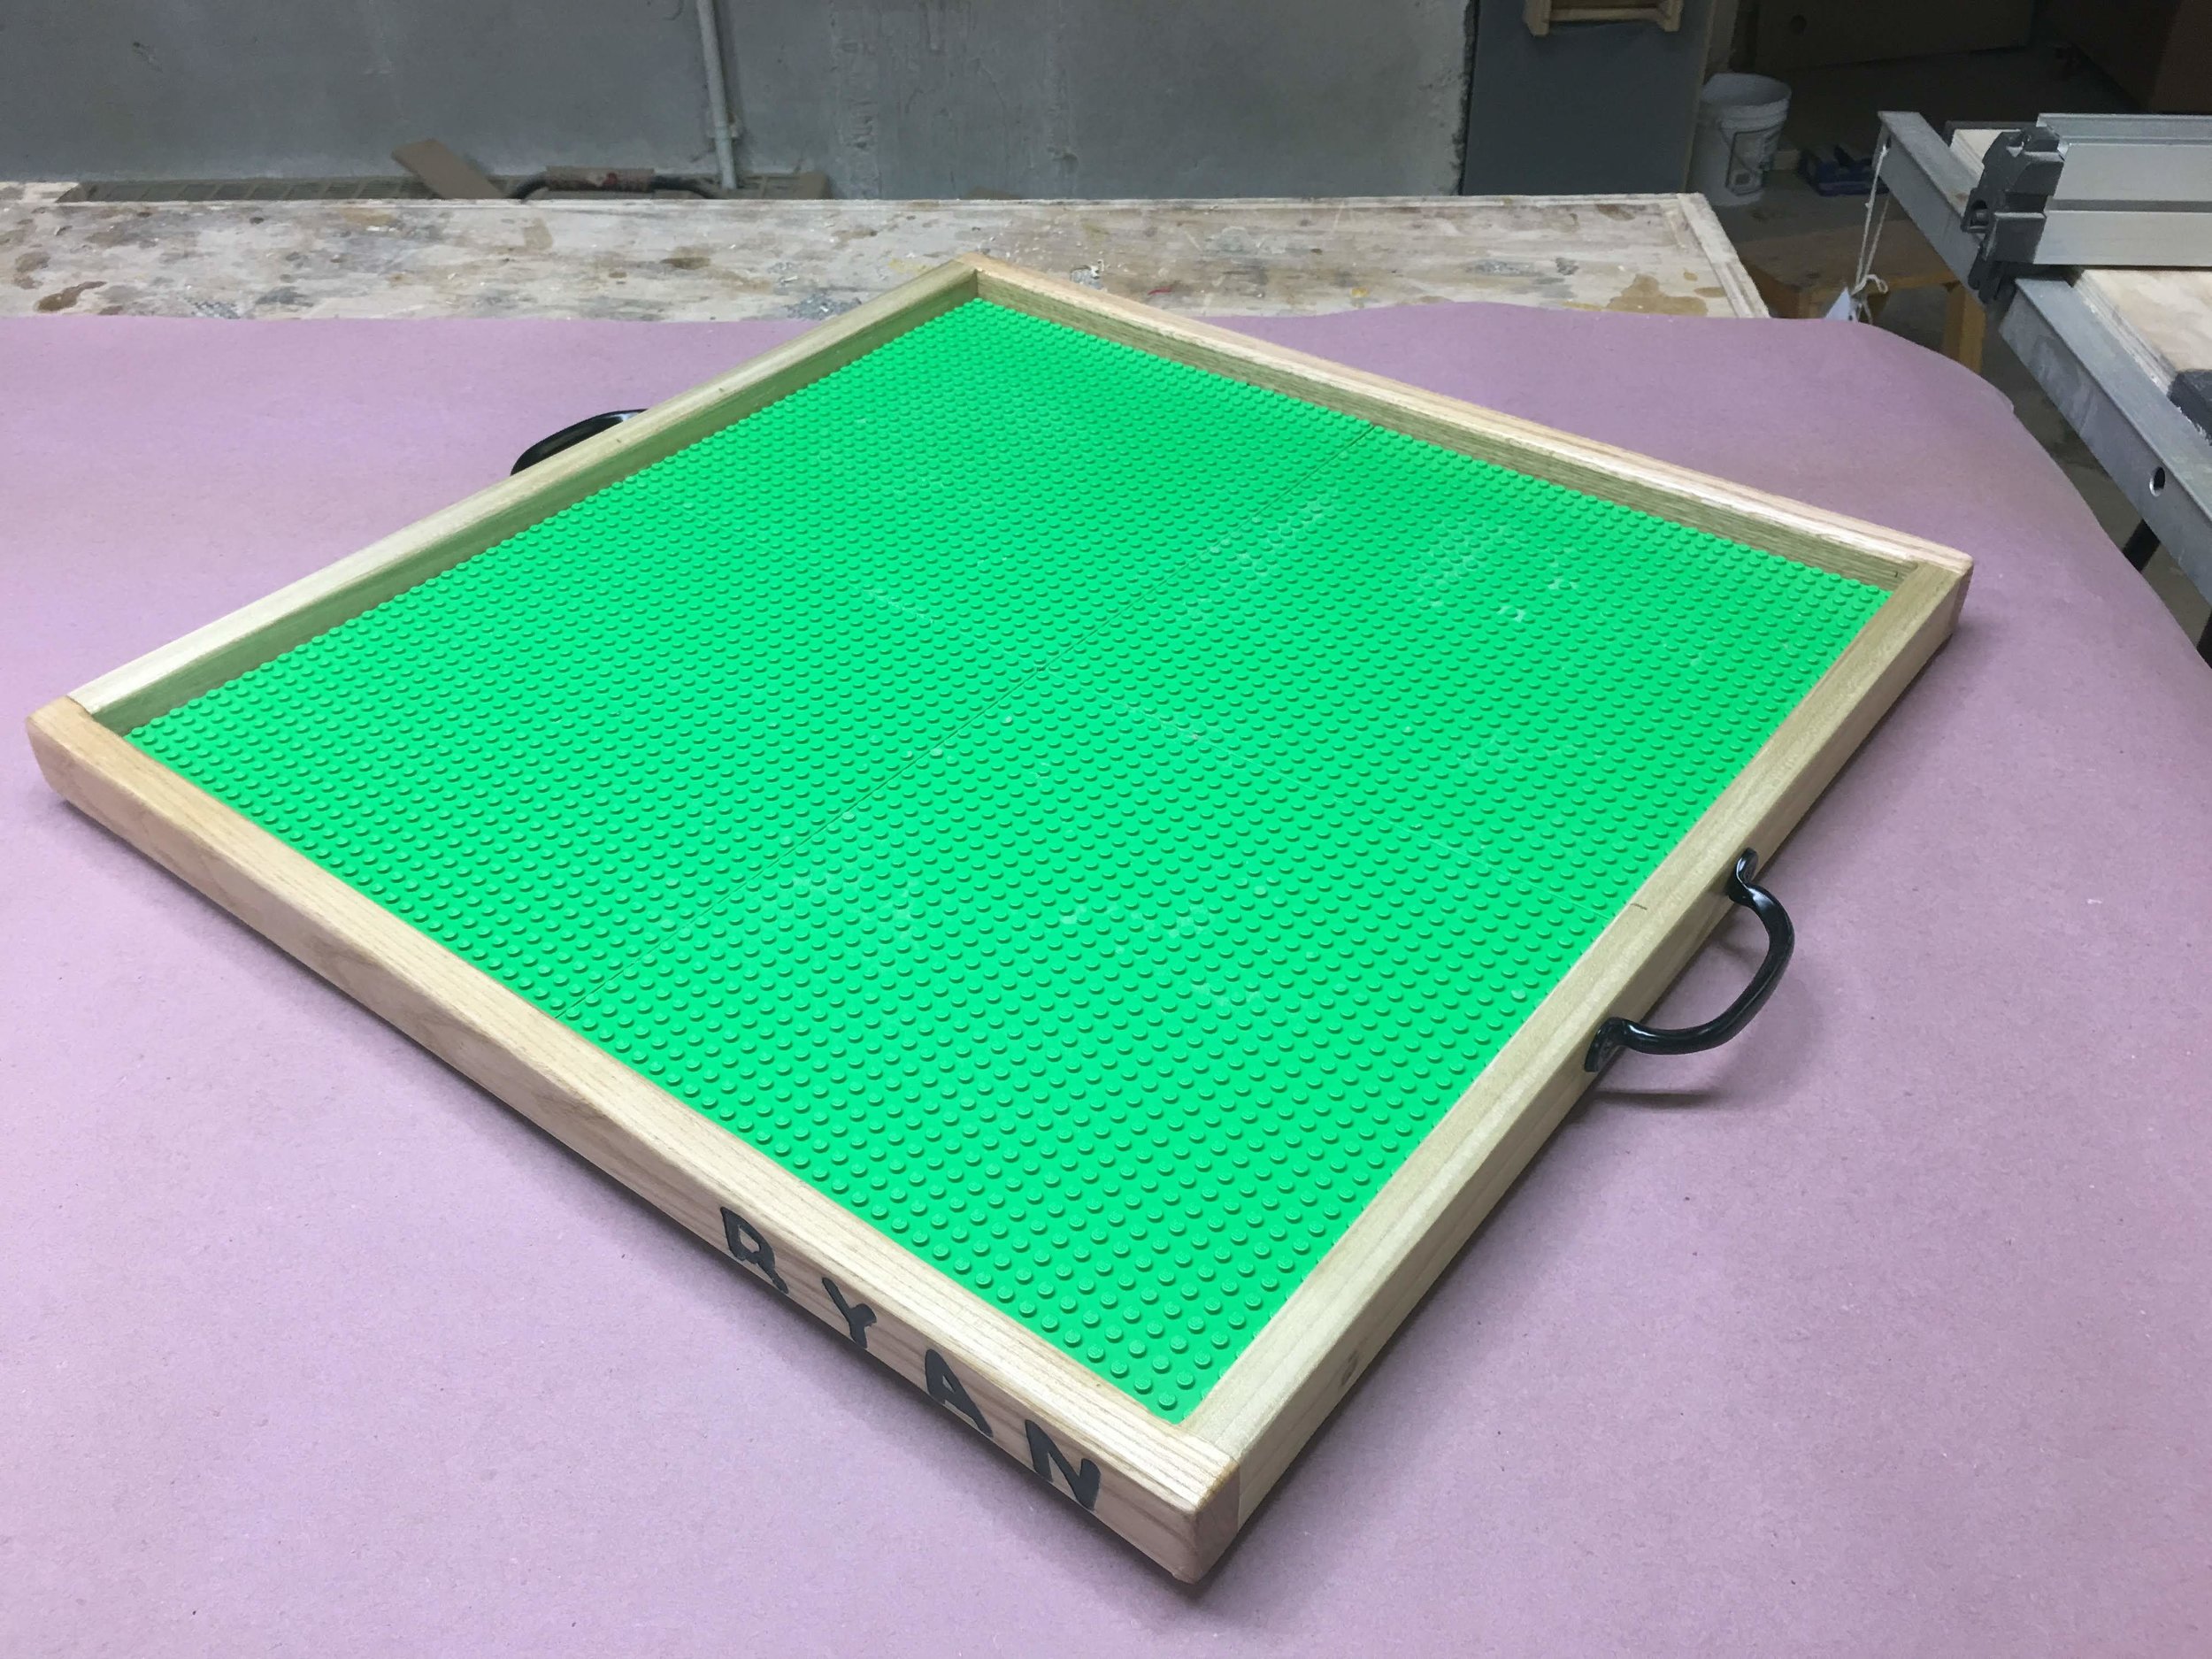
As I usually do I created my own plans that I will include a link to after the project is built but below are a few pictures displaying it all stored inside a box and when it is actually being played with using the box as a platform.

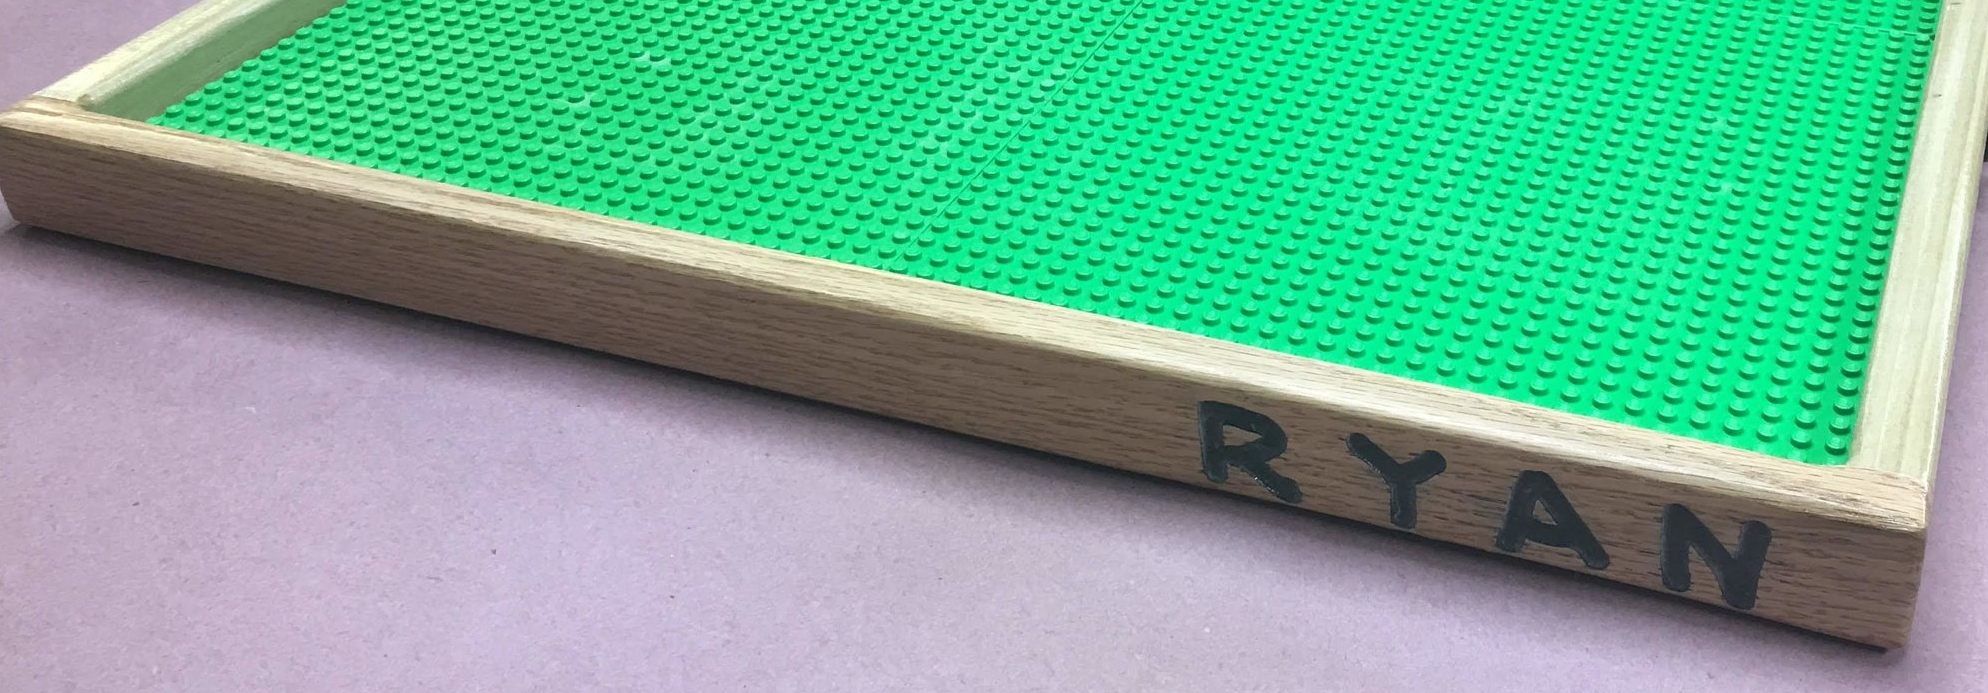
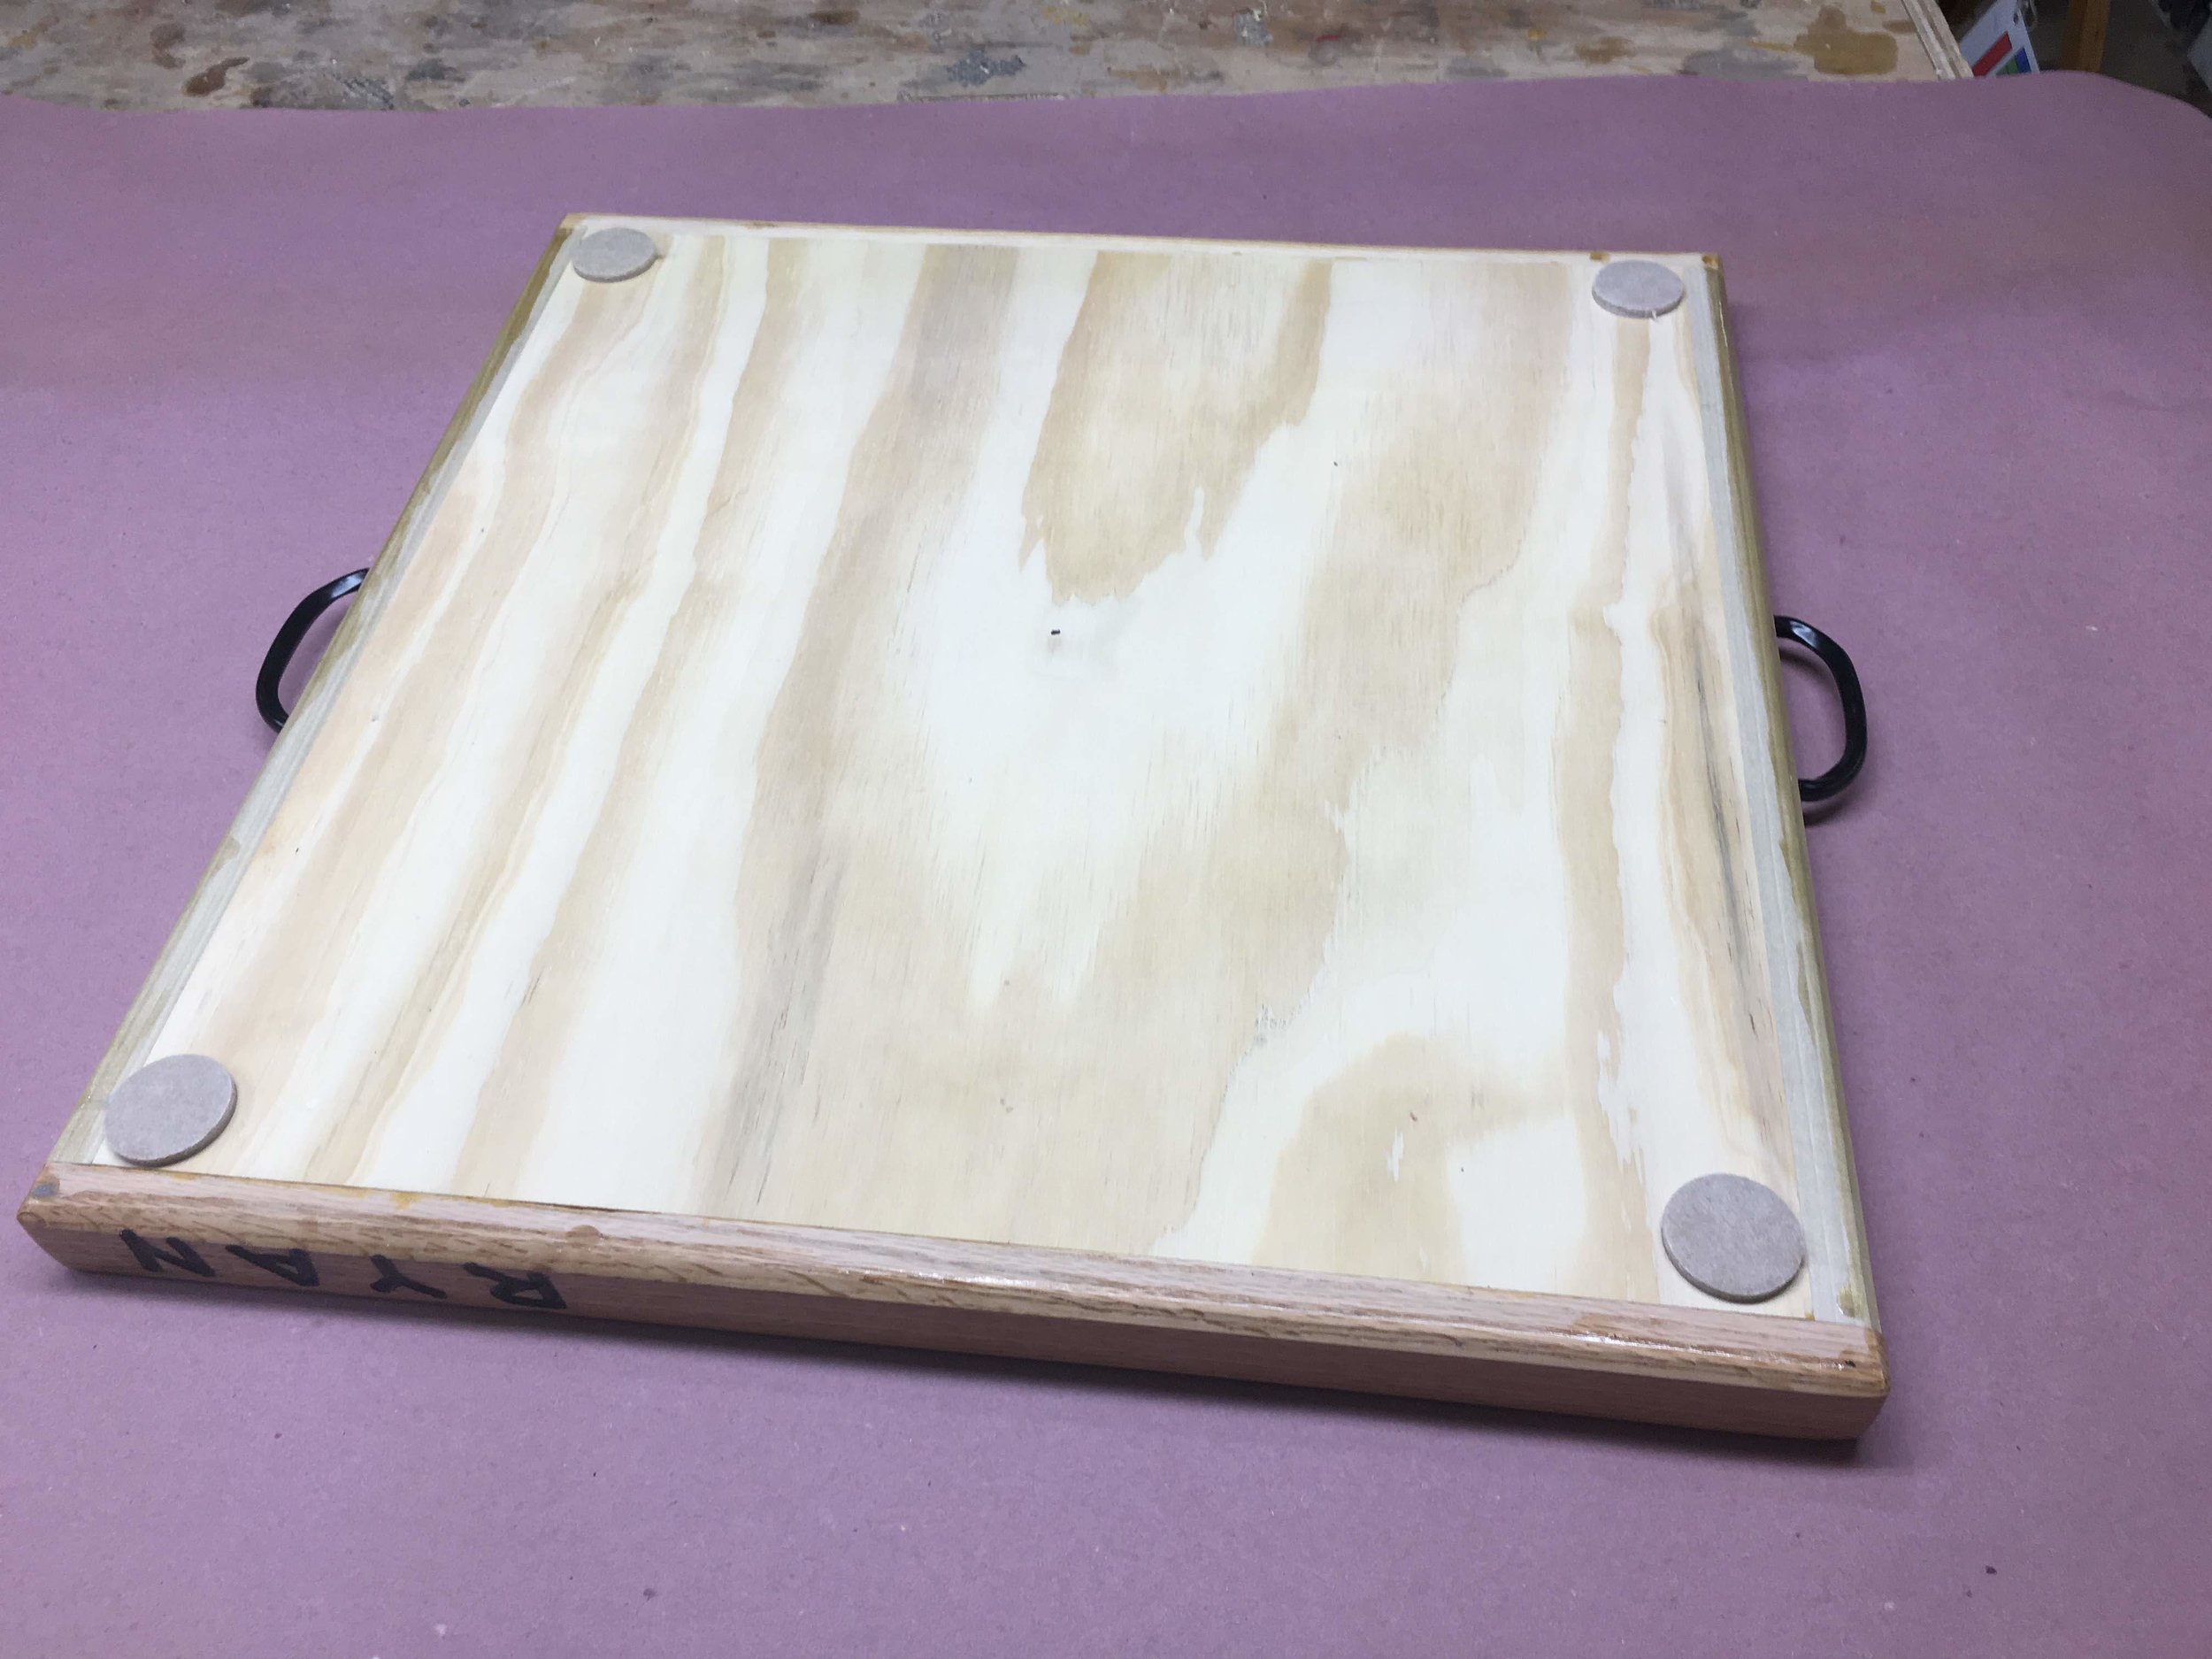
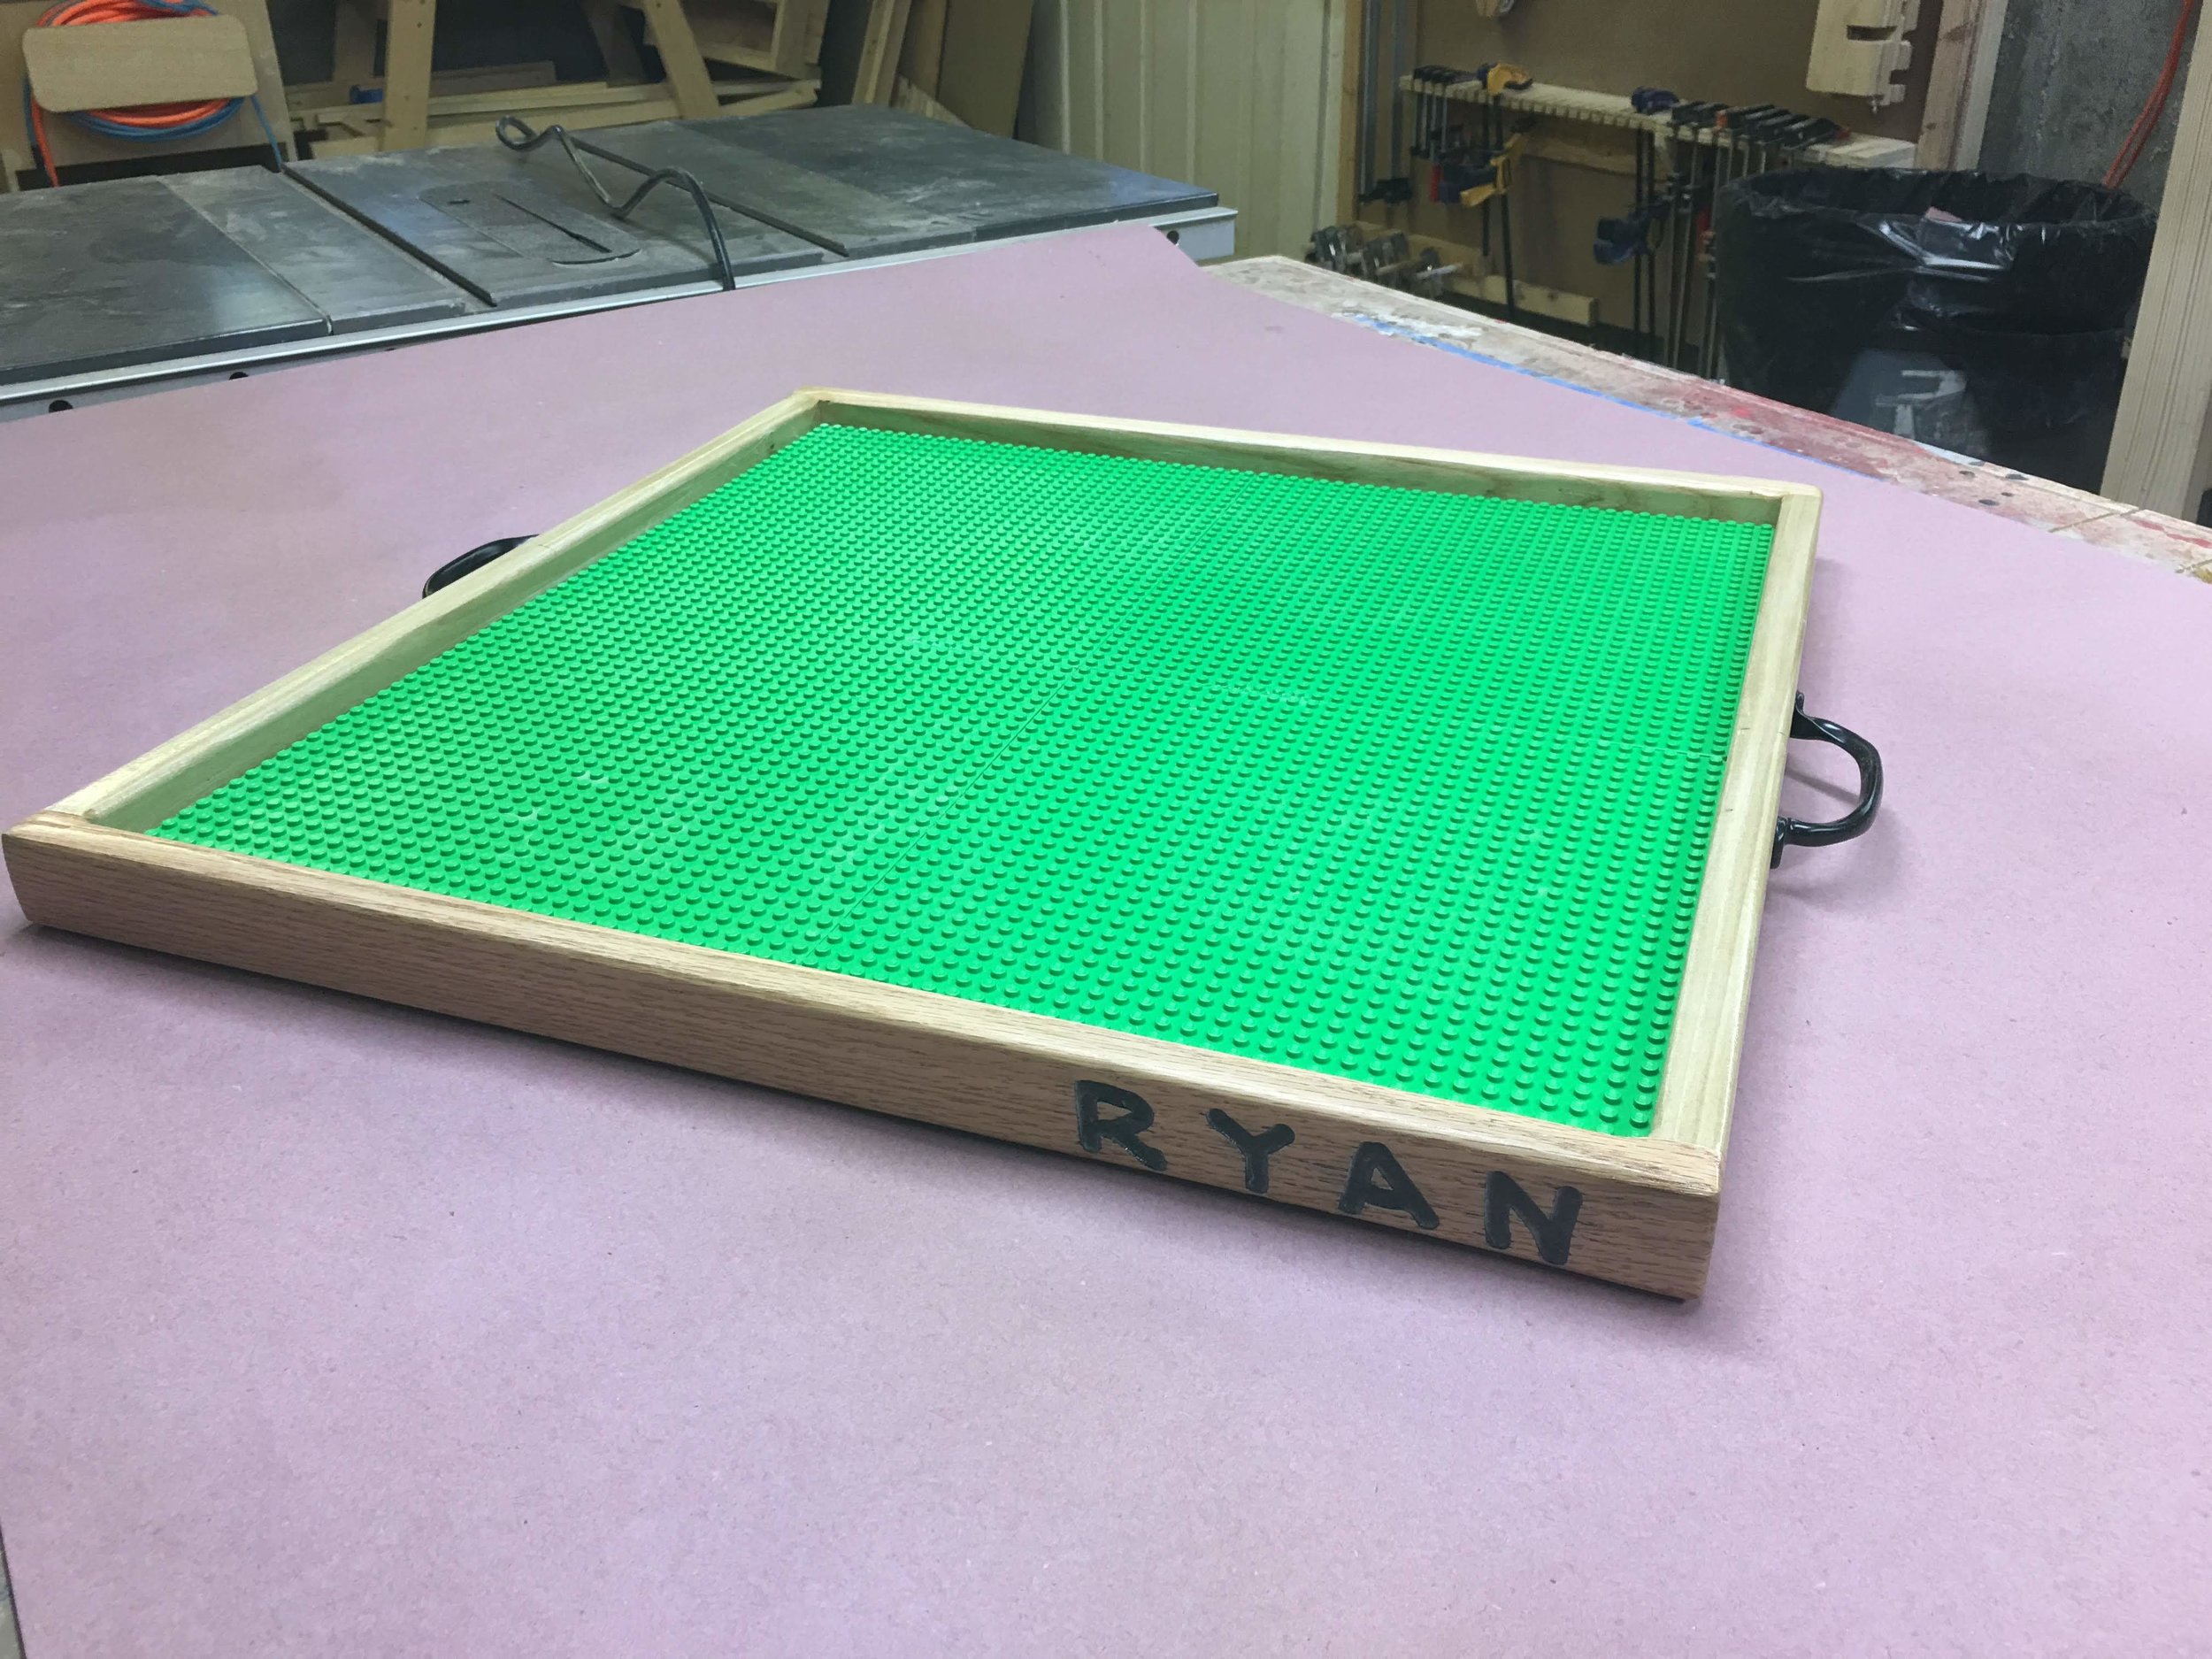
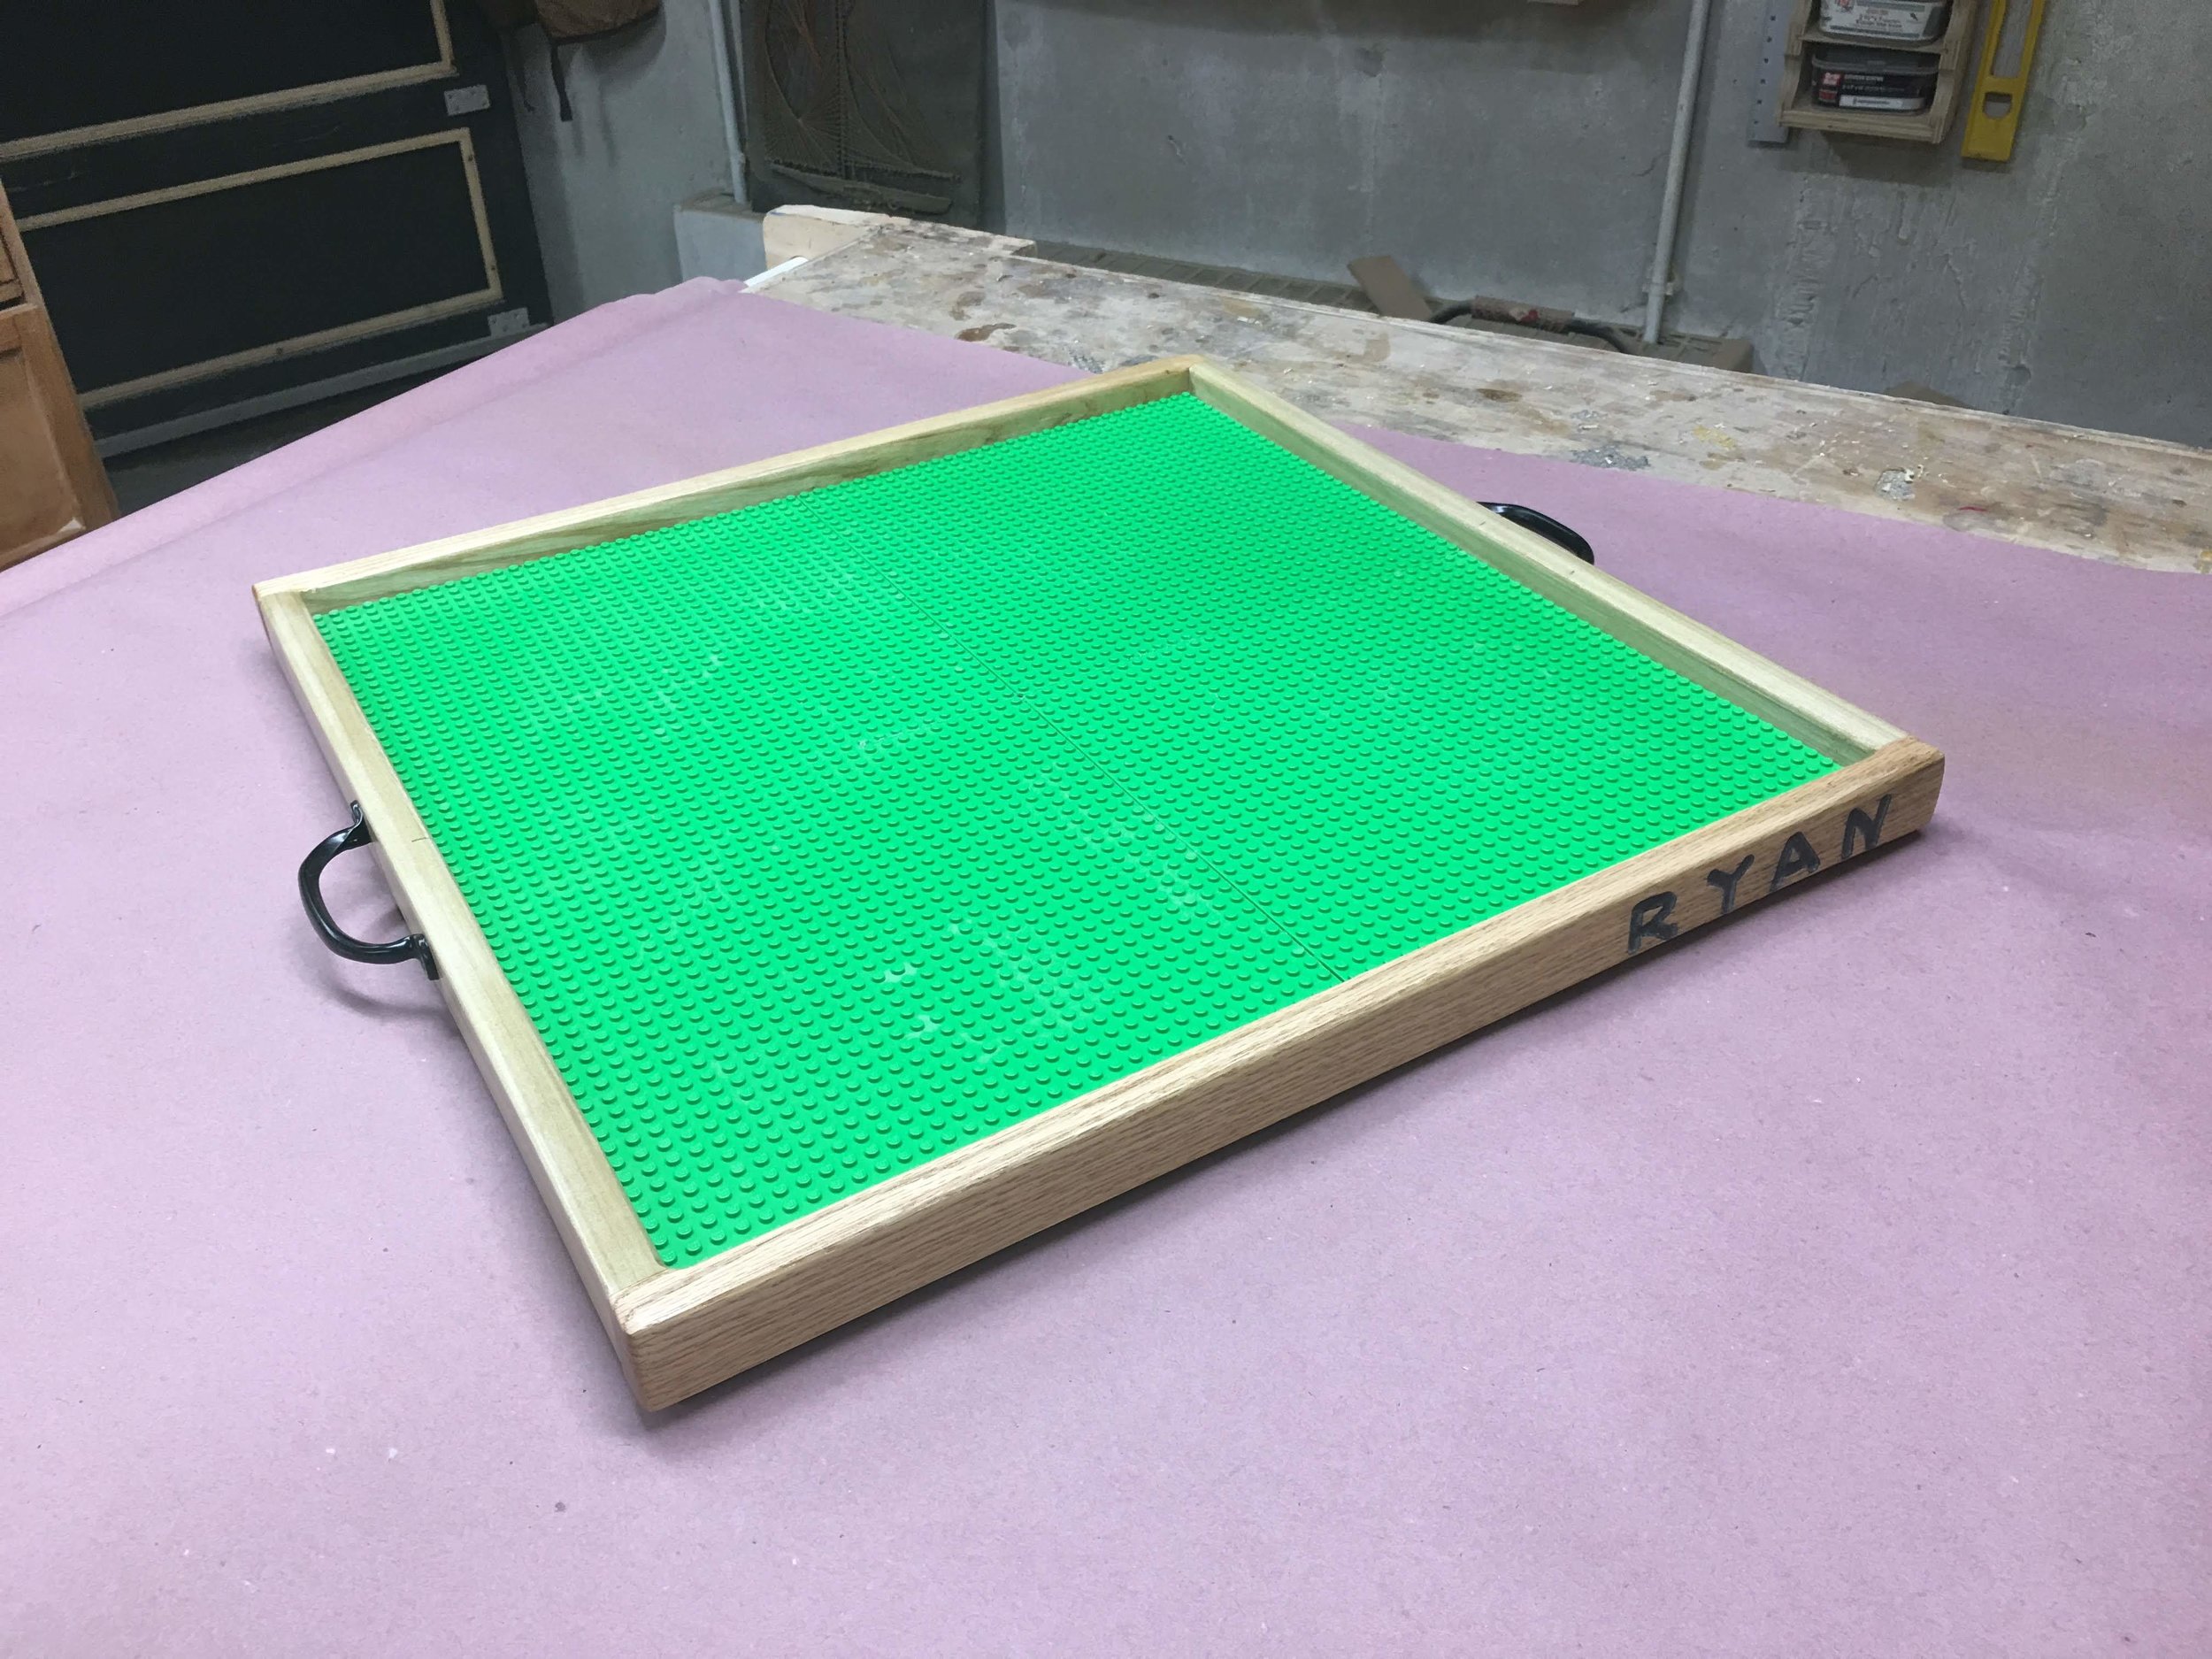
Here is the box that I designed using Sketchup, it holds all 54 Jenga blocks when not in use.

The storage box doubles as a platform to build the Jenga tower on.
MATERIALS NEEDED
Although I didn’t need to purchase much materials for this project here is what you will need to complete the game.
(6) 2”x4”x8’ (I yielded 9 Jenga blocks per 8 foot length of lumber)
(1) 4’ x 4’ x 3/4” sheet of plywood (This was used to make the storage box
Paint and Primer
CUTTING PARTS TO SIZE
I started making the plywood box for the Jenga blocks to fit inside. So I cut all my parts on the tablesaw to my dimensions.
The Parts you will need are:
(2) Front / Back Pieces
(2) Sides
(1) Box Bottom

Here are the parts needed for making the box

Here is another picture of the parts, in their assembly position.
SOME LAYOUT WORK
All four sides of the box need to have some shaping done to them, the sides will receive a cutout for a handhold and the front and back of the box will receive a decorative detail.
FRONT / BACK LAYOUT
I decided to add a decorative detail to the front and back of the box. Here are the steps I took to make it.
I followed the dimensions in my plans and marked everything out in pencil. Below you can see the design I was looking for. I did this to both the front and back of the box.

Here is the design I was looking to achieve.

Here is the actual layout on the workpiece.

Here are both pieces with the layout done, next up was cutting it out.
CUTTING THE SHAPE
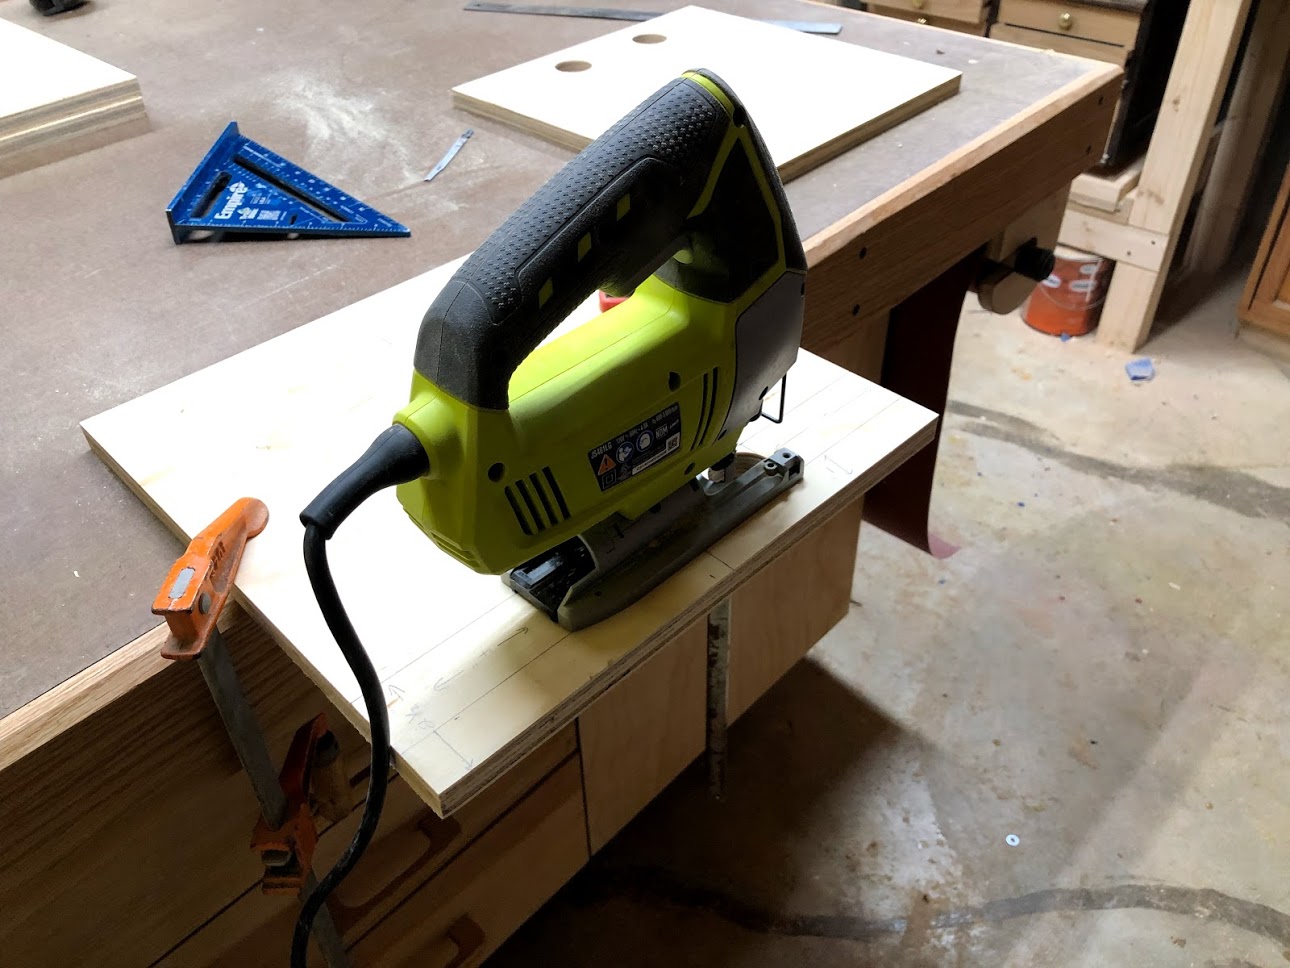
To cut out the above shape there were plenty ways to cut it, but I chose to use my jigsaw, so I clamped the workpiece to my bench and stayed outside the line so as that I could clean it up with some sandpaper later.

Here is the workpiece all cut out and I think it adds a little visual interest to the front.

I used my Ryobi jigsaw to cut out the shape and it came out great, the edges were a little rough but I will be sanding them and probably using my router later on to clean up the edges and remove any sharp corners to it.
THE SIDES
The sides need a way to carry the box so I decided to cut handholds into both sides. I used a lot of different tools to accomplish this, which were:
Drill Press with a 1-1/2” hole saw attached
A jigsaw
Oscillating spindle sander
A few layout aids such as a circle template, pencil, and a ruler.

Here is a model of the shape I was going for.

Here is the layout all completed, I also predrilled a pilot hole to trach the hole saw when I needed to cut out the circles.

Here is the circle template I used to mark the holes I needed to cut out at the drill press.

Time to use this 1-1/2” hole saw to begin the shaping process on my handle pull hole

Next stop was over to the dril press with my 1-1/2” hole saw in the chuck

No that I have 2 nice clean holes I can move to cutting out the rest of the handle with the jigsaw.
I used my layout lines to remove the material between the two holes that were cut.
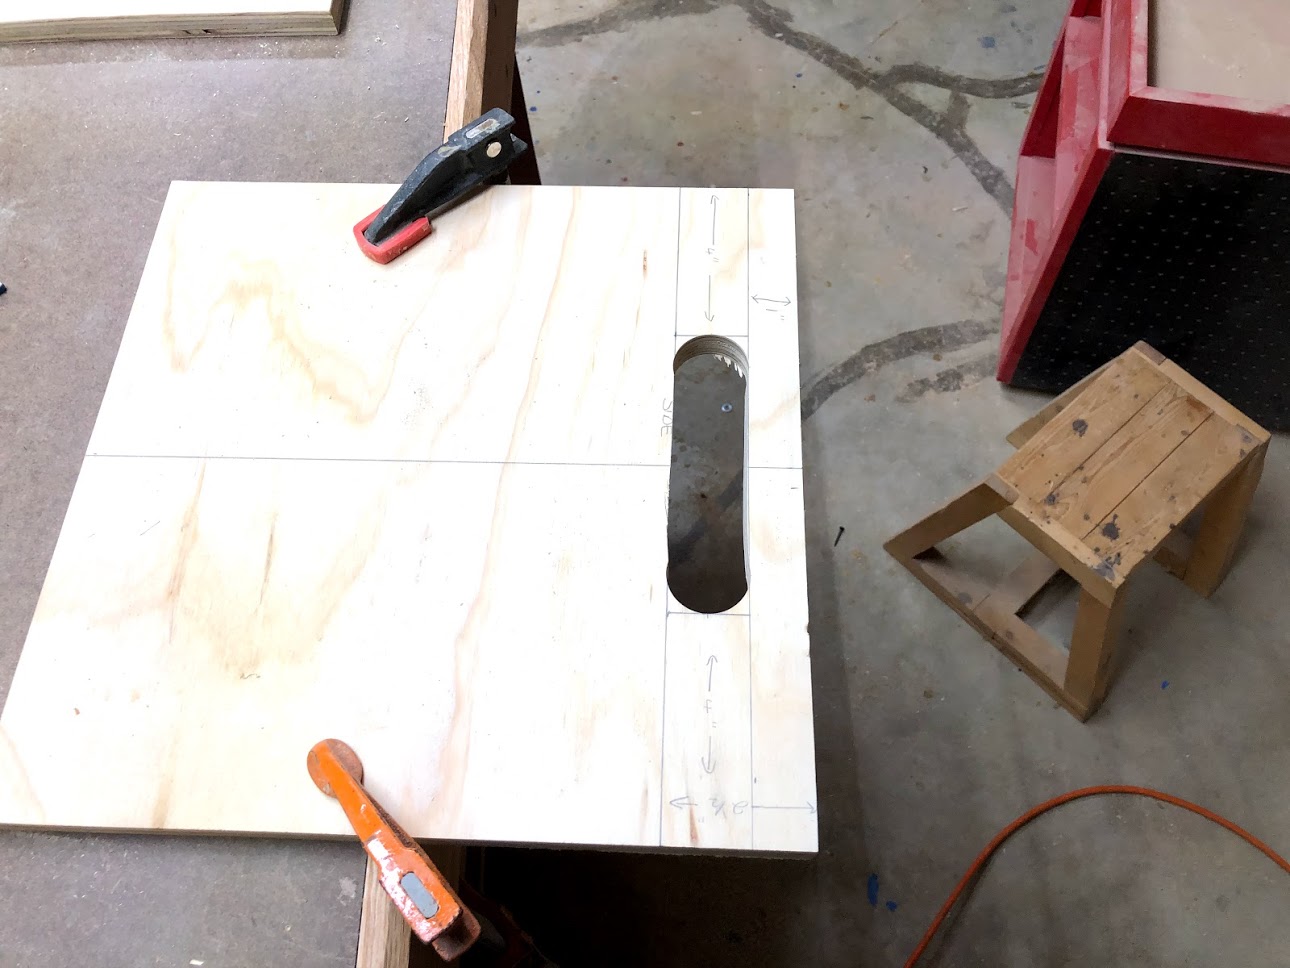
Here is the material removed from the side, just need to clean this up over at the spindle sander and then use my router to apply a roundover detail around the edges of the hand hold.
ROUTER TIME
Now that all the cutting was done to remove the material on the sides and the front & back pieces I decided to use my palm router installed with a round-over bit to ease the edges of everything that I cut out. There will be more router work later in the process but I will wait until the box is assembled before doing that.

Here is one of the front pieces after applying the rounder, still need to sand a little.
PRELIMINARY SANDING
I needed to sand the faces and some of the edges so I used my orbital sander on the faces and oscillating spind sander on the the curved parts which included the the hand hold cut outs. I only used 150 grit sand paper to this preliminary sanding as I will user finer grits after the box is assembled.

Using 150 grit paper in my orbital sander I sanded all 5 parts to the box, I did this to remove all the layout marks made and smooth the panel before I glued it up. I will give the outside faces another sanding after the box is assembled.

I love every chance I get to use this awesome tool, my oscillating spindle sander isn’t used every day but I am so glad I have it when it comes to sanding curves, nothing better.

Here are all 5 parts sanded up for the box, they look good and I love the little detail to add to a very basic box.
JOINERY TIME
There is very little work as far as joinery is concerned on this box, basically the front and back pieces receive a rabbet on each side of the workpieces, the top and bottom is left without the rabbet’s. I used a rabbet to basically insure a square box when it came to assemble the rest of the box but I will be only using glue and screws to finish construction of the box.
So I went over to my table-saw and installed a 23/32” wide dado stack as that is the thickness of my plywood and ran both work pieces through.

Here is my little layout to mark where the rabbet’s are to go, make sure to mark the inside face of the panel.

Here are both rabbet’s laid out on the panel before cutting.

Finally here are the rabbet’s all complete, and that is all I need to do fir cutting the joinery. The sides will fit into the rabbet’s and then I will secure in place with screws secured through the front and back pieces.
BOX ASSEMBLY
It was time to assembly the main body of the box and here are the steps I took:
Pre-drilled the front parts and also counter-sunk them to attach screws after applying the glue
The Glue-Up
Attach the clamps
PRE-DRILL & COUNTER-SINK
I usually always pre-drill any panel that needs screws its makes the box go together a lot more easier. Anytime I use screws I also usually use wooden plugs to cover the screws holes which is why I counter-sink them below the surface. The main reason for using screws in this project is that they act as clamps and I can move on with the project without having actual clamps and the time it takes for glue to dry.
So with that said I marked out exactly where I wanted to place the screws that way they will be in uniform locations from either side.

Here is the front panel pre-drilled, I did the back panel the same way.

Here is a close-up of the counter-sunk holes, I will be covering these with some dowels later on.

I usually use about 2/3 drills and driver when working on a project. This is my counter-sinking bit.

Since this is an outside project I decided to use stainless steel exterior screws, here is a close-up of the screw I believe the size is 1-1/4” long #8.
THE GLUE-UP
I prepared my assembly table to do the box glue up so as usual I rolled out my rosin paper and took all my glue accessories and I also got a few clamps to have nearby when I needed the. Its important to have everything you need when doing a glue-up because you only have a few minutes from applying the glue to it setting up.

Here is everything I need for the glue-up and my new assembly table is protected.

Now that the screws were attached I decided to attach a few small clamps, as it was late I will get back to it later on.

Here is the box frame all glued up, I still need to attach the bottom to it. So that will be my next thing on the agenda.
FINISHING UP THE BOX
There was still a decent amount of work to finish up the box before turning my attentions to making the Jenga blocks. Here is what I did to finish up the storage box:
Attach the case bottom
Cut & Install the wooden hole plugs
Sand & Router time
ATTACH THE CASE BOTTOM
The bottom of the case was not anything special, its basically a panel I cut a little oversize and predrilled & counter-sunk holes for the stainless steel exterior screws and then glued and screwed the base in place, I also needed to cover up all the holes left from the screws. After the base was attached I used my router to flush trim the base to match the sides so it was nice and tight.

Using a 3/8” space I positioned all the holes s as that the center of the screw would meet the plywood in the center, thus reducing the need for the plywood sides of the box to split.

With glue applied to the bottom of the case sides I positioned the base in place and secured it with stainless steel counter sunk screws.

With the base secured it was time to use my router with a flush trim bit to cut the excess material away from the base.
WOODEN PLUGS
I thought it would be nice to add a contrasting wood to the box I thought I had some walnut plugs left over from my last project but I didn’t so I took a solid piece of scrap cherry and used my plug cutter to make my own. This is why I probably never throw away any scrap because I usually find a use for it. So I installed a 3/8” plug cutter into my drill press and cut all the plugs I needed for the case and the bottom.

Here is the 3/8” plug cutter installed into my drill press.

All finished cutting the plugs out, no such thing as scrap wood in my shop a 6” piece of wood yielded like 30 plugs.
Next was to install the plugs into the counter sunk holes, which is very quick. You just glue them in let the glue set up for like 20 minutes and then come back with a flush cutting saw to trim the excess.

Plugs installed with the glue and my flush cutting saw waiting for the glue to be set.

Here is the entire back side of the case prior to removing the excess plugs.
To finish the case I needed to do some sanding and use the router to round-over the edges of the box and that is basically it the box is made below you can see a few images of these steps.

Here is the box with the plugs all flushed up and sanded with 150 grit sand paper,I used my random orbital sander to do this.

I used my palm router to round-over all sharp edges to the box and that’s basically it the box is now complete.
THE JENGA BLOCKS
With the box made it was time to turn my attention to the actual Jenga blocks, I will need a total of 54 blocks with the following dimensions 10-1/2” x 3-1/2” x 1-1/2”, so I purchased 6 lengths of 2'“ x 4” x 8’ wood at my local home center. Just incase you didn’t know when you purchase 2x4s there actual dimension is 3-1/2” x 1-1/2”. I also realized when cutting the blocks up why they need to be 10-1/2” long and that is simply because for every vertical Jenga block you can fit 3 horizontally beside it, which is why this dimension is so critical for this game. Its also very important that all blocks have the same thickness of 1-1/2” or the block will be very hard to slide out.
Steps Taken:
Cut all 54 blocks at my miter saw station
Sanding, sanding and more sanding
MITER SAW STATION
I purchased six 8 foot lengths of 2x4 and broke them down at my miter saw station, I set up a stop block on my Kreg top track at the station and not before long I had cut all my 54 blocks cut.

Here are the 2x4s prior to chopping them up
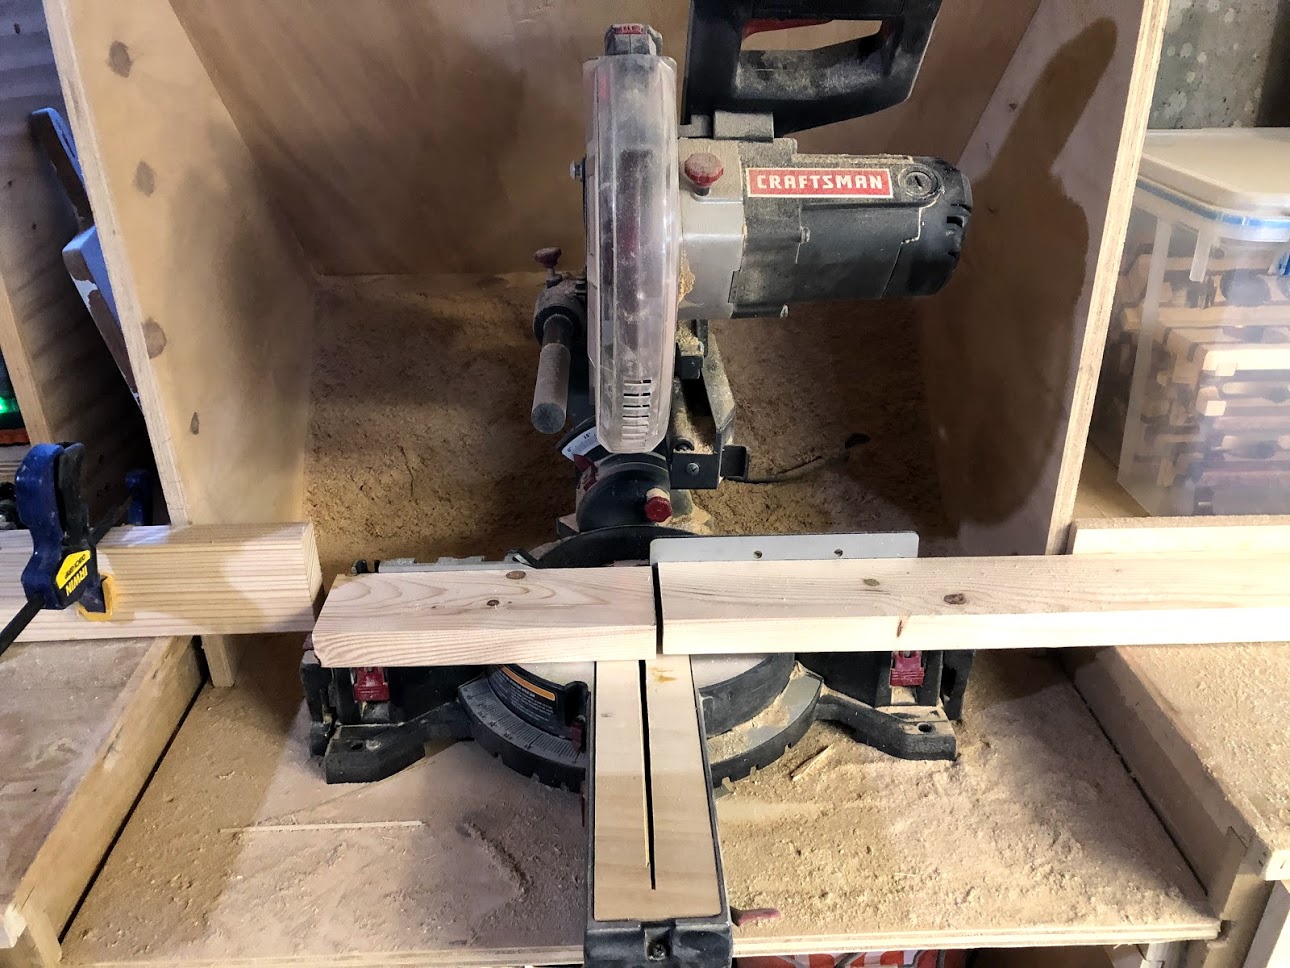
Here you can see my very dusty miter saw with a stop block set up to the left of the blade to make sure all my cuts were 10-1/2” long.

Here are all the jenga blocks cut to size, because I am using construction grade studs they will need a lot of work using various sanding tools to get them looking and feeling smooth.
SANDING, SANDING & MORE SANDING
I needed to do a lot of work on finishing the Jenga blocks to be smooth as this was going to be yard game where kids and adults alike would have their hands all over these I needed to spend a lot of time making sure they were smooth, had no potential splinters and they had to be of a decent quality to paint later on.
So my first stop was over to my belt sander, which I purchased at Harbor Freight last year but to be honest its one of them tools that I hardly use but I am so glad I have one when dealing with projects like this. I installed a 100 grit paper on the tool and sanded them. My next step will be to install 120 grit paper and do them again and finally I will buff them with 220 grit paper using my random orbital sander. So yes I still have a lot of sanding to do.

Belt sander installed with 100 grit belt sanding paper.

I also ran them across my oscillating belt sander with 120 grit paper.

Gearing to spend the next year sanding these, lol
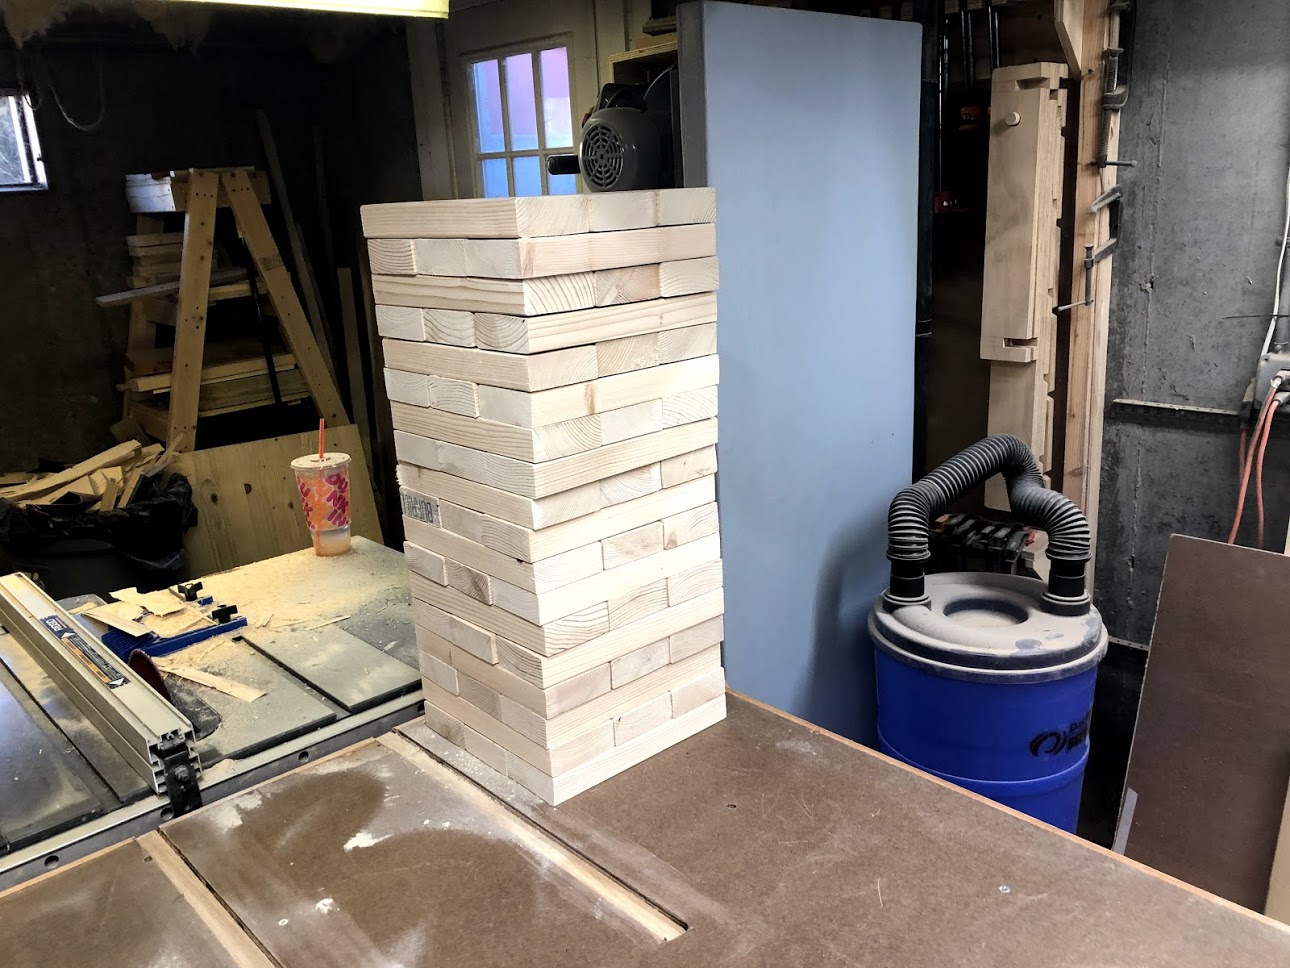
All 54
CONSTRUCTION FINISHED
Sanding all the Jenga blocks was the last part to this project as far as woodworking goes, they all need a paint job and that is the wife’s department so I am not completely sure as to when that will be completed, as I am sure you are aware painting is a very time consuming process and to be honest we are not sure on whether to just paint the ends of the blocks or paint the entire Jenga block, but rest assured when they are painted I will post finished pictures of them.
Below are a few pictures of the set, all be it still in the shop waiting for the paint. I would love to wait around for the paint and then post this project in its entirety but I have other projects that need to get started and I need the room and make way for the next project.

All Boxed Up
When the game is not being used I have an in built storage box for all the blocks
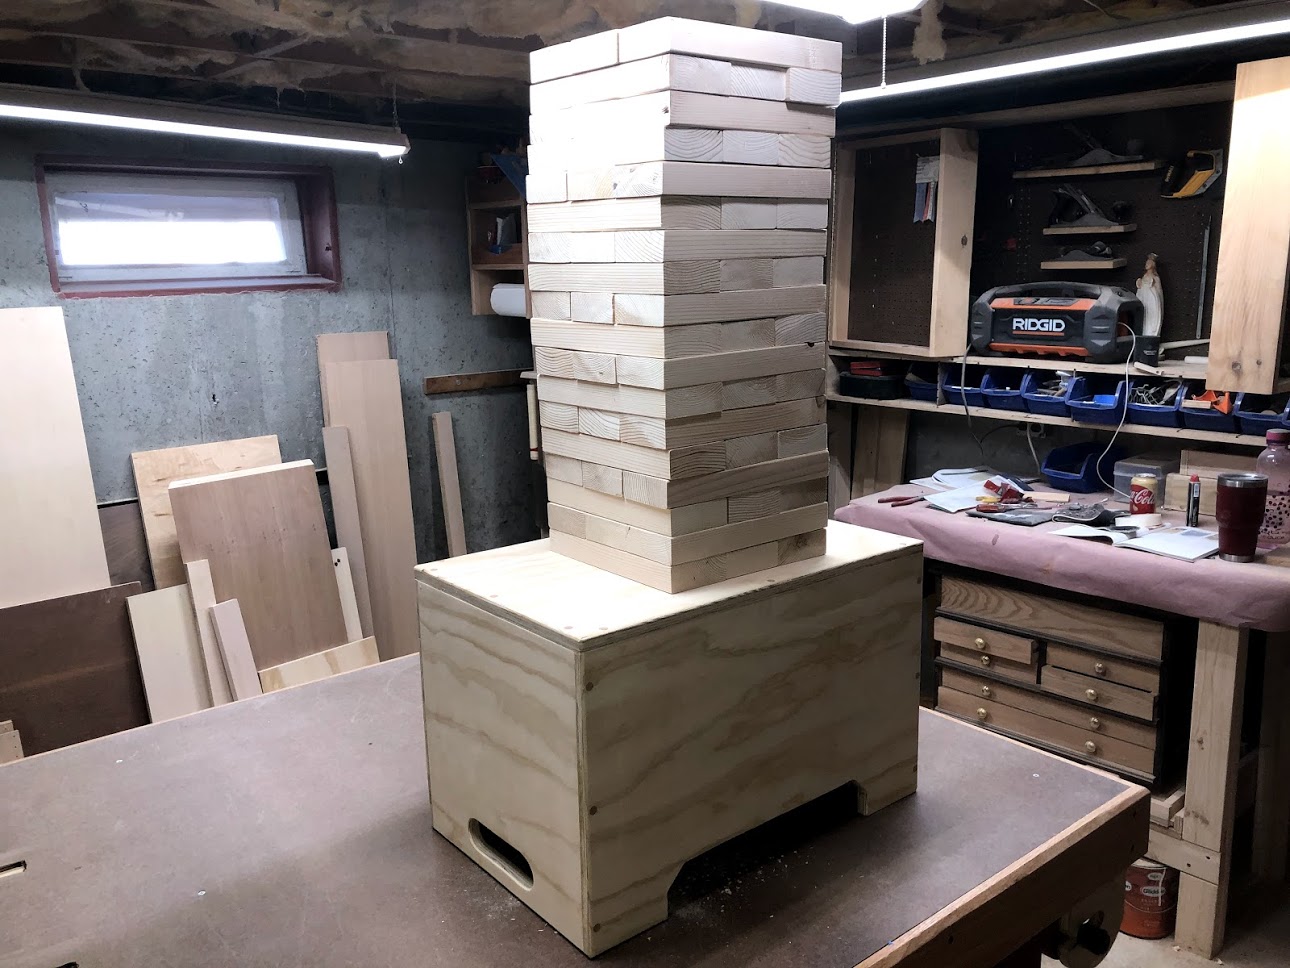
Jenga Tower
This looks enormous but its about 40” tall